rampant rivet
-
Posts
1,243 -
Joined
-
Last visited
-
Days Won
2
Content Type
Profiles
Forums
Gallery
Blogs
Events
Articles
Store
Downloads
Everything posted by rampant rivet
-
Like the front side/ indys what's the story behind them ? I think I'll do that on mine :-D
-
My oil filter looked horrid but after a good clean in the parts washer it was ok I was lucky the gauze was intact, I better point out this is the long round gauze one located in the block not the external one fitted to the manifold John and Chris Morter supply a modern external filter that's looks the same as the original but takes a modern screw in type filter that can be replaced easily. Might pay to have a look at the petrol pump too as the old diaphram suffer from this new fuel. Have a Happy new year working on you truck :-D RR.
-

introduction G"Day All Austin Cahmp restoration project
rampant rivet replied to Champie's topic in Introductions & Welcomes
Welcome fellow Champer to the HMVF there are a number of fellow Australians on here restoring Champs and I'm sure they'll offer help and advice, your Champ sounds like mine was when I found it in a shed where it had been stored for over 30yrs no brakes wouldn't start etc :shocked: Check out the Austin Champ owners club, lots of friendly advice and knowledge available Front brake cylinders are Landrover series 2 long wheel base I think Rear cylinders are a bugger you may have to get them sleeved in stainless if they are shot. Master cylinder is also hard to find and expensive so better to sleeve in stainless with new seals etc. Engine is pretty bullet proof with luvly R.R. engineering check the usuals spark/fuel wiring is getting dodgy now 60 years on. Seat covers can be sourced as well as new tops etc. As regards seatbelts good news here as you don't need them and they were never fitted to the Champ. Fuel gauge on mine is erratic to say the least :cool2: will be sorted when I do a rewire in the spring. Rear stops are same as Landy as is rear indys, I used smaller more descreet inicators on the front. Good luck with your restoration and I hope your mobile soon, Champs are lovely things to drive a bit thirsty but hey ! I have a blog on here somewhere of my restoration if you need some inspiration :-D Happy New Year RR Ps check oil levels in axles before you do too many miles easiest way to tater up the rear axle is to run it when low on oil. -
Might pay to check/replace all the core plugs inc the rear one hidden by the bell housing also check for wear to clutch fork and ball as it took me a while to figure out why I had too much play after replacing the clutch plate also pull the oil filter out and clean it, if its anything like mine it hadn't been looked at in years and was fairly clogged with gunge. check also your advance and retard vacuum's working ok and also check all's well with the dizzy.
-
restoration Bedford MWD restoration
rampant rivet replied to rampant rivet's topic in Blogs of MV restorations
WoW !!! they look great :-D Thanks John for putting in all that hard work on those, they will look the dogs doo dahs when fitted to the truck :cool2: -
restoration Bedford MWD restoration
rampant rivet replied to rampant rivet's topic in Blogs of MV restorations
Second rear brake drum / hub sorted this morning, bearings/hub seal replaced along with lots of luvly grease :-D now ready for top coat of paint, spent afternoon fitting 1st hub to rear axle attaching shock absorber arms and bckts to axle and removed rear diff cover to clean it and check crown and pinion all ok :-D Happy new year to all :cool2:
-
restoration Bedford MWD restoration
rampant rivet replied to rampant rivet's topic in Blogs of MV restorations
Brilliant !!!!! :-D picture looks like a piece of modern art :nut: am working on the second rear hub tomo plus having a look at that front screen for your mate. -
restoration Bedford MWD restoration
rampant rivet replied to rampant rivet's topic in Blogs of MV restorations
Had another afty on the truck today, after checking all was ok have re fitted the lower clutch access panels and painted lots of bits n bobs inc wheel hubs, tow pin etc, etc new rear wheel bearings and seals were also fitted.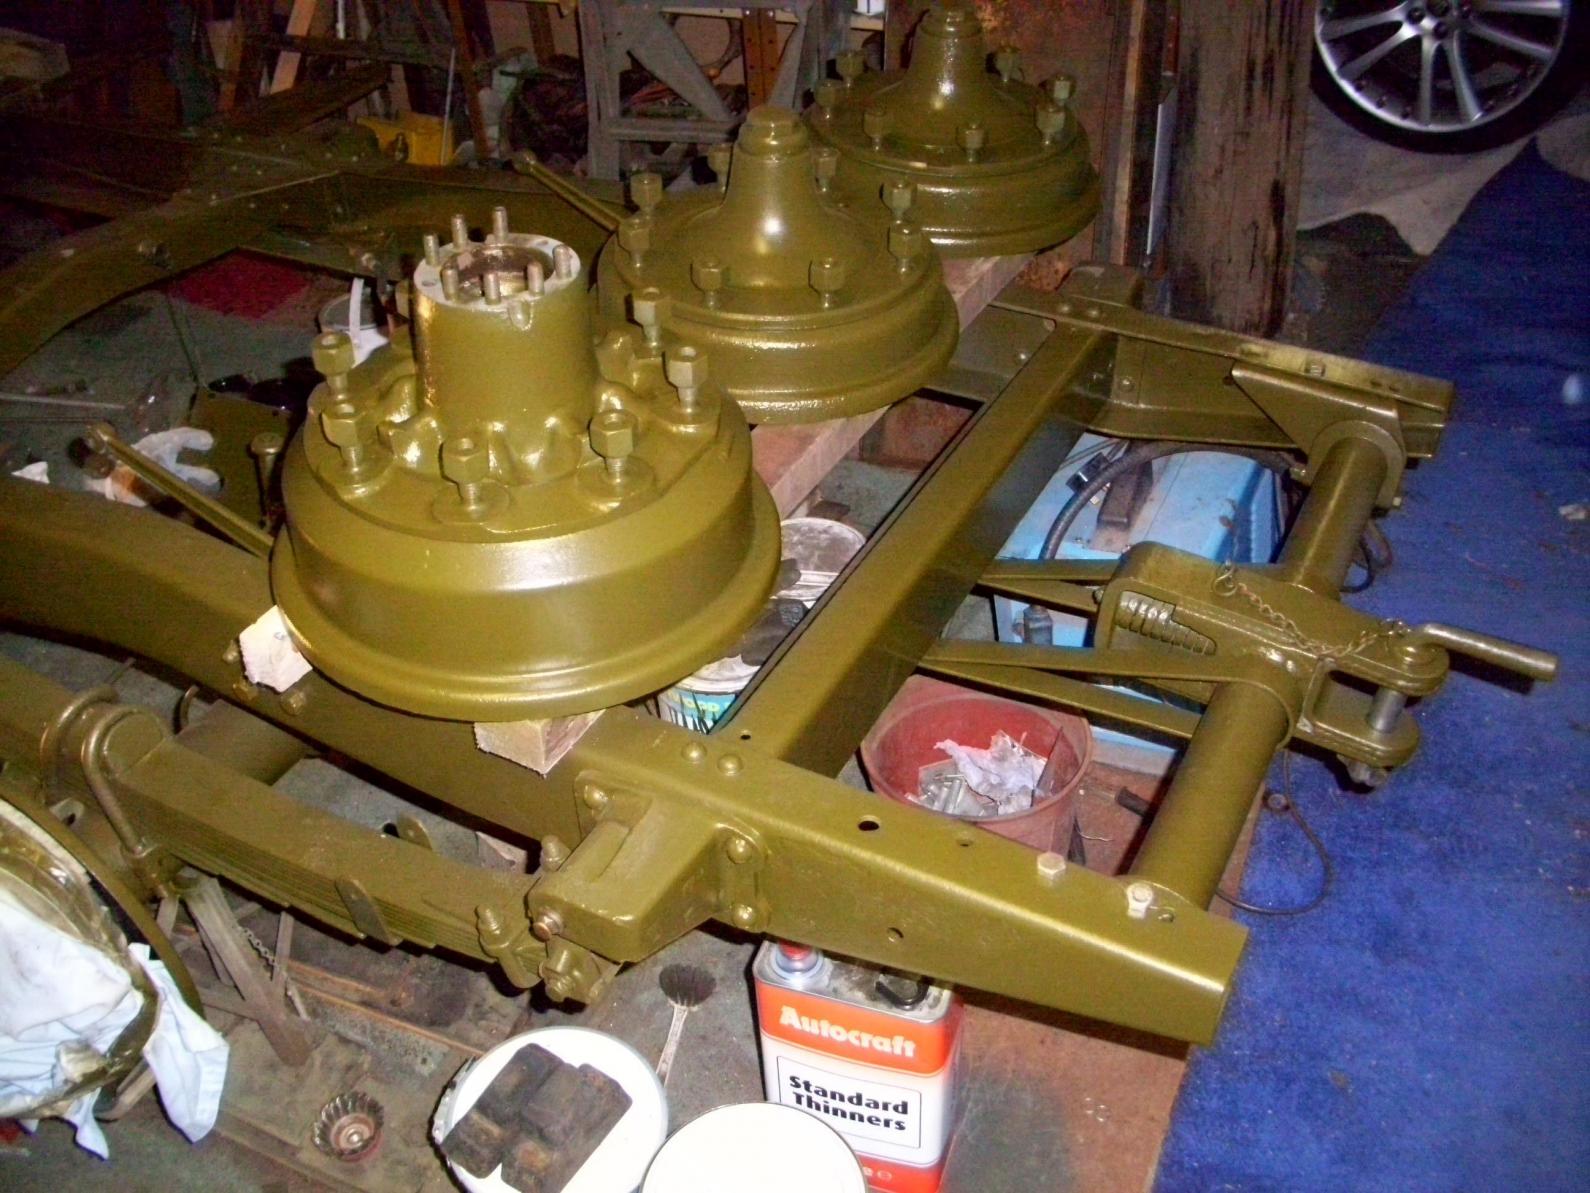


-
Christmas 2013, what did Santa bring you?
rampant rivet replied to robin craig's topic in Other Chatter
Santa bought me these parts for my MW restoration plus a water jerry can and doors for the Champ :-D and a yup of military books :-D
-
restoration Bedford MWD restoration
rampant rivet replied to rampant rivet's topic in Blogs of MV restorations
As an antidote to Xmas I spent the afternoon tinkering with the truck New and old clutch fork ball there's nothing worse than a worn out ball Having replaced the fly wheel and clutch the gearbox can go back on :cheesy: The moment of truth - all seems ok the wear in the ball plus the missing washer made all the difference pedal is good now Hand brake springs are on as well. Happy Xmas to all


-
Bedfords MW owners, all models meeting ? 2014? Normandy?
rampant rivet replied to Higgins kpt.'s topic in British Vehicles
Will call by and see you all on my Norton sometime during the week unfortunately my MW will not be ready in time but would like the opportunity to take lots of pics take notes and measurements for future reference to help my restoration along :cool2: -
restoration Bedford MWD restoration
rampant rivet replied to rampant rivet's topic in Blogs of MV restorations
Yep I need both clutch and brake return springs plus two handbrake pull off springs bit of a theme going on there I think -
restoration Bedford MWD restoration
rampant rivet replied to rampant rivet's topic in Blogs of MV restorations
Santa dropped off some early xmas presents today ( via Chris Morter ) this means the gearbox can go back in Sunday Wife bought the tow hitch pin as prezzie and I couldn't resist the tire hose happy days.
-
question Are you loud and proud or still in the closet
rampant rivet replied to gas 44's topic in MV Chatter
Mainly I wear only greens as they are practical to wear if the spanners have to come out, saying that I'll be wearing my DR kit in Normandy on the Norton next year partly coz everyone else will be looking like the crazy frog remember that annoying song ? and it looks good when all the motorcycles zoom ?? past with the riders wearing the correct kit. Its suprising how much hard work it is to keep getting dressed up in this kit and look fairly presentable not to mention how uncomfortable it can be, itchy scratchy Bd's :nut: I found it too hot when not on the bike and cold when on it ! I soon found out why Dr's wore those leather jerkins. Each to their own I say RR. -
I'm sure the one at the rear is mine and it looks like Johns in front :-D what a coincidence !!!!!! now we know they are both real survivors :nut:
-
restoration Bedford MWD restoration
rampant rivet replied to rampant rivet's topic in Blogs of MV restorations
Thanks for the photo, gives me a good idea as to what a whole one should look like :-D -
restoration Bedford MWD restoration
rampant rivet replied to rampant rivet's topic in Blogs of MV restorations
Thanks Do you happen to have any pics of a complete one to help me reproduce them, I have the other side I think also. This is a pic of the underside of the other splash guard, again could do with some decent pics and dims of this as well, I found both festering away under the chassis probably removed along with the engine years ago.
-
restoration Bedford MWD restoration
rampant rivet replied to rampant rivet's topic in Blogs of MV restorations
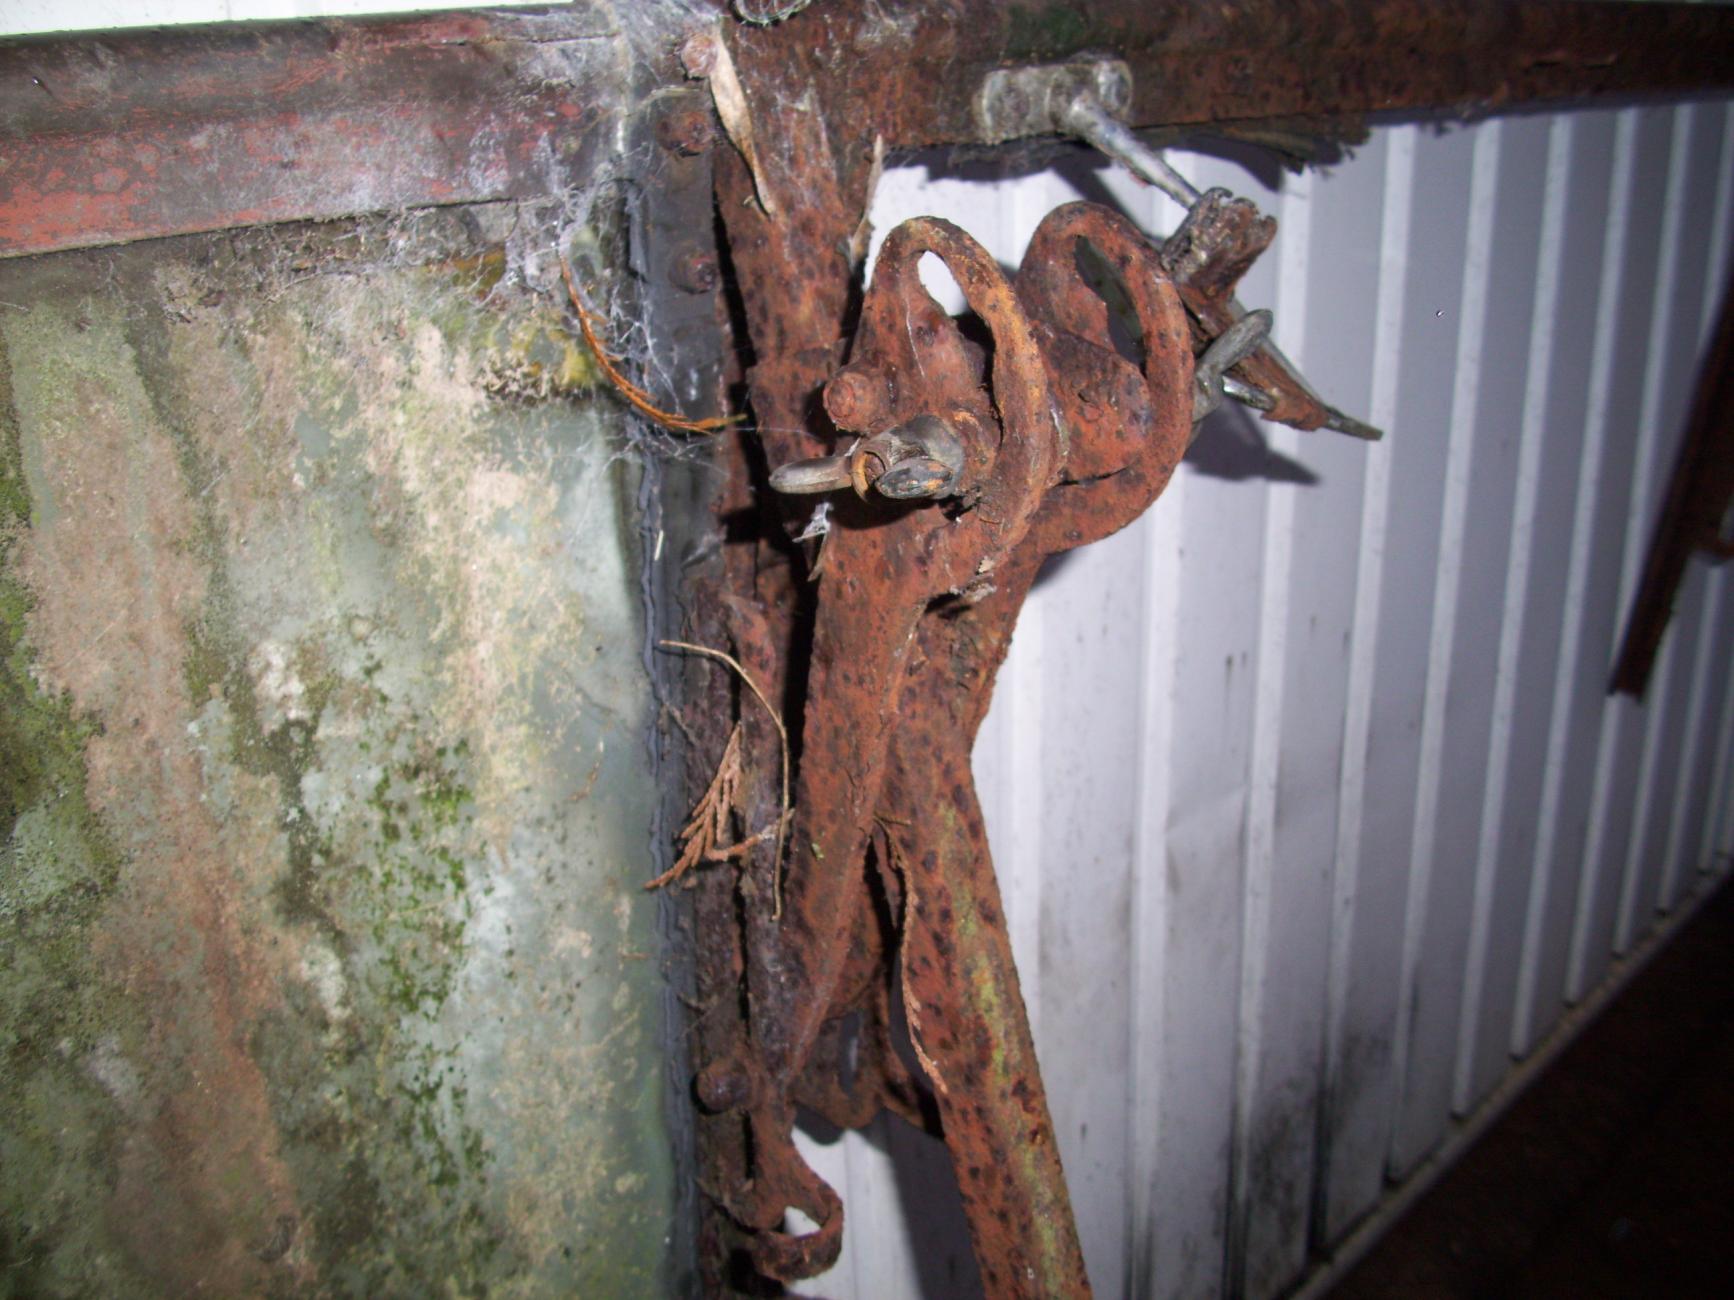
Found these as well not sure what they are though I did wonder if this was the remnants of an engine splash guard and this - Was attached to the bulkhead :cool2: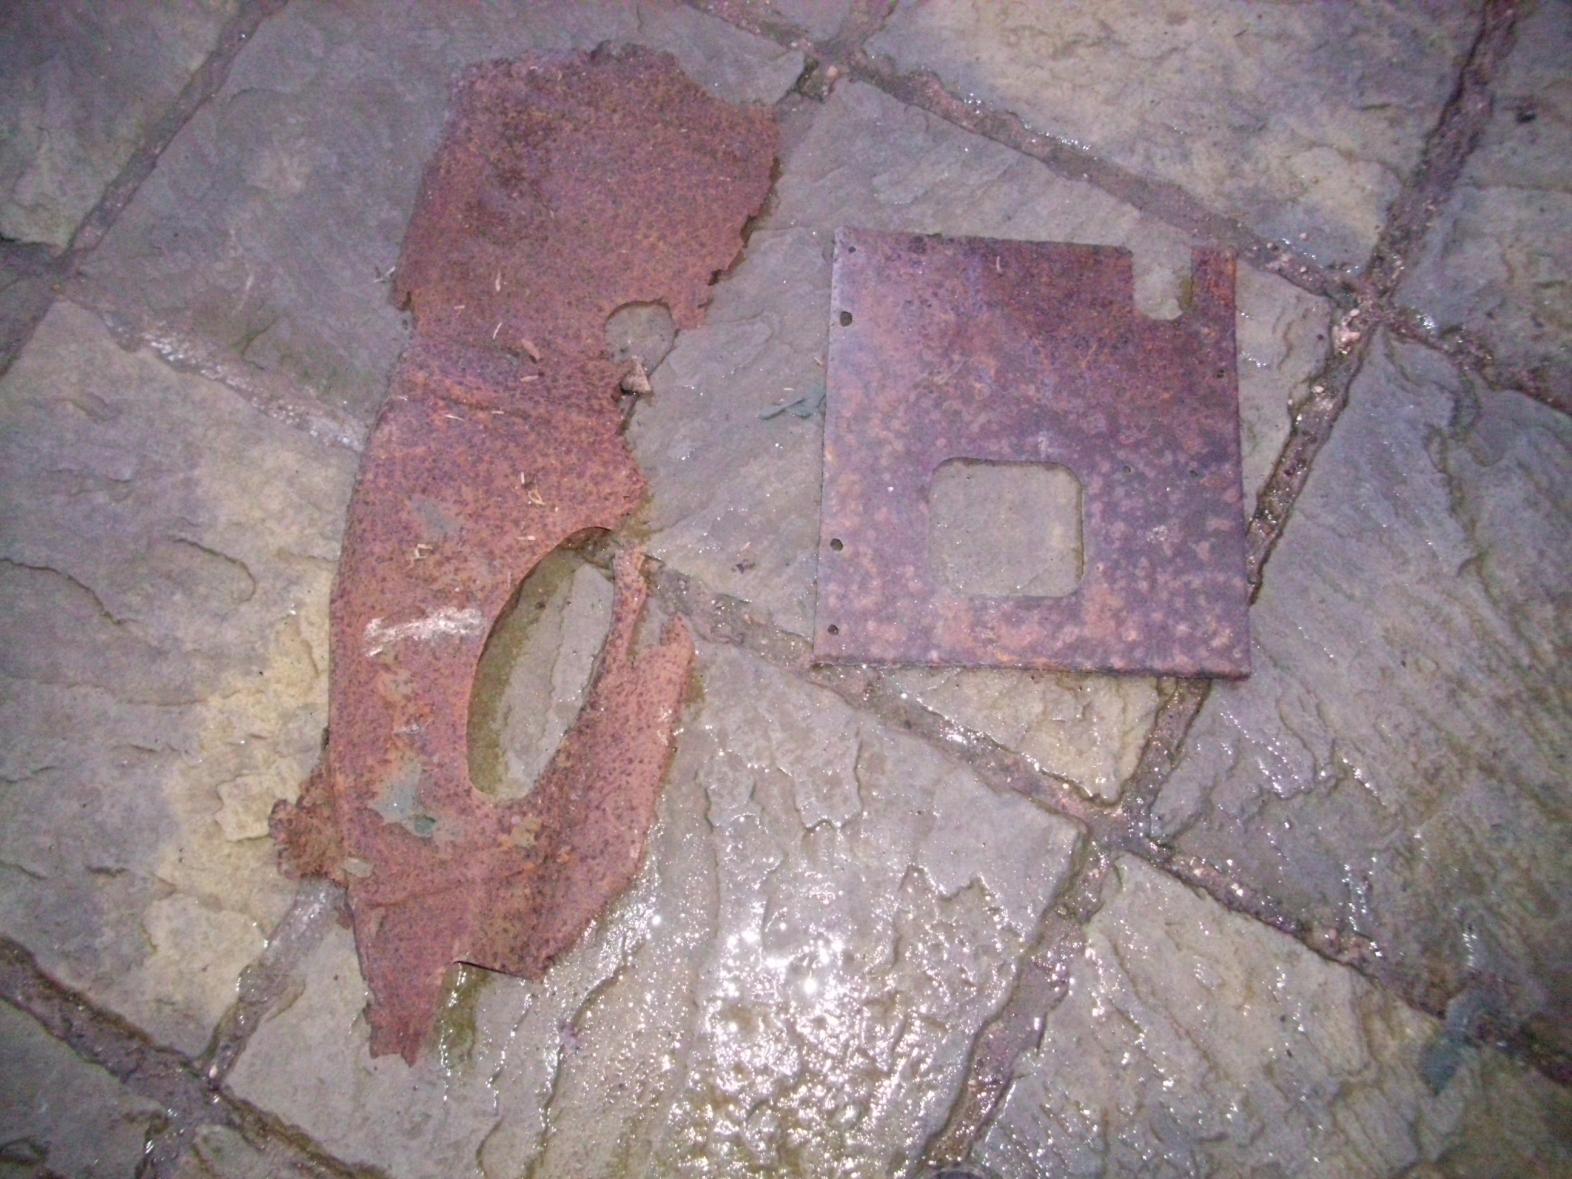


-
restoration Bedford MWD restoration
rampant rivet replied to rampant rivet's topic in Blogs of MV restorations
Nicky as promised here are a couple of pics of the windscreen remains Looks a bit scabby but the brackets and wing nuts look ok as does the uprights though glass frames are not good.
-
Welcome along to the wonderfull world of MW owning, its a slippery slope you know :nut:
-
restoration Bedford MWD restoration
rampant rivet replied to rampant rivet's topic in Blogs of MV restorations
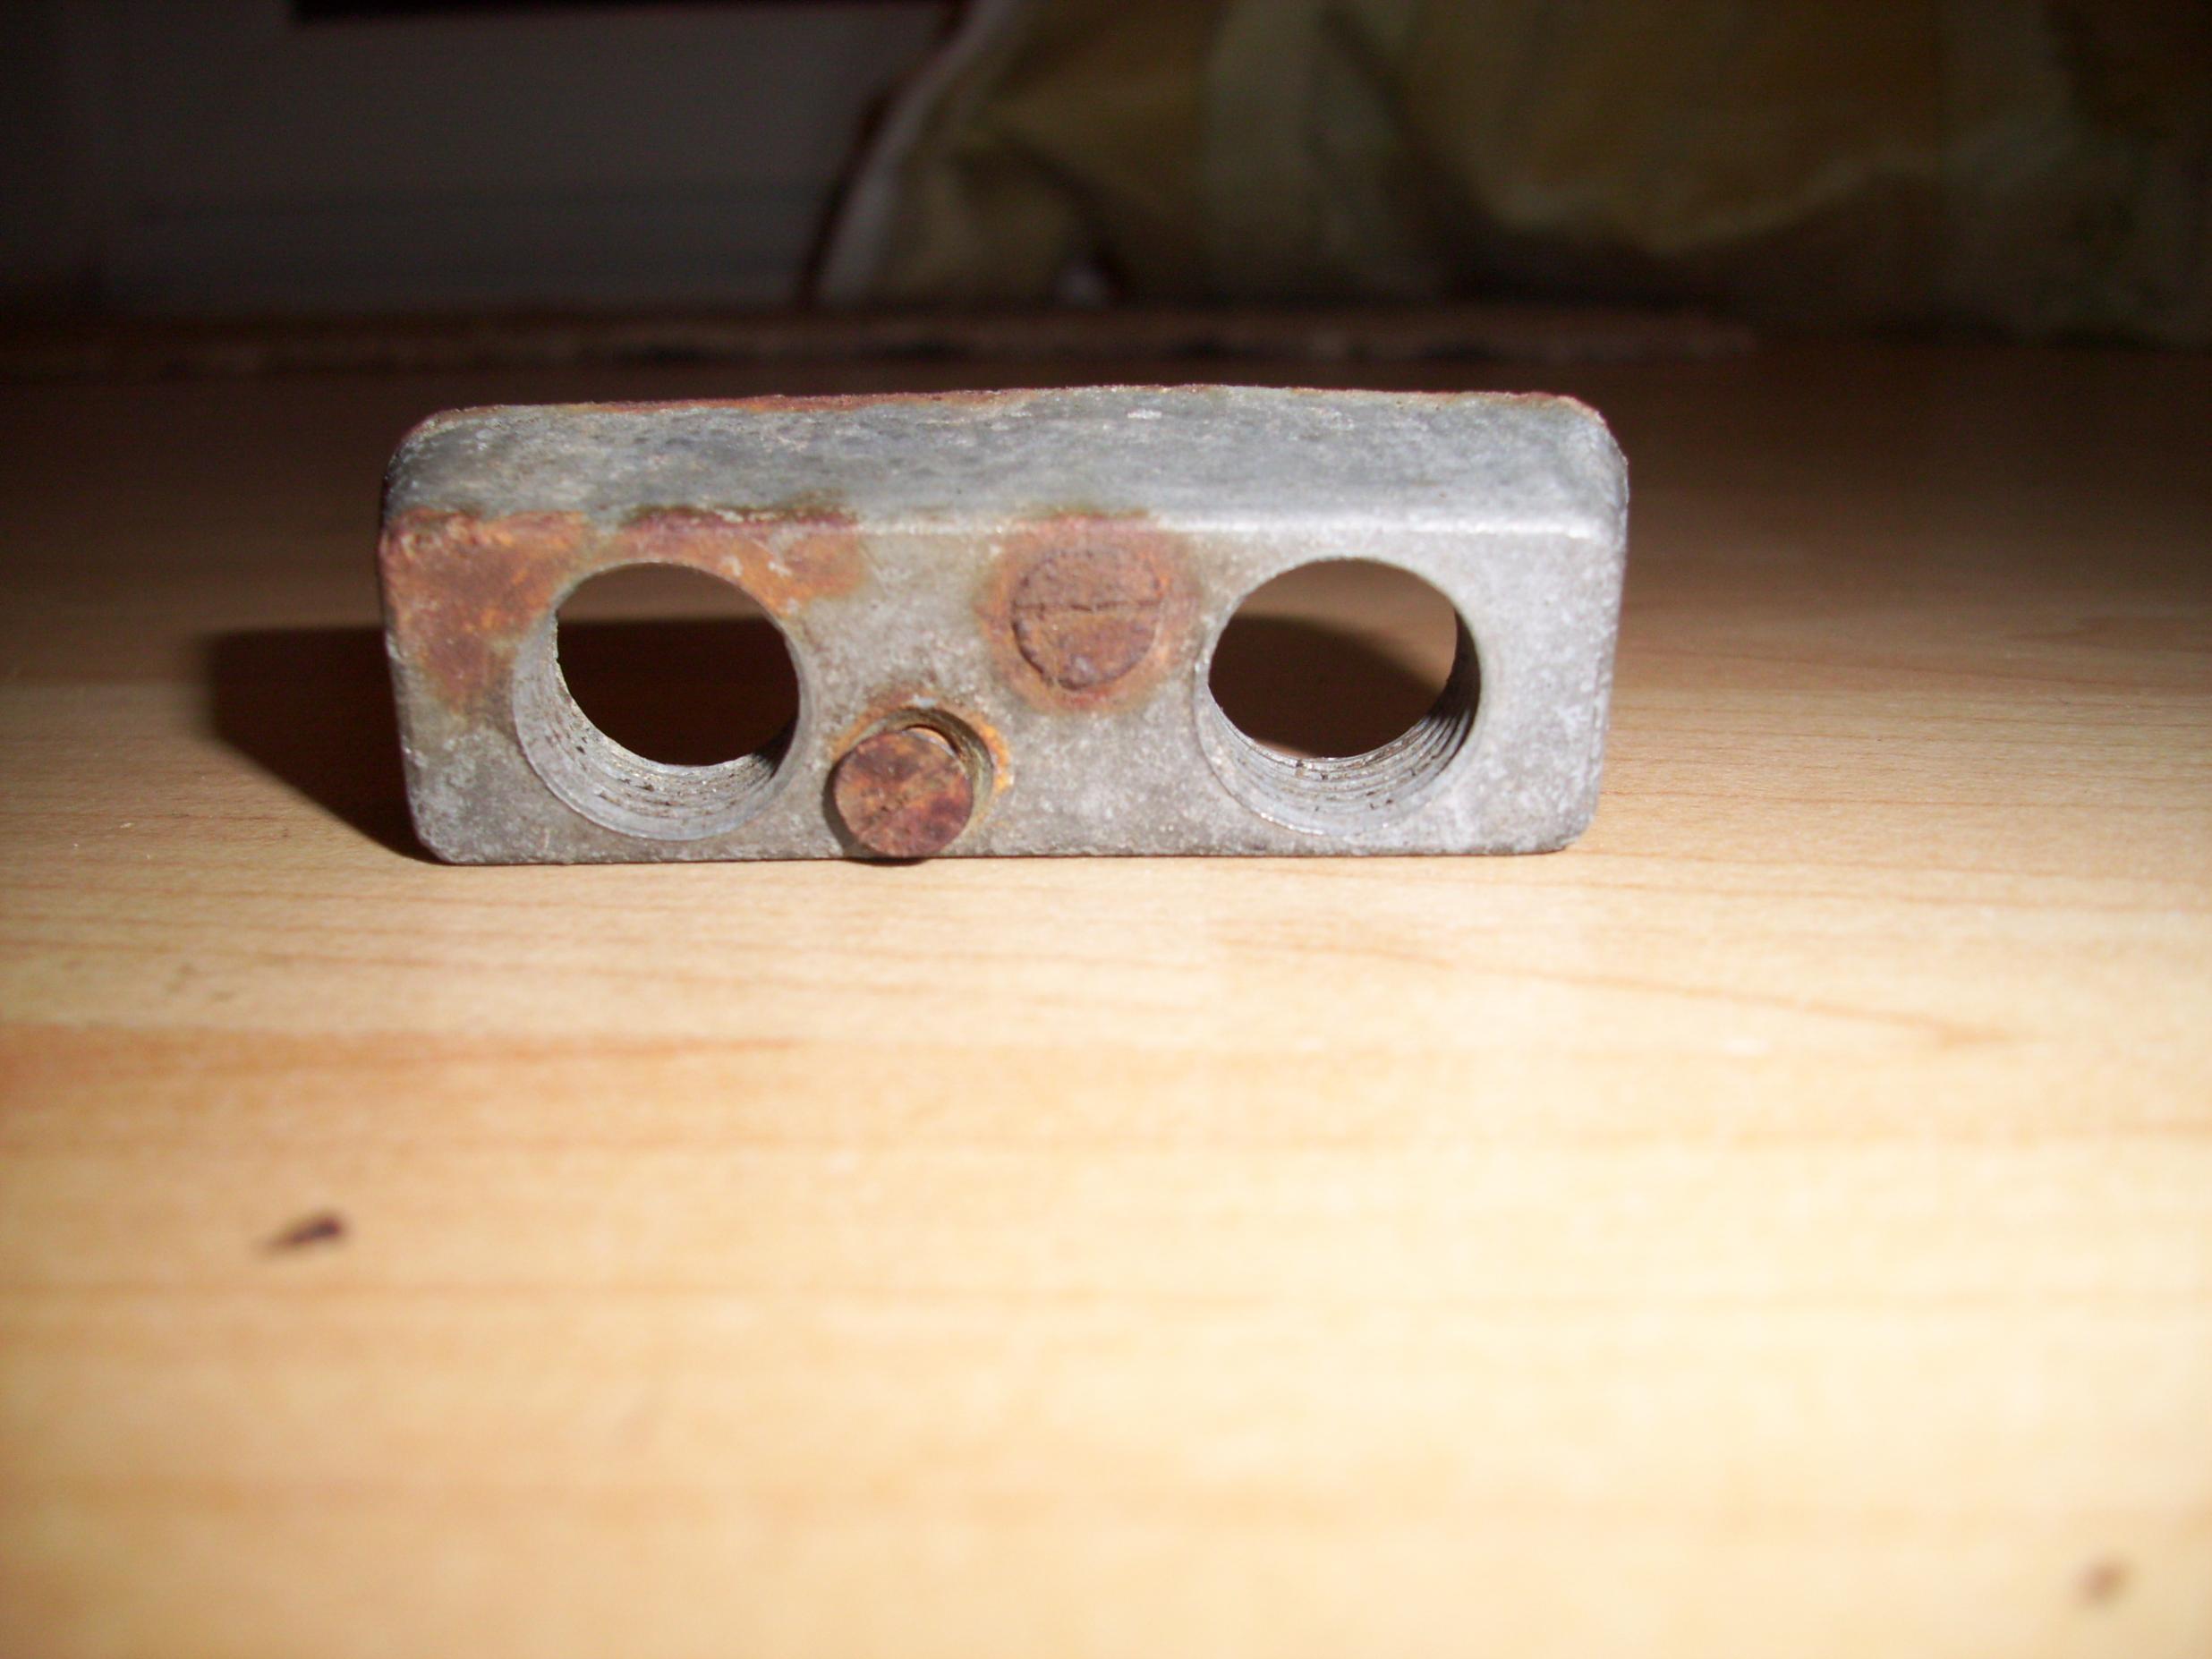
Funny you should mention Weston tipping gear as I found this plate on a rectangular box of gubbins, it looks like most of the tipping gear is lying around the MW. Just gave it a quick clean to see what was on it.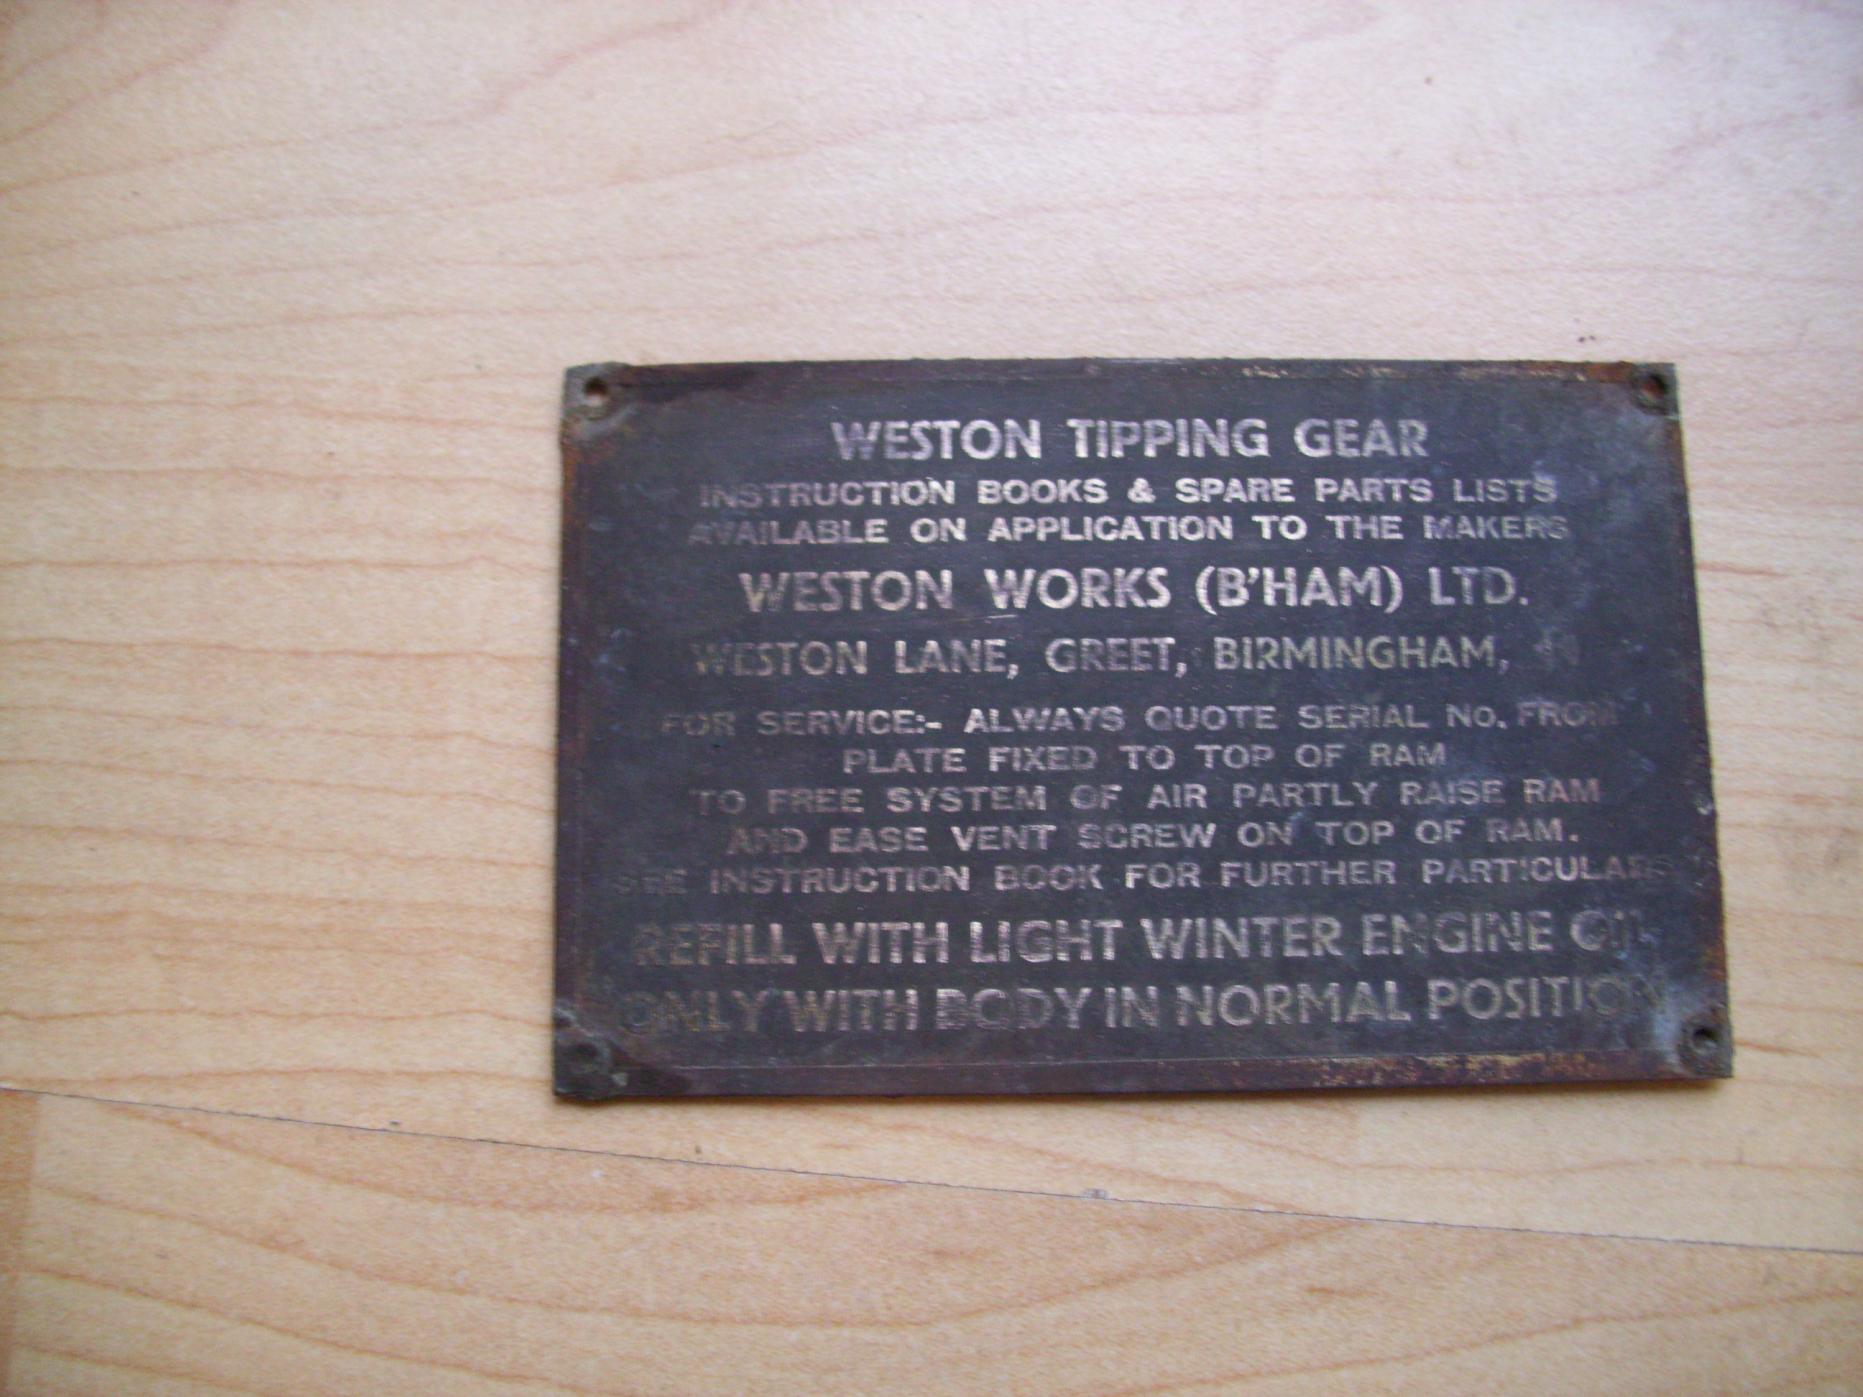
-
restoration WW2 20cwt Water trailer/bowser restoration
rampant rivet replied to Ian L's topic in Blogs of MV restorations
Yes I think that's what it is the Mw had a tipper rear body fitted to it I think. -
restoration Bedford MWD restoration
rampant rivet replied to rampant rivet's topic in Blogs of MV restorations
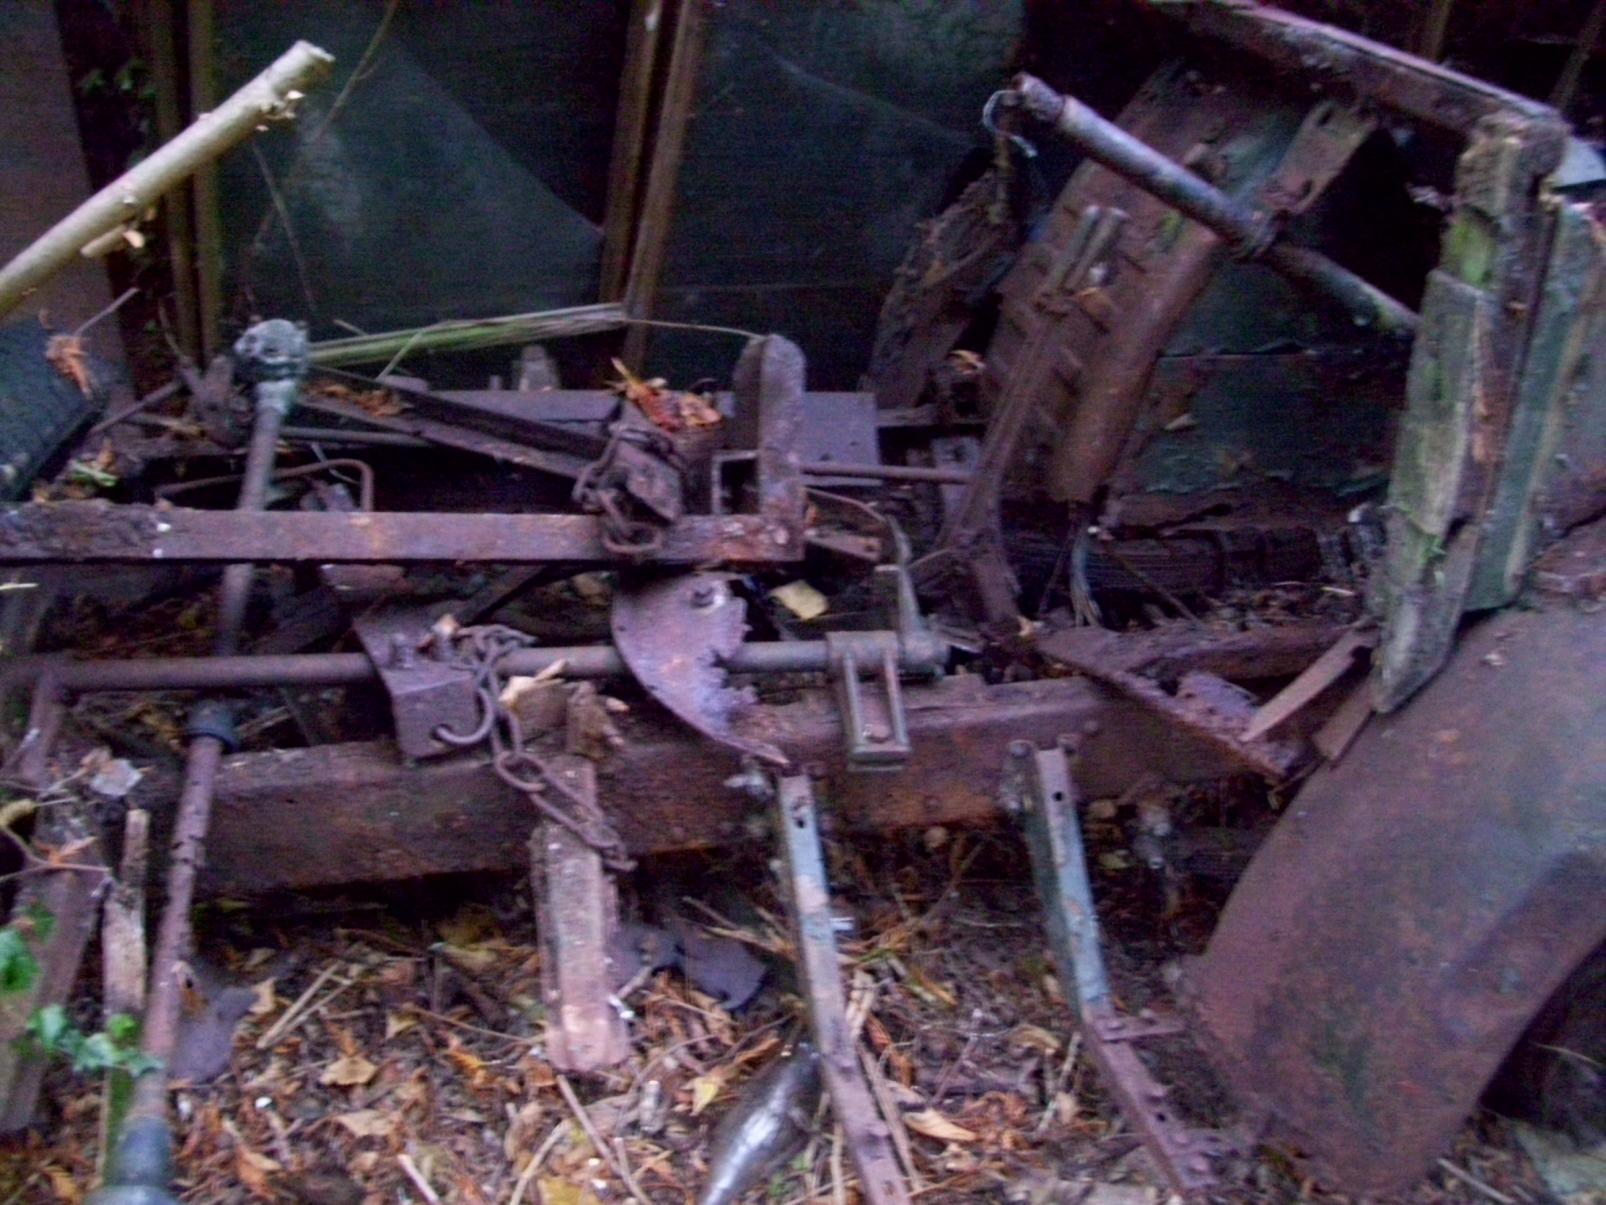
Took a van full home today:cool2:, would need a chain saw to get the rear axle free :wow: many parts were rotten but good enough for patterns, grab handle was good also other bits n bobs. -
restoration Bedford MWD restoration
rampant rivet replied to rampant rivet's topic in Blogs of MV restorations
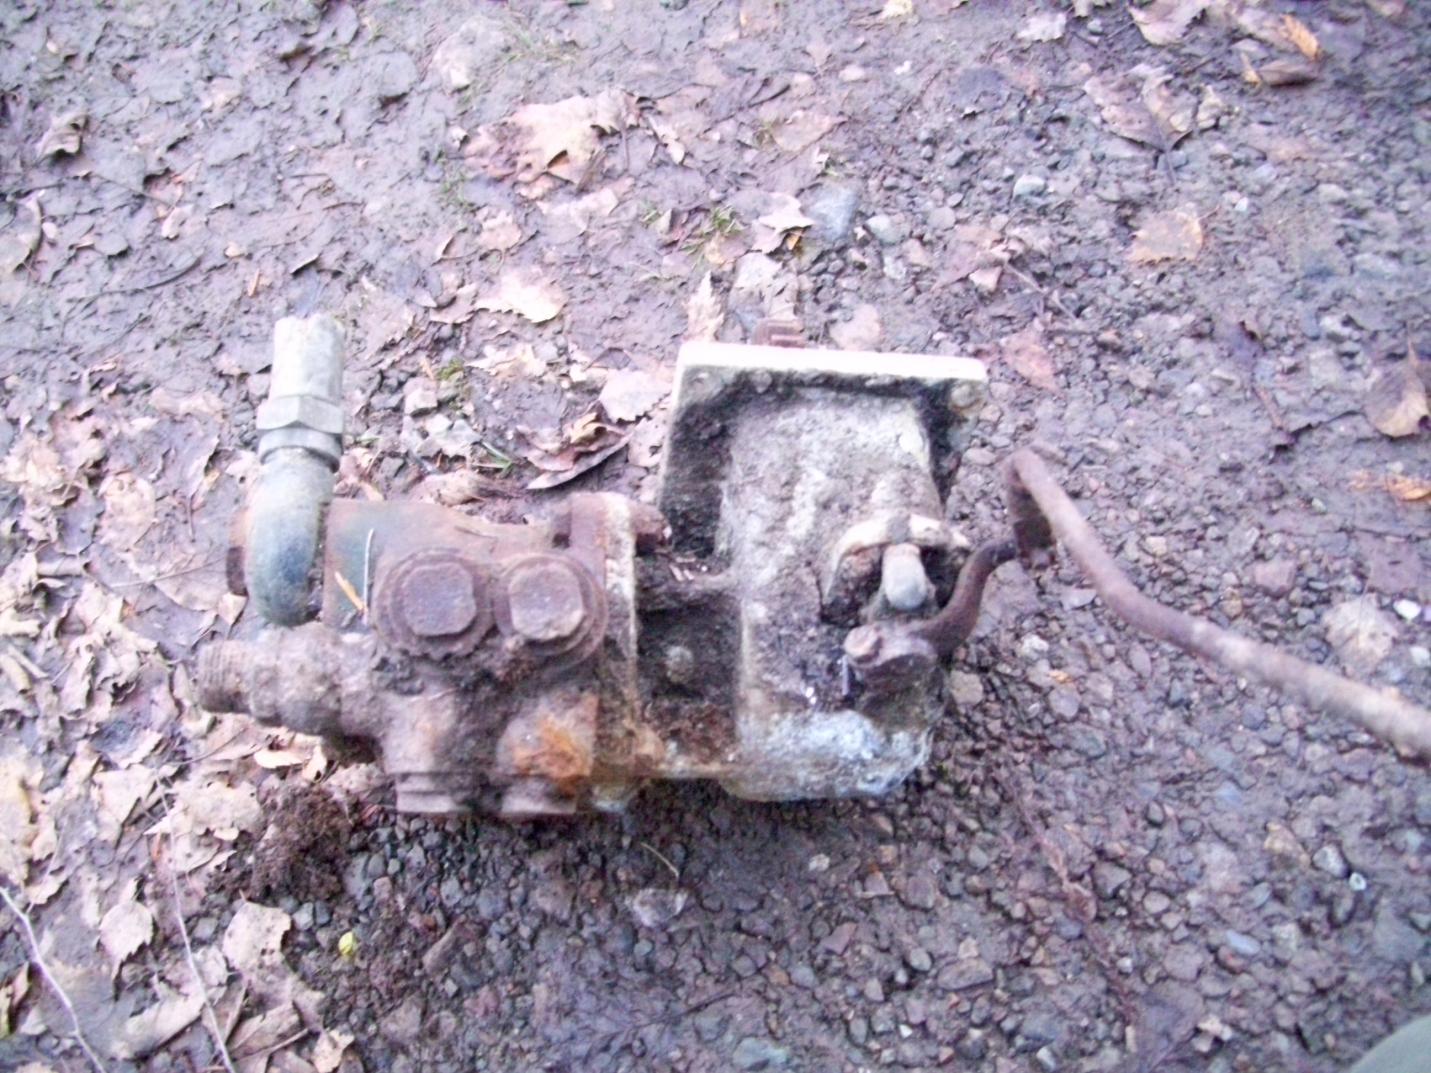
Did a bit of recycling today :nut: managed to save a few bits but most has gone too far Not sure what this is water pump MWC ?


-
restoration WW2 20cwt Water trailer/bowser restoration
rampant rivet replied to Ian L's topic in Blogs of MV restorations
Hi Ian Not really bowser related but found this today and wondered if it was a gearbox driven water pump off a Bedford MWC ? Will give it a clean up tomo some numbers were visible on the castings.