


rampant rivet
-
Posts
1,243 -
Joined
-
Last visited
-
Days Won
2
Content Type
Profiles
Forums
Gallery
Blogs
Events
Articles
Store
Downloads
Everything posted by rampant rivet
-

restoration Bedford MWD restoration
rampant rivet replied to rampant rivet's topic in Blogs of MV restorations
Hell ! your right !! again, oh well ! anyone want to buy an extremely rare tool bin for a MWC -
restoration Bedford MWD restoration
rampant rivet replied to rampant rivet's topic in Blogs of MV restorations
Just back from Malvern and hooked up with Louis and I am now the lucky owner of a rear tool bin for the MW Day out with the shot blaster and a bit of straightening and it should be ok according to Louis this came of an Areoscreen MW which is fitting, big thanks to Louis :tup::

-
restoration Bedford MWD restoration
rampant rivet replied to rampant rivet's topic in Blogs of MV restorations
New bearings have been sorted ouch ! and have the bulkhead and other bits back from being soda blasted :-D looks a lot better without all that old paint and rust have given it all an etch primer and undercoat to protect the metal until I start repairing various amounts of rust damage. Was hoping to meet up with Louis today as he was bringing over the tool bin for the rear but traffic chaos means we will meet up at Malvern tomo :-D

-
UK Jeep parts Suppliers - Observations on 'the big 4'
rampant rivet replied to Wolfy's topic in American Vehicles
Interesting comments on parts suppliers while not wishing to comment on any in particular my concern with "pattern" parts is - A) Quality of manufacture, while non of us wish to pay over the odds there is no point in supplying items that are not up to the job which I think is happening. B) Accuracy of reproduction I happened to view a jeep that a mate of mine was looking to buy only to realise that it contained 70% repro parts all of which when looked at in the whole looked ok until you gave them closer inspection and most of the repo stuff was not accurately remanufactured. Now that may not matter much to some people but when the seller was asking + 14K then we walked away, we wanted to buy a WWII jeep not a pile of repo parts. As a lucky owner of a WWII jeep it was easy for me to spot this unlike my mate who may just have gone for it. C) I have an idea that it is possible to buy a complete new willys chassis now which I fear may cause problems in the future if buyers are unaware of this fact. Cheers RR. -
Outstanding !!!! :-D :bow: :bow::bow:
-
Chin up :-D I've had days like that, what with broken springs , knackered bearings and worn out brake cylinders etc etc etc I know how it is and its overcoming these setbacks what makes it all worthwhile in the end :cool2:. K.B.O. as WS Churchill used to say when things were not going too well. RR.
-
restoration Bedford MWD restoration
rampant rivet replied to rampant rivet's topic in Blogs of MV restorations
Yes will call by my bearing supplier on Monday, I had real problems finding front outer bearing as they are obsolete and had to use good second hand ones in the end, I've had a quick look online using the reference numbers with no luck so far, at least this time the hubs are in good condition just the bearings. -
restoration Bedford MWD restoration
rampant rivet replied to rampant rivet's topic in Blogs of MV restorations
Stripped down the rear hubs today to make sure all ok and fit new seals only to find off side set of bearings are shot :cry: Not good ! not good at all, anyone got any rear bearings to spare ????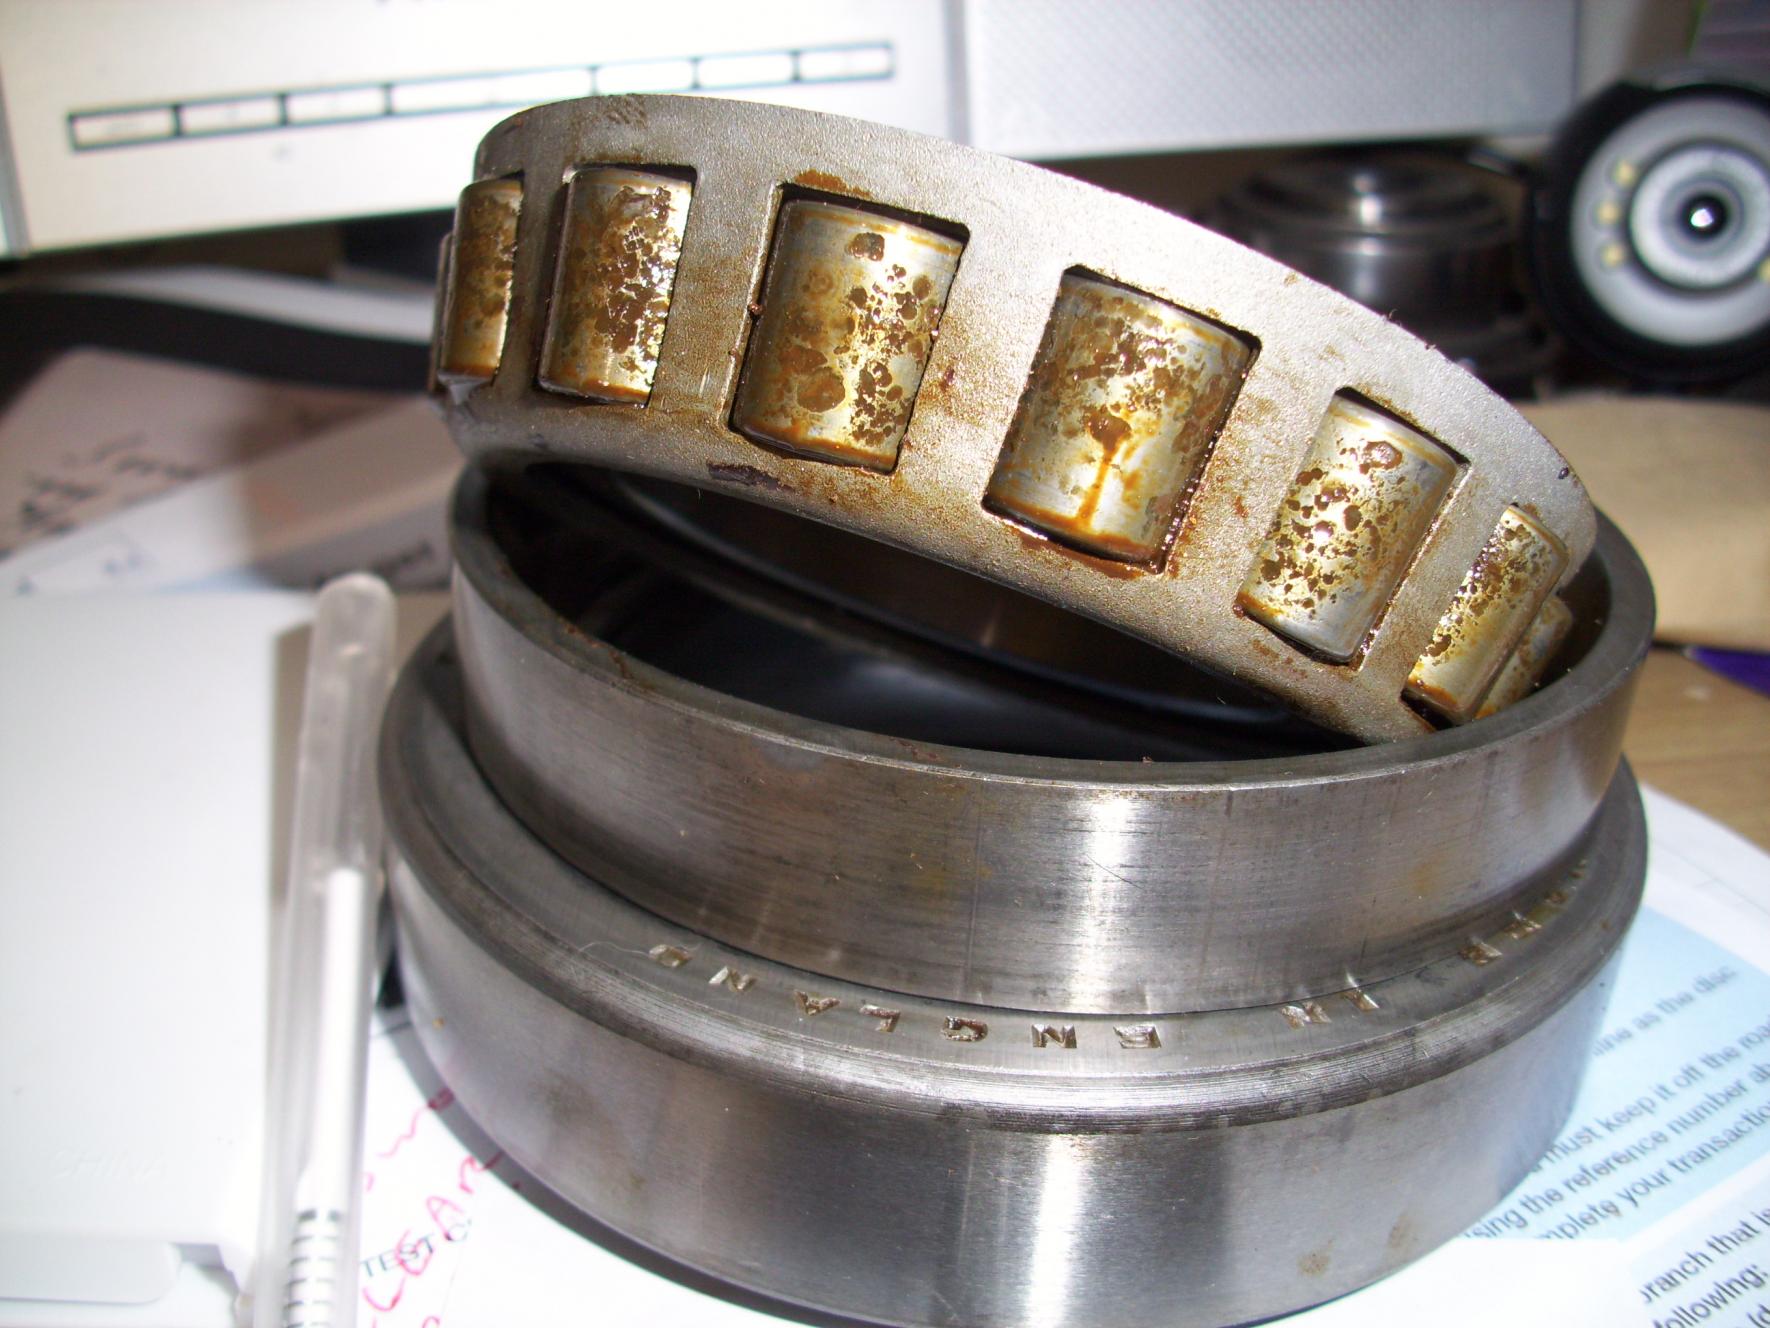
-
restoration Bedford MWD restoration
rampant rivet replied to rampant rivet's topic in Blogs of MV restorations
First coat of paint applied after lots of fettling :nut: Will probably need another couple of coats before its finished.
-
Thought I'd take some comparison photos of a Bedford QL seat and the ones I have A fair difference in size and style. Label was found on underside of seat cushion seats are covered in black vinyl with red piping which made me think of their origin.


-
restoration Bedford MWD restoration
rampant rivet replied to rampant rivet's topic in Blogs of MV restorations
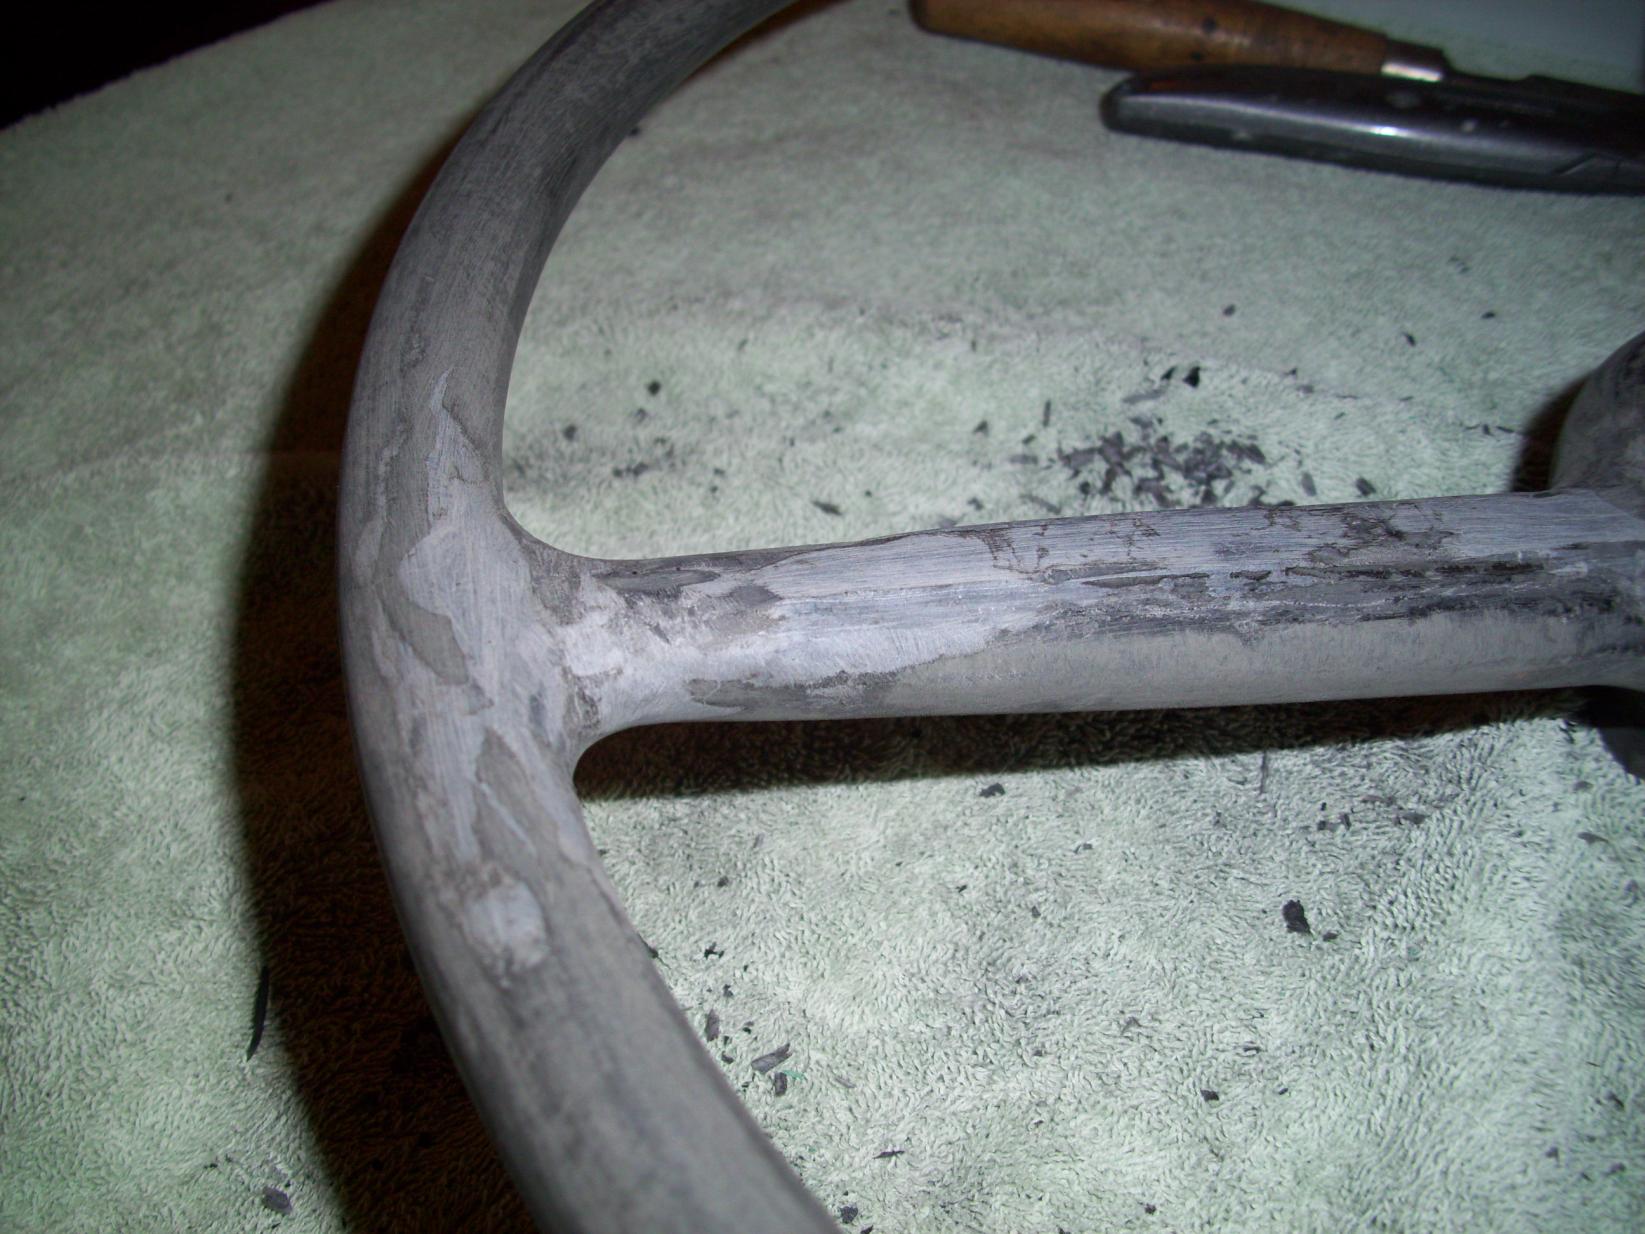
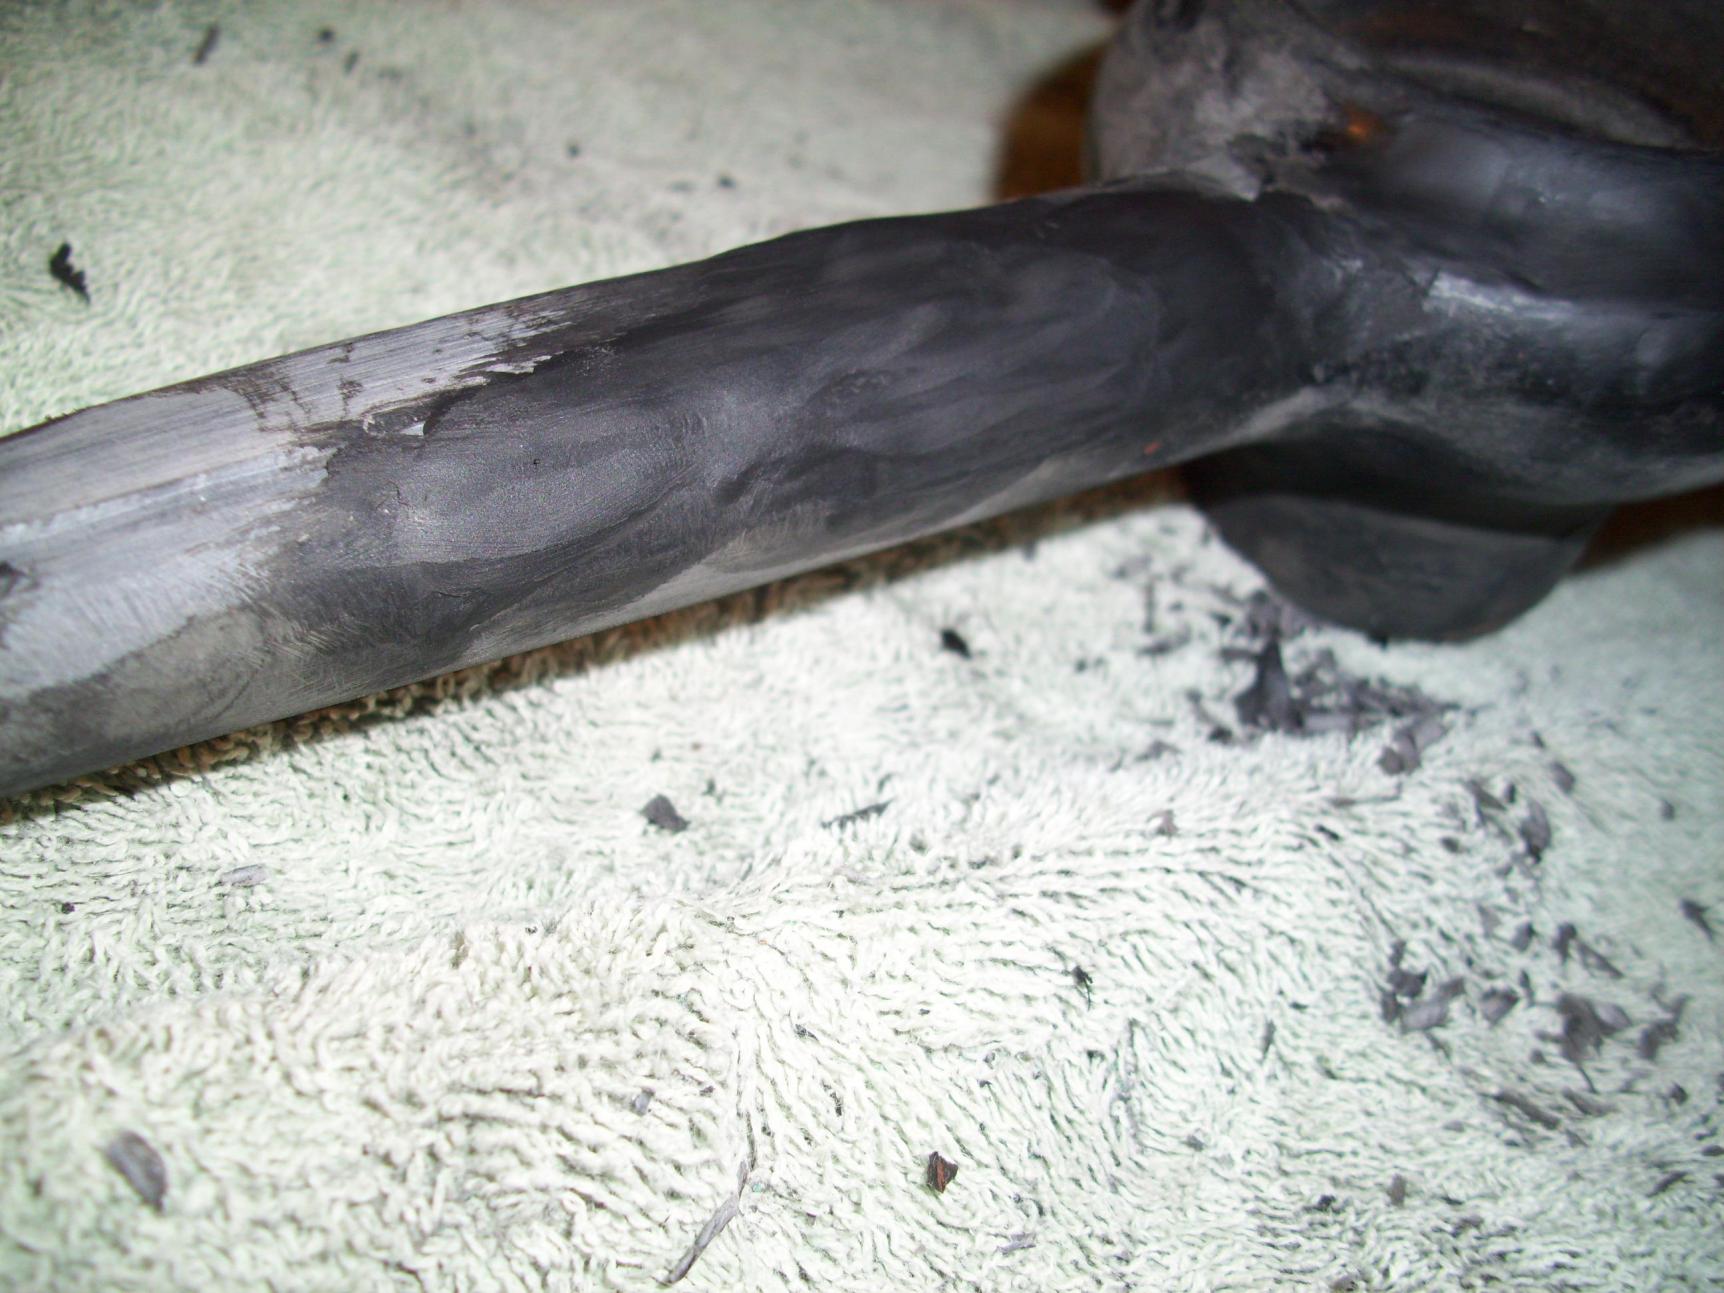
Bit of an update on steering wheel and it seems to have worked. Have added some more putty this eve on some low spots, will have another fettling session tomo :-D

-
I've had a look at my seats that came out of the Bedford MW I am restoring and I'm not sure if they are the correct ones or from something else ? Can anyone shine some light ? This label is attached to the underside. I don't think its a Bedford MW part No.


-
restoration Bedford MWD restoration
rampant rivet replied to rampant rivet's topic in Blogs of MV restorations
Ok what do you do when the wifes out for the evening ? you clear a space on the dining room table find an old towel and get stuck into ------------- restoring your steering wheel what were you all thinking ? :wow: really !!! Here's a few pics of before I thought I'd have a go at restoring my old steering wheel I am using milliput 2 part epoxy putty to fill the gaps and cracks, gave it a good clean first then mixed the 2 part goo together then pushed it into cracks etc . using a wetted finger you can smooth the putty to the contours of the wheel. Being black in colour it looks ok even before being sanded etc. Will rub it down and try to get it looking more original, if it doesn't work then all I've wasted is about a fivers worth of putty and a couple of hours work :cool2:


-
restoration Bedford MWD restoration
rampant rivet replied to rampant rivet's topic in Blogs of MV restorations
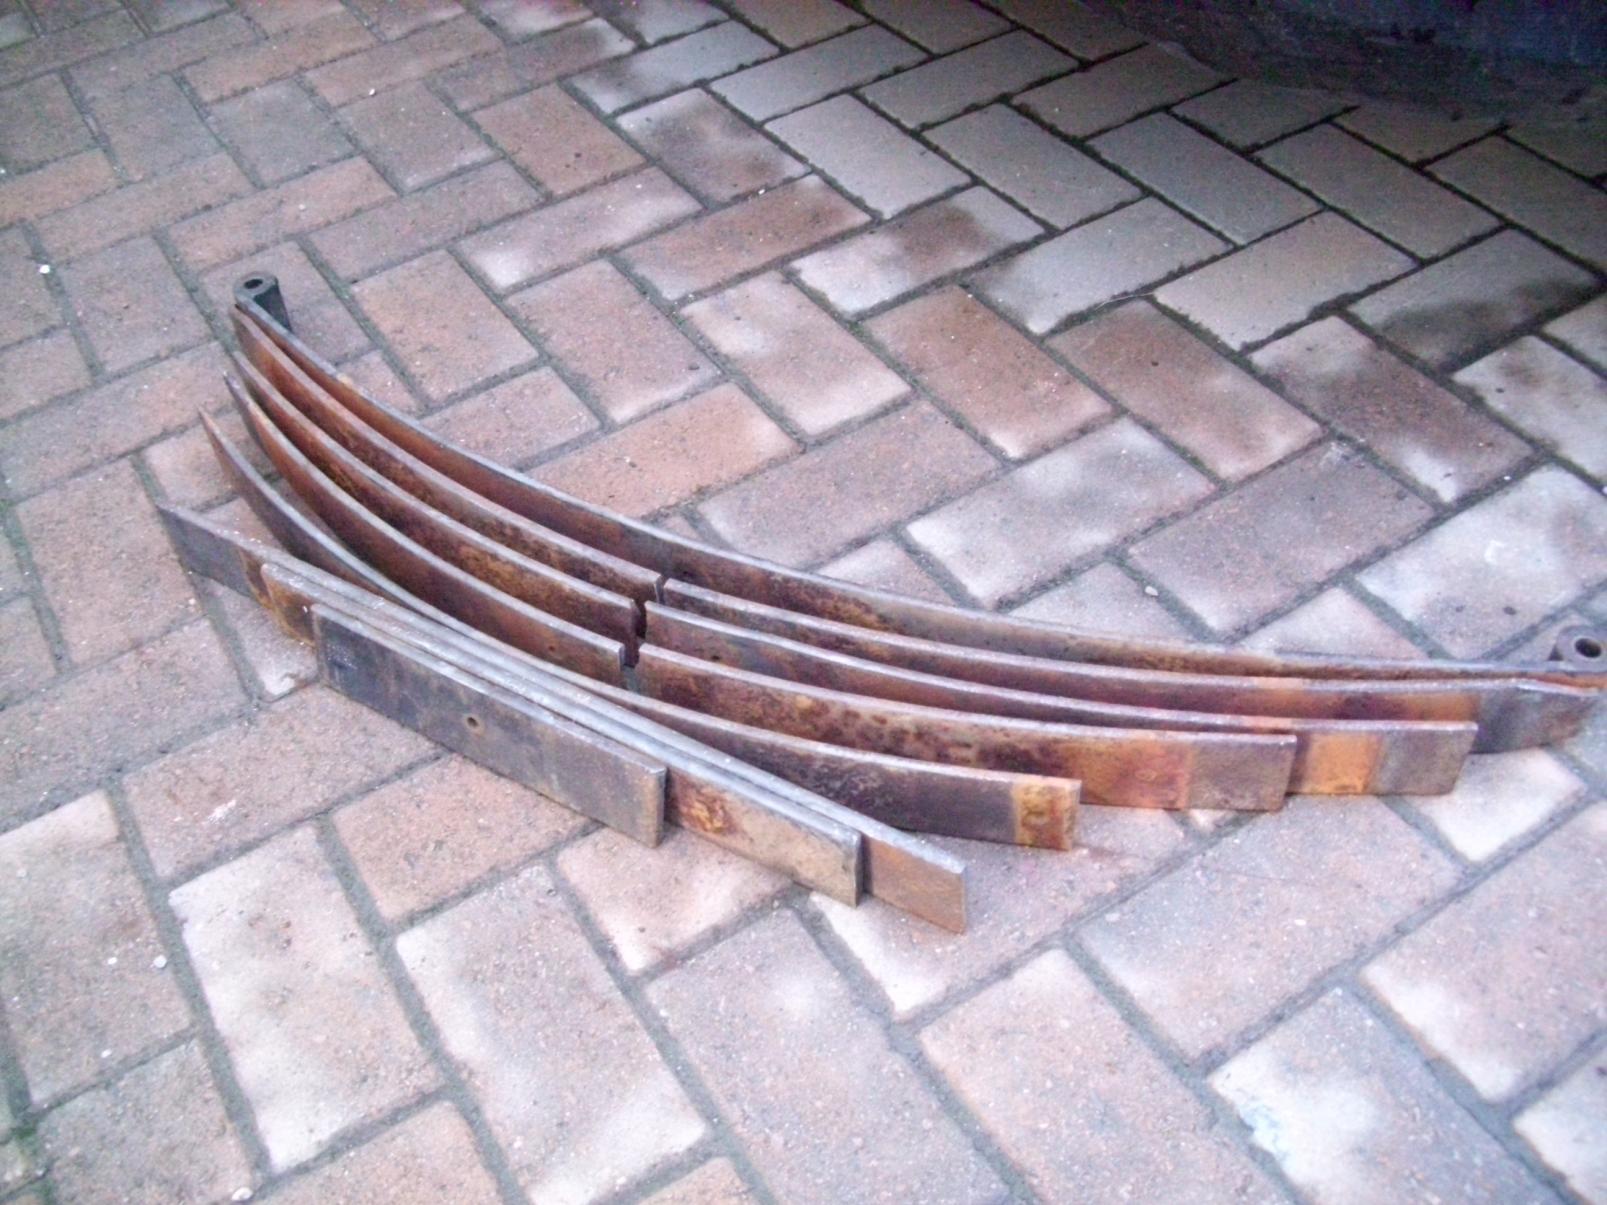
Have cleaned the hub and checked the bearings all ok and have had a go at putting a front spring together using a combination of leafs to get back to the original look. Still needs to be cleaned greased and painted, but at least its complete :-D
-
restoration Bedford MWD restoration
rampant rivet replied to rampant rivet's topic in Blogs of MV restorations
Had a good day at the digout and collected a pair of front springs, brake shoes, s/h hub with bearings, horn push plus two petrol tank trays thanks Pete also found a good rocker cover breather and another CAV. regulator :banana: though not much else in the way of Bedford bits mostly Jeep this time Goodies !! this means the front and rear axles can be finished off. Could'nt help but fit the new shoes before heading home from t'shed :-D

-
Me Too !
-
I have this plain green one dated 1972 from memory

-
restoration Bedford MWD restoration
rampant rivet replied to rampant rivet's topic in Blogs of MV restorations
Hello John & Maurice thanks for the pics, yes steps are later type and I may replace them later when I know what the original dimensions are Maurice ? :cool2: and yes I know the horn should face forward it has had a later type fitted at some time which has meant an extra bracket has been added turning the horn sideways, again I'll swop it later for an original horn as I promised John the other day :-D, had a bit of good news today have tracked down a pair of front springs, hub, bearings, brake linings and a decent steering wheel with horn push :banana: will only leave passenger side fuel tank left on my wish list, and early air filter plus grab rail for cab and bonnet side panels etc etc etc :wow: -
restoration Bedford MWD restoration
rampant rivet replied to rampant rivet's topic in Blogs of MV restorations
Wheels have had their 2nd coat of paint and brake and clutch pedals fitted, even managed to turn the horn facing to the outside of the truck now . Looking forward to the Dallas digout on Sunday.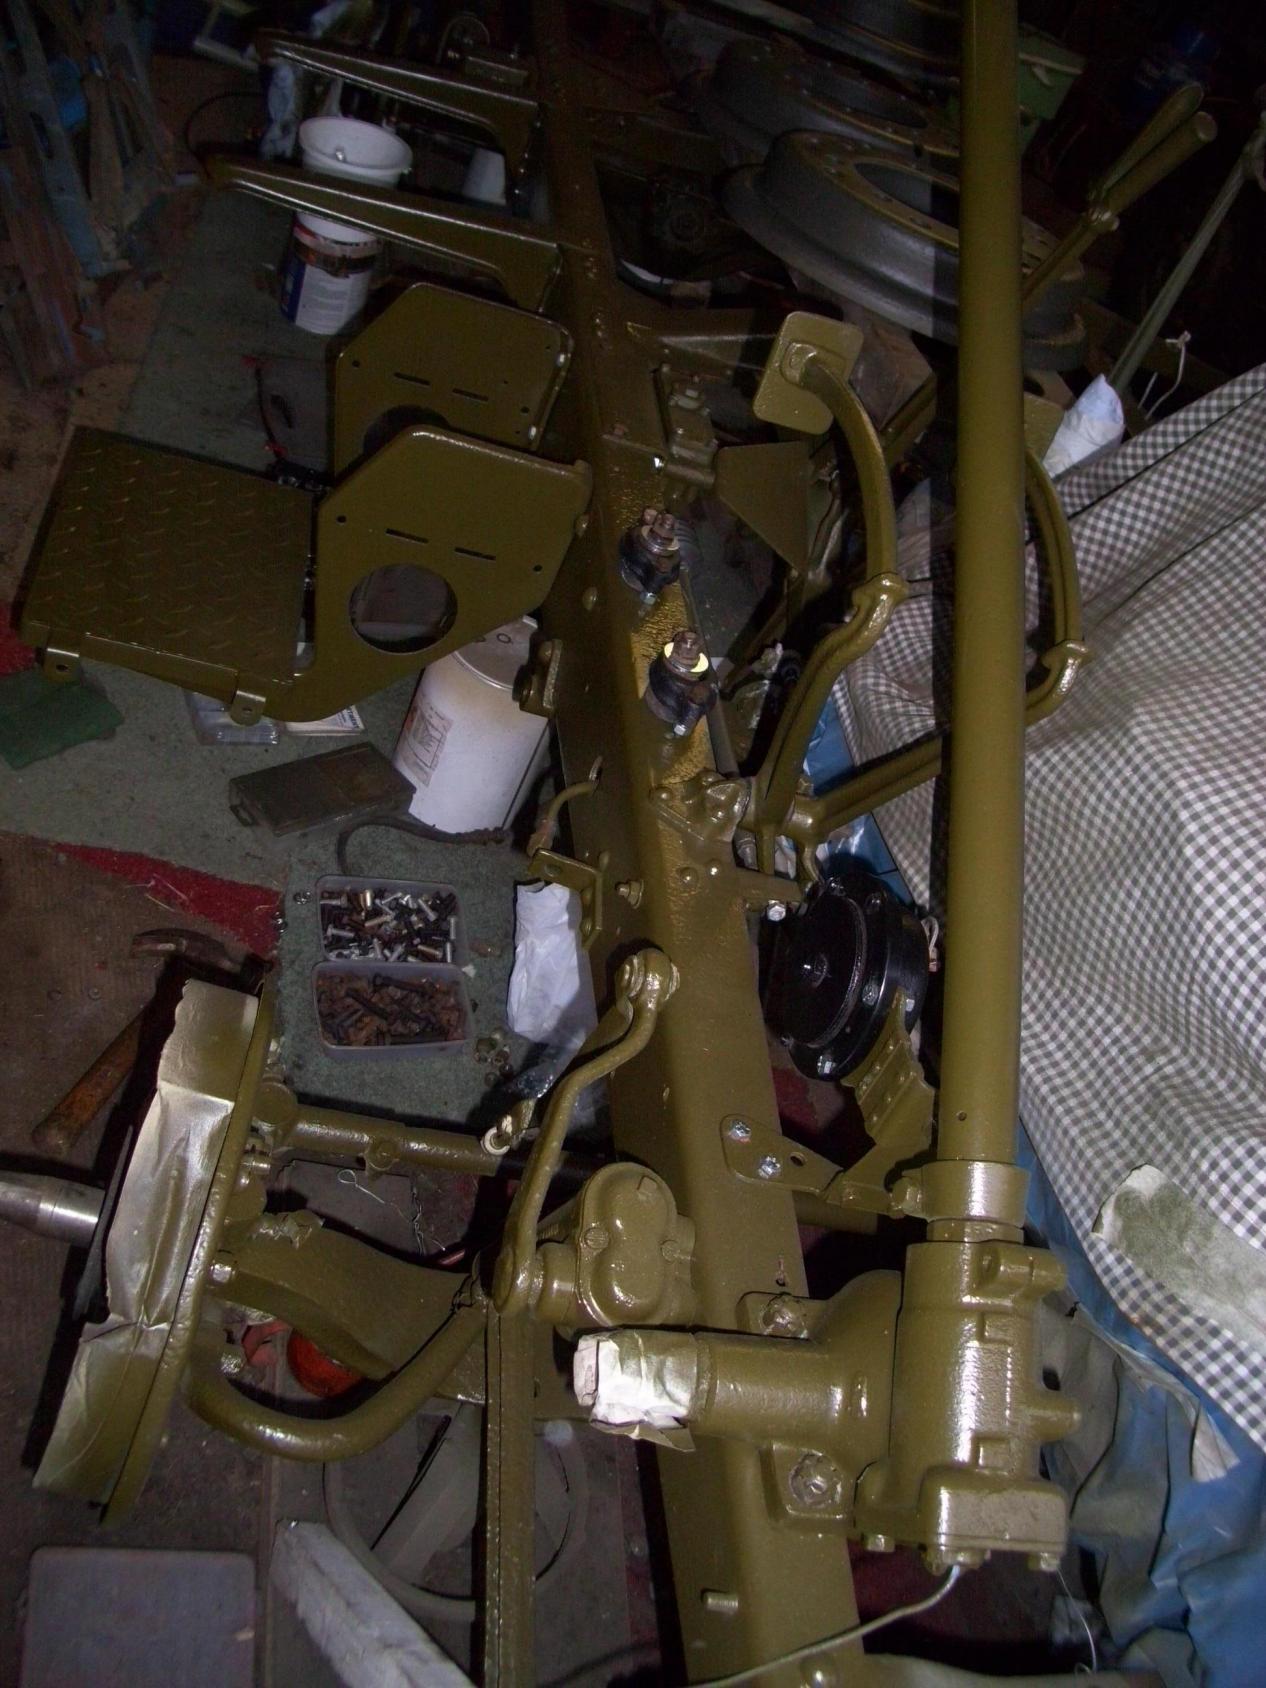
-
Ferry booked today for the Jeep and Norton we are going to be there ! :clap: :banana: am I looking forward to that Oooooh yes, though my visit will include laying a wreath on behalf of my family for my great uncle Len who was killed near Ranville on the 6th June aged 24, LEST WE FORGET.
-
restoration Bedford MWD restoration
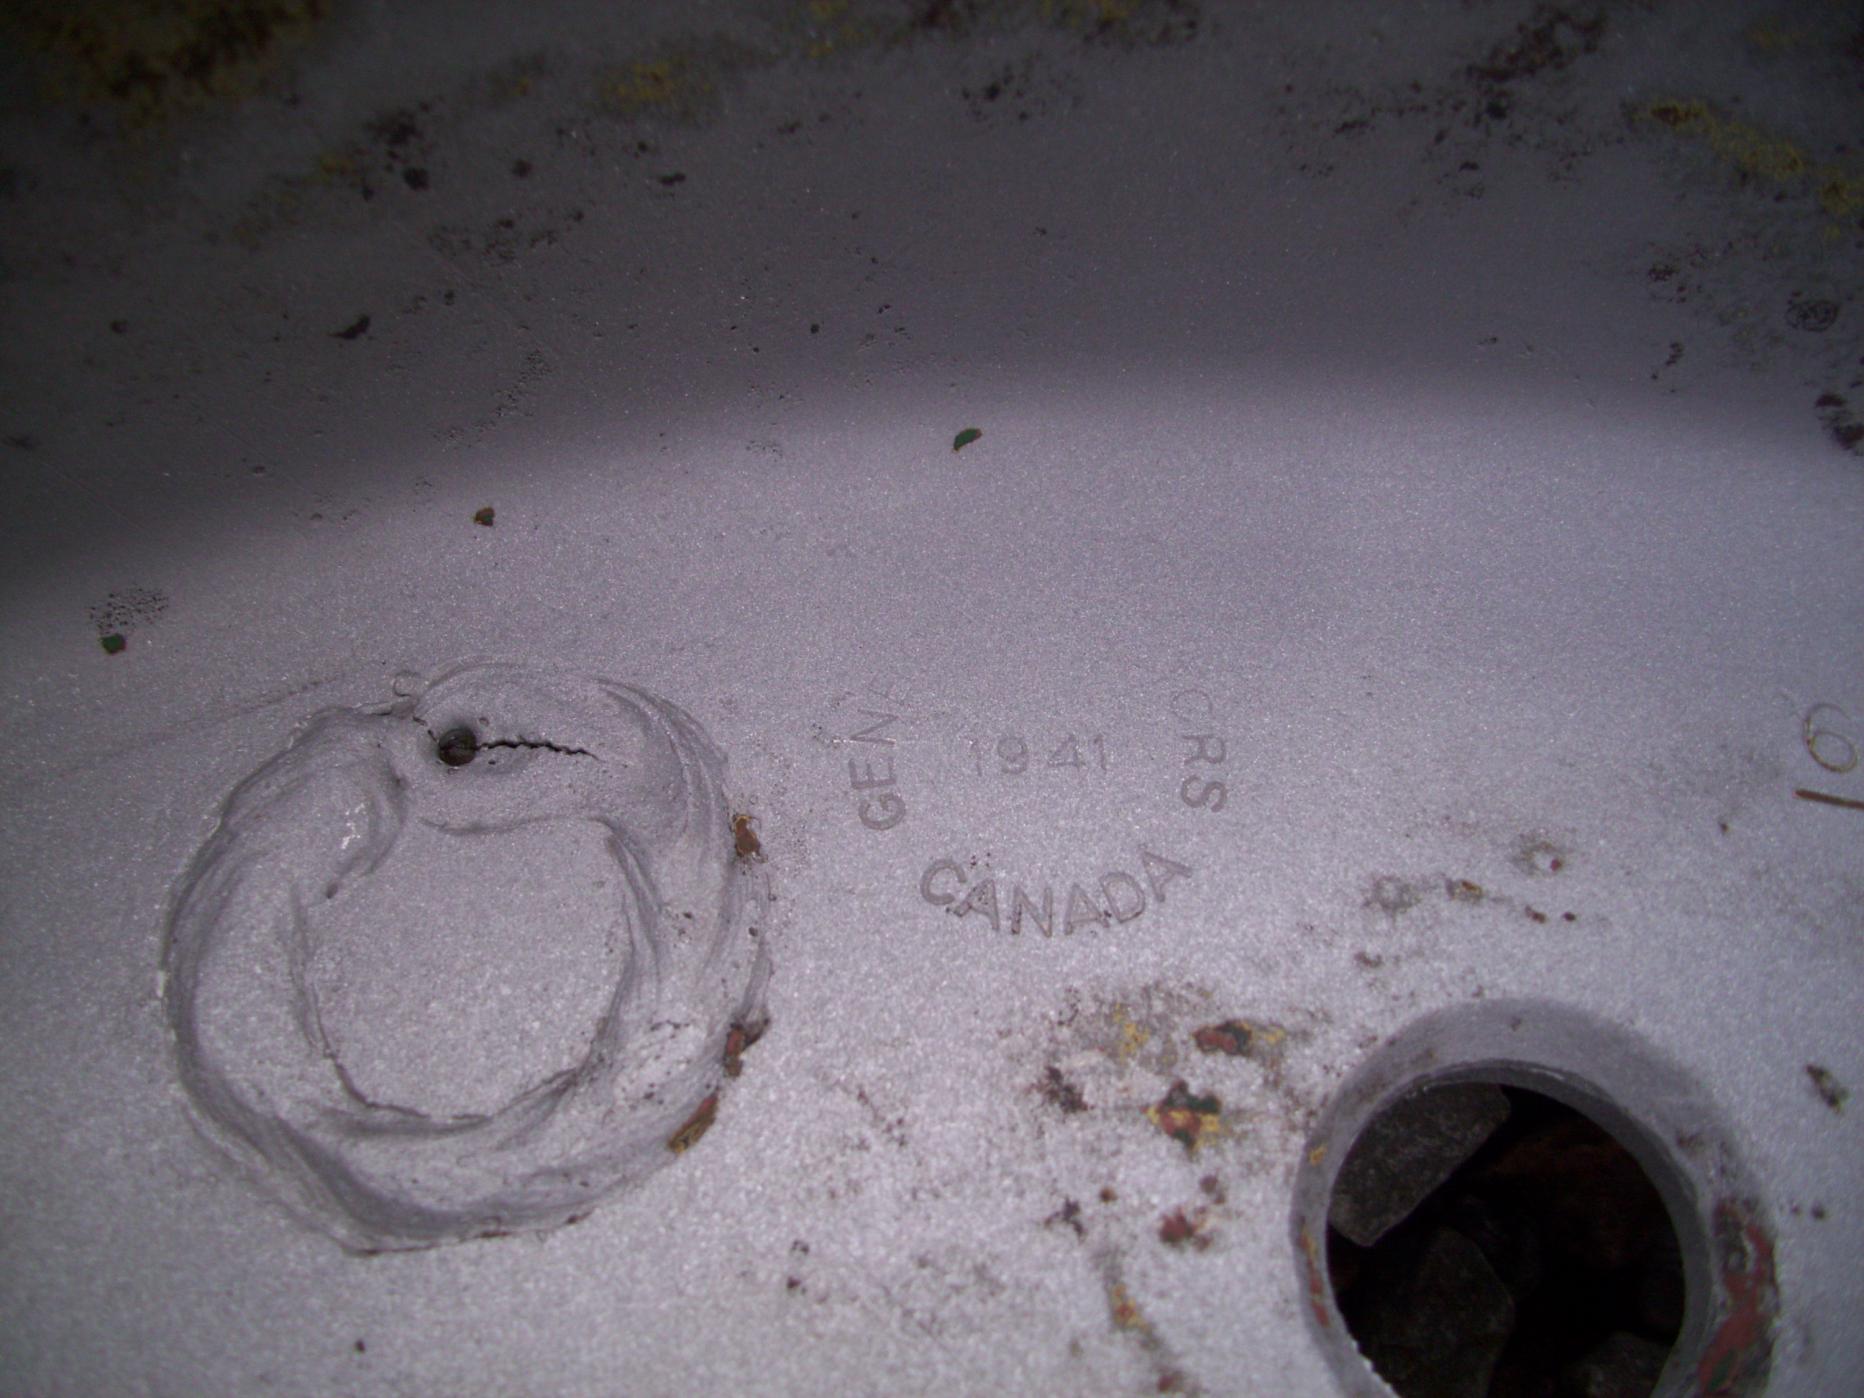
rampant rivet replied to rampant rivet's topic in Blogs of MV restorations
Got the wheels back from soda blasting today and have given then a primer Two are made by Sankey dated 1942 and the others are Canadian dated 1941 Also got time to fit horn and bracket.

-
restoration Bedford MWD restoration
rampant rivet replied to rampant rivet's topic in Blogs of MV restorations
Am taking bulkhead, bonnet, front panel, wheel rims and wings to be blasted tomo am going to try soda blasting the wings because they are made with such thin steel, will see how its goes and post some before and after pics here soon. Van full :cool2: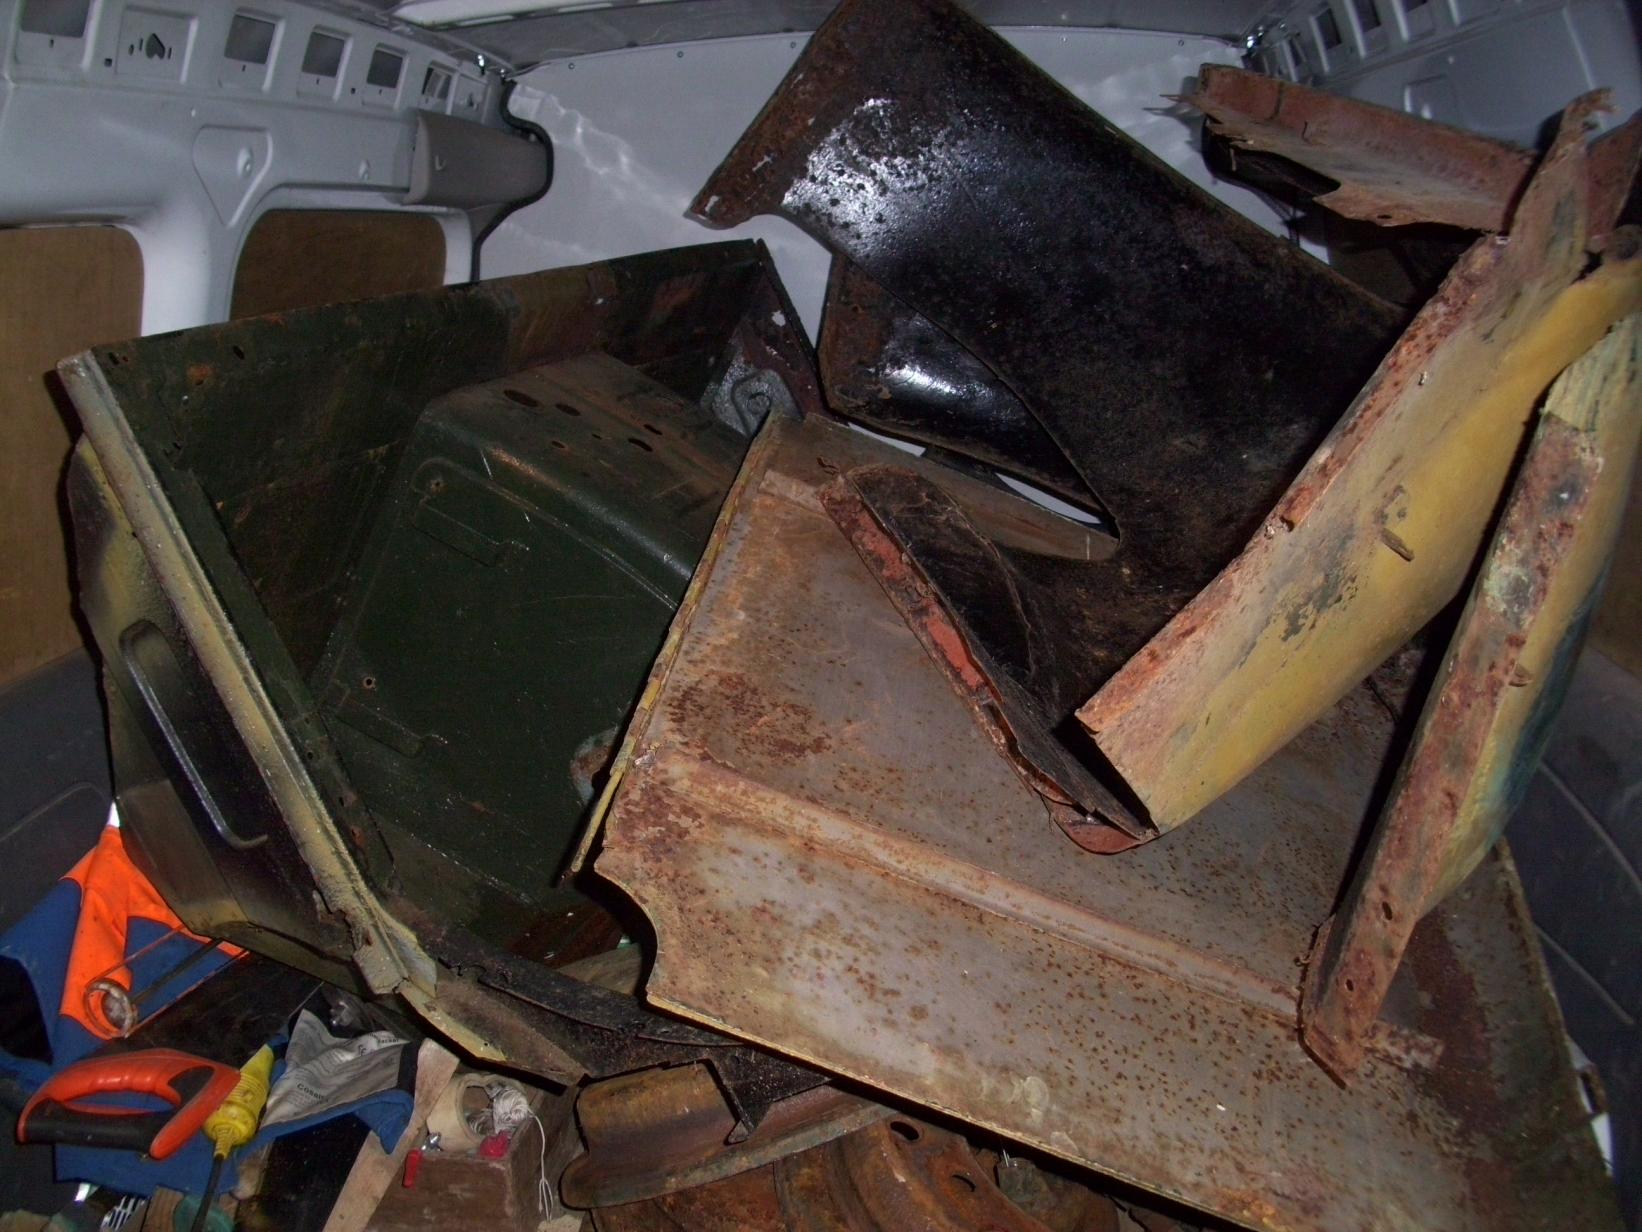
-
Welcome fellow Champer :cool2: lots of everything in here :wow:
-
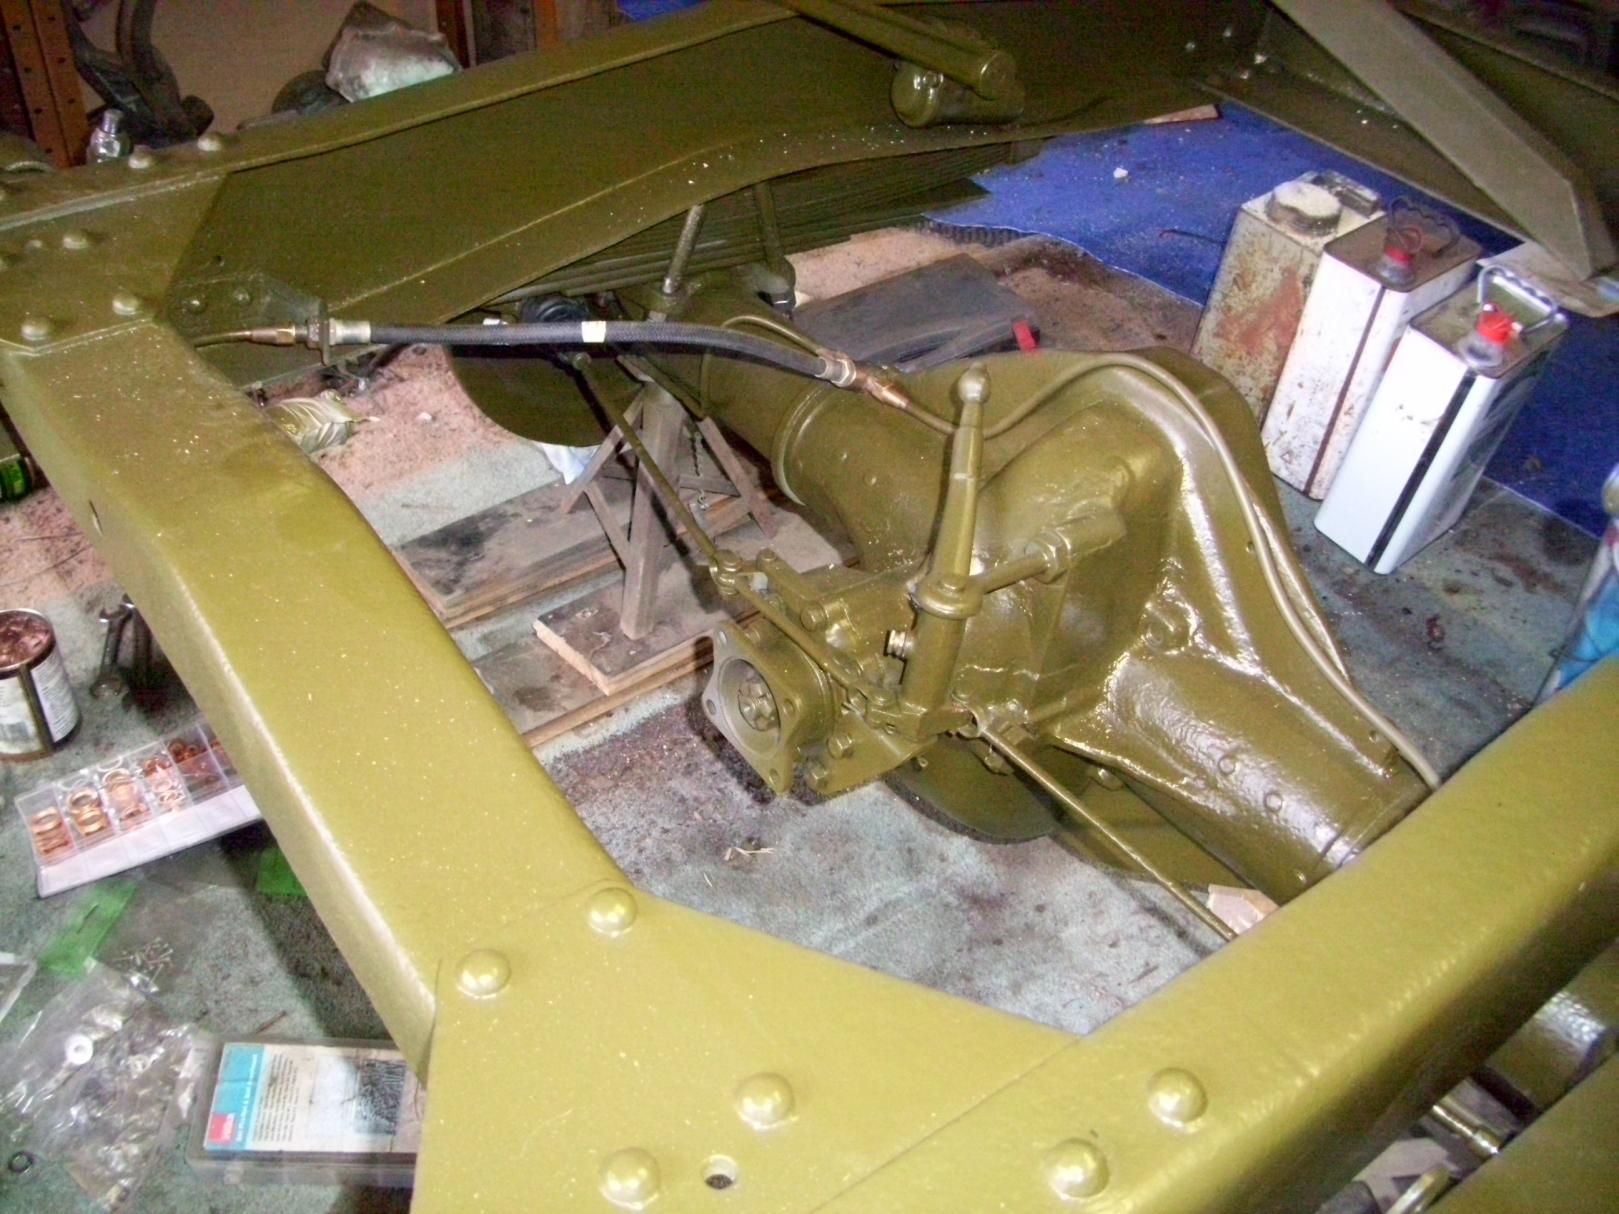
restoration Bedford MWD restoration
rampant rivet replied to rampant rivet's topic in Blogs of MV restorations
Back to the shed today and progress has been made Managed to attach my chain hoist to the rear axle and lift up it under the springs. Then after a bit of juggling managed to position the axle under the springs and secured them with the U bolts and new nuts, then removed the rear timber tressle to allow the axle to sit back on it stands which will now allow me to sort out the tail end of the chassis and refit the towing bracket. Sorted the handbrake rods and brake pipes got to clip them in place next time. Hi John as promised here is a pic of a brake shoe the measurement you wanted is 14 3/4" hope that's ok ?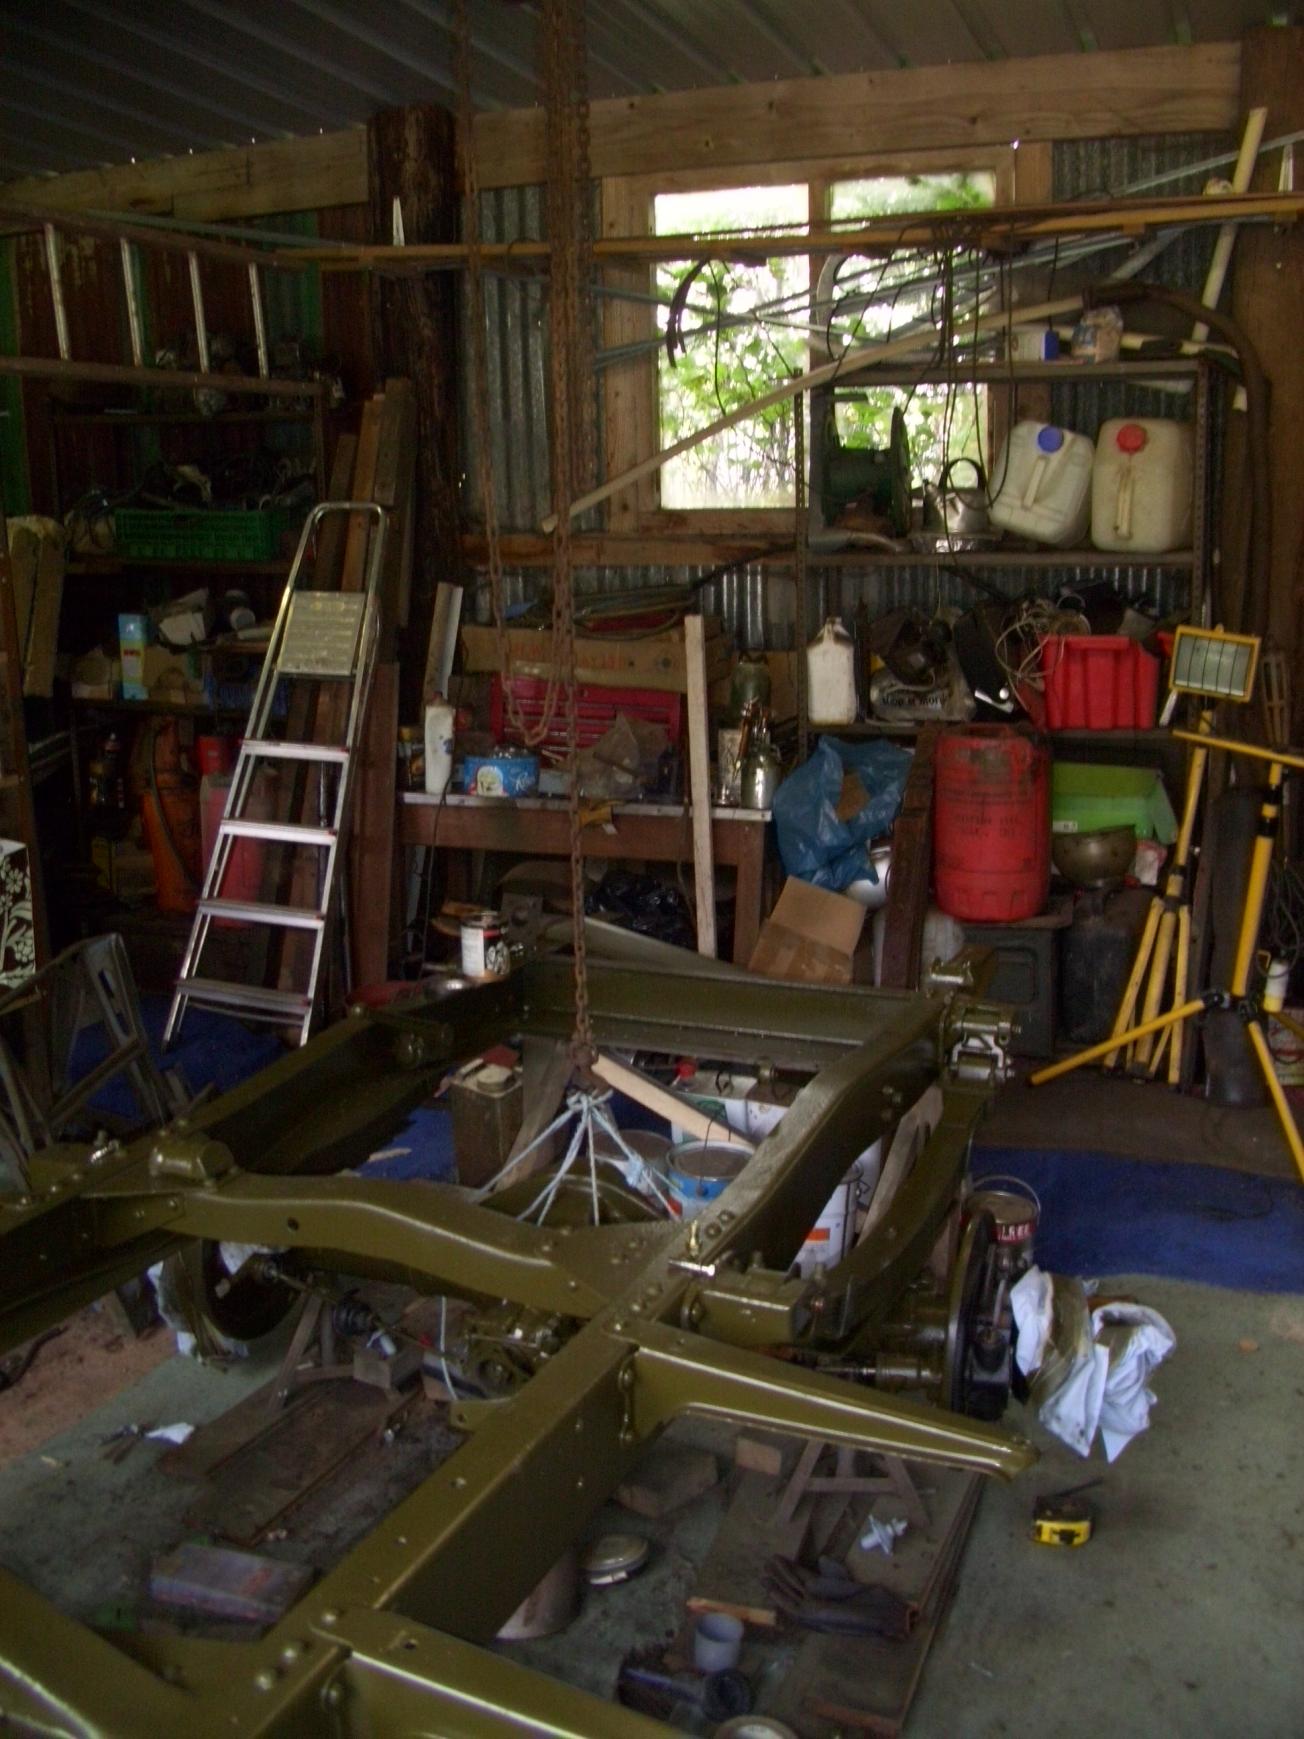


-
Hi All Can anyone point me in the direction of a supplier of brake shoe rivets please ? I need to reline the rear shoes on my Bedford MW and need rivets ironic considering my ID on here :-D. Cheers RR.


