


ArtistsRifles
-
Posts
7,704 -
Joined
-
Last visited
Content Type
Profiles
Forums
Gallery
Blogs
Events
Articles
Store
Downloads
Everything posted by ArtistsRifles
-
Replacement bezels arrived yesterday. They looked good in the packaging - 2 x bezels, 2 x glass, 2 x flat seals 2 x "O" ring seals. First done was the Speedo itself. That required the use of both the flat seal and the "O" ring seal and took about 40 minutes to do, most of which was getting the old bezel to part company with the instrument. Once off and the face cleaned up the dew bezel was quivkly fitted. Using the new thumb wheels for the clamps was a bit problematic - although the threads engaged neither one would go on more than a couple of turns, So I go the UNF taps out and ran the nearest size through the thumb wheels. That did the job and the speedo is now clamped back in the fascia. Next was the multi-gauge. I had to remove the oil and water temp gauges (mine are the old capillary type) to get the gauge out then it was a repeat of the speedo one save that the "O" ring seal was not required. I did not refit this one yet as the hole in the fascia makes for good access to the lights on the speedo. I have ordered a set of LED bulbs for the dascia and can do no more now till they arrive. Then I just have to fit them and blot everything back together. Oh yea - I also ran a new lead across from the panel light switch to the 6-Way so now I have power going to the panel lights. No more night time driving wondering what the hell is happening and fumbling for a torch to find out. I hope!! Picture to follow once the bulbs arrive.
-
Try Colin Voss from EMLRA - you can find him on eBay, seller ID is mattblack2003
-
Yeah - towing eyes were invariably in vehicle colour - but the Dixon Bate hitches were coated red. Most of our vehicles had them fore and aft and on a dark night it was too easy not to see it only to be reminder by an agonising pain as you walked into it on stag at 02:00 ish. Location of which varied depending on whether it was a Landie, 4 tonner or 10 tonner. You might be right about the electrical plug covers - thinking back it may well have been yellow for 24v and blue 12v. More often than not only the 24v ones were painted. I only ever saw the large rubber push-in plugs. Fuel filler caps - yes, usually painted although we only painted the fillers for petrol vehicles red. If it wasn't red it was Derv (although the filler invariably had "DERV" painted adjacent to it). As a rule of thumb Landies and RL's were petrol, MK's and AEC's were diesel. Staff cars (Escort estates, Landcrabs) were petrol and unmarked. Agree with the demise of DBG - the IRR green then the green and black that followed attracted grease and ****e like no tomorrow and whereas DBG would wipe clean the matt or silk finishes would not. It was also easer to identify units to by the corps and divisional signs. Too easy for the bad guys too I guess which is why they got scrapped apart from parade and recruiting vehicles. Trying to work out what something like 1/659 painted on a wing meant was a nightmare. Luckily the Artists Rifles never carried insignia or markings of any kind other than fuel, chalk and TP markings. Still toying with the idea of painting my Militant in DBG once the welding up is finished.
-
An interesting thread to read thus far. Since buying the Militant - but not driving it on-road yet - I find now that as I drive generally the old ways of looking for lay-bys or safe pull-over positions is resurfacing. And thus I find it highly frustrating to see lay-bys closed off for no apparent reason one after the other. With the best will in the world, if local authorities are closing off the lay-bys (I would hazard a guess it's because of travellers taking up residence) then a driver of a slow moving vehicle has no option but to continue, regardless of traffic build-up, until the driver can identify a place that is safe to pull over.
-
Beat me to it Richard Stiring was a vehicle depot. 39 Sigs is interesting - they tended to be attached to 21.
-
The only things that should be red always were the nuts (or wheel stud ends) or the ends of the springs that held split rims together. We used to paint the hitches red because it bloody hurt when you walked into them so the red was a chance to avoid the sods. FV6xx series pretty much always had the white line across the hub centres. Some vehicles had the covers on the NATO electrical plug covers painted yellow for 12v or blue for 24v - but not all. Anything else was "tarting up time" - esp, white wheel nuts :-) - and avoided as much as possible.
-

restoration Mk1 Militant Tanker
ArtistsRifles replied to Zero-Five-Two's topic in Blogs of MV restorations
Nice find - and nice service from the powder coating firm. :-) -
Not sure the term "Masking up" ever appeared in Sevices vocabulary. Missing it with the brush was the accepted method of not painting anything in the Seventies!! :cool2:
-
So- another dry day and a bit more done. The fan is in and working, bit of a lack of output though. I suspect because its a LHD motor and fan in a RHD housing. Whilst thinking on ways of sorting that I got on with a couple of other niggles. The inspection light sockets although showing power would not take the plugs on the light so I ordered replacements from Blanchards (they were cheapest). I also ordered with trepidations a new cowl top cover. When the parts arrived I was pleasantly surprised to find that the top cover was a genuine BL/Landrover part. With the new plugs fitted the inspection lamp now works. That leaves the replacement instrument glass, bezels and seals to arrive and fit - hopefully in the next couple of days. Once that is done I will also run a new feed from the panel light switch to the side light circuit so I can see whats happening at night. :-) Then the dash can go back together and it will be ready to roll. I have noticed, though, that there seems to be a increasing amount of frust forming in the footwells - as fast as I treat and paint a patch a couple patches more turn up - I suspect I might be looking at a new buokhead in a year or two.....
-
restoration Mk1 Militant Tanker
ArtistsRifles replied to Zero-Five-Two's topic in Blogs of MV restorations
Thanks Rob. Will have to funnel that out to a sheet metal fabricators as have no facilities what so ever for that type of thing. On the plus side - the ring itself just has surface rust on it and a quick media blast should clean it up for welding and painting. Will need to replace the foam in one of the hip pads and restitch the cover, thats all there apart from a good scrub :-) -
Observation turret legality
ArtistsRifles replied to Neilik15's topic in Legislation, Licenses & Registration
We used to do it in the Stollie when occasion demandedl Approaching road junctions, built up areas etc because the rear view in a Stolly leaves a lot to be desired. When just running down the road most times the commander dropped insde out of the wind. -
restoration Mk1 Militant Tanker
ArtistsRifles replied to Zero-Five-Two's topic in Blogs of MV restorations
Excellent job :-) Did you keep the measurements for the out-tiggers and baseplate? Only mine are missing altogether.... :-) -
Don't forget the toll warrants for places like the Dartford Crossing :-) Usually carried 3 or 4 that had to be signed for and returned at EndEx. Same with the fuel carnet's for refuelling at civvy filling stations.
-
Would love to apply Paul - but I think the C+E requirement on publc roads kills it for me. Best of luck in finding a bod. :-)
-
Looks excellent - wish mine was as good looking!! :-) :-)
-
Series 2 Military Landy resto' on TV
ArtistsRifles replied to matchlesswdg3's topic in British Vehicles
Shame it wasn't 24v... That could have been interesting in its own right.. :cool2: -
restoration New project - Mk 1 Knocker 6x6
ArtistsRifles replied to ArtistsRifles's topic in Blogs of MV restorations
Back from sunny & rainy Belgium - now to hope the weather improves to allow work to continue. -
This is the one in my Landie

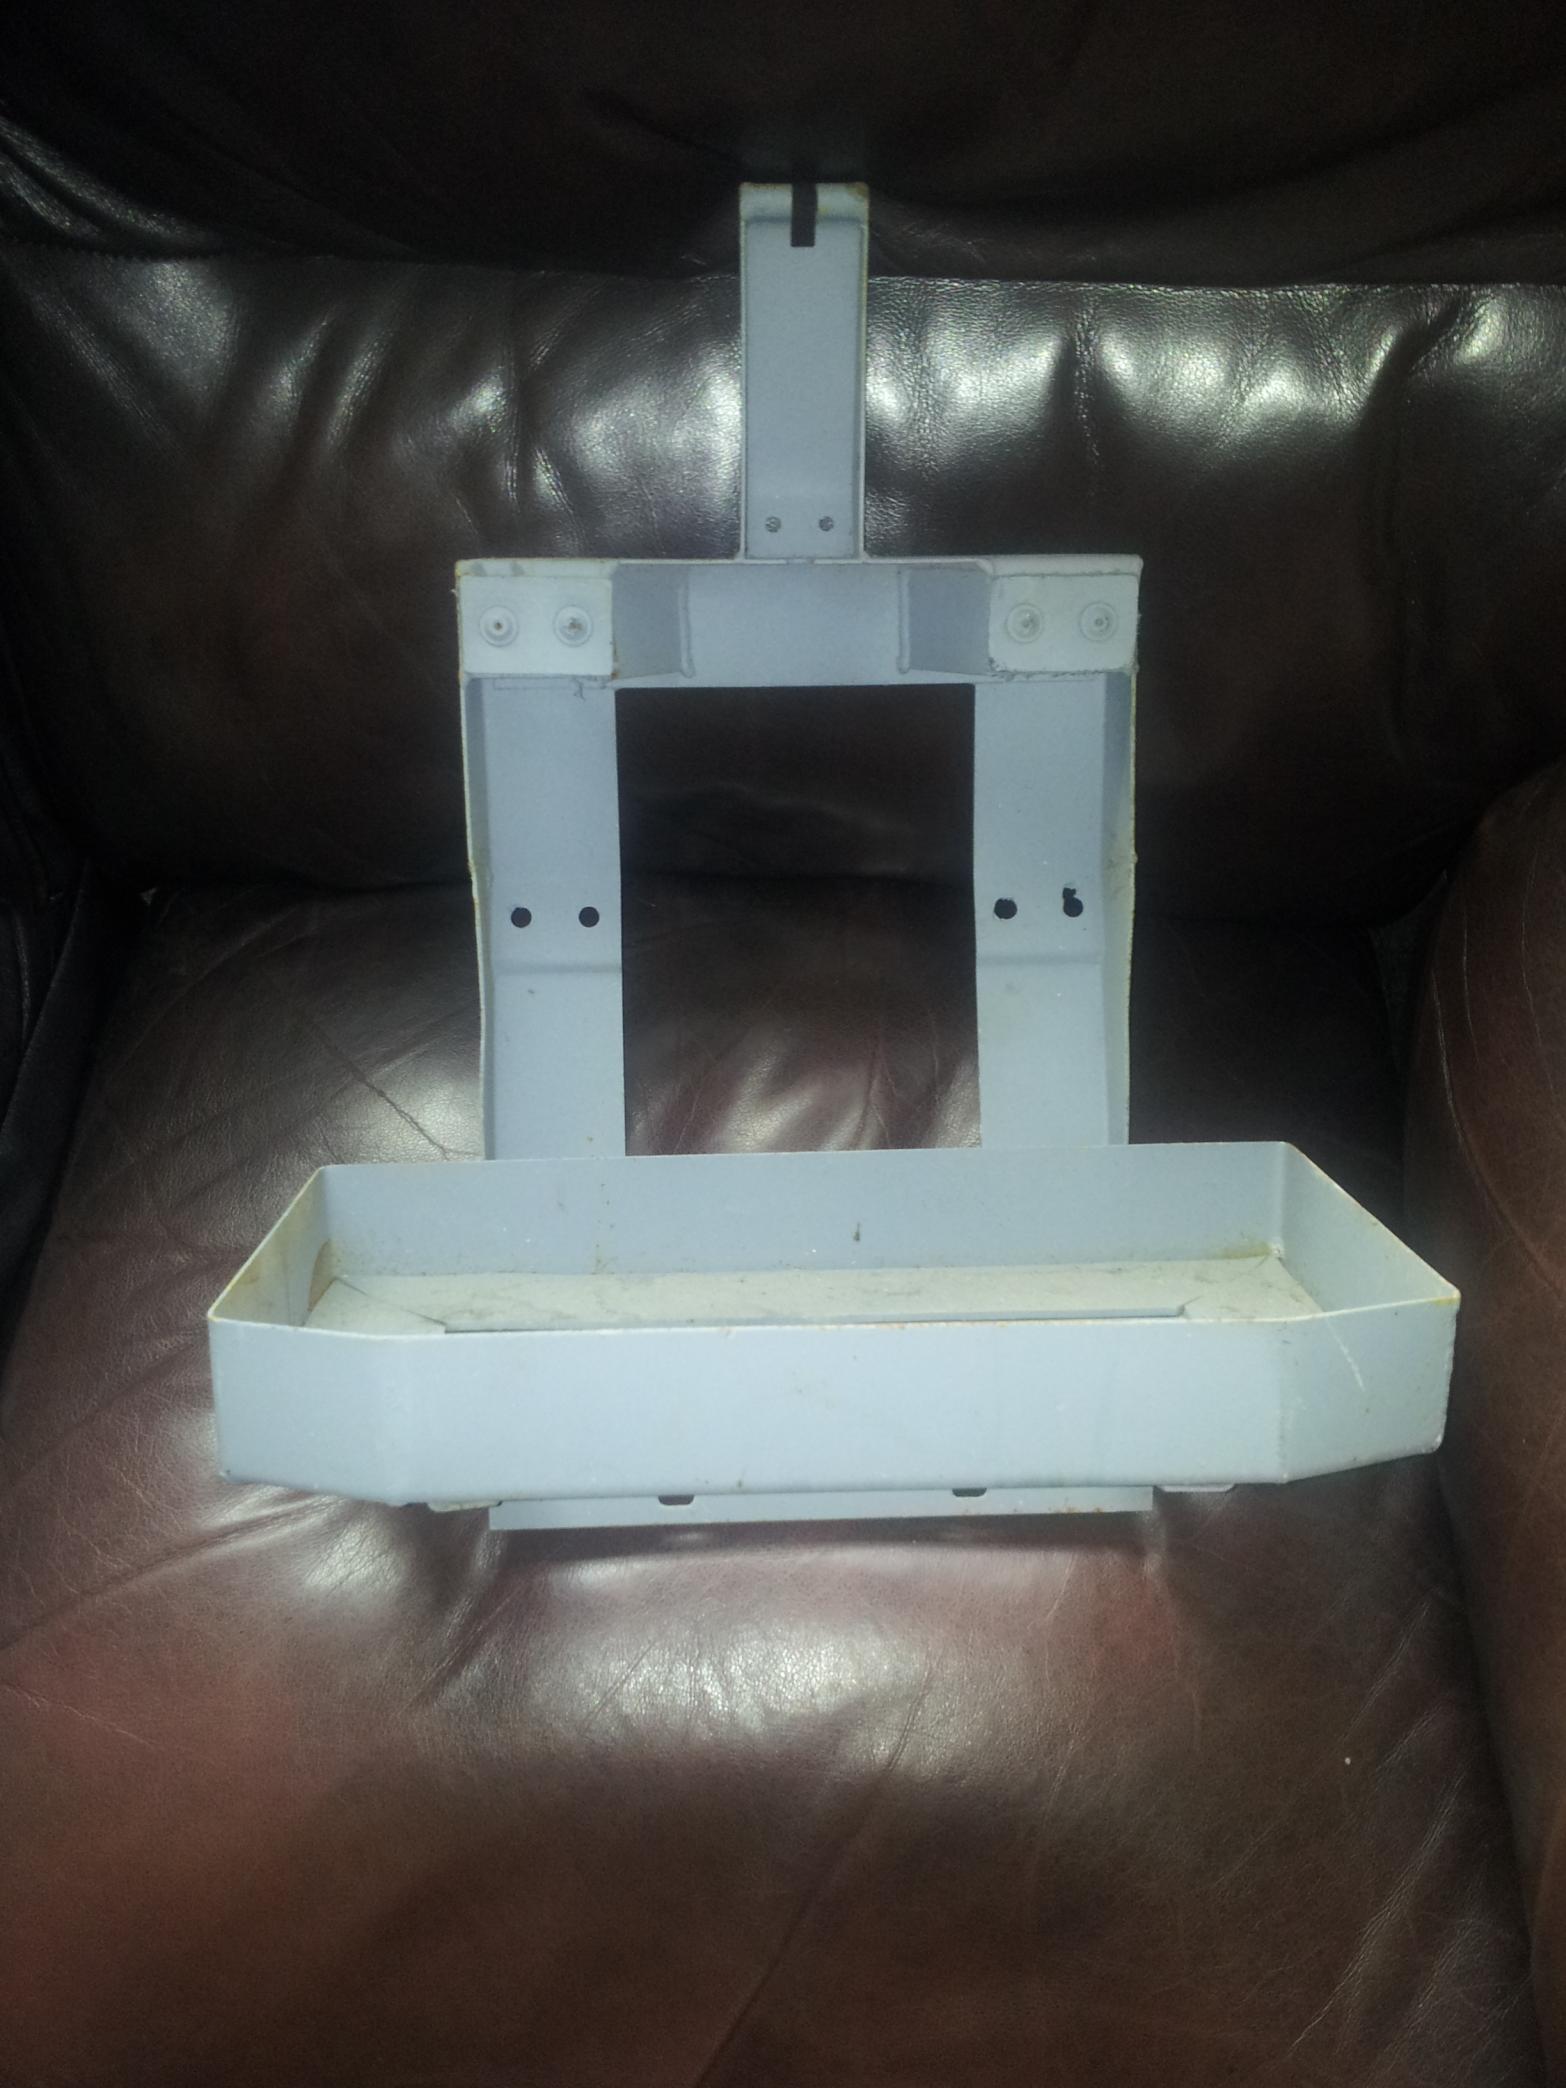
-
We actually had a dry spell for the first time since Sat afternoon - so ducked out fast to the Landie. Found the in-line fuse for the heater and mangled the hands cracking the holder open and fitting a new 35A cartridge. You'd think the lead from the out side of the fuse holder to the switch would go direct but no - it goes in a taped section of the loom so you cannot pull the fuse holder out from under the pod. Once it was in and the holder done up again I checked power at the switch end of the Brown/Orange feed and had 24v. Connected it and turned on the switch - nothing. Popped the bonnet and found I'd forgotten to connect the 2 leads from the vehicle into the double female bullet connector - did the ones from the fan motor but not the vehicle side.. Once they were plugged in, I turned power on and the fan started. With the switch in the off position!! Flicking it to the on-1 and on-2 positions just turned the fan off. I think the switch might be wired incorrectly. It's as it came with the vehicle so I had no reason till now to question the connections. Basically there are two terminals at the top of the switch - the Brown/Orange power in lead goes to the R/H one of these. I tried it on the L/H side - no change, Then there are two terminals projecting from the back of the switch with the Green/Yellow and Green/Brown leads on that go to the fan motor - see photo below. Does anyone know how this switch is actually meant to be connected as I cannot get the dash out far enough to run connectivity checks with a multimeter, nor can I get the switch out of the dash without risk of damage to the dash.
-
Minor update - I managed to "persuade" the steering cowl to come off by removing the fuse box section. Once off I had a close look at the screw that would not undo and, as suspected the captive threaded section was just rotating in the plastic moulding, I think if i can get the mole grips to clamp onto this section it might be enough to get the screw out and thus save it. Looking on line the two halves of the cowl are available still - but not cheap - so I think I might have to replace them. With the cowl off and using a torch I can see the fuse holder. What a bloody stupid place to put it!! It is sitting UNDER the bridge of the inner I.P pod thus inaccessible unless the entire I/P is removed. I think, though, I might get away with disconnecting the end of the lead at the switch and tying a length of string to it then pulling the entire lead out from the ignition switch end far enough to access the fuse holder - then using the string to pull the switch end back up into position. Haven't found the in-line fuse for the banana plugs yet!
-
restoration New project - Mk 1 Knocker 6x6
ArtistsRifles replied to ArtistsRifles's topic in Blogs of MV restorations
Yep - July 2nd. Look forwards to seeing you there. PM'd you directions. -
restoration New project - Mk 1 Knocker 6x6
ArtistsRifles replied to ArtistsRifles's topic in Blogs of MV restorations
Thanks for the tip on the spider killer - will investigate my local Aldi. 😊 My airleak appears to be the valve mounted on the chassis just after the rear most axle. When you shut the engine off so you can actually something other than the engine there is a VERY loud hiss coming from the area. Think it will be a case of take it off and investigate/clean. 😊 -
restoration New project - Mk 1 Knocker 6x6
ArtistsRifles replied to ArtistsRifles's topic in Blogs of MV restorations
So - I got back over to the old girl today. and had a mixed day as regards success. First op was to get the genny running which took a few minute for some odd reason - yesterday it was firing first pull of the cord. Oh well.. the vagaries of modern stuff!!! Once it was chugging away happily I broke out the extension reel and the angle grinder plus a pair of mole grips. I uses the mole grips to hold the padlocks for safety reasons and the cut through the hasps. Well - one of them got cut - the other two actually vibrated open so I was lucky there. Fitted the new padlocks so that is all sorted for the future. Not much of a job I know but it is a little step on the road of progress. Next I broke out the vacuum cleaner and went to town in the cab. Took about half and hour to get all the visible webs removed with a combination of the vac and a dusting brush. Once the cab was done I cleaned off the wheels and anywhere else I could find webs before returning the vac to the back of the car. Whilst the genny was running I thought the next good step would be to get some air in the front tyre. I have a small portable mains compressor that is capable of dealing with the TP's of the the militant so I set it up, switched it on and connected the inflater to the valve. At first all was well then things went pear shaped. The compressor suddenly cut out leading to a frantic disconnection of the inflater so as not to get the tyre any flatter. No matter what I did it would not restart so I plugged the grinder in and tested that - same thing, no response so something had blown in the genny. Looking at it I saw the AC breaker had tripped. Rest it, tried again and it went again sp I think the compressor is drawing more than the genny can supply. In which case I am deep ****e as it certainly won't cope with the demands of the Karcher unit. Luckily - or not - I had forgotten to pick the hose reel up this morning so I could not have washed her down if I wanted to. I need to do something about this though as the nearest power point is way too far away to be of any use. Anyways - I put the compressor away and wet back to the cab. I had a close look at the passenger door and there is no bolt fitted to it. Obviously there was at one point as the female half is still fitted to the cab by the door frame but there is nothing on the door inner. The latch is definitely releasing so I tried to open the door again but it would not have it at all Apart from laying on the engine deck and kicking the passenger door hard I see no other way of getting it to open. Just to make sure I took the steps around and gave both hinges a good sousing in penetrating oil. The other thing that might be is that the door or the frame has ballooned with rust and it is that which is jamming it. We'll see when I go next time. Whilst on that side of the vehicle I used a club hammer to free off the spare wheel steady which was locked in the partially down position - there as about a 3" gap between it and the spare. This, too, was soaked in penetrating oil and WD40 so again next time we'll see if that has freed up enough to be able to get it moving proper up and down and the securing collar too. Next I turned attention to the tyre inflater. I dug out the airline I had bought and tried connecting it up. Nah - it was NEVER going to be that easy was it?? :-) :-) See the video clip below :-) So I need to get a replacement fitting for the inflater unit. I put the airline in the tool locker for now as I have to miss the next two weekend - off the Belgium to give a mate a hand rebuilding a Series Landie then attending Historia Mundi. Whilst I was thinking about what to do next - I was planning on lashing the ladder to the tail get and climbing in the back to have a look in the accommodation unit -. I did notice the weeds were growing up through the front bumper so I jumped back in cranked her up and backed up 3 or 4 feet to get the front free of the undergrowth. As I climbed out the blue skies suddenly went black - which I did not like and by the time I had climbed down and shut the door the rain was falling in stair rods i got soaked walking the 18 odd fee from the front of the Militant to the Rangie. Once thing I did notice. As soon as I switched off I lost 10 psi on the air gauge in as many seconds. I really need to get that rear valve off and have a close look at it to see why it is leaking air so badly. The vehicles we had in 215 Sqdn kept air pressure for days. The rain spelt the end of the day so I had to head back home again - back over again in two weeks (third Saturday from now). I need to sort out the power supply by then so I can give her a good blast inside and put and get some air in that front tyre. Lessons learnt from today: Take a black sack for any rubbish found on bard and to empty the vac into. Find something i can spray inside the cab to kill spiders. -
It was called Cheese possessed for a very good reason!! :wow: :wow:
-
Well.. The good news is the heater blower is now in and the ducting is connected to the heater matrix. I got the blower bolted in after a struggle - only to find it was impossible to get the ducting onto the outlet! After some hard struggling I bit the bullet and unbolted the blower again, twisting it to the outlet pointed to the engine and pushed the busting on, securing the clamp. Surprisingly (to me at least) it was then a lot easier to get the blower bolted back the second time and the ducting stopped it sliding down the wing!! The other end of the ducting was pushed onto the inlet of the heater matrix and the second clamp done up. Then came the electrical side. Switched on the ignition and put a multi-meter between each of the blower connections to find the slow speed feed. And got a 0v reading on both! Should have known better than to think it would be simple. :laugh: Turned my attention to the switch so off came the steering wheel and I tried removing the column cowl. Tried being the operative word as one of the two screws that hold the two halves together at the front is turning but not undoing. So I worked the I/P forwards as far as I could and disconnected the brown/orange lead that is the power feed to the blower switch. Connected the meter between that and earth and turned the ignition back on. Still a 0v reading. So I tried the terminal on the ignition switch - having to fight the cowl aside to do so - and got a +24v reading.... Odd thinks I as the 4 fuses under the column are all intact. So I dug out the Army book and found the early 24v wiring diagram. - finding to my surprise there is an in-line fuse between the ignition switch and the blower switch!! Sadly the book neither tells you where this is or what the fuse rating should be. I am guessing at this point that it will be another of the glass cartridge 35A ones So as of now the dash is in parts whilst I try to work out where the hell this in-line fuse can be found. I think on Sunday I might have to try drilling out the retaining screw that won't undo to see if the thing is anywhere under that. Which then probably means I will have to replace the cowl top. Coincidentally I tried the red and black sockets to see if they were live - and also got a 0v reading with the ignition on or off. The wiring diagram for this also shows an in-line fuse so I might as well hunt this out too........


