


guy66
-
Posts
747 -
Joined
-
Last visited
-
Days Won
5
Content Type
Profiles
Forums
Gallery
Blogs
Events
Articles
Store
Downloads
Everything posted by guy66
-
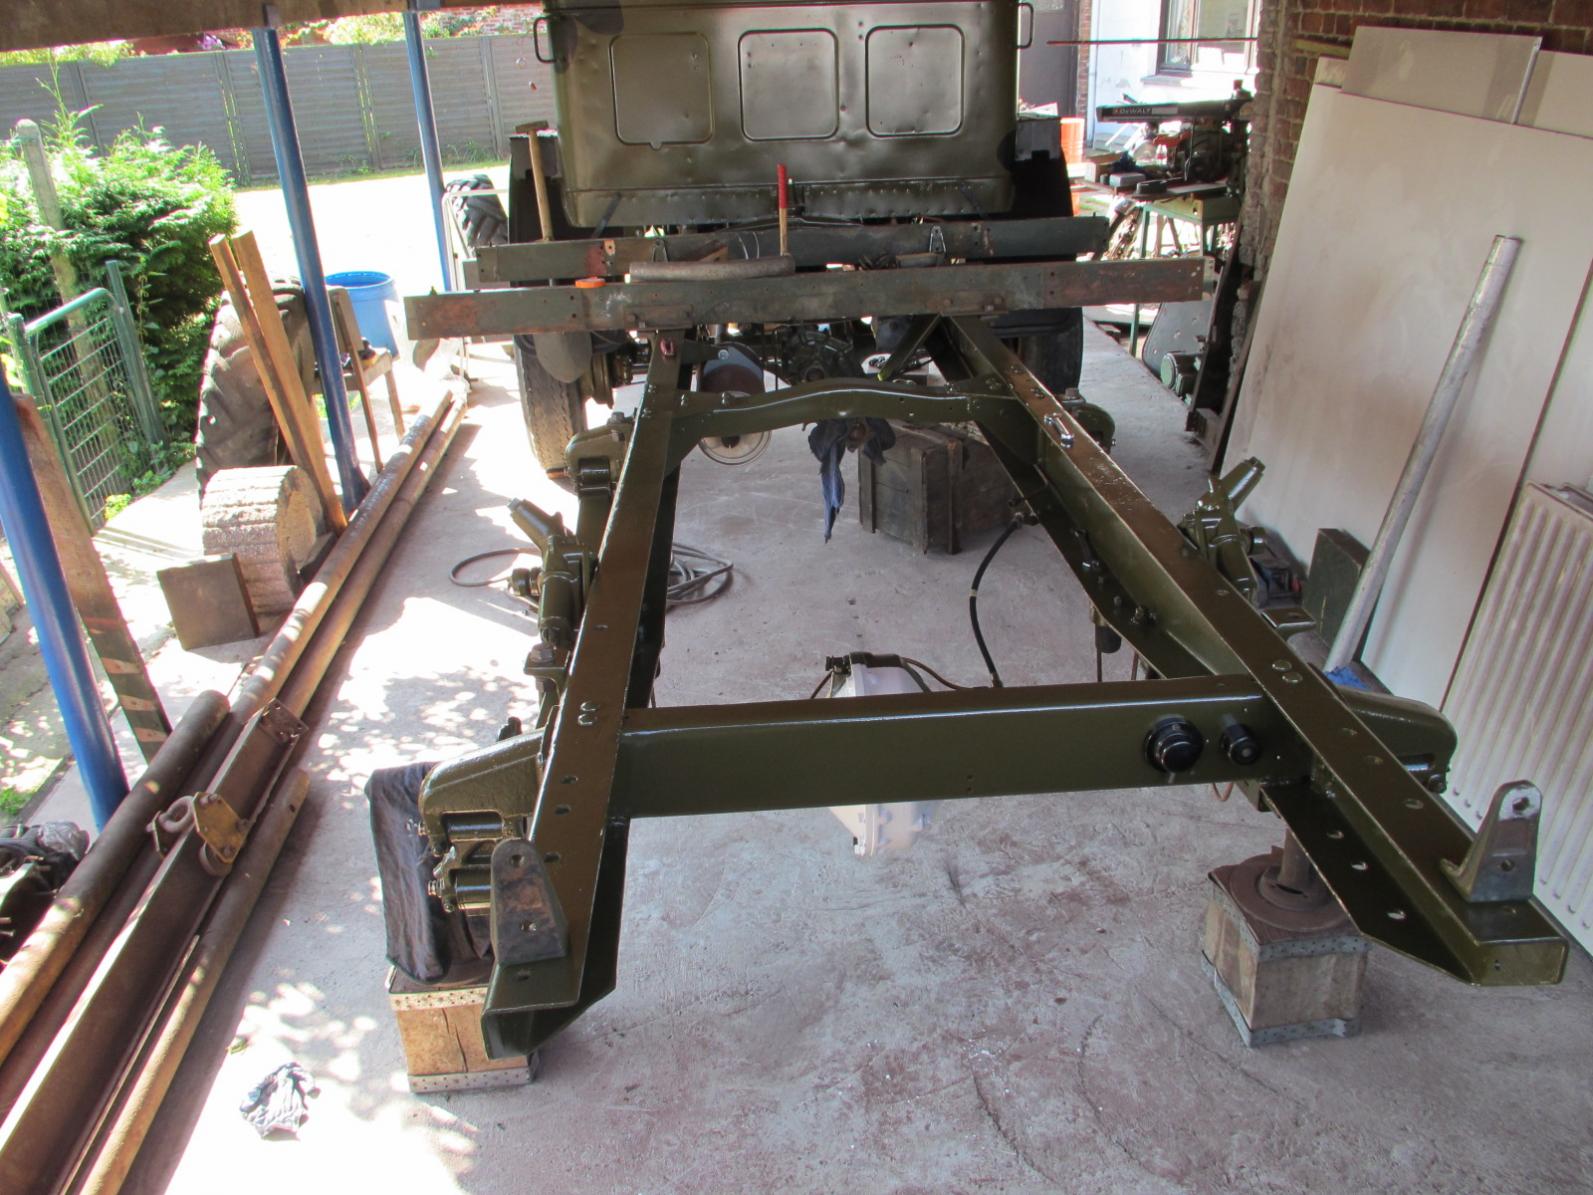
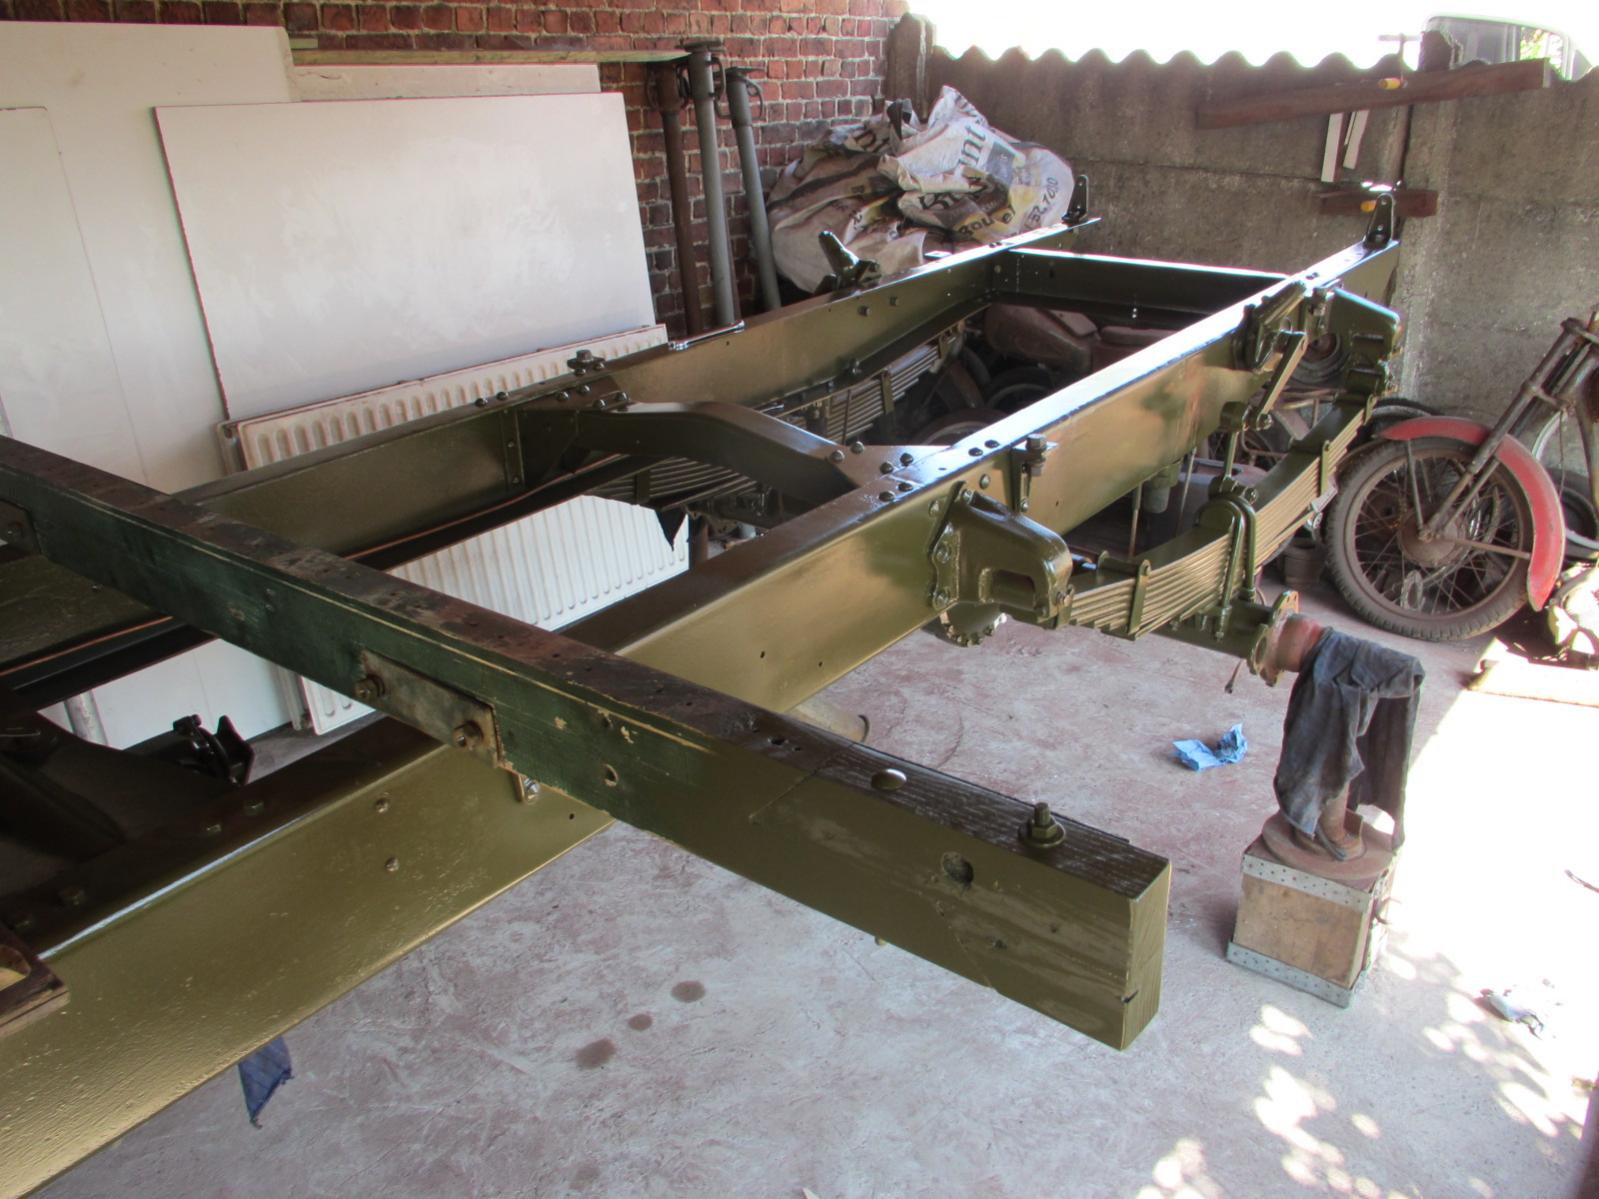
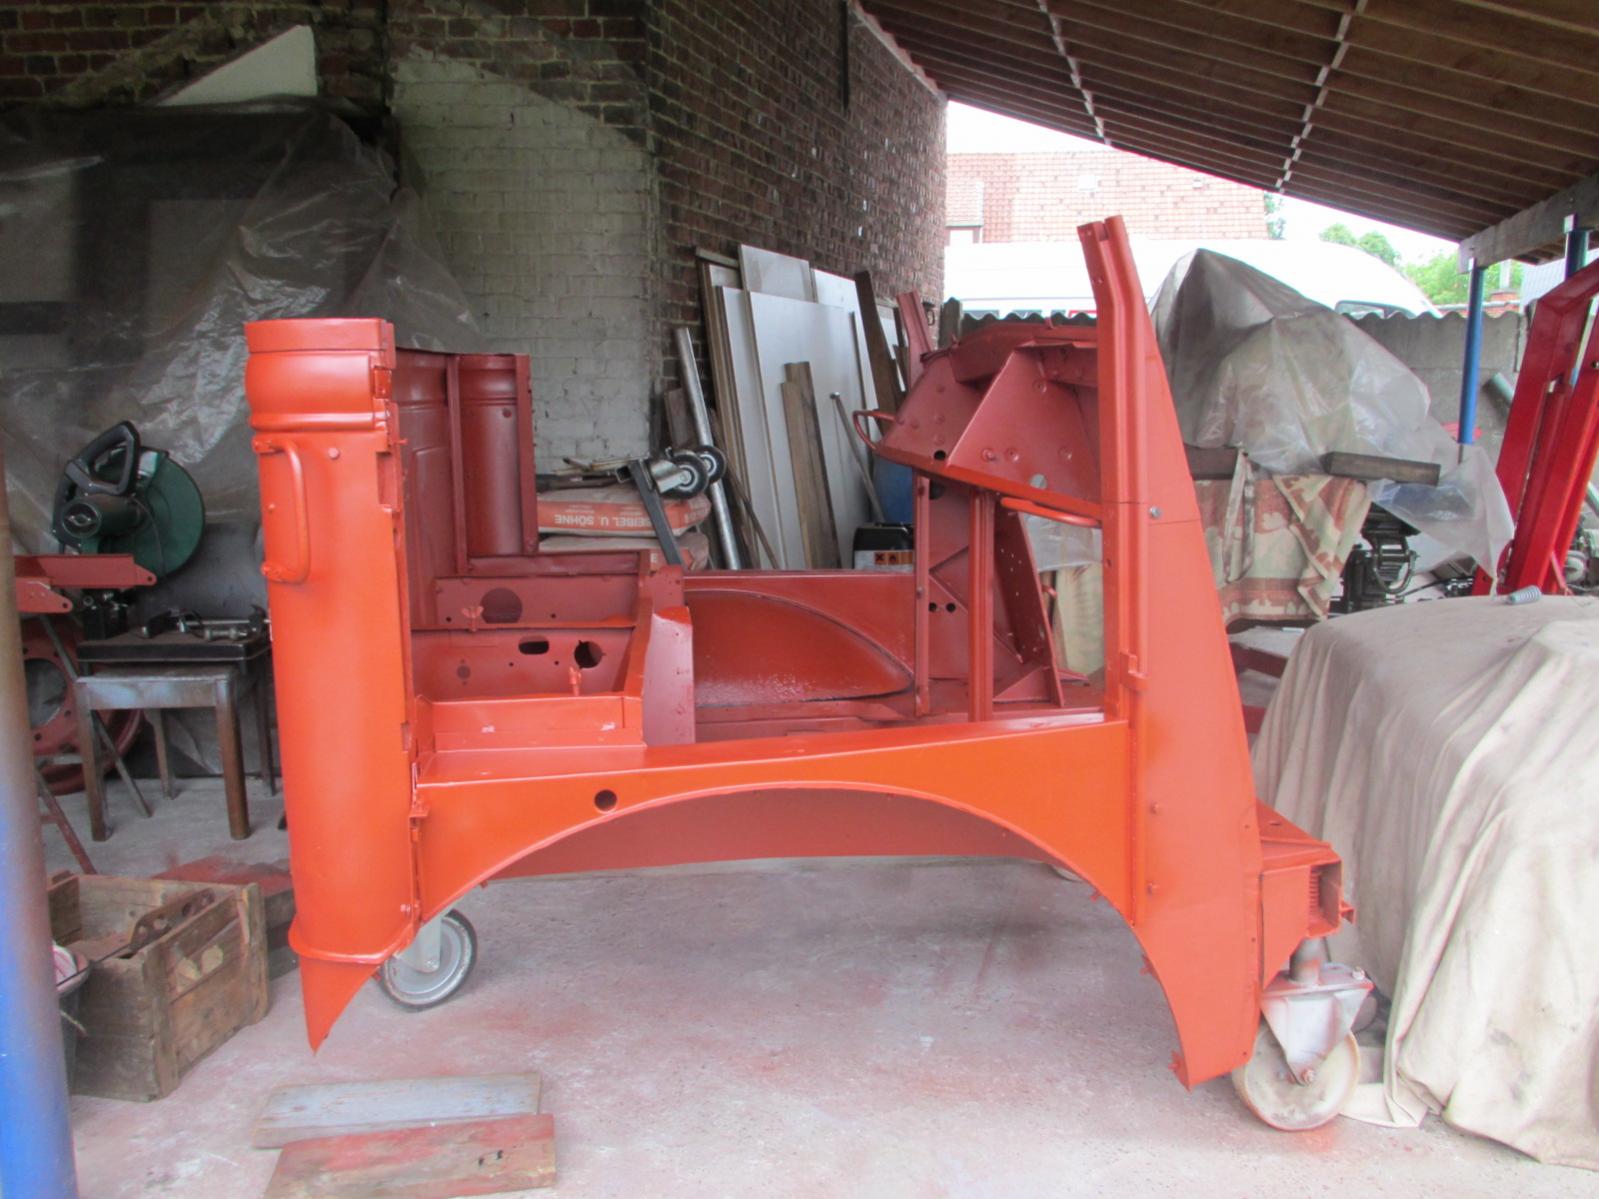
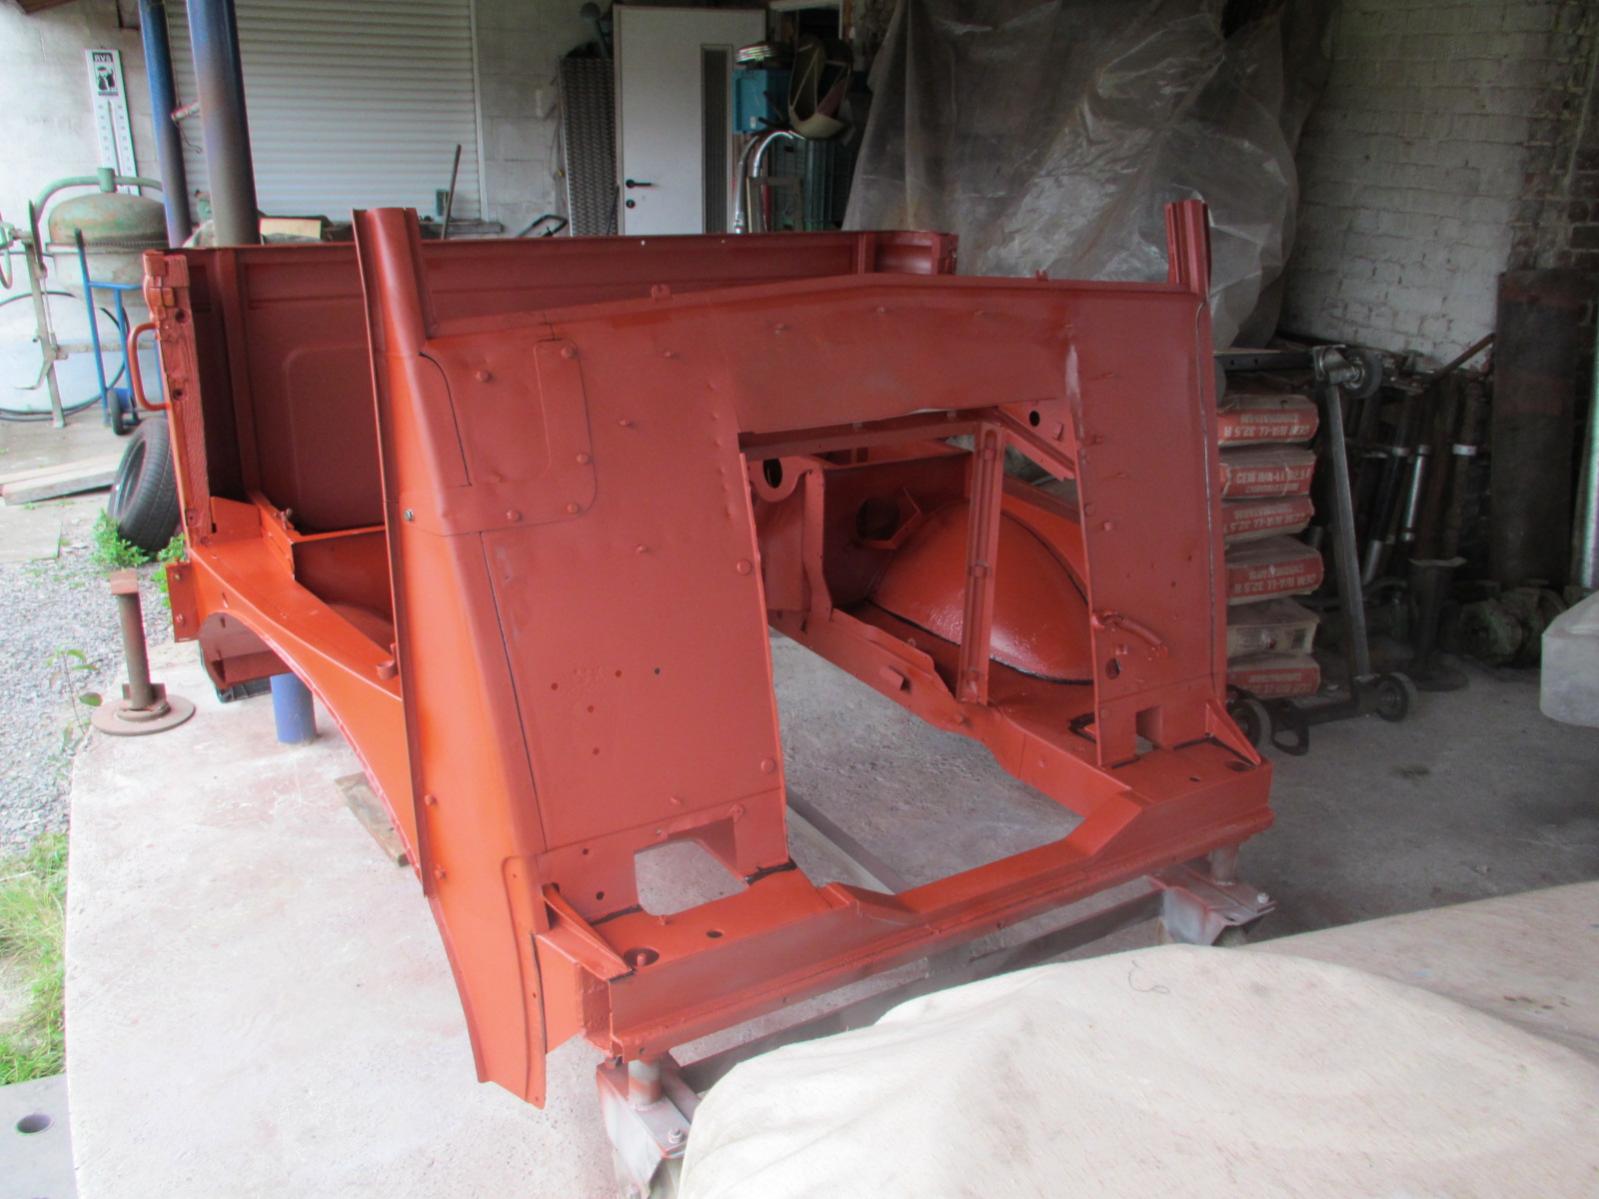
Rear of the chassis is back to original length , welded the missing cross members and rear bits back in and repainted the rear of the QL chassis. Now I can start with the cargo floor.

-
hello. The space between the top of the filler and adjustable seal holder on a Bedford must be 9/16 ( as in the workshop manual). guy
-
Keep up the good work on the WD Bedford's , we like thees lorry's Guy
-
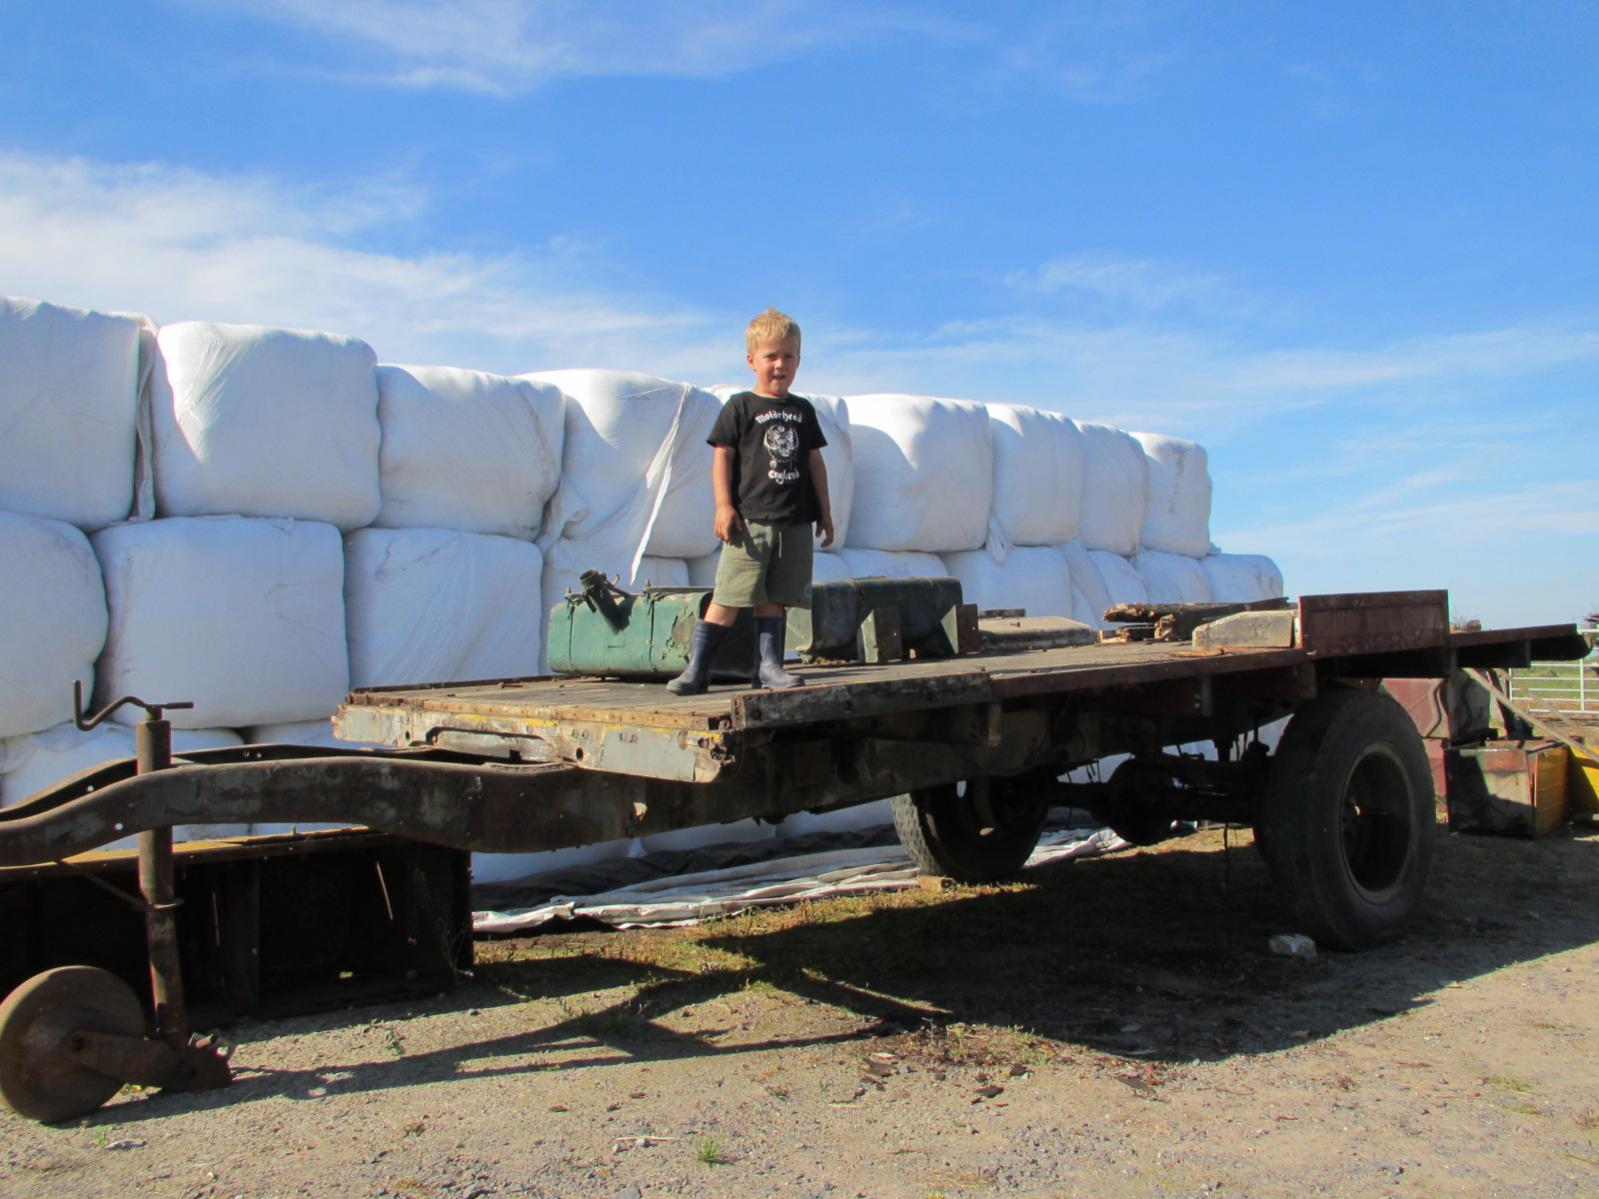
The floor section is completely removed from the remains of the chassis, the woodwork is still in resemble nick and will come very handy on my QL floor. Striped also some bits from this chassis to repair my chassis, I need the centre and rear cross member of this chassis. Guy


-
Side boxes and chassis extension with spare wheel rack removed from the cargo floor.

-
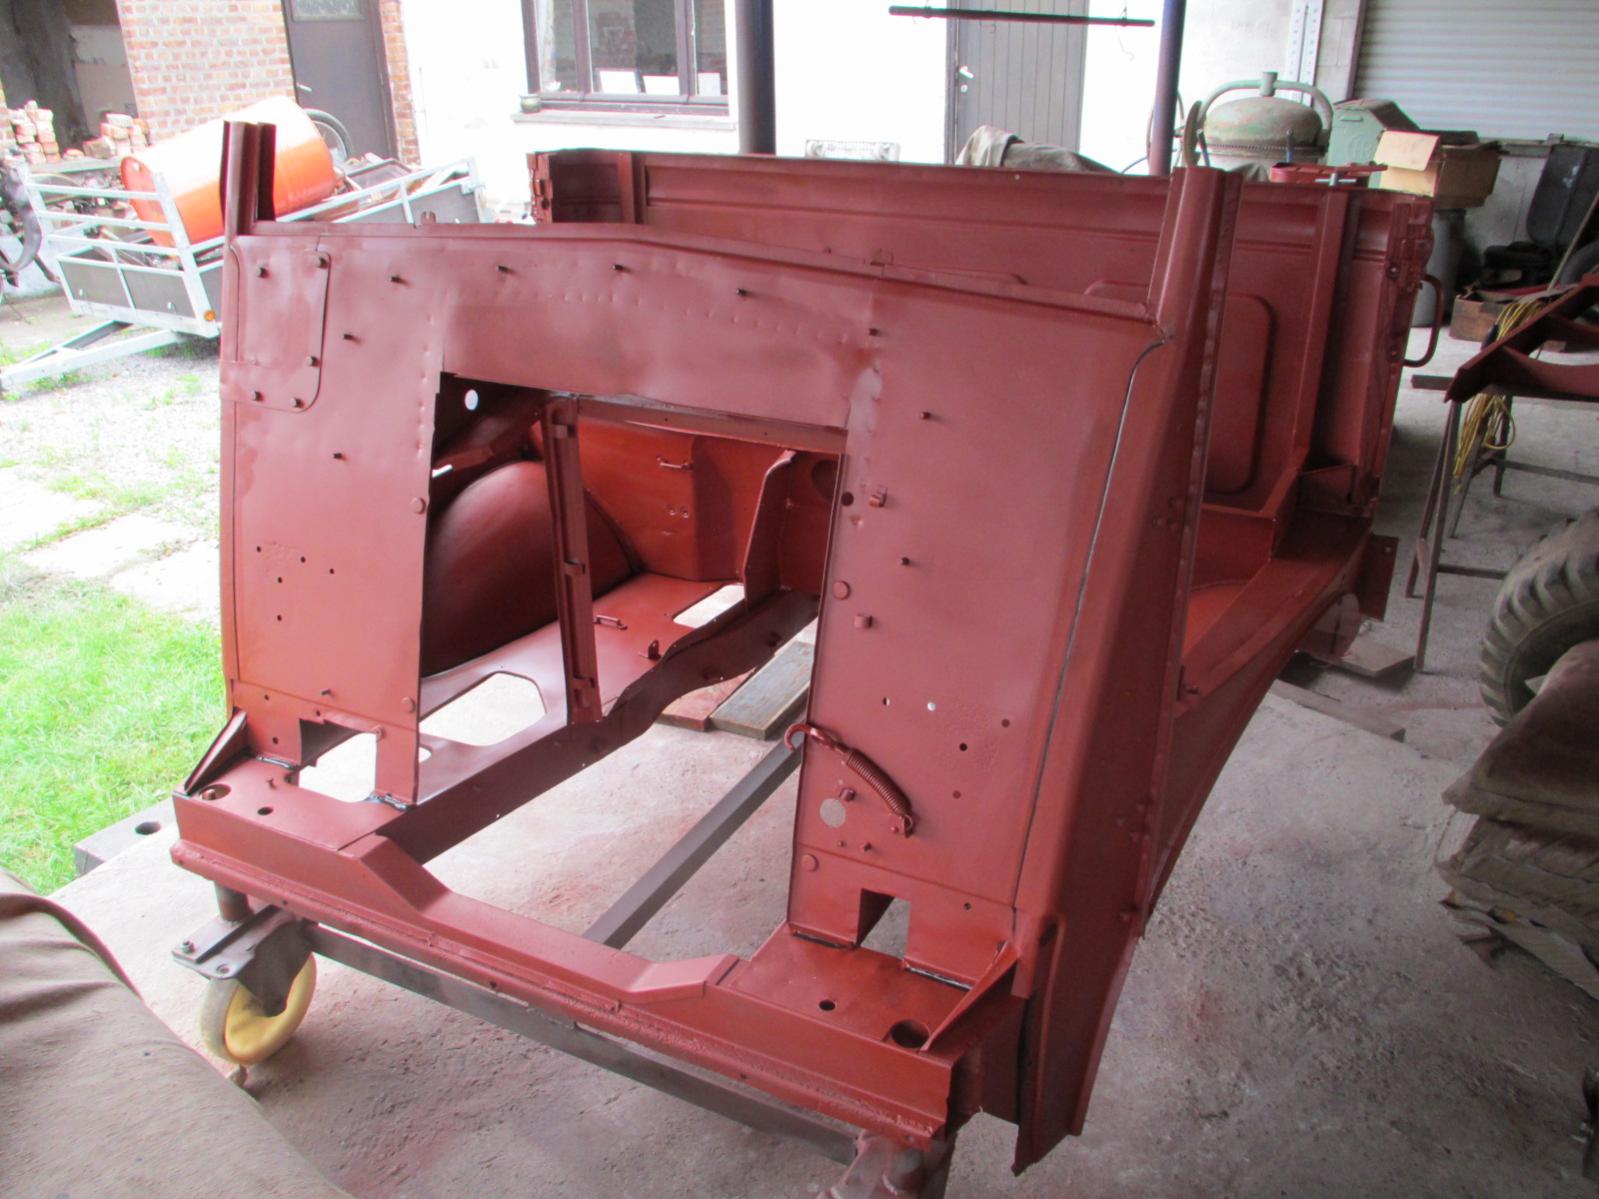
Went yesterday to collect the rear section of the QL office box. For ease of transport and as I don't need the top of the box this part (post war and was assembled in Germany) was removed on site. The floor under this construction is of a QLT and I will need to shorten this lot a bit as the QLD box I want to make is shorter. Fore sure I can use some chassis sections on it to repair my chassis, next weekend I go to take some pictures and measurements of a real British QLD with the right body on it (not a modified Danish body as thees are a bit different) and then I can start to replicate the body. There came also some bits with this lot that I don't need, petrol tanks from QLT with supports (bad state), rooftop ventilation openings and one still with a uncomplet ventilator. Will post some pictures of thees bits and put thees on the for sale page! Guy


-
The restored steering wheel, will need a pair of cloves if I use this steering wheel as the price of the restoration was a little bit high:-( But they made my a perfect restored steering wheel , and the problem if you find a second hand steering wheel for a QL they are al in such a bad state.

-
I am thinking to bend two sides of a flat piece of plate and the two other sides of the plate I will tray to weld a steeped piece of plate on to it. Just will need to shape the rounds a bit. Will have a look tomorrow to start on thees parts and post some pictures. Guy
-
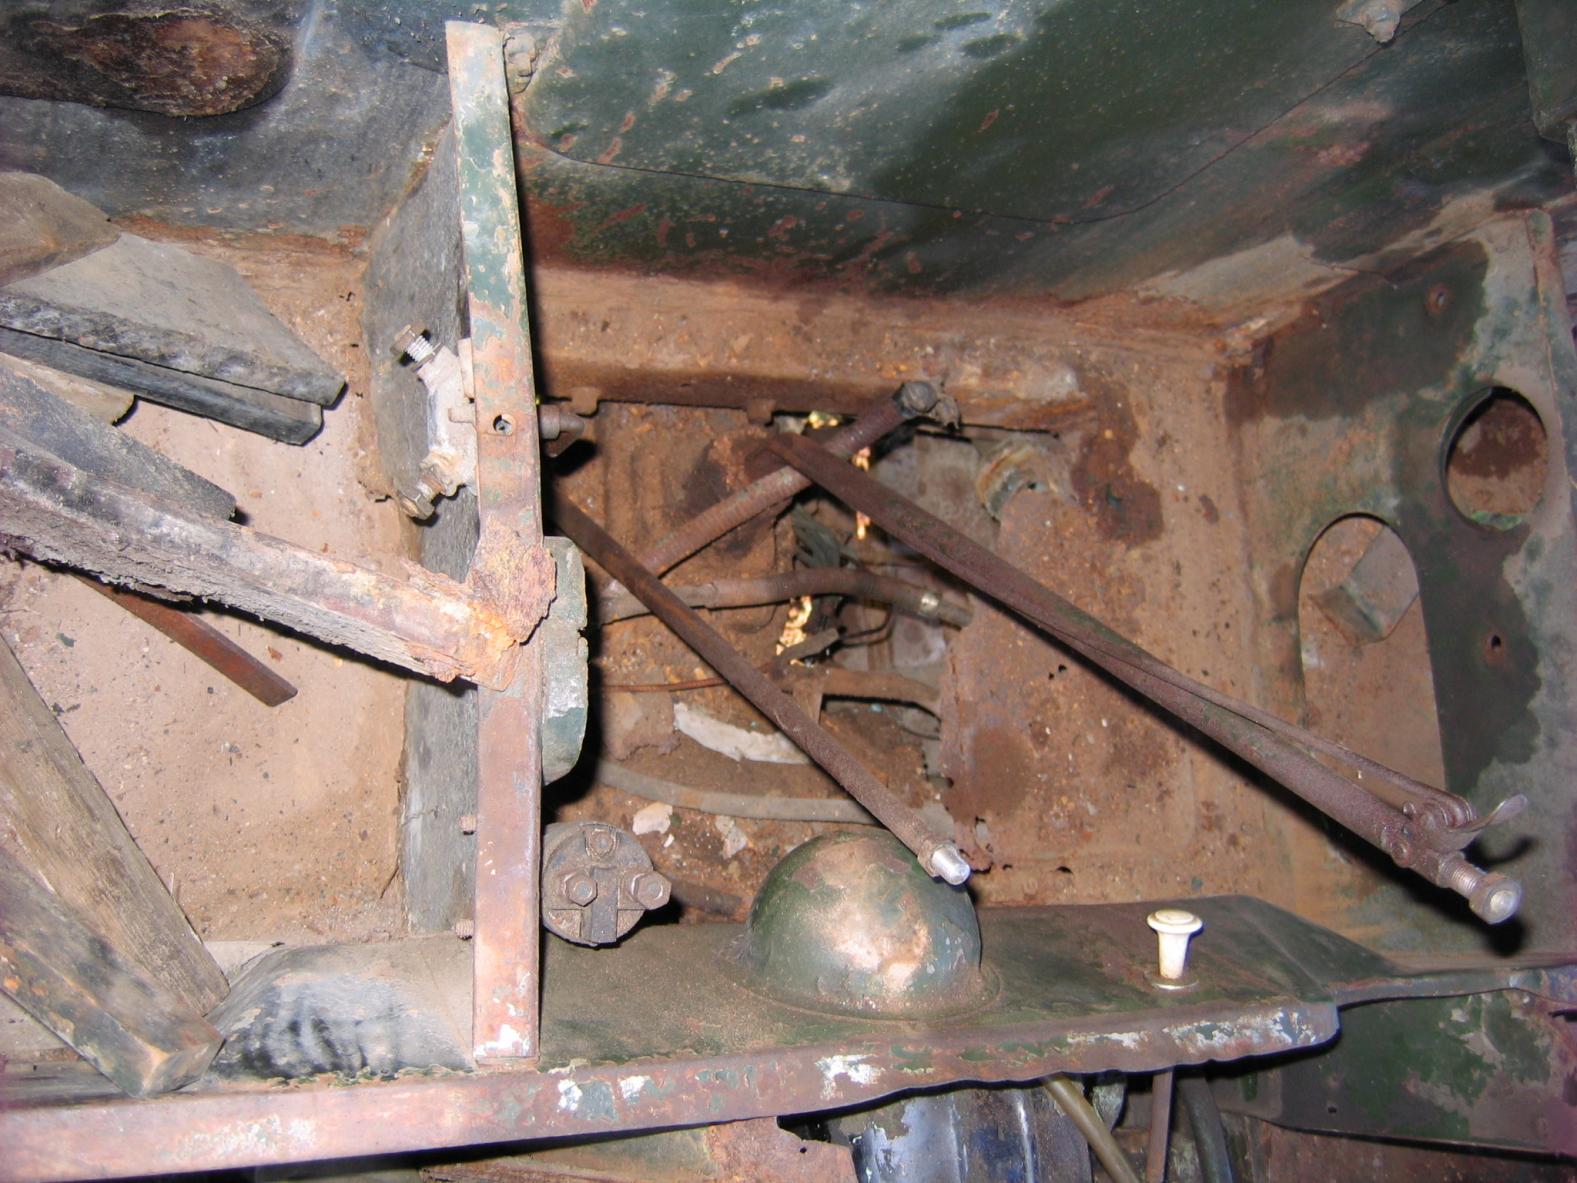
Hello Ian , the rusty bits on your pictures must be the panels that go over the gearbox. Don't panic as I need to make these also for my QL. Guy
-
Problem of the hinges is solved, bend the top hinge a little bit and a small shim under the bottom brass ball. This problem kept my entertain this afternoon. The parcel with my restored steering wheel arrived today and go on the QL tomorrow, a little bit expensive but a very nice restoration!
-
Did a trial fit of the doors but thees will need some adjustment, I will need to investigate how this is best done as there is now provision of adjustment on the hinges? The driver door is hanging of a bit and is difficult to close.


-
Made a new wooden battery floor, there was almost noting left of the old one. Before! and after

-
Sorry guys I have been at it again. Al thees parts I prepared needed to go somewhere on the QL. For my it is the most satisfying job to putt everything back on his place, it is such a easy job.


-
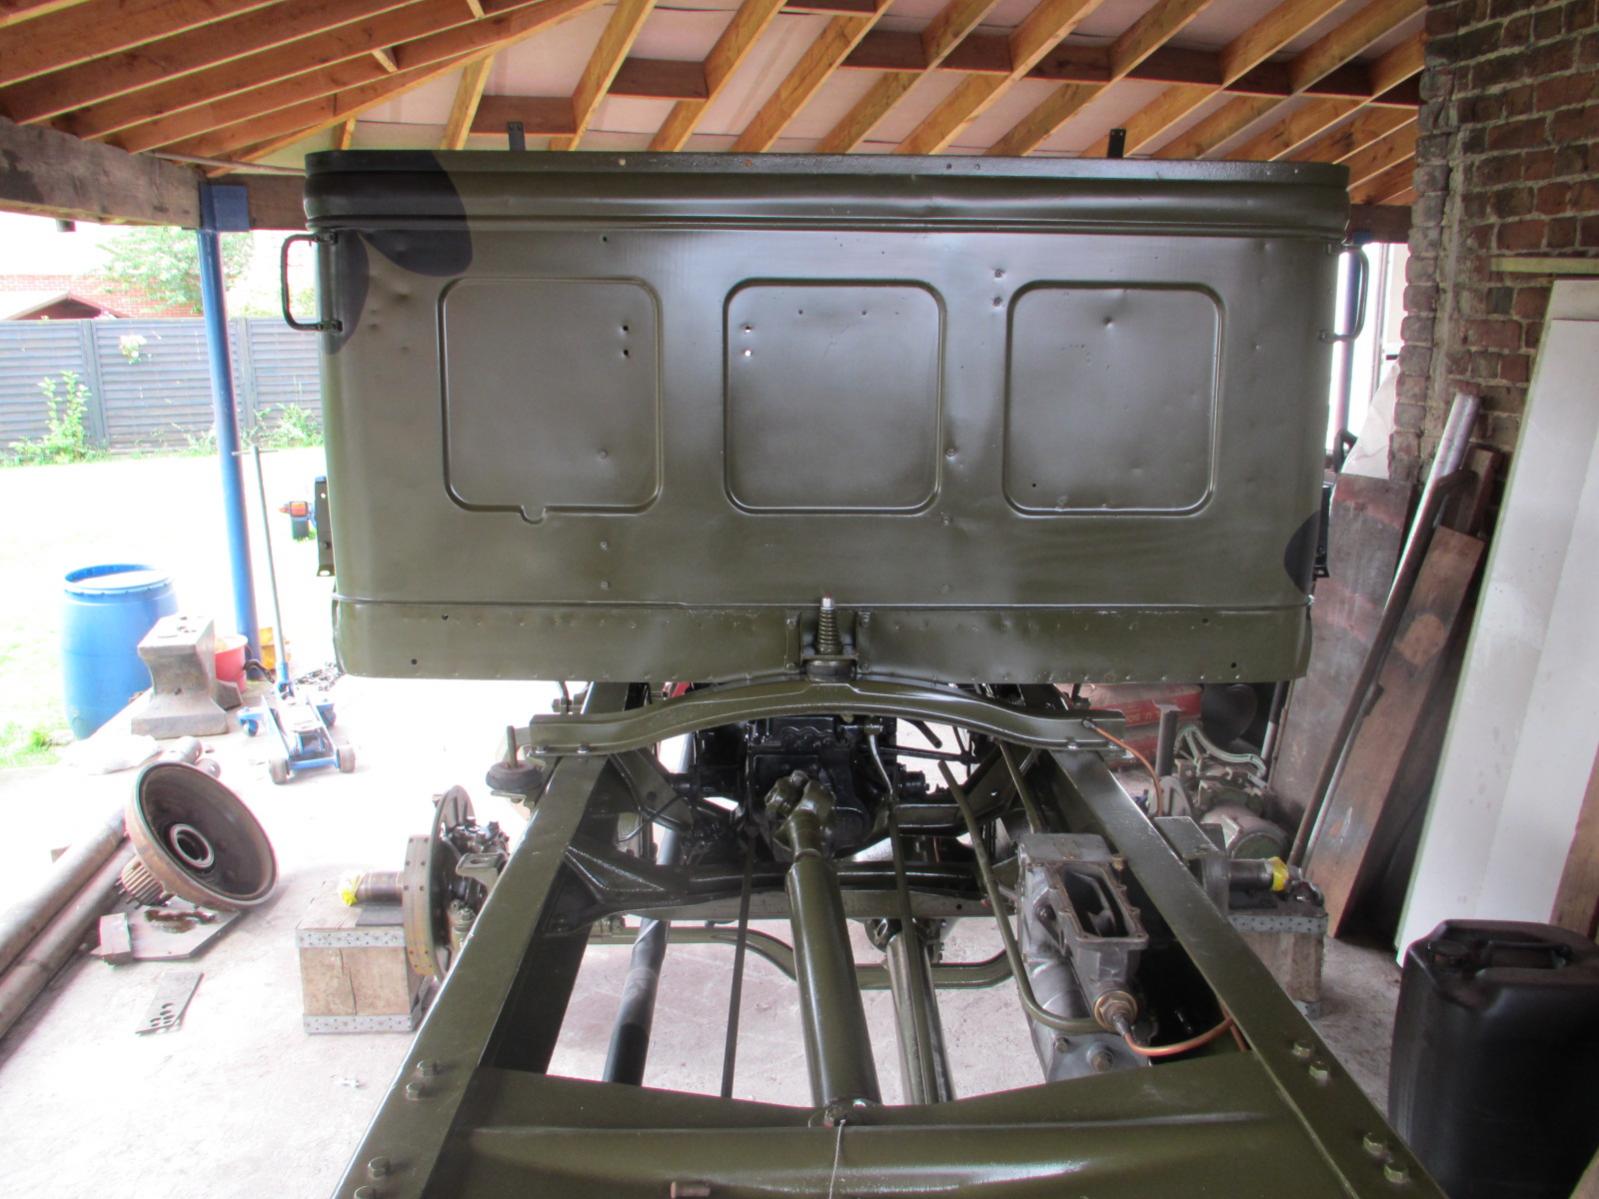
Cabin reunited with the chassis:cheesy:


-
Hello Niels, I just tray to motivate you and Ian to get your two back on to your bedford QL. It is so lonely on the forum as the only person that is working on his QL.:embarrassed: Guy
-

restoration WW2 20cwt Water trailer/bowser restoration
guy66 replied to Ian L's topic in Blogs of MV restorations
Well don Ian, I think they need to lock you up in to the workshop with all this work!:nut: Next week I possibly will put the cabin of the QL back on the chassis. Guy -
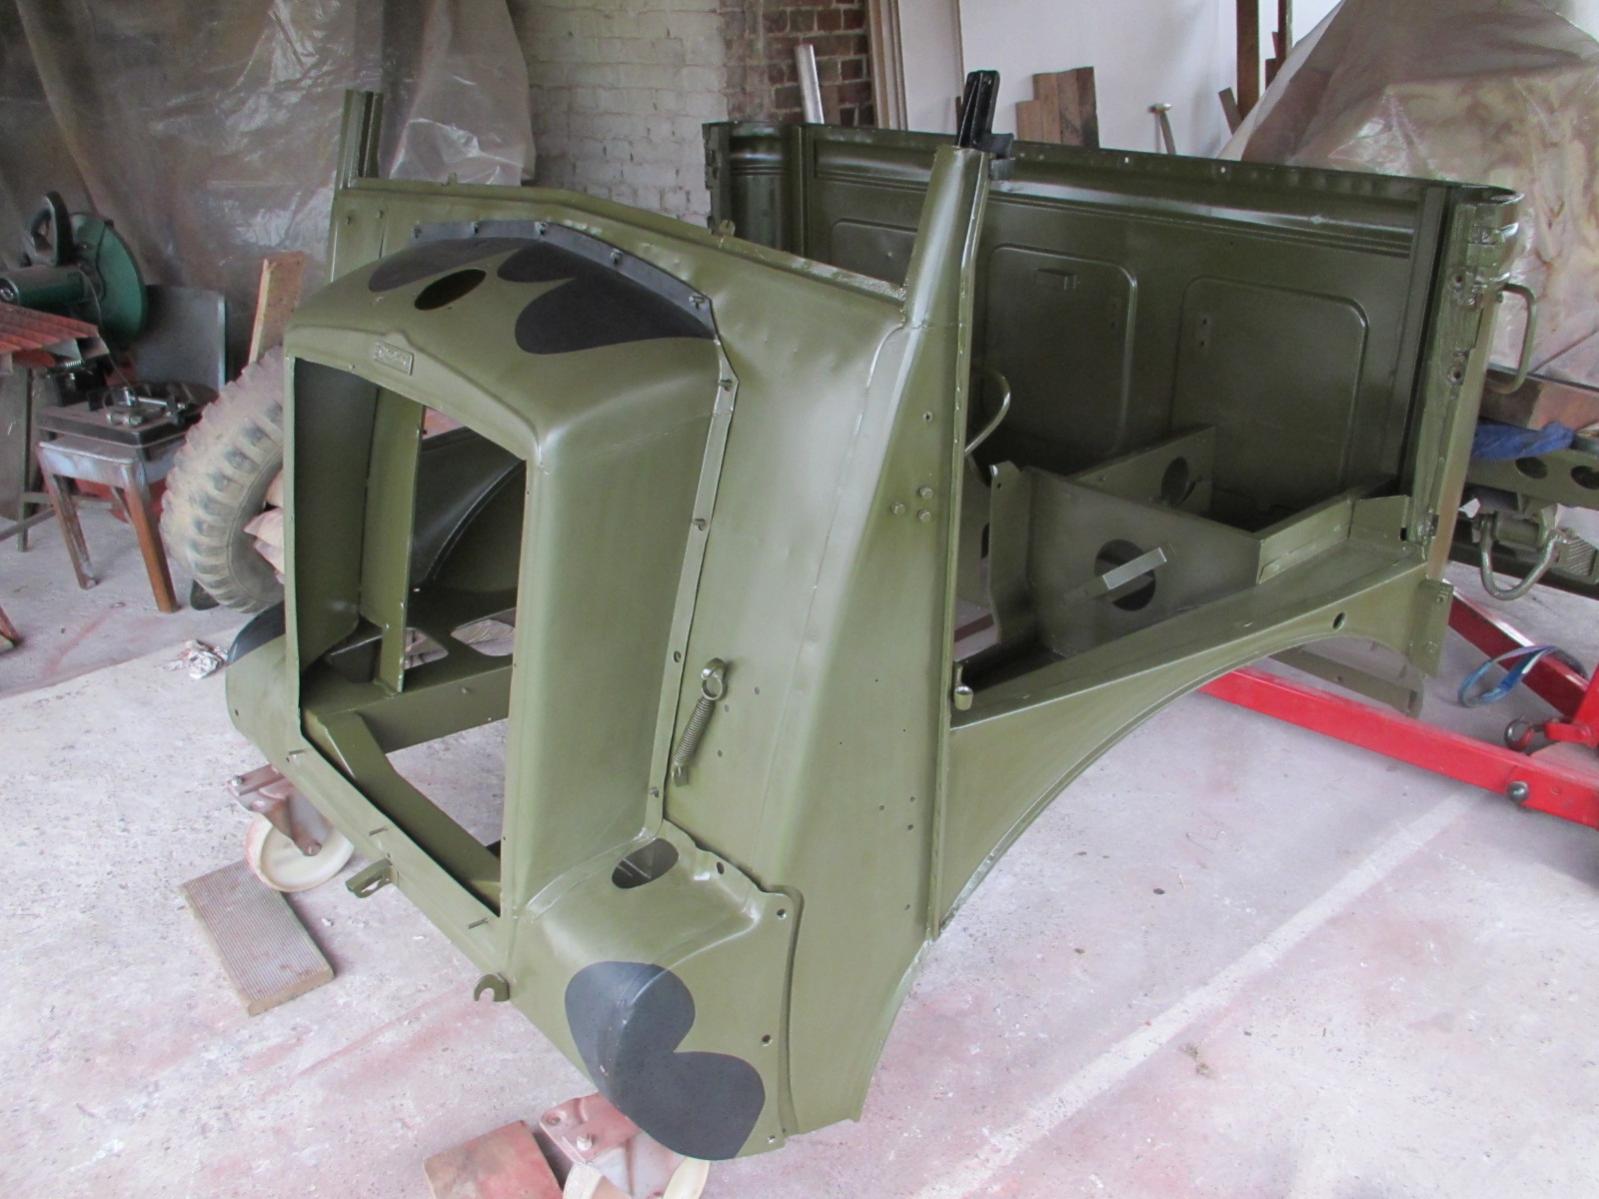
A real boast in the restoration of the QL, the cabin is now in to paint and I need just to ad a little bit of black for the camouflage on the cabin. Had also a trail fit of the radiator cover for the black Mickey mouse paint on this part of the cabin. With some luck the cabin will be over the engine and frame next week!


-
Hi Ron, can you take some close up pictures of the holding clamps and the levers on the handlebar. At fist glance at my levers and fittings I was not sure if this is the original set up. Will take some pictures and post them this evening. Guy
-
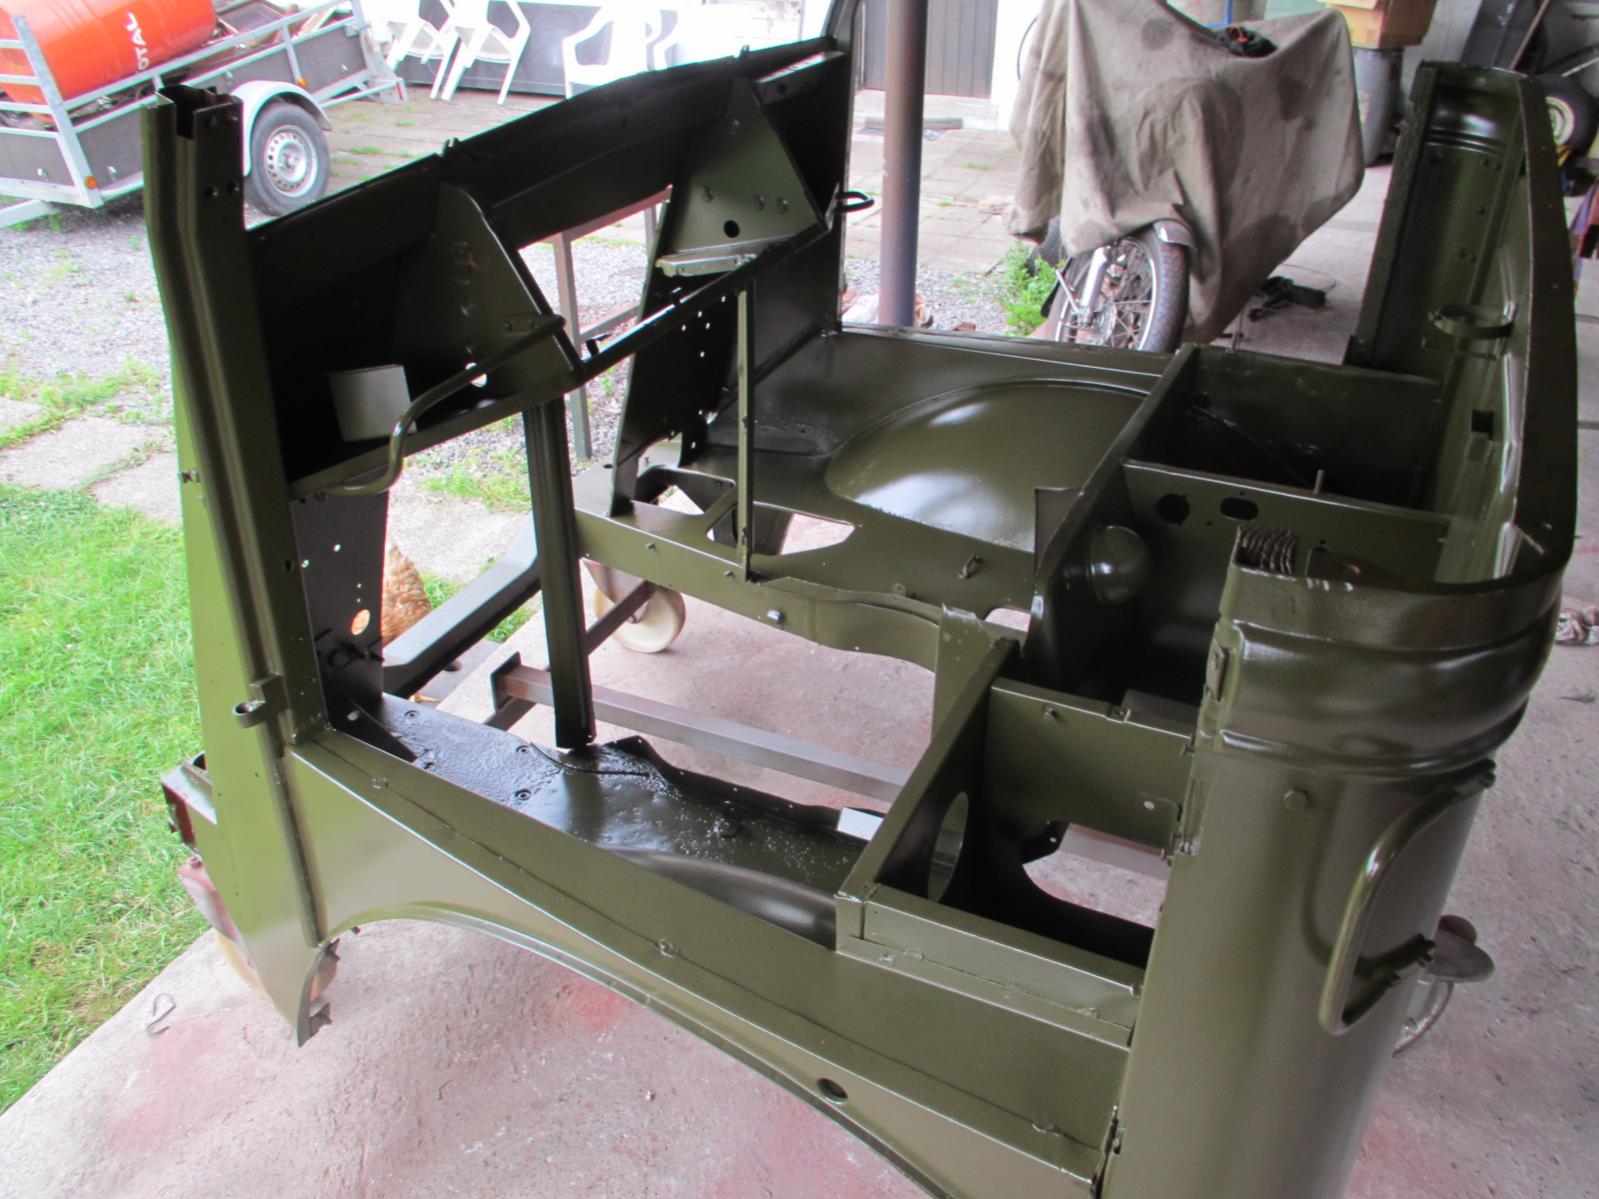
Bottom of the cabin in to primer , I still need to do some more welding on one of the wheel arches. There are some small holes after the sandblasting, but not serious .

-
Before and after !!!


-
Yes it was found in Belgium, Someone with a big collection of military stuff is selling out bit by bit on it came out of his collection. Was last road registered in 1974 and think it must have been standing some 30 years without use. Guy
-
Yes that was the first thing I did today, the rear light go in to the box of auto jumble bits. Sorry for this inconvenience.

-
Hello Ron , yes I am into triumph's but cold not let slip this bargain. If you find me a triumph 3TW I always want to swap!!!!:whistle: The Matchless is from 1943.
-
A matchless has joint the military vehicles but is in need of some green colour! Now for the moment this project is on hold because I will give the Bedford QL some priority. Guy


-
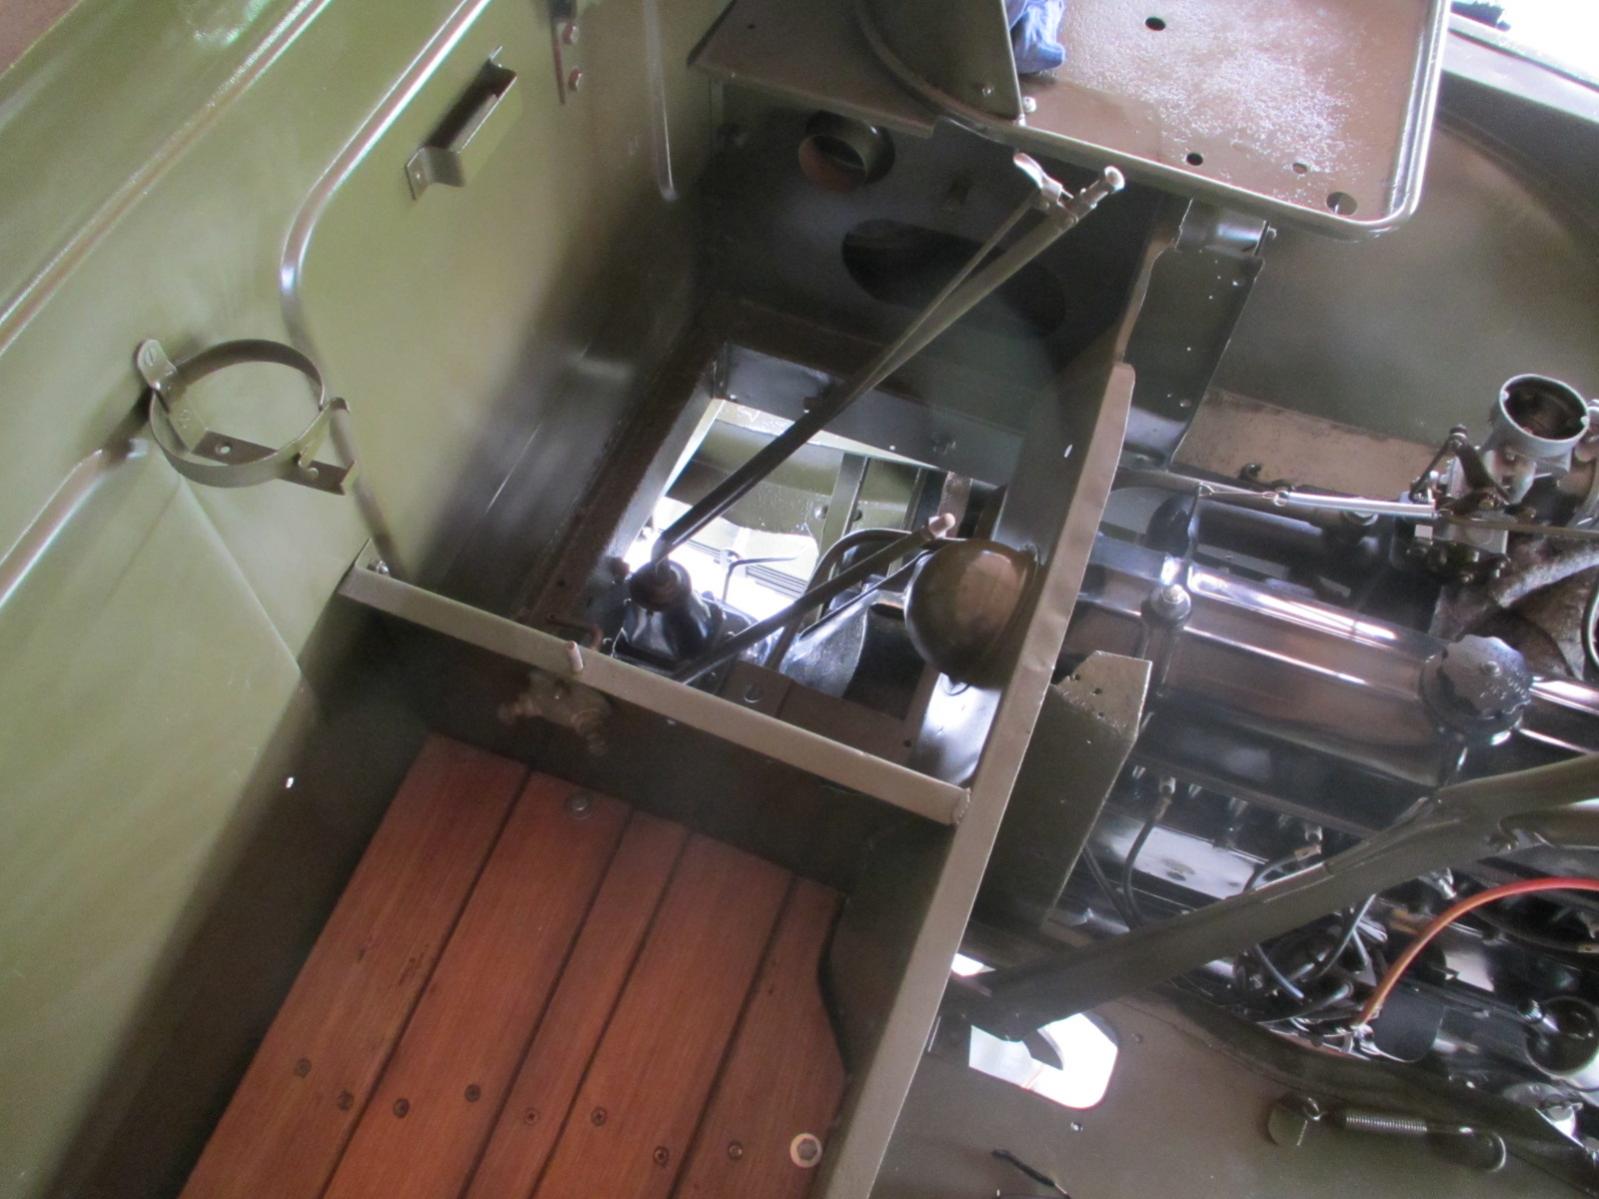
new brake lines back on to the frame and engine in to place on the QL.


