


guy66
-
Posts
747 -
Joined
-
Last visited
-
Days Won
5
Content Type
Profiles
Forums
Gallery
Blogs
Events
Articles
Store
Downloads
Everything posted by guy66
-
As said I made a start on the engine re-build, wind to collect the engine from the machine shop and the bores are now on 040 oversize. We just made it with 040, there are still some small rust marks on the top of the bores butt this will be now problem. Mounted the crankshaft back in the bloc but had some problem with the nut lock plates on the bolts of the middle bearing caps , as soon as I wanted to torque dawn the bolts the lock plates where bending in the tightening direction and the bolts did not torque well. Replaced thees lock plates with tight fitting washers and some tread looking compound on the tread. Guy


-
Tomorrow I go to collect my engine, it was in need of a re-bore and we had to use the middle oversize (040) as the bores where not 100% on the first oversize (020). We think that this engine last was run some 15 years back , the rust in the bores was really deep. This problem is solved, up to the next one. Next week I put the engine back together, the good news is that the bottom end is in match better condition. Guy
-
Almost there with the driver side:undecided:.


-
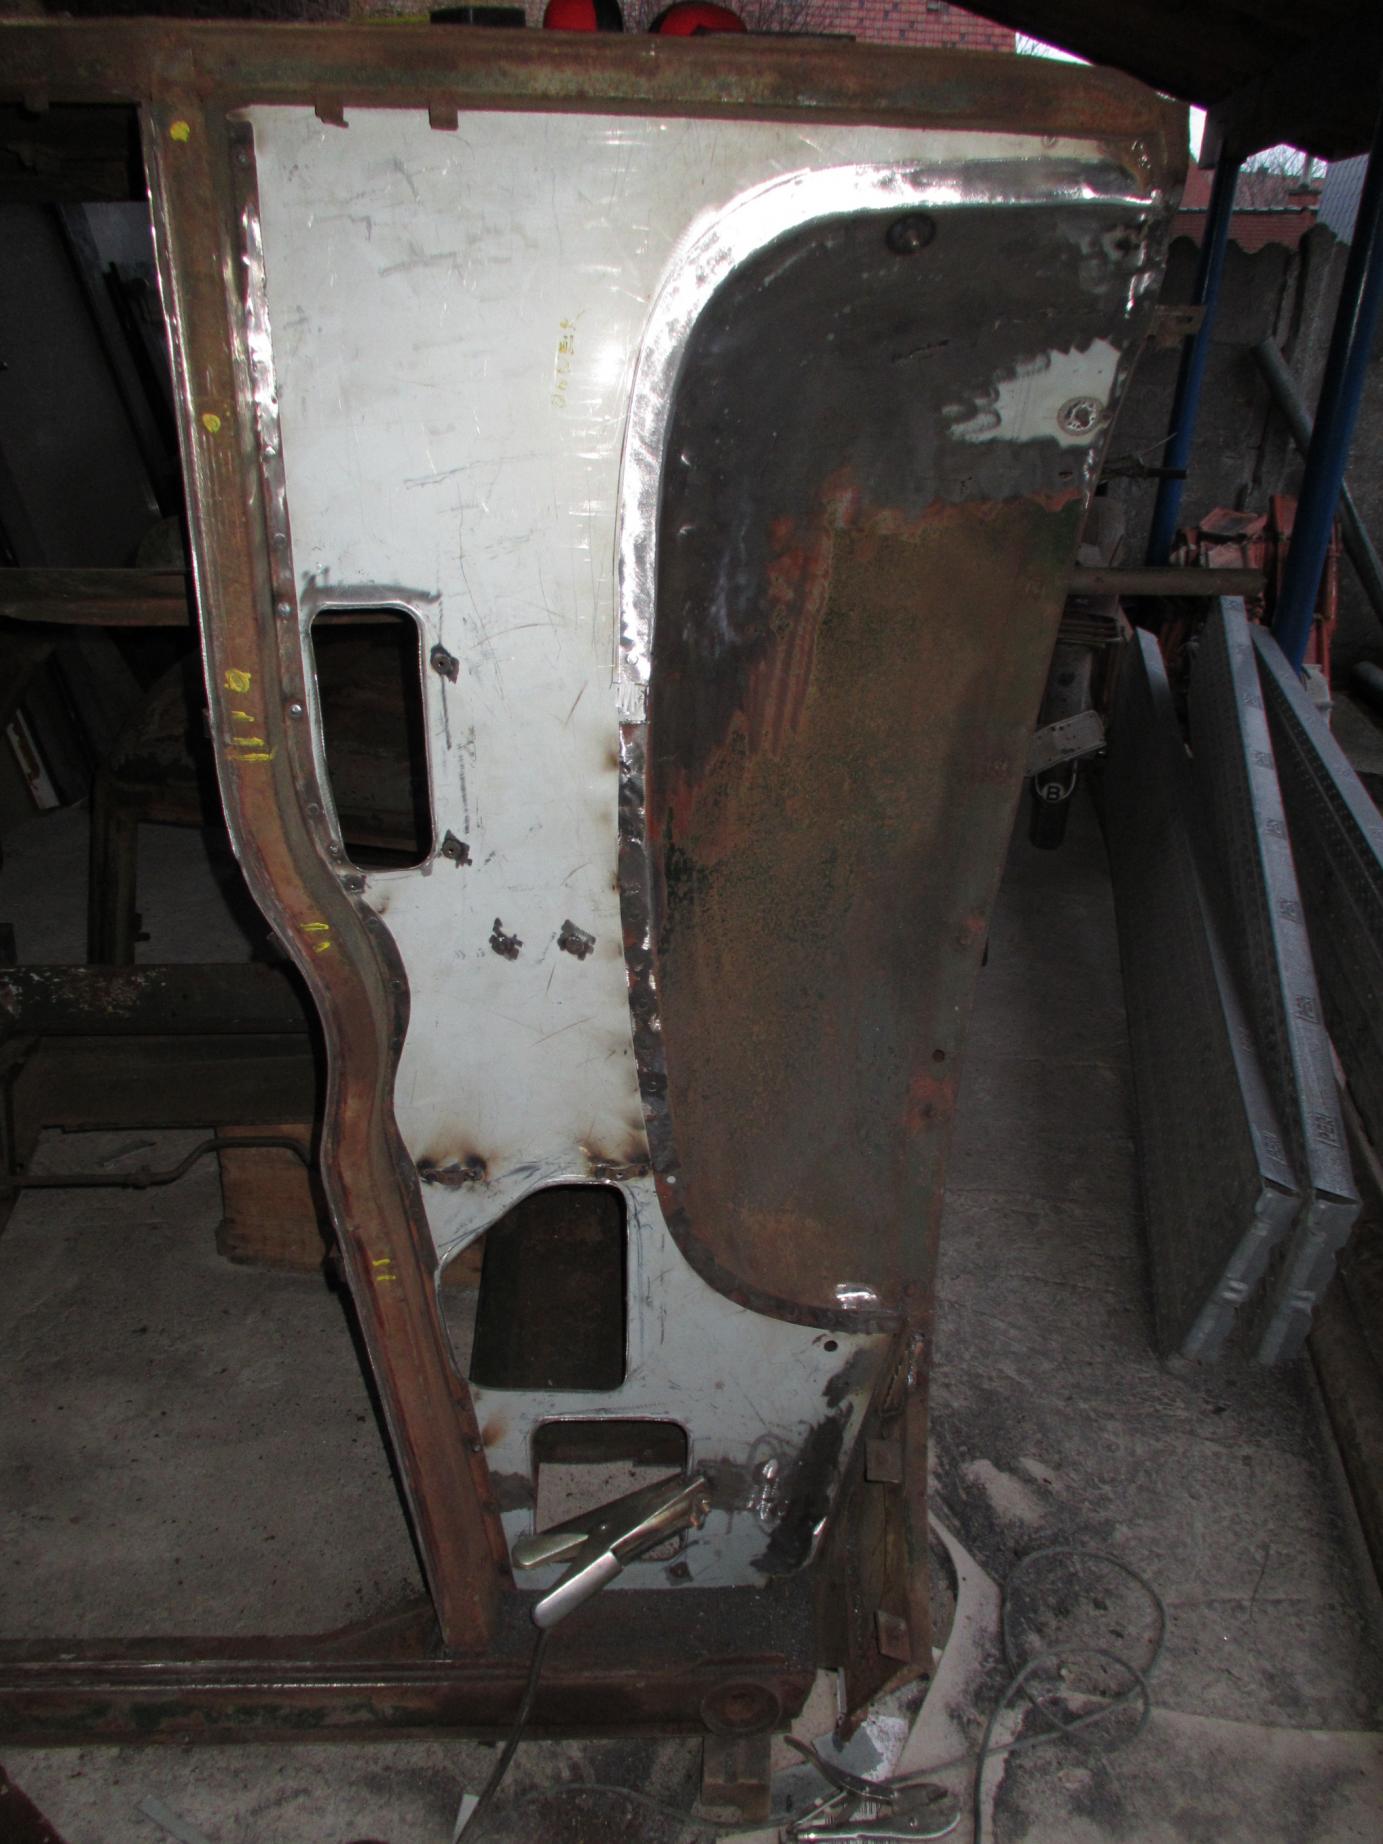
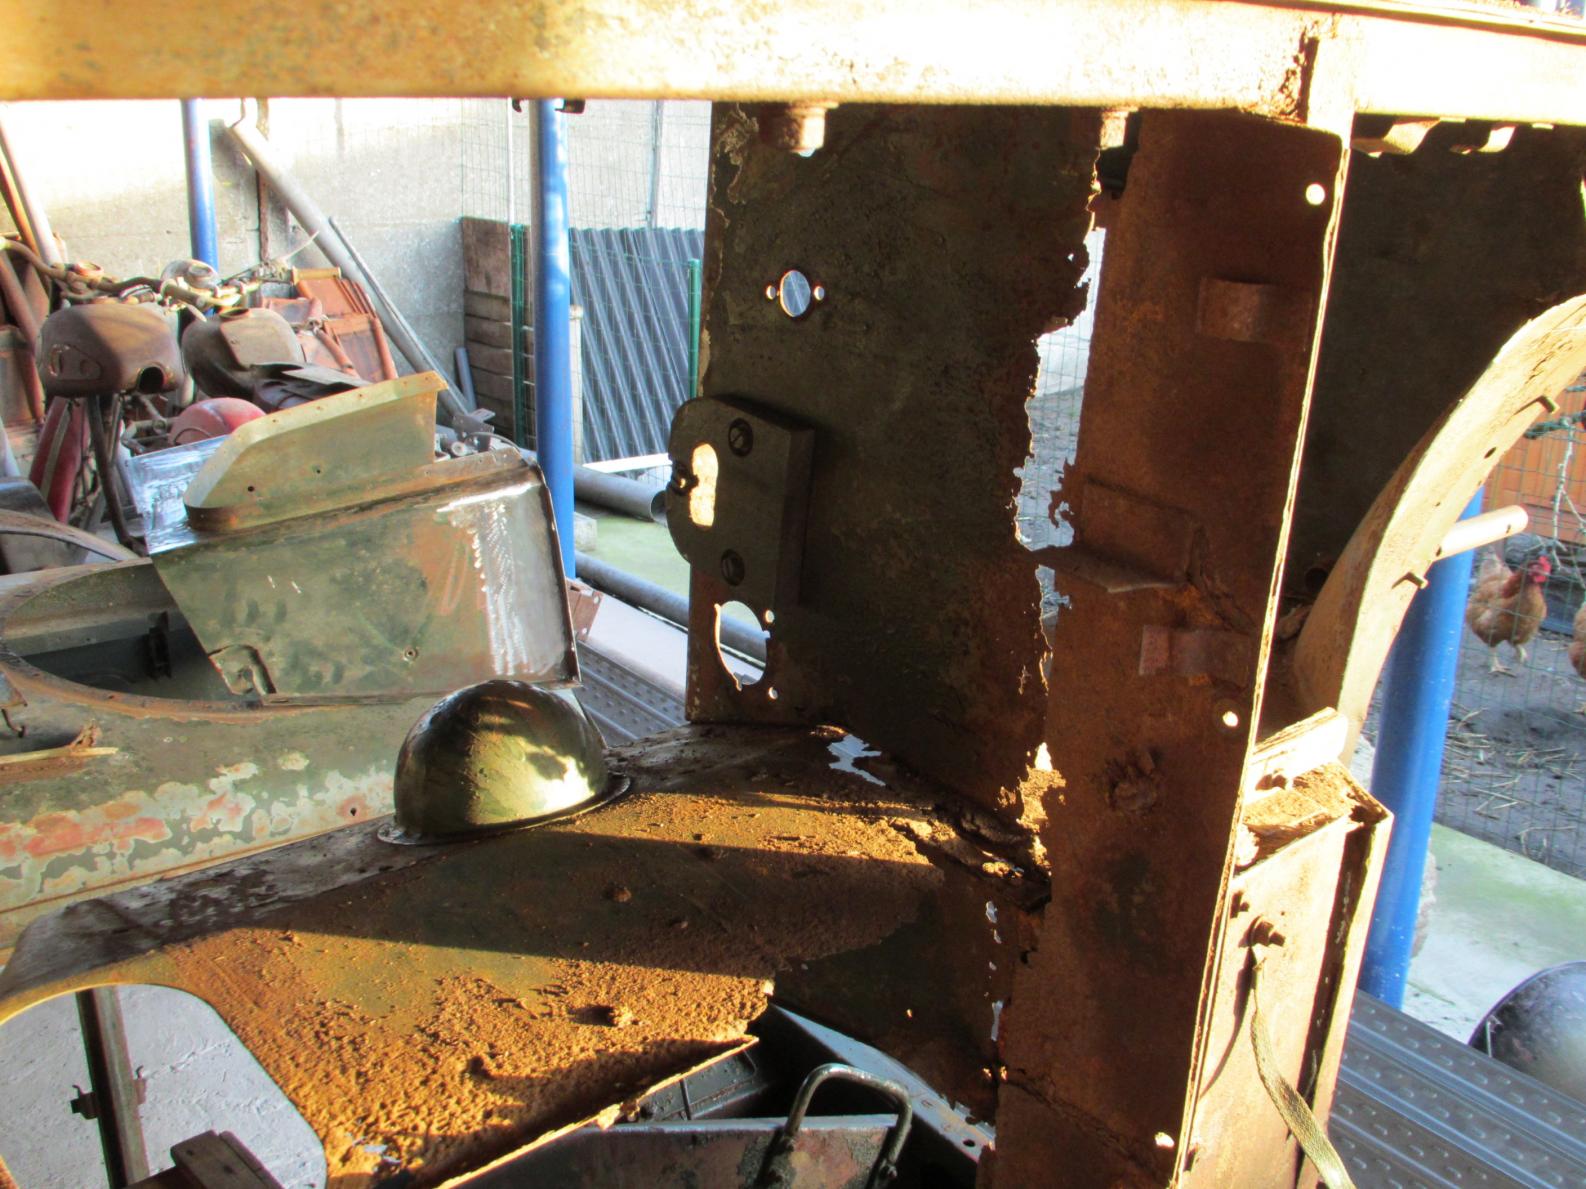
The sheets on the floor have some zink on them and I just put some protection on the welds before the the cabin go to the sand blasters to have evereting in to paint.
-
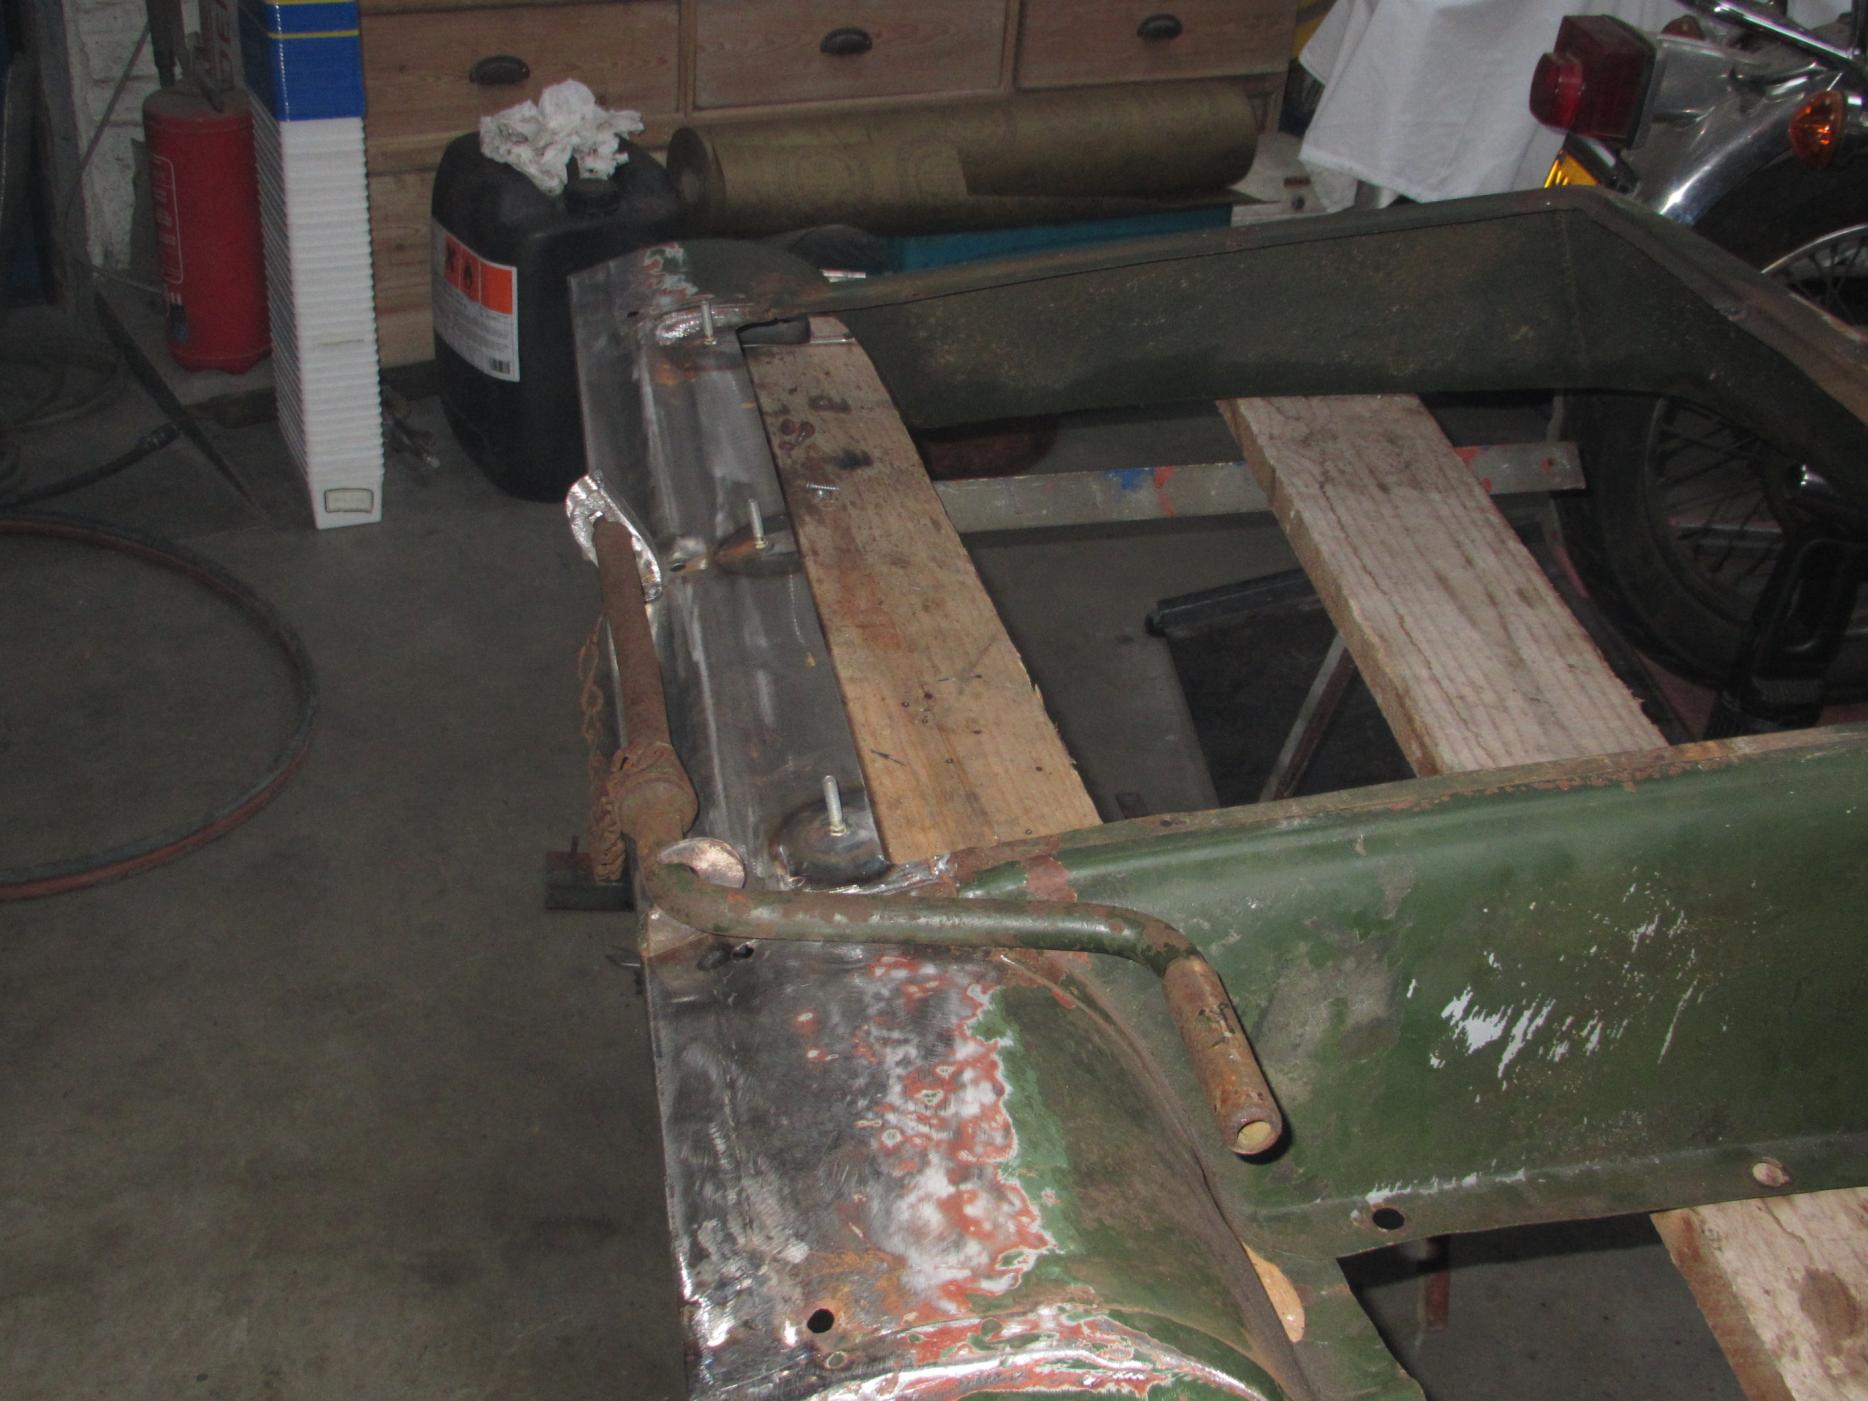
Work on the wheel arch don, we are getting there! Just some small repairs in the corner of the under seat space (battery location ) and then we move on to the passenger side. At first glance this side looks a little bit better. guy


-
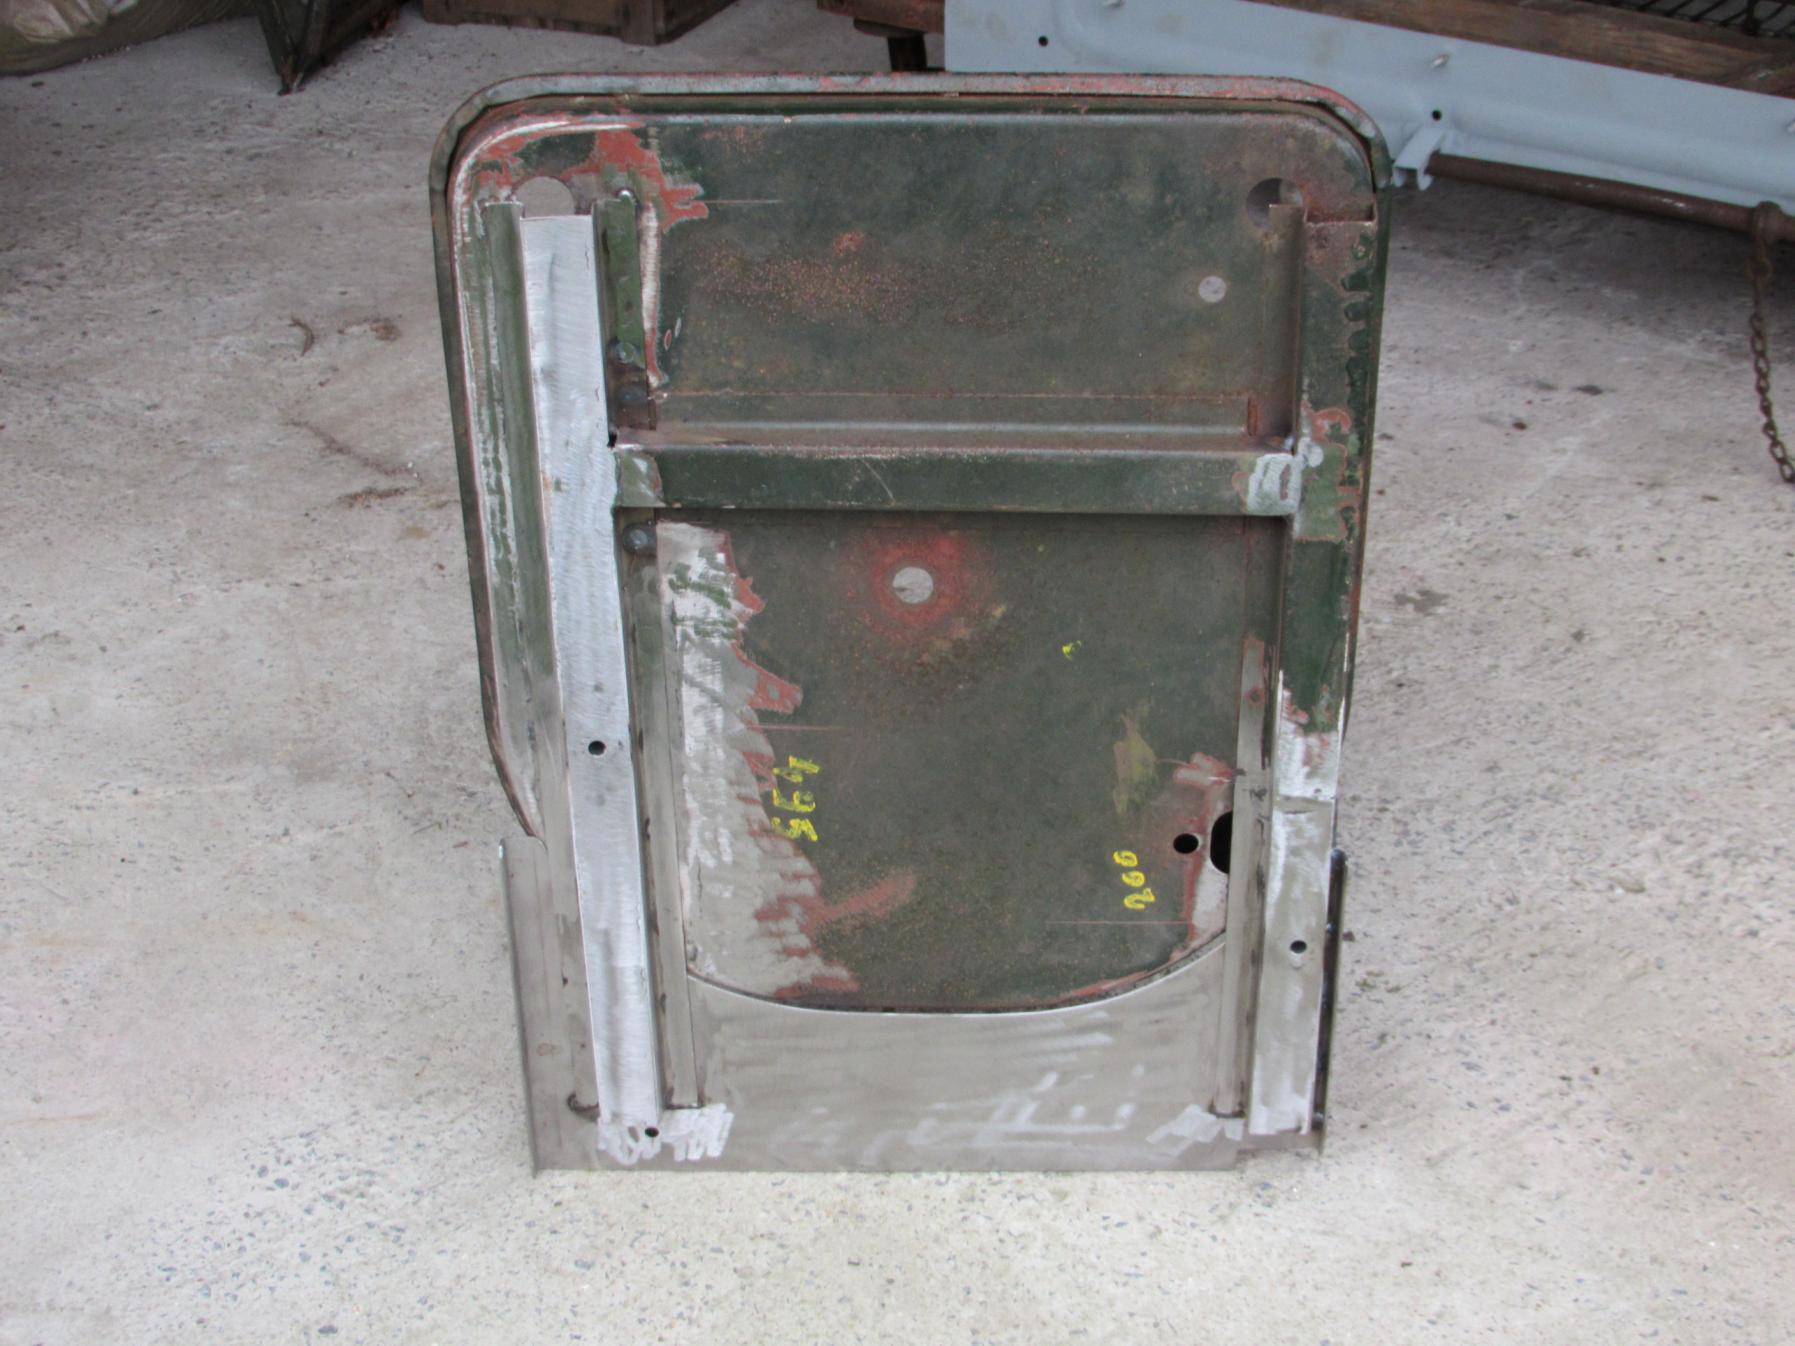
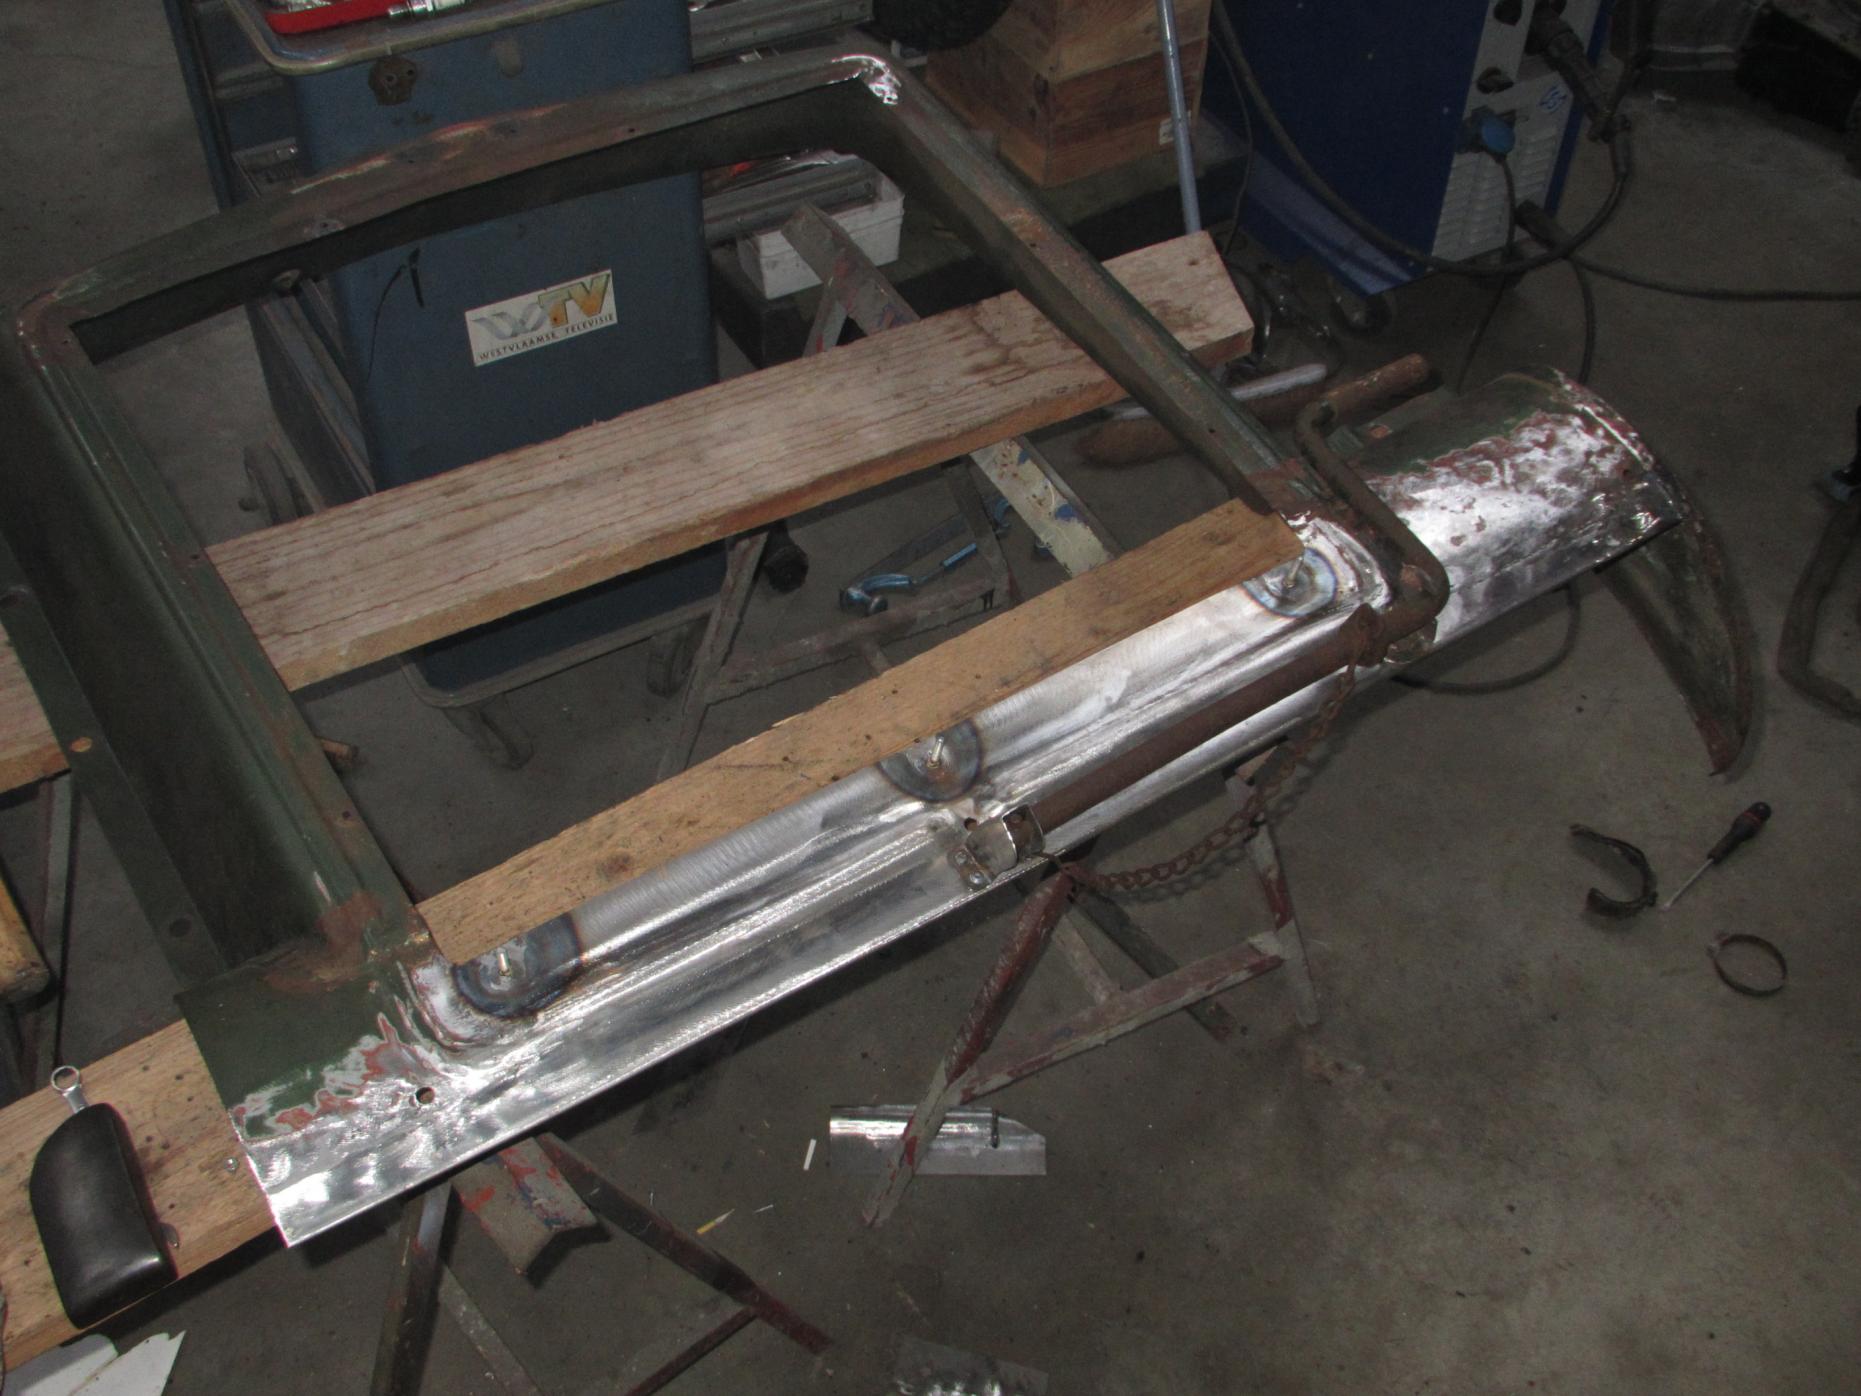
The drivers floor is almost finish , weld everything in place and now I will need to use al my talents to make the repair section for the wheel arch. As there is not match left of the original part I will need to improvise a bit and use the remains of the cut-out part and what is left on the passenger side as sample ! Also made a trial fit of the newly made upper floor section (the part that sits round the pedals). Guy


-
Thanks Niels for the measurements of the side panels. As soon as the body work on the cabin is ready I will start on the chassis and last but not least will be the cargo body. It my still be some time that I will need thees measurements butt I like to plan my work before the start of the job , and it is always good to have some idea what materials and work will be involved to make something. Made some good progress on the driver side floor, made a complete new floor section and do the welding work today. Will post some extra pictures this evening on my thread. Guy
-
After some more welding work ( yes the cabin is very bad) made a trial fit of the divers floor, and will need to do some adjustment on the front of the floor section. It is a big piece and with what was left of the original floor it is always a challenge to make it fit.

-
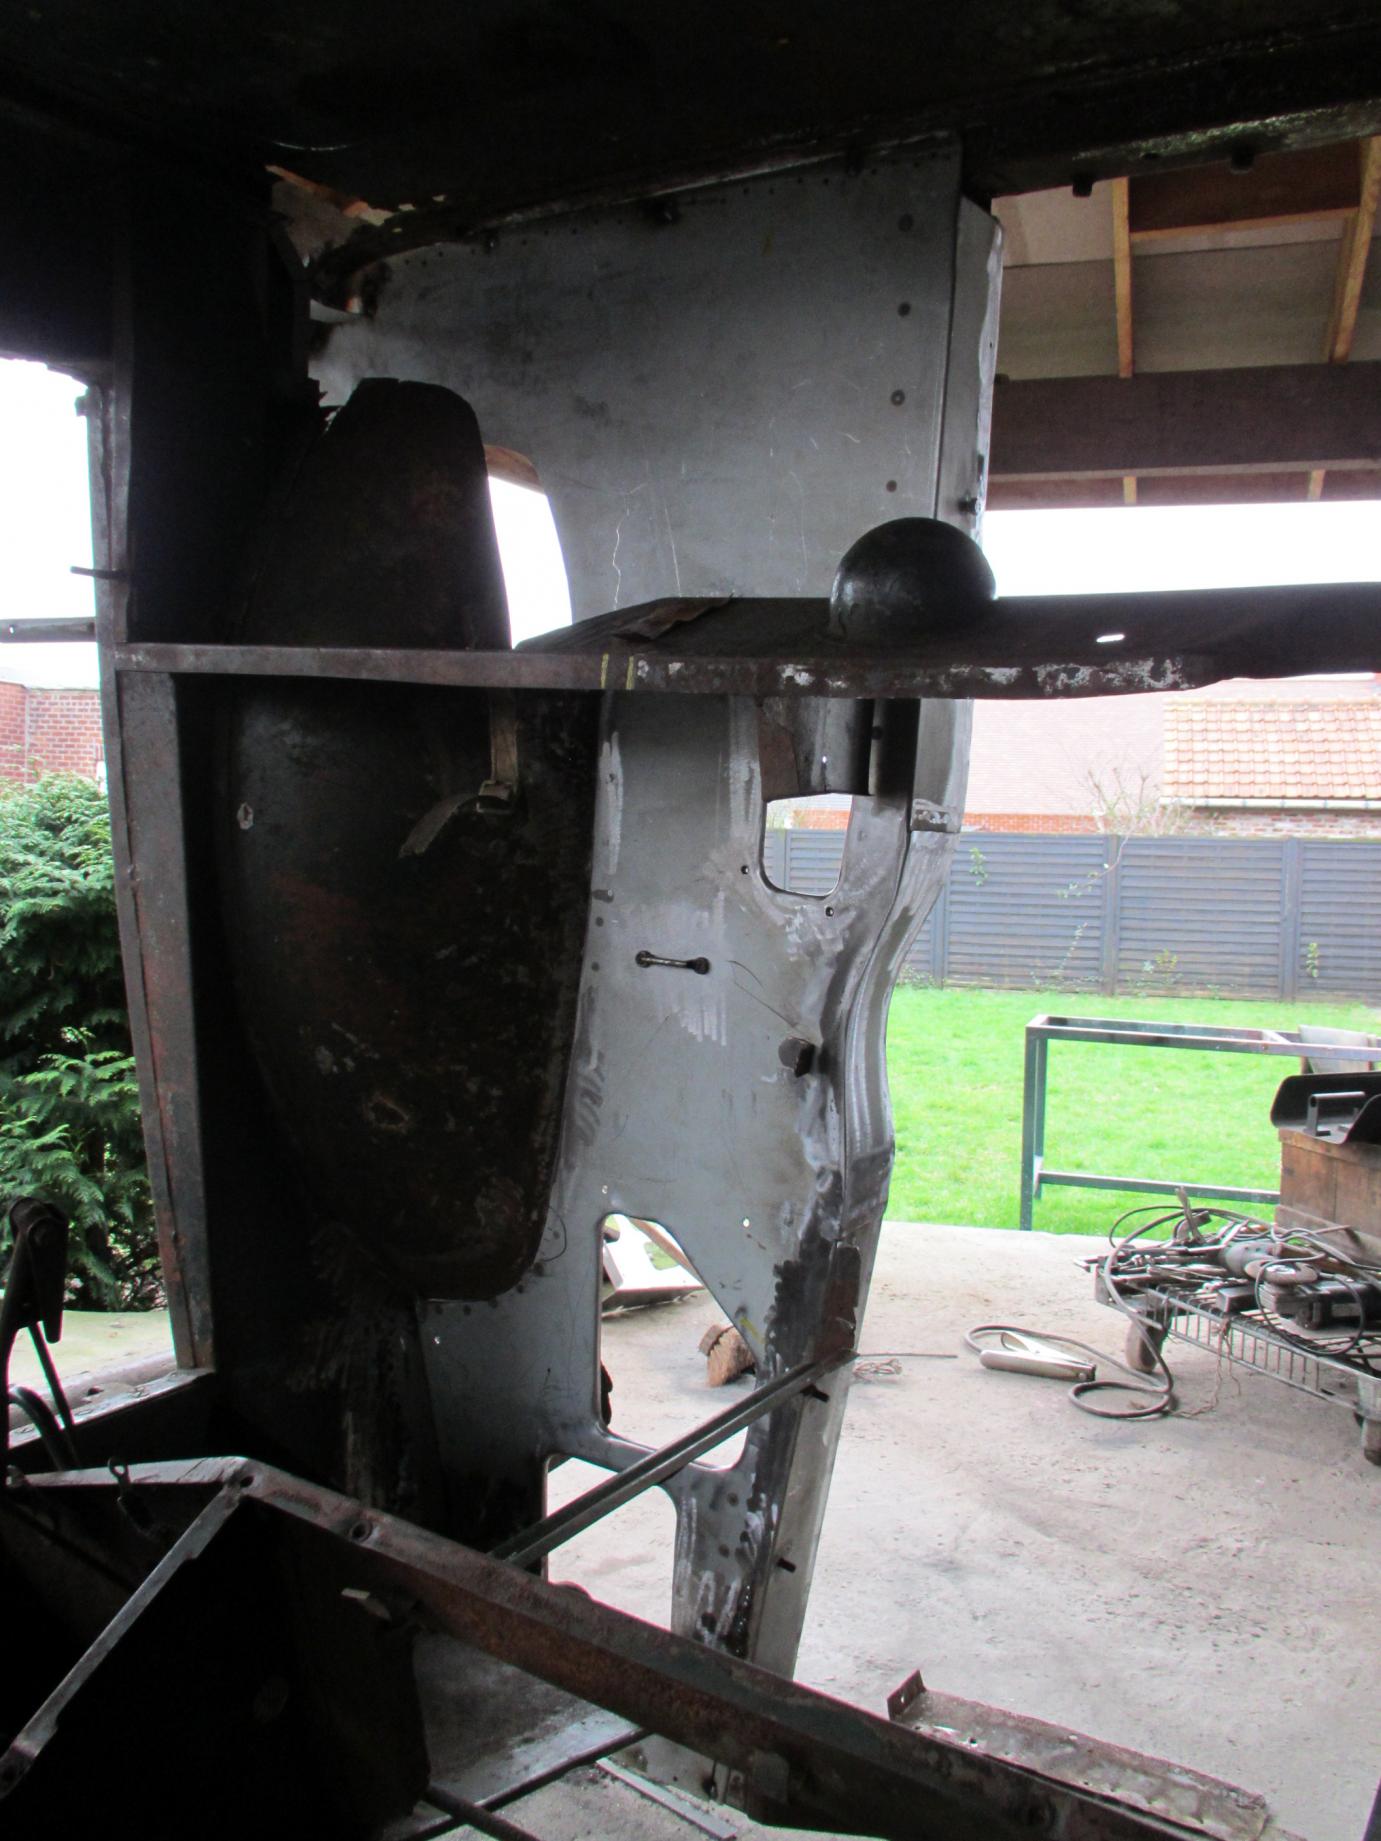
You can call this a lucky escape, some luck that the driver was sitting on the right side (are wrong side for us). On this picture you can also see go vulnerable the cabin is, even in a small collision the cabin gets al the impact as there are no real bumpers on the front of a Bedford QL.
-
Yes Niels its thees pictures that I wanted to see, If you can send some more pictures about the junction between the sheet metal plates (inside the cargo body). I think that there are 4 sections on each side of the body, if possible can you send the measurements of thees 4 sections? And possible some extra info and details on the front of the body, are there 2 metal sheets on the front and are there angle iron's on the front? If you can see on may restoration thread I did fond a floor section of a QLT and need to have some idea how the side is made of a QLD body. Guy
-
After a good look to the drivers floor I decided to remove it completely as there was not match good metal left. Today made my a new floor section and will tray to fit it tomorrow, also re-made the corner piece. Guy


-
Hi Niels, is it possible to send my some extra pictures and measurements of the rear body sheet metal side plates? I am after the measurements and also want to know go thees are bend to fit to each other and how thees fit to the supporting angle iron. Thanks Guy
-
Some fresh metal on the driver side of the floor, but there is still some new metal needed on the floor but this will be for next week. And also some pictures of the TEV-type body that the floor section and a chassis cross member will be of use on my QLD.


-
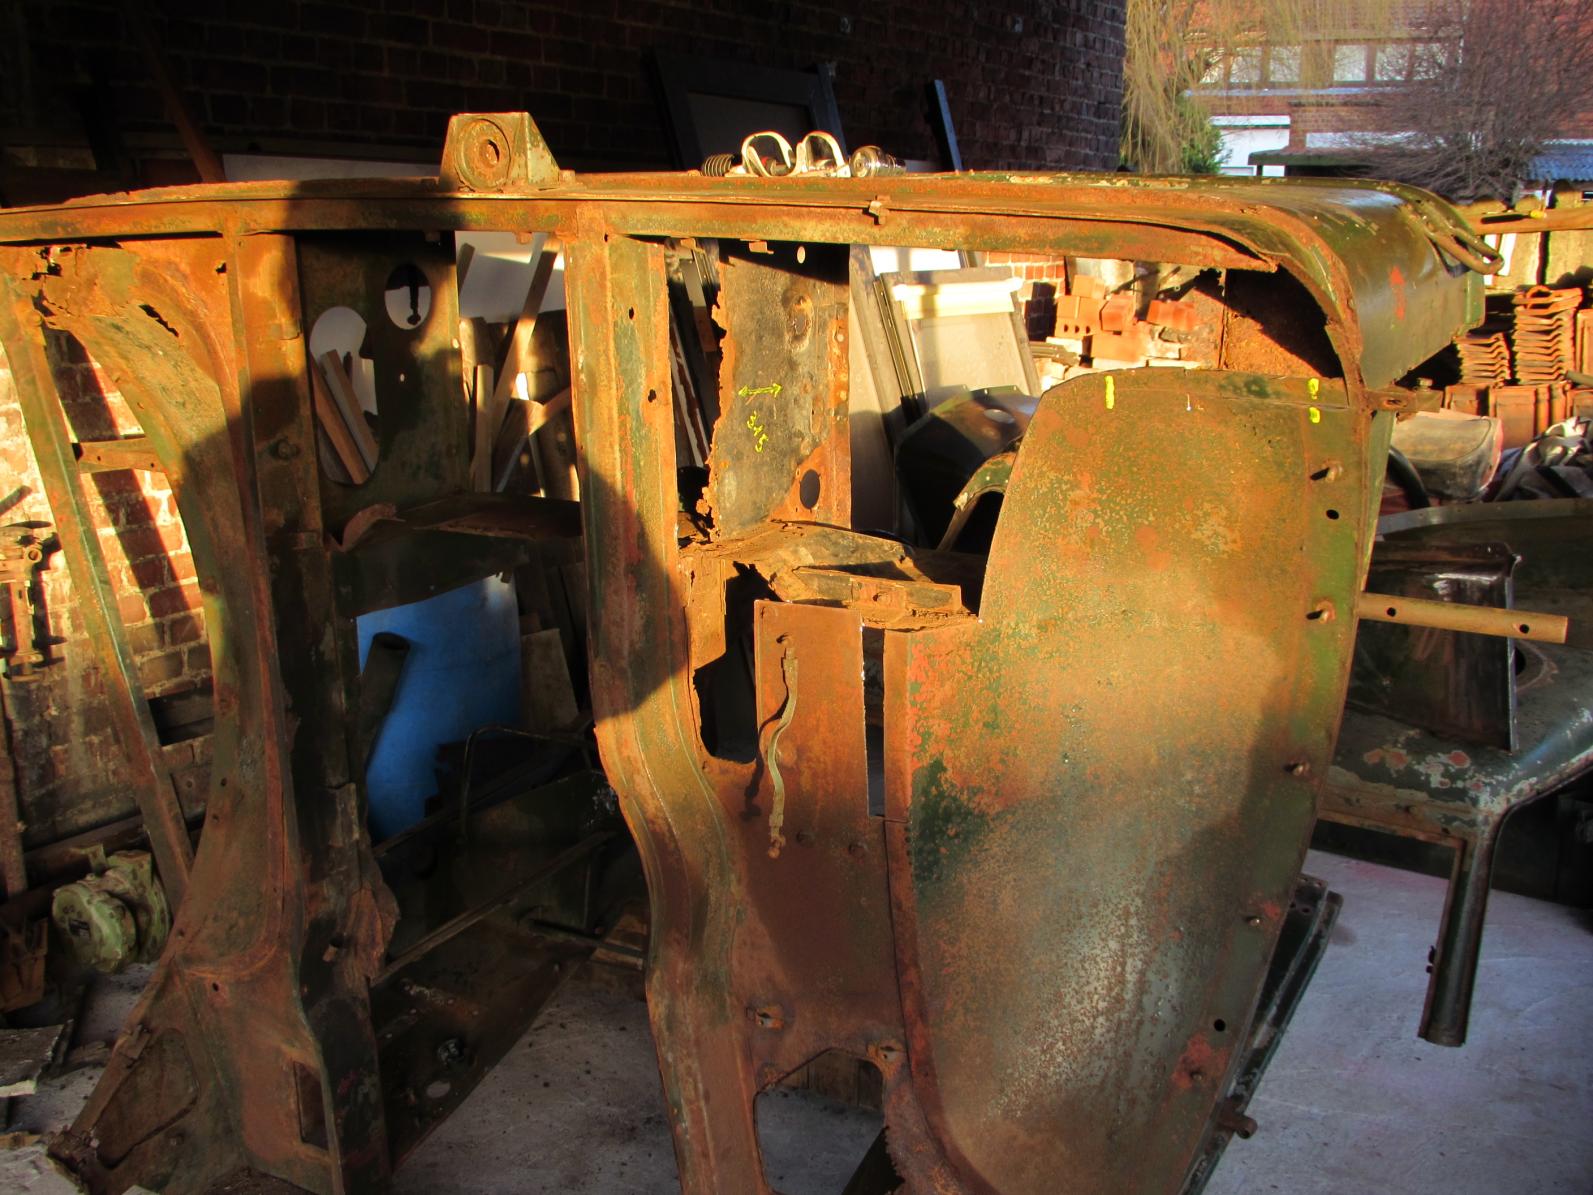
Here are some pictures of the cabin after the battle with angle grinder! I don't can cut to match rot in one go, because I need to have some reference points and templates to make copies.:nut::nut::nut:


-
Hello Niels, the bad work on the cabin are al on the back ( under the seats) the of the cabin, just had a start today on the cabin and it is bad, yes as the Jackson's said it is bad. Looking to have a starting point on al this rust, but made a start. I will post some pictures of the work (cutting of old metal) Guy
-
Some extra panel work on the QL, trial fit of the radiator cover, passenger seat repair (was in a bad state because the bedford had been standing without copula cover) and made some new sections.


-
Hello, and how is the work on the cabin progressing, I am just curios because we are in the same league. On way Ql al the lose body parts are almost repaired and very soon I will start with the main cabin section. Keep up the good work! Guy
-
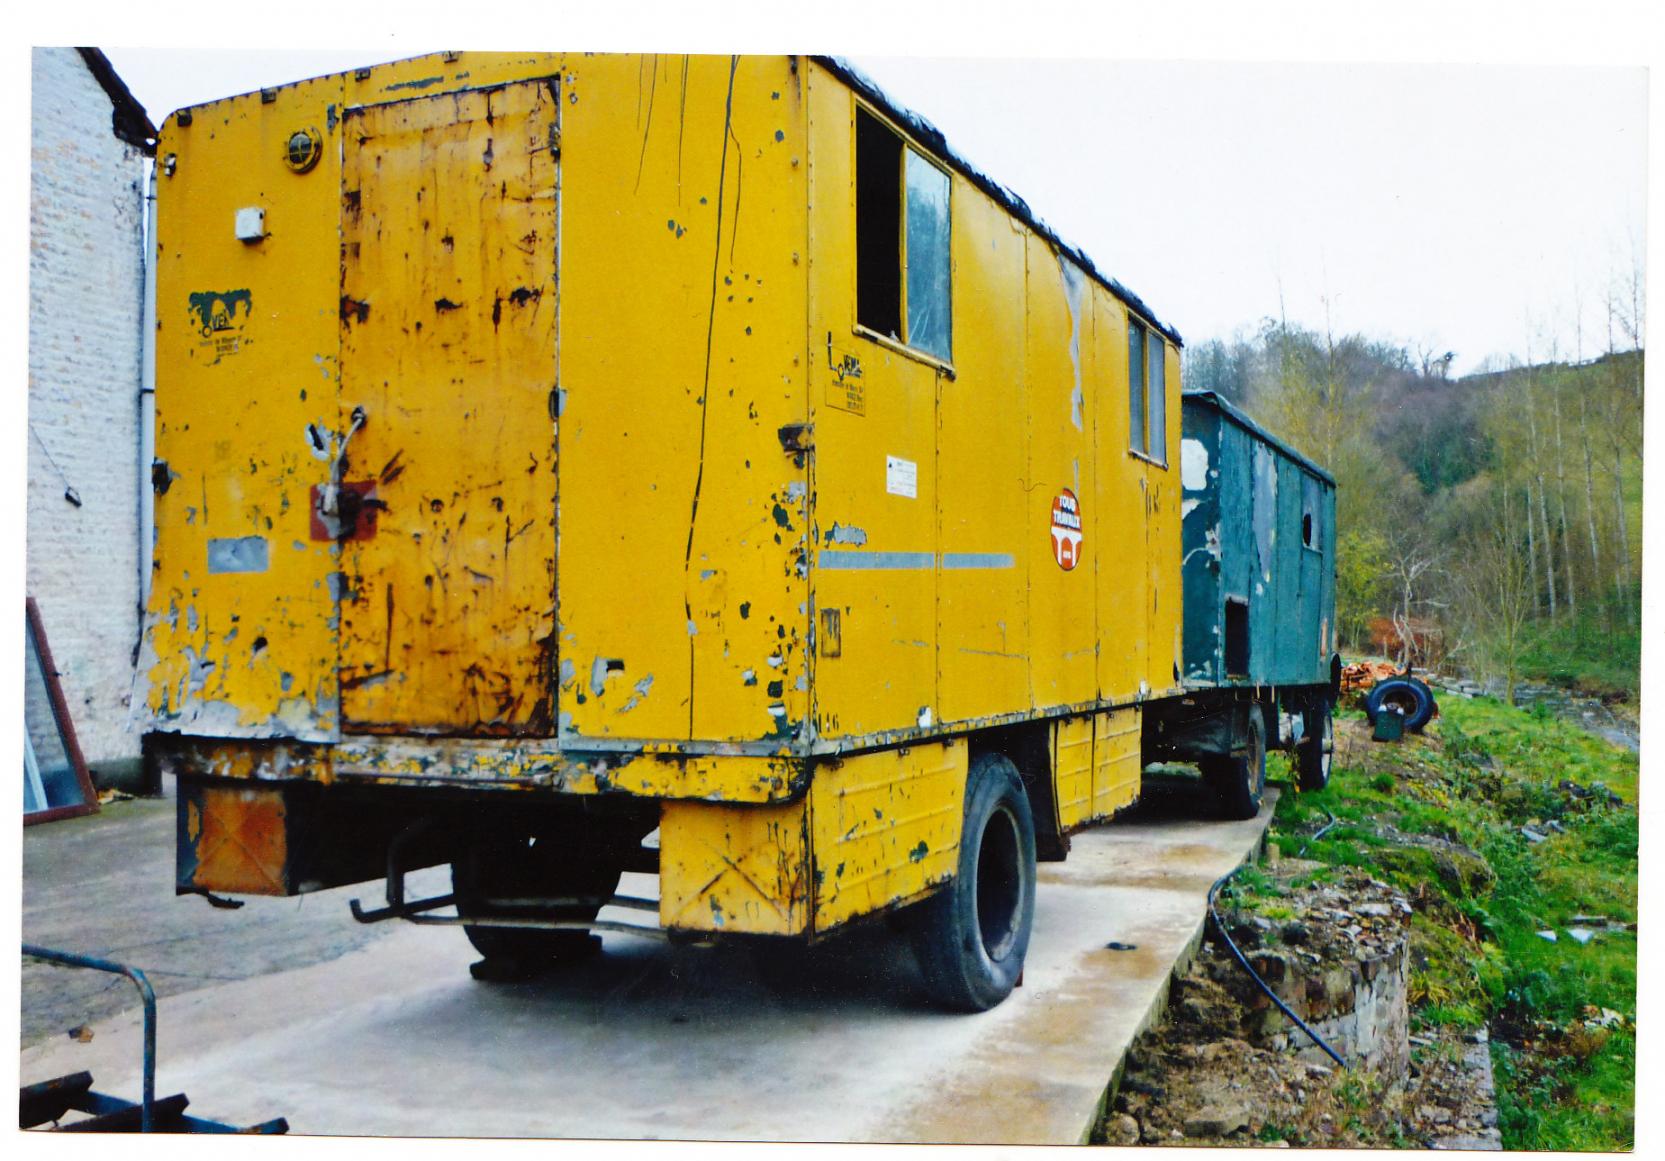
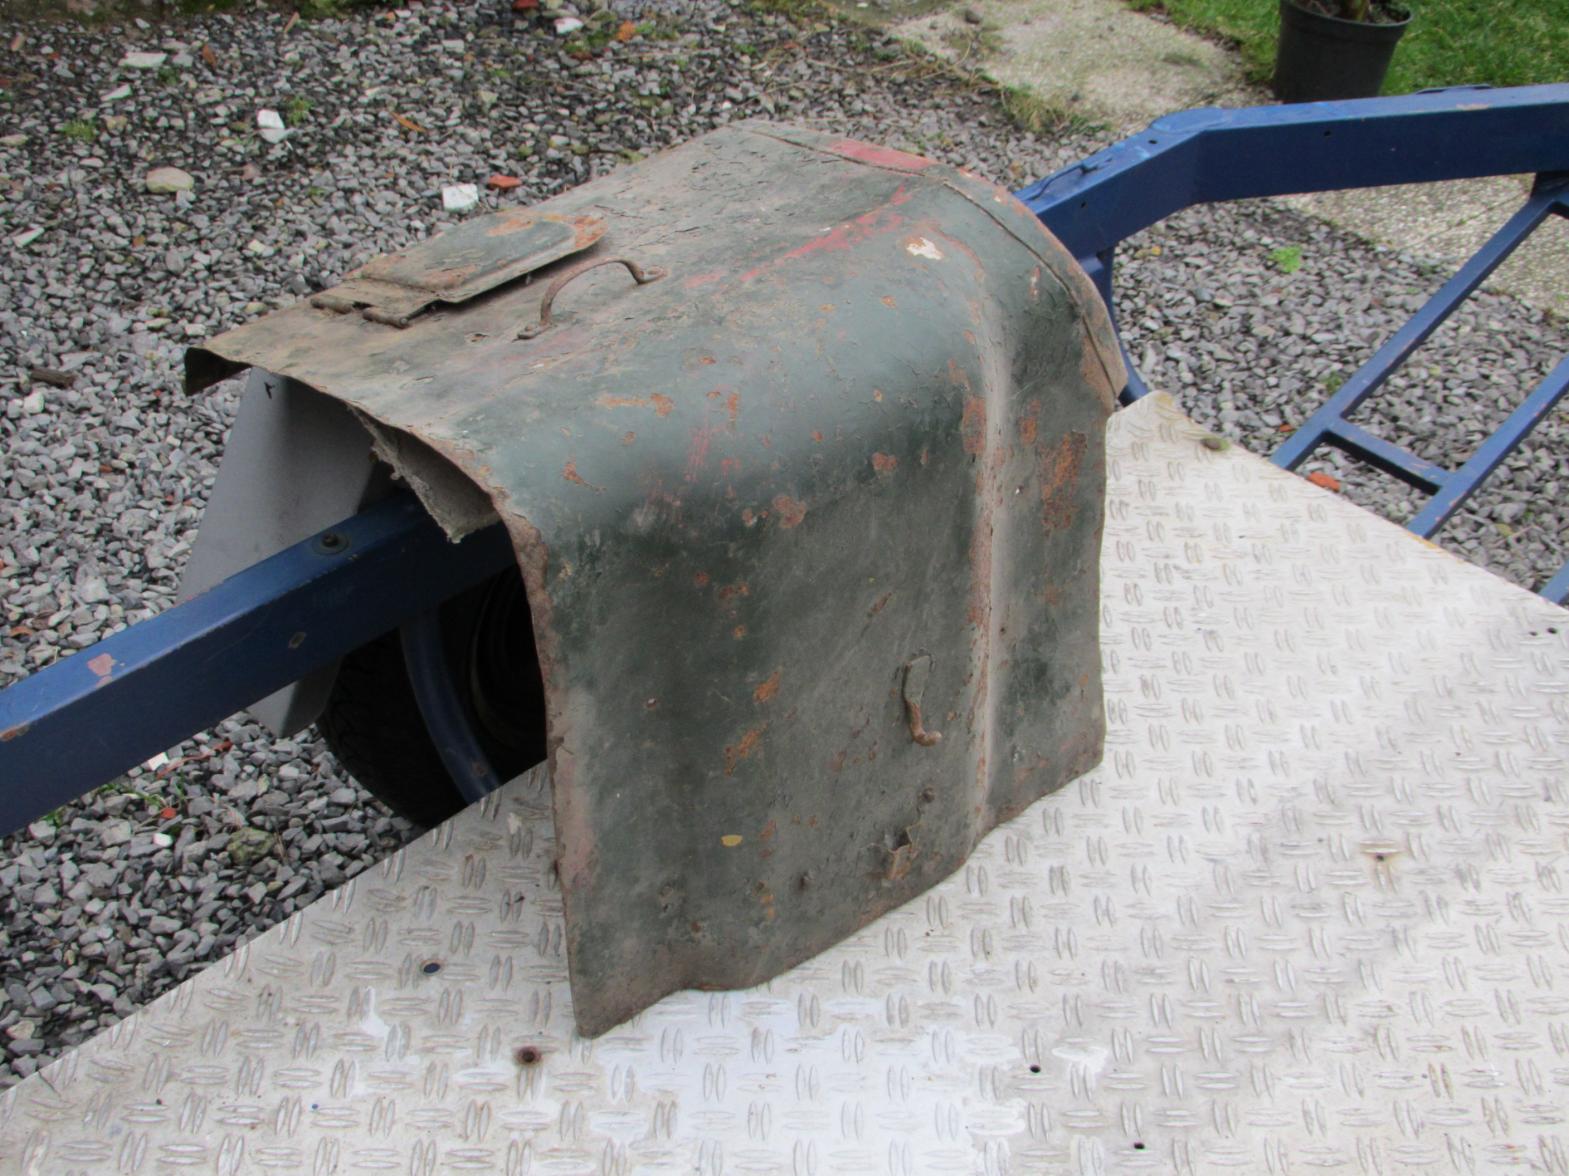
The wanted spare part list is getting smaller, did find a spare wheel, engine cover and a rear cargo body. The rear section is of a post-war TEV type (office box) but it is only the floor and fittings that I will use after some modification. The floor section is the same as a QLT. I will gave some bits for sale that i don't need on my QLD. Parts for sale are: 2 petrol tanks with fittings for QLT Complete upper section of the box ( side panels, windows and roof section with ventilation louvres) Chassis extensions and more. I only have the rear section in march, if some interest contact my and after march I can post some pictures. Guy

-

restoration Royal Enfield WD. CO. 350 ohv
guy66 replied to Big ray's topic in Blogs of MV restorations
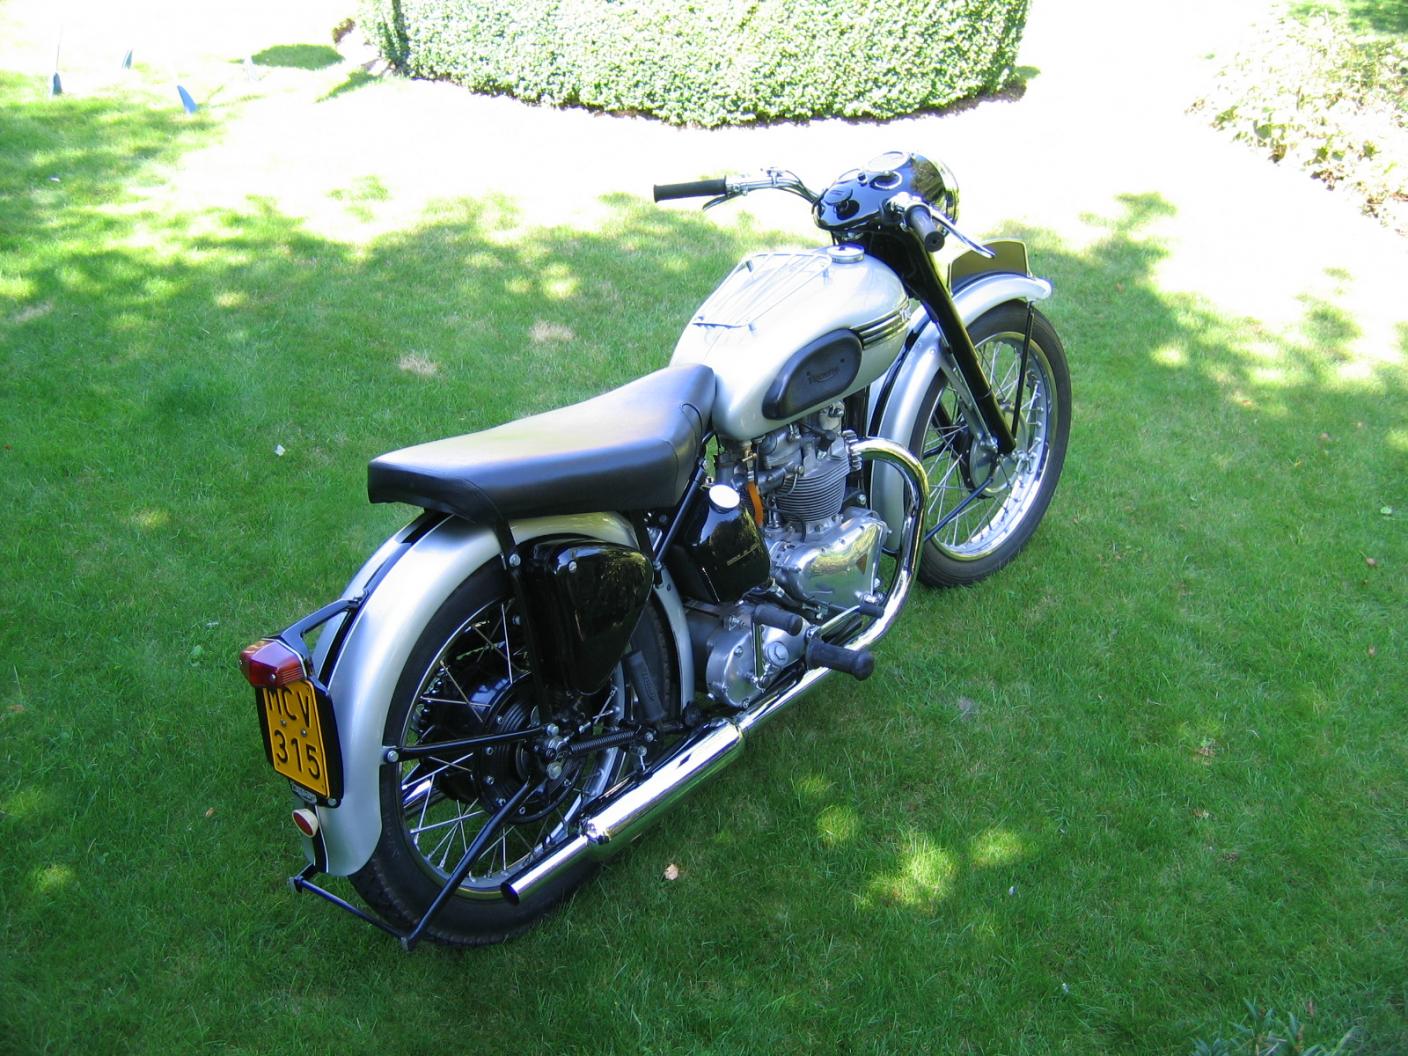
Looking very nice your Enfield, and I love overhead valve machines from ww2. What is the sign on the petrol tank? Guy -
Hello Ian, yes al the fabrication and welding is don by me. It is not my first restoration project, in the past I have been working mostly on Triumph Herald and Vitesse cars and also some mini's. If you know a bit about cars then you know that thees are not so rust proof! And with al the motorbikes that past my hands (lost the cont on al my bike restoration) I have some experience with panel work. Send you some pictures of some bikes. And with the Triumph I really was bitten by the military vehicle virus! Guy


-
Some extra welding work don on the QL. Bottom of the radiator cover repaired and the starting handle middle fitting re-made. The angle grinder had also a fight with the bottom of the door, there was also some rust to deal with, thereafter I welded some fresh metal in the bottom of the door.


-
I need to move on with this project, if I see al the work that need to be done on the QL. Are plan is to take the bedford to normandy in 2014. I did trace some QLR TEV- type rear body here in Belgium ( the front of the truck had been cut of and the rear section was used as a cabin on building sites) and think that the floor and fittings are the same as a QLT (long troop carrier model). This stuff comes at a very good price and maybe can be modified in to a QLD floor. With thees lot comes also a engine cover (cover over engine in the cabin) that was missing on mine. Next week the engine goes for a re-bore and can be put back together. I need to find a gasket set or the engine and 6 inlet valves with the valve springs. Guy
-
Some extra work on the Ql, Engine parts had a fresh coat of paint and some welding work don on the bottom of the radiator cover .


-
Yes Nils , it is from a triumph gt6 I am rebuilding. Guy
-
Hello and a merry Christmas to every body on the forum. last week I had the engine and gearbox inside the workshop, opened the gearbox and took everything apart to clean the inside of it (some surface rust inside the box) but other ways everything looked fine. Put everything back together with new gaskets and a fresh coat of paint. As I said in my previous threads, the engine was solid stuck and as I took the engine apart it came clear that some water found his way in to the engine. The QL had been standing for a long time without the copula cover on the roof and the air cleaner tube was not on the carb and some rain water must have found his way in to the engine. The engine is complete in bits and on first inspection it need a re-bore to first over size (0.20) because there is some damage on the cylinder walls from the water in the bores. I had to use some brute force to move the middle pistons out of there bores ( inlet valves had been open on these two and the water found his way via these valves in to the middle bores). The good news is that the bearings on the crank are like new and already traced some old stock oversize pistons with exhaust valves, still need some inlet valves and valve spring. Guy


