


peter75
-
Posts
394 -
Joined
-
Last visited
-
Days Won
2
Content Type
Profiles
Forums
Gallery
Blogs
Events
Articles
Store
Downloads
Everything posted by peter75
-
I took the cylinder head off the engine tonight and it looks like new apart from N, o, 4 which is very badly pitted. So unless I can get a liner the engine is scrap. Peter.
-
I was looking at a hull yesterday but it was almost powder only the ive and brambles holding it together. Peter.
-
I have got the gearbox rebuilt and taken a compresser apart ready clean up but my computer has packed up so I Carn't get the picture's out my camra. Peter.
-
I have not done anything OY lately but I pulled the gearbox off the engine and stripped it down tonight. I was very suprised as the gearbox was like new with no sings of wear. all I need to do is clean it up and reassemble it with new gasgets. I will post some pictures at the weekend. Peter.
-
Can any body confirm the following about trooper bodies? The 2 main body manufactures were Austin and Marshals of Cambridge? Did Carbodies Ltd and Normand also build trooper bodies? Is there two types of construction, one with full metal frame and one built on wooden cross members like a G,S, body? Were some trooper bodies built with out seats with tail gates and were some bodies built without the extended chassis with less seats? Any pictures to prove this? Peter.
-
Bedford to Berlin book gives the following information. Contract V4675 for 1,050 QLC for modification to trooper in July 41. delivered August 41 to August 42 Contract V4924 for 1,500. 500 in July 42 and 1000 in February 44. some were reworked to offices bodies. Peter.
-
I think there was 2 contracts, one in 42 and the other in 44. I will look the books out tonight. As Wally Dugan said the were supplied to Austin motors as QLC to have the chassis extensions and spare wheel carrier fitted. There was 2 main contractors who build the bodies with 2 types of construction. Small numbers of bodies were built by other manufactures. Peter.
-
I then fitted the new bearings, worm, cir clip and spacers I then fitted the shaft back in the box and adjusted the adjusting nut on top of the box to set the bearings and locked it off with a stud. I then refitted the gear and bottom plate. To set the gear and shaft you have to fit gaskets under the end plate until it moves freely and there is no end play. This takes time and I took it apart 4 times before I was happy. I then fitted the drop arm and the steering column cover Peter.


-
Took some pictures of the spare wheel carrier. It is held in place with 2 angle irons on the right side and a cab mount on the left side, I need a spring to finish fixing in on. I have striped the the steering box and rebuilt it. The box was not very smooth to turn and when I took it apart there was a bit of metal in the bottom bearing which had damaged the bearing. The rest of the box was in very good order so I ordered 2 new bearings. I cleaned the parts up and removed the old bearings. There is a cir clip at the bottom of the worm so you have to remove bottom bearing and spacer first then you can remove the worm and top spacer. Peter.


-
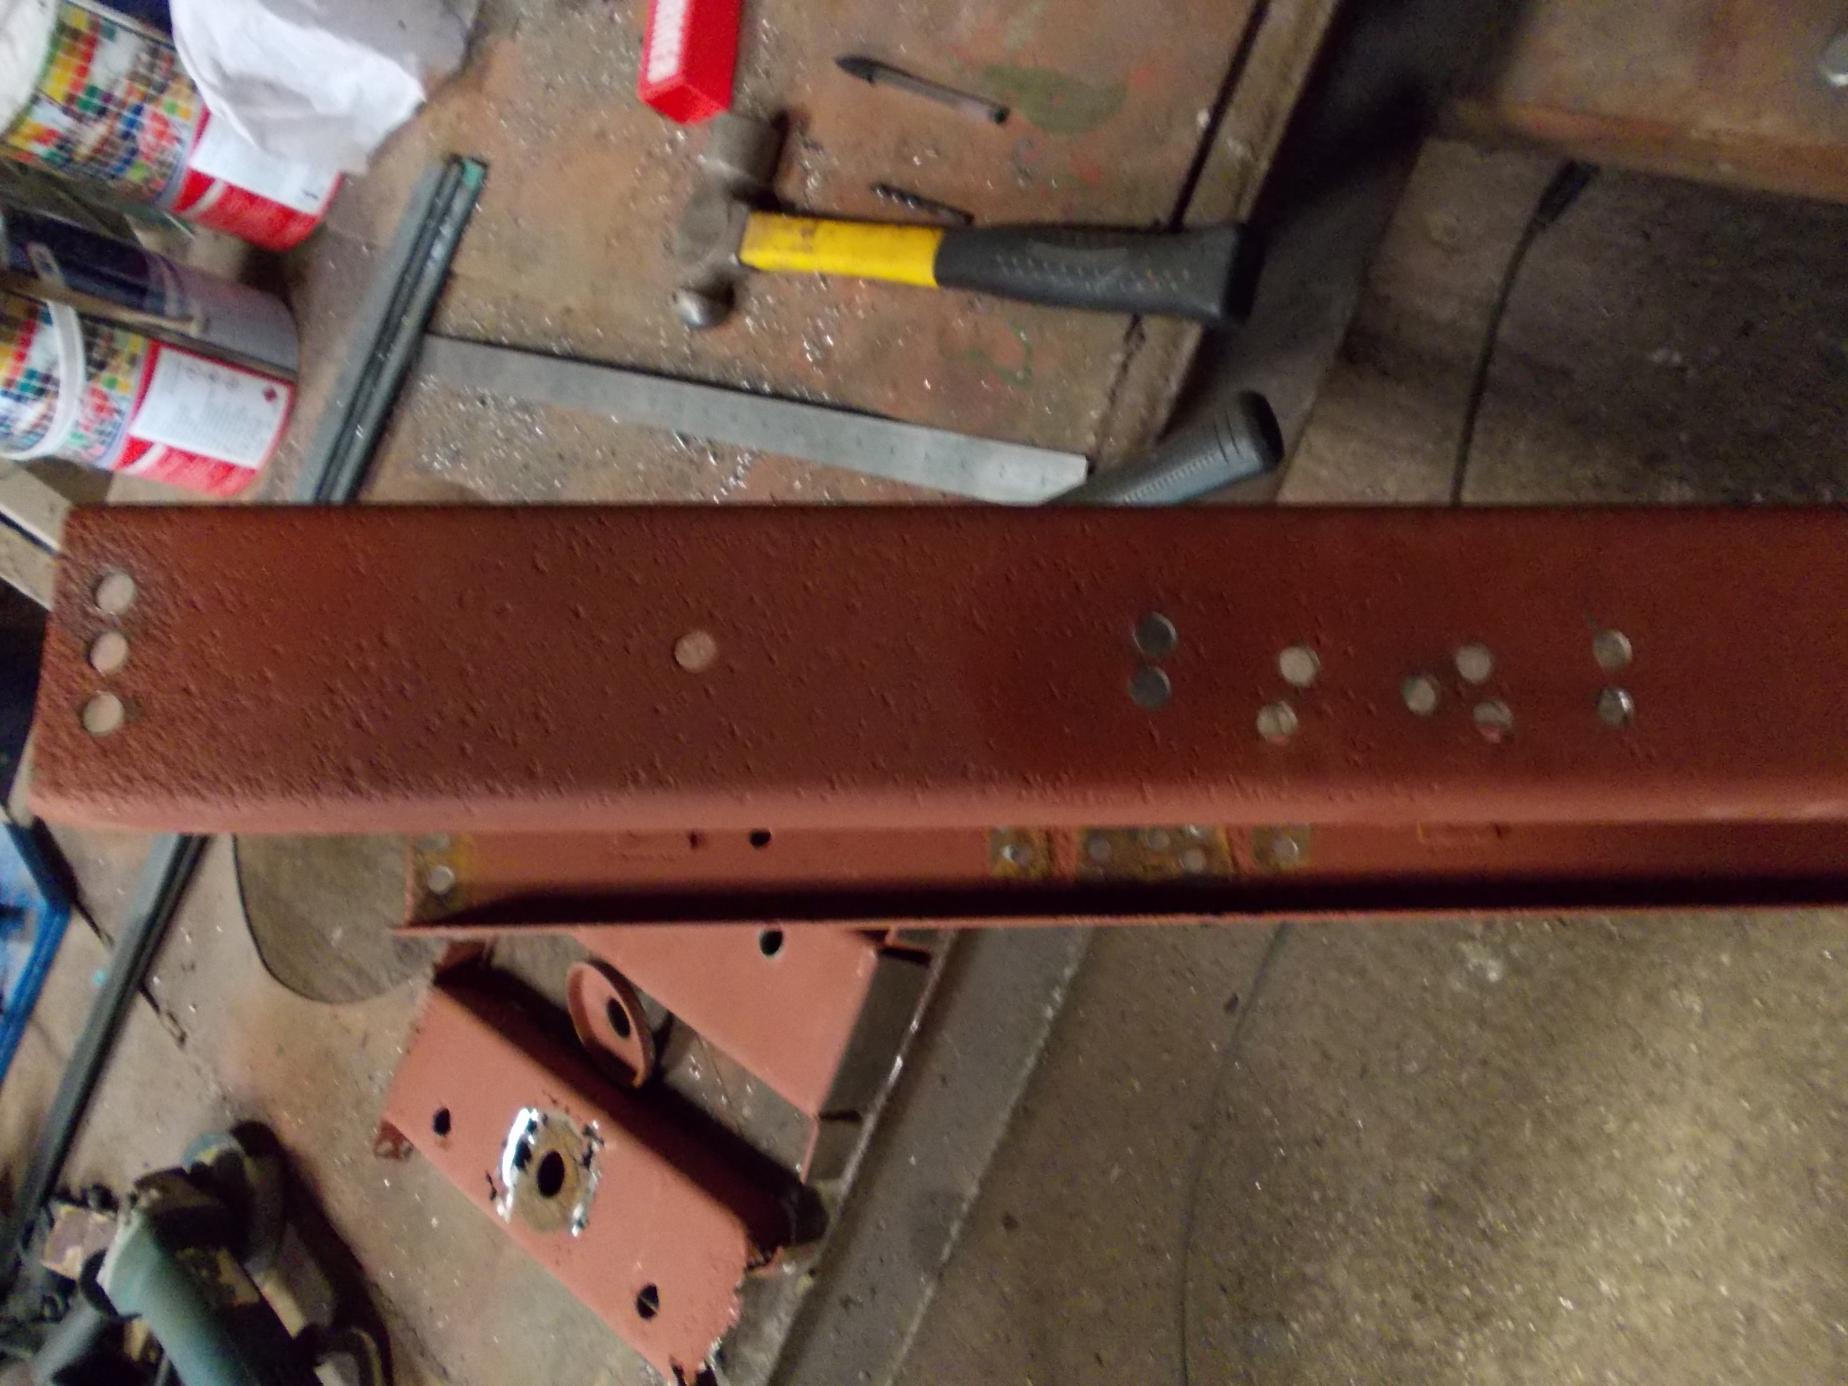
I haven't done much since harvest as I have been doing other things but I have made up a plate that goes on the middle of the wooden cross member in the back of the cab. I have also rebuilt the front section of the prop shaft. This runs straight with very little movement. My prop shaft was running 4" to 5" out of line to avoid the tipping gear which had destroyed the seals and damaged the bearing. I got new bearing, seals and gaskets off Chris Morter Peter.


-
Hi Alastair. I haven't seen many pictures of OY's in Normandy but I haven't spent a lot of time looking. I have not got the W,D, number. The post war rebuild plate was removed when the tipping gear was fitted. and there was nothing on the doors or bonnet. It was first registered in 1959. Peter.
-
HI Bill, still collecting bits for the QL it will be my next project after the OY. Peter.
-
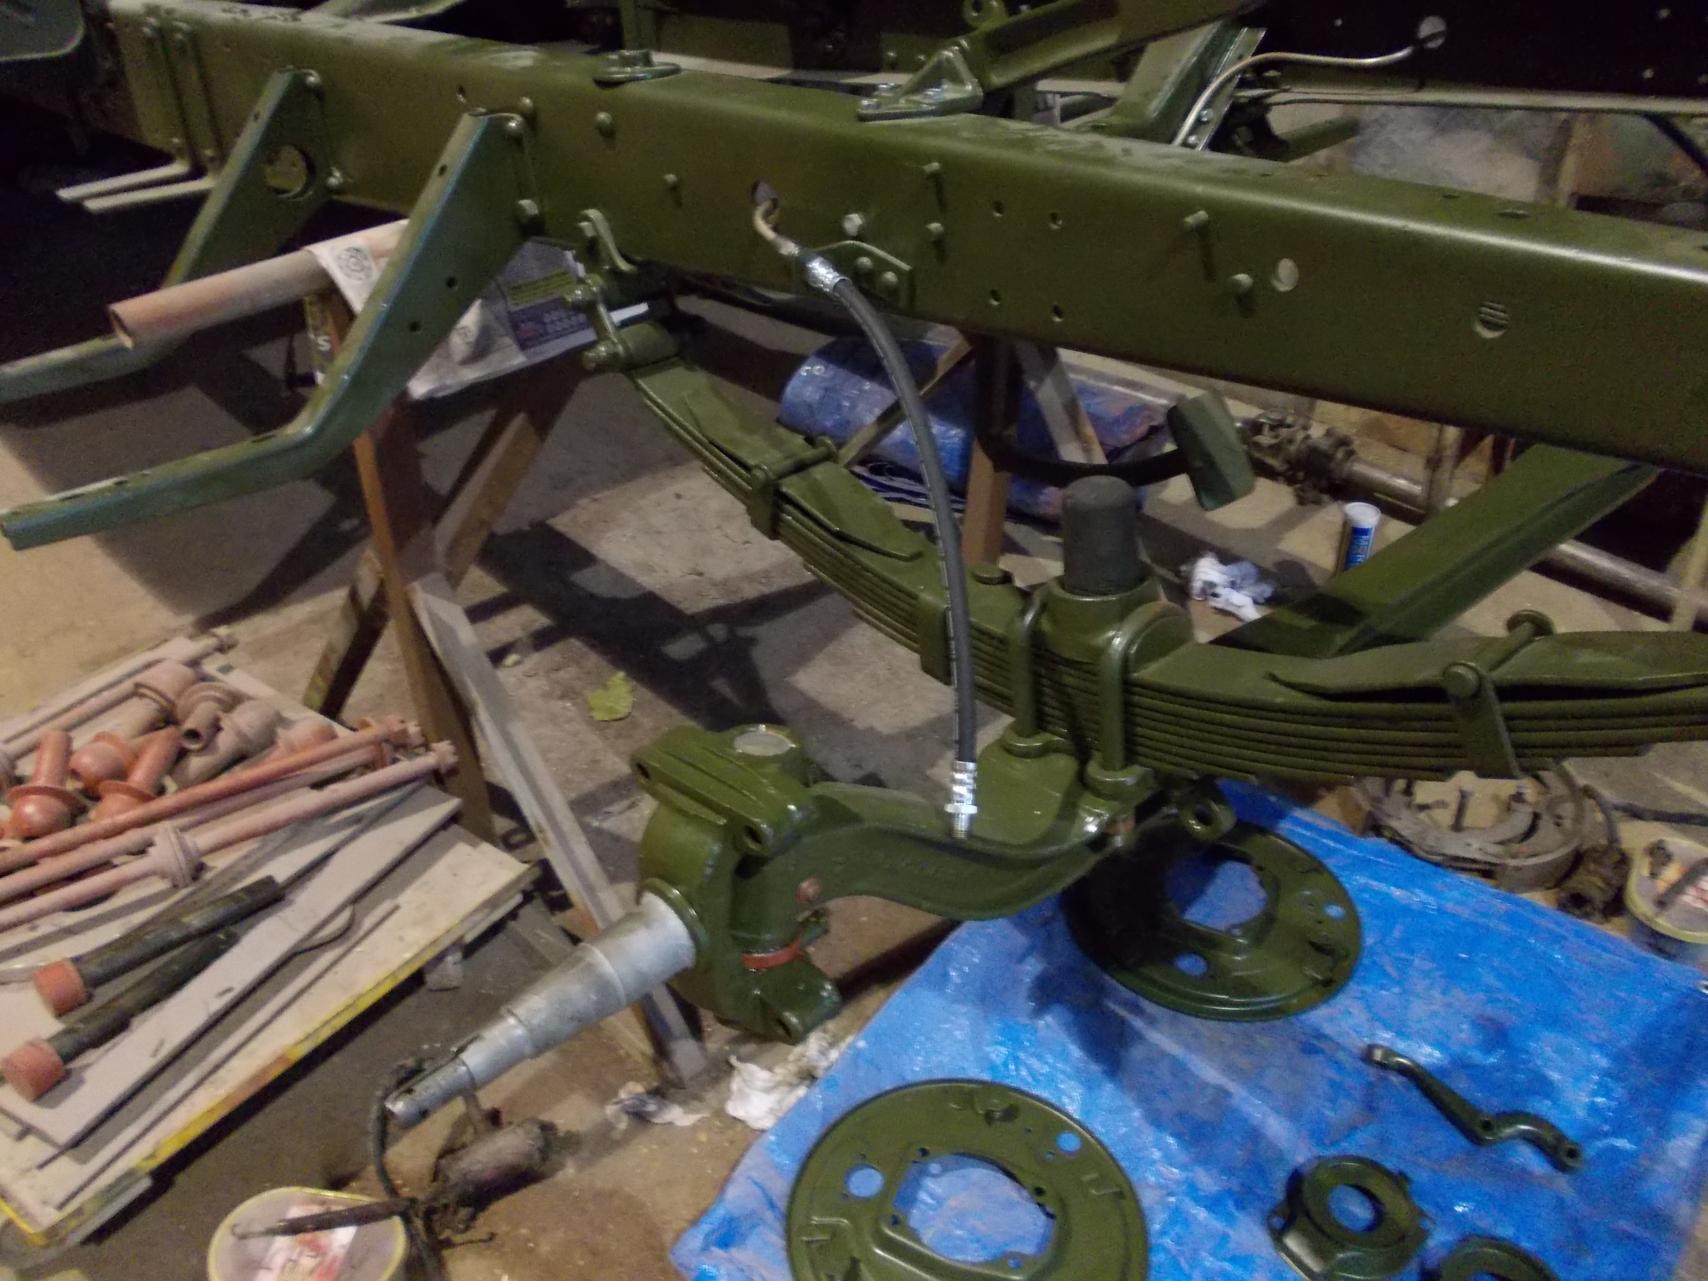
I had forgotten how much work I had got done before harvest and how few pictures I took. I finished building up the front axil, using the original king pins as they are in very good condition. I had to replace the end cap/covers with core plugs as some missing and others damaged. the break shoes were good as were the wheel bearings which I washed down. The wheel cylinders also cleaned up and had new seals fitted. I am a bit short of pictures here but I got the front axil built up and finished. I also got the brake lines fitted. another little job I did was to rivet the tool clips to the floor plates and do a small repair to an engine side panel. Peter.


-
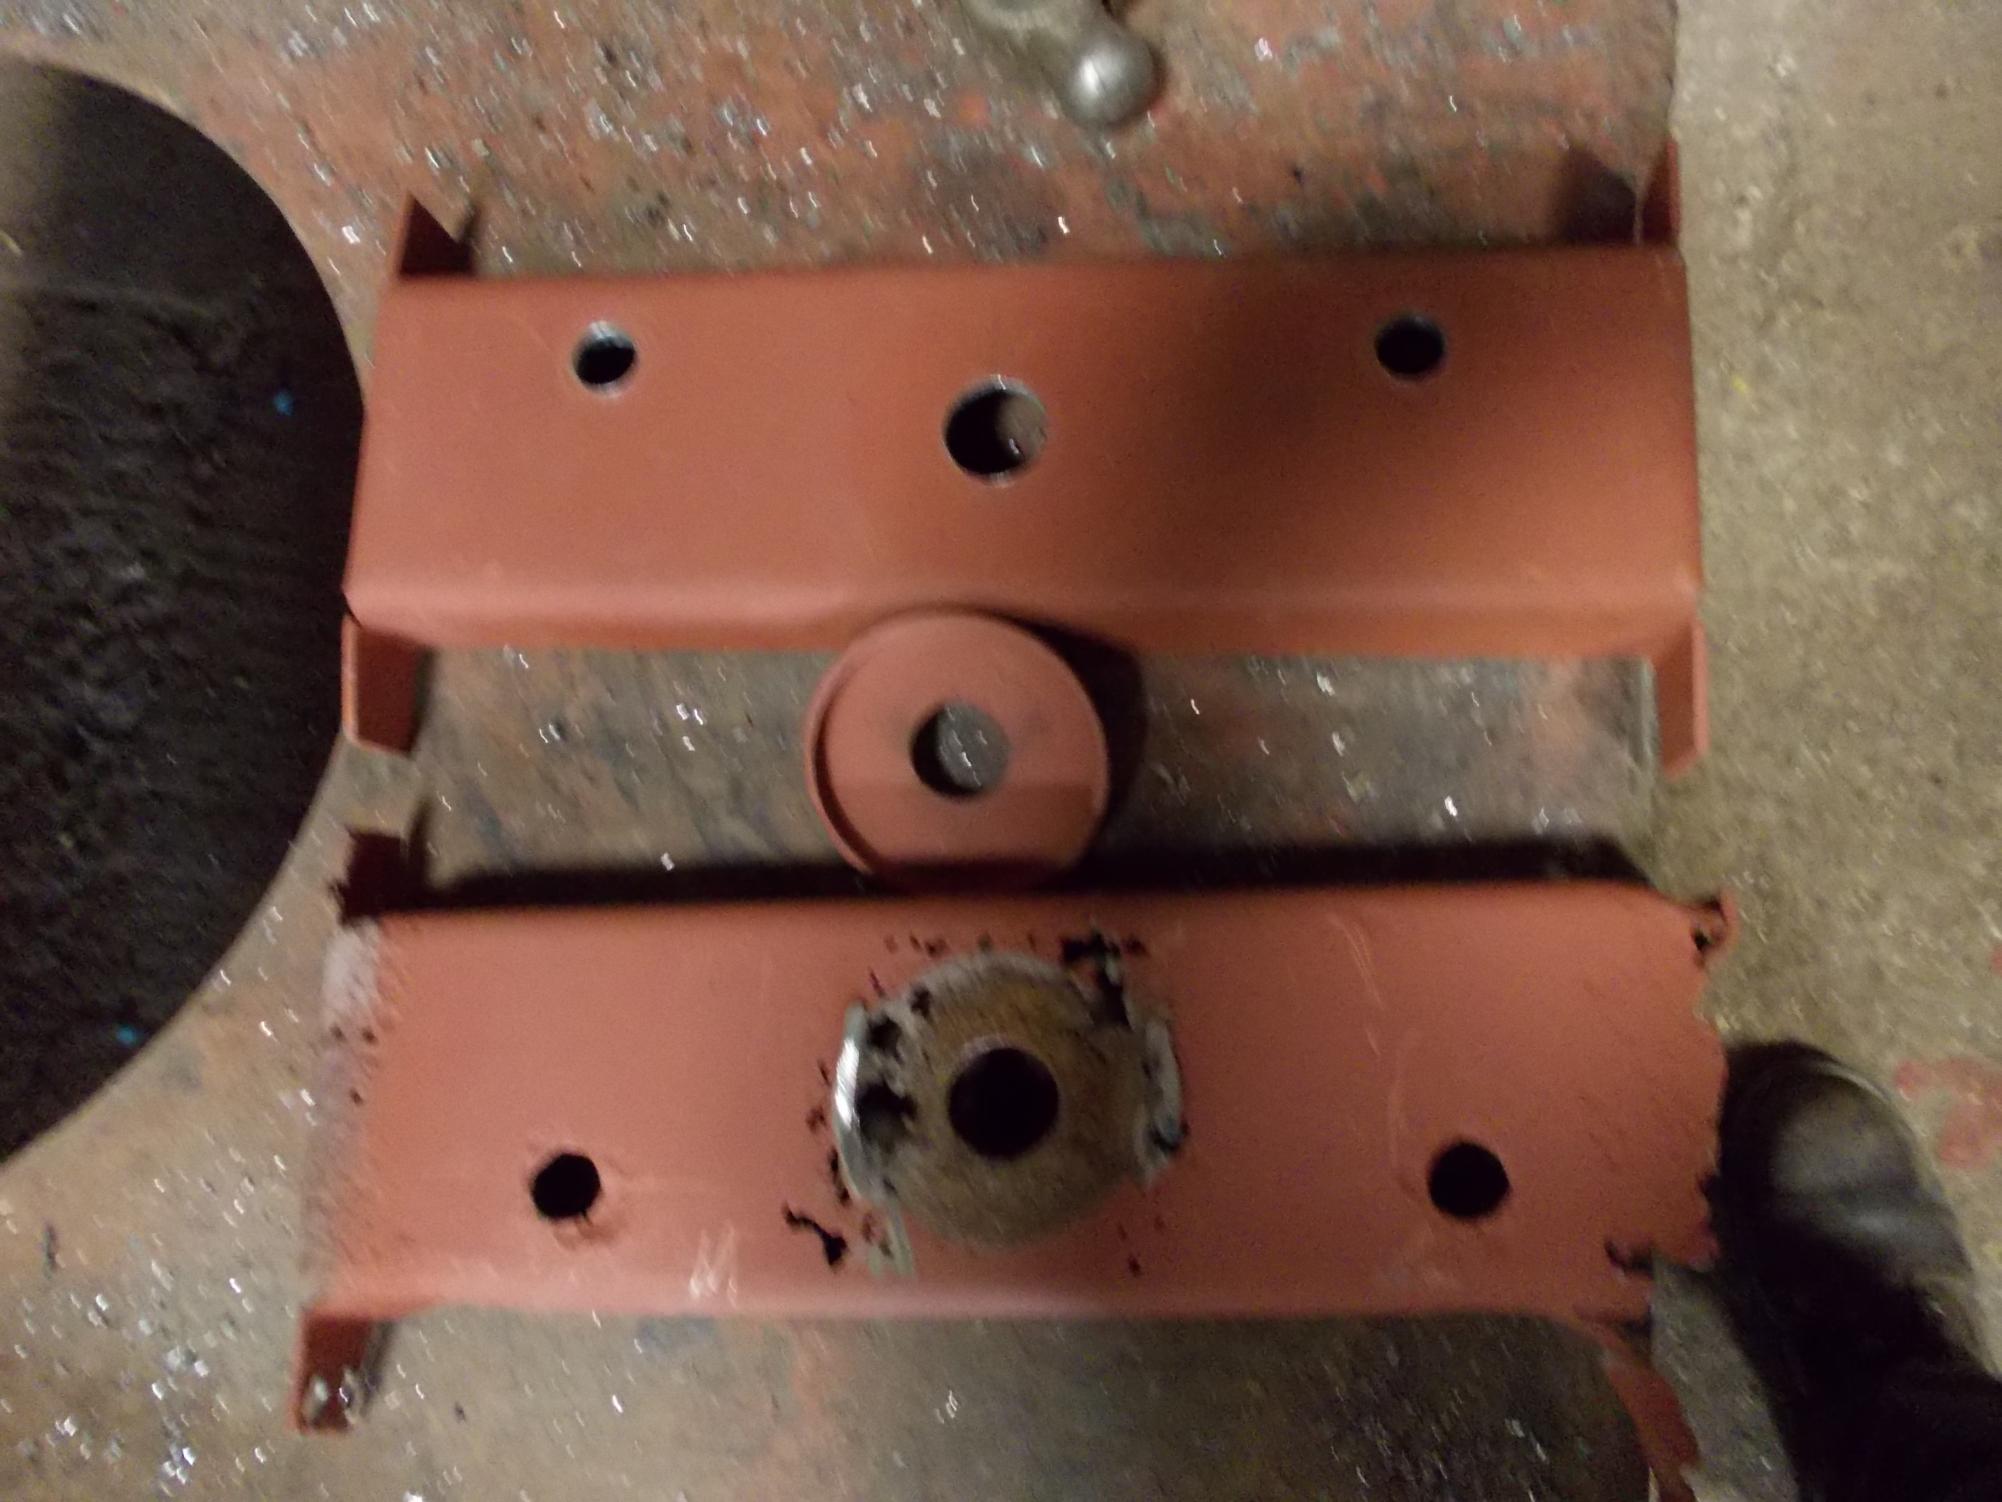
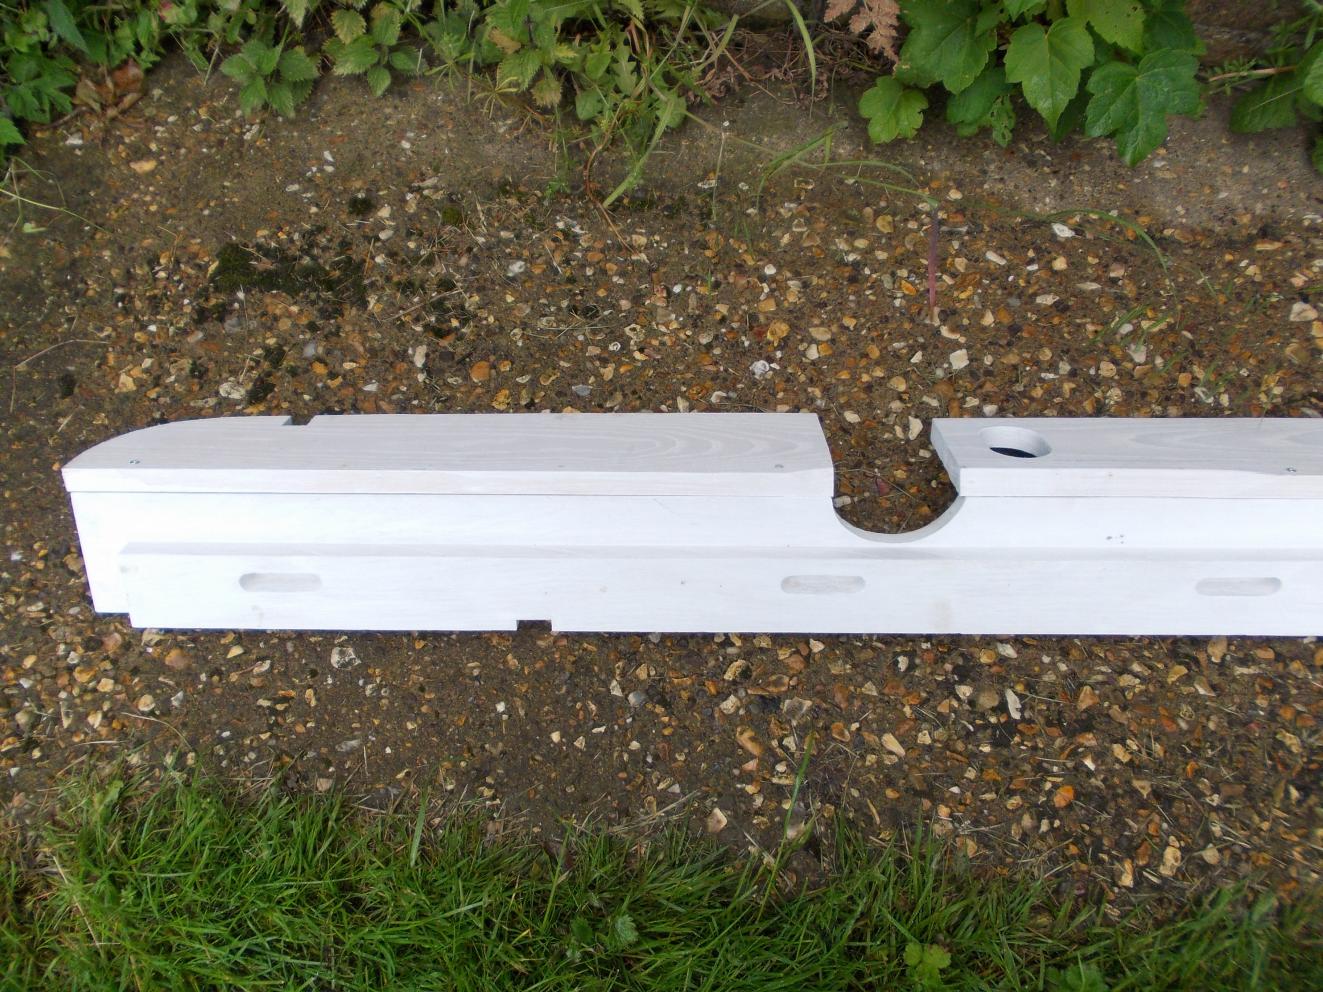
Been a 44 OY the spare wheel carrier is metal, the early ones are wood. early in the project I was able to borrow an original to copy. The person I borrowed it off asked me before harvest if I could repair his as one cross member was rotten. when I told him how long it would take and what it would cost he was not happy, so I offered to swap my new one for his original which we did. So I set about repairing the original carrier, this involved making a new cross member the right length and then drilling out the spot welds on the rotten cross member but I also had to remove the end part as the cross member has to be slid in from the end. I don't have a picture of the finished carrier, I will try to post one at the weekend. Peter.

-
One day I will learn how to read a manual before I start, Peter.
-
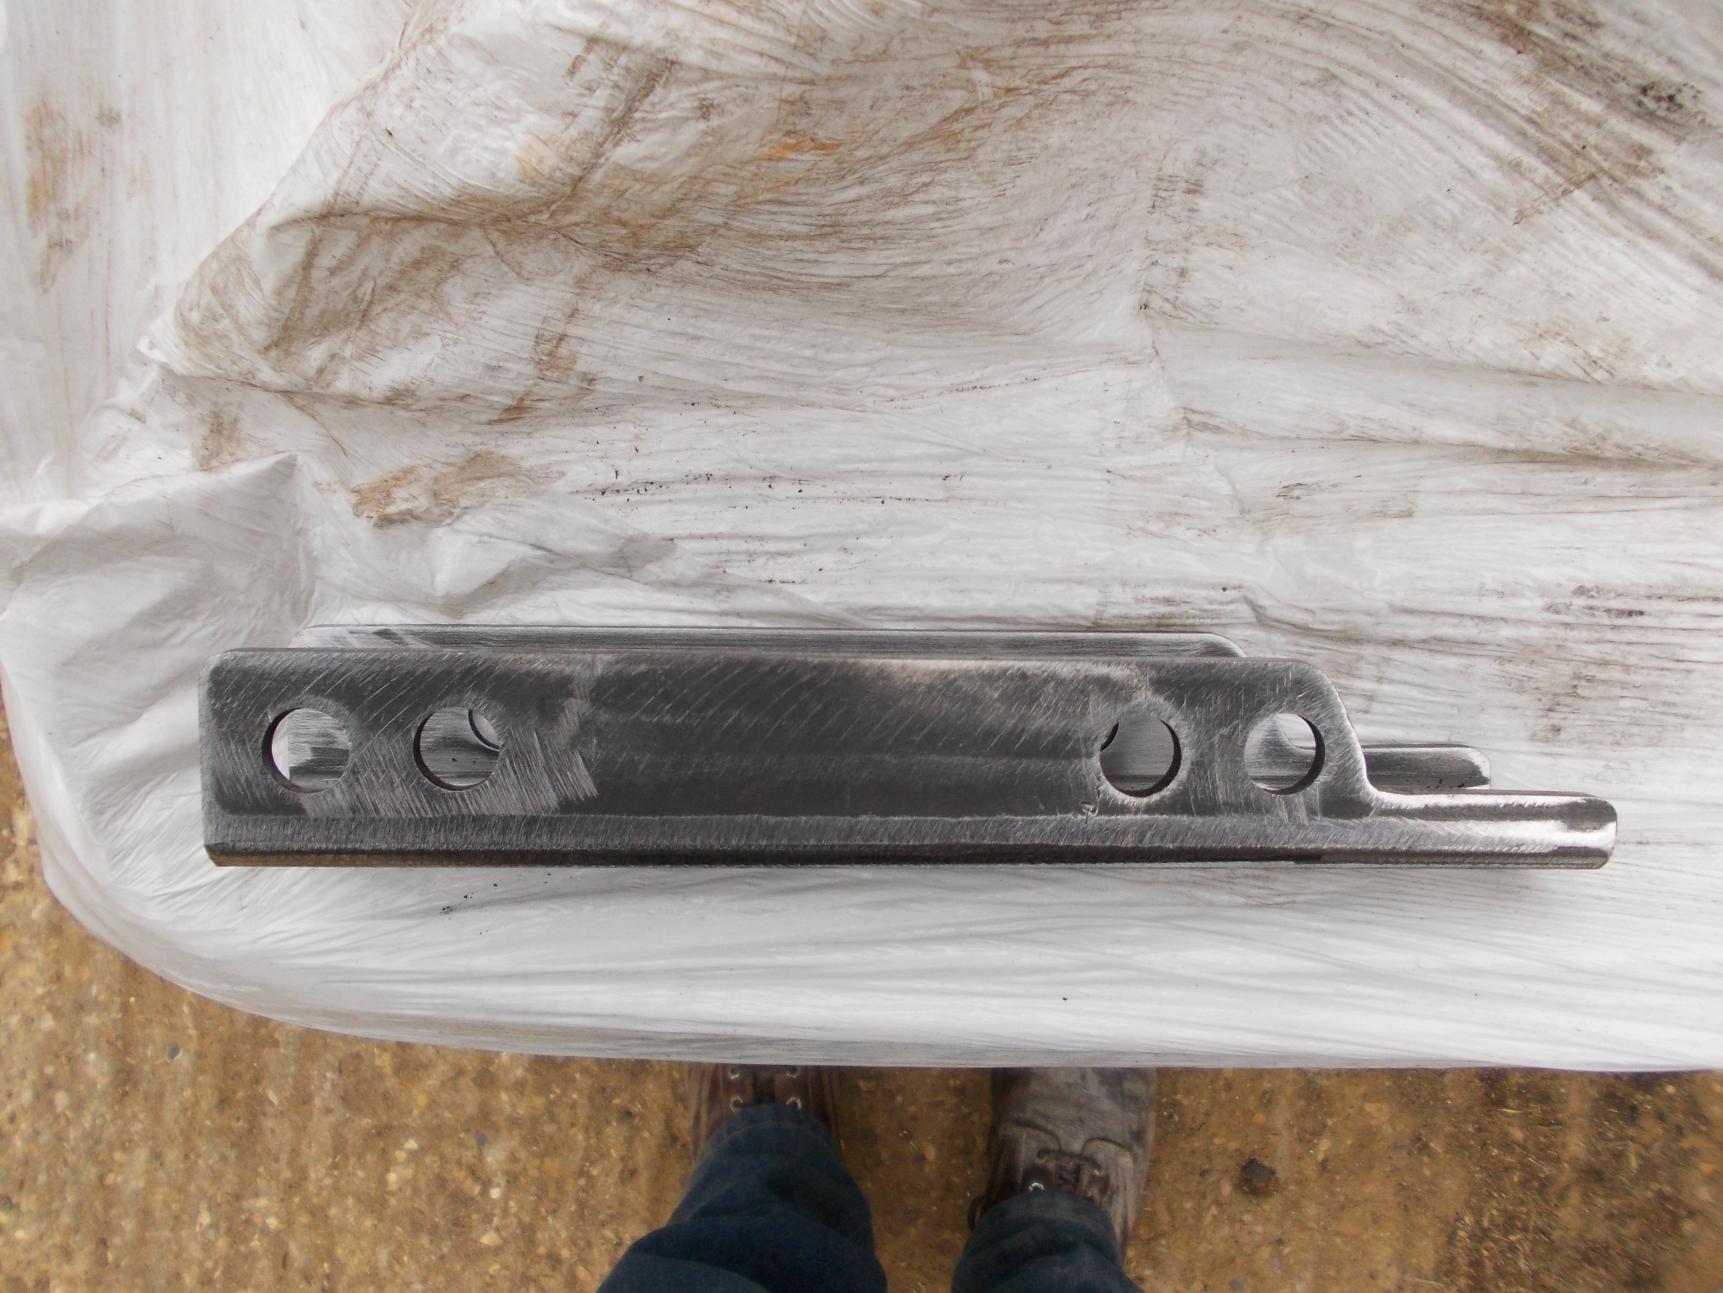
I have not up dated this thread lately as I have not been able to post pictures. I think it is now fixed, thanks Ben. before harvest I had a trip to Chris Morter's to collect some parts and was able to measure his OY spare wheel carrier so I could make the missing parts for mine. I had got an original arm that clamps the wheel and an original thread and wing nut but needed the bracket to mount the two. I used some cut down 50/50/5mm box section as this was a perfect fit. I also cut the wood which it mounts to and the metal rub strip. The spare wheel clamp is now done apart from cutting down some bolts Peter,


-
restoration Bedford MWR restoration
peter75 replied to landrover nick's topic in Blogs of MV restorations
Hi Nick, The wood piece on the OY is 1,5/16 {33,34mm}. should be the same. Peter. -
Hi Alastair looking good. I am happy I could help with the bearing. I will have to catch up with you and pop over and have a look now I have finished harvesting and drilling. I pulled my flat head block out on Sunday and started cleaning it down ready to rebuild. Peter.
-
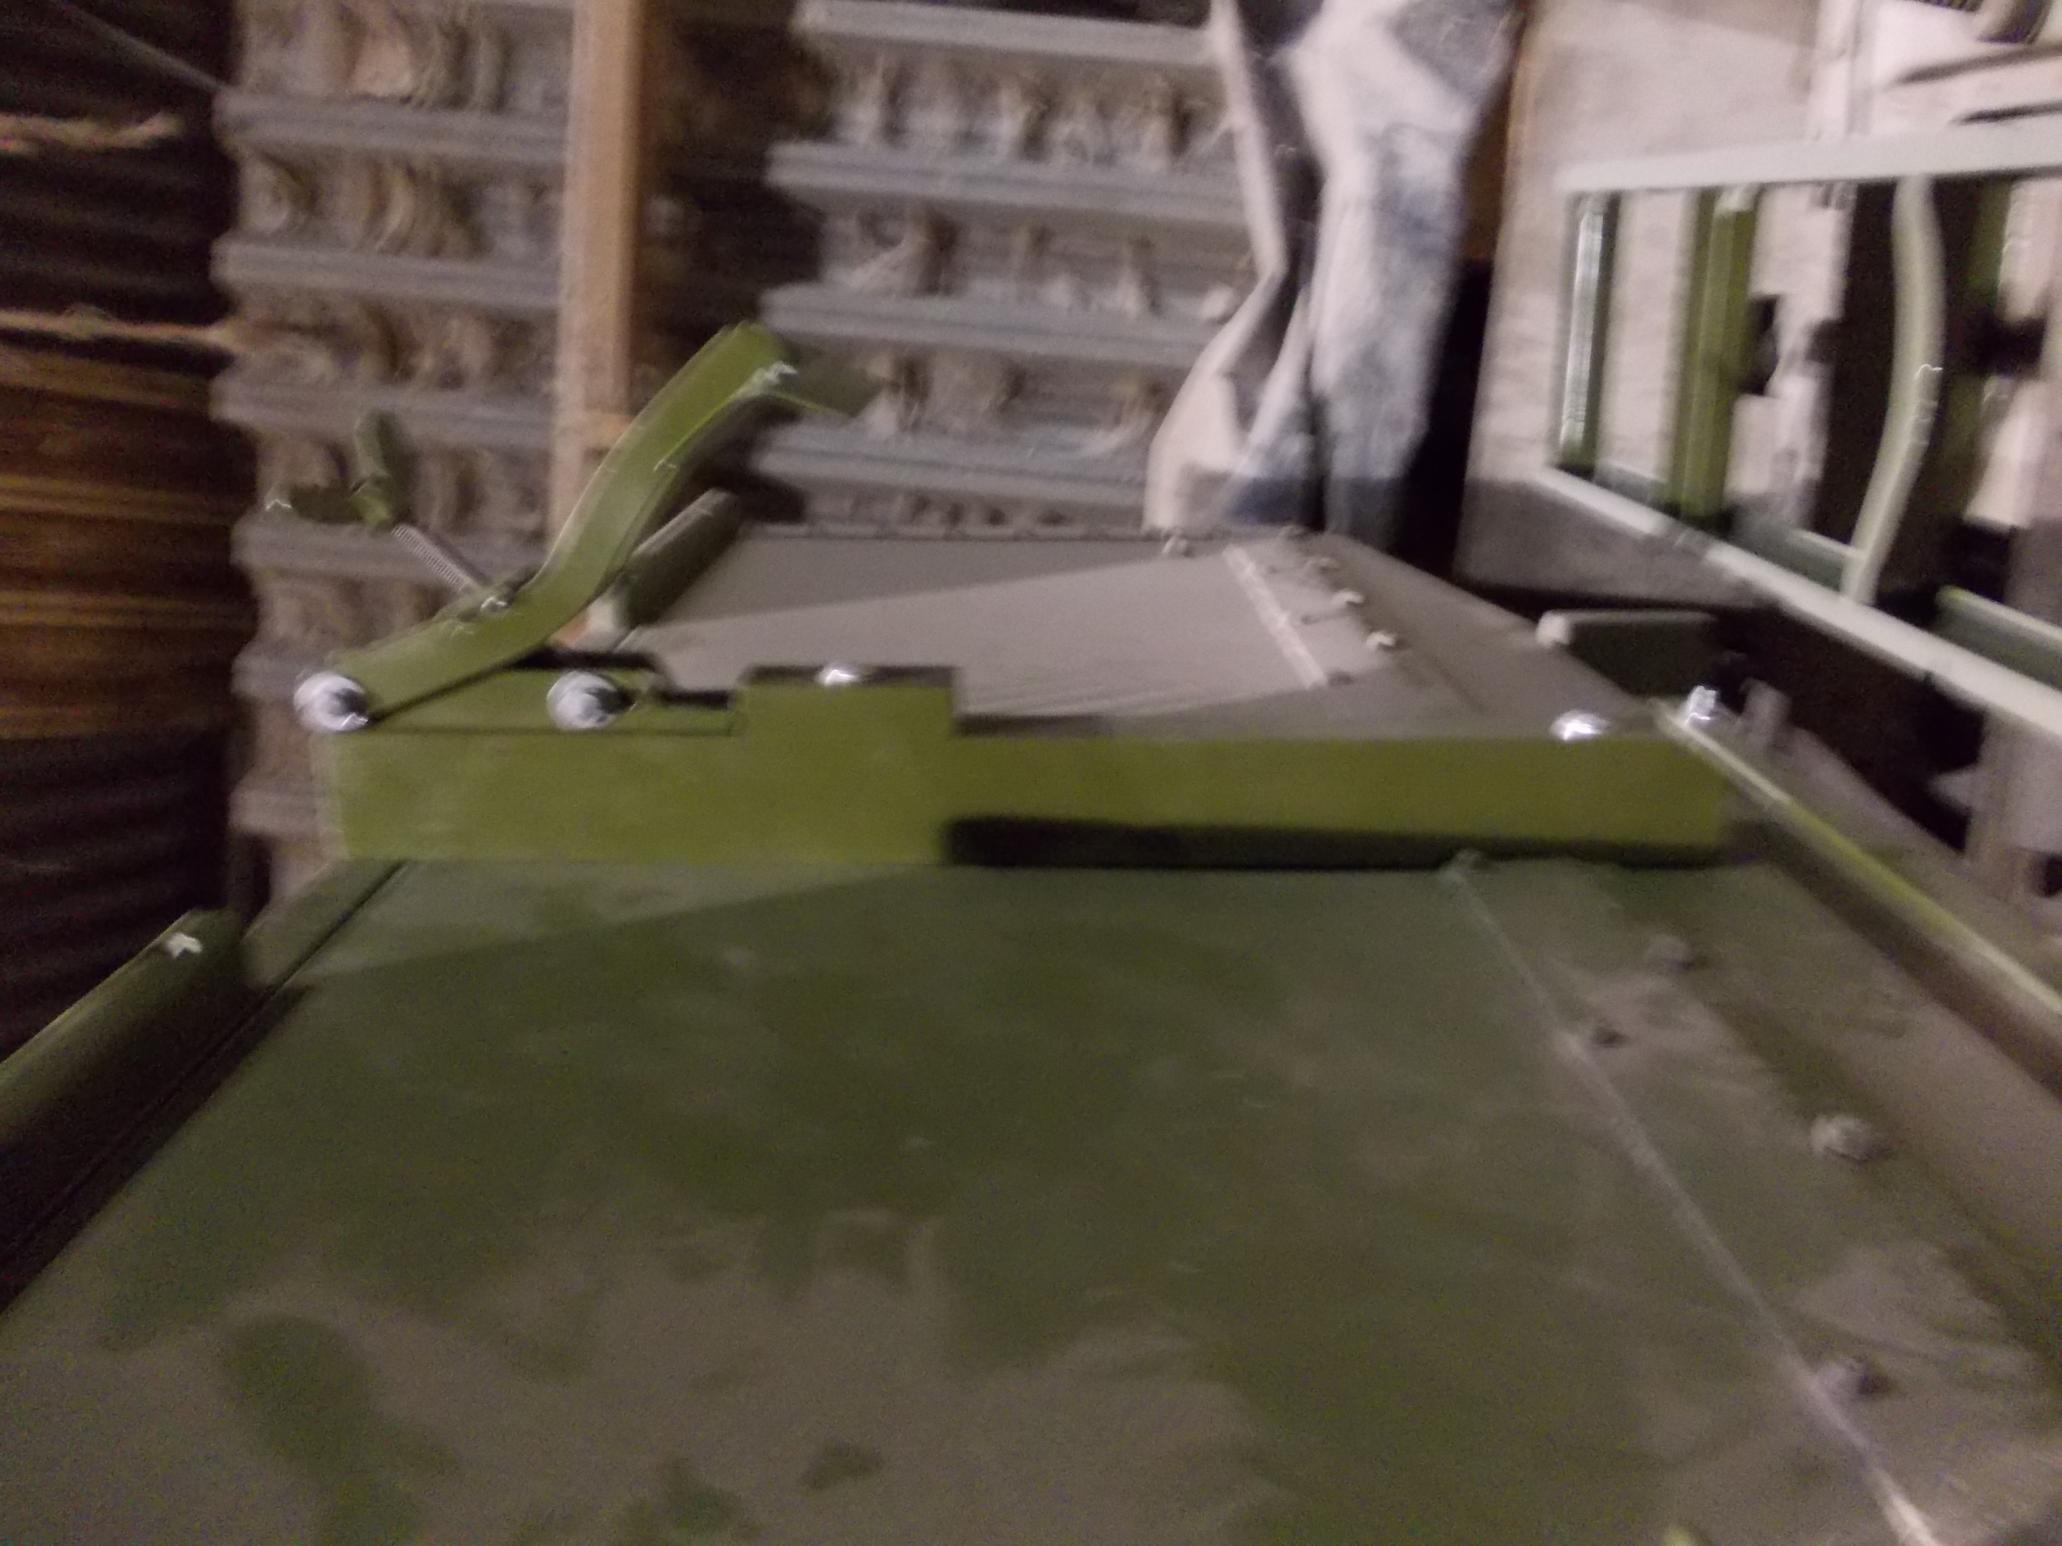
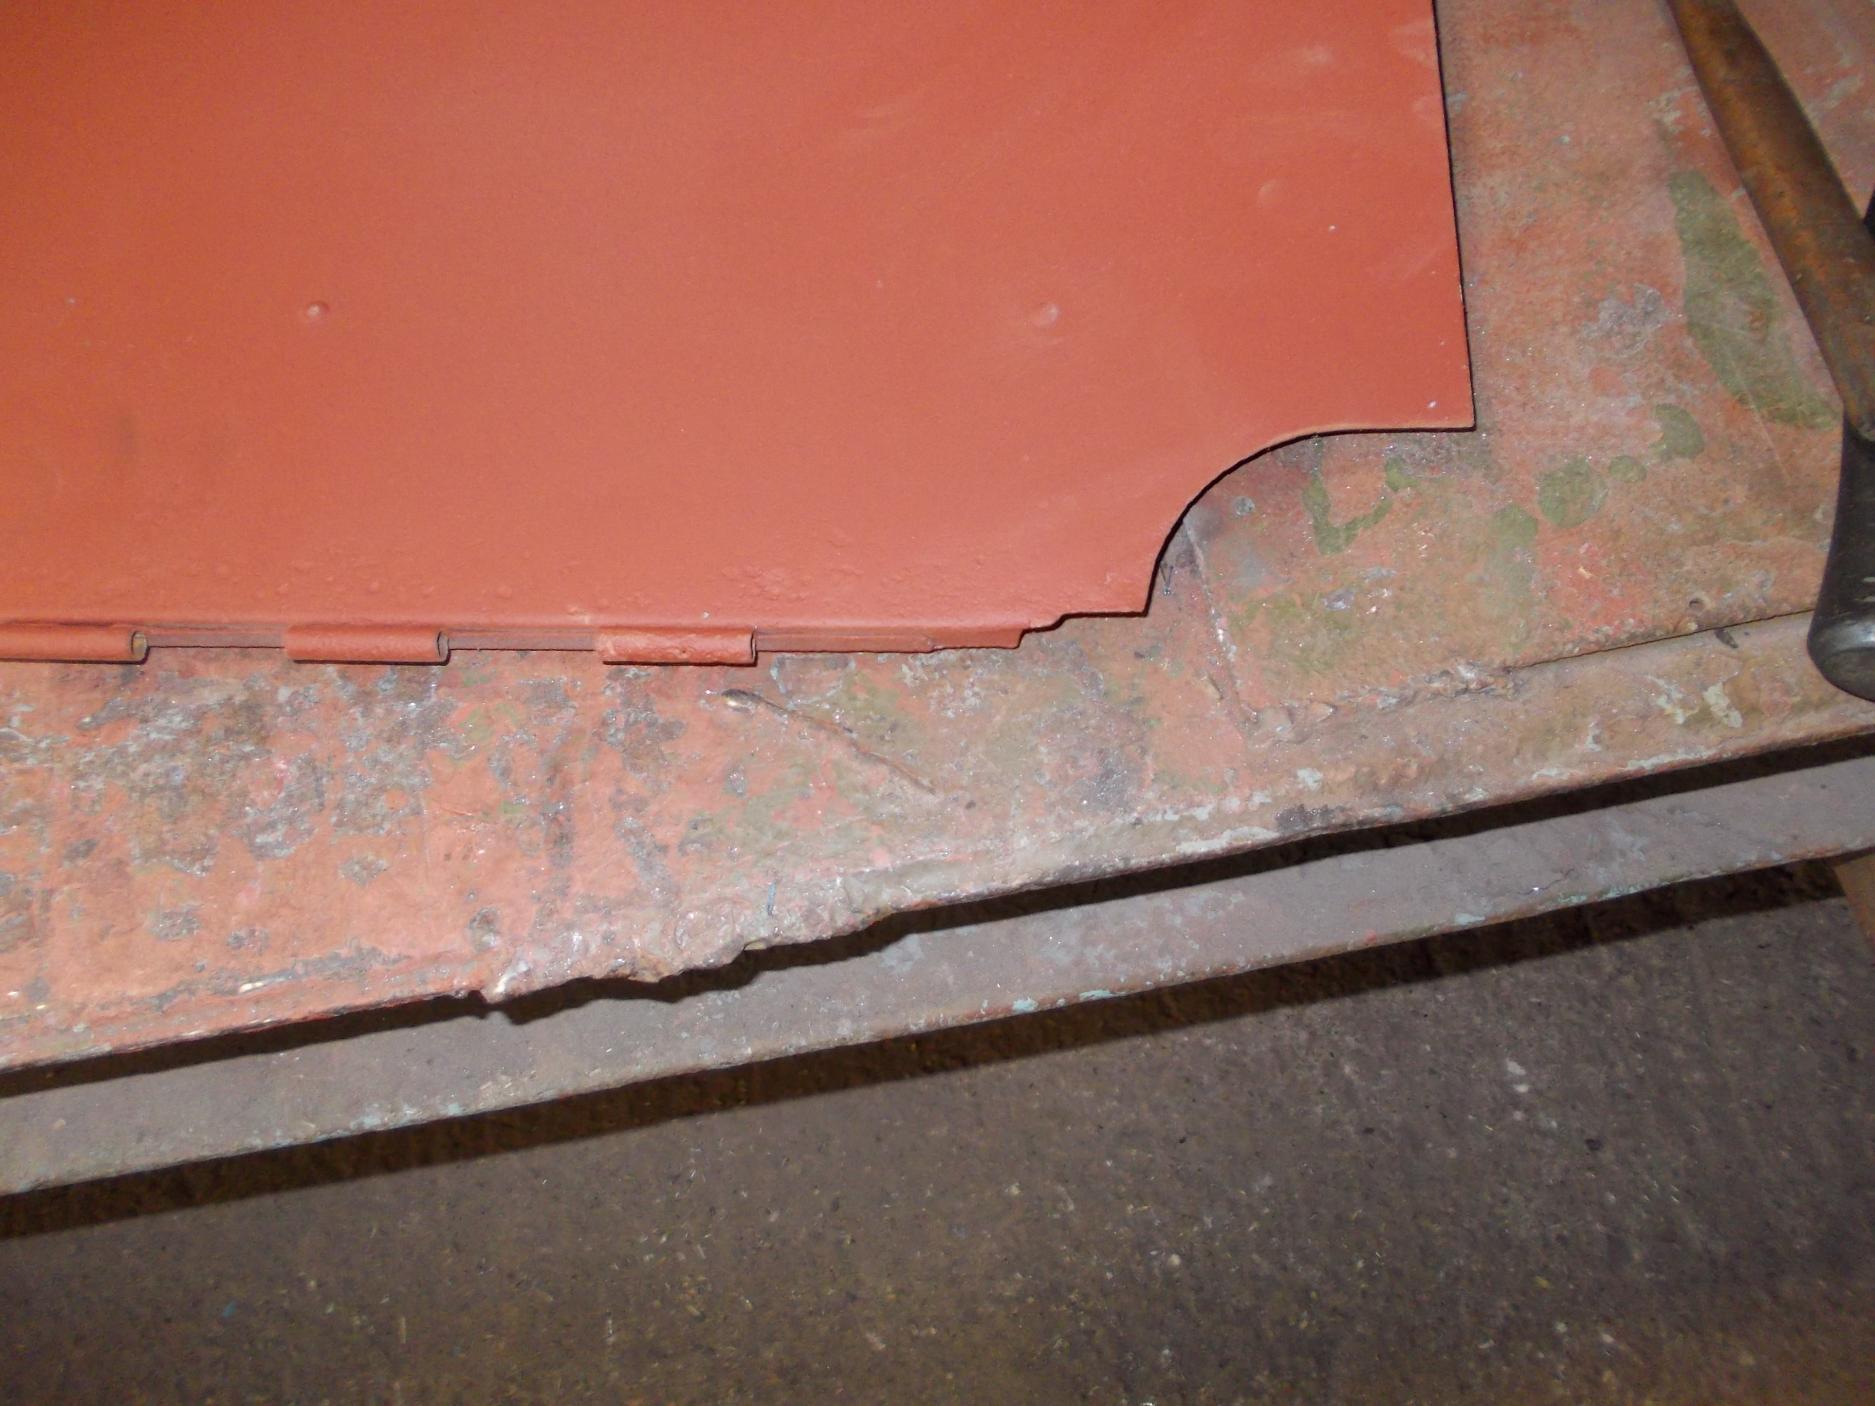
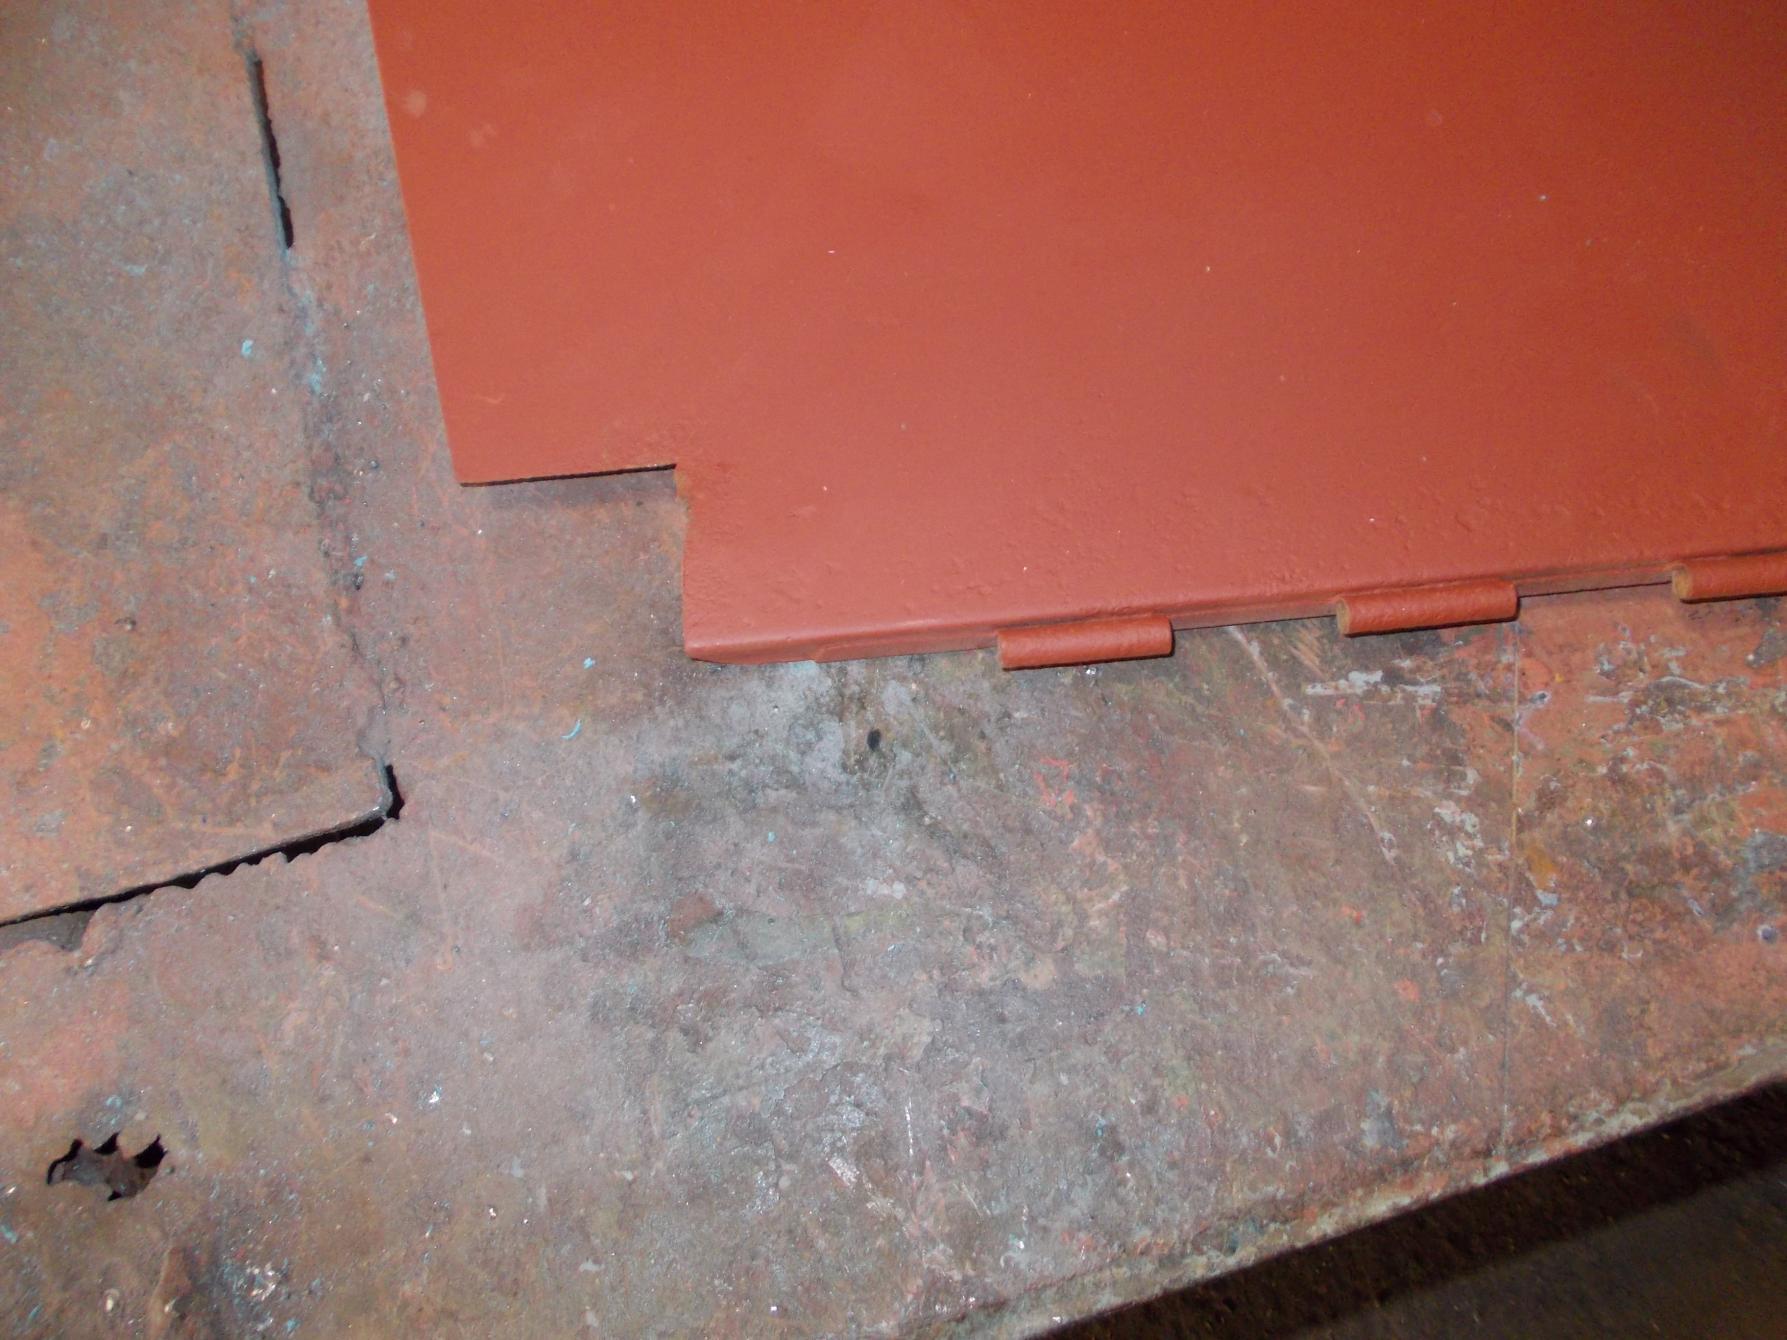
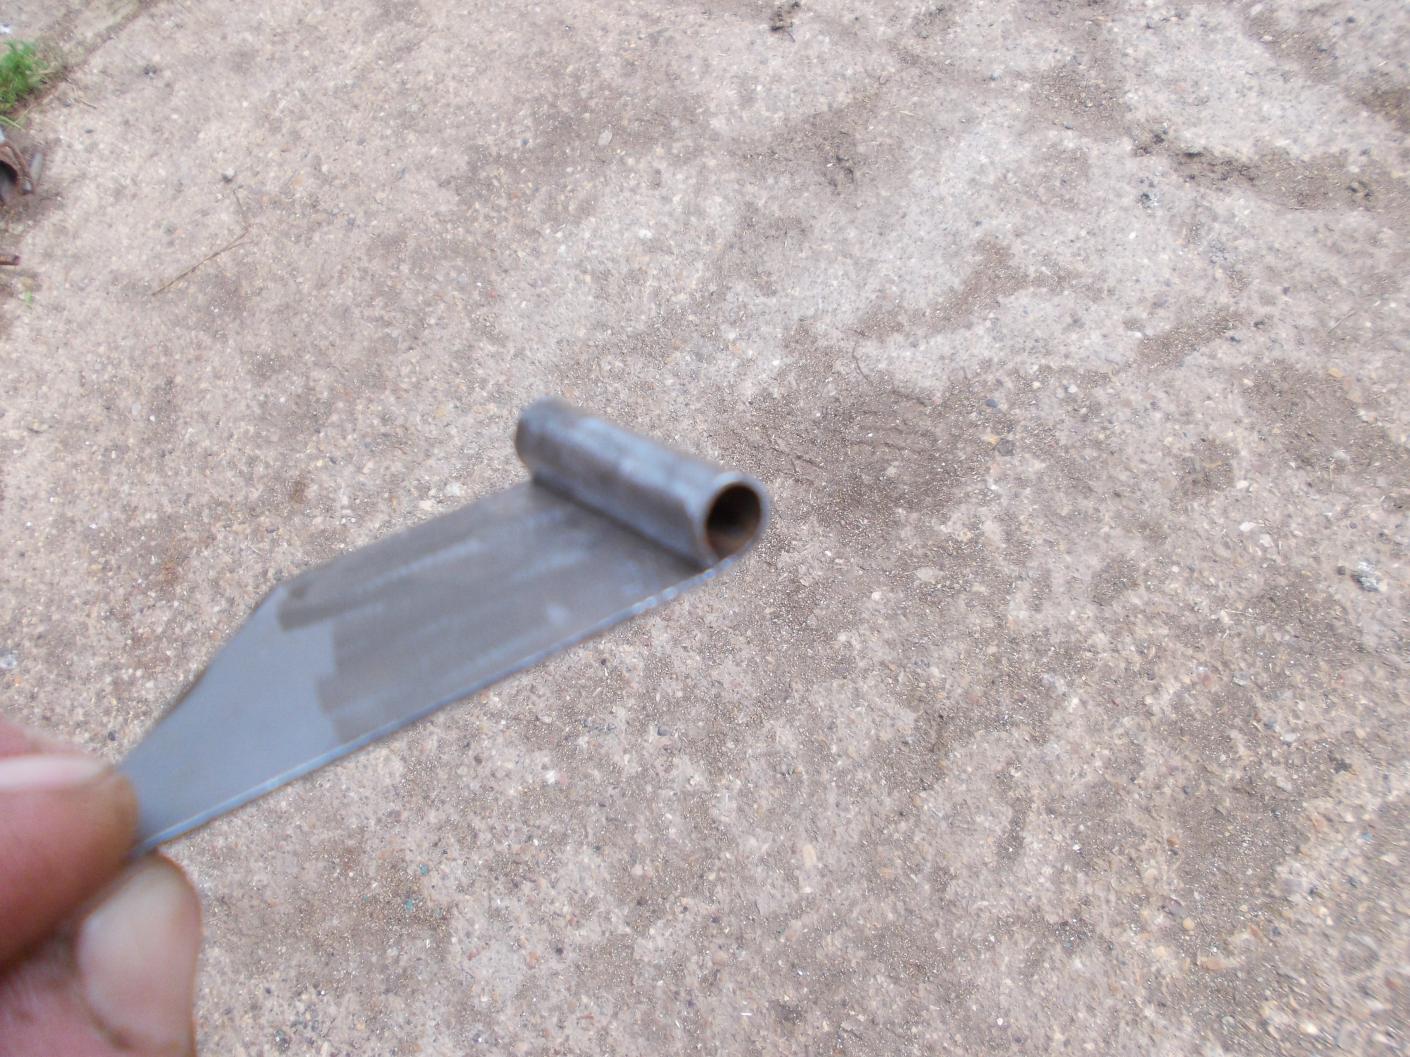
I was suppost to be doing some carrier bits to day but I got them done by dinner so I had a look at the bonnet hinge. There was 3 segments missing I hammed some strips of plate round the end of a drill bit then welded them in using the hinge pin to line up the new segments. As this went well I bolted the front axle beam on, not easy on your own and it helps if you put it the right way round. Peter.


-
There is no rib in the side of the bulkhead but the spacing of the switch in the dash is civilian or early (1940). Also there is only one fuel tank so could be an OL or just had the tank removed. There are no holes for a trafficator arm which could be early or civilian. You would need the chassis N,o, to sort it out. Peter.
-
I had driven my self mad cleaning parts up and painting them so I have had a few weeks off the OY. I set to Saturday afternoon and reassembled the front springs and fitted them. I also fitted the cab mounts and pedals to give me some motivation. My mate has got the main wooden cross member made for the cab and he has done a very good job. Peter.


-
HI Guy, Just sent you an E-mail. Peter.
-
Hi Guy, I have always liked the C4 and look forwards to another first class restoration. Peter.
-
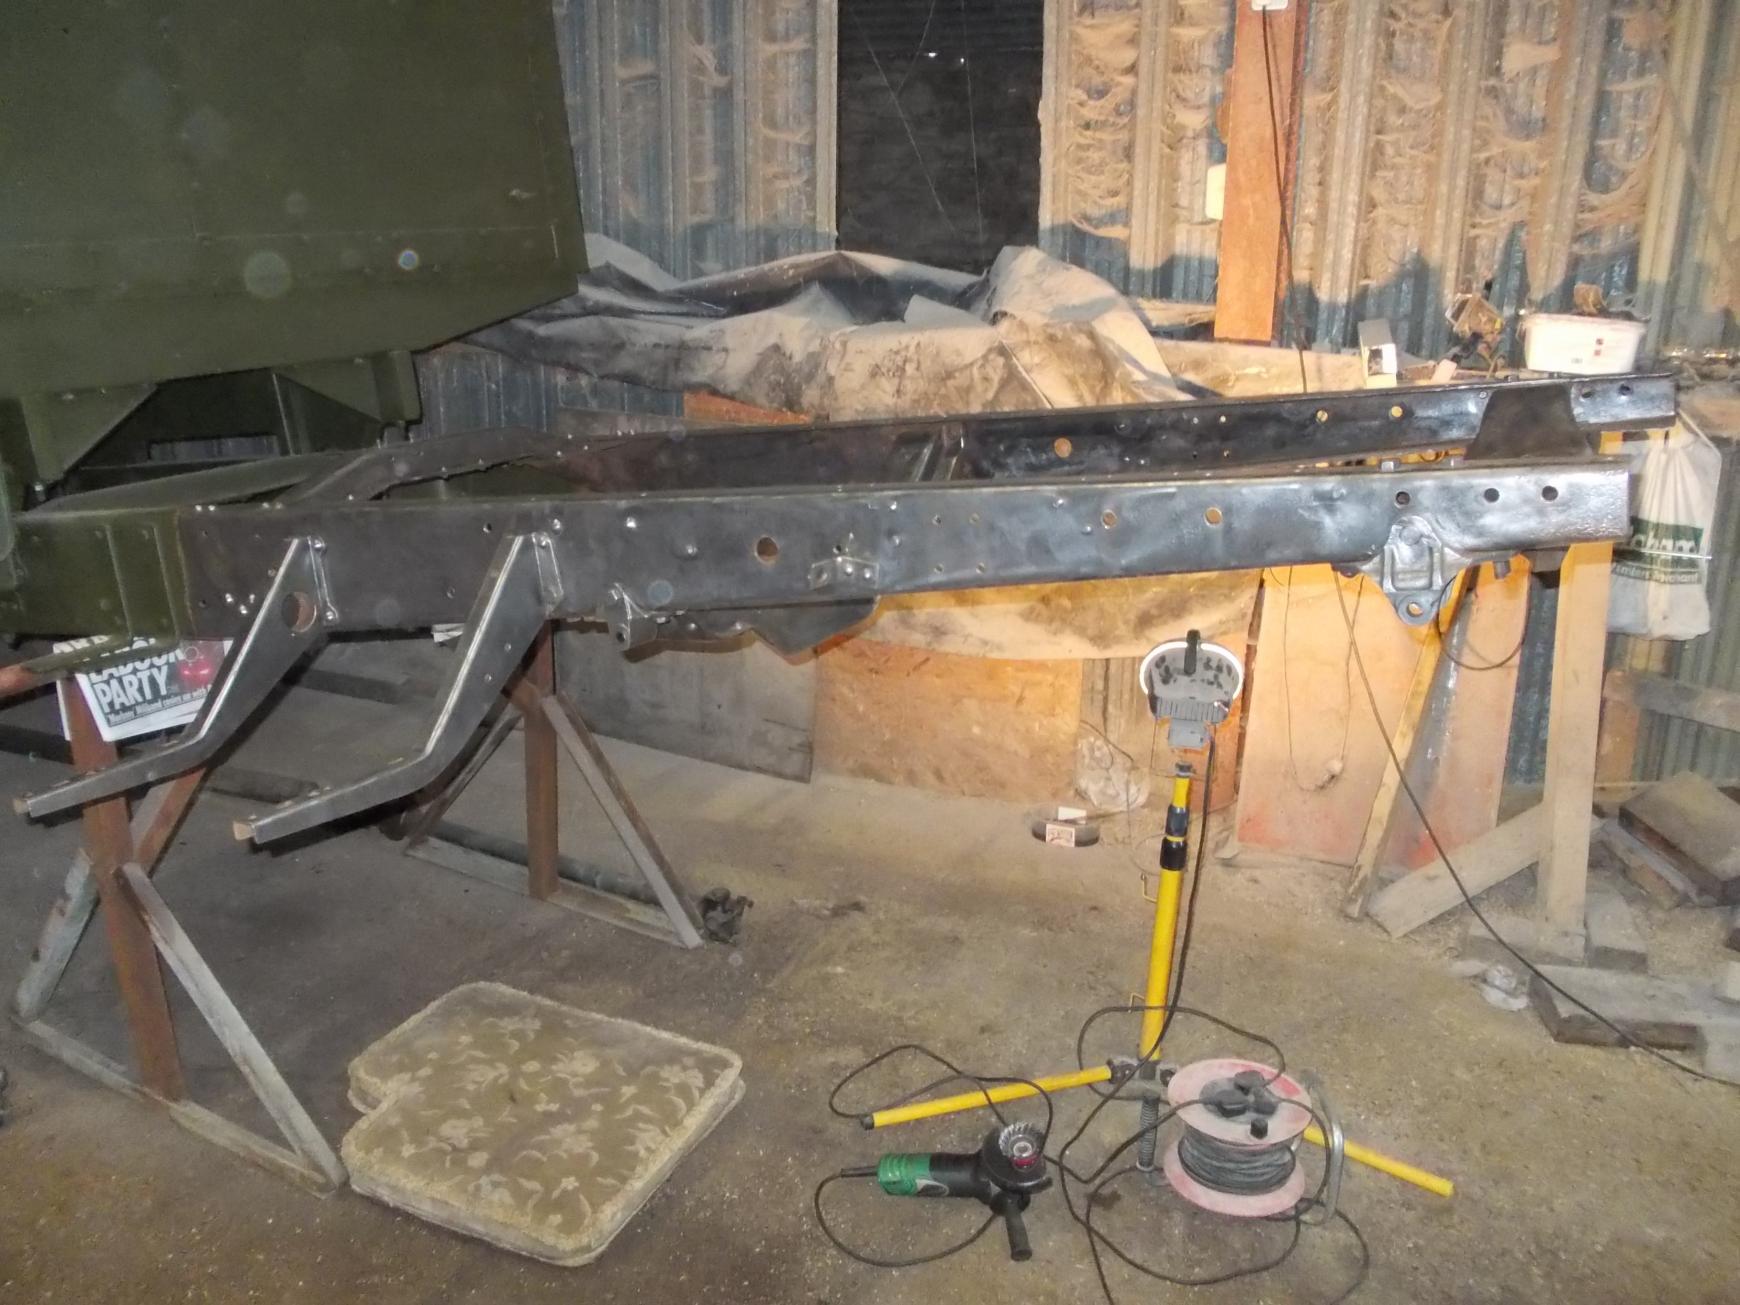
I have now striped the front chassis down and cleaned it with a needle scalier and then wire brush on a grinder and got the first coat of primer paint on. Peter.

-
Hi Alastair, Your welcome to pop over. I hope to see some progress with the loyd soon. I think the very early Bedford engines were green but were soon changed to black. I think the tube is a breather tube as when the engine was running there was a lot of oil smoke coming out of it which I put down to the valve stem seals. I have not done a 28HP before so I have to get my head around it Thanks Peter.


