


Rick W
-
Posts
3,597 -
Joined
-
Last visited
Content Type
Profiles
Forums
Gallery
Blogs
Events
Articles
Store
Downloads
Posts posted by Rick W
-
-
What are these then?
Located in a scrapyard, not a million miles away , but certainly not local!
Number2
Number 3
Answers on a postcard
-
I'll second that, happy birthday ;-)
-
I like that. It would be even better if we could actually see something else other than rain clouds. Still could be worse, could be at Glastonbury! :-D
-
Im sure when i die my headstone will start www. !
A nice site for a rainy afternoon.
-
Luke.......I am your father........
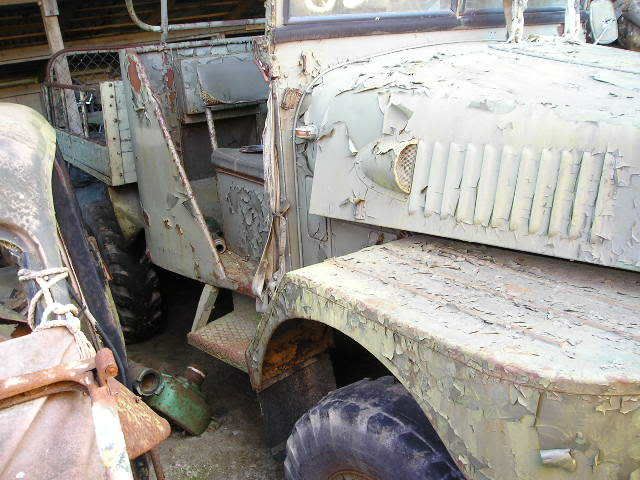
After consulting Mr Askews guide, it looks like an M38A1 MD which started production in 1952, hence the curving mudguards which confused me.(Im not too well up on my jeeps yet!). Iwill pursue it and keep you posted. Unfortunately not a rare jeep prototype. Probably worth about £500 in its present form!
-
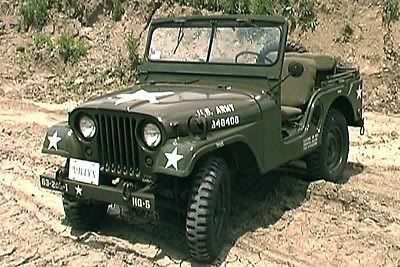
Mystery solved, its an M38A1
http://i117.photobucket.com/albums/o72/rik242_2006/M38A1Front400.jpg[/img]
This is the battery tray cover thing which caught my eye
Gonna go see if I can get me a yank next week i reckon!
( Yes love, of course we need it, its an investment for our daughters future.....another glass of wine dear?)
-
If you mean the Burma jeep, then no, nothing like. The front mudguard doesnt protrude forward like that, they more follow the line of the wheel.
-
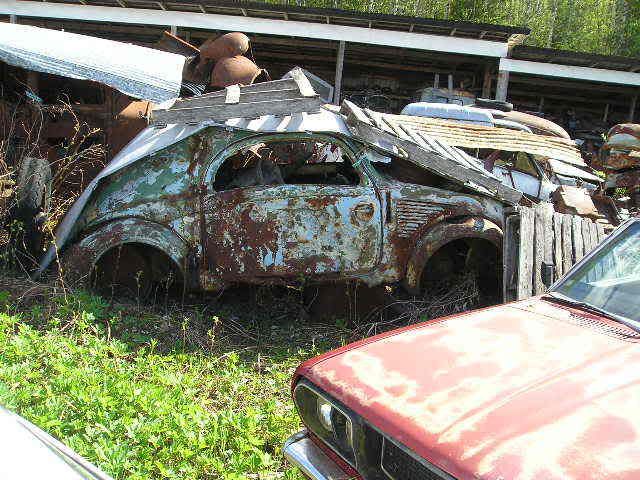
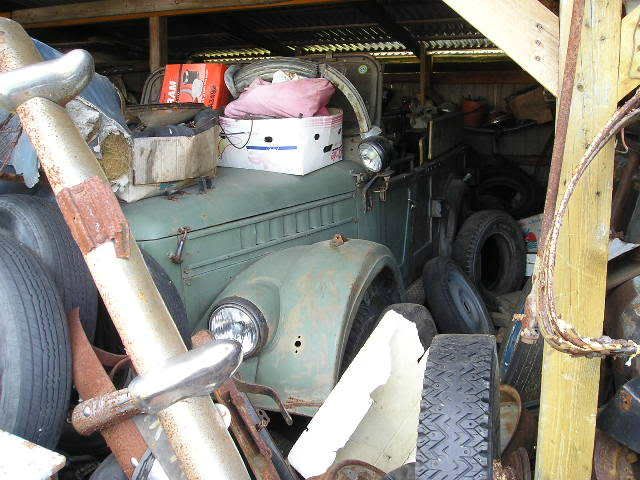
Dont get too excitied, but one of my work colleagues suggested there might be something resembling a jeep/champ sticking out of a hedge at the local yokel landrover breaker/workshops. I popped over there today to have an inconspicuous nose round pretending to be on the lookout for landy bits and saw its nose poking out of some long grass. Definitely not a Willys or GPW. I'll try and describe it as best as I can, but havent taken any photos of it as, a)I dont know if its for sale, but it cartainly hasnt been driven for many years, b) if it is up for grabs and the farmer bloke isnt too bothered by it I may have found a right bargain and dont want to crawl over it taking photos! I plan to go over there again on Tuesday to see if he's interested in parting with it, if he is I'll post some photos.
Here goes then.
Its slightly bigger than GPW size, i would say more champ size, but it definitely isnt a champ.The front mudguards curve slightly over the tyre, similar to a Gipsy, but having looked at a couple of photos on the internet I dont think it is. Indicators and sidelights with a blackout cover are mounted on mudguards. Front grille is flat with vertical slats, and is flat faced with no overhang from the bonnet.I couldnt see if it was right or left hand drive as it had a big mucky tarpaulin shoved in it, but it did have the plates for 4wd instruction on the right hand of the dash. Most conspicuously I thought, the bonnet didnt go right up to the windshield, it stopped short by about 8or 9 inches. On the right hand side of the panel between the windshield and bonnet was an access panel which lifted off and seemed to give access to the battery.
Any ideas?? :?
-
Another web place from the same people, some of you may have seen it as it was a project that finished last year, documenting all the anti invasion defences across Britain. I'll post a pic of our local pill-box down the high street when I remember! ;-)
-
All you need now is a metal detector and a spare afternoon! :whistle:
-
Does that work- more direct to the table?
-
Go to the link and click on it, you will come up with ADS home page. Go to bottom and click I agree. You should then find yourself on the overview page for that report. Scroll to bottom and click on Stage 2 (in red). You should then find yourself with several options in boxes, just click on the relevant one.
-
A useful online resource for finding out about army camps in your area from the archaeology data Service. Listed by county, it gives NGR's for WW1 army camps, but a large part of it is WW2 army camps, including D-Day Marshalling camps, Overlord camps, US army camps etc, well worth a look!
http://ads.ahds.ac.uk/catalogue/archive/armycamp_eh_2006/overview.cfm
-
Get well soon John ;-)
-
Thanks Andy, found it and ordered it!
-
Get some pics up! ;-)
-
Whats the details of that book Andy, and contact details of seller?
-
As always, question answered, thanks Clive! ;-)
-
Thanks Steve, I went down this route trying to find out what colour it should be. Morris engines from the factory for a large part were a horrible shiny bright green colour, although there is no hardand fast rule from what I can make out. i used Hammerite dark green, I think it looks better as I tried out car plan engine enamel green and it didnt look right.
-
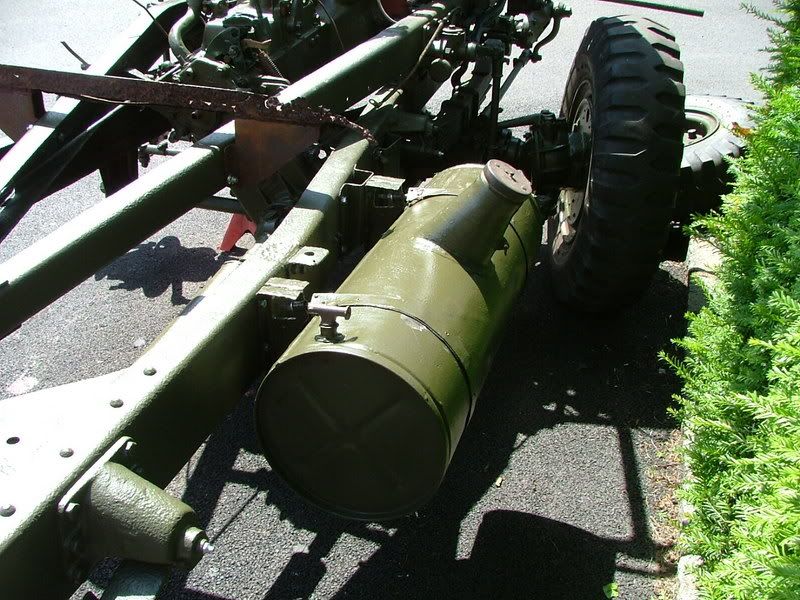
The drivers side fuel tank has had running repairs done over the past few weeks primarily so we can get it running and plumb the ignition electrics in. This will enable us to drive it in and out of the workshop, rather than pushing it, which, despite being stripped down is still rather heavy!
This is the drivers side fuel tank when still on the vehicle.
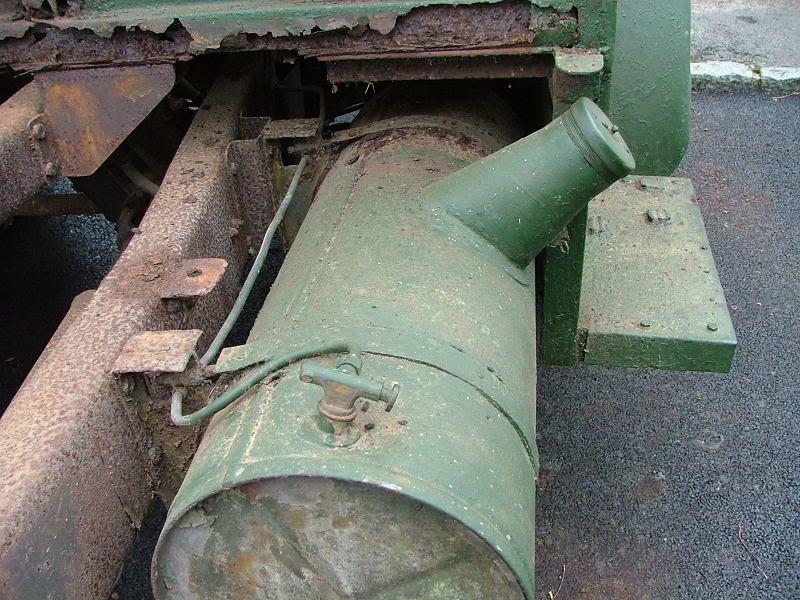
It needed at lot of work doing to it and ideally totally replacing in the future. When the tank straps were prised off it revealed a lot of pinhole rust spots under them and the tank itself seemed to be full of gravel. The pin holes were repaired with fuel tank filler/sealer. It was cleaned out with Marine Clean from Frosts and then had a good dose of Fuel Tank Sealer,(recommended), again from Frosts. A thick coat of primer, followed by the OD15 seemed to do the trick as we poured some petrol in to see if we sprung a leak. It has worked for now. The tank straps were in pretty poor condition as well, so they will get some new ones fabricated in the future.
The availability of these fuel tanks these days must be next to nothing, so when it comes round to re-doing them I think the best course of action would be to cut off the ends which are still fairly solid and get a wrap around sheet of metal to form the cylinder.
-
Most car paint is acrylic these days, as Clive correctly stated, cellulose reacts with just about everything! And as Im not planning to go into combat over the weekend Im not too concerned with the IRR pigment! ;-)
-
Ordered NATO green from the EMLRA chap who was very helpful and vehicle stencils. He also suggested just using exterior metal paint, ie car aerosol spray for the black. Does anyone know if the red cross would have been in gloss or matt, i would have thought matt?
-
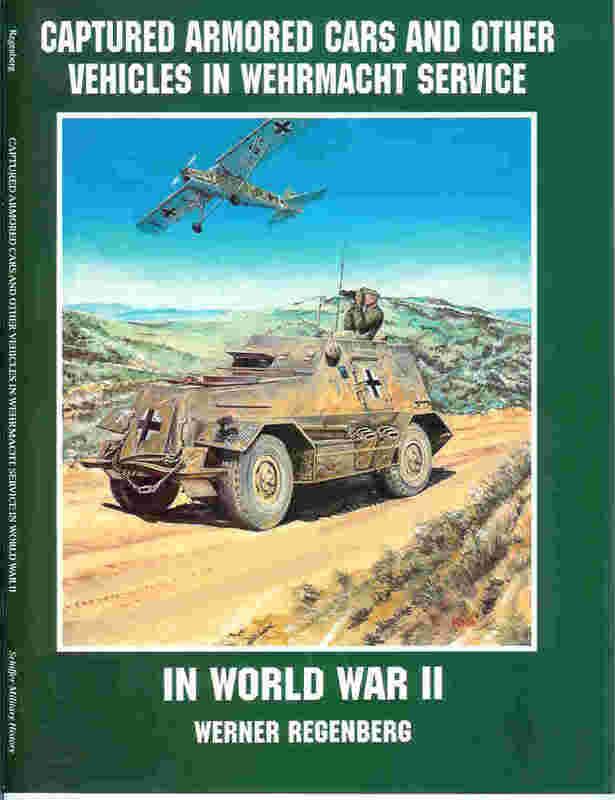
http://i117.photobucket.com/albums/o72/rik242_2006/armored20cars20250606.jpg[/img]
47 Pages long. Not really what I was expecting, I was hoping for lots of decent photos in a good reference book. This is very poor considering the large subject that it could cover. A couple of pages on acquisitions from different countries, netherlands, Soviet Union, france, England etc. A couple of poor quality black and white photos to accompany each country. vehicles covered include Panhard, Dingo, Humbers, Marmon-Herrington.
Not good value for money, I think I could do better myself ! Who knows, maybe one day!
-
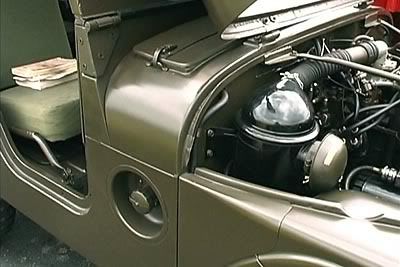
Front engine mount/crossmember is now in place. It was tricky to get the exact measurements for it to get it made up due to the corrosion thinning the metal on the crossmember and the chassis. not only that but the engine chassis narrows toward the front of the truck. Bolted in as per the original. The parts of the chassis which this bolts to are going to get reinforced for strength as well as cosmetic reasons!

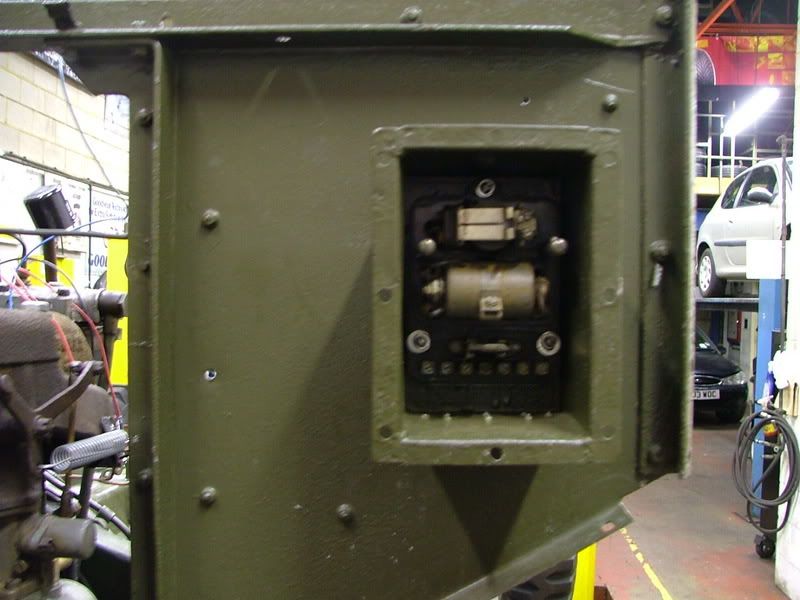
Control box treated, painted and fitted with a new unit. (They are a fairly standard item always cropping up on Ebay on a regular basis.
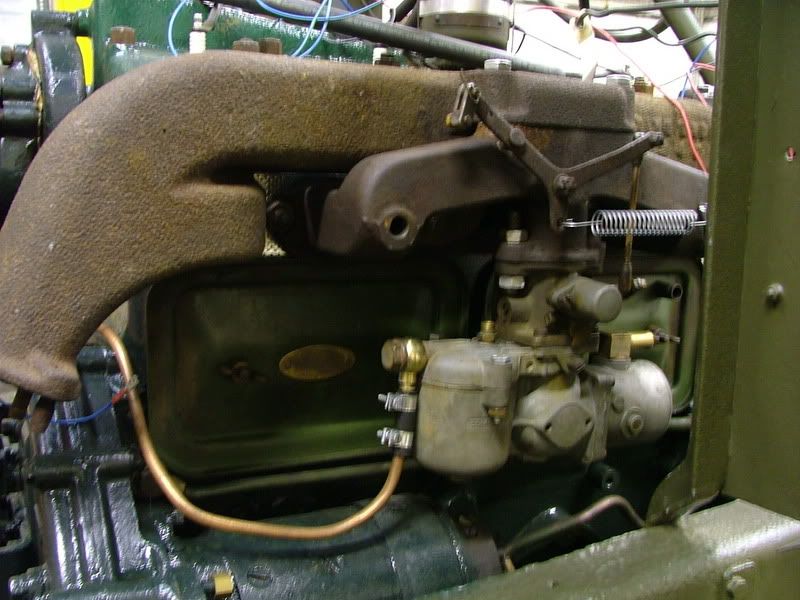
Showing the carb in place and plumbed in.
Importing from scandinavia
in I may be stupid, but......
Posted
This question has probably been asked before, (what we could do with is a FAQ on this subject!), supposing i wanted to import several vehicles from a scandinavian country, say by a container, 5 or 6 vehicles at a time, how would I go about it? Has anyone here had any dealings with importing and if so what company did you use, or did you go via an agent? How much would it be to container from Scandy. Any info welcome. :?