


welbike
-
Posts
1,291 -
Joined
-
Last visited
-
Days Won
10
Content Type
Profiles
Forums
Gallery
Blogs
Events
Articles
Store
Downloads
Posts posted by welbike
-
-
Yes, I just checked! so now I have to change that!! the mudguards always break off near the rivets, that's why they later re-inforced it with a steel strip on the inside, I welded that on my mudguard, as it kept breaking up, but the bike was used hard!
Ron, I found a picture of a paneltank with an early fag's end taillamp, so you can fit one of those, and sell the MT210 to Steve!

-
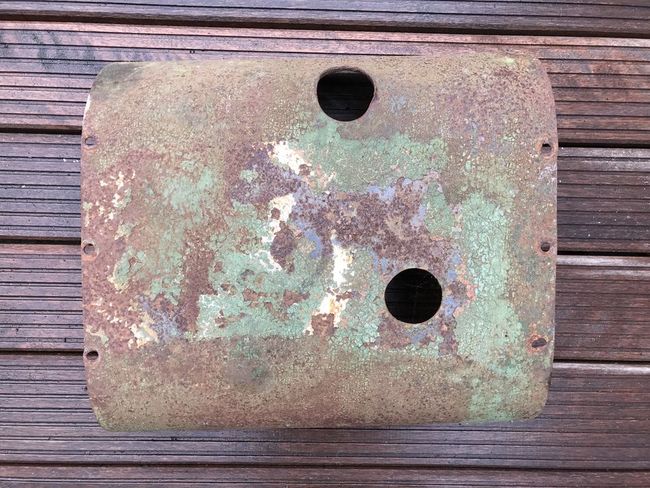
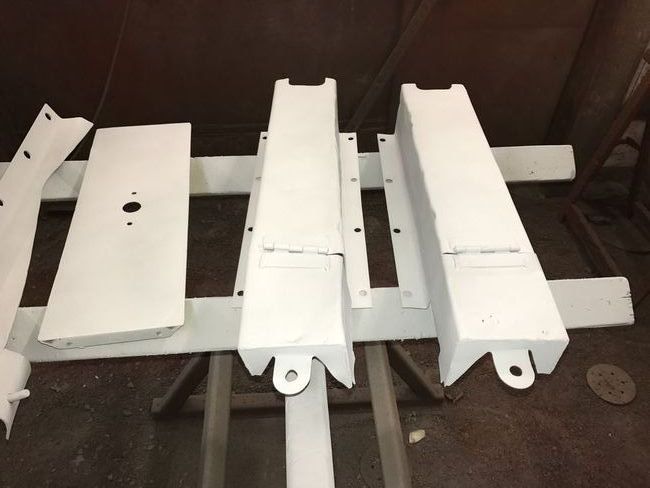
OK, that sounds about right, now I checked my spare one, that is in a bad way, and that is 12" too, but the holes for the numberplate holder are way up! see picture, this means it sits a lot higher! I cannot see any welded holes, very strange, a third mudguard I have is exactly the same. the lowest hole may have been for a reflector? will check my period pictures in a mo.
Lex


-
OK, lenght from rivets to tip of guard should be 12" Ron, I think yours should not have the number plate holder, it had the WD rear lamp as in the above b/w picture. Or you need the longer guard, as you have the panel tank.
Lex

-
Tyre pump thingy should be curved, at least on my NOS guards the are, maybe someone stole the pump on that one in the b/w picture, and bent it?
Will take a picture from the back of my number plate, and measure from the rivets downwards, maybe time to document it all??
Have the short one on my US G3WO, but have an original long one, and will change it when I next visit, that reminds me, that I do have somewhere the remains of my mates Indian one, that could be used to lengthen others.
Lex

-
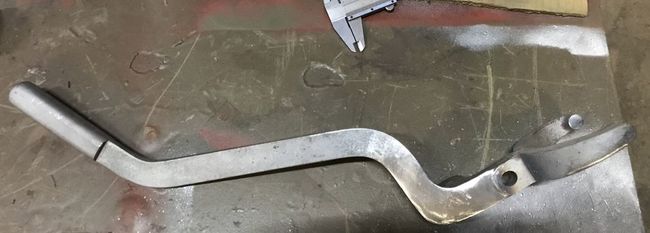
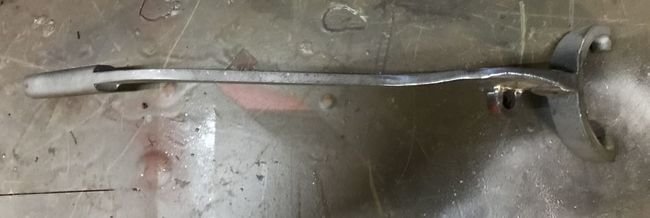
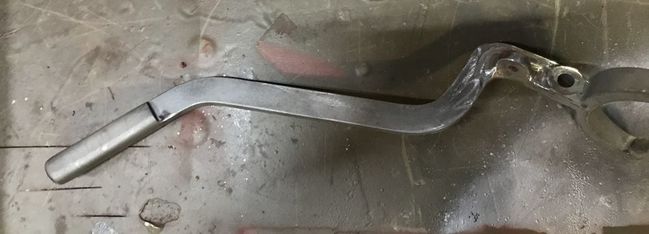
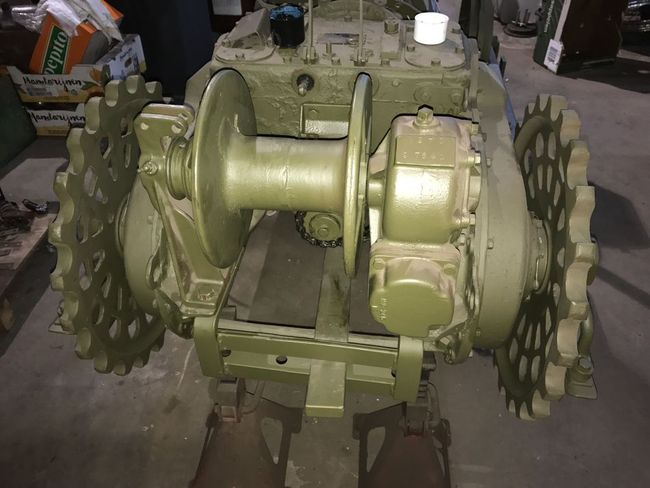
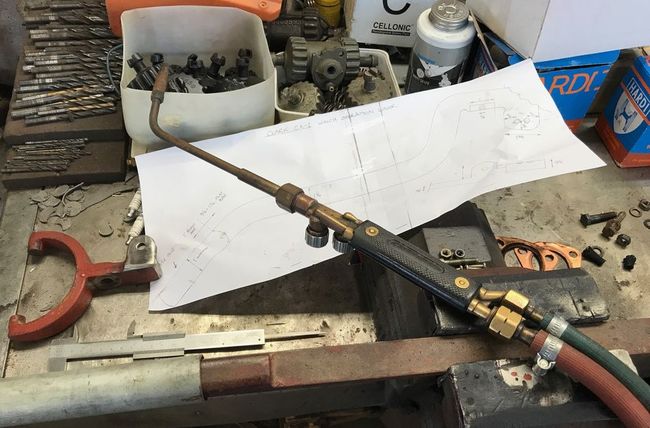
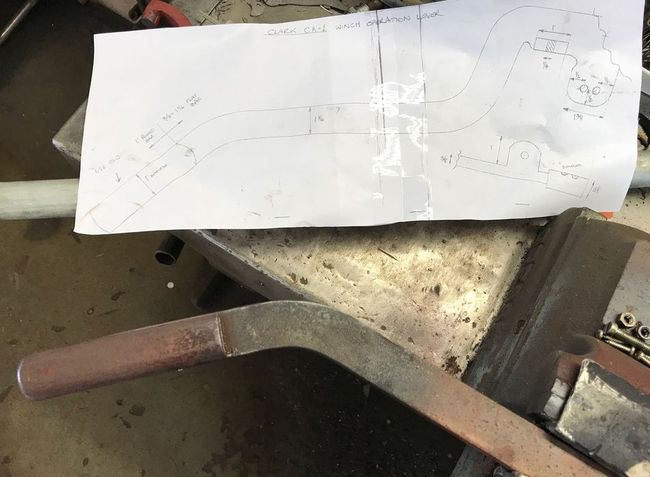
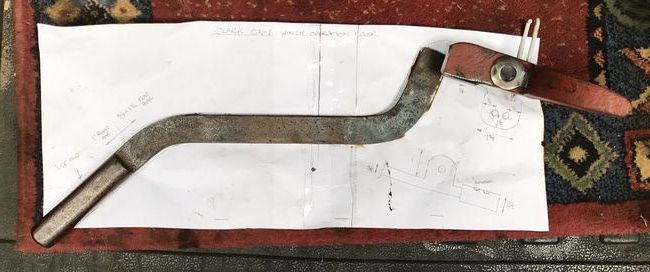
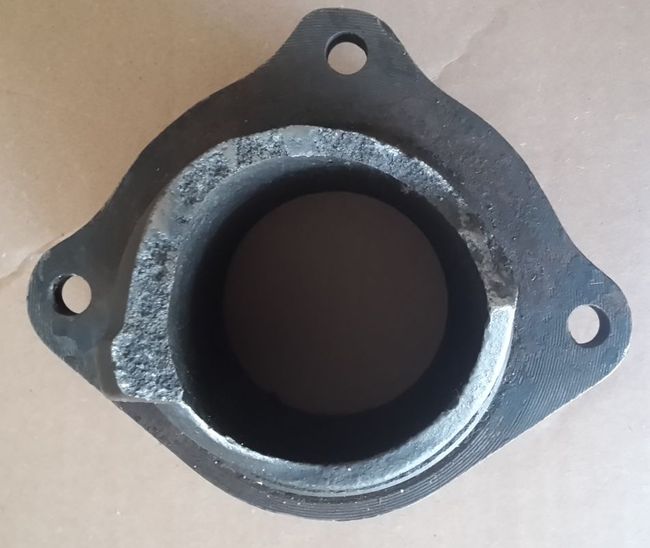
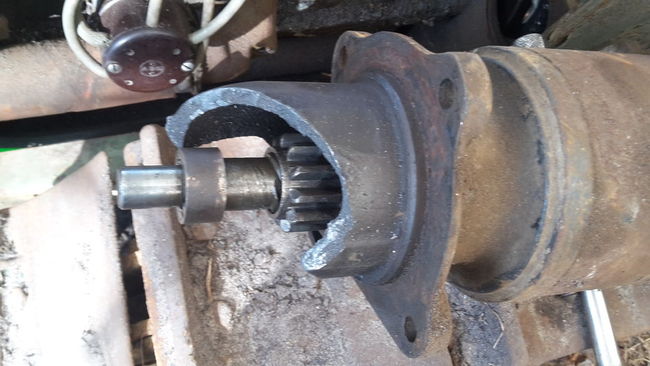
Here the rest of the welded winch handle (not finished yet), to make the little identations for the clicks, so it stays in or out of the coupling, can best be made by drilling through a bolt (put in a lathe first) that goes in the threaded part of the winch casting, so the drill bit will be guided to the right spot in the handle, later it can be drilled a bit deeper, so only a conical hole will be there, where the spring loaded plunger sits, and holds the handle in position, I will make a drawing with measurements later of this part, that is often missing.
On the Dodge type Braden winch the little bracket for the spring loaded rod (for the drum brake) is located on the wrong side, it will work that way too, but as I was bizzy welding anyway, I cut it off, and rewelded it to the other side.
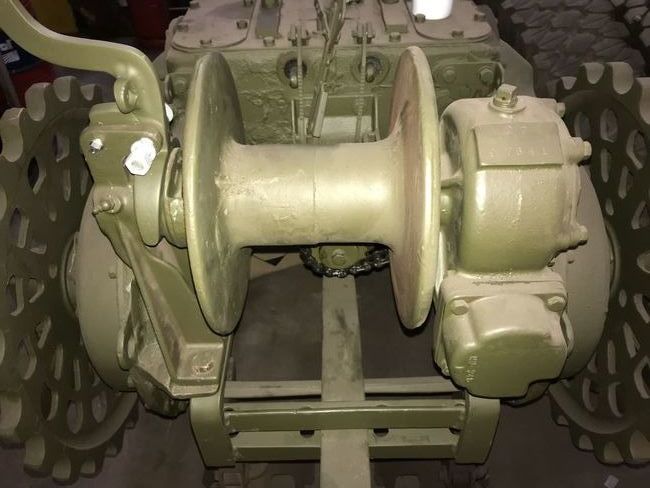
You can see the guide bit with the square ends in the left top corner of the winch bracket (below a better view)
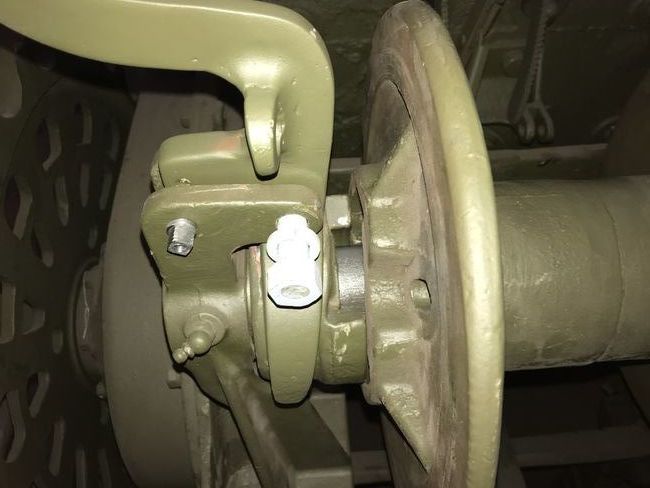
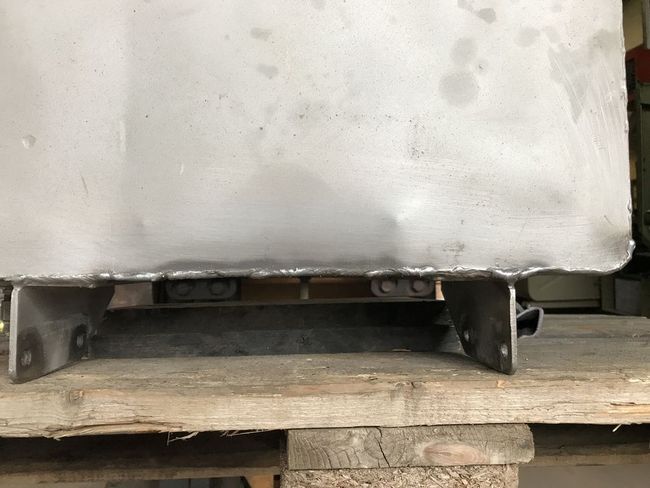
Here the brake for the drum is added, this is a standard Braden/Dodge part. (linkage I still have to make/find)
Will add to this later,
Lex
-
 2
2
-
-
Original invasion star on the bonnet!!!
Will replace that when finished.
Alex
-
1
-
-
Mine is the longer version, longer is earlier, the very short ones you cannot fit a numberplate holder, Ron, you seem to have the inbetween model! see pictures of both types.
Lex


-
Steve, you will first have to see what length rear guard you have, I seem to remember, a friend had to buy 2, as the only ones they make are the later short version, so he welded 2 together.
Lex
-
Yes, it's all from the PC, but I have used that G503/surfacezero hosting site, and it's gone from bad to worse!
Lex
-
Sorry about the upside down pictures, I can't seem to fix them!
Lex
-
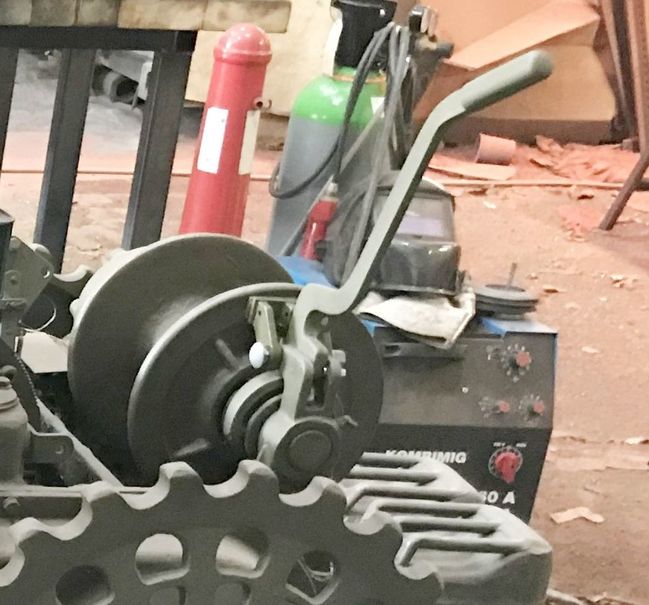
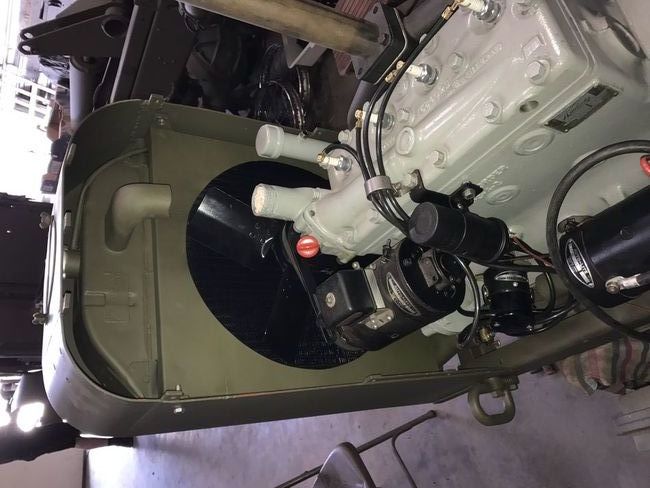
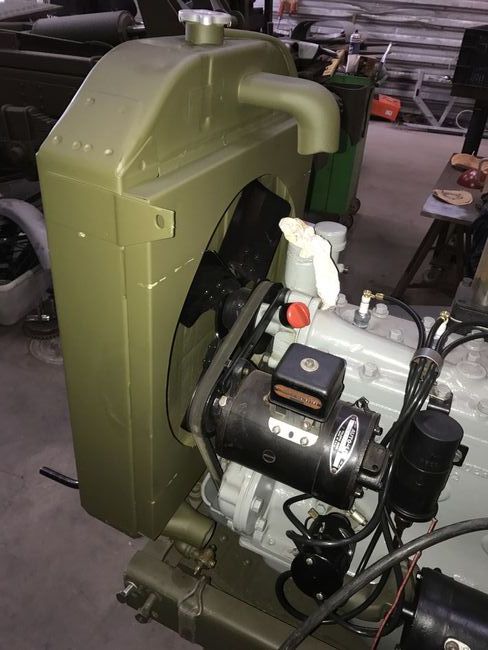
So, done some more work, fitted radiator and shroud for good (hopefully!) and fitted winch, and making a winch handle from a forward/reverse lever, now some more welding on it, and another headache gone.
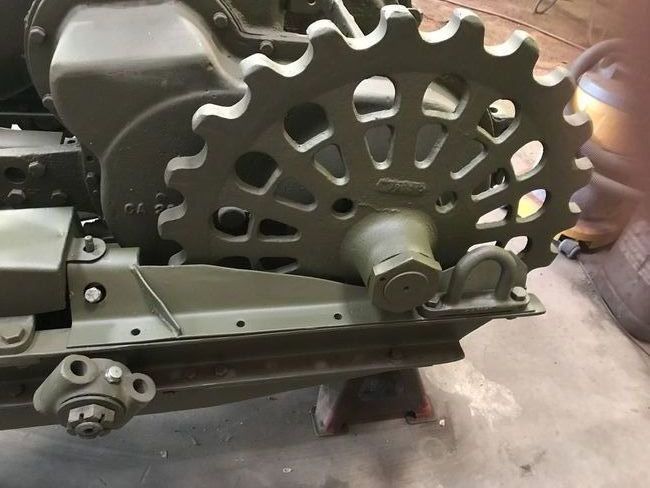
Mudscrapers also fitted.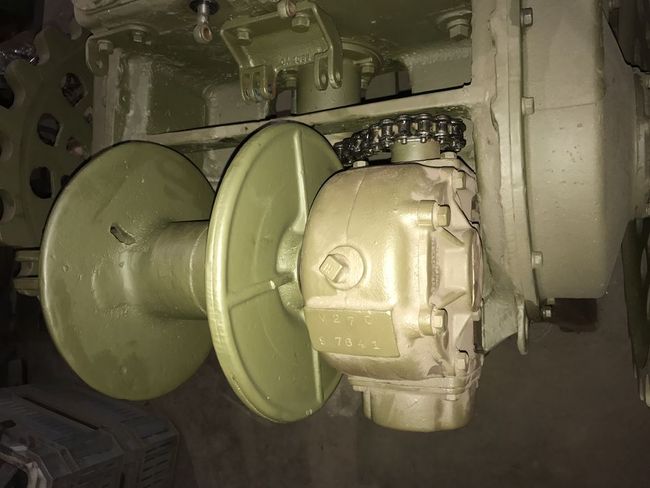
More in the next installment.
Lex
-
1
-
-
Are you sure Ron?
(bleedin Ities!)
-
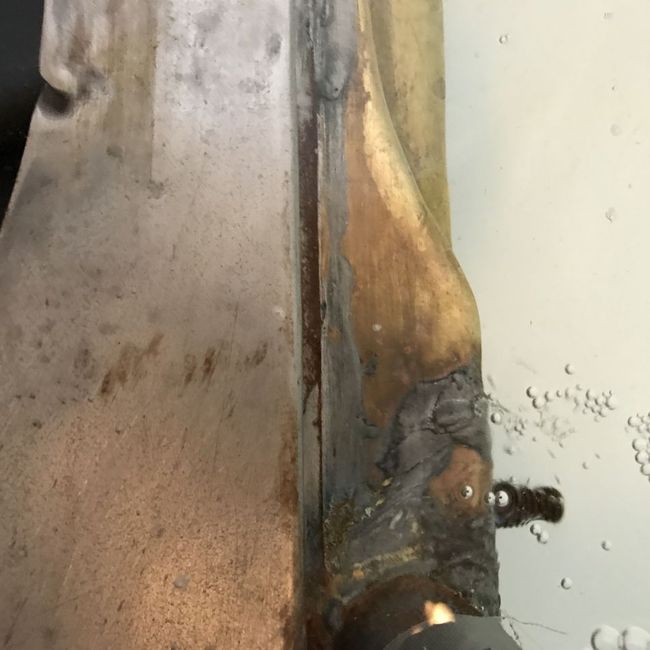
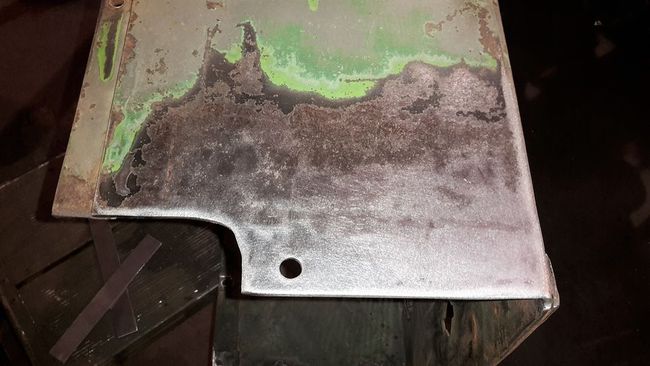
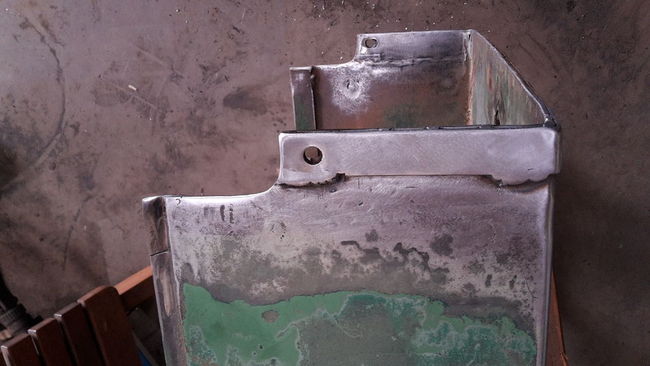
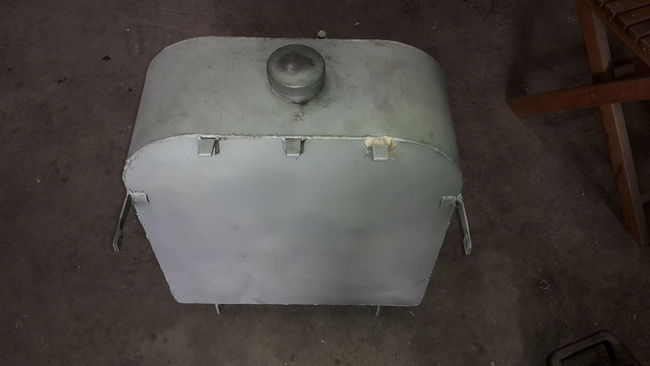
Also think I found the fuel leak, rewelded the whole bottom edge. I bought another fuel tank from the US, and had it shipped over, but was unusable, as there were thick steel plates welded over it on all sides! Also more stuff sandblasted and primered, only tracks, oil tank, and more small brackets left to do, so finally getting somewhere.
Also need some measurements for the towing bracket at the rear. (Found one in the meantime.)
Grtz,
Alex
-
Thanks Rob!
Here's some more!
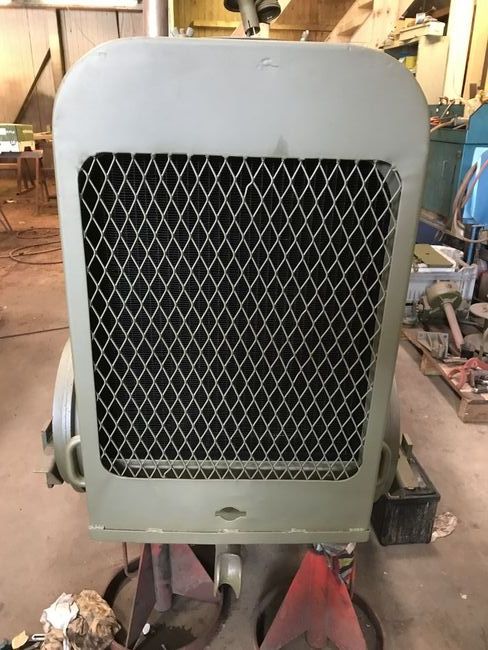
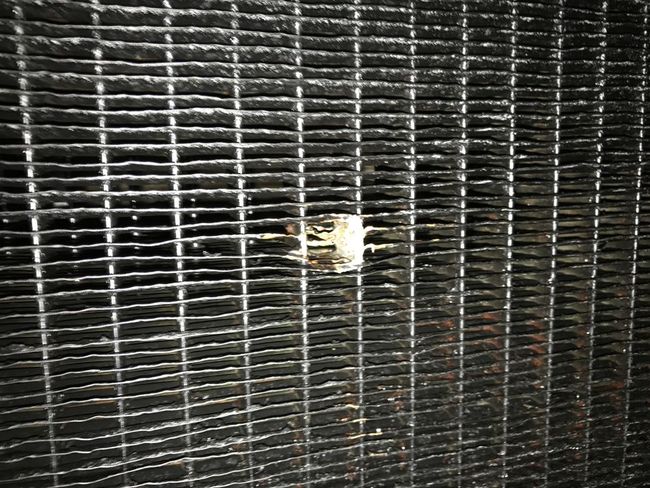
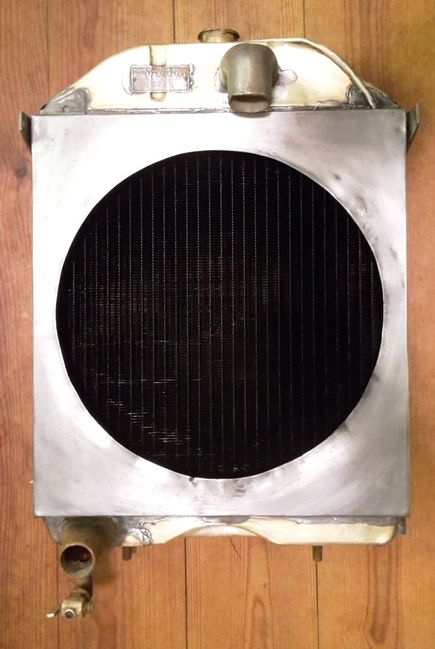
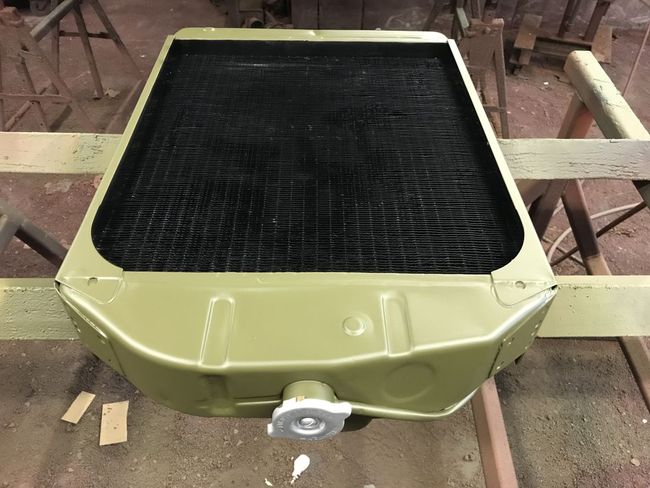
Here the radiator, after cleaning and some soldering, painted the cooling block black, rest will be OD.
Found two little leaks, and soldered them, time will tell if the radiator is falling apart or not. (still OK now!)
In primer:
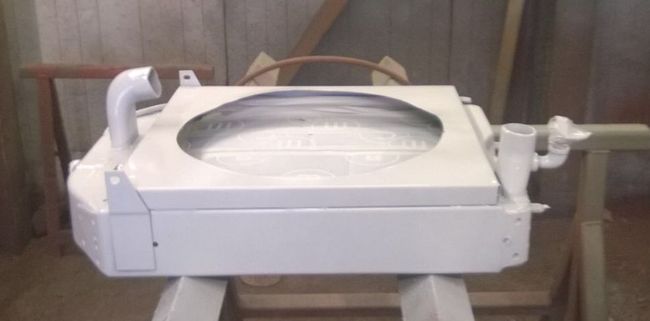
OD:
And fitted, just saw I left the cardboard masking, beter remove before starting!!
Lex
-
1
-
-
Yes, dull chrome, but all of mine have a big spring, and a retainer plate to hold them in, not sure if that is right or not?
Lex
-
Ok, here as far as I know all the pictures taken at that spot, probably not by the same photographer, but it must have been a nice "sightseeing" spot! in one of the pictures there is a lorry, maybe to transport the bikes to nearby Adinkerke, where there was a scrapyard, where a lot of material was left, even after the war, there were stories!
Cheers,
Lex


-
4
-
-
Forgot the carb stuff, bought an NOS Zenith one many years ago at the Malvern jumble, for next to nothing, it was a different model, but with the aid of that one, I could swap all new parts over to the old body, that had new bushes fitted to the throttle shaft, and one jet was so stuck it needed to be machined out, and painted in old fashioned petrol resistant "dope" paint, it came out very nice, together with the NOS cadmium plated hardware. And it works very nice!
.thumb.jpg.e73c0c1bd82dcd7987301b286a7e7cea.jpg)


-
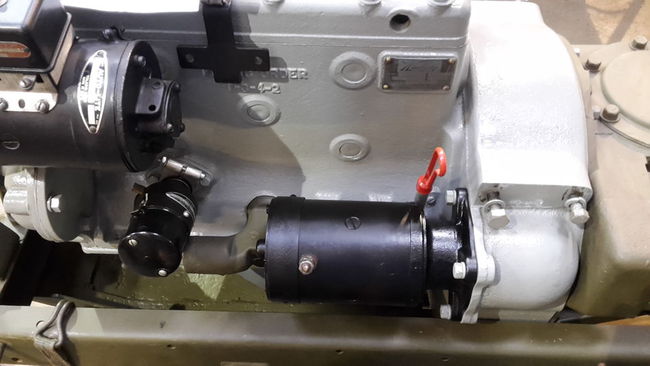
Here the distribitor, I found some NOS ones, but postwar, and needed to be machined, otherwise they were too tall, so about 1/2" was machined off, and all holes etc. lowered, also correct dataplate fitted, mine came with a French Ducellier distributor, so not correct, although it worked OK.
This job was quite difficult, and I had it done by my machinist, who did an excellent job!


-
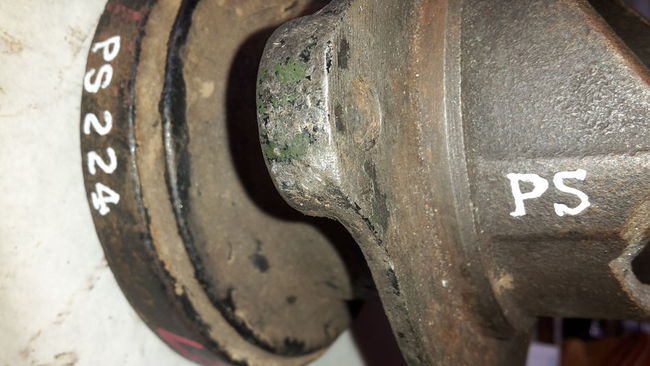
So, after two years of searching I found a starter on Ebay, for $35.00 incl. shipping to a US address, so I took the gamble, as the casting numbers were different, and eventually it got to my place, and guess what, it was the right one. (only the bendix was for opposite rotation)
So very happy, but I had also commisioned the foundry to have two cast, so they were ready at about the same time! typical!!
Have not done anything with the castings, but maybe one day they will be machined.
Now need to get a battery, anyone knows the size??
Have started the Clark last week, a couple times with the handcrank, and runs very nice! had the ignition out 180 degrees at first!
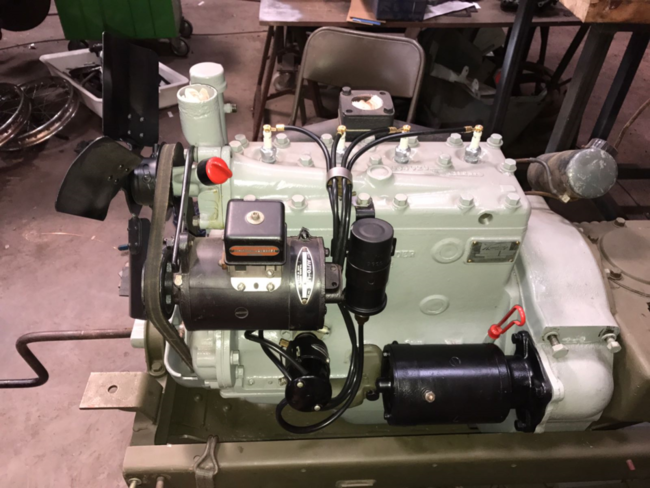
Repaired the radiator and shroud, so that is next to add, and to find the leak in the fuel tank, and we're getting somewhere!
All painted:
Thanks,
Alex
-
1
-
-
Thanks Ron, will post some more, but when I come to the present time, there will be questions, as I'm stuck with one part! I hope there's more people following this when that time comes, as it's rather difficult, and I'm not confident about it.
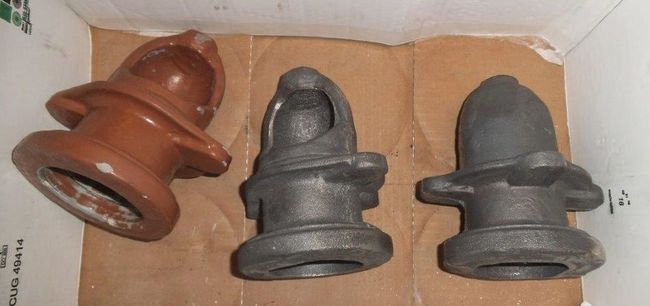
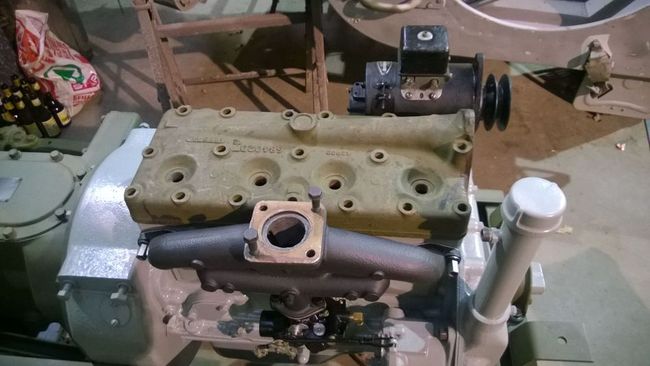
Some people asked me where I got the manifold from, luckily this is the original one that was on the engine, one little part was broken off, but I managed to weld it back on, and is still OK. But for those not so lucky (I have seen some real butchered ones! see picture below) they are now available again in the US, for a Case tractor, that used the same Waukesha engine, model FC. Model "RC" Case Archives - Rosewood Machine & Tool Company
Lex

-
Not done much, it's now 2017, but the NOS head arrived, that made my day!! (although it cost me some!)
Let me know if anyone desires an NOS cylinder head from the US.
I just realized I forgot the whole process with the valves, I was able to use all the originals, just had them ground, so they had a nice contact surface again, some had been open for a long time, and some rust had formed, nothing serious though. the guides were good, so only the seats were all recut, with a tool I half borrowed, and half made myself on the lathe, this was quite straightforward, and after lapping/fitting the valves and springs, the engine runs very smooth. Also pictures of the NOS gasket set I had aquired with the very first wreck I got.
Lex


-
1
-
-
Ok, I will see if I can find the rest of the pictures, and the exact location, then I'll post it here.
Lex
-
On 5/29/2020 at 2:02 PM, Morris C8 said:
German dump for captured bikes .Dunkirk. Photo taken from my original neg.
Keith

Is this picture taken near the Hotel Continental Osborne sign just outside De Panne Be. ?
Cheers,
Lex

-
OK, one more thing, the starter, an 6 volt Autolite MAJ 4064 that was broken, I found pieces under the flywheel, could be welded maybe, but if it gets beween the moving parts, when it breaks again, it might do a lot more damage!
Lex

-
1
-


.jpg.73d827ba597c8525981c4fc4afb6ae02.jpg)


Restoration 4 - Matchless G3 Panel Tank
in Motorcycles
Posted
Found another ribbed rearguard (for my 1st contract G3L) that has a 10" distance from the rivets to the bottom, and it's not ribbed over most of that distance! strange! only a little bit at the bottom, maybe civillian prewar?
Lex