


welbike
-
Posts
1,291 -
Joined
-
Last visited
-
Days Won
10
Content Type
Profiles
Forums
Gallery
Blogs
Events
Articles
Store
Downloads
Posts posted by welbike
-
-
Good show! it must be a postwar modification, that was done a lot in Italy!
Any history with it?
Lex
-
Well, there is about 3 types, one is with filling it with vinegar, takes a week or so, then there's electrolysis, but have not personally tried it, lots of info on the net. and someone recently said to me fill it with hydrochloric acid, probably diluted, but have no experience with it.
Hope this helps,
Lex
-
Try to repair it without putting a liner in, it will give you troubles in the end, been there, done that, got several T shirts.
Lex
-
Wow looking good!!! you were very lucky, I almost bought it myself!
Hahaha!
Lex
-
No worries, just noticed, had a Tiger 80 many years ago, it's still around, the new owner is going to let me have a ride soon! It's still in it's original paint, but had lot's of technical issues after standing still for 20 years.
Lex

-
Here some recent pictures of the front lamp (rear is the same), also note all bolts have the C embossed on them, for Clark, much like Ford "F" marked bolts, but much more difficult to find! these now have the correct glass lenses fitted.
Lex


-
 1
1
-
-
Nice, but I think the engine is not 3HW, more like the prewar Tiger 80 or something like that, numbers will tell all.
Cheers,
Lex
-
Just paint it black!
Lex
-
1
-
-
Nice Steve, only they enlarged the hole where the switch should go, the bottom one, where it's now, the clock blanking plate should go, contact Simon for one of those.
Deffo a WD tank, as the hole in the tank is the larger one, so the tank can be removed without undoing any of te wiring, the panel slides through the hole.
Cheers,
Lex
-
The picture is just too bad too see anything recognizable! any chance of a better one? the rear suspension really hints to something postwar.
Lex
-
2018 now, and working on the lamps, had found a pair of K-D lamps, with the wrong bracket at the Malvern jumble, so took those off.
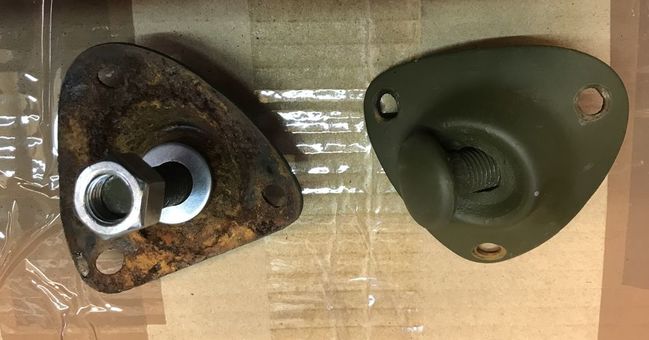
Didn't make any before pictures! but the shells are the right ones.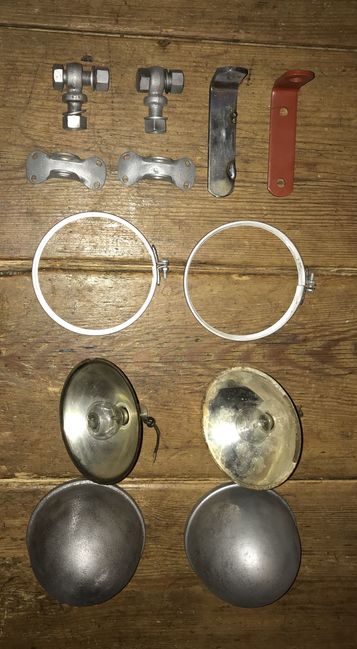
Here the various parts, I had found on Ebay some bigger K-D lamps, with the right mounting brackets, so removed those, and welded the holes in the right shells, very thin material!
Brackets needed some reprofiling to fit the radius.
Made some new rivets on the lathe.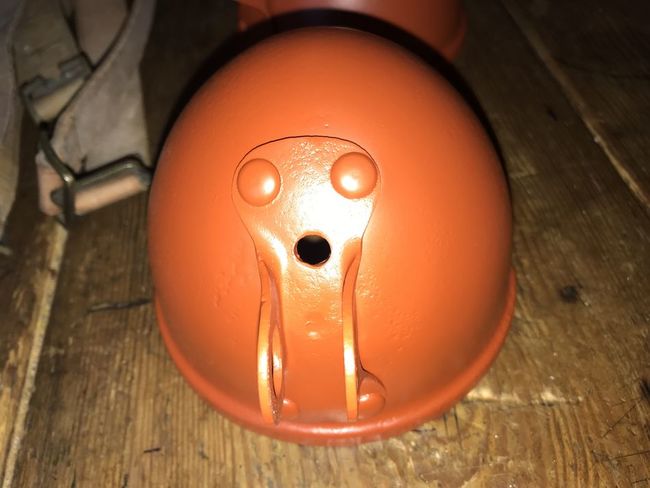
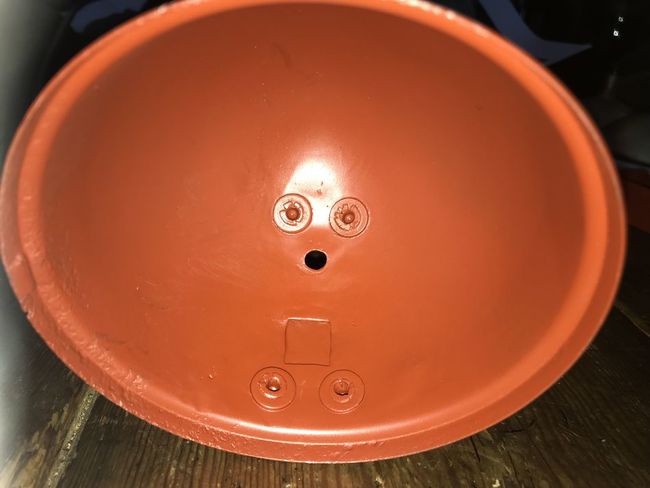
And re-rivetted the brackets, not as easy as it looks!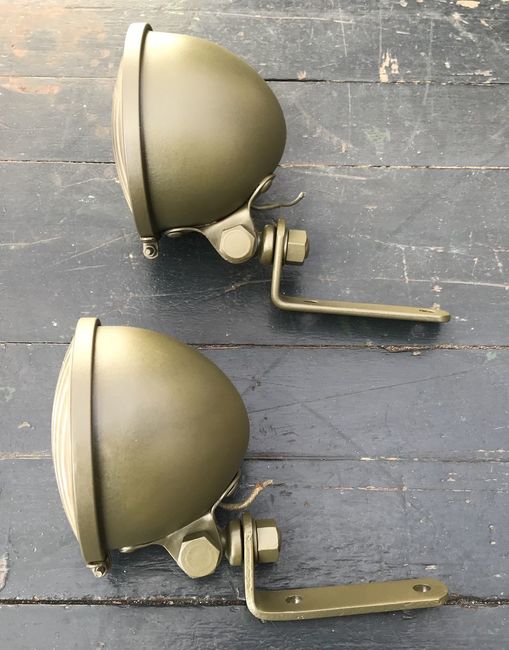
And the finished lamps, well pleased, as this seems to be the most difficult part to find!!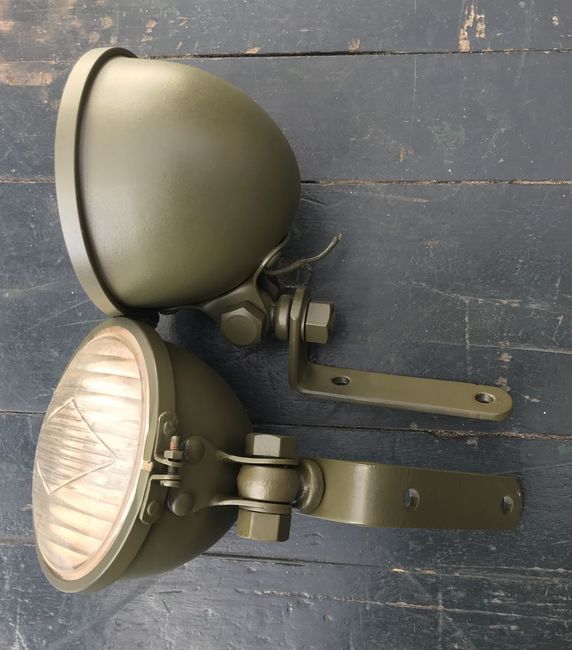
Another shot, the glass lenses are not the right ones, have them waiting in London right now, will get them here in April.Alex
-
2
-
-
Yes, they have been in the business a long time!! I'm so glad I didn't drop this jar! as I did with the lamp lense, luckily I had a spare!! and that all leads me to the lamps now, the utter most dificult part for this machine!
Lex
-
OK, so never issued then??
Lex
-
And there will only be Key Cards if the vehicle soldiered on after 1949 ofcourse. (or was made after that date)
Below a picture of the other side of the BSA fibre protector of the cards, that must have previously been used for other vehicles, ambulances it says.
Interesting! Lex

-
1
-
-
Ron, sorry, here the explanation, and everyone who reads this, please ask questions, I will try to explain!
So, the pre-cleaner, on the airfilter system, was of the centrifugal type, any bigger dust particles settled in the glass jar, so you could see them, and empty it, really works! had to empty the jar twice already! below that is an oil bath filter like on the Jeeps, but different make, the engine breather also was connected to this filter, really well thought out!
Cheers,
Lex

-
1
-
-
Ron, the make is Ball, I think they're still in business, they make glass jars for about everything, but mostly to make home preserves, see here: Ball - Canning Jars
On the dozer, and they were used on most makes, in different sizes, they were quite vulnerable, so difficult to source the right one!
Cheers,
Lex
-
More stuff done in December 2017.

Got the bonnet/hood a bit better in shape, something heavy must have fallen on the r/h front corner, as very dented, will not use bondo, as it's part of it's history!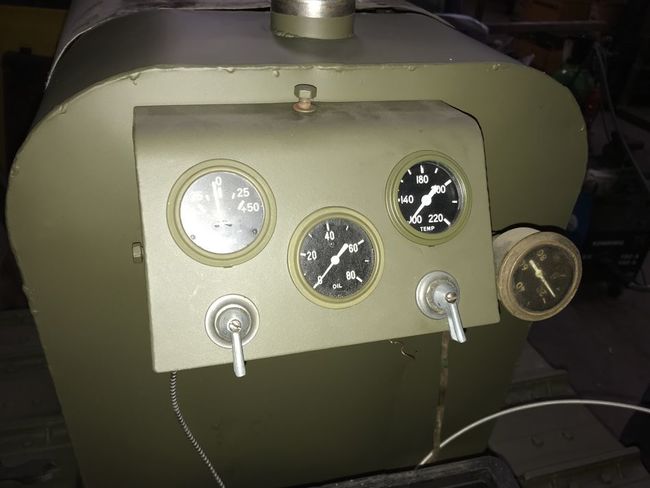
Also reground welds on fuel tank, and rewelded it, finally not leaking anymore! cost me a lot of time and effort, also added dash, and NOS instruments (all same as Jeep, except switches, they are special, but can be bought NOS, just like the special starter switch, with relative ease), oil pressure guage needs a new line.
Hollowed out an old battery case, and bought an Optima 6Volt battery, engine turns over very good with it!
Reconditioned and fitted original fuel petcock and filter, so far so good.Alex
-
2
-
-
Ok, some more pictures, got the decal for the pre-cleaner in, some antique tractor places in the US sell these, it's the wrong one, but the only one available right now, it should be more oval. I got the Ball glass jar from a friend in Holland.

From manual.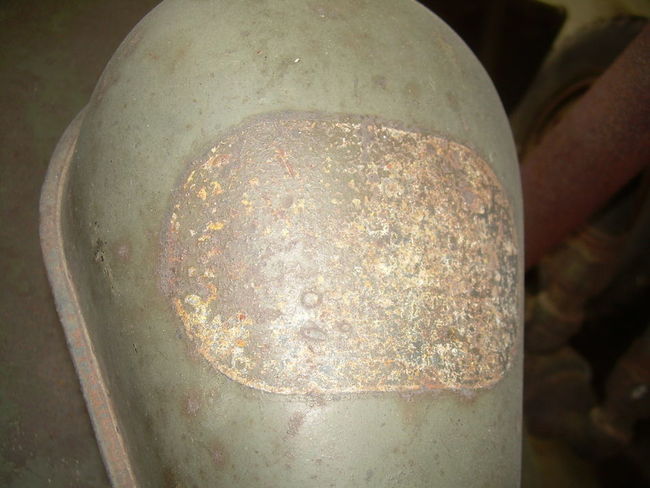
Remains of Donaldson decal.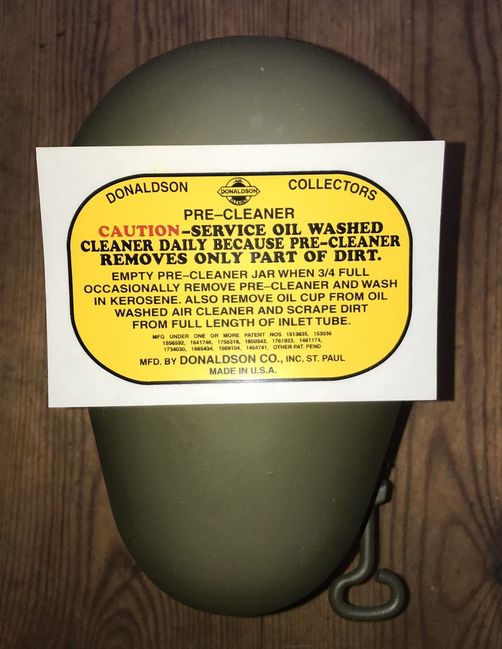
Repro decal.
And fitted, not very happy with it, but will have to do for now.Alex

-
Be carefull with these, 99.9 % of what is being sold is postwar, they were still manufactured in the US until at least 1985, so drop me a line if you're after the WW2 model, they changed after about 1950.
Cheers,
Lex
-
I think Deepcut, the RLC museum have digitalised the Jeep ones now, not sure about the others.
I own the motorcycle Key Cards, and they all have been digitalised, a chassis/frame number should be enough, or the postwar ERM number, sometimes can be found on number plates, or rebuild plates.
Below a stack of cards, like Wally mentioned, the EY series, BSA M20, the cards give a wonderfull insight, as to sometimes the last using arm, the original wartime registration number (Census number) and date and place of sale. I am asking 20 euro's for a scan, to cover costs of aquisition and digitalizing, this had all to be done by hand, and was a tremendous work, luckily had some volunteers.
Also added a brief list of the ERM numbering system as used from 1949.
Lex


-
Auch!! but that was to be expected I guess.....
Lex
-
Yes, she's nice, but doesn't ride bikes anymore!!
Lex

-
Haha, Ron, beauty comes at a price, as they say! the only way to change the throttle cable on a G3 is to take the petrol tank or the carb off!! been there done that!
Lex
-
2 hours ago, flyingfleasteve said:
Thanks Lex! Yes they appear to be a popular machine! I just love the pre war styling.....
Yes, I think it's one of the most stylish bikes of the war!! compared with a late M20, now that's an ugly ducklin!! My goal is to find a 1939 G3WO, as that is even nicer, with the twin downtube front frame.
Lex


Vehicle Markings 1st Kings Dragoon Guards
in Research Centre
Posted
Gary, whilst I don't have the info you need, I feel it may get more exposure if asked on the Motorcycle page on this forum.
See here: Motorcycles - HMVF - Historic Military Vehicles Forum
Cheers,
Lex