


peter75
-
Posts
394 -
Joined
-
Last visited
-
Days Won
2
Content Type
Profiles
Forums
Gallery
Blogs
Events
Articles
Store
Downloads
Posts posted by peter75
-
-
I have got the weather strip round the right hand door done. This side only needed the front section of the weather strip replacing.

Peter.


-
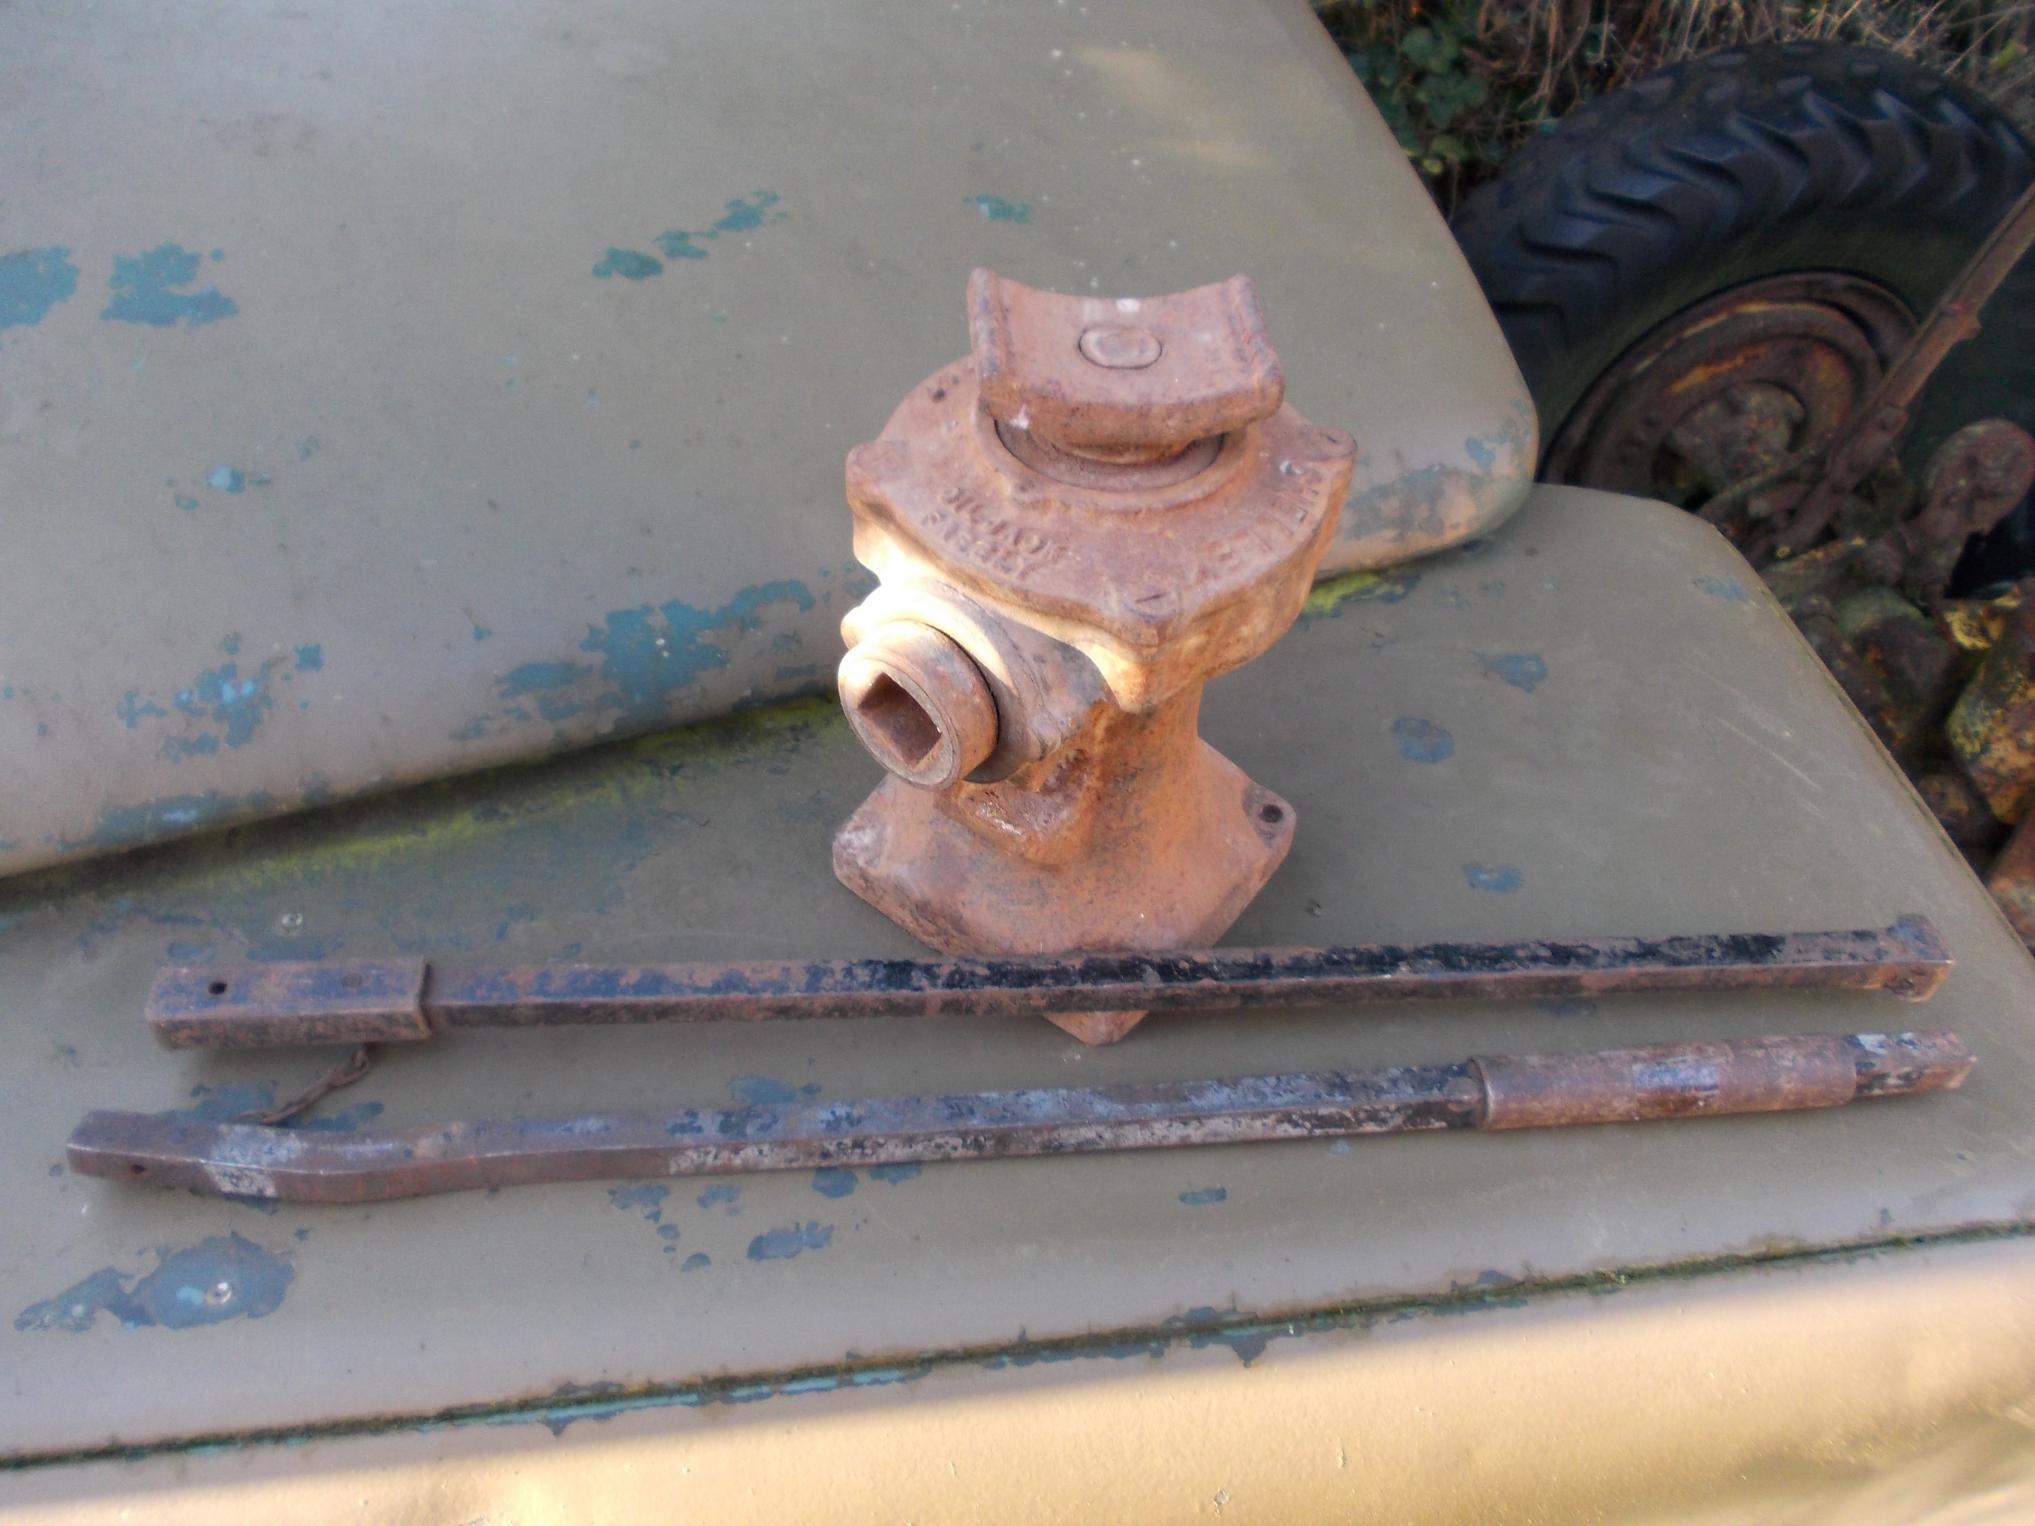
Managed to get a 4ton Shelley jack and 2 of the 3 sections of handle, just need to find another for my QL now.
Peter.
-
I have been working on the weather strip round the left door and the post at the side of the left windscreen.
there was a lot of rust under the weather strip between the spot welds that had lifted the strip. using a needle scailer with the pressure shut down I was able to knock the rust out and push the strip back.

Peter.


-
Having re read the posts, I feel it would be quite easy to fabricate one.
If you could weld and have the space its possibly cheaper to buy a chop saw and welder and make one.
Its when you start having to pay for professional services it gets costly.
If you have a local vehicle body builder near by it might be worth asking if one of the lads could make it as a foreigner as it would be cheaper.
Some people don't like new and insist everything must be original but its down to availability and cost, often you put that much new metal in to a structure it would have been better to build a new one.
I wooden't say it was quite easy to do, it took me a week to cut and weld my frame. then there are all the panels, doors and seats to do yet.
The panels and doors all have ribs pressed in to them and the seats fold up or down.
There is nothing that wood cause a problem just a hell of a lot of work.
I am happy to help with measurements and panels.
Peter.
-
hi
I have a scrap QLT body as patten.

I am building a new body from the patten.

I will be making tooling to press the ribs in to the pannels and doors.
.jpg.5f0649ee559c37563331cfe60c0d13b8.jpg)
I have Guy's spare wheel carrier but i am missing the trolley that the wheel sits on and pulls out.
you are welcome to come and have a look and i will be getting rid of the scrap body when i have all the holes drilled in the new body and i am happy with it.
I could make you pannels to off set the cost of the tooling, best to have a look.
Peter
.jpg.65ab3954a9843619c08ae720f785e88d.jpg)
-
I have repaired the floor plate which goes over the gear leaver. It had 2 holes cut in it for leavers, one for the PTO and the other operated the tipper. The plate was also bent as the leaver had been pulled so hard that it had pulled the fixings out of the wooden frame.

I have also repaired the back window and fitted the track. The window had been cut larger so i cut it out to the edge of the pressing and replaced it.

Peter.


-
MAC vintage parts in the US have them new with single pulleys.
I have a good old twin pulley.
Belcher Engineering Ltd sell mac parts in Norfolk 01379 890913.
peter
-
Hi Richard, this is the OY from Staplehurst, Kent.
Peter
-
Thanks for the positive comments.
I have spent the weekend trying to take the cab apart, so far I have removed the top half of the cab, but even with heat and an impact driver I still had to drill some of the screws out of the door posts.
I also got the drivers side and center floor removed but every thing put up a fight!
The wood frame is in a mess, with dry rot, wood worm and to top it off rats have chewed what was left but it is all there as a pattern.
I also stripped the drivers windscreen frame to see how bad it is and if I think it was repairable. I think I can do something with it, I have a N,O,S windscreen for the other side.

peter


-
Finally got chance to have a go at the OY to day. The cab rear window has been cut out larger and the track for the shutter removed.

so i decided to try to make a new track. first i tried to make it in one go and bend the curve but it did not work.

I then had a go a making it in 4 bits which has worked well although still some work to do.

peter.


-
If it is the same truck which i think it is. The last time i saw it, it was a chassis and axles that had been used as a trailer although the rear axle was complete.
I would like to see what was under the bonnet.
Peter
-
There was a Austin chassis at a small museum to the east of Coningsby about 10 years ago which was sold to an engineer to be rebuilt. I think he is 5 to 10 miles north of Boston near the A16.
peter
-
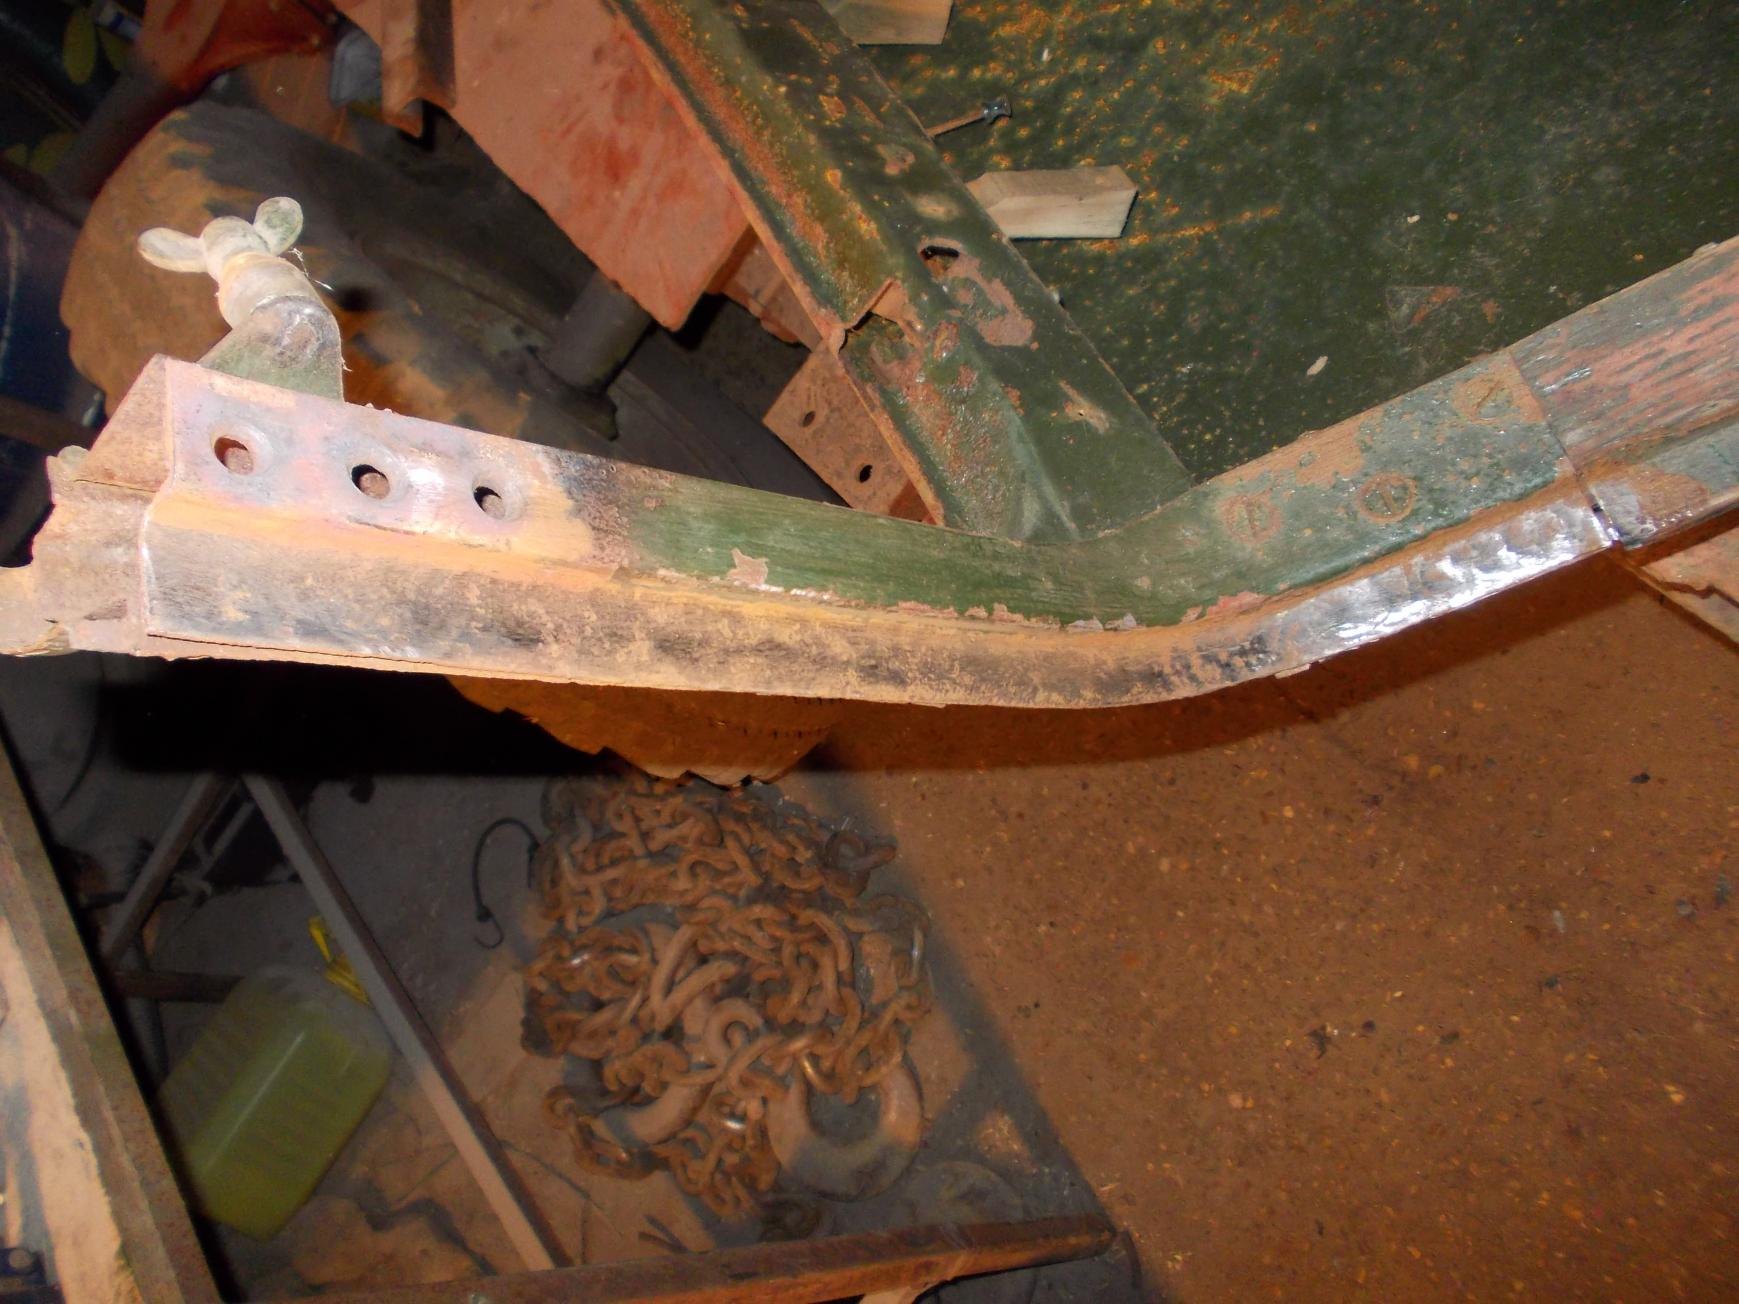
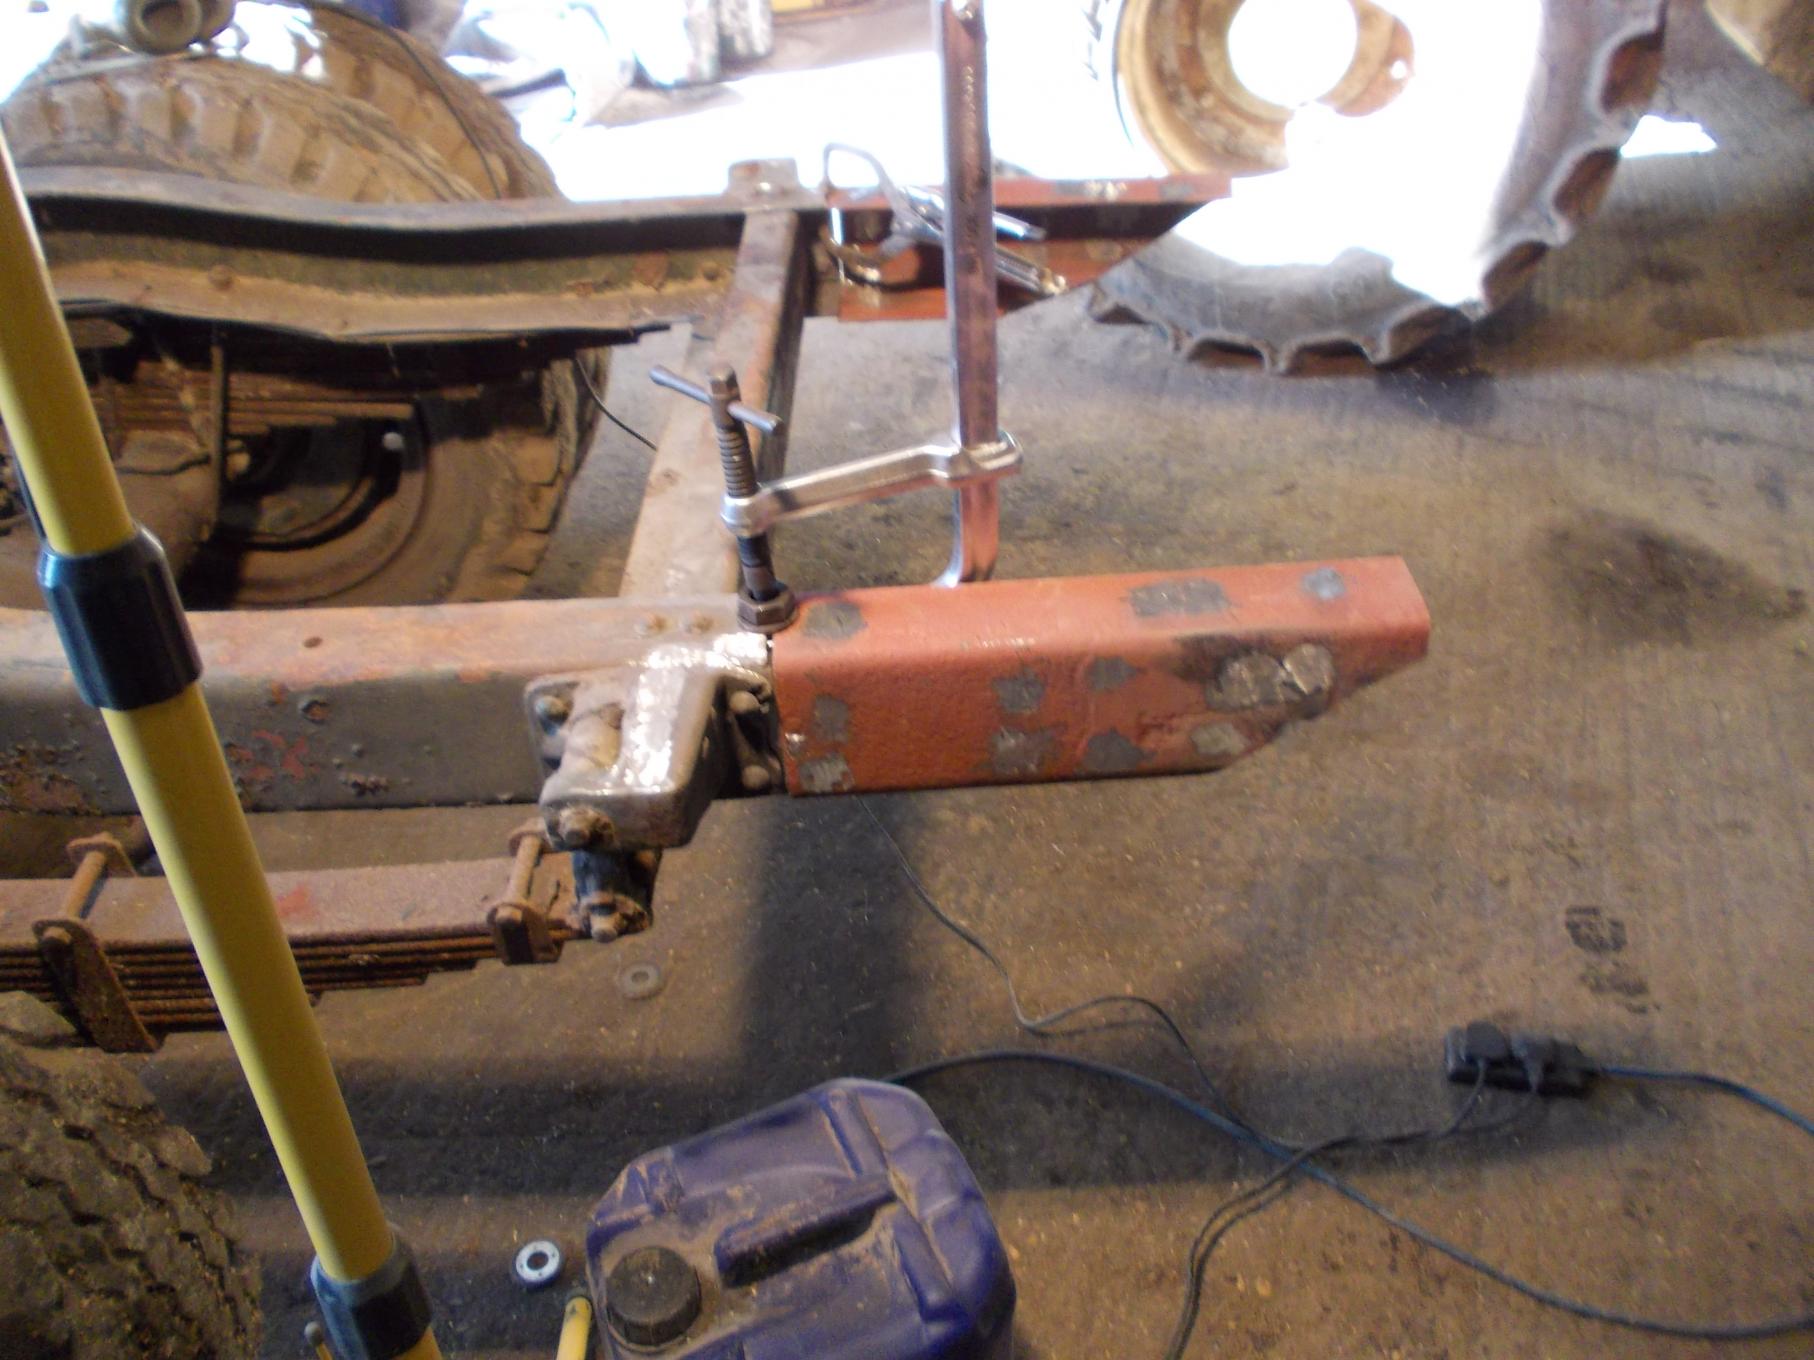
I started at the back because it had a lot of alterations to put right, where as the cab and front are very original. I can now use the back to keep parts together when I take the front apart.
here are some pictures of the work so far.
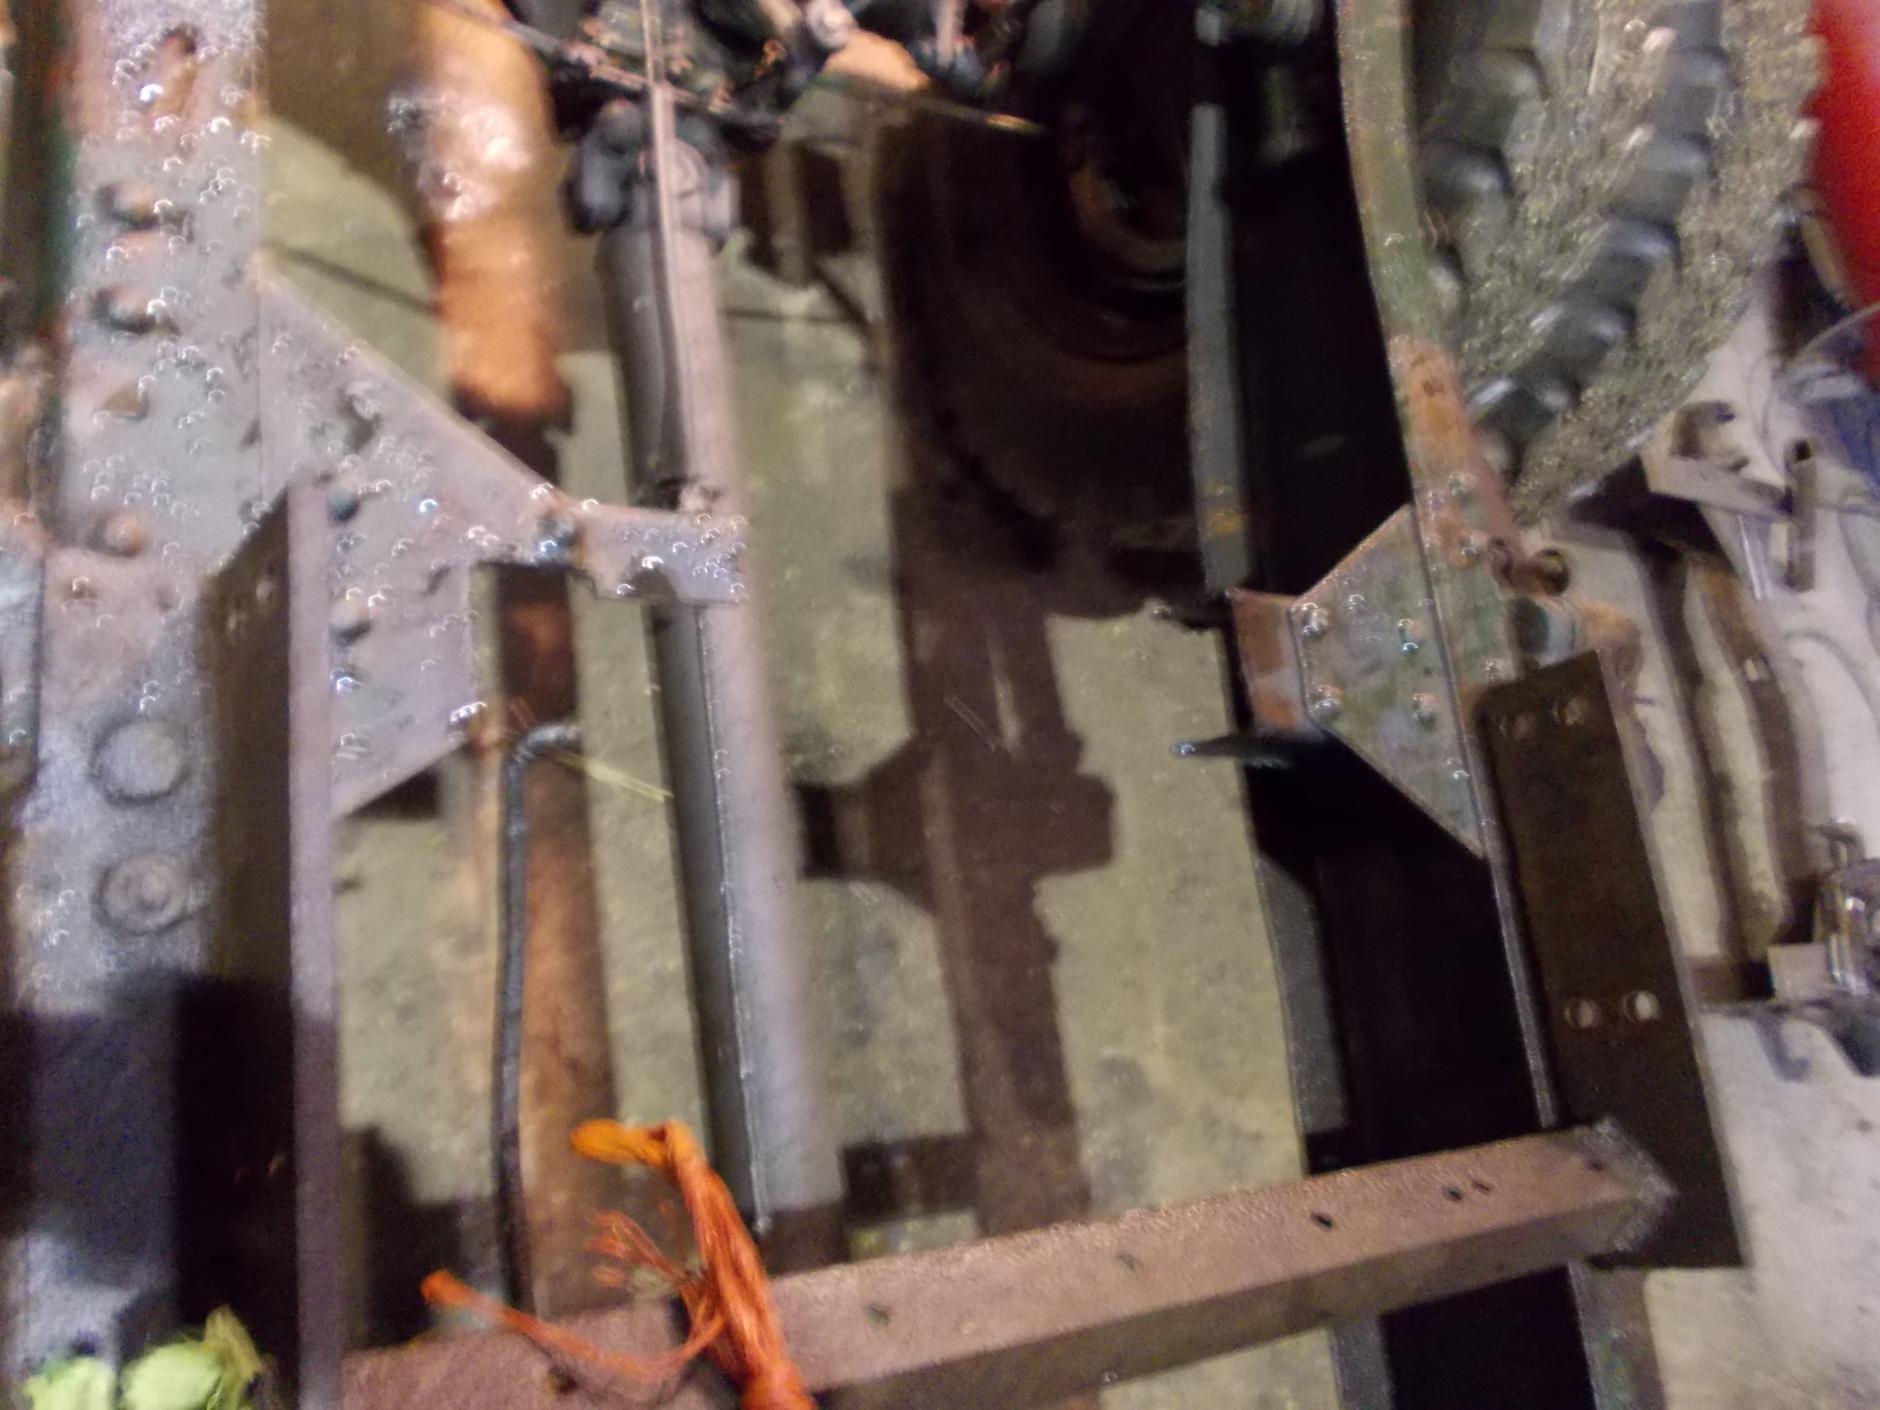
these show the removal of the ram and work needed on the chassis

these show the repaired chassis with replacement woods to mount the body, the replacement axle casting and the rebuilt axle
.jpg.510c2d4acc8e898870dff20296adf21a.jpg)
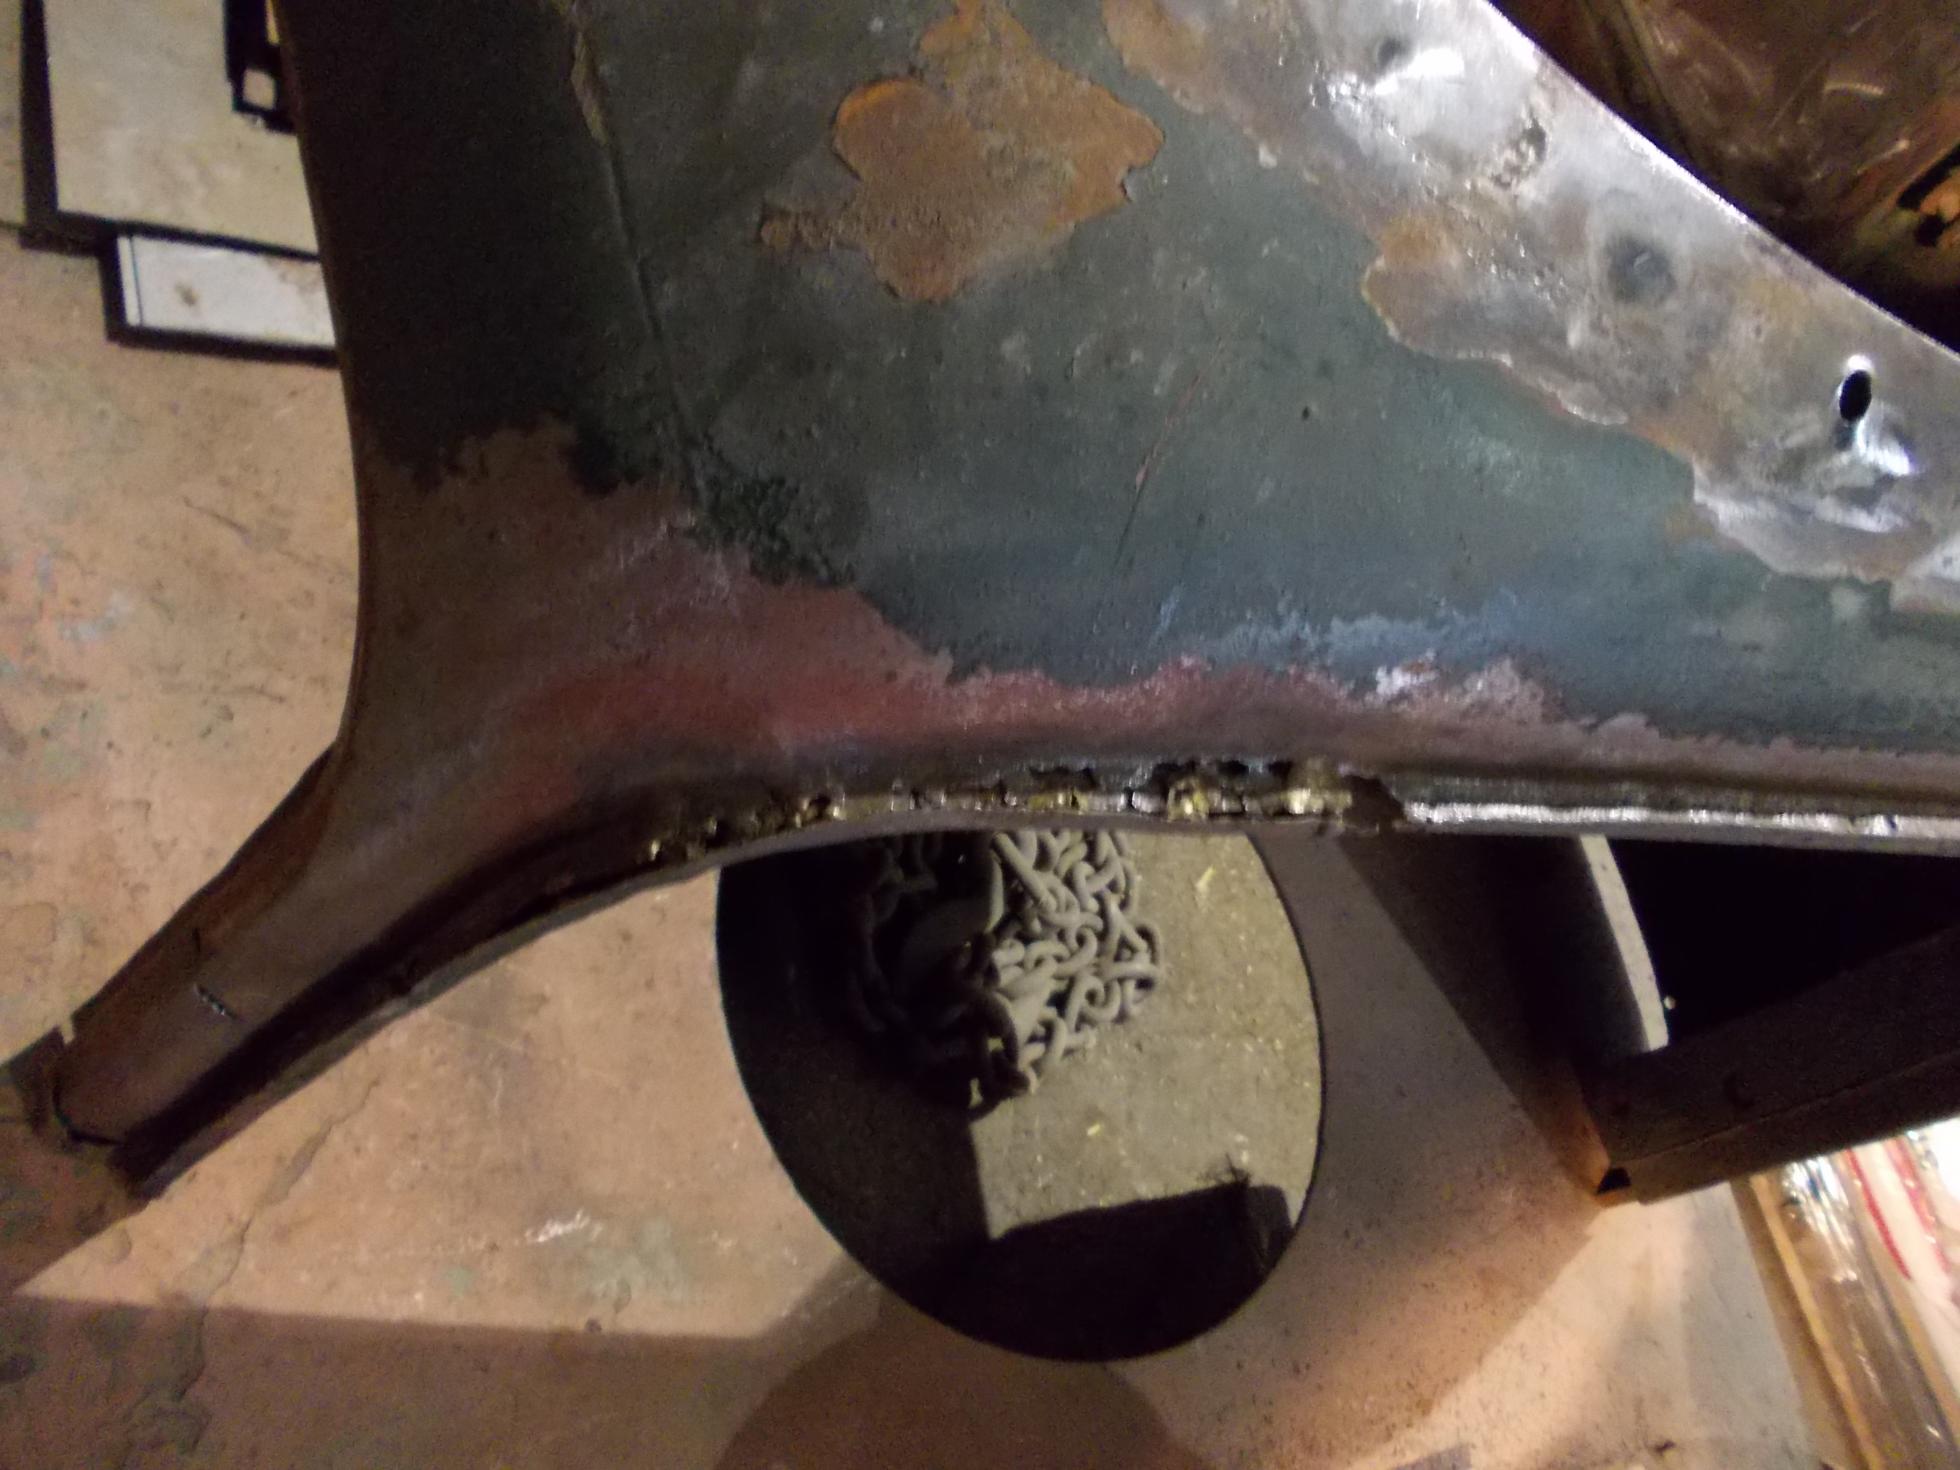
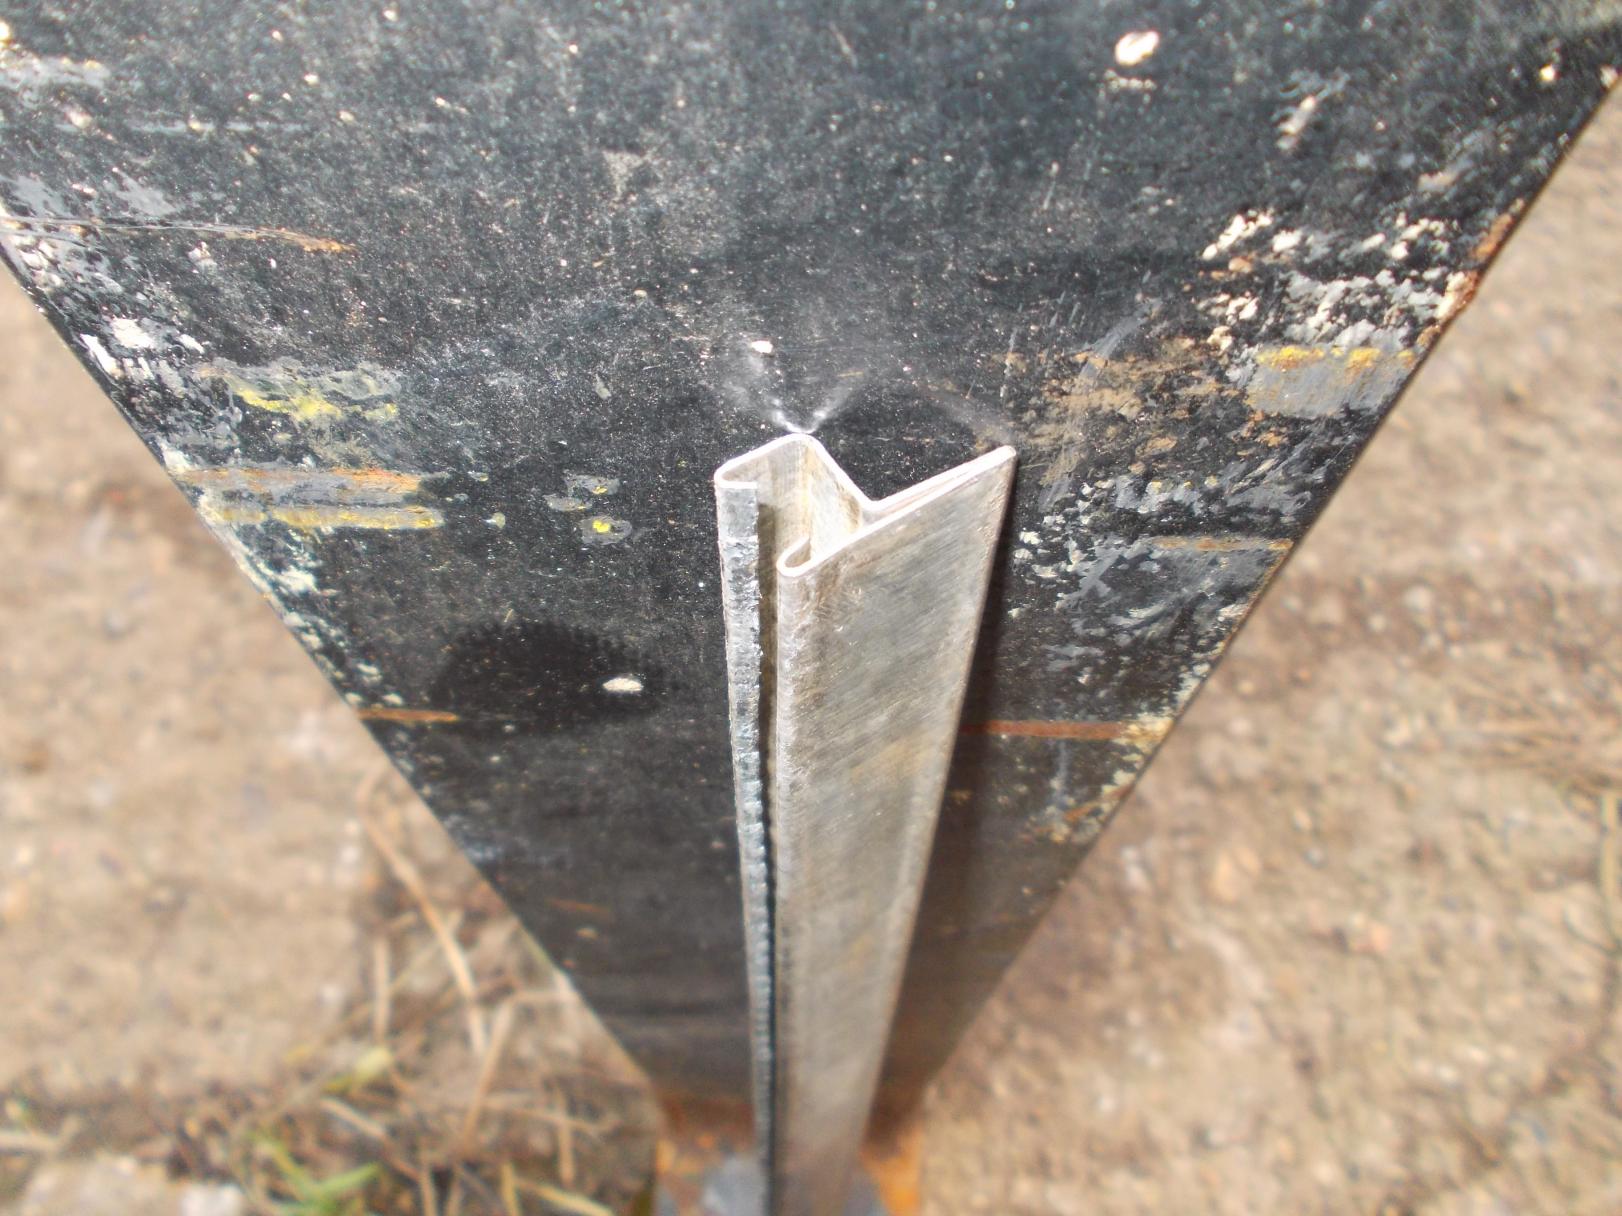
these show the assembly of the body frame, the fitting of the new side panels and the new floor fitted.
I hope to get started on the front end in the next week or two following harvest and drilling.
peter


.jpg.e9604e294489340db103159ca7d2e9c9.jpg)
.jpg.fa5f35cdb428f6e495d2eb3c94d9e10b.jpg)
-
-

I am rebuilding a 1944 Bedford OYD and so far have got most of the back half done. I have removed the tipping gear and welded the rear chassis back on and replaced a missing cross member where the ram was mounted. I have had to replace the axil casting as some one had hammed the right hand threads so the hub nuts would not remove! the body had been extended by 2ft using a section from another body.
my next job is to strip the cab and engine off and see what I find.
peter
-
Thanks for the warm welcome. I will post some pictures as soon as I sort out how to do it.
peter.
-
Hi all, I work on a farm in the Lincolnshire wolds and I am currently rebuilding a 1944 Bedford OY and have a Bedford QLT to do after that. I have had a lot of help from members of this forum and thought it was time I joined.
peter.


.jpg.5f0649ee559c37563331cfe60c0d13b8.jpg)
.jpg.65ab3954a9843619c08ae720f785e88d.jpg)


.jpg.510c2d4acc8e898870dff20296adf21a.jpg)


.jpg.e9604e294489340db103159ca7d2e9c9.jpg)
.jpg.fa5f35cdb428f6e495d2eb3c94d9e10b.jpg)
.jpg.c735be094a84c1d97882c59740a54d85.jpg)

Fordson Wo2 workshop manual
in British Vehicles
Posted
I have a instruction book in very good condition and a parts book in poor condition but readable.
peter.