


peter75
-
Posts
394 -
Joined
-
Last visited
-
Days Won
2
Content Type
Profiles
Forums
Gallery
Blogs
Events
Articles
Store
Downloads
Posts posted by peter75
-
-
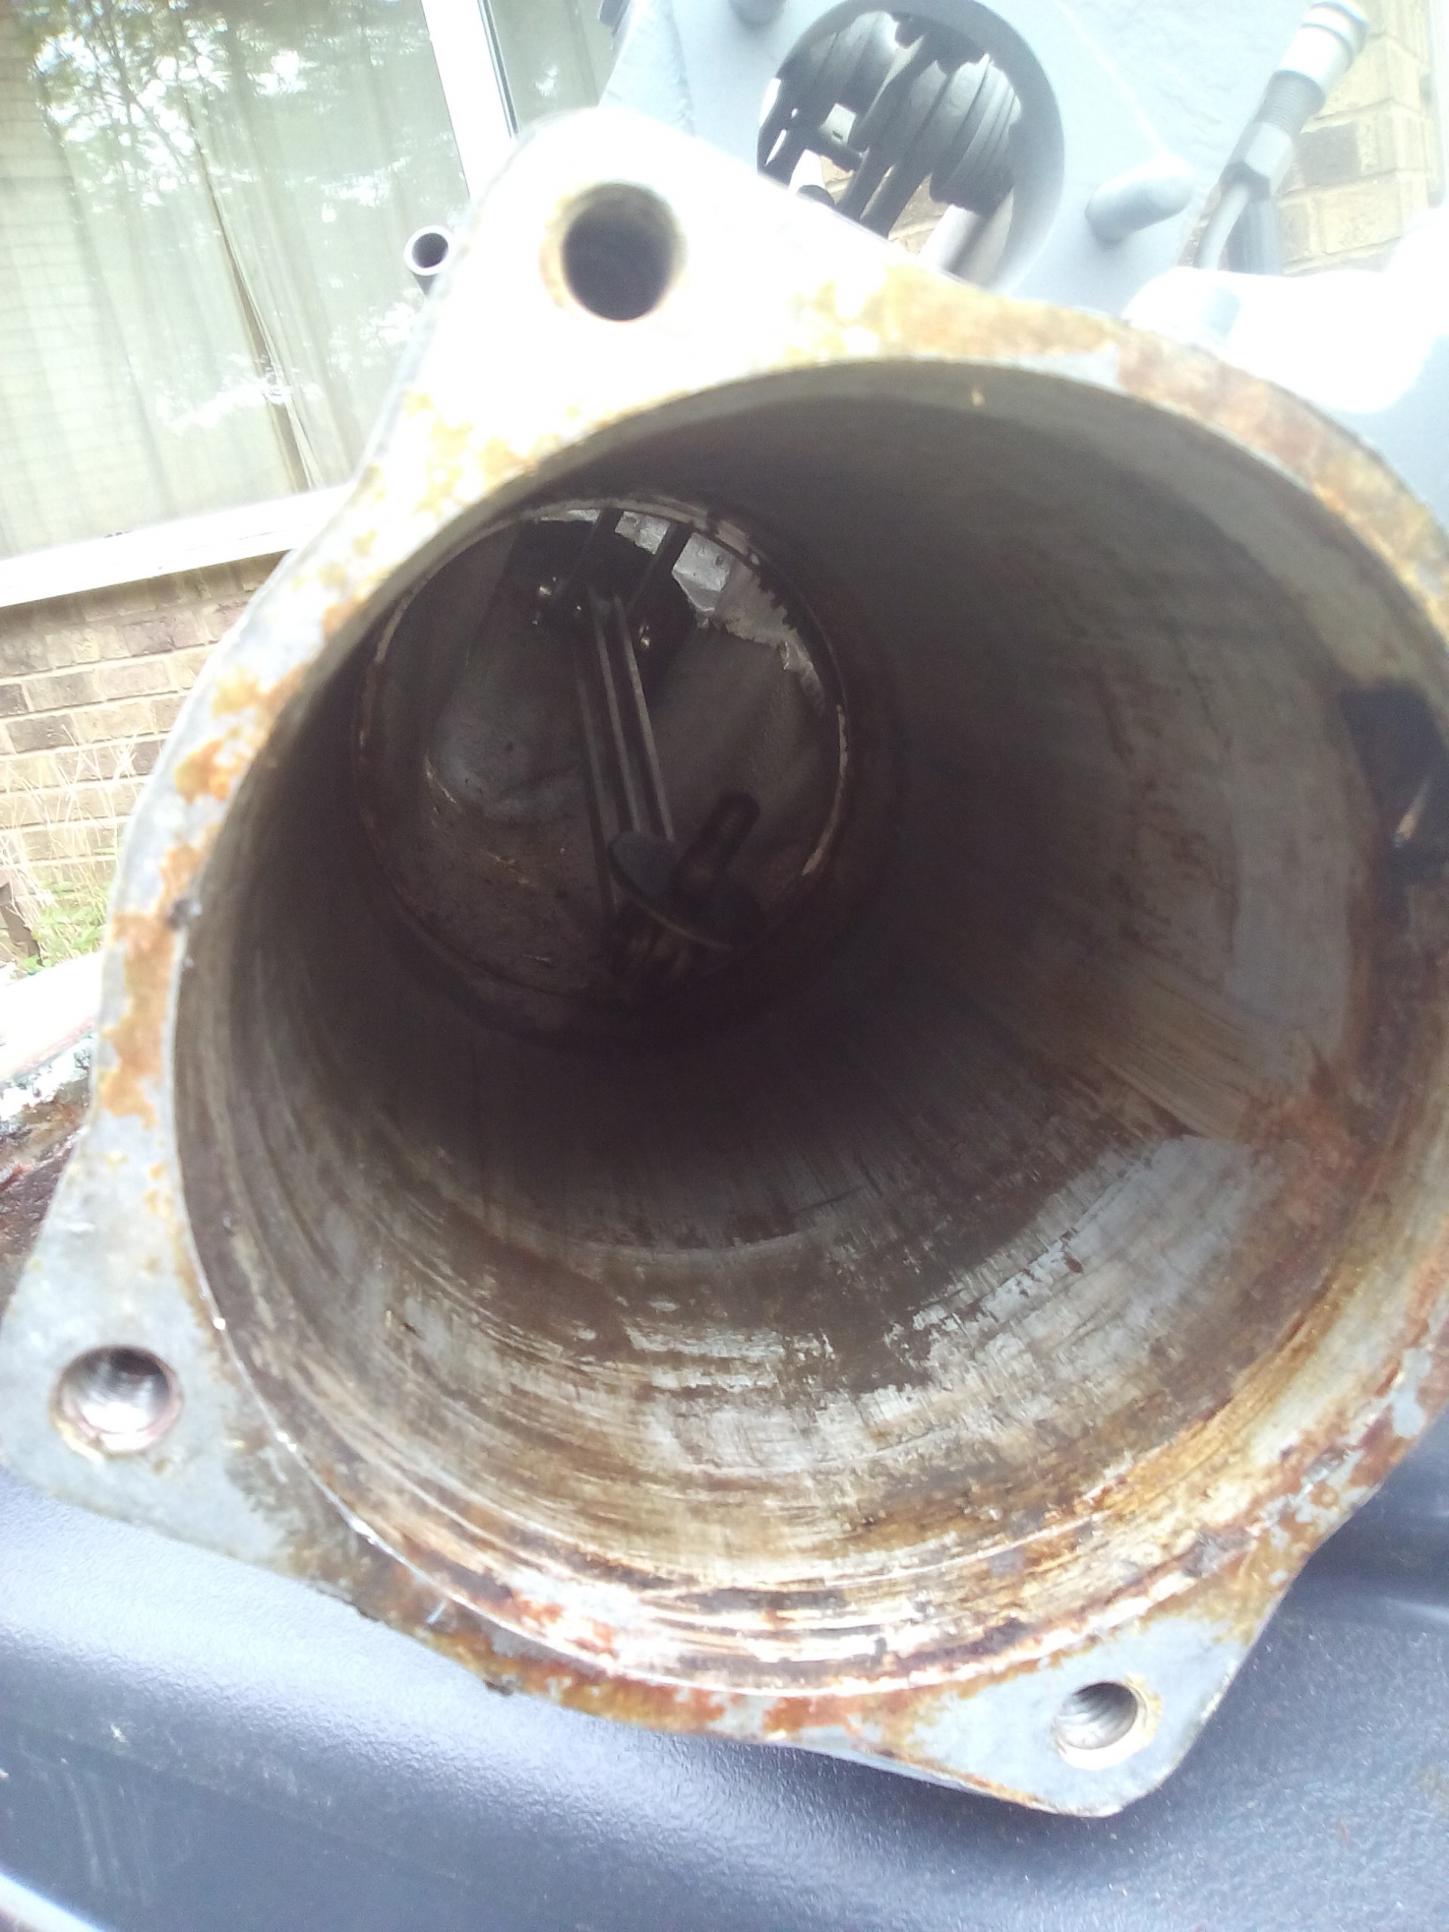
Yesterday afternoon I started to clean the internals of master cylinder and servo. I have a new leather diaphram for the servo which I have put in light oil to soak and have all new seals for the master cylinder.
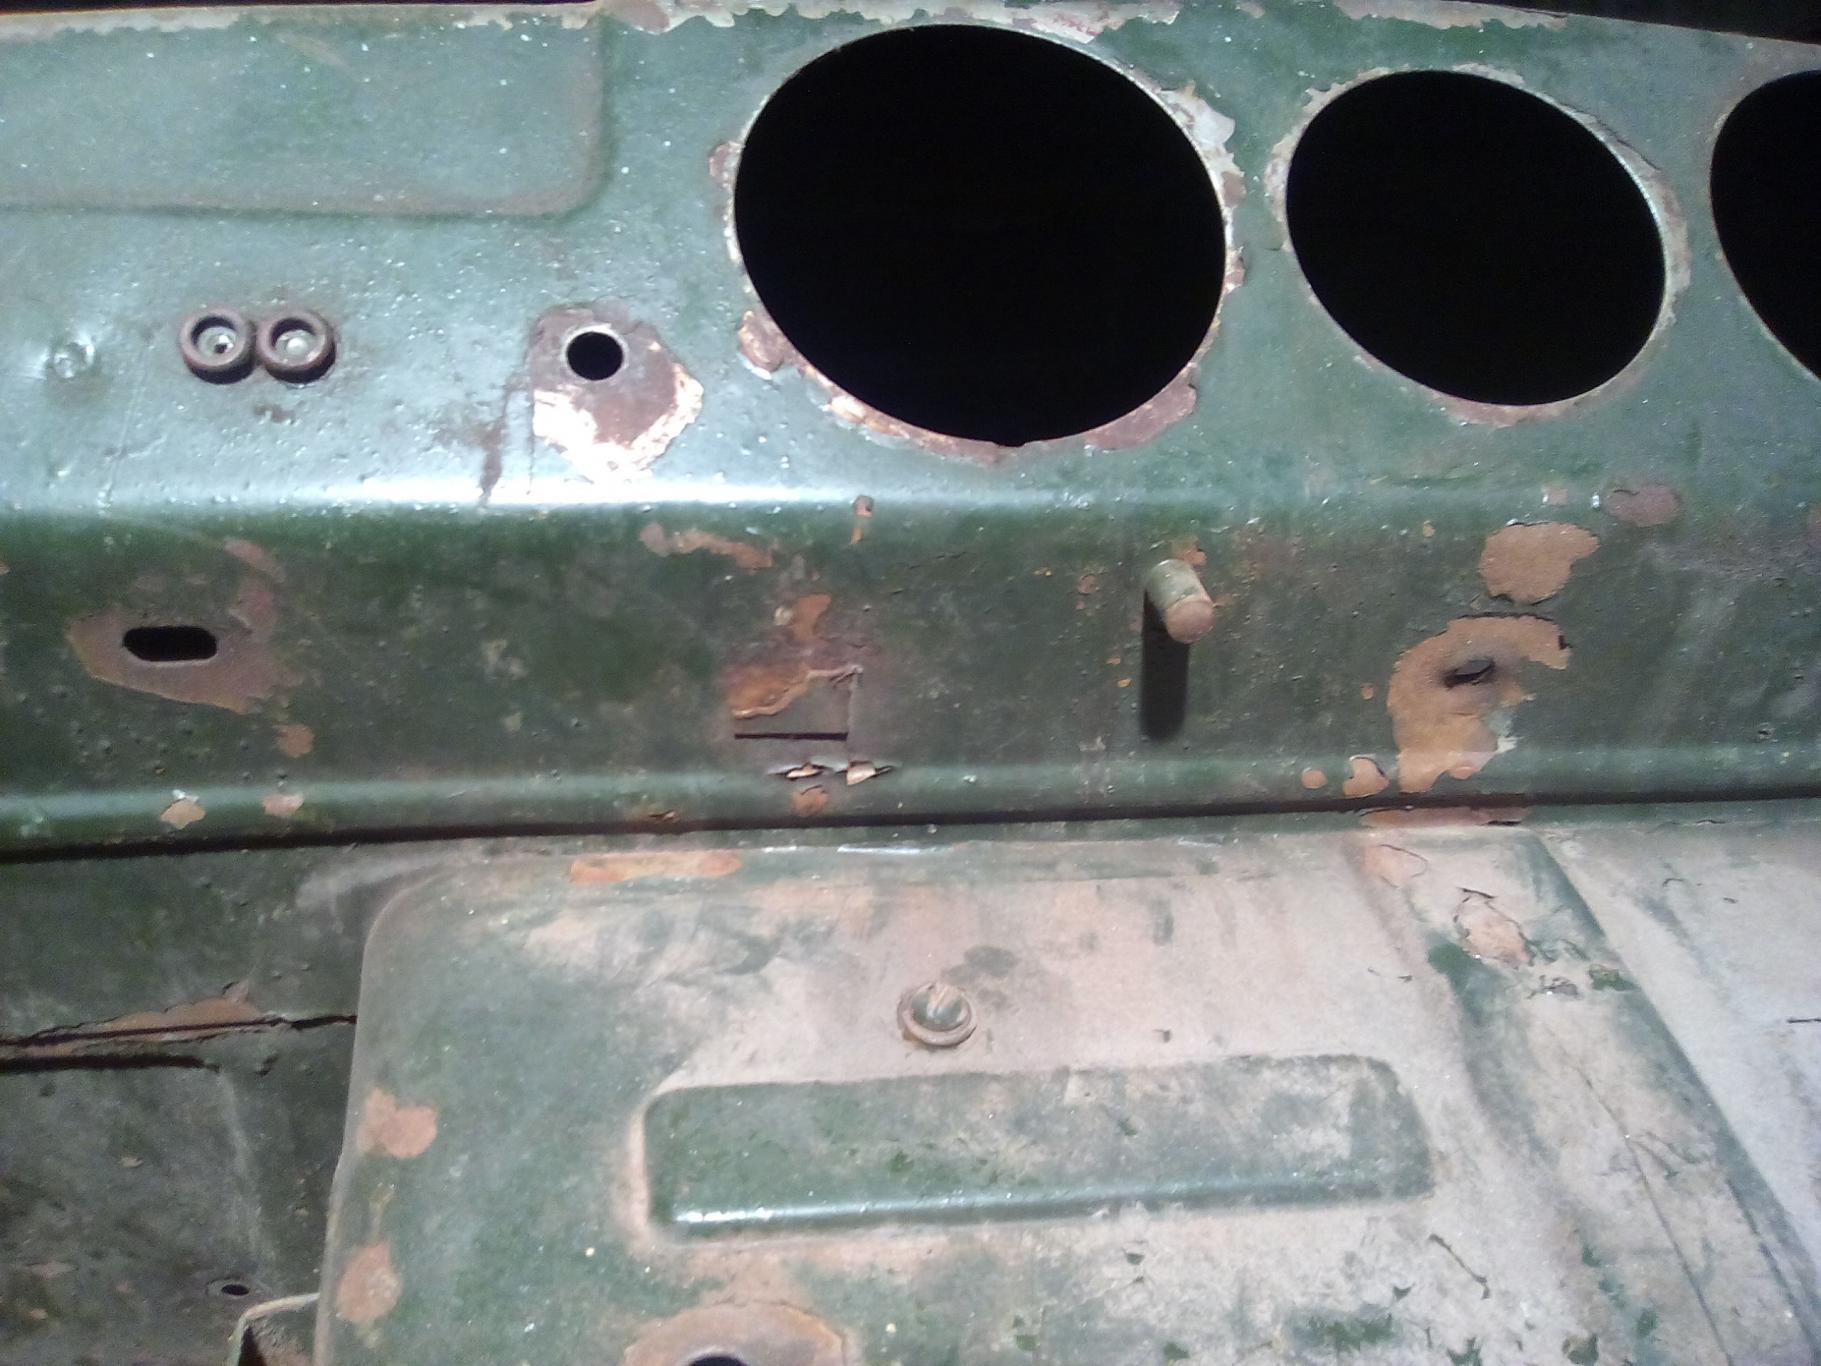
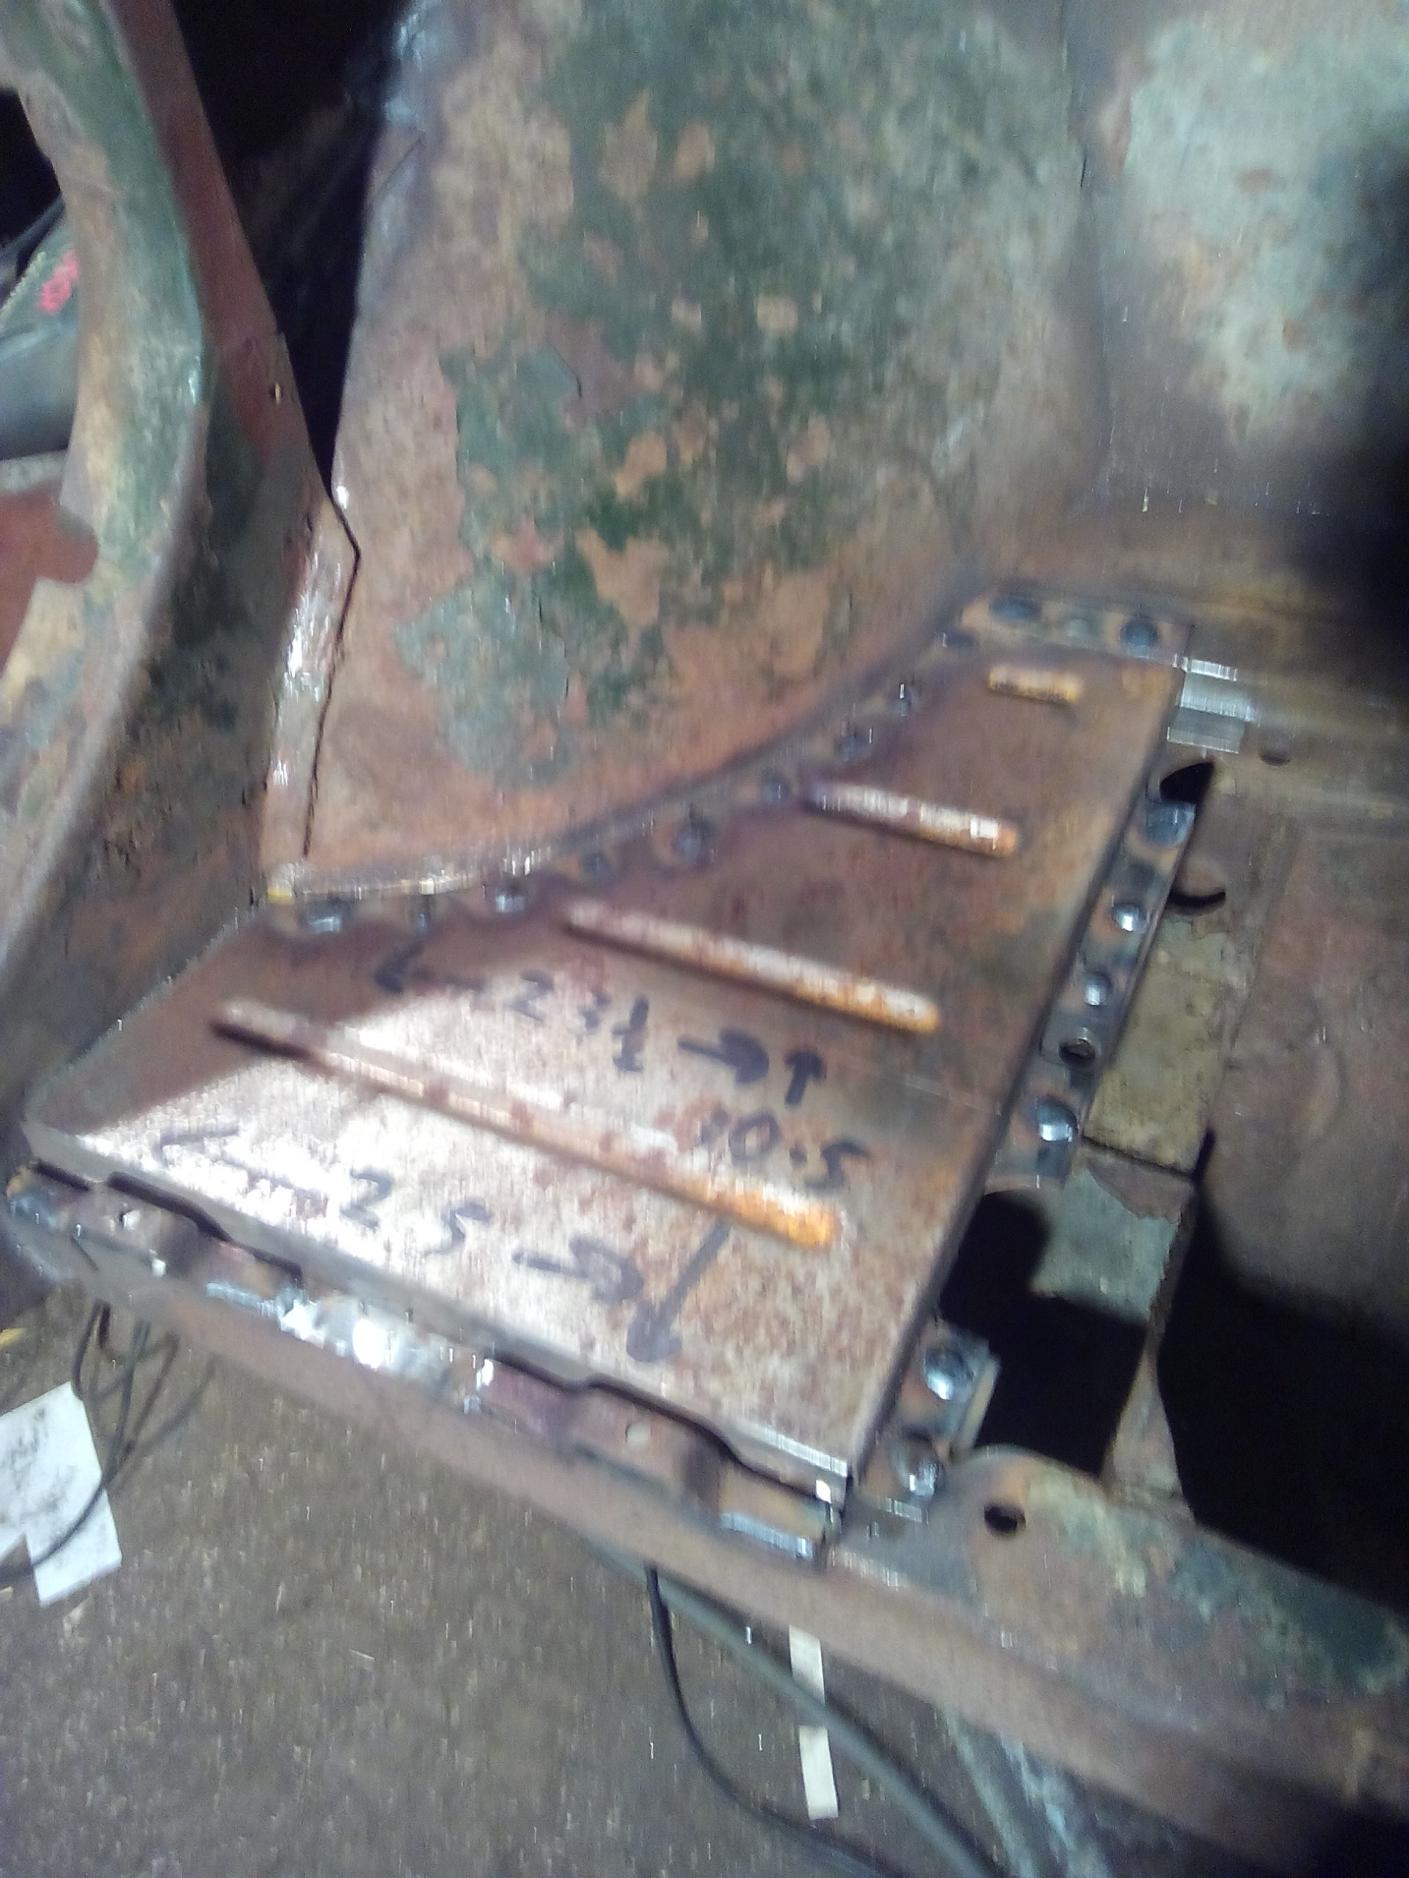
This morning I had a look at my QL cab and the clip that is missing on the OY was there and looked to match the broken clip and the marks in the paint on the OY. So I made a copy and welded it to the bulkhead I also rewelded an old weld that had cracked and filled another pit hole I had found.
The bulkhead is now ready for shot blasting.
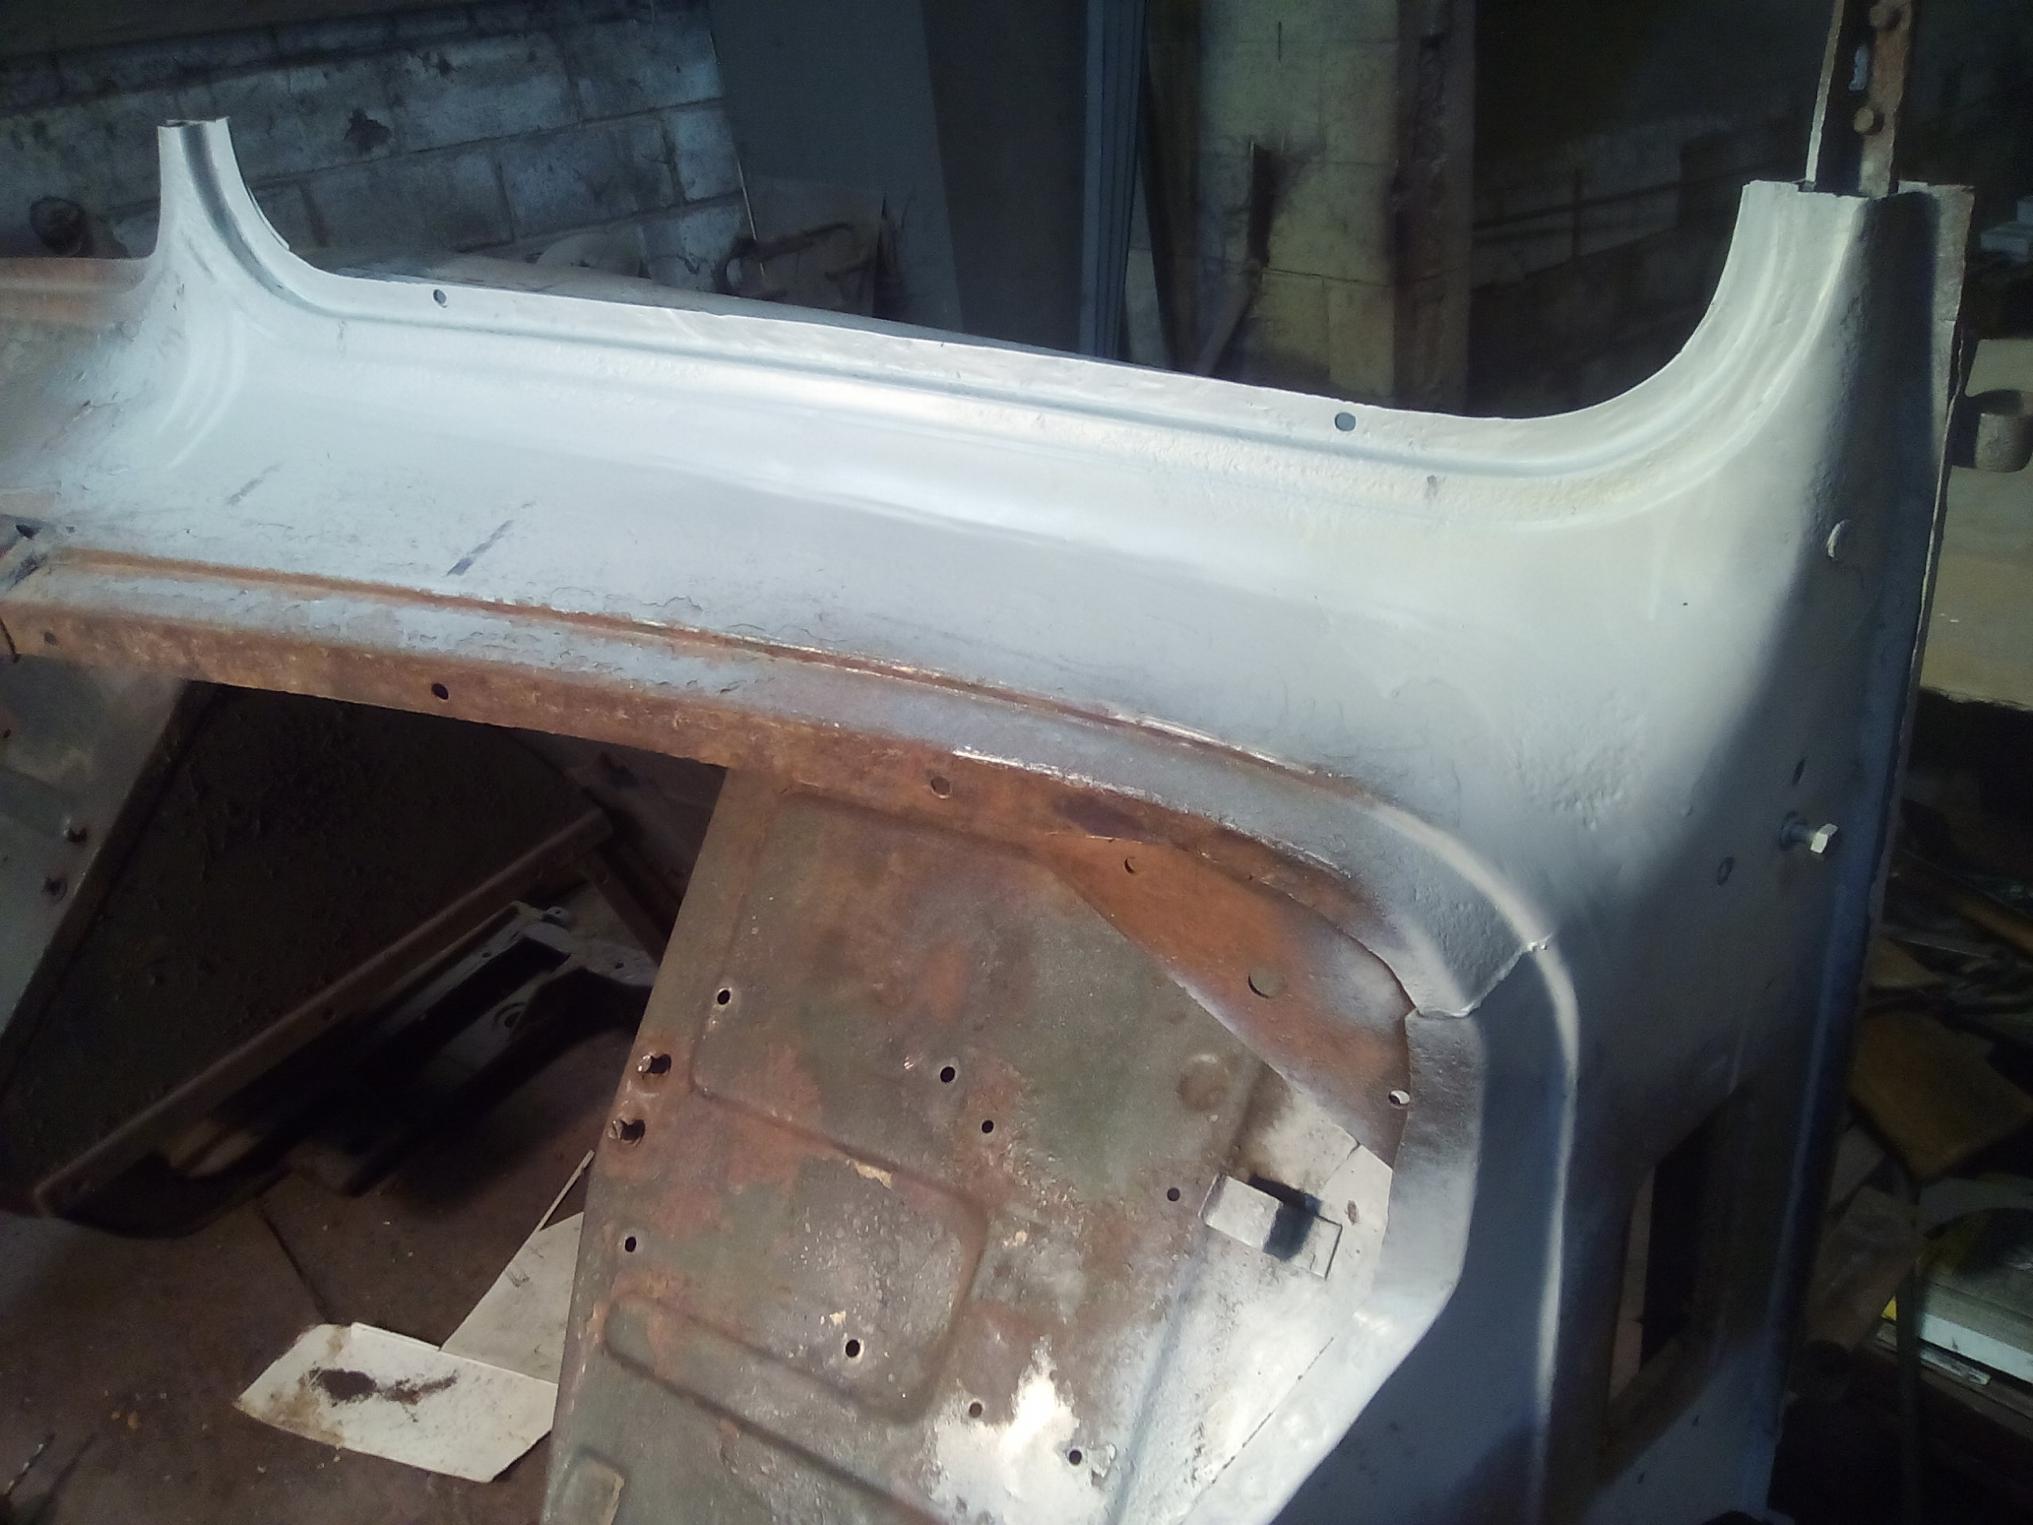
This afternoon I pulled the OY out the greenhouse and presher washed the front down as it was very dusty.
[ATTACH=CONFIG]115556[/ATTACH]
next job is to fit all the green part's to the chassis and plumb in the brakes.
My mate has striped and cleaned the oil pump and checked for where and it is in good condition. He has now taken the camshaft to press the gear and retaining plate on. This has to be set up with a feeler gadge.
Peter.
-
Yesterday afternoon I started to clean the internals of master cylinder and servo. I have a new leather diaphram for the servo which I have put in light oil to soak and have all new seals for the master cylinder.
[ATTACH=CONFIG]115549[/ATTACH]
This morning I had a look at my QL cab and the clip that is missing on the OY was there and looked to match the broken clip and the marks in the paint on the OY. So I made a copy and welded it to the bulkhead I also rewelded an old weld that had cracked and filled another pit hole I had found.
[ATTACH=CONFIG]115554[/ATTACH][ATTACH=CONFIG]115555[/ATTACH]
The bulkhead is now ready for shot blasting.
This afternoon I pulled the OY out the greenhouse and presher washed the front down as it was very dusty.

next job is to fit all the green part's to the chassis and plumb in the brakes.
My mate has striped and cleaned the oil pump and checked for where and it is in good condition. He has now taken the camshaft to press the gear and retaining plate on. This has to be set up with a feeler gadge.
Peter.
-
That's the worst bit about rust repairs; it feels never-ending, especially when you start trying to build out to somewhere solid, and that turns out to be not quite as solid as desired... :undecided:
The feeling of triumph when it's all sorted will be worth it, though.

Hi Tamber.
It is nice to think I am almost there with the chasing of the tin worm and i can start assembling bits again.
Peter.
-
Peter , A picture of the clip for the traficator cable on my QL dashboard.
Will look for a more detail picture tomorrow .
Don't think there will be match difference between a OY and QL.
[ATTACH=CONFIG]115482[/ATTACH]
Thanks Guy. I never thort of that. I will have a look at my QL cab and see if it is still there.
Peter.
-
Hi Peter,
I can fully appreciate what you have done as I was taken out to look at this lorry years ago by a friend, but I knew only too well he would not have wanted to pay for all that work to be done, so steered him towards another lorry!
Well done, a labour of love..
regards, Richard
Thanks Richard.
I think I bort the truck with my hart instead of my head. But it was the best one I could find at the time. Thing's are starting to take shape now, I can start on the engine and get the bulkhead blasted and then start framing the cab.
I have a lot of jobs done read to go.
Peter.
-
Need some help! Can anyone post a picture of the clip that holds the cable for the traficator?

Peter.
-
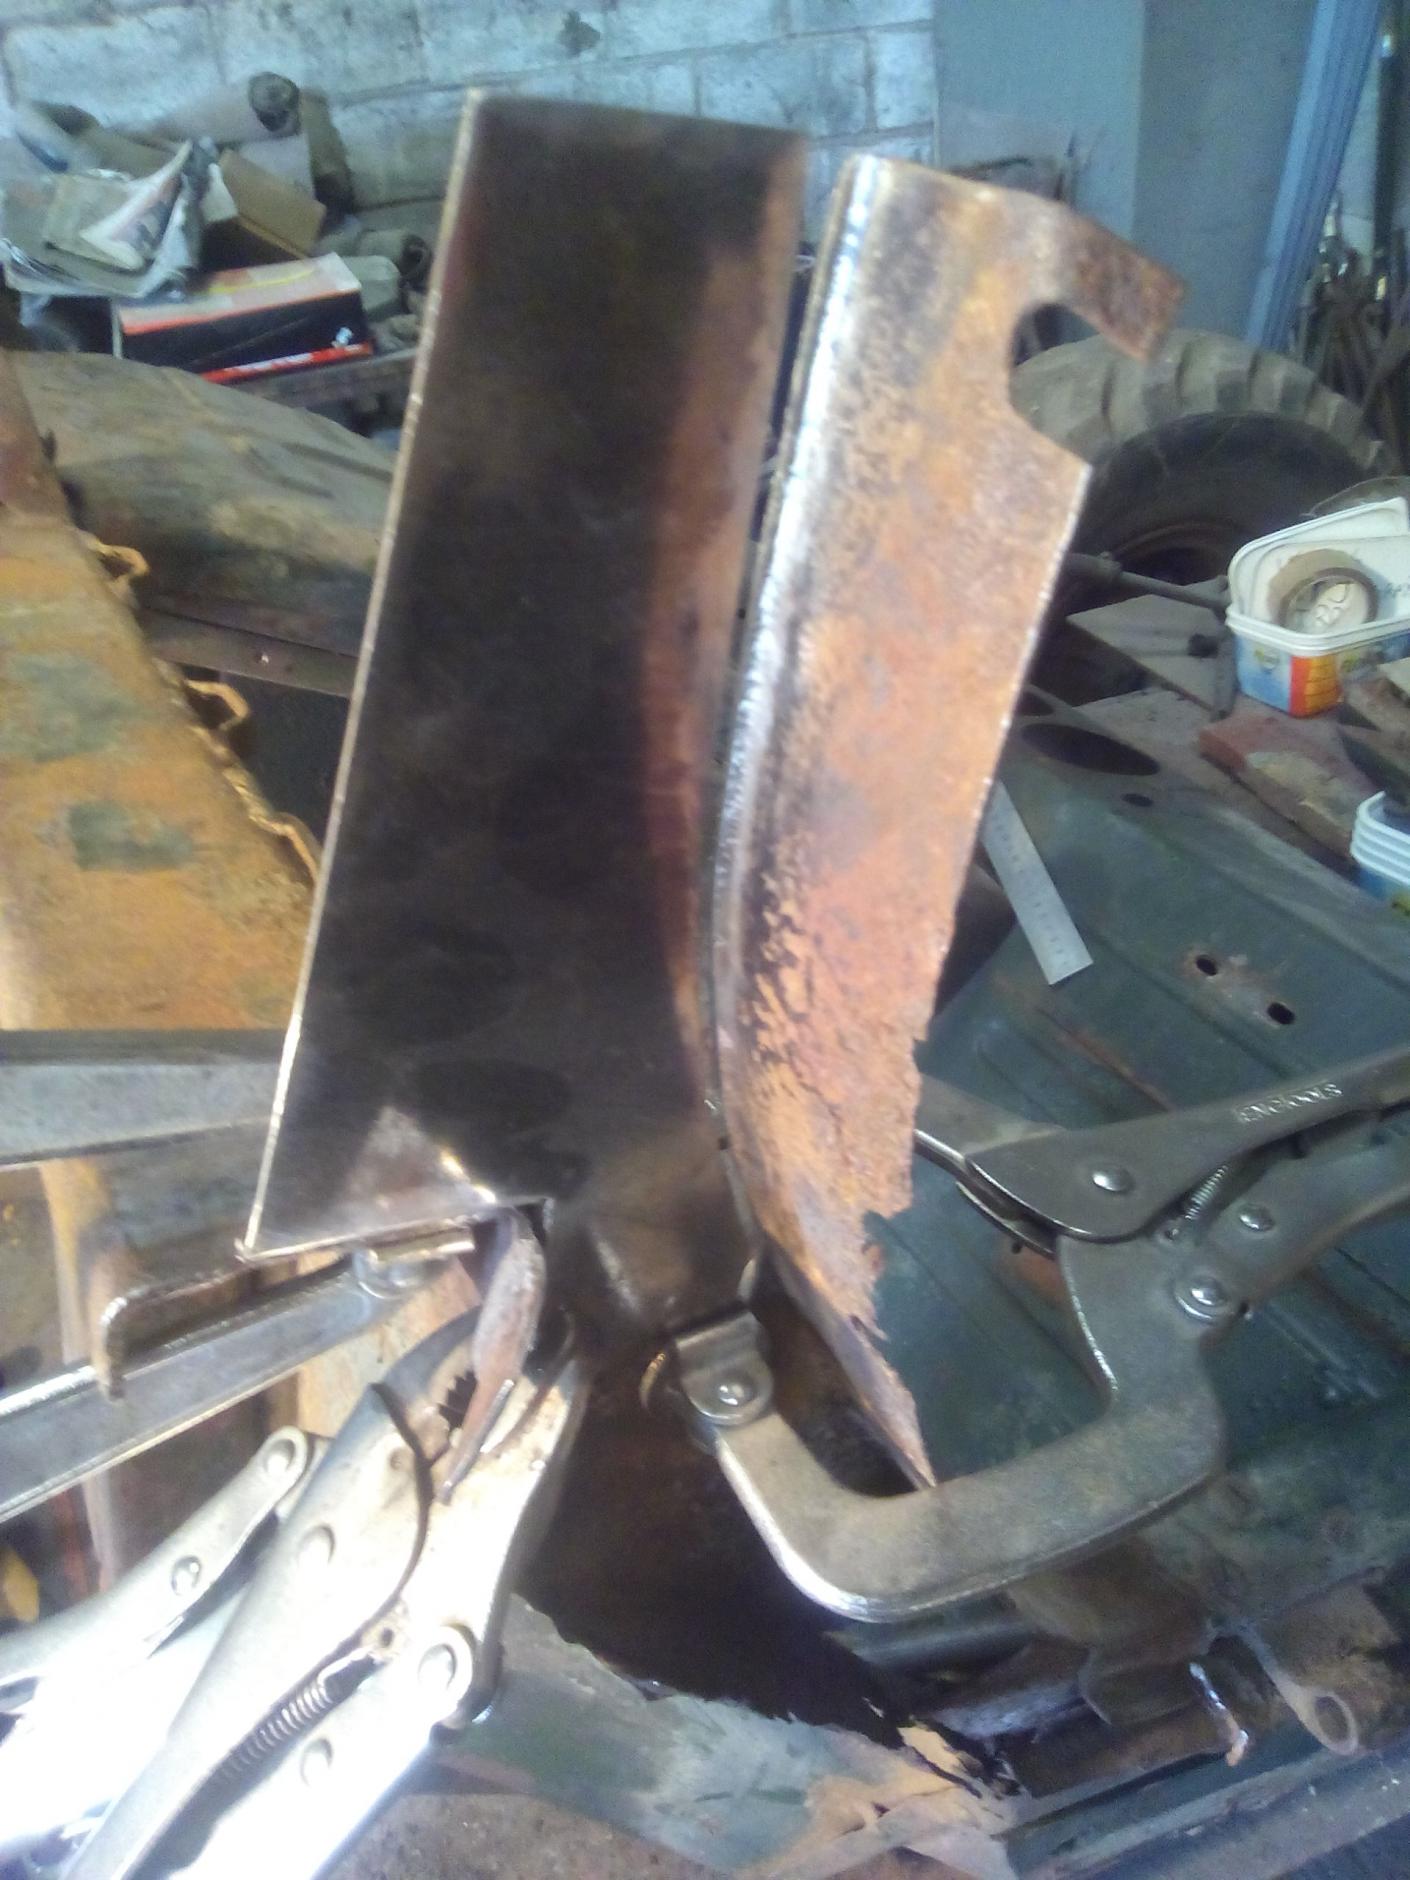
More pictures of the bulkhead.
One of the floor plates was so thin I had to replace it.
The weather strip on one side had to be replaced.

Although the bulkhead looked fairly good it has taken a afull lot of work and I hope the pictures give some idear of what was involved.
Peter.


-
Well I am almost there with the bulkhead although it has driven me mad!

Every time I repaired an area I would find 2 more bits to do.

Peter.


-
What does the data plate say please on your Charging panel. Looks a bit small to be a 1250 watt one.
I saw a panel like this forsale in a junk shop in Lincolnshire. It was under a lot of stuff right at back. Not shore of the output but will pass on the location if any one is interested.
Peter.
-
Hi Andy.
That the link I have but couldn't figure out how to post it.
Peter.
-
A mate has just rung me and said there was an EU vote last night by an advisery commity and all proposals were rejected?
I will try to get a link or more details tonight.
Peter.
-
Looking good Pete, you must have a lot of patience. I bet you're pleased you had that Dodge to practice on.
Hi Chris.
All that welding to get you going and you do your back and are were layed up so you coulden't put it back together!
I hear it progressing now, hope you are soon back on the road.
Peter.
-
This one was the third mortar trailer I've had Peter and it was nice it had the front tailgate, a friend has another in bits. I know of about 10 in total. The GS is also a nice trailer and very thin on the ground.
Good luck with the restoration a very worthwhile project that will look great behind a carrier.
I am very happy with the trailer it is a good solid starting point for restoration.
At the moment I will be collecting parts for the trailer and mortar.
I will start a new thread when I start rebuilding the trailer.
Peter.
-
Pete, it's all coming together by the looks of things! What is the capacity of the straight six Bedford engine?
Hi Alastair,
The engine capacity is 3,519cc, (214.7 cu.in.) giving 72BHP @ 3000 RPM.
Peter.
-
That great Pete.
Soon to change your user name to "Mr4.2InchMortar". I can't wait to see that trailer fully stowed with all the clamps etc, I'd presume it will be the only one in existence...which is always nice.
Hi Alastair,
The 4.2" mortar seems to be thin on the ground in the UK.
So far I only know of 3 for shore, 2 mobile and 1 infantry and rumors of 2 others.
I have collected a few bits up but this will be a long term project and if I do get it done I will need a Loyd to pull it.
Peter.
-
Hi
i'm looking for a brass elbow for my drivers fuel tank like the one i have in the photo.................
i am wondering if it would be a standard British fitting ?
cheers
Jules
[ATTACH=CONFIG]114782[/ATTACH]
Paul Beck vintage parts have 1/8 bsp elbows (squared).
Look the same but not shore on size.
Peter.
-
After spending most of the day sorting out Sundays mess I thort I wood have a look at the very large hole under the letf hand windscreen.

I had got a pice of replacement panal but it was right hand side not left but with a lot of cutting and some reshaping I got it in place. I still have to spot weld along the bottom of the windscreen and some welding at the ends but ran out of time but I am pleased with the results.

Peter.

-
Well Sunday turned into a bit of a disaster. First thing I did was check the welding from Sataday and I saw a small hole in the top of the foot well which with a poak with a screwdriver became a large hole which was hidden on the outside by wood work.
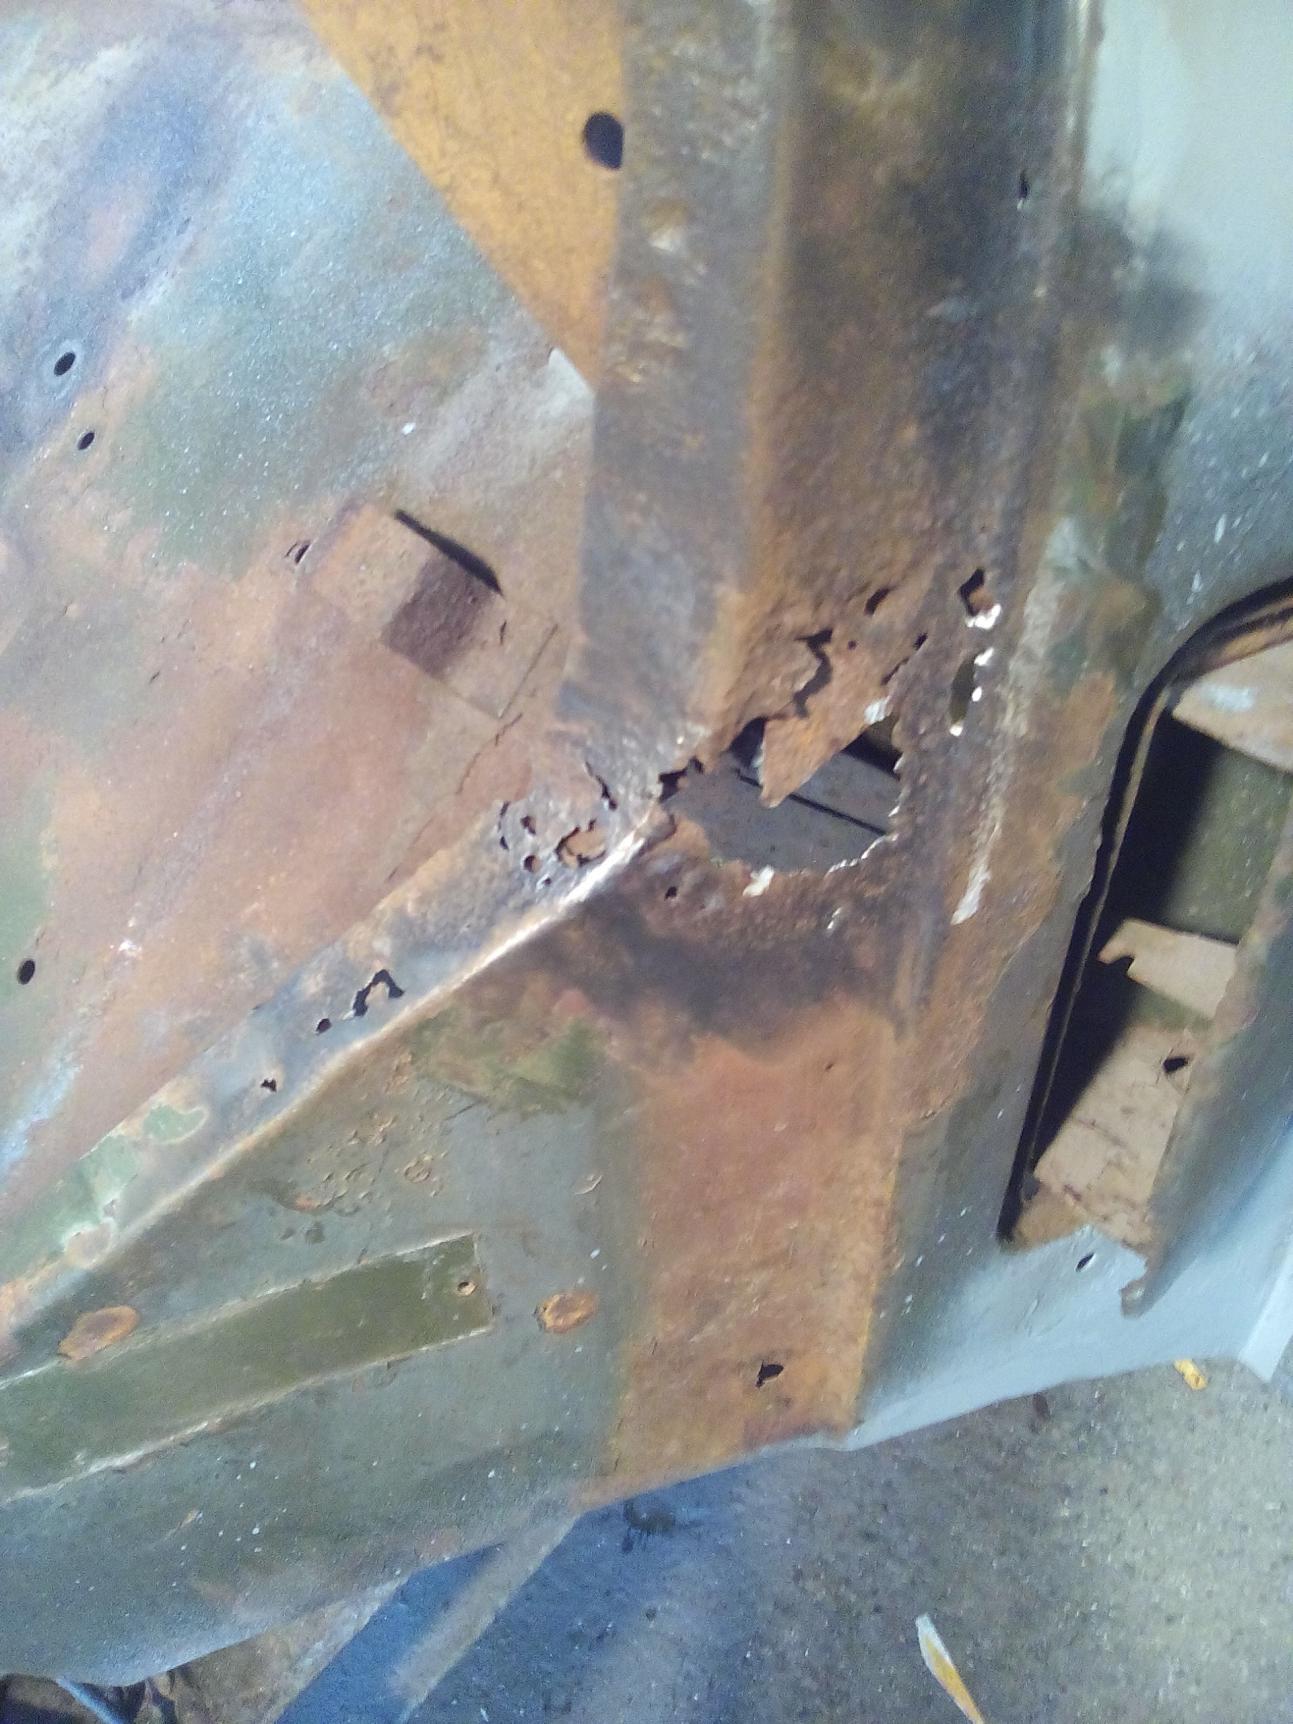
I started cutting out the rot and got the first patch welded in OK.

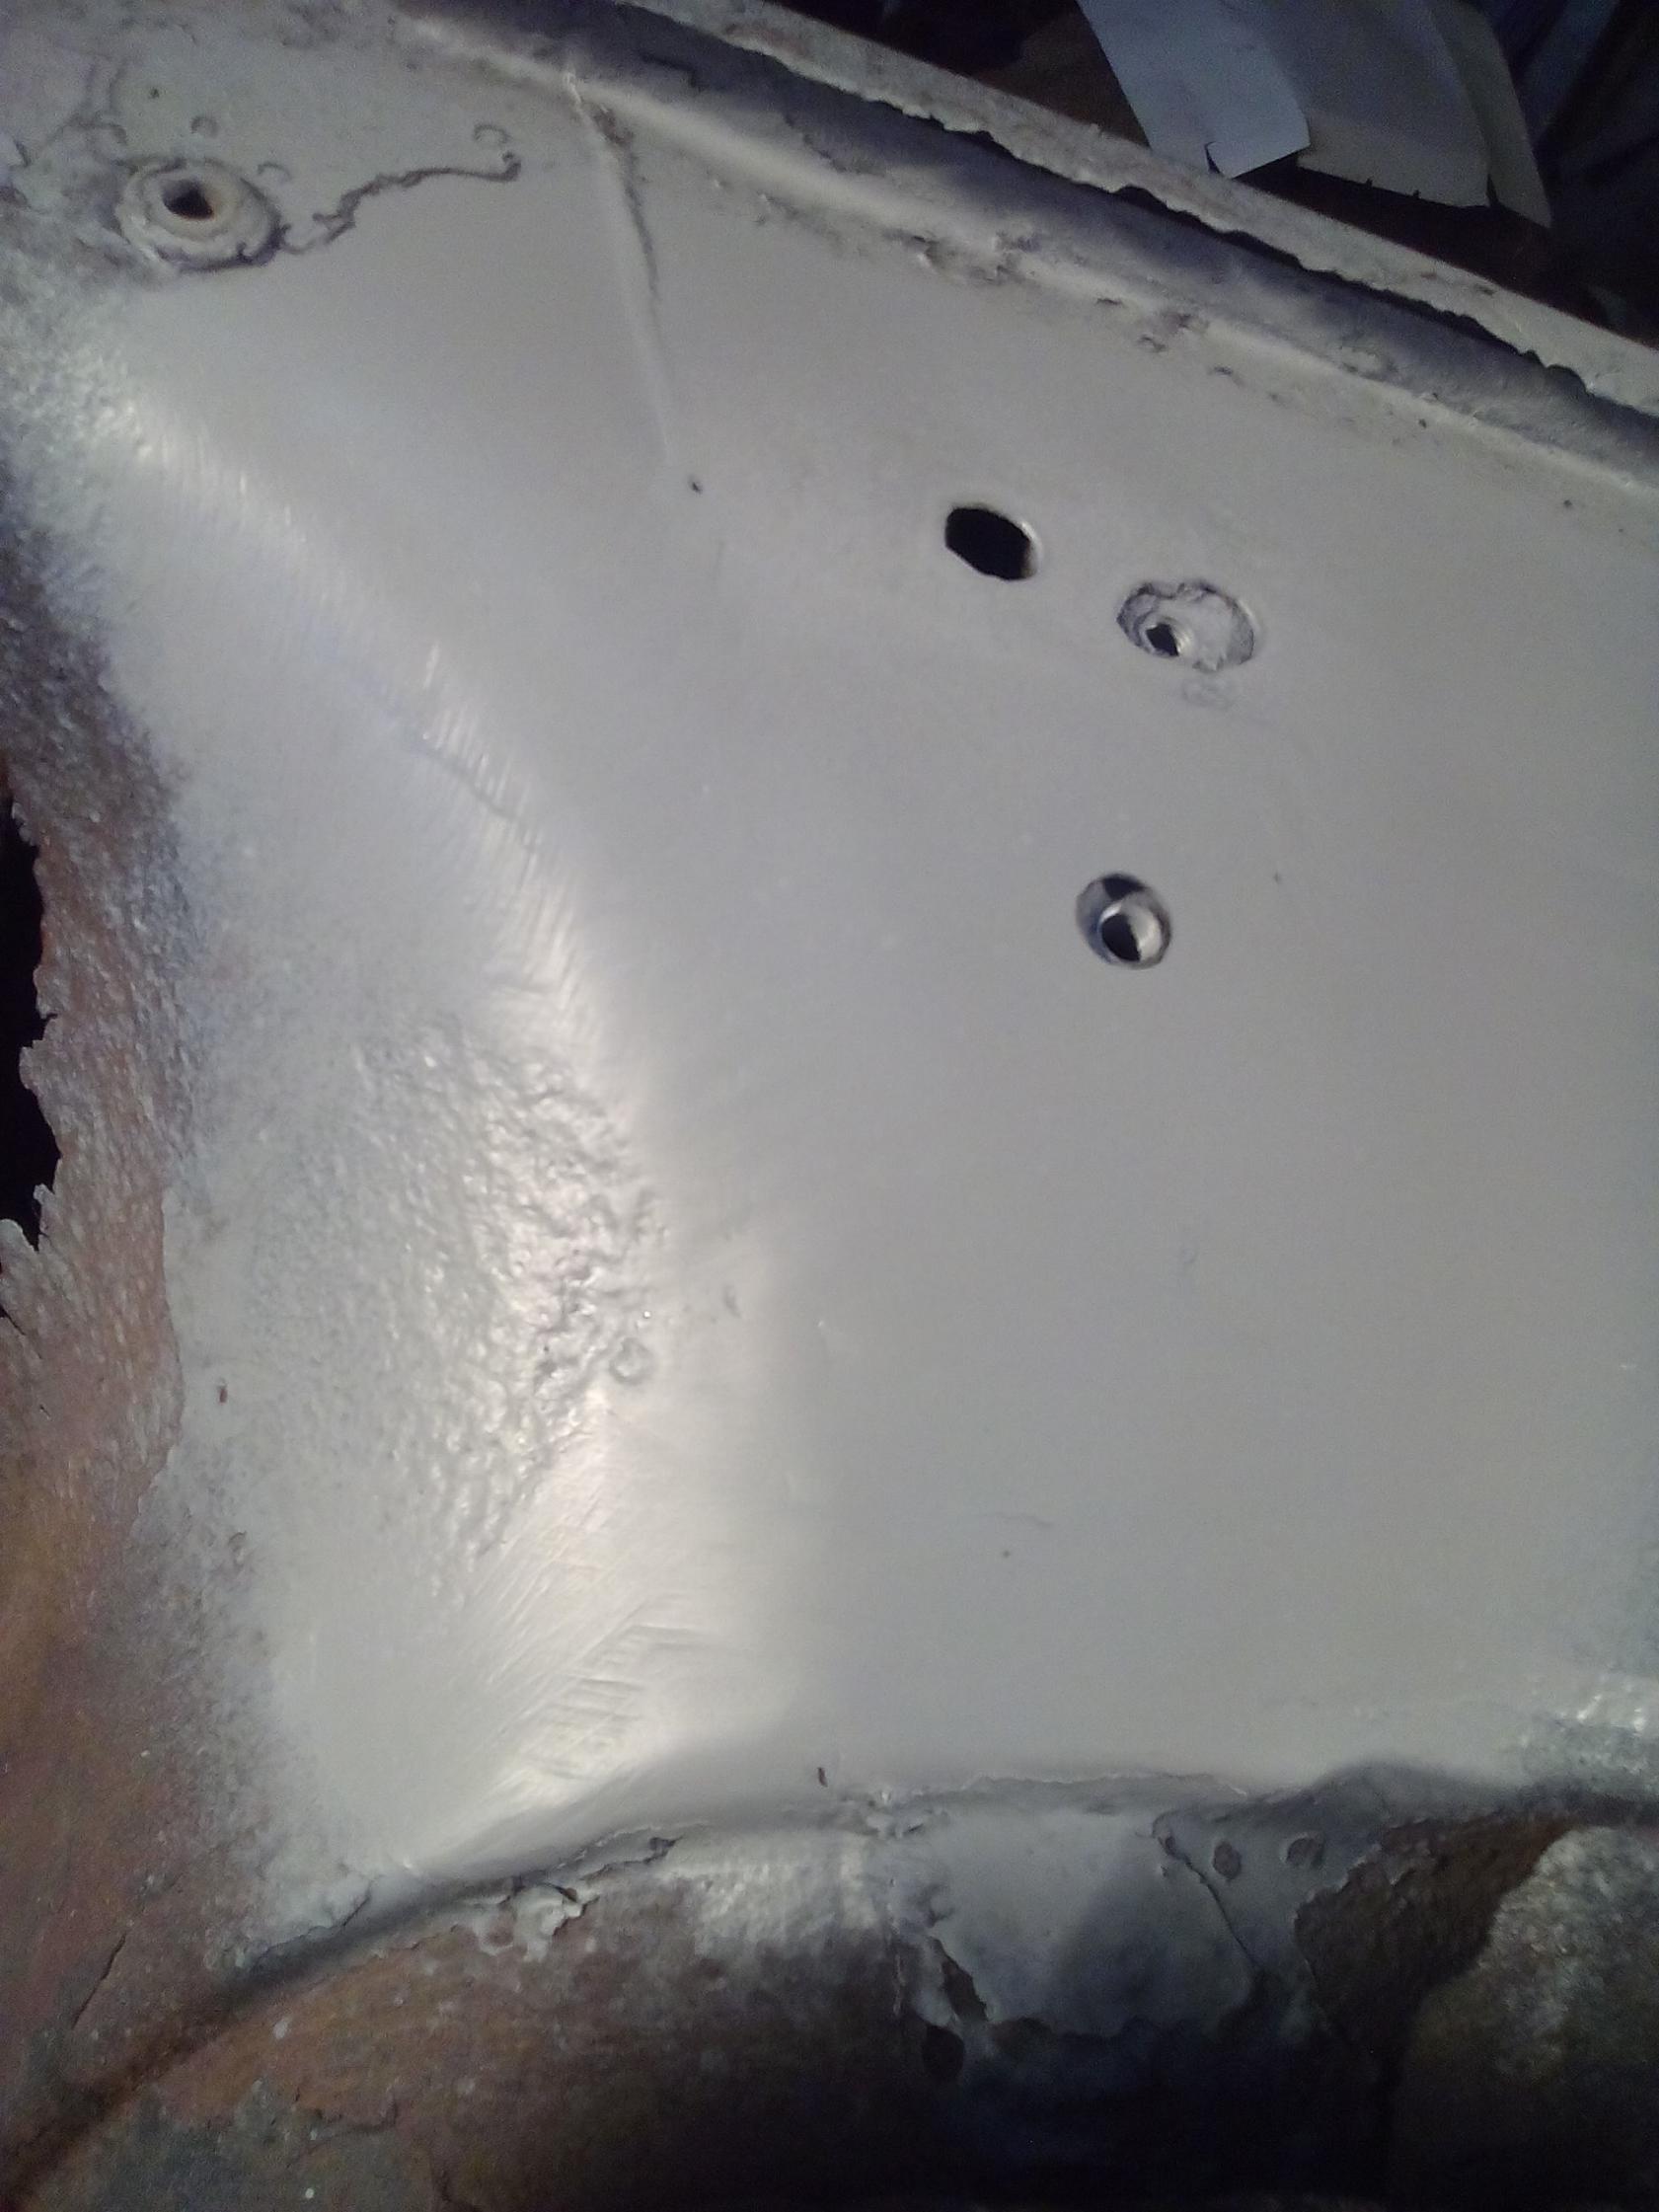
Then I went to weld a patch in the panal in the top of the foot well and before I had half the panal welded in it had gone in all directions. I Finnish welding the panal and was so piss off with the mess I just left it.
This morning I went out and ground down the welds and after a lot of hammering got the panal looking something like. There is still a slight high spot but I can live with that. My only thort is that there is a pressing in that panal and there was some stress in the metal that didn't like the heat.
Peter.

-
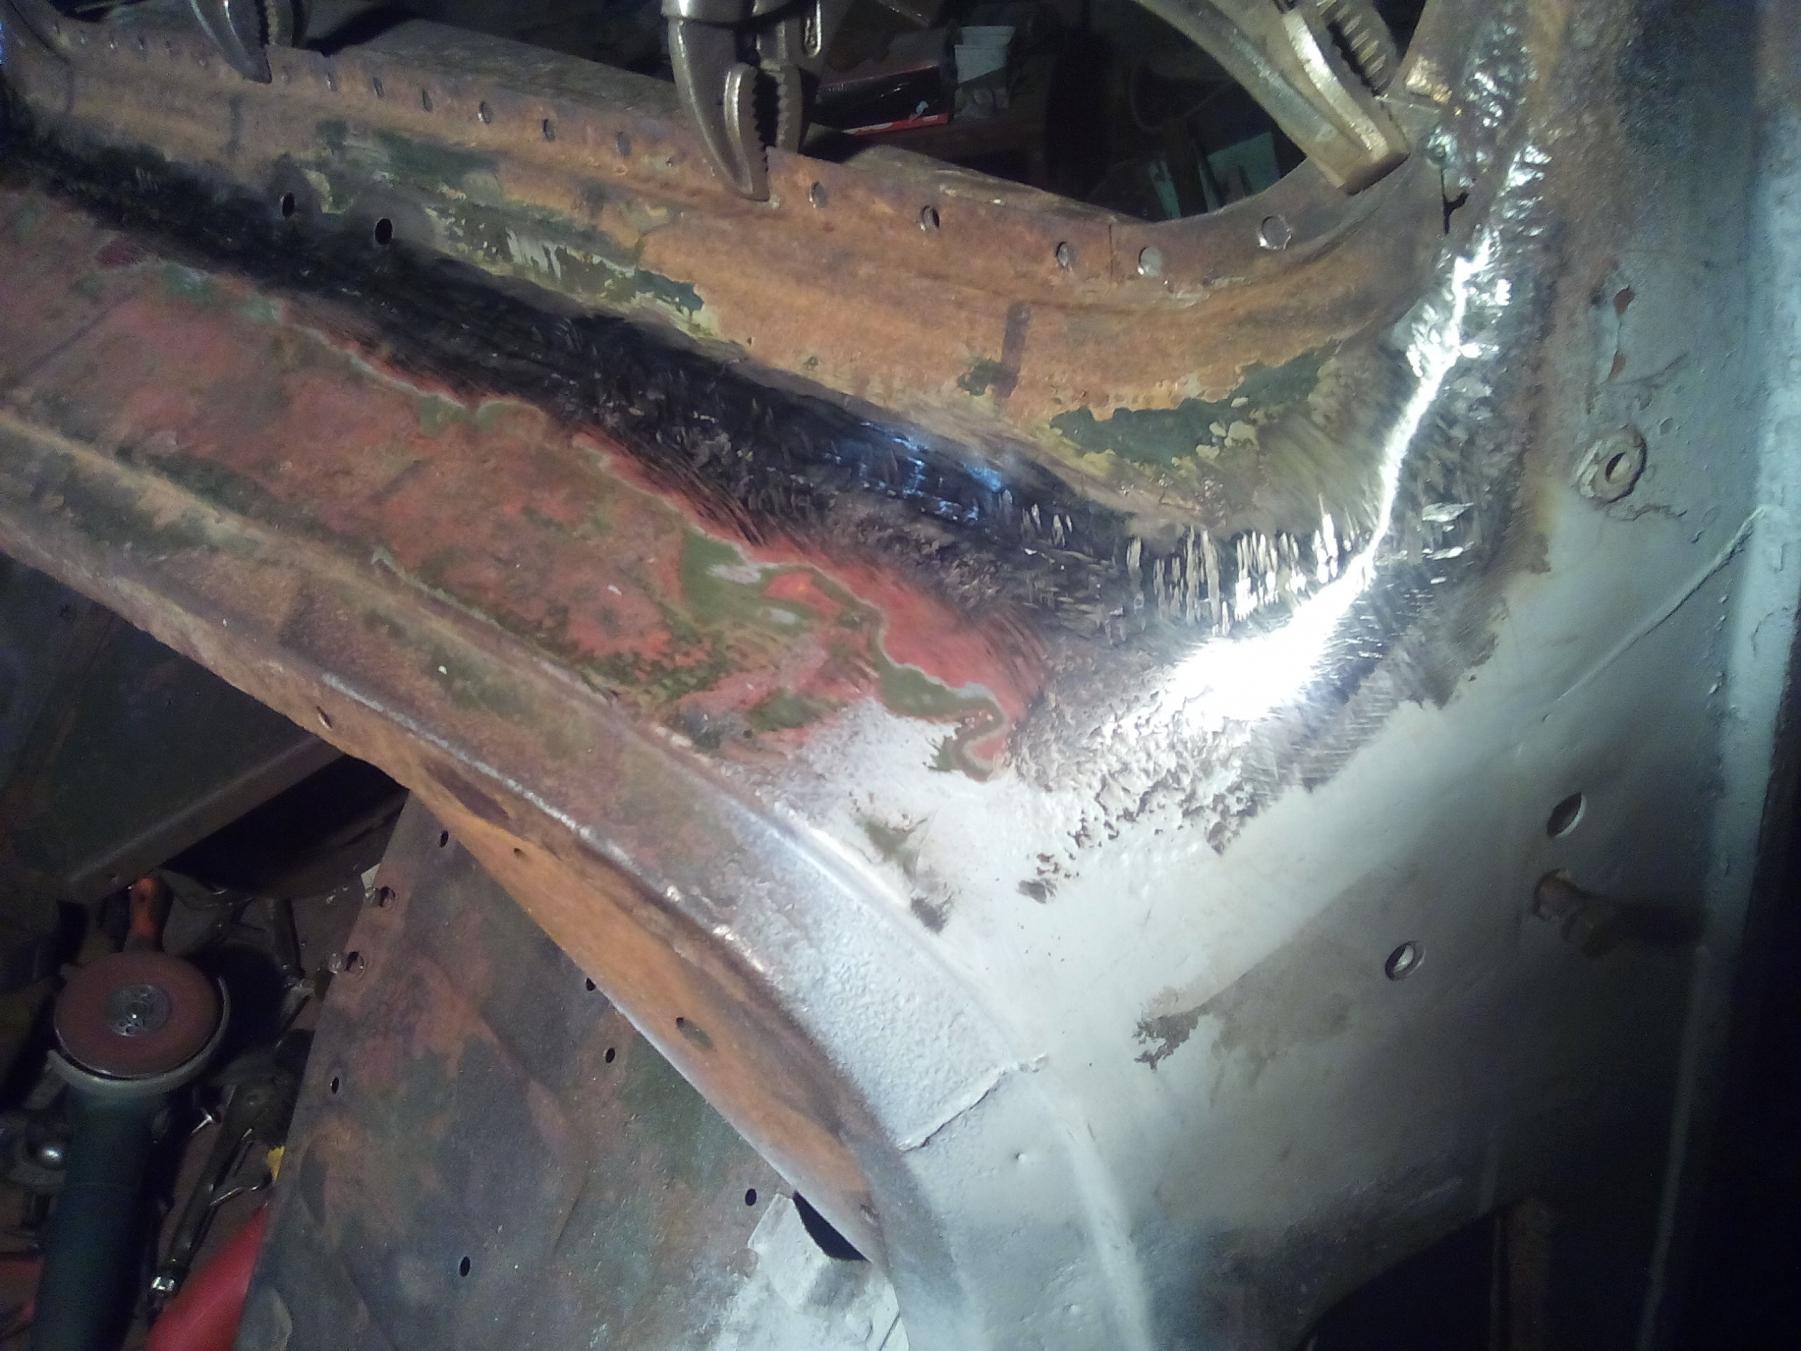
Nice work, chasing the tin worm is always a slow process.
I'm particularly impressed with how you formed the bulk head rain gutter , Iv'e stored that idea away for a another project...... thanks for posting :goodidea:.
Pete
Thanks Pete,
Welding British trucks is always a challenge due to the thin metal. I did the cab mounts and footwells on Dodge WC63 for a mate earlier this year and the metal was twice as thick or more as the Bedford.
Peter.
-
Spent to day welding the bulk head, slow but steady progress.
I had to start somewhere so I started with the area around the traficator as it was right in front of me and worked out from there.

More welding tomorrow.
Peter.


-
The draw bar looks original but has been re-inforced where it joins the main chassis. It appears to have the same early post war Bradley hitch (see the earlier 10cwt mortar trailer thread) as my trailer but should have had the late war hitch with the integral grab handles (as in the book illustrations). You will have to get new cleats - an expensive job as they are not made now as well as new ash wood planks.
A worthwhile project but make sure you check the earlier thread as you will pick up loads of info- good luck.
Hi Tony.
The drawbar has been replaced with rectangular box section from the front of the Body, but it has been done very well and took me a few minutes to figure out.
I have had some 10cwt trailers in the past so I know the basics but will need help with the details when I start rebuilding the trailer.
I have had parts cast before so can get the cleats done at a price.
I have bort the ash wood for the OY cab so have an idea of the price.
For a little trailer they can cost a fortune to rebuild.
Peter.
-
Hi Peter I have a hitch & corner leg clamps for sale, may also have other parts.
I think your find the rear tail gate was a post war army mod as mine & every one I seen had a rear tail gate, but I'm intending to convert mine back to original spec.
Hi Ian.
I would be interested in the in any parts you have that I need. I will P, M, you.
I would also be interested in looking at your trailer as the sides look original and mine have been changed.
Peter.
-
I have started cleaning and painting the engine block and other parts this week.
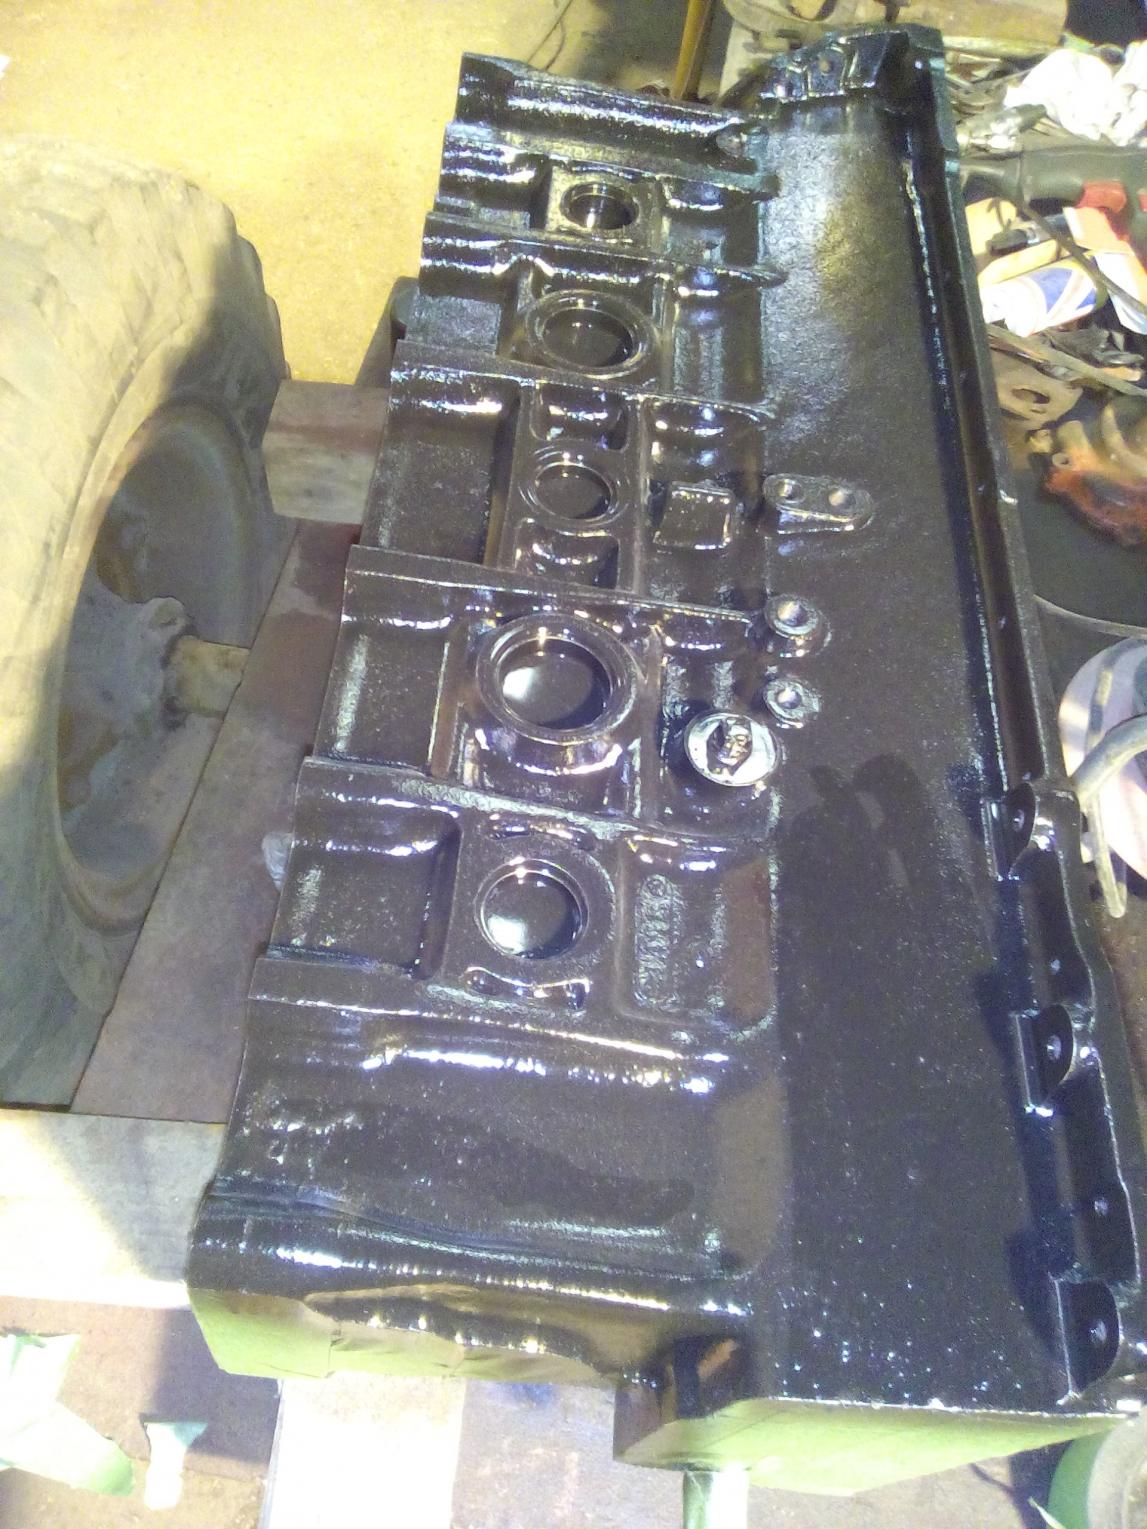
I have got most of the parts striped off the bulkhead to day ready to start welding it up. Most parts came off OK with a bit of a fight. The speedometer is still free and looks to work. The housing of the main switch fell to bits when undoing the wiring but I will use the parts to modify a post war switch I have. The fuse box has a small crack in the base and some stuck screws in it. I will clean it up but may replace it.
I hope it is a bit warmer this weekend to motivate me to get the welding done.
Peter.
-
I have been looking for a mortar trailer for a year or so now and have just bort this.

The drawbar has been replaced and the hitch is wrong but it has the correct hand brake. The 2 Jack's / legs and clamps are missing. There is a tail gate on the back which has not done to much damage and the original tailgate is still on the front. The metal work is generally good and solid.
I would like to rebuild it with the full mortar storage if I can find parts to buy or copy or a set of drawings.

Peter.


1944 Bedford OYD
in Blogs of MV restorations
Posted
Yesterday afternoon I started to clean the internals of master cylinder and servo. I have a new leather diaphram for the servo which I have put in light oil to soak and have all new seals for the master cylinder.
[ATTACH=CONFIG]115557[/ATTACH]
This morning I had a look at my QL cab and the clip that is missing on the OY was there and looked to match the broken clip and the marks in the paint on the OY. So I made a copy and welded it to the bulkhead I also rewelded an old weld that had cracked and filled another pit hole I had found.
The bulkhead is now ready for shot blasting.
This afternoon I pulled the OY out the greenhouse and presher washed the front down as it was very dusty.
[ATTACH=CONFIG]115556[/ATTACH]
next job is to fit all the green part's to the chassis and plumb in the brakes.
My mate has striped and cleaned the oil pump and checked for where and it is in good condition. He has now taken the camshaft to press the gear and retaining plate on. This has to be set up with a feeler gadge.
Peter.