


64EK26
-
Posts
563 -
Joined
-
Last visited
-
Days Won
7
Content Type
Profiles
Forums
Gallery
Blogs
Events
Articles
Store
Downloads
Posts posted by 64EK26
-
-
Hi
The only pictures of the jug are


They look to be a bit smaller in diameter and a bit taller but the basic design is the same, I believe that these are galvanised. The jug is 1/2 gallon, war time part number LV7/TR/MV/1477. A post war manual gives the galvanised 1/2 gallon jug dimensions as 6.7/8" Diameter, 3.5/8" high
The brush is too big for cleaning the filters, I believe that the smaller one in the photo below is used for that purpose

There are three brushes listed on the ww2 parts list
1 off Brushes, Cleaning Tank - part number KE/0858 (I don't think that this is the brush we both have as it not long enough for my tank maybe ok for bowser trailers)
1 off Brushes, Water Carriage - part number KE/0891 (not sure what they mean by water carriage, may be all the external pipe work, so the brush we both have may be this one)
2 off Brushes, Filter Cleaning - part number :LV7/TR/SR/43 (the one on the left ?) [this part is also referenced in a post war bowser parts list]
Cheers Richard
-
 1
1
-
-
Hi
I have the same brush and jug
They are both post war and used with water bowsers
The Jug has has NSN number 4610-99-442-1989 - MEASURE - 4610994421989 but is not stamped on it. I believe that is very similar to one of the two types of jug used on WW2 bowsers
The brush may have part of the NSN number stamped on it 943-856 and mine is made by Wm Haywood (Maidstone) Ltd. The company is long gone, the founder William Haywood was born in 1854. This came from the same place as the jug and some other bowser related items
Note: NSN's in the range of 4610-99-254-5019 to 4610-99-749-9024 are spare parts for water purification Equipment
Cheers
Richard
-
Hi
Some info for you, these are from commercial Bedfords ... (if you need better images, PM me and I will get them scanned next week)


Cheers
Richard

-
1
-
-
Hi
Have you tried asking on the Bedford OY OX OW Group on Facebook see https://www.facebook.com/groups/183899472154617
I do have some data on the springs for Bedford OSA, OSB and OL of this is of any help
Cheers
Richard
-
On 11/30/2022 at 6:16 PM, ackack said:
Thank you all for your interest but trailer has now been
SOLD
Hi
Hopefully it has gone to a good home and the buyer will finish off the brilliant restoration that you started
Cheers
Richard
-
Hi
I believe that Cat. Ref. is a reference number allocated by the contract staff for filing purposes. Generally the higher the number the later the contract was placed. These Cat. Ref. numbers are not unique (for example Cat. Ref. 13 is for a Norton Contract C3655, it is also the Cat. Ref. for some Morris Cars on contract Dds1328). I suspect that contacts from different suppliers were allocated to different contract staff and they allocated their own numbers.
Hope this helps
Cheers
Richard
-
Hi
The original bulbs are double filament, the two filaments are wired in parallel, this is so that if one filament fails, the light will still work. They are double pin, one pin for +ve and one for -ve. The bulb locating pins are not offset. As far as I am aware all the WW2 light fittings were push fit type an not soldered, the ones on you axle light look very badly corroded.

Some pictures of original twin filament bulbs


Cheers
Richard
-
2
-
-
Hi
I am selling my Larkspur C11/R1210, see photos for condition etc. I bought this some time ago, it is untested and I have too many project going on. Mounting trays are included, but not sure if they are the "correct ones"
Price £450 ONO, collection only from nr. Portsmouth. PM me if you need more info


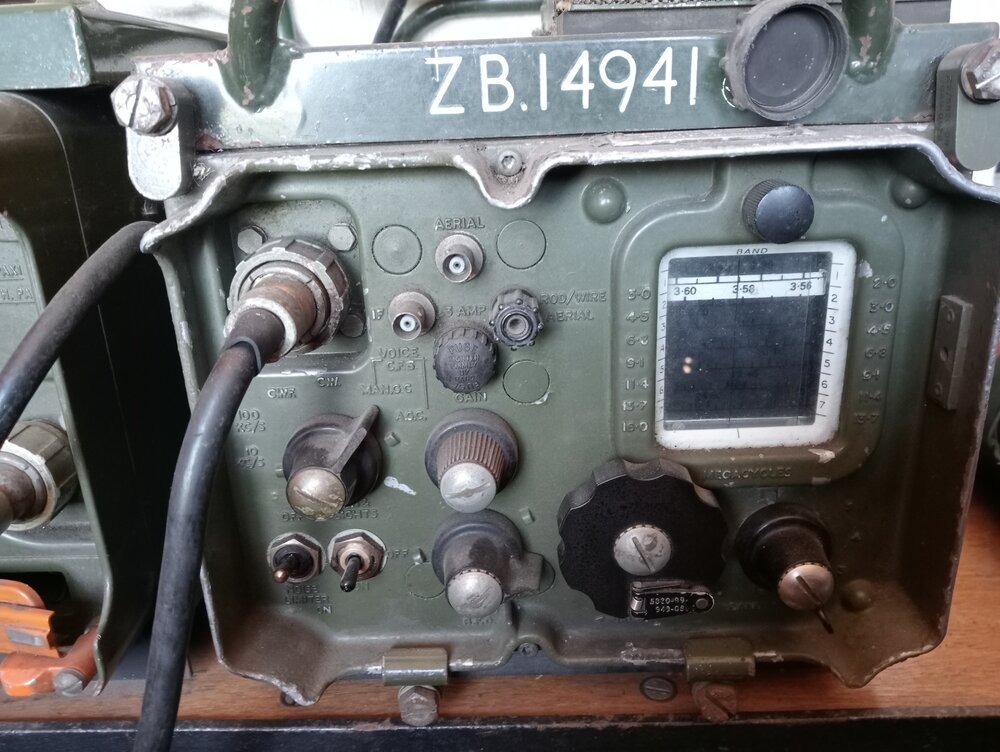

Cheers
Richard
-
23 hours ago, MatchFuzee said:
Have you seen the modern replacement.
Thanks, I have see these, but thought I might have a go at making my own
Cheers
Richard
-
Hi
I am after a redundant ZS1 Oil filter that I can use as pattern, condition doesn't matter that much, does any one have one going spare ?
Cheers
Richard
-
Maybe of interest as these are pretty rare
https://www.ebay.co.uk/itm/195322626747
Shame the same seller took the data plates off and sold these separately on eBay
Cheers
Richard
-
2
-
-
Hi Nils
Yes it is 6EK26, I restored it about 14 years ago. Currently it is up at the "shed", I will take some photos and send them to you when I am up there next week. Feel free to PM me if you need any more detailed photos.
As it arrived

after restoration

Cheers
Richard
-
2
-
-
8 hours ago, 1964 FFR 88 said:
Chrome plunger button 242108
Screw carb in place of vacuum advance hole 260707
Relay Lucas No. 1 Mk. 2 FV426648 33242B 24V 3 64
Quite a few of those bits are readily available e.g.
https://pablanchard.co.uk/index.php?route=product/search&search=242108
https://pablanchard.co.uk/index.php?route=product/search&search=260707
https://www.lmslichfieldltd.com/Lucas-24-volt-Relay-FV426648
Some bits like the radiator shroud are a bit more difficult to find, might good idea to go to the Newbury 4x4 sortout in October (depending on where you are)
This is mine awaiting a bit of tlc

Cheers Richard
-
Hi
I booked to go in 2020, and recently asked if my booking had been deferred. W&P have declined to honour my booking stating that I didn't apply for a deferral in the 12 week window. The first I knew of this window was on the FAQ's on their website, I was supposed have been emailed in July 2020 about this, but never had any communication from them. Very disappointed and saddened that they are taking this approach. Not sure if way they have handled this is legal, in any case I for one will never be attending W&P again whilst it is under the current management.
Cheers
Richard
-
8 hours ago, Pete Ashby said:
Thank you Richard very useful information.
I assume it would take an undercoat then a finish top coat of paint? Any idea how that would turn out using a semi matt top coat finish? what I'm trying to avoid is a shinny gloss streak in the drip rail.
Regards
Pete
Hi Pete
It will take undercoat and top coat. I have used it on my MWC cellulose undercoat and semi gloss Olive Drab and it comes up fine. The main thing is to make sure that there are no edges on the sealer, otherwise you make have to use some high build primer before the top coat. As you say, cheap enough to have a play and perfect the application technique.
Cheers
Richard
-
 1
1
-
-
Hi
I have used MHP PU Adhesive Seam Sealer on many occasions and it is really good as it is an adhesive non shrinkable sealer (also made by U-POL as Tiger Seal). These are polyurethane based, do not uses a silicone based one as you will not be able to paint over it.
To get good smooth edges I use a brush/cloth dipped cellulose thinners to smooth and clean up excess. By the way it sticks to anything.
Cheers
Richard
-
1
-
-
Hi
A friend of mine will have quite a few for sale at the Solent Overlord Show which is well worth visiting
Cheers
Richard
-
Hi
Makes a big difference when the canvas is on


Just a few more canvas bits to make up, and then work out what padding to use on the seat backs.
On to electrics, whilst wings are at the grit blasters
Cheers
Richard
-
10
-
-
Hi
Bit more progress...
Rear hoop sticks all finished

Final trail fit of windows before painting

Back to the cupola and soring out canvas
Cheers
Richard
-
9
-
-
Thanks
That eBay one was sold last night, but there was another one, just bought that and see how it works
Cheers
Richard
-
Hi
How is a cupola secured on a Bedford MW ?
I have seen some post war ones secured by external straps, however all the period war time photos don't show them, so how was it secured in place ?

Cheers
Richard
-
Thanks Clive
I understand that is a 12V low speed generator, a friend of mine has one but all its guts have been removed, I was wondering if I could fit an alternator inside the body, but these tend to need ah higher rotational speed for it to work efficiently
Cheers Richard
-
Hi
Does anyone have any information on the CAV MO-14X auxiliary dynamo which is used on an MWR. All I know is that it an anti-clockwise one
Cheers
Richard
-
Hi
The top spring clips on the set of springs I have were missing, so finally got round to making them, these are what they are for

Simon Warner kindly lent me a spring clip to copy, cut 6 blanks (2 spare in case of mistakes)

To make life a bit easier and to ensure that they all come out the same, I made a simple(?) jig

it works like this, stage 1 - the fold up (shown on a finished clip)

stage 2 - the wrap round the spring eye (also shown on a finished clip)

A trip to the local blacksmiths
http://www.littleduckforge.co.uk/

very helpful and sensibly priced (I have used them before and can highly recommend them)
All came out nicely


the original one is on the far right
A bit of fettling, slots cut etc.


A bit more fettling needed, "U" bolts to thread cut to length, small plates to cut and drill. Hopefully will get this done over the week end so that they can be fitted next week. Will post a few photos when all done
Cheers
Richard
-
7
-


Original Bedford MK EMER on eBay
in Research Centre
Posted
Hi
This is what you are after - from my own personal library
12798_6_Supplements - Stalwart.pdf
Enjoy
Cheers
Richard