


Simon Daymond
-
Posts
571 -
Joined
-
Last visited
Content Type
Profiles
Forums
Gallery
Blogs
Events
Articles
Store
Downloads
Posts posted by Simon Daymond
-
-
power steering!! You need the steering to be heavy to get your muscles working, I set off to York the other week, whilst the passengers were wrapped in many layers of clothing, I was down to my T shirt due to the effort of getting the militant around the corners:) Doesn't help that you are seated next to an 11.3 litre radiator, had to open the windows at one point, it was lovely.
-
thanks for that guys, sorry to hear the militant failed, but can I ask why you are sending it for MOT, I thought due to age they were exempt?
-
glad you are finding the bits you need, it's amazing just how much stuff is around. Are you sticking with the original engine or fitting the donor? Will it make any difference to the speed? The militant is 30mph flat out, it takes a bit of getting used to, but after a while it's quite nice watching others rush by, whilst I plod on.
-
what time to do you hope to arrive from 'down south' ? , and have you brought your passport?

-
oh joy, at least you didn't have to cut through the head bolts with a hacksaw blade! Although it's still a problem, isn't it good to take the head off and find that it's only the gasket blown? I've struggled in the past when the gasket goes and blows carbon up into the head making it virtually impossible to get the bolt to undo. I'd take the other head off as well, that way you know where you are at. Are you ok for head gaskets etc?
-
looking good. Anchor, ahem
-
we should be there for the weekend, entry 205. I'm hoping to sneak out of work early, but if not we'll arrive at about 4pm ish
-
nice job, well done. Now what's next?
-
No probs, the spare pair of hands is always an issue. It's amazing what you can turn out when you try, even if you make a bugger of it to start. The militant wings were a learning curve; the first took far longer than the rest, the last was much quicker and a much better than the rest. It's always the way you learn as you go.
-
looking good so far. I made a wooden former to make the N/S & O/S front corners for the militant, then clamped the metal and hammered away, tidied the finished panel with a grinder. I'm always on the look out for things to bend metal around, the four post ramp at work would have been perfect to form my centre wheel arches, as the edge on the ramps was the same profile, didn't realise until I'd had them made (incorrectly) by a friend at his work.
For your wings, couldn't you try cutting a profile, of the outer edge, out of a large sheet of steel but with extra metal , then working a radius into the extra piece of metal with a hammer etc, then weld the entire thing onto a flat sheet of steel? Does that make sense?
You don't need to try and make the wheel arch in one go out of a sheet of steel, but instead make it out of two bits and weld it together, use the grinder to tickle it, bit of filler to perfect it, and job done.
-
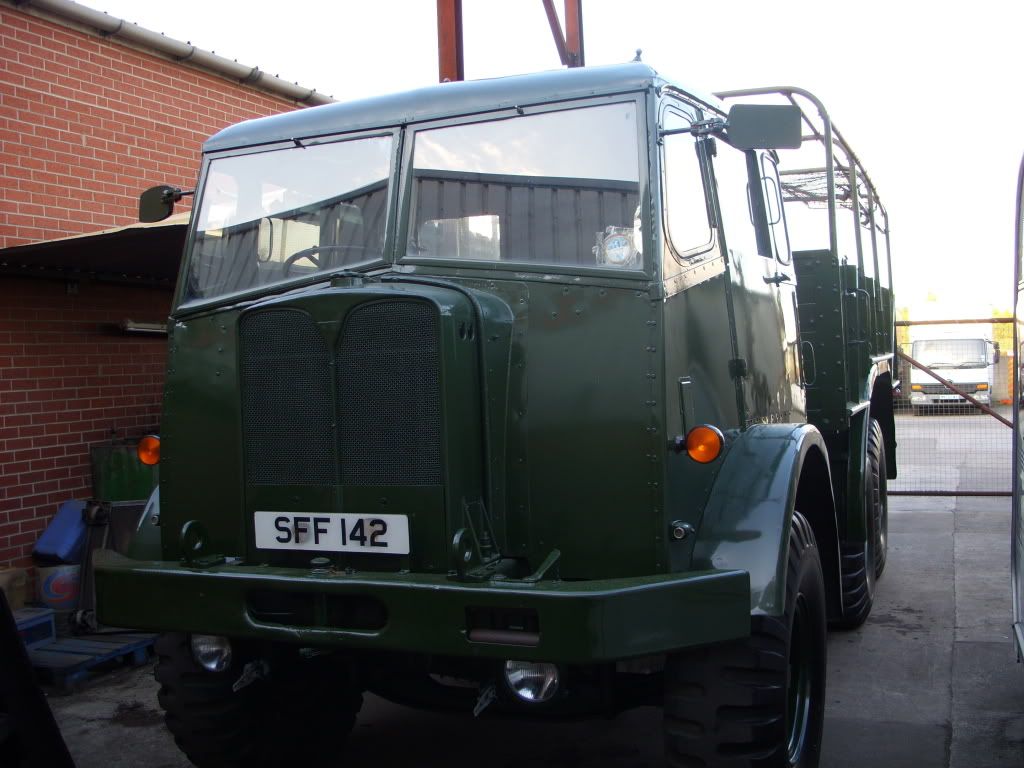
looking good, it's nice to get some paint on.
-
got the flashers to work. Handy tip.. use a flasher unit, not a relay! I thought I was using a flasher can, turns out it was a relay, it worked in a fashion, but that was why the lights were on permanently.
-
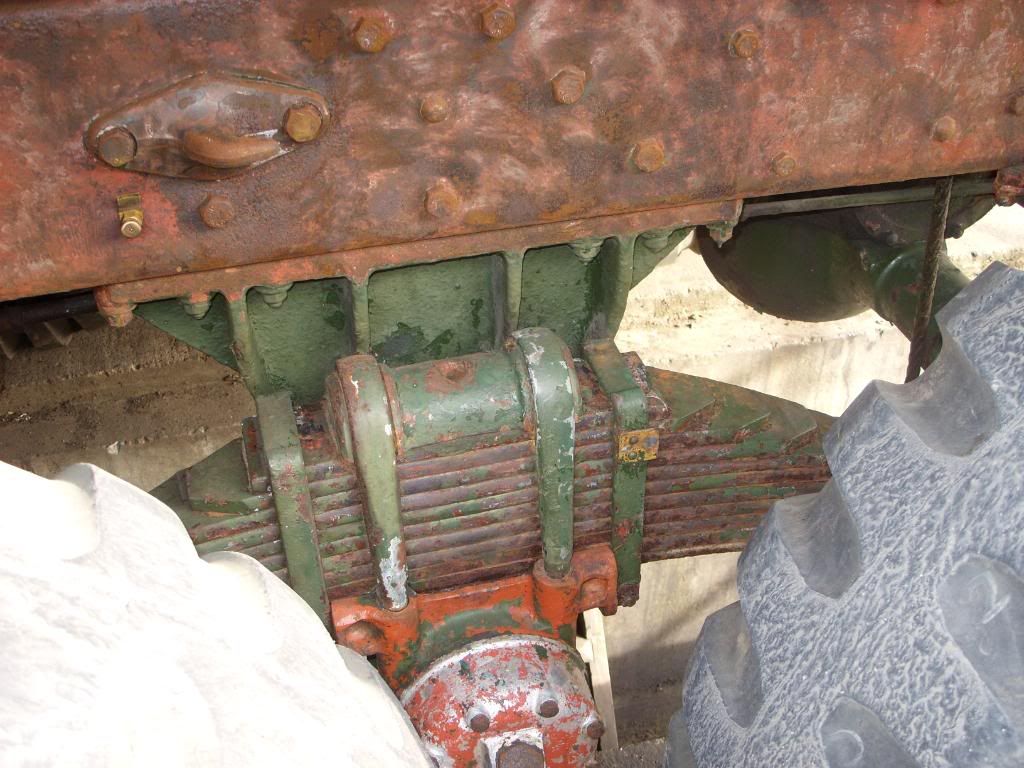
whilst doing the wheel arches, I tried not to get distracted into other jobs, but I did end up steaming cleaning and scraping alot of the chassis, wheels etc...
that'll do for now, going to have a beer, seeing as it's my B-day..

-
couple of before and after's...
yet to refit the mud-flaps
-
update on the wings, (finally)
this was how they started
this was the best one..

new metal being bent..
then welded into place..
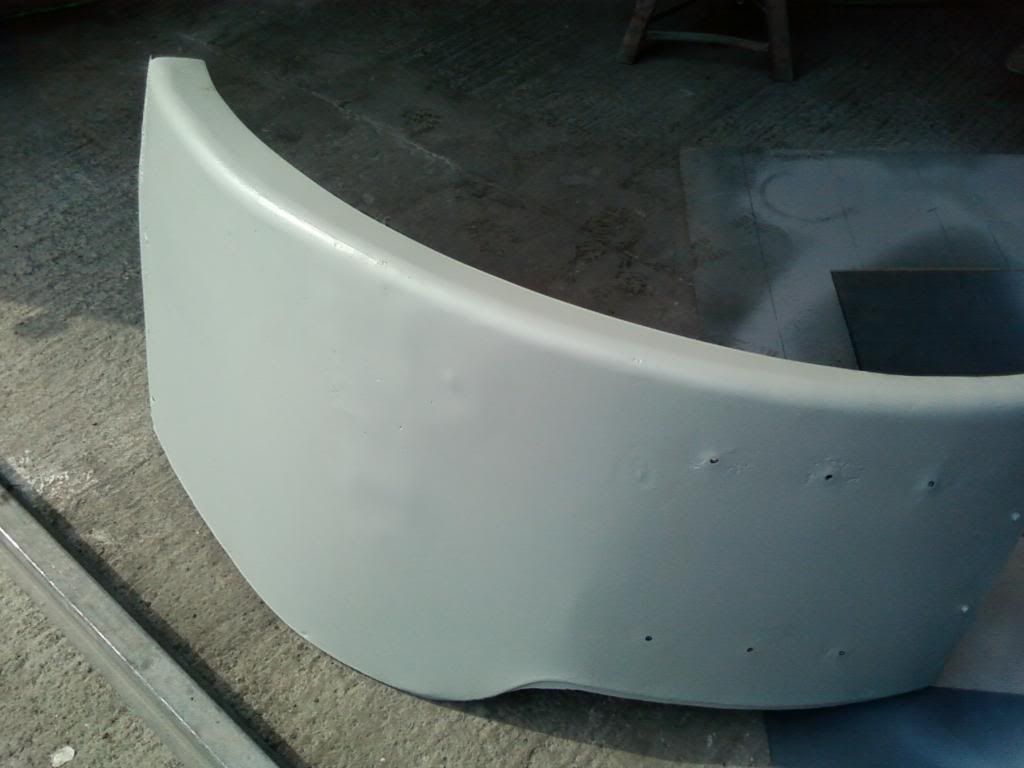
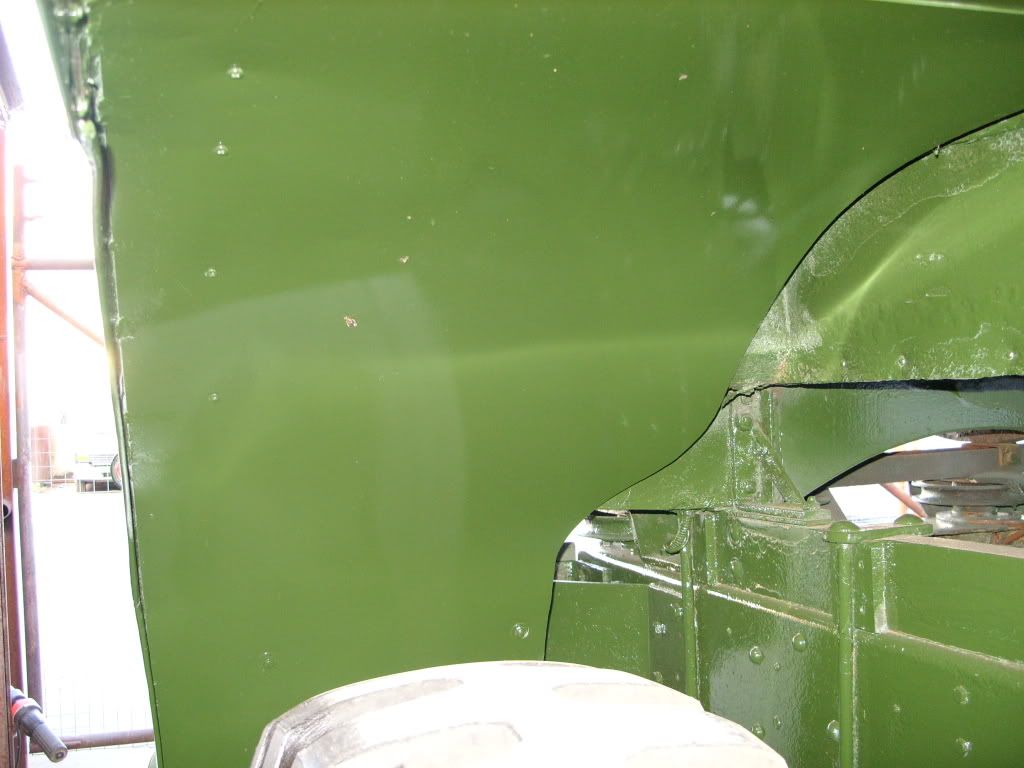
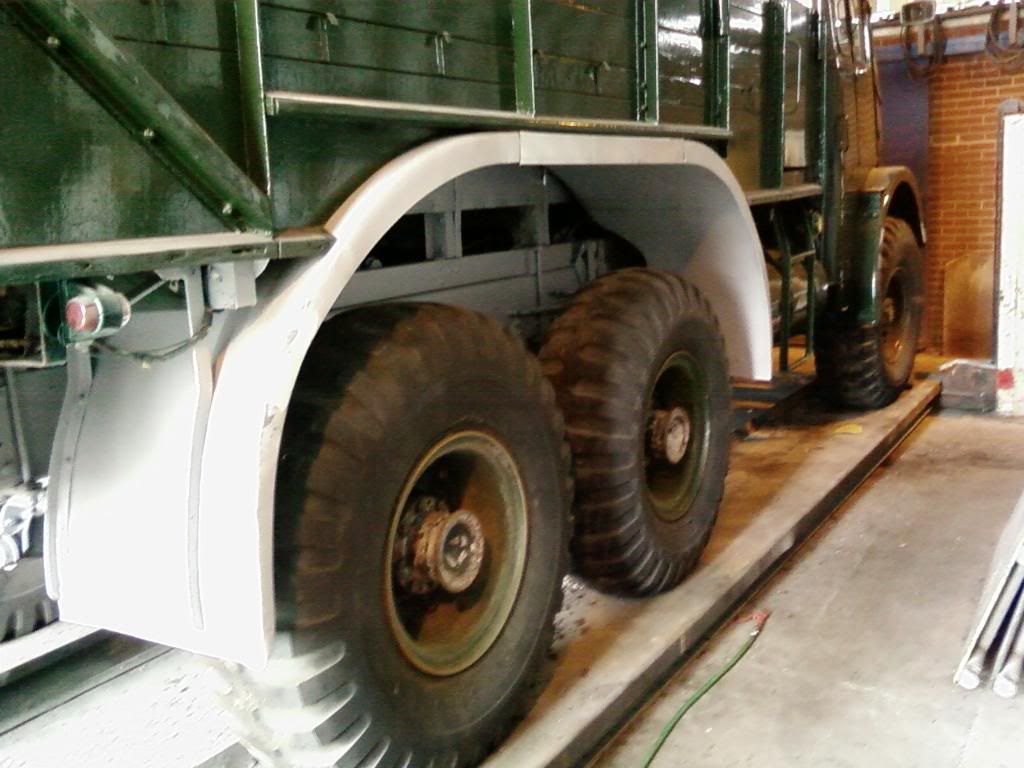
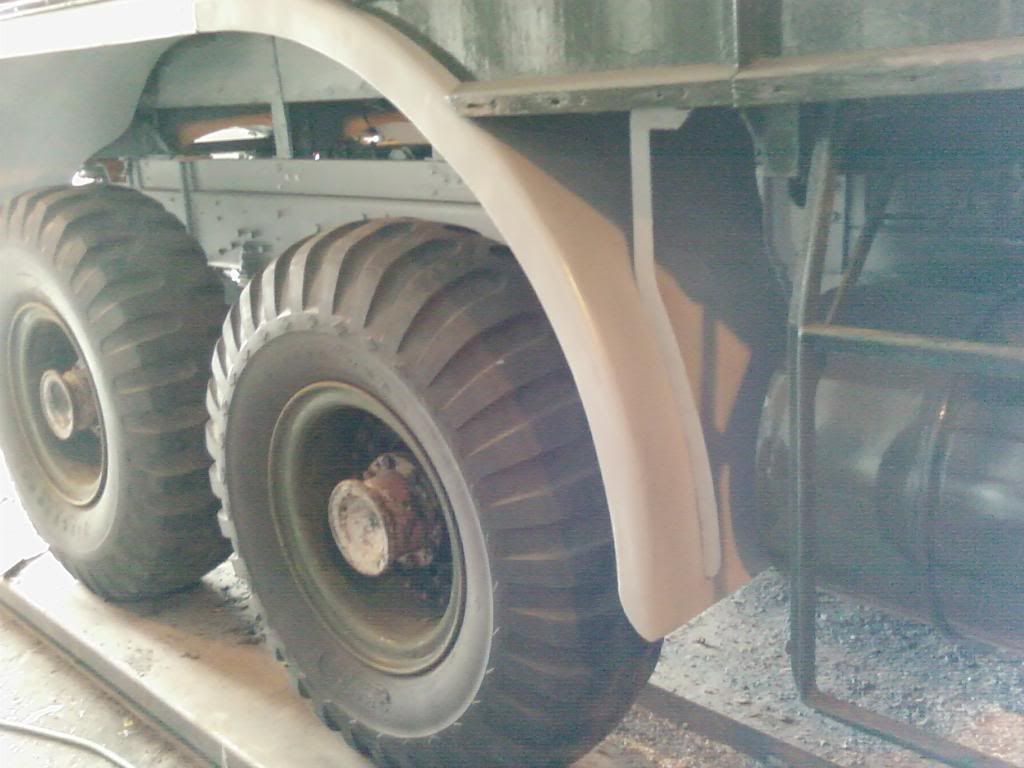
after being fitted..
then with some shiny stuff on..

The whole job took ages, the end result is okay, they aren't perfect but are better than I started off with. At least I've retained the shape etc, perhaps in later years I'll get some made, as at least I have a decent template now.
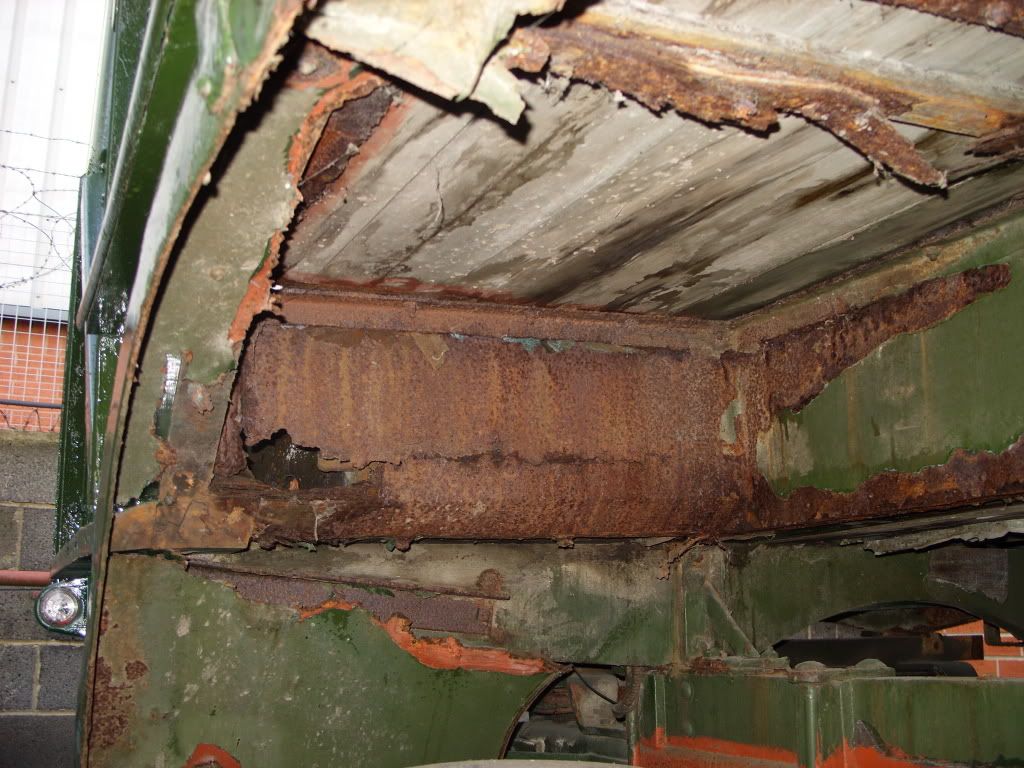
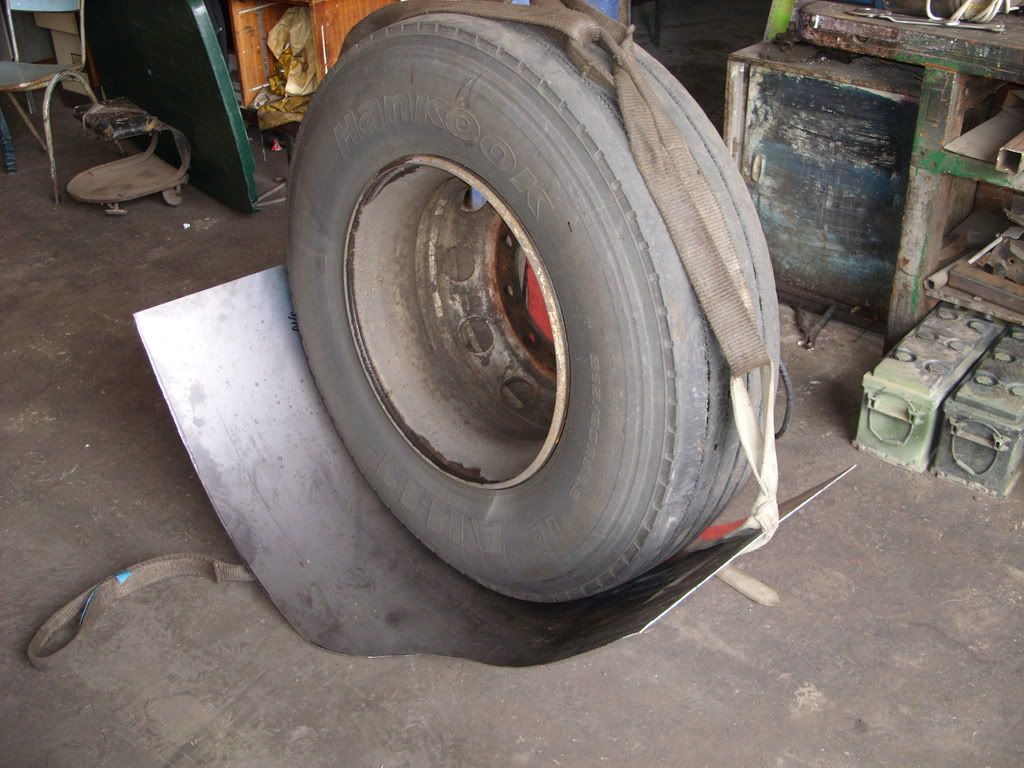
Found it very diificult working on my own, due to the sheer size of the wings, had to use a combination of clamps and jacks placed on the tyres to get things into place. The wheel arches were bad enought to start with, but at first they were quite light due to the lack of metal, but once I'd welded the new stuff into place they became quite a handfull to hump around.
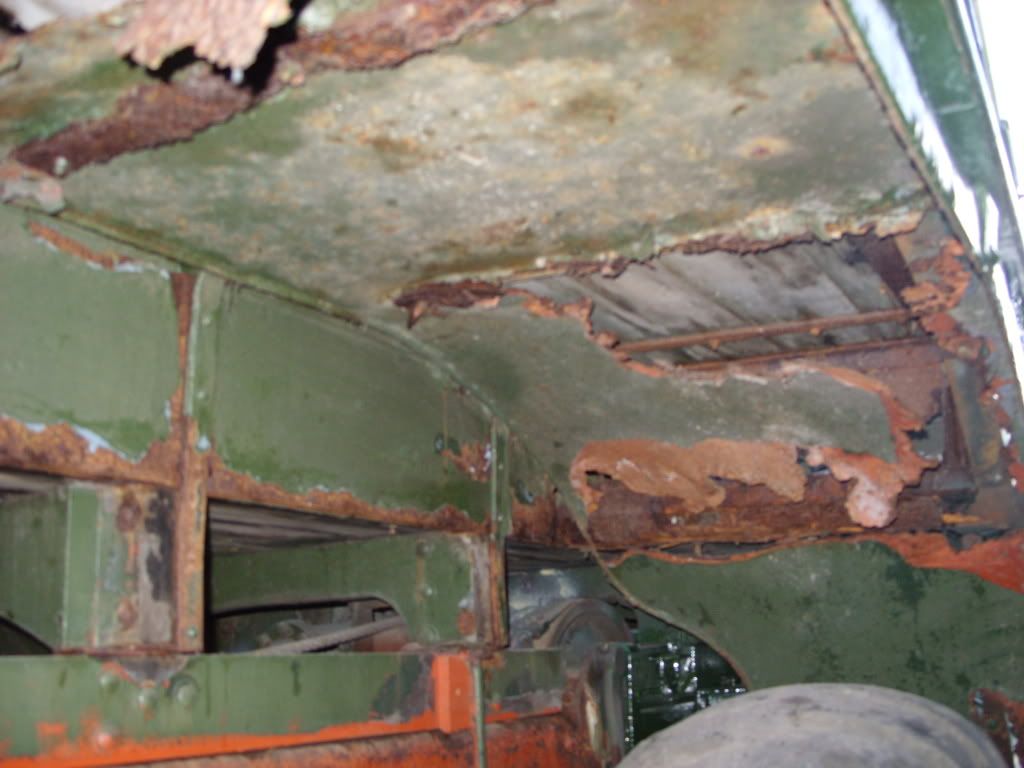
As the floor is rotten, I had to make temporary floor brackets to support the outriggers in places. Normally the outriggers for the wheelarches are simply coachbolted through the floor, but as this is rotten, I felt that the weight of the new arches would make everything collapse, so I cut some 1" flat bar, and welded two bolts to each, which I located through the floor to refasten the outriggers to. Seems to have worked okay (they haven't dropped off yet).
The offside wheelarch is bent out of shape at the rear, it looks as though in a former life some squaddie has reversed into something, as there was body filler underneath some of the green paint. This will have to remain as is for now as to sort it means messing about with the wheel arch and attempting to straighten the assosciated outrigger.
After fitting the wheelarches, I had a friend fold the centre wheel arch sections up, through his work. However, they aren't right as the fold isn't correct: it should be a rolled edge, but instead it is a near 90 degree bend. I've fitted them for now, as I had nothing else, and the trip to York was too near, but they are a job to re-do some time later.
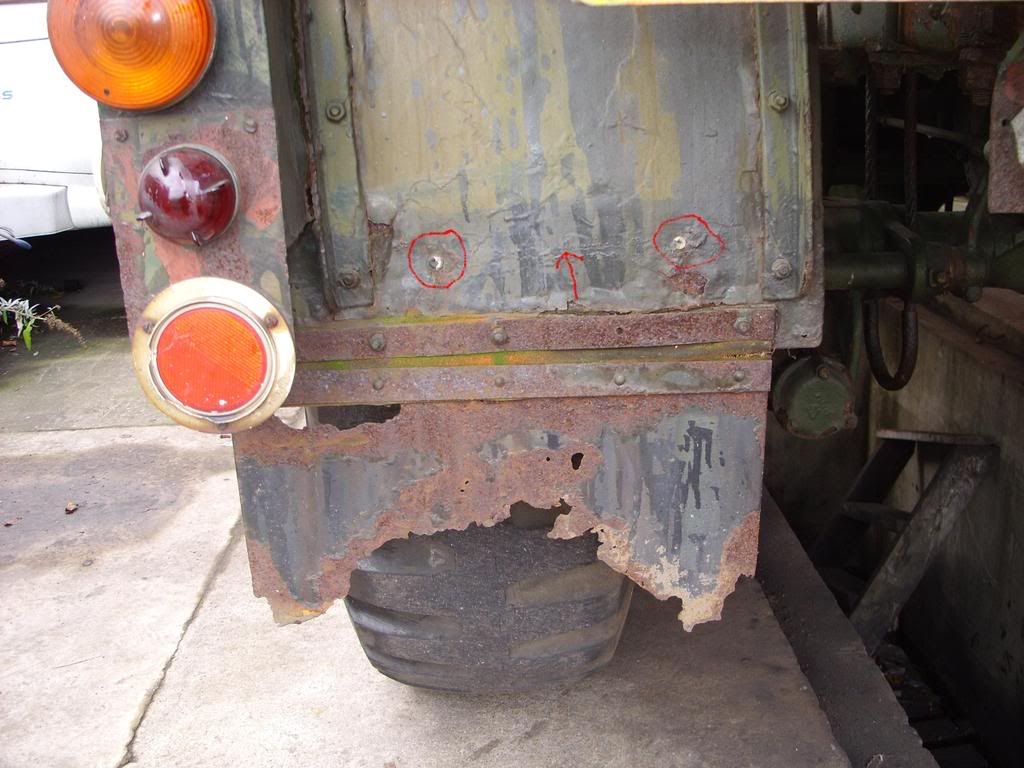
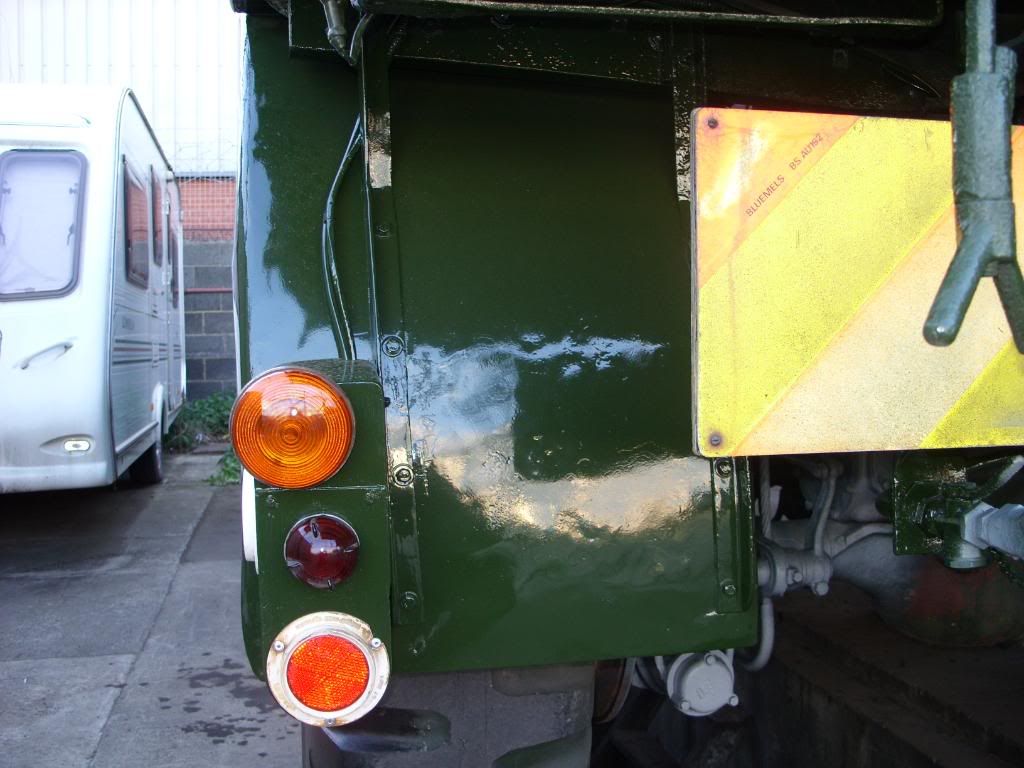
I had to repair the rear light boxes, namely the edge which fastened to the outrigger had rotted away in both cases. I took the lights out and welded a strip of metal in, little bit of filler to tidy up, and they were done. I took the opportunity to re-wire the light units at the same time.
-
I feel sorry for the driver, you can't exactly steer around them
-
is that girl doing what I think she's doing?
-
good luck with the job, no you can't put a camo net on it though.
-
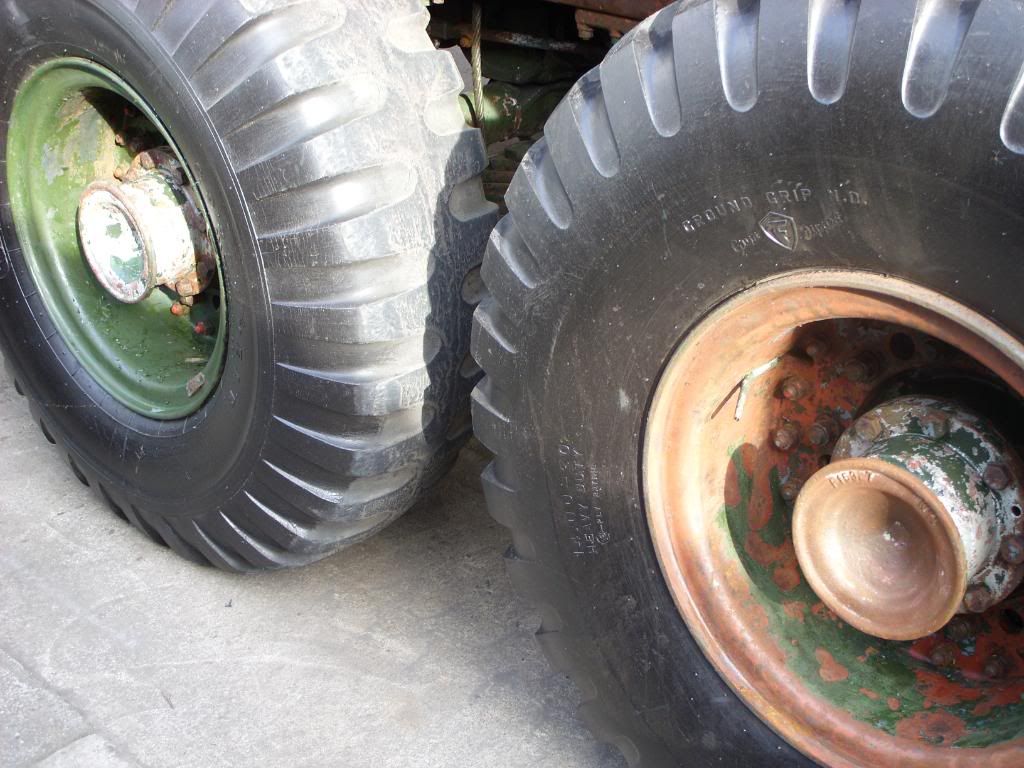
how often do the bogies receive an overhaul?
-
Militant is 24v, no hazard switch, is negative earth, and will hopefully tow a trailer someday.
The indicator switch is on a square box, on top of which is mounted the warning light for the vehicle indicators, along with one for the trailer. The cylindrical flasher can is mounted inside. I tried to wire another flasher unit up, but quite frankly I didn't have a clue, the unit was second hand, but only had the markings C1, C2 and W1 on the bottom. I don't know whether the unit is U/S or if I simply hadn't wired it up properly.
-
Could someone please give me an idiot proof idea of how to wire a flasher unit? The indicators on the miltant don't flash, they just stay on, so I'm assuming that the 'flasher can' is U/S? If I get another, what wire should go where?
-
what a lovely day out, was nice to meet Mr & Mrs Jessie Jeep, Ivor and others. The sun shone all day, the militant didn't miss a beat, can't wait for the next show now. Hope you all got home okay?
-
lovely, I'll post some pics of my recent efforts later, typing this at work, evenings are spent scraping paint and knuckles etc.
-
very nice, is that yours?
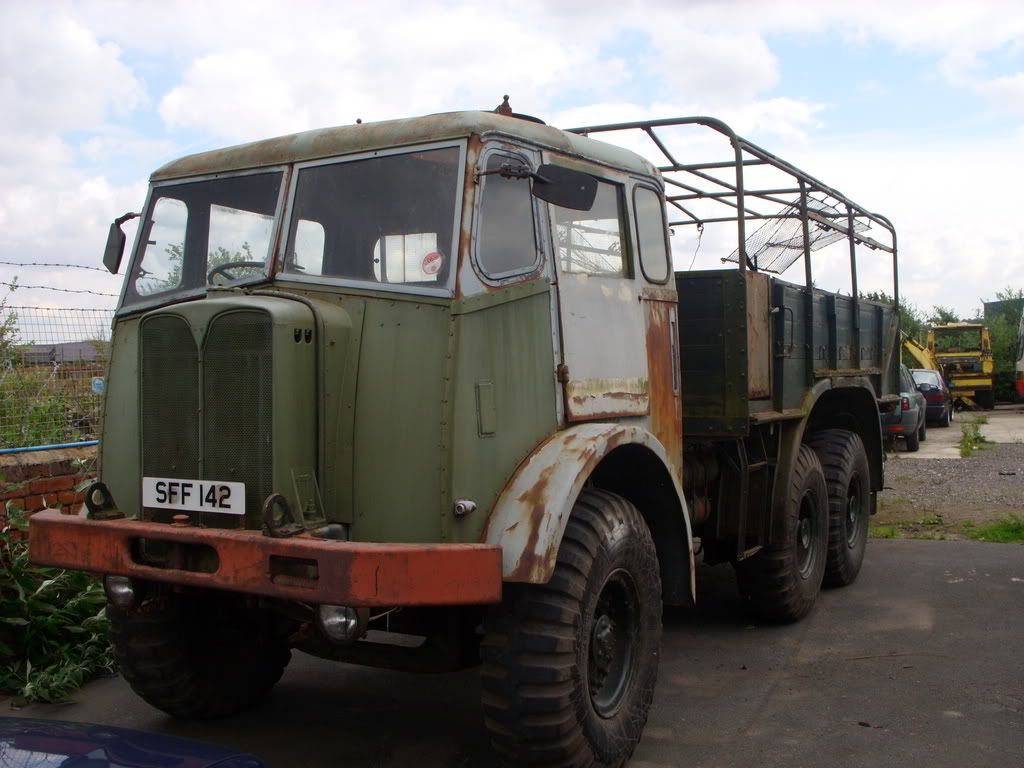
AEC Militant Mk 1 restoration
in Blogs of MV restorations
Posted · Edited by Simon Daymond
ah that explains it then, i.e 1964. I've seen pics where you have your rear wheels off, I presume you stripped the brakes as well? I'm no expert but assume that extra weight should help. Is it a Vosa test station you are attending or a privately run garage? If Vosa, ask to speak to the technical guy (white coat man), in past experience they have always been sympathetic and will point you in the right direction of relevant info. Perhaps it might be an idea to re-line the militant with a more modern friction material? I had to reline a Bedford OB in recent years, it failed the brake test on old woven brake linings, I had it relined using a more modern friction material and it locked the brake rollers on re-test. Also, you can book in for a 'voluntary brake test' at test stations, this usually test the lights, exhaust emissions and brakes, it doesn't cost anywhere near the same amount as a test or re-test, we always send our coaches for voluntarys before the actual MOT to make sure the brakes are within limits and the lights etc are set correctly. Good luck tomorrow.