


guy66
-
Posts
749 -
Joined
-
Last visited
-
Days Won
5
Content Type
Profiles
Forums
Gallery
Blogs
Events
Articles
Store
Downloads
Posts posted by guy66
-
-
Hello Ron,
I am still looking for a diff lamp to put on my QL, any id where I need to look for this part.
I have the right switch and junction box for this set up.
Guy
-
Made last weekend a little trip to the UK and wend to John Morter to collect some bits for my QL.

In the lot are a clutch kit (my clutch pressure plate had a bad crack) top end gasket set, filter kit, front exhaust section, brake cylinder rubber seals, and also inlet valves and valve springs that a friend collected at bygone bedford bits.
With the parts came 3 right hand front windscreens in a not so good state and from this lot and just one top piece of my own very bad windscreens made my a pair of good windscreen surrounds.

Installed the clutch and put the gearbox back on the engine.
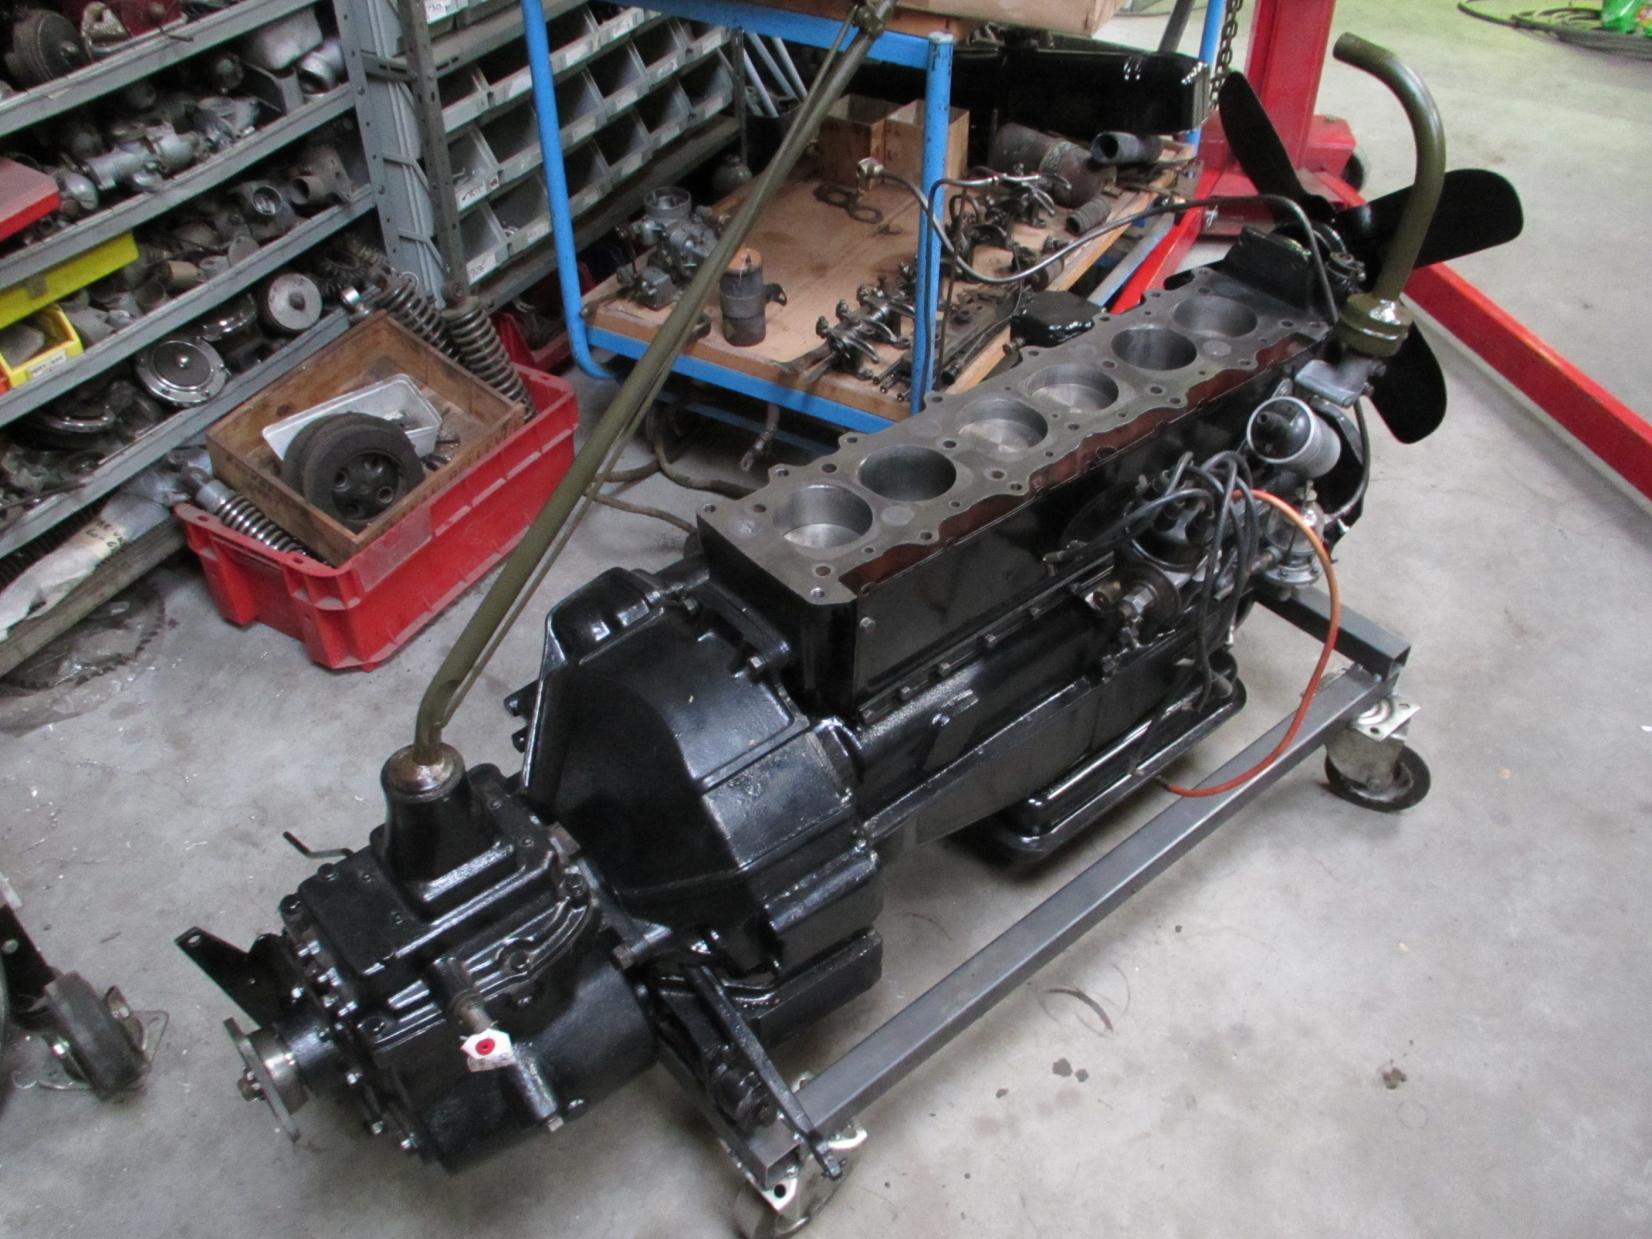
And the cylinder head is ready to go back on the engine with new valves and springs.


-
The doors are ready to put the glass back in, the first batch of sandblasted parts are now in paint.
Next big job will be the start on the cabin paint work, just have to wait a little bit as the sandblaster has to match work for the moment.


-
Smashing yob Ian on your cabin, it is sure that you will spend some time on al the repair sections.
But always think on the end result and then you can say I have done it!!!!!
Guy
-
First batch of parts in to paint, first primmer and there after olive drap


-
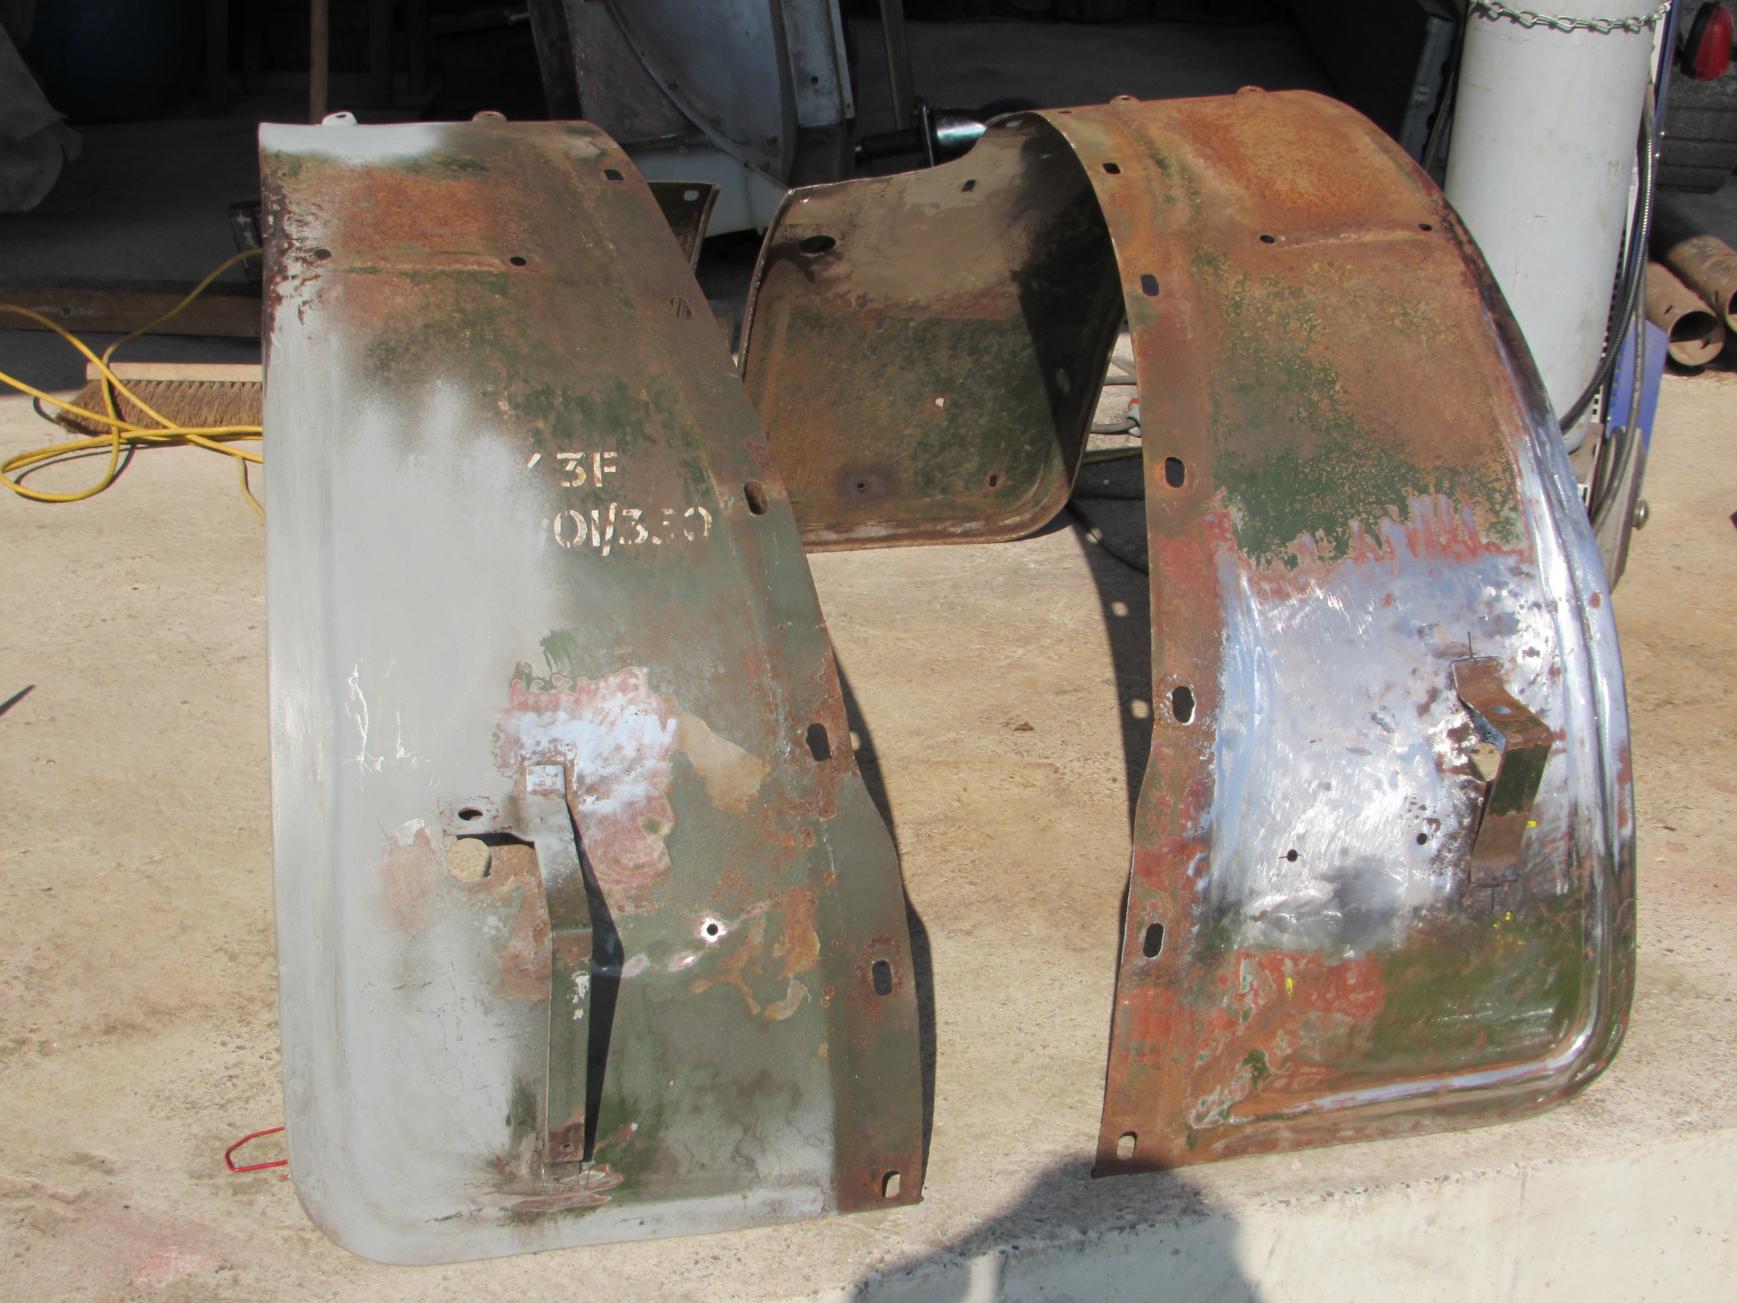
Hello, will check the mudguard tomorrow, but at first glance the rear mudguard looks almost the same as the rear part of a front guard. If so, I will make 4 new rear guards for my QL.
Tomorrow I go to collect the first lot of sandblasted parts, and will put some paint on as quick as possible.
The weekend of 23 and 24 make a trip to John Morter on Friday to collect some bits and on Saturday kempton park auto jumble to look for some bike bits.
-
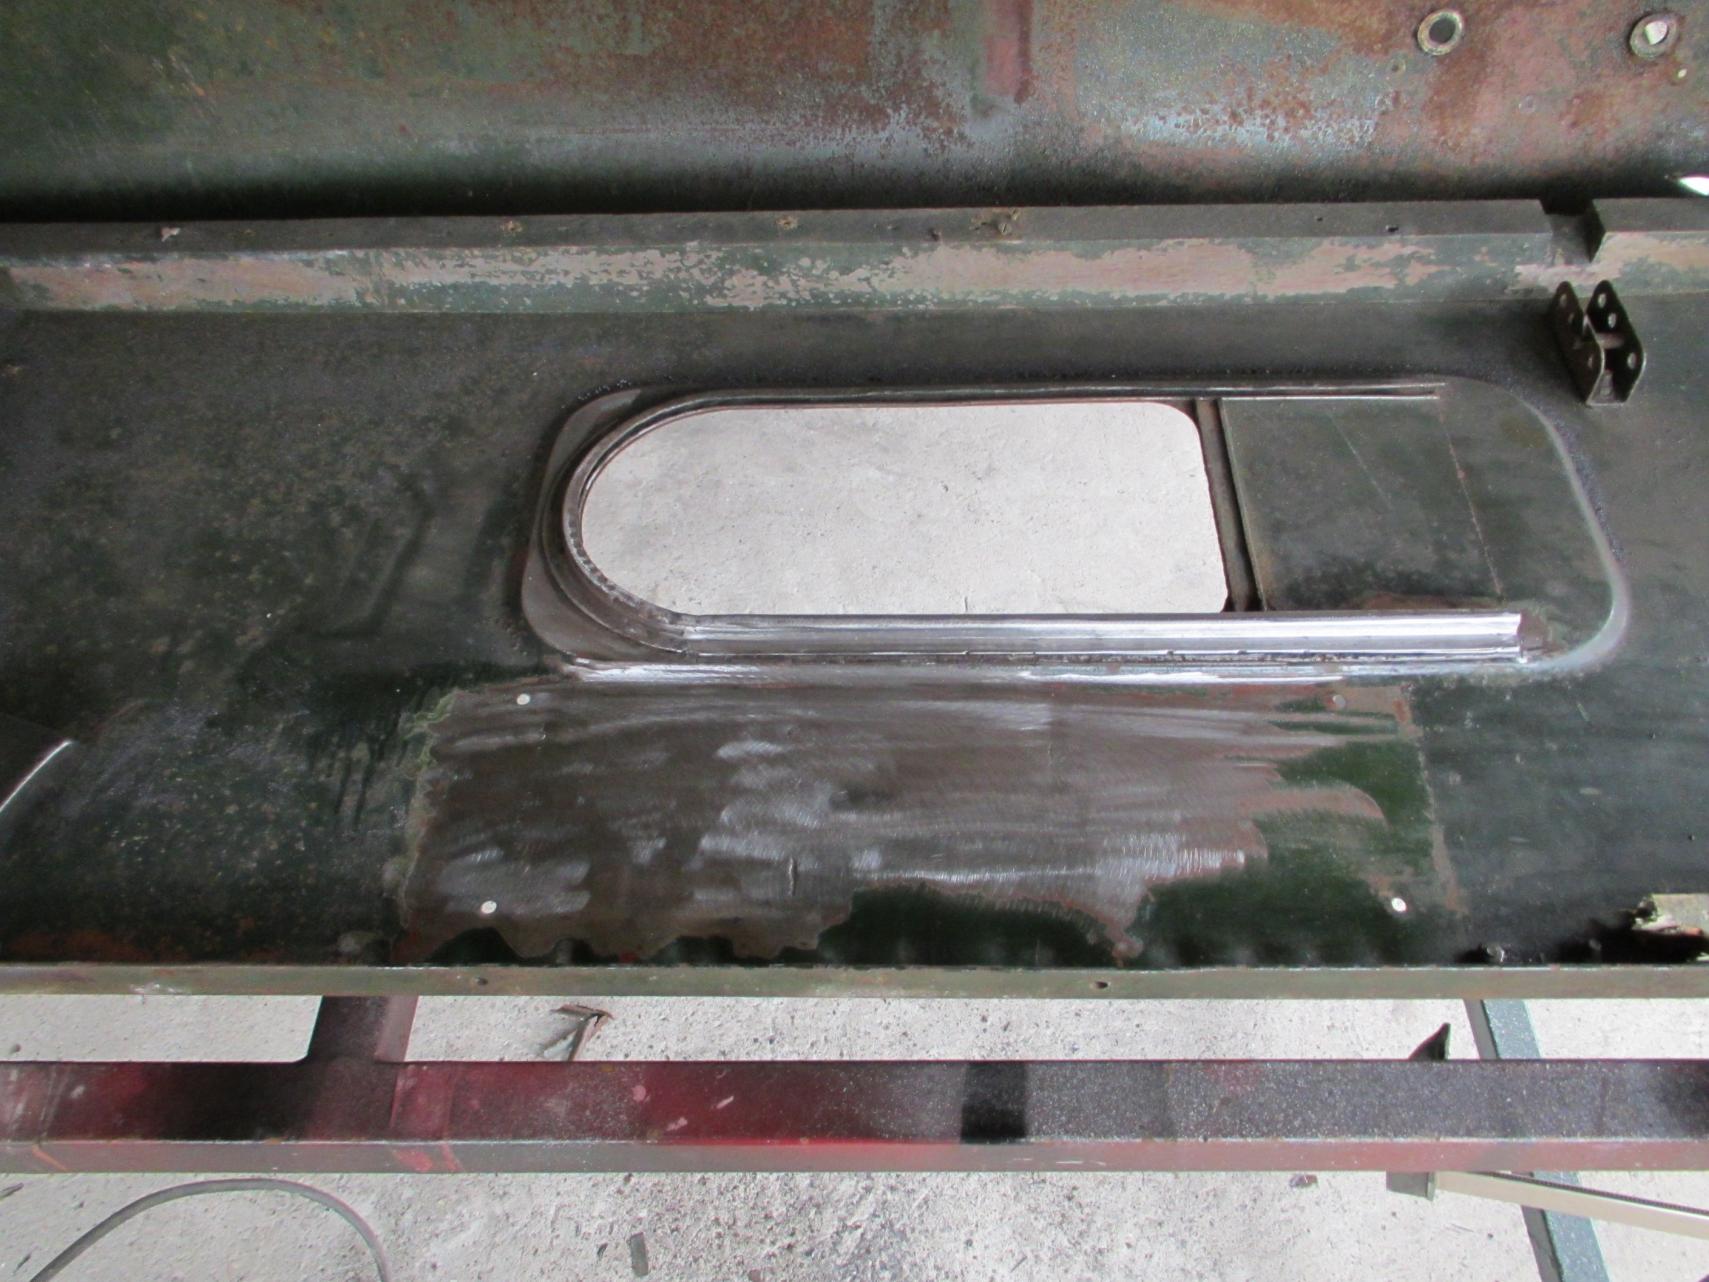
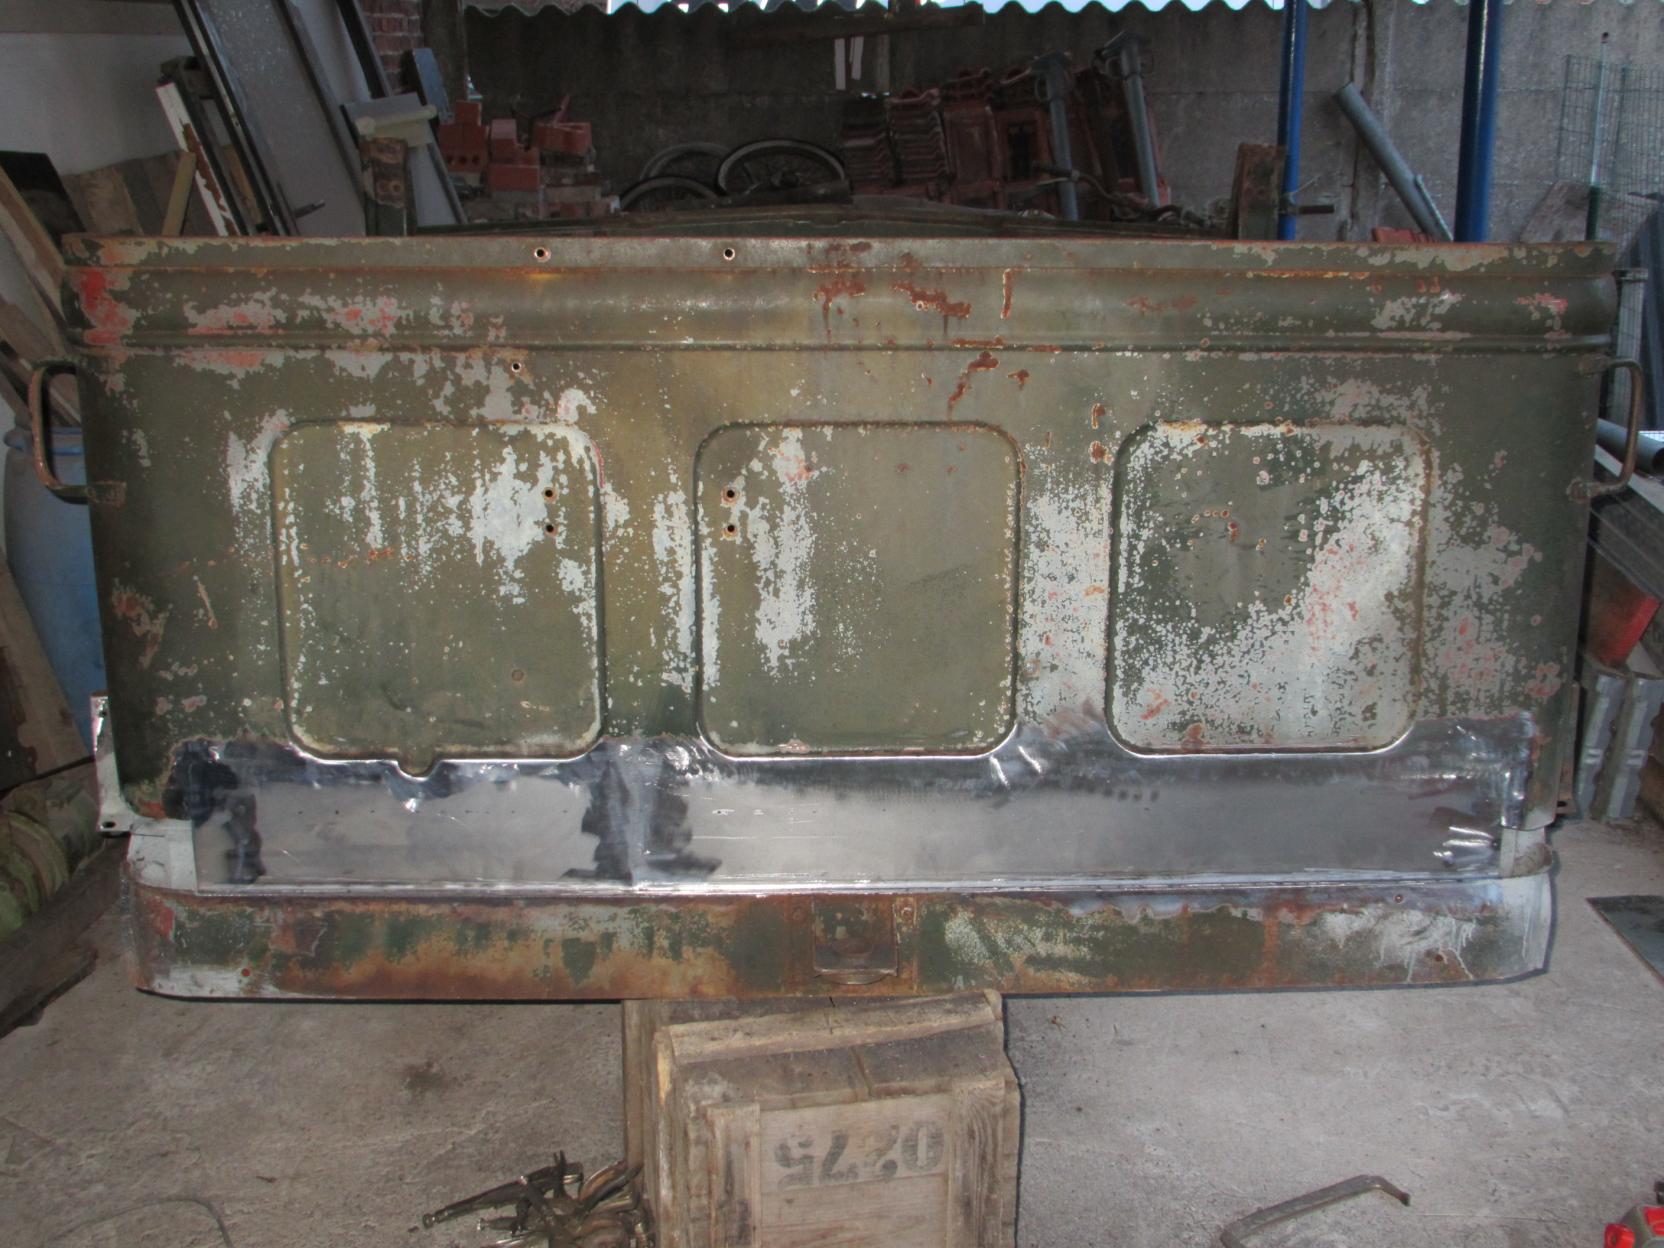
Repair on the rail for the sliding metal panel in the rear bulkhead of the cab and welded up the to holes to connect the cabin with the rear radio box section.
-
Hello, just a small update on the the QL cabin.
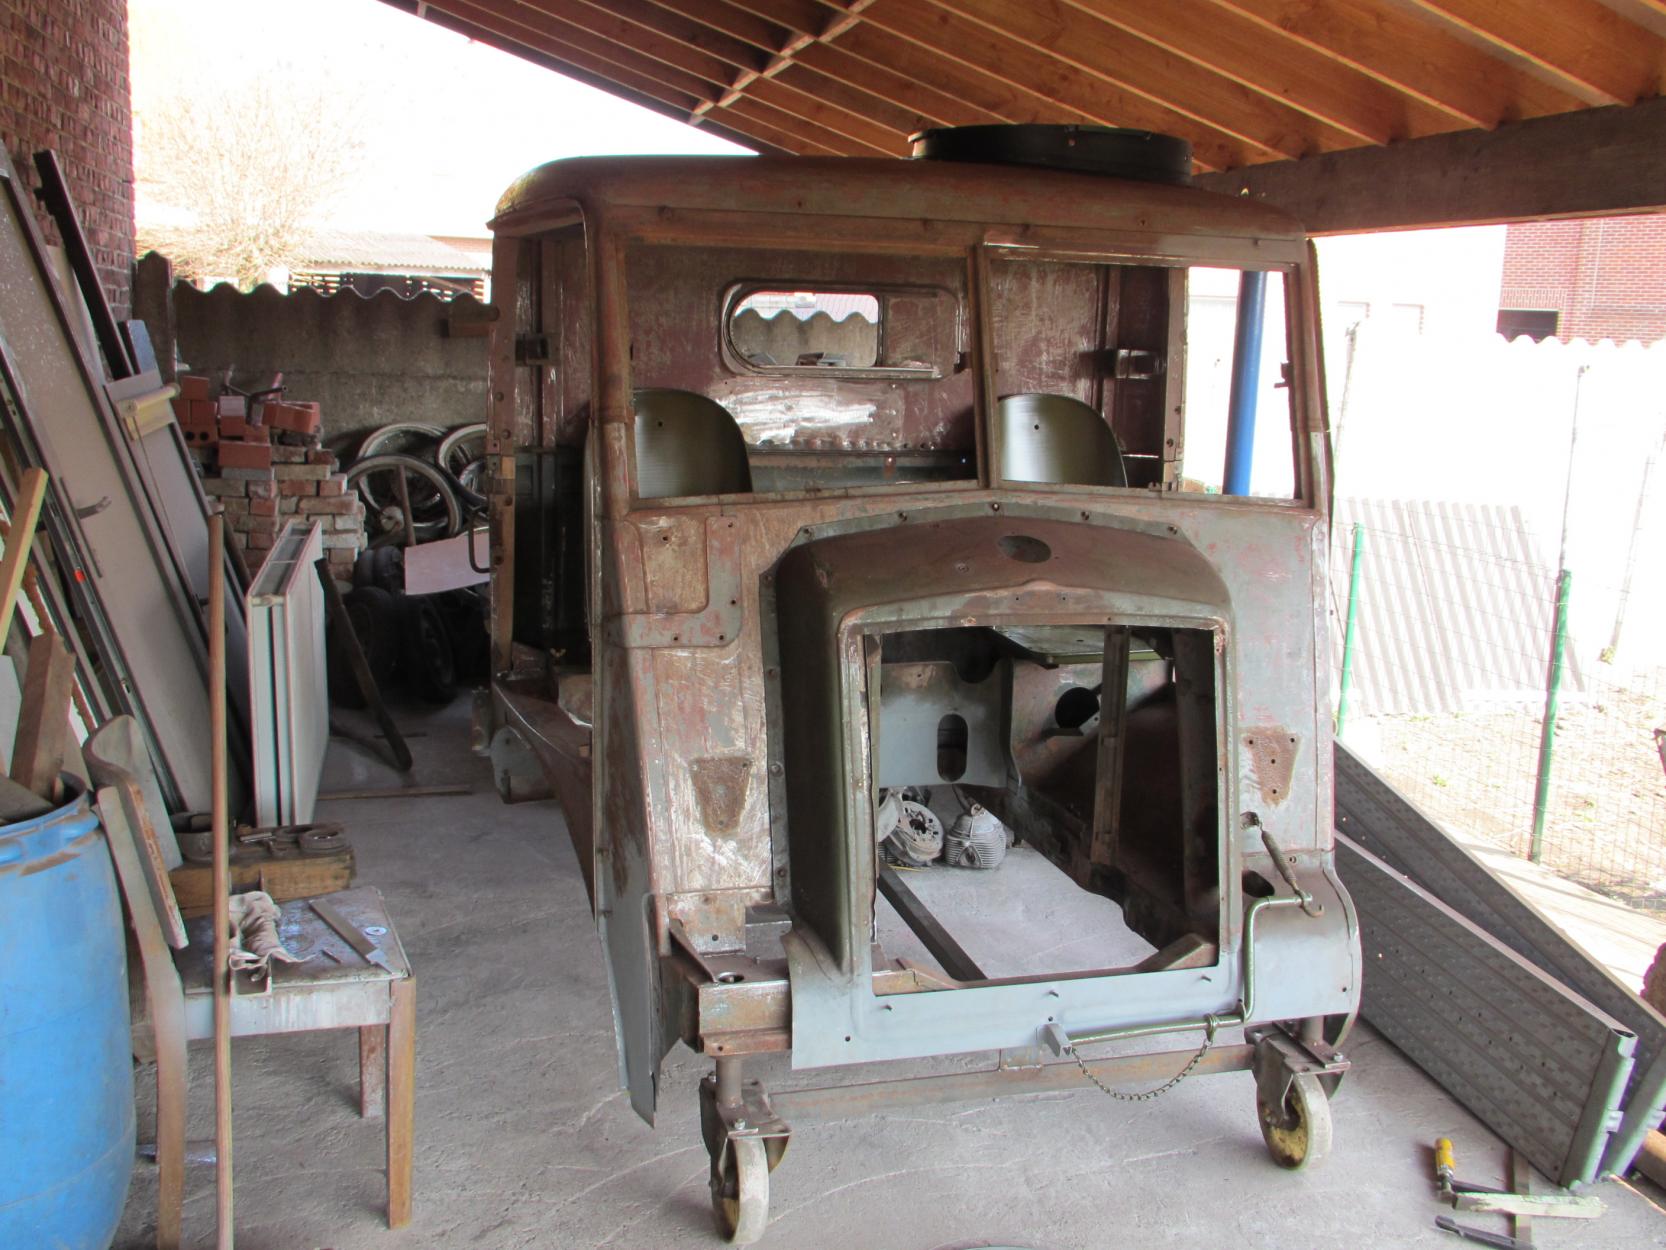
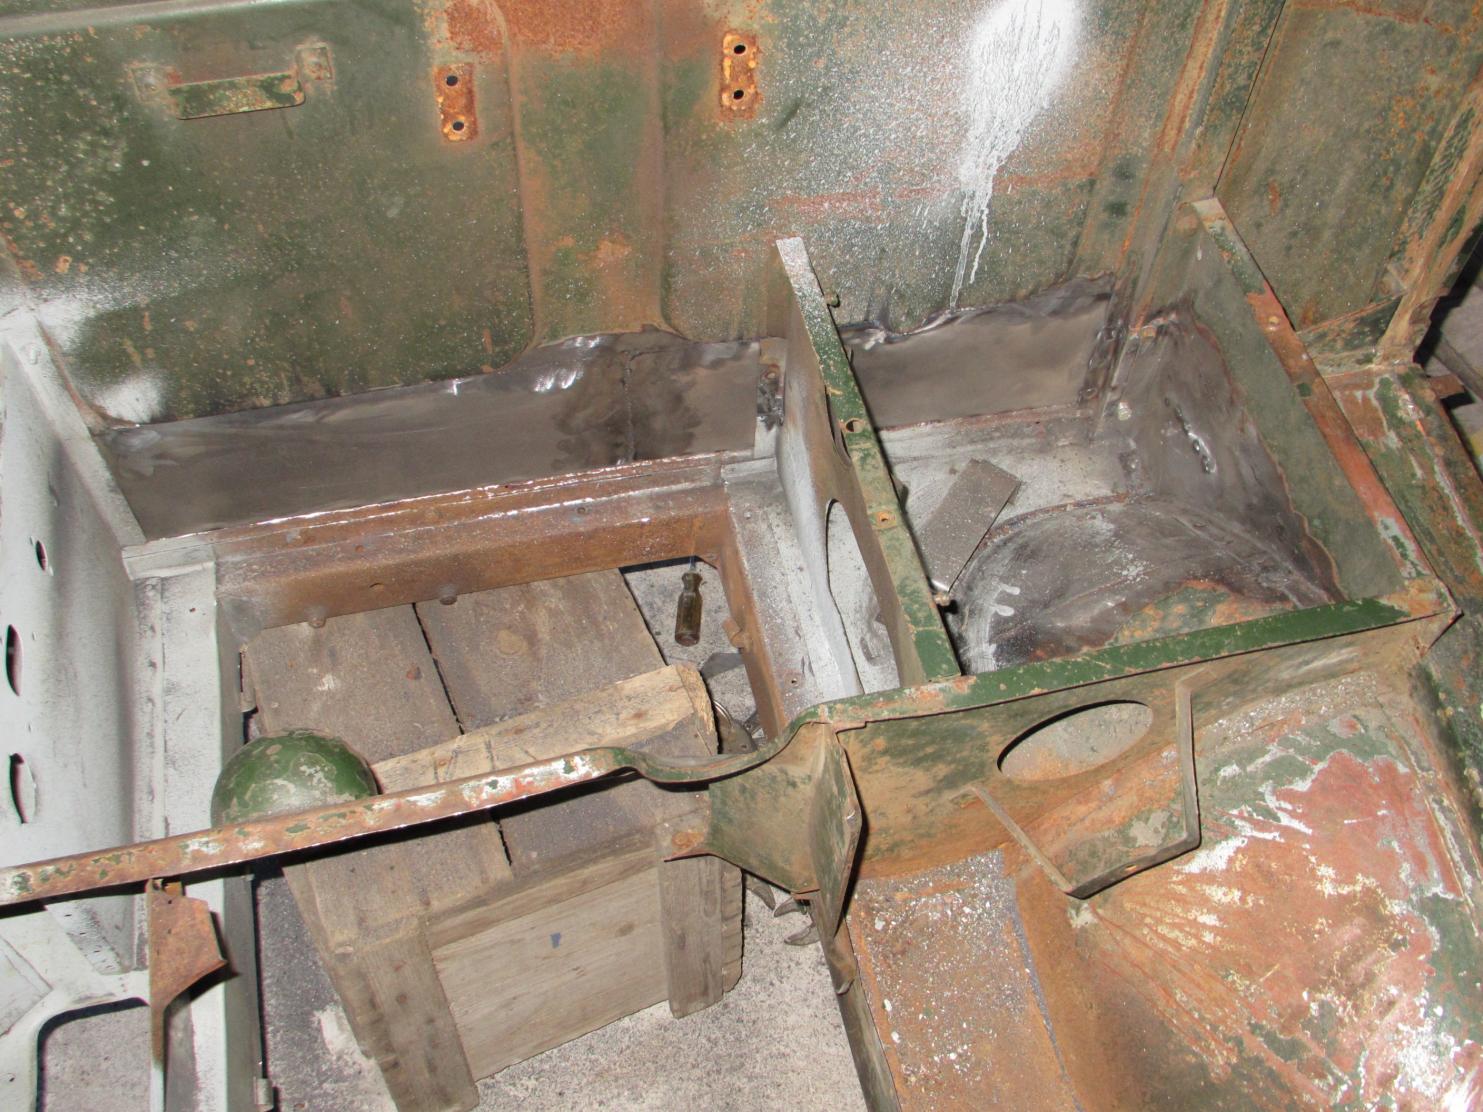
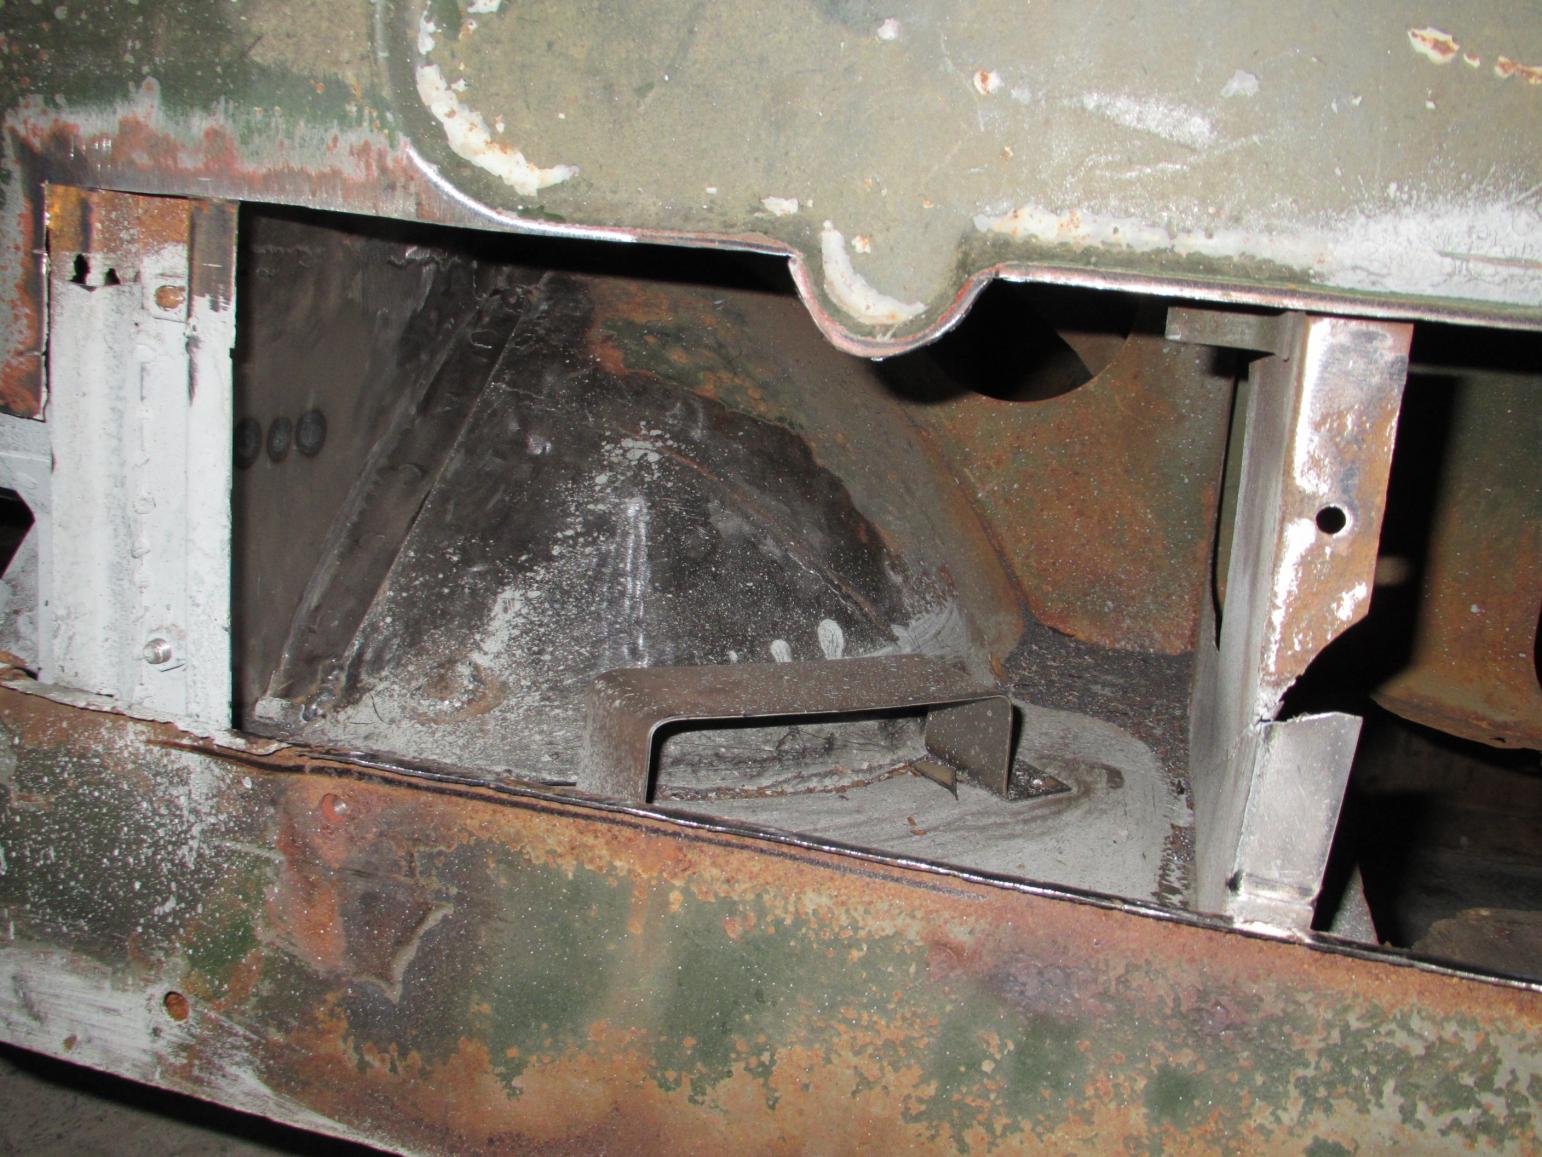
Straiten out and some new metal in different areas of the front wheel arches, dint think that the passenger side would come out so good. But had match work to get thees back in shape!
The cabin is ready for the sandblasters! Just have a look what rotten metal gave been cut out of this cabin.

-
I also got the rear fenders striped and started to clean them.
Hello Niels, I have been offered a rear mudguard for my project (yes the one you are preparing to paint), butt I am not 100% sure that it is the right size.
Is it possible to send my the measurements of your rear mudguard.
Guy
-
Very good that you are back on the Ql. Looking forward to see the new rear hatch as a will surely need to make one for my rear cargo body.
I will surely contact you for the measurements of the woodwork!!
Guy
-
This Bedford QL is for sale very close to my place here in Belgium, QL with caravan rear body and with the ancillary dynamo and complete electrical panel.


-
Very nice project you have there, please send some more info and pictures of the progress on your renovation work!
Guy;)
-
Hello Ian.
If possible can you send my some more pictures and measurements of this box as I need to replicate two of thees for my QL.
Guy
-
Almost there with the cabin, piece in front of the gear levers and front corner repair. Looking forward to have the cabin sandblasted and then I can start to paint this part!:cool2:
I am after a left hand wheel arch as the one on my QL was really severely bend and thees thinks don't bend back easy in there original shape.
Guy


-
Question!! Was the woodwork of the cabin and doors painted in one go with the metal panels, are if a new QL came of the production line cold you find the woodwork unpainted?
I personally think that the cabin with woodwork was sprayed completely, this must be the easiest way to do it butt this only my own view.
Witch is the situation on other British soft skin vehicles with wooden structures?
Guy
-
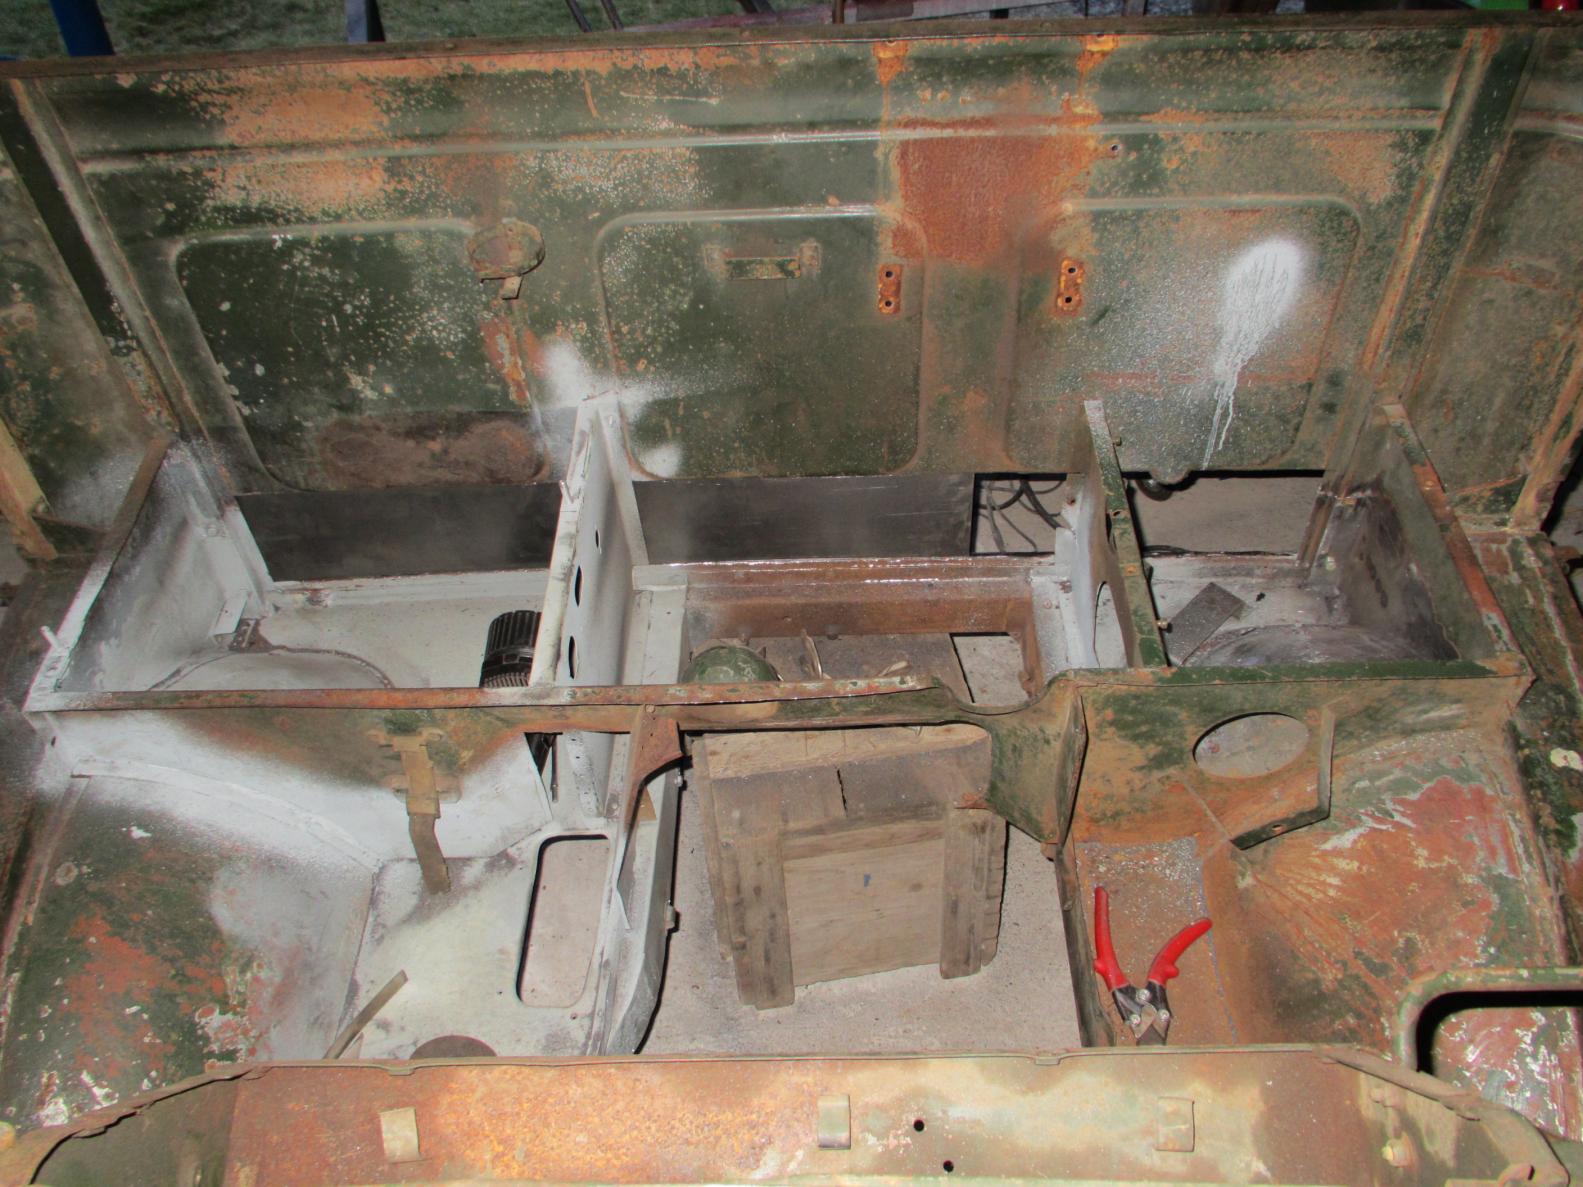
Repair section in the back of the cabin.
Tomorrow I will Repair the rear corners and the piece in front of the gear levers, then move over to the front.
If thees two front parts are repaired I think that the cabin will be in a match healthier state as on the start of al this work.


-
John Morter had no inlet valves in stock, but did found a set at bygone bedford bits and ordered also the valve springs as the old springs where rusty!

-
Back on the cabin, the floor and wheel arches are repaired and I put some fresh metal on the backside of the cabin.
Almost there with this section ,the only work left are the two front corners that need some work.
Just some redressing and some repair and this cabin part can go to the sandblasters.


-
I tray to do the same think but in bigger de mentions, you made a fine job of your QLD model!
Guy
-
Great panel work, it is a splendid job you are doing.
Guy
-
Almost there with the engine, fond some inlet valves and as soon as they arrive I will start with the cylinder head.
Put the complete block in to black paint as original, I am not to fond on the greenish paint that was used after the army rebuild.
Striped the carburettor and had the stuck butterfly valve spindle strip as this was solid lock t on the little bronze bearings in the carb body . Just bee careful as the butterfly turns on the spindle by some needle rollers and fall al over the place if you are not careful. The free turning butterfly is attached to spring and this is because there is a governor used to regulate the maximum speed.


-
Hello, on my ex triumph 3sw was the military side stand bolted on the frame as on the 3hw the part where the side stand hinged on is welded to the frame.
3sw bolted on to frame
3hw is welded on the frame.
Guy


-
It is possible that the Bedford 28hp overhead valve engine has GM roots as the Vauxhall group was part of GM.
The inlet valves are very long and the exhaust valves match shorter, this is because the combustion chambers awkward form.
The exhaust valves are not the problem as thees are plentiful available!
Guy
-
The look for the 6 inlet valve is still on, as it seams it is a difficult part to trace.
If somebody know of a set new are good second-hand valves please let my know.
Guy:(


Rear Diff Lamp Bedford MW
in British Vehicles
Posted
Hope to see you next Kempton are if Don't make it then it will be Normandy!
Are you still after a Triumph petrol tank cap, still have in stock?
Guy;)