


marvinthemartian
-
Posts
565 -
Joined
-
Last visited
-
Days Won
1
Content Type
Profiles
Forums
Gallery
Blogs
Events
Articles
Store
Downloads
Posts posted by marvinthemartian
-
-
Regarding accumulator stripping, the end retaining caps are blooming tight. A good vice and large stillsons are what I used to strip one. The end caps need prising out very carefully so as not to damage the seals, as not 100% sure if these are still available. a ggod length of wood is ideal to tap out the piston, again take care to not damage as it is made of brass.
This is the fluid end cap.
Another shot, other way up.
A pic of the air charging valve.
Same again, note seals 1 thick, 1 thin, not sure if it matters which way these are fitted, ie thick inside, and thin outside, or vice versa.


-
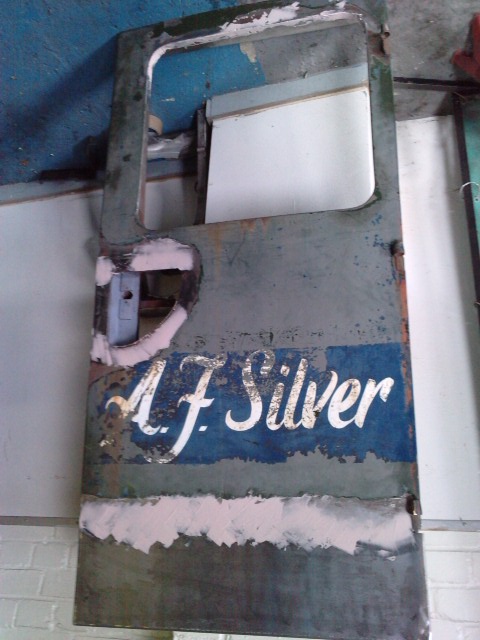
In the middle of all this repair work im going to add a couple of pics of what it used to look like way before I got my hands on it. The first I think was taken around 1979/80 just before it was demobbed whilst it was being used for driver training.
The second I think would be any time late 80's? When it was used by A F Silver in Ruislip.
My thanks go to Simon at Miliblog for allowing me to share these with you.
Cheers
Simon


-
Roof panels were rusted through, and some of the members needed repairing too, hip ring and associated roof area completely jiggered too. Took a while to remove all the panels, might be a tough job to replace them all too!!!
Looking up...
Looking down...
Framework around the hip ring location.
One rather manky hip ring and cupola hatches.
There's still a lot of work to do before refitting all new panels, reckon the hip ring repairs will tax the old grey cells somewhat.
Simon


-
Much the same on the ns too, so off it all comes.
As you can see, the roof has gone too!!!
Just needs a good wire brushing and slap on loads of paint.
Not much else to remove now.


-
Now it's back under cover, have started to strip the cab panels. Framework on o/s is'nt too bad, just some pieces welded in to the bottom of the frames and replace bottom side members.
Lack of paint between frames and outer panels, and inside of the box framework sure helps the rust to develop.
These are the C & D pillars, as you can see, not brilliant.
Same again.
Looking a tad bare, but more to follow!!!


-
Its been a while since I've done one, but the best way to get them out is a hammer and chisel and or a good strong screwdriver, whack a hole in them and lever out. Refitting depends on the type of plug, whether it's a cup shape or domed. Make sure the mating surfaces are nice and clean, then apply a good dose of hylomar or similar, with the cup type plug just tap in with hammer and i find a good socket that fits the internal diameter will suffice to bed them in, for the dished type, again tap in with hammer and socket till it hits home, then give it a stout tap in the centre to expand the plug. Hope this helps.
Simon
-
Today is the 70th anniversary of the first flight of the Avro Manchester III, serial BT308, otherwise known as the Lancaster.
-
Thats what I thought, as holding and storing that amount of parts would surely be a nightmare!!! £60 spark plug, sounds like over inflated MOD price!!
Simon
-
Just been looking through the internet for any suppliers of some seals for a hydaulic pump, and came across the ISO Group website. It seems like all the spares one needs are listed, and just wondering as they seem to be primarily government and the like suppliers, has anyone here got anything from them? Just a query really, but interesting to know if they would deal with the smaller groups of people like us?
Cheers
Simon
-
Yes, It'll be worth all the skinned knuckles, swear words and empty pockets when it's finished. Suppose I'd better start saving up to enable me to fill up the fuel tank too!!!
Simon
-
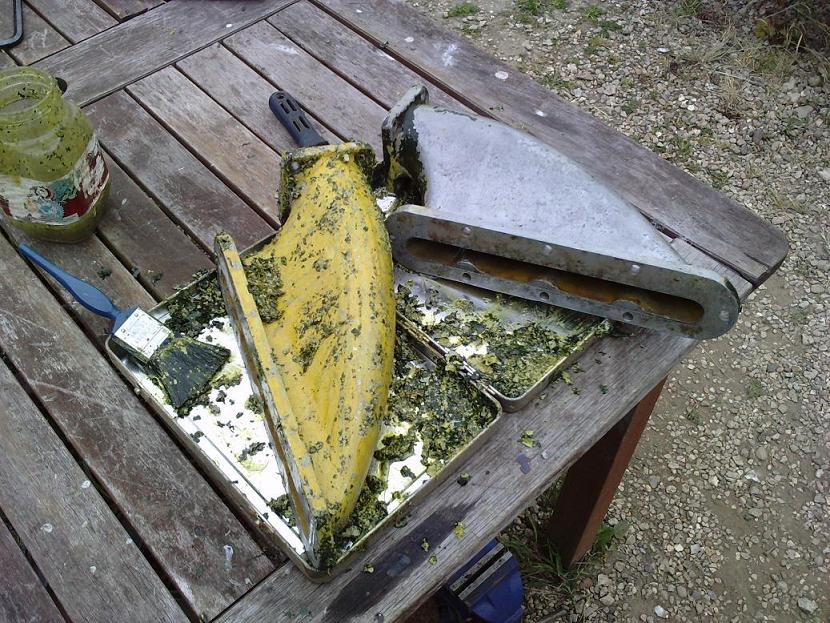
Next in line is the carburettor and air intake elbow, looks a bit dreary as is....
With a scrub up, blow out of all jets etc and a coat of paint...
Some pics of the hard work....
Et voila....
Just wondering if I take this long on every job then I'll never get the truck finished!!!!
Simon


-
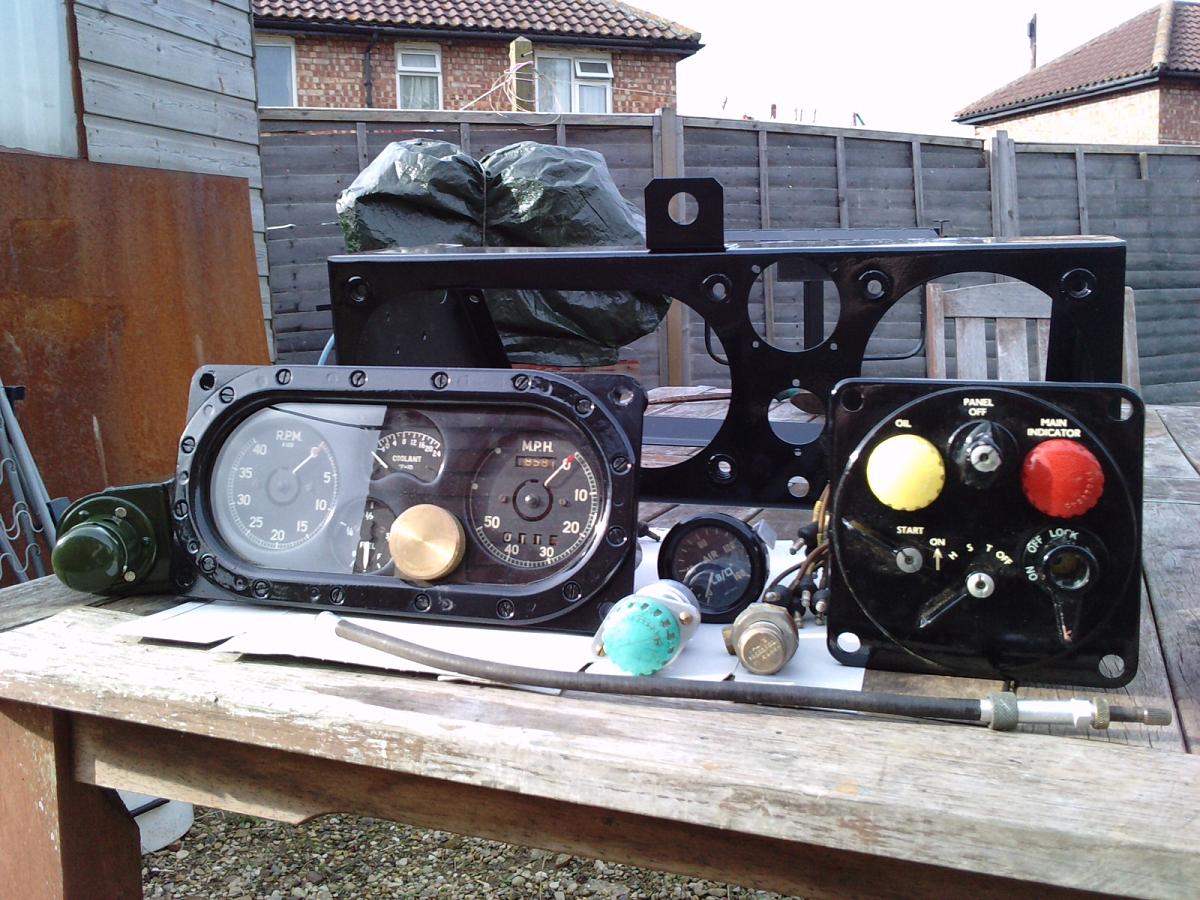
All the nice shiny bits ready to be refitted to the dashboard.
Switchboard was NOS which I happened to buy umpteen years ago for £75, everything else is original, just cleaned and painted.
-
It sounds good, especially with a silencer that resembles a piece of swiss cheese!!! It doesn't seem right to let it rust away, and I've had it so long it's like a part of the family, it'll be finished one day if it takes 2 to 3 years to do then so be it.
Simon
-
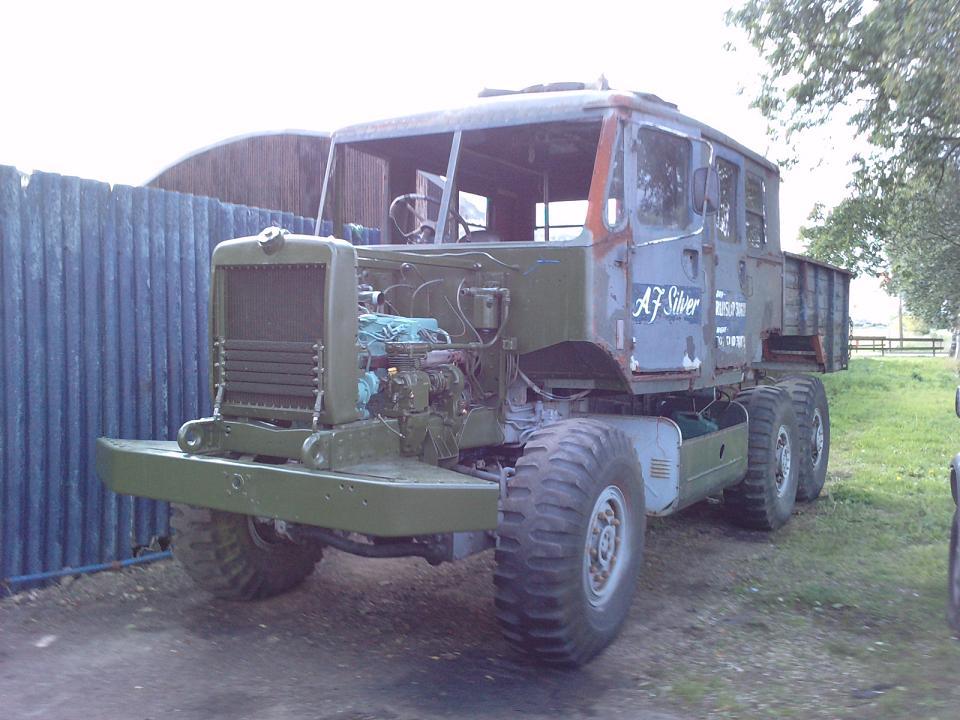
A couple more before I give up for the night, this is what the truck currently looks like...
Thats my lot exhausted for now. Shouldn't be long before I get some more I hope.
Simon

-
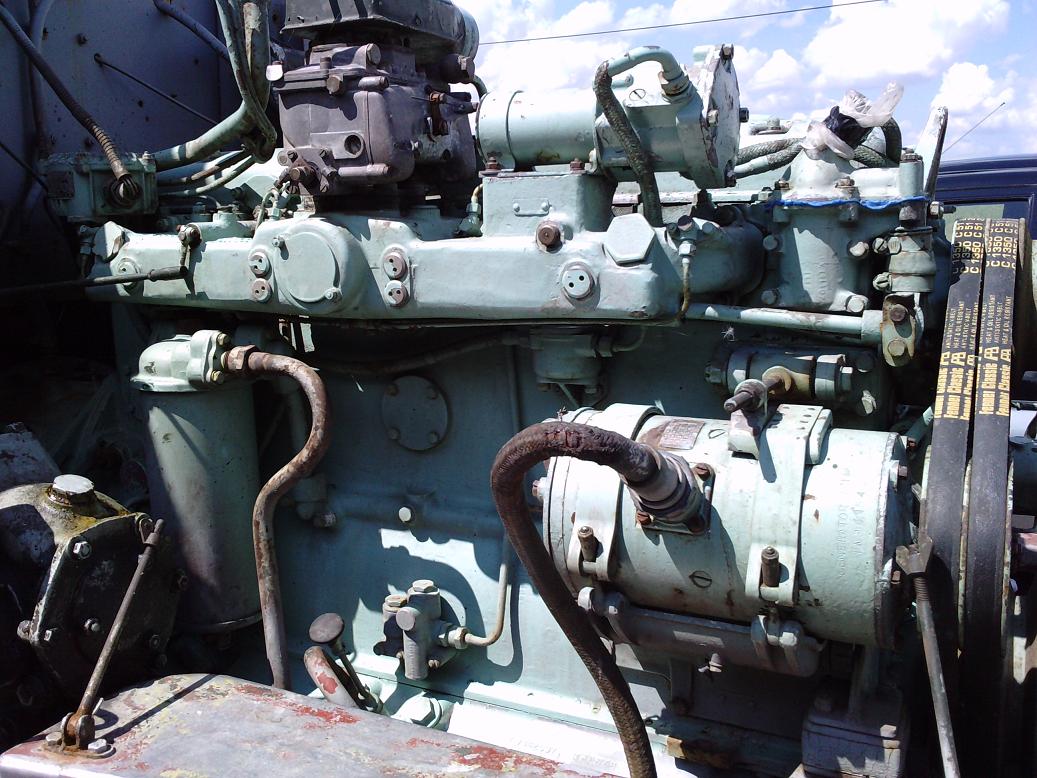
While the radiator was off it was an ideal time to degrease the front of the engine and repaint it.
Ready for a good scrub up.
Makes a world of difference.
Now with new driving belts on with the radiator and support brackets, took 3 people to get it up there!!
Looking very good.


-
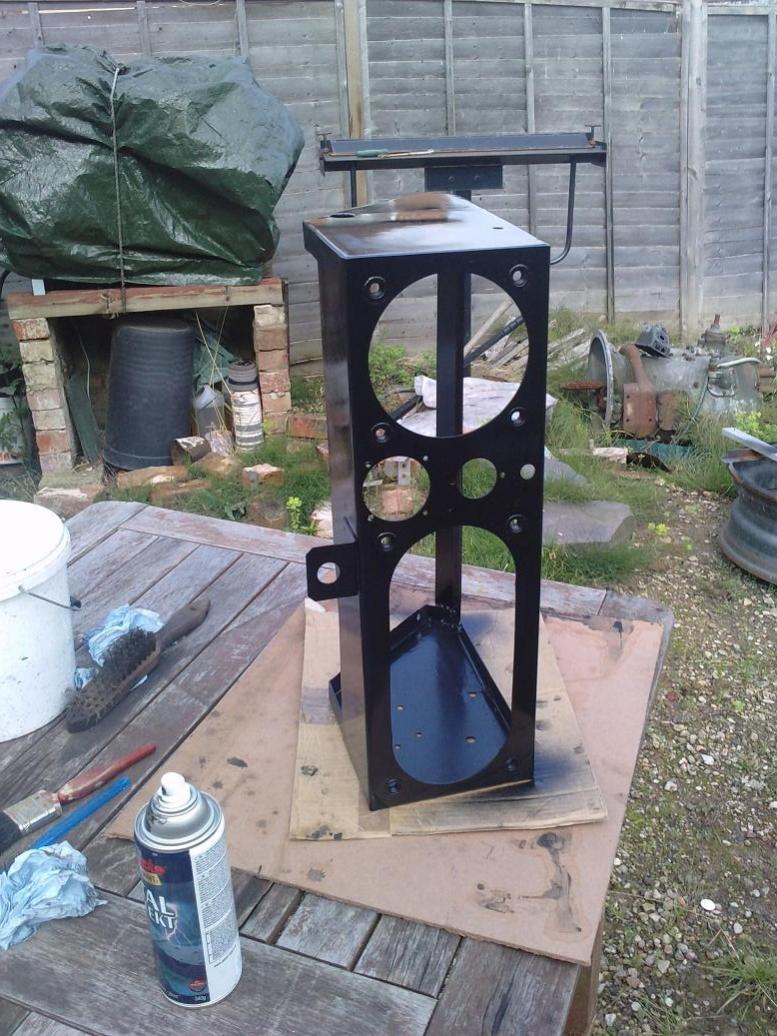
While I'm still awake a few more pics, these are of the dashboard panel, stripped, repaired and repainted.
Painted in gloss black as that is what colour I found on the bits not seen.
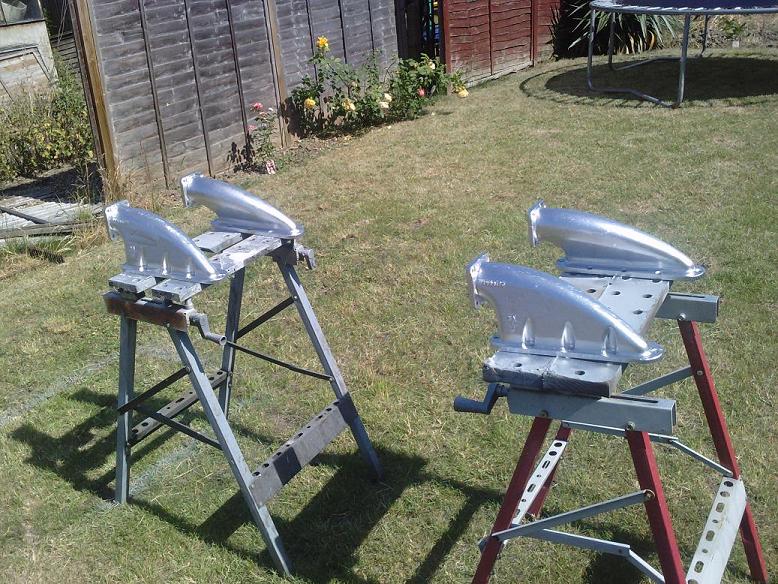
Next a few shots of the radiator, repairs to the fan cowling, followed by painting.
It all looks so much better with a coat of green paint.


-
I think everything on the CT range of vehicles was over engineered!!! As far as I know it was all designed by the FVRDE at Chertsey? and built from scratch, some bits are common commercial items but not many.
Simon
-
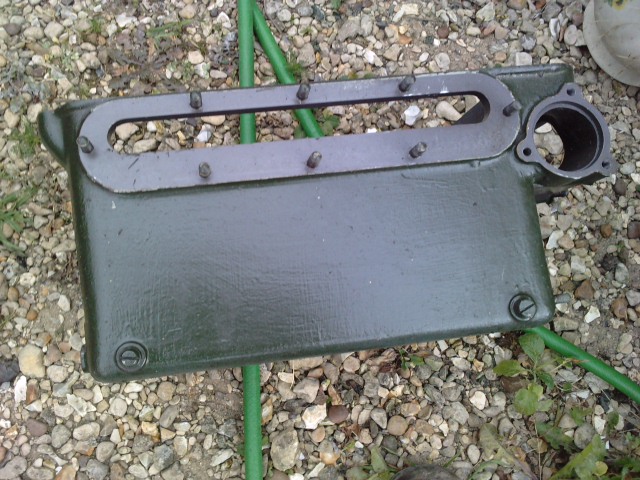
A few shots of the air cleaner assembly, blooming heavy when all together!!!
Quite easy to strip...
Paint came off quite easy.
On with some fresh paint.
Plus a bit of nice shiny silver.
Is it just me who thinks garden furniture has more than one use!!!
 :D:D:D


-
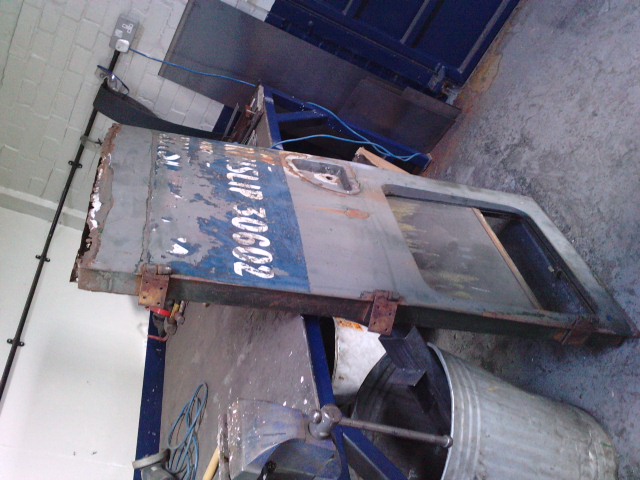
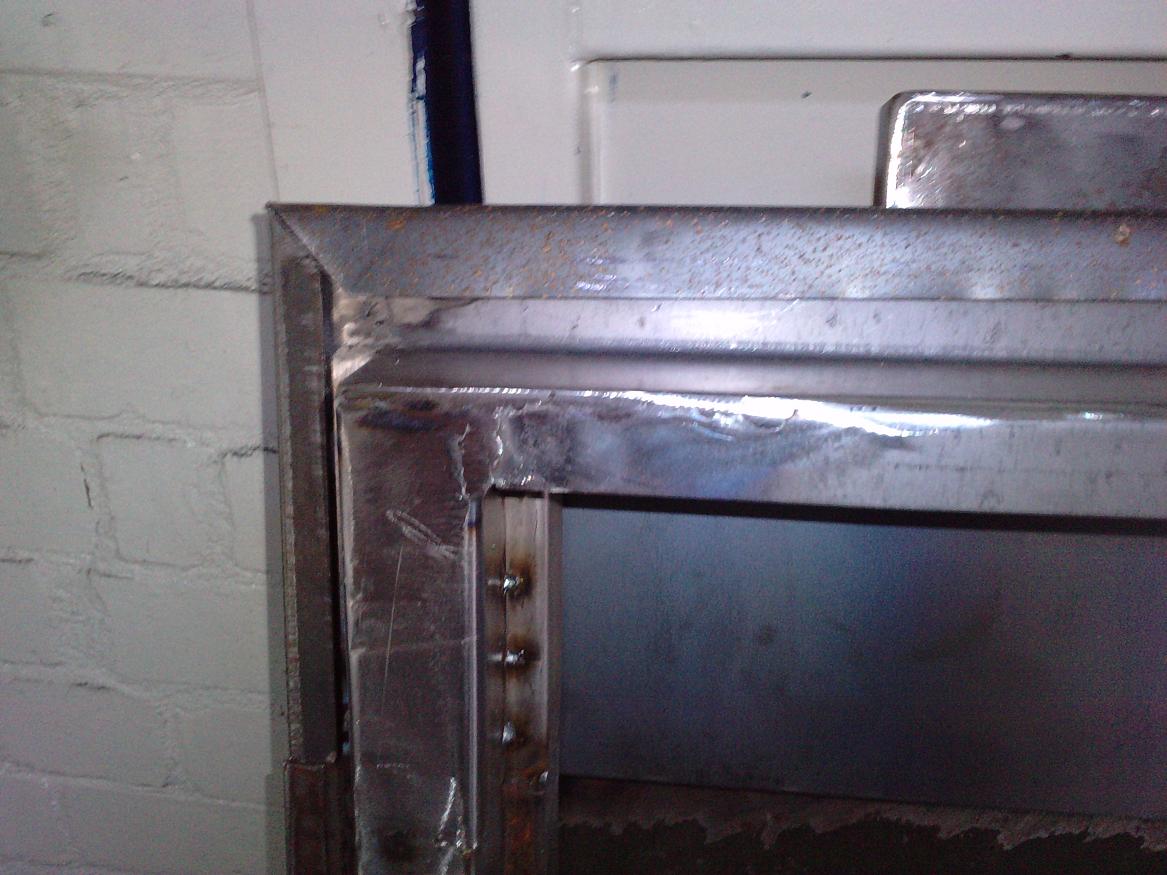
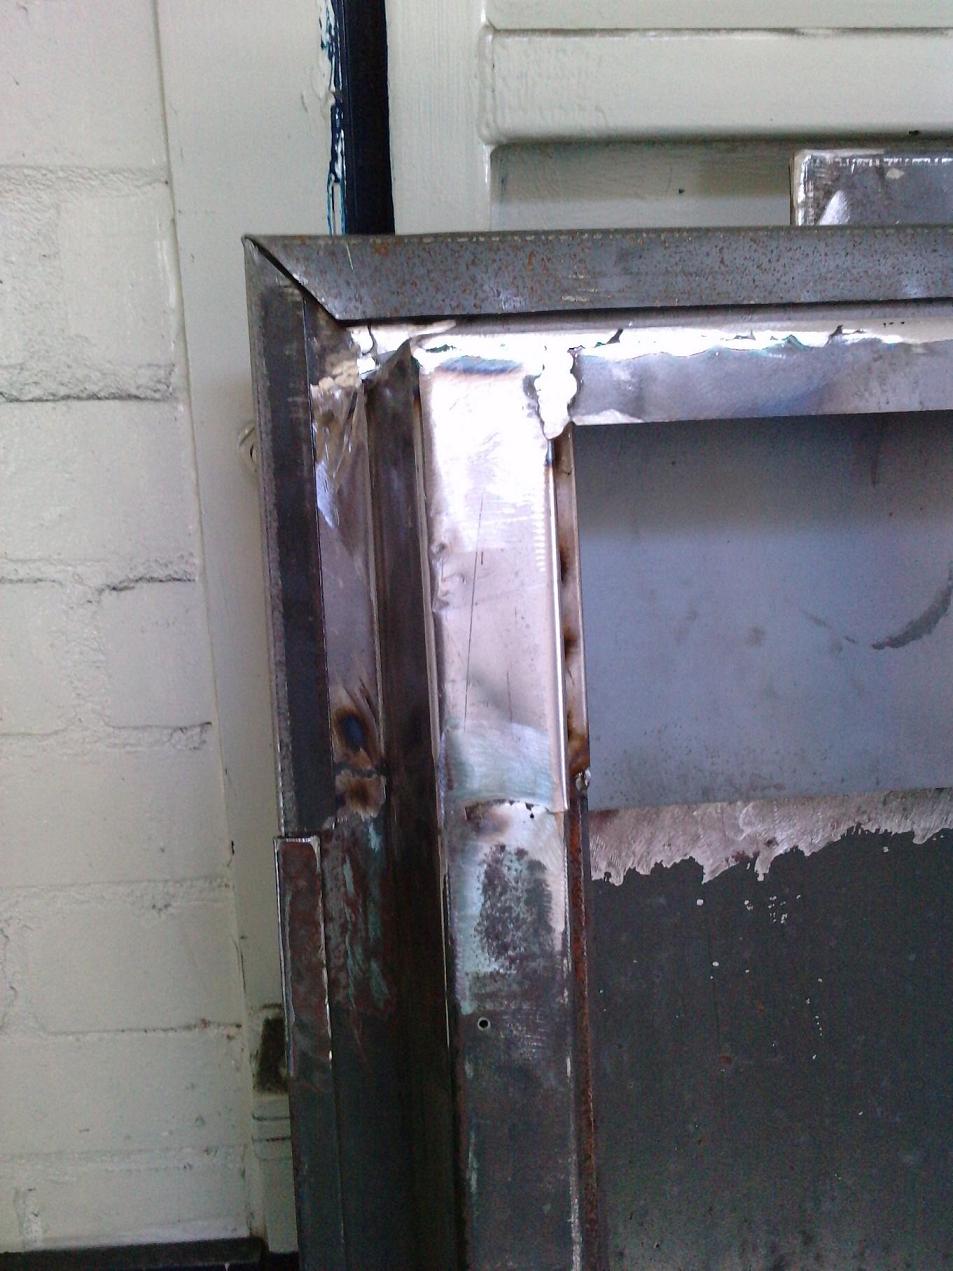
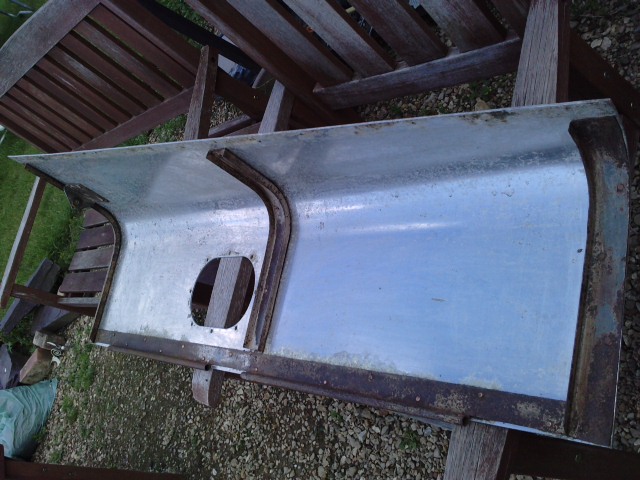
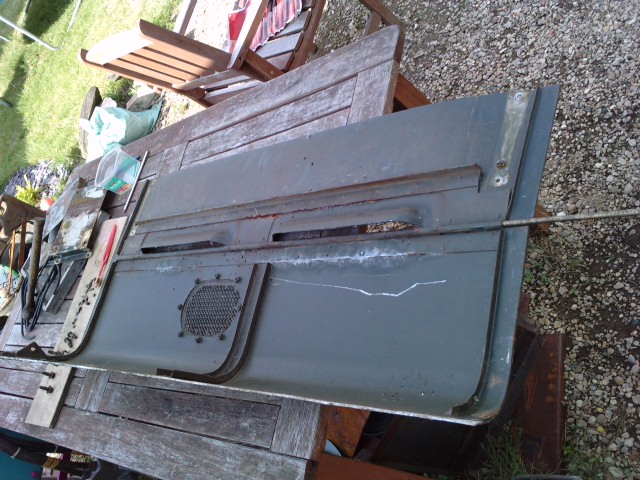
Still on doors i'm afraid, this is the OS rear, still the same sort of abuse by metal moth!!!
Make up some new parts...
And let the welding/pigeon pooping begin!!!
As before all left to do is sand filler, oh and replace window channels, and cant forget to clean the glass!!


.jpg.c6305a7e478d7c484a4c236351b99cde.jpg)


-
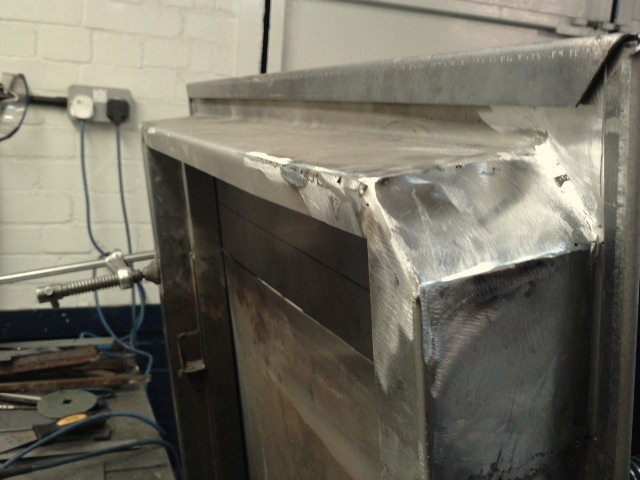
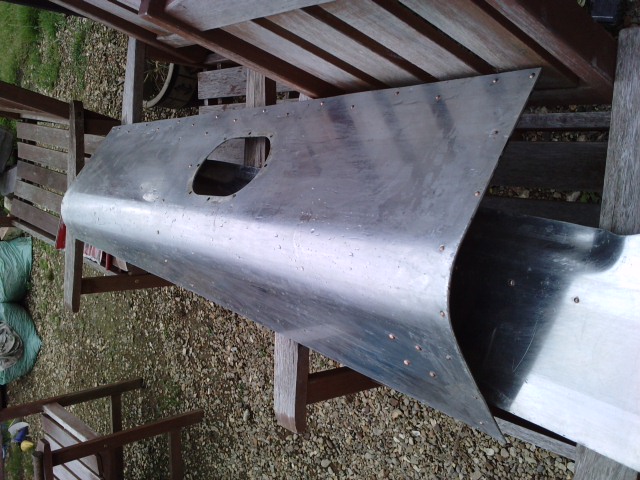
Some more pics, this time of boring old doors!! First OS front.... Eaten by metal moth top and bottom.
Add some new metal....
Sand down the filler, remove all remaining paint, and hope it looks ok.


-
Yup good old Nitromors, slap plenty on and let it do its job for a bit, scraped off soft layers then recoated till the remainder was soft then used a brass bristled brush, got from Wilkos for cleaning suede shoes to remove it and ali came up nice with no scratches!
-
Figured it was about time I put a few photos on here of what I have done, which quite frankly is not a lot!! Mainly been taking bits off and cleaning/repairing as and when weather allows. Bonnet assembly, OS doors, radiator and air cleaners and other odd bits and bobs.
Was quite surprised on the number of coats of paint that I took off, green, blue, yellow, even a splash of red, most likely put on after demob!!
Oddly the bonnet sides are made of aluminium, shame to hide it again under a layer of paint!


-
Did a quick internet search last night, and found their website on one of the routemaster sites. Will have another look.
Simon
-
Ok thanks Richard, I will have a look to see what I can find. Is the charging gear a specialist item, or something that can be cobbled together quite easily?
Simon


.jpg.c6305a7e478d7c484a4c236351b99cde.jpg)


Saracen Accumulator Charging
in British Vehicles
Posted
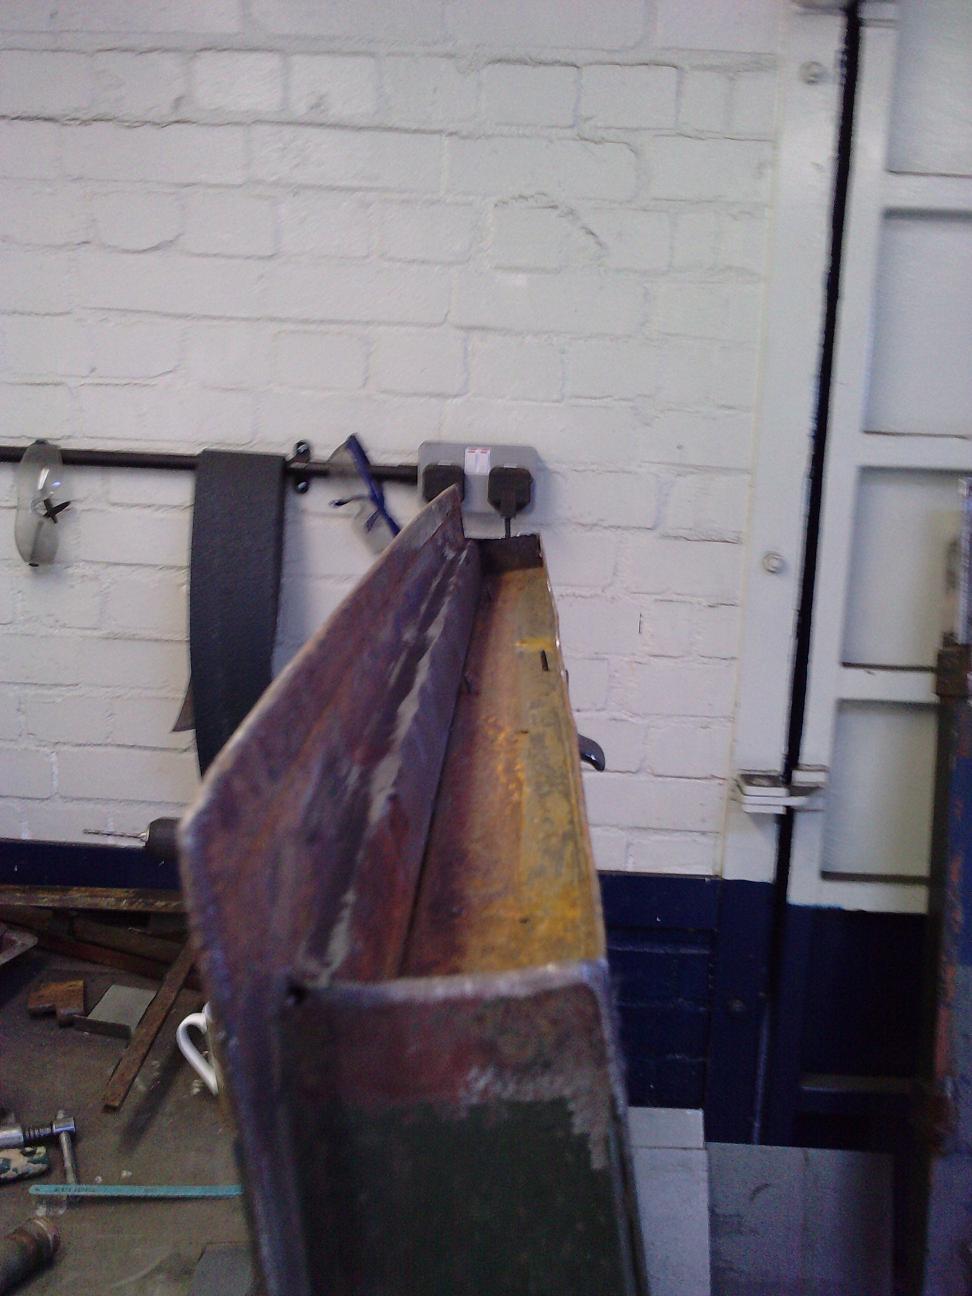
A view of the piston, this has one thick seal, with a thin seal either side.
The seals go towards the fluid end of the cylinder.
Next a general shot of the cylinder and end retaining caps.
Rebuilding these, refitting and aquiring charging equipment is on my list of jobs too, as is resealing the fluid pump.
Cheers
Simon