


.png.13c2ec34f1c53365a25f5885333b02b8.png)
johann morris
-
Posts
602 -
Joined
-
Last visited
-
Days Won
33
Content Type
Profiles
Forums
Gallery
Blogs
Events
Articles
Store
Downloads
Posts posted by johann morris
-
-
Thanks BRDM and thanks again for the earlier assistance.
If it ever gets finished, I have promised the Yorkshire war time experience it's first appearance.
jon
-
 5
5
-
-
9 hours ago, 67burwood said:
As usual Jon the attention to detail is superb 👍
Nice of you to say so.
Evening all,
Well, I have finished the last two items, so apart from painting and final assembly, the turret is officially complete!
One of the final items was a second internal handle for turning the turret by hand, I knew that there should have been one but I couldn't be sure what it looked like or where it went, until I rediscovered this picture on my pc.

So it was out with a hammer, a piece of bar and some heat and it was time to hit some hot metal.


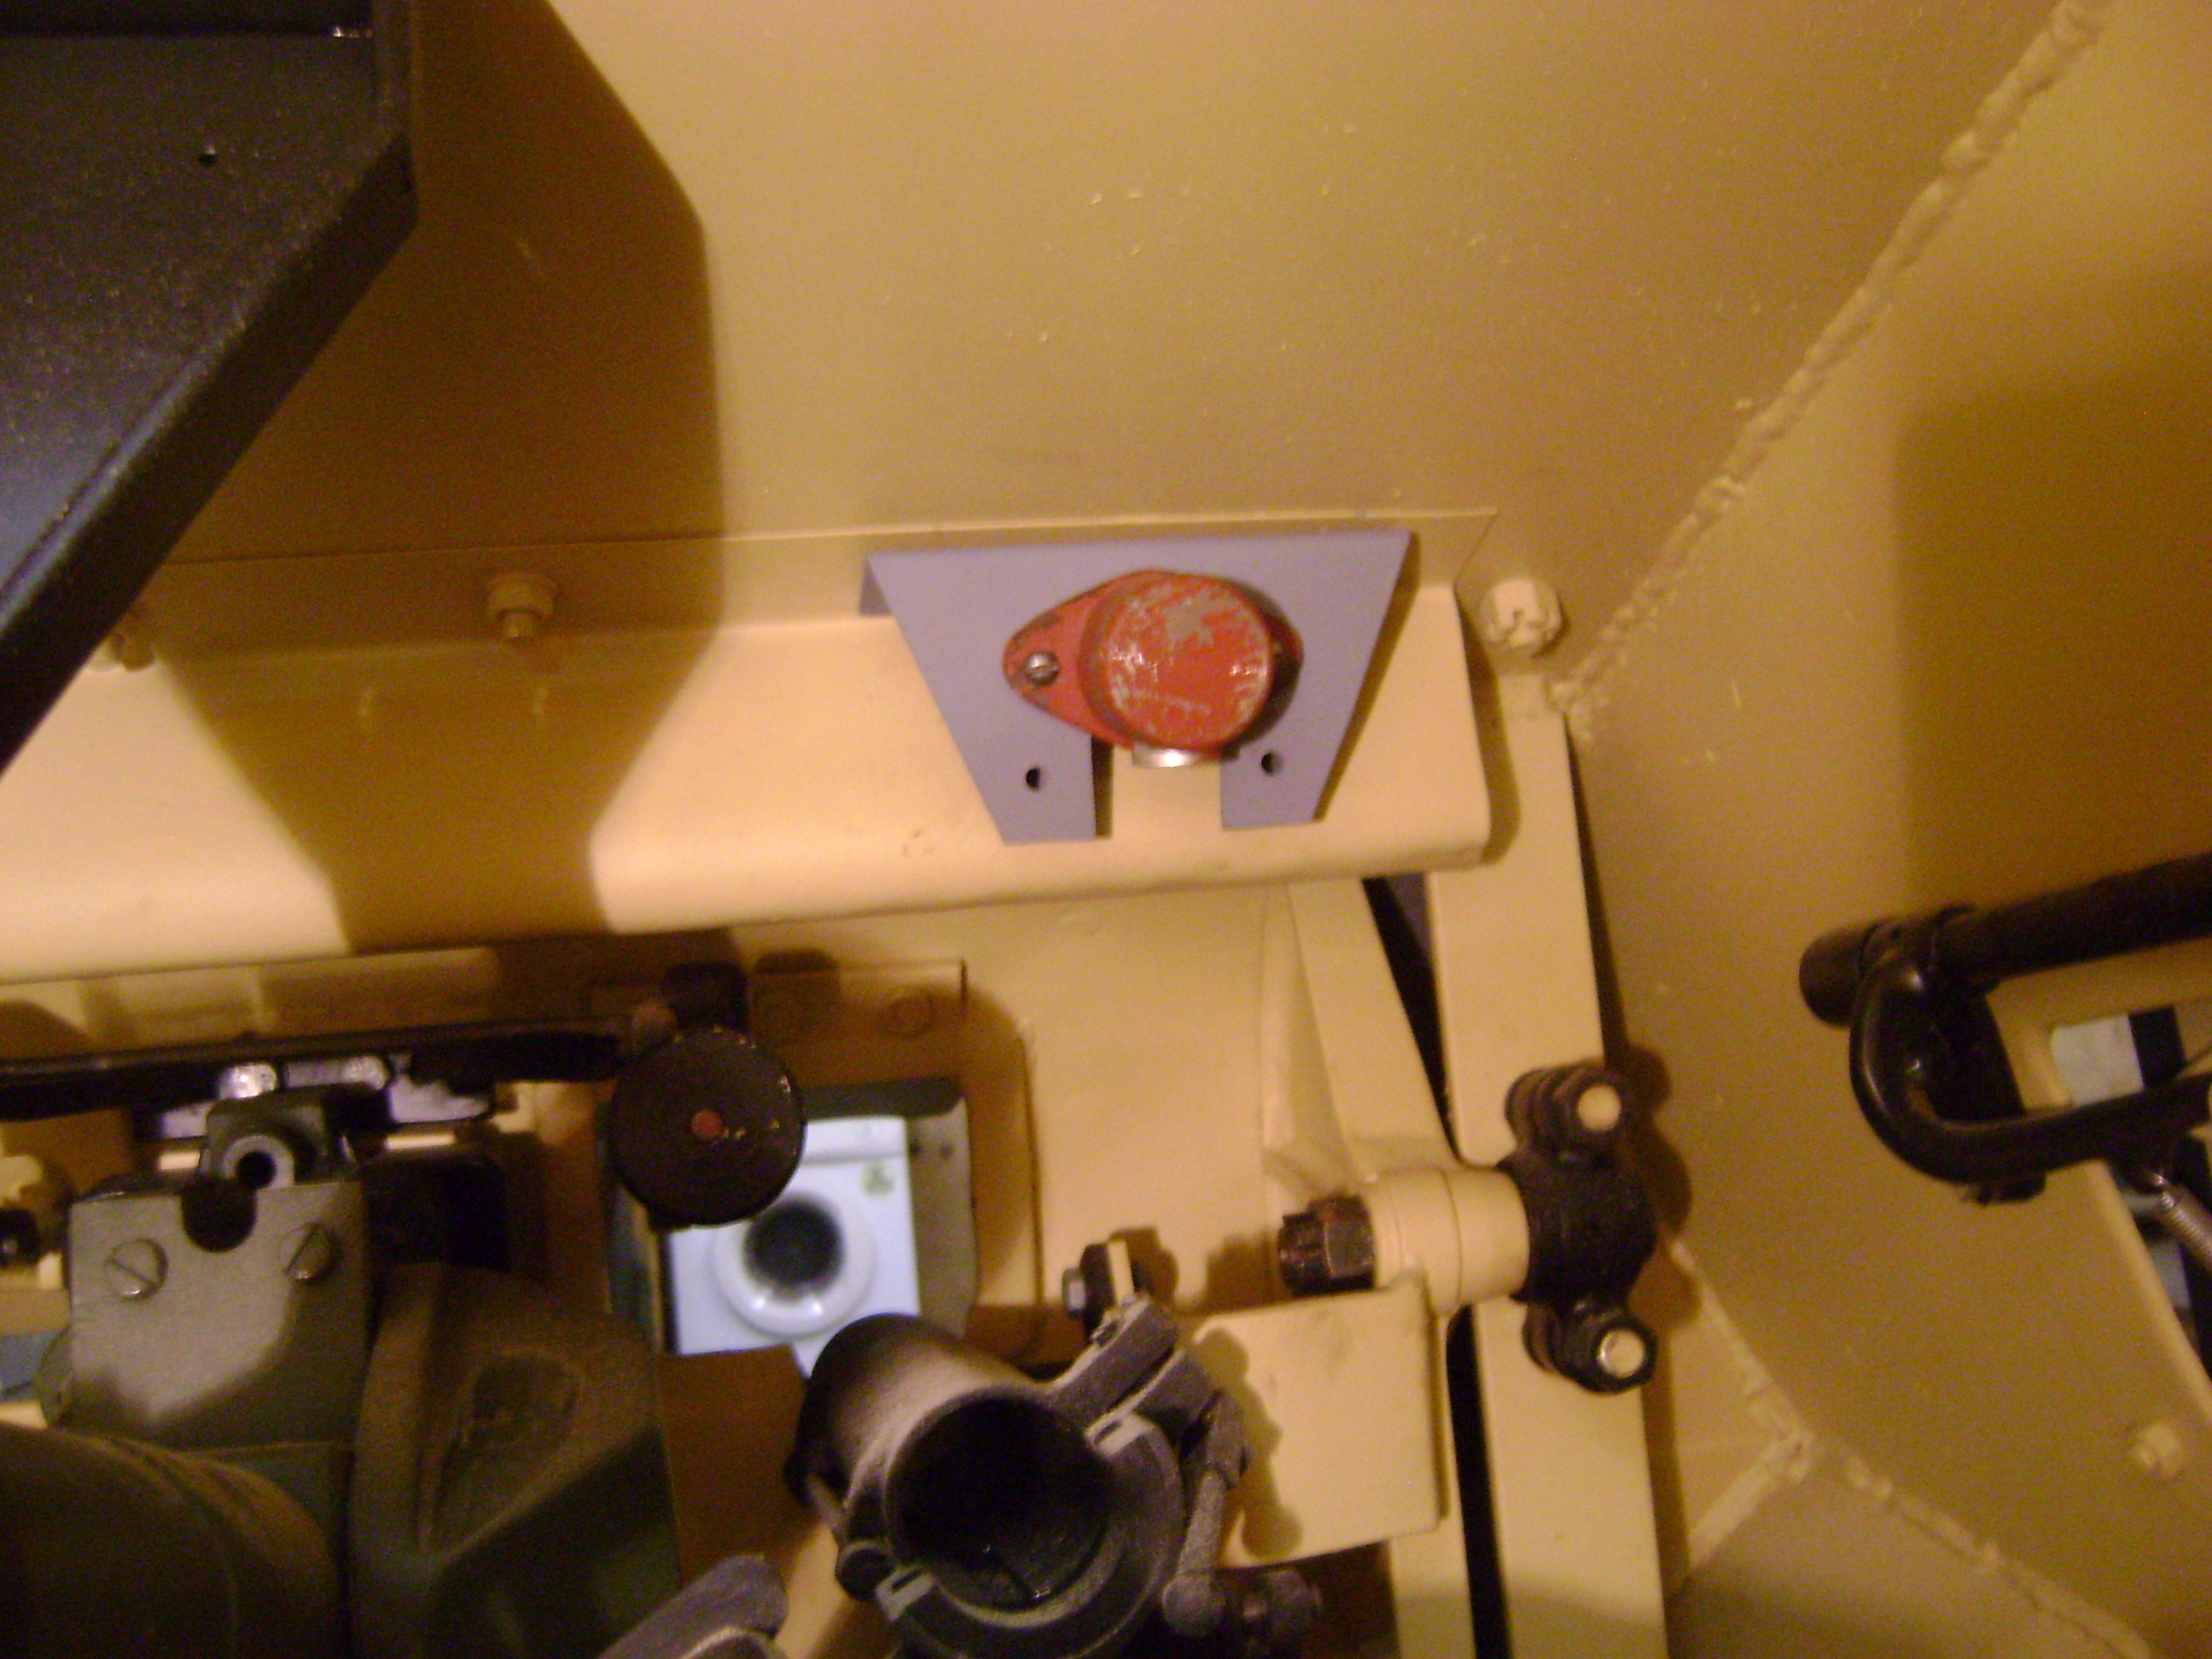
The second item is a strange one. Situated on top of the turret was, in theory, a periscope (circled in red) for the gun sight but in actual fact it did nothing and was there as a decoy to drawing fire away from the real gun sight that was in the center of the mantlet (circled in blue).
_LI.jpg.26c71b13de053491a4ff06b92609352c.jpg)
Obviously it served it's purpose as there are several pictures showing the results.

As the commanders head was very close to this area it must have been a very uncomfortable, if not fatal experience.
.


I could have just left it off but what the hell. So it's on to projects anew, like finishing the rest of the final details on the chassis.
Jon
-
6
-
-
Evening All,
If I decide to build another tank it would probably be a Panzer iv but that would probably be a project too far.
I have been trying to finish the turret, all the little fiddly detail bits that I didn't have enough information for.
There's a marker attached to the hull just below the turret ring to show when the turret is facing the front that needed adding.


Whilst I had completed the wiring up to the slip ring in the base of the hull, I hadn't done anything about the wiring in the turret. The wires run from the slip ring up the leg of the commanders chair and into a square junction box attached to the turret ring behind the commanders seat back rest. Here they split, the power goes to the turret light and power socket while the wires for the intercoms continue into an adjoining junction box where the head phones and throat mike plug in.
_LI.jpg.8798d75e8c72ee360c6e5e8df2b345c4.jpg)

For the life of me I couldn't find a blanking plate for the larger box so I had to make one and the plugs in the comm's box are not the correct ones but they will do for now. I tried to buy the P clips to save time but I couldn't find the right sizes so I made a little bending jig and made my own.
.png.ef901a197f4550e3781e0a4beaec039a.png)


I ran a single wire just to illustrate where the wires run.
The last item for now is a box that would contain cartridges for a flare gun, again it fits behind the commanders seat but on the opposite side to the junction boxes. The picture below is from the Tank Museums Panzer ll, it is clear from another picture of the same box that it has been bent forward and originally would have been in a more upright position as in the second picture.
_LI.jpg.6cb409eee79c2a22e2f270f2d177a720.jpg)


I have actually, very nearly finished the project in it's original form, that was to build a Panzer ll turret, just a two more items and I am done.
Jon
-
9
-
 1
1
-
-
I use Por 15 and to date haven't experienced any problems, you just nee to follow the instructions and ensure that the inside of the tank is cleaned properly.
Jon
-
On 3/14/2021 at 9:44 PM, 67burwood said:
Tea and biscuits are an essential part of any vehicle build🙂
I have to whole heartedly concur with that sentiment old chap.
Evening all,
As far as Panzer production is concerned I have achieved very little, only finishing the turret gear guard.


Other than that, it has been a very busy week one way or another, a week in which I decide that it was time that I increased my turning capacity, so I purchased a new toy.

Jon
-
12
-
-
46 minutes ago, 67burwood said:
All looking good Jon.....but let’s talk biscuits !! Empty biscuit box is possible grounds for divorce !!
That's why i don't argue. My son then decided that he wanted a diabetes cake, that's a two day job.

Fresh from the oven
Jon
-
2
-
-
Evening All,
I had quite a productive weekend making lots of little items for the linkage from the remote trigger in the turret gearbox to the MG, so now you can see how it operates.


The other item was the cover that goes over the turret ring gear, well it's nearly finished but I was requested to make some biscuits by my dear wife and I know never to argue where the biscuit box is empty.


Until next time thanks for looking.
Jon
-
5
-
1
-
-
On 3/7/2021 at 7:32 PM, 67burwood said:
I know exactly what you mean, the reality is no one would have questioned the shape of the cover, they would just complement you on the workmanship but the fact you know yourself it’s not right can really niggle you.
Exactly, I keep telling myself that it doesn't matter but it does.
I had a little bit of time to play today so I made the handle that is used to rotate the turret by hand.


Only a little job but another one off of the list.
Jon
-
7
-
-
Evening All,
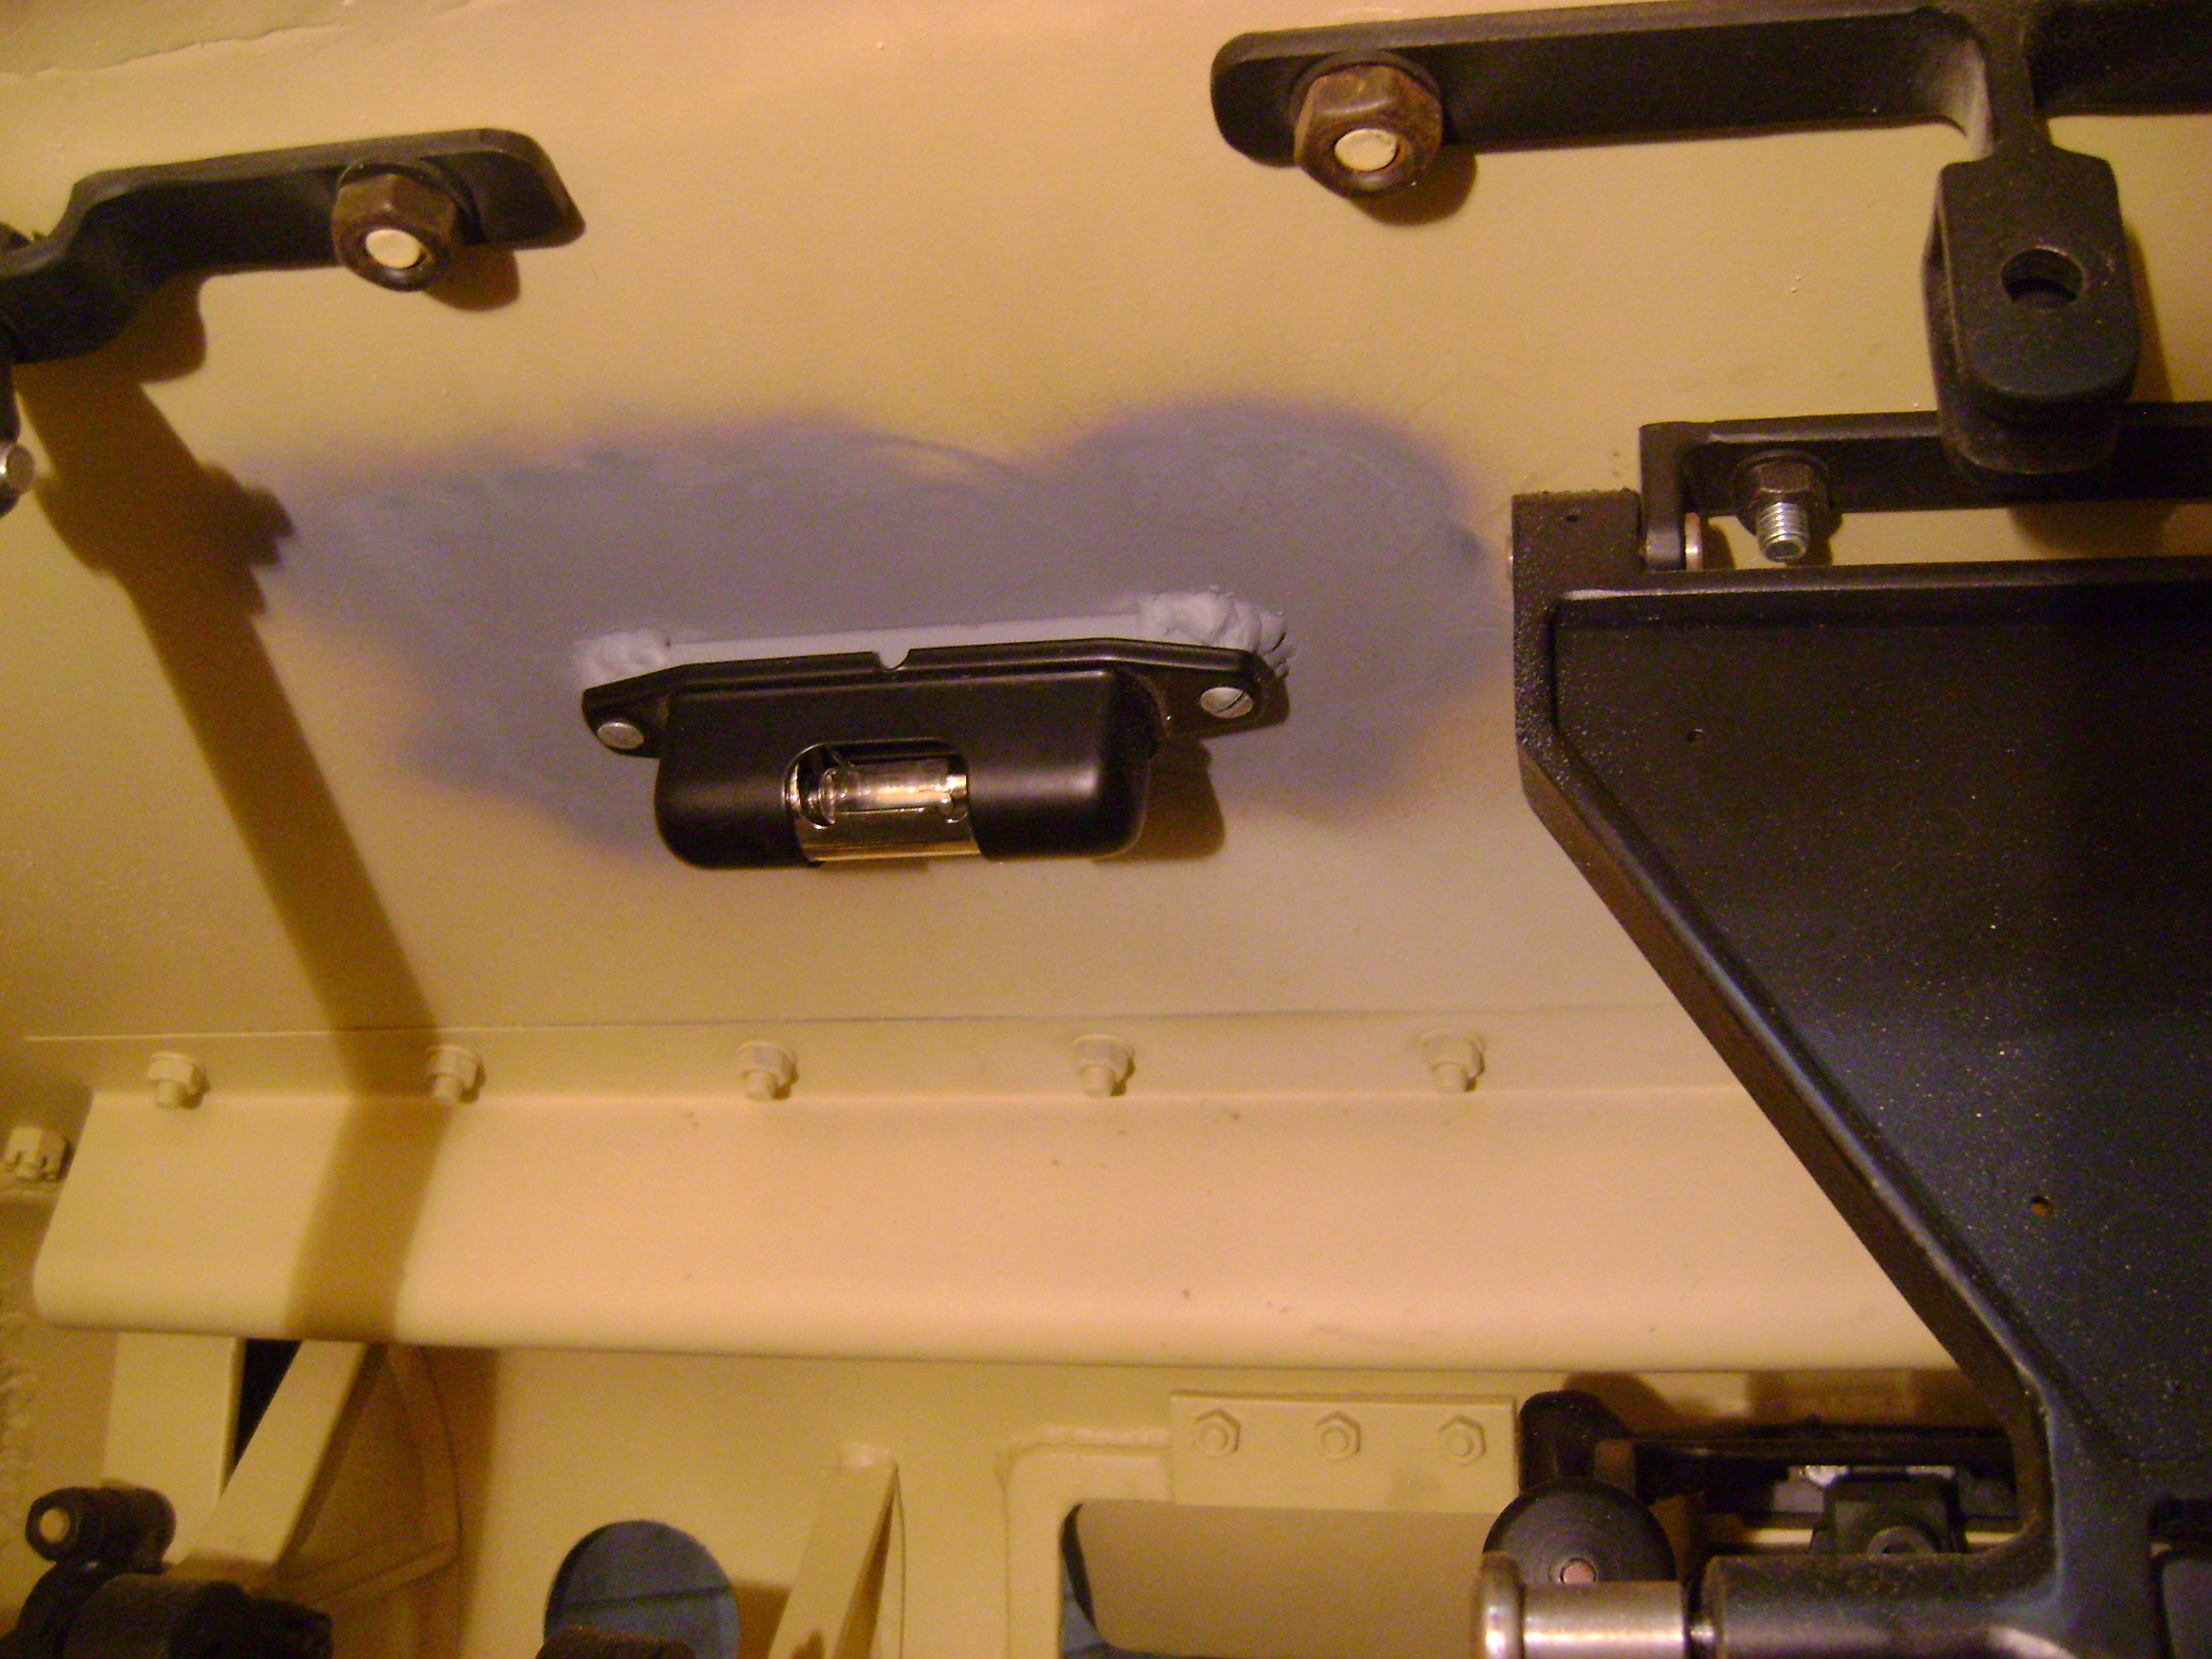
Last night I posted pictures of this little cover that I had made.

After I had posted my update it started gnawing away at me and by this morning I had decide that it wasn't good enough. I mean, how can any respectable Panzer commander go in to battle knowing that the cover for his little knob is the wrong shape. Below, next to a picture of an original, is my next attempt, which I hope is less offensive.
.jpg.6c52b47620a06003f4ce4939cf9457f2.jpg)

The other items that I made today were the wooden grips for the trigger handle.

That's all for now folks.
Jon
-
5
-
-
Thanks👍 , I know what It's like, I don't comment a lot but there's a lot of enjoyable content on this forum.
So the next installment.
I think that it's always the same, some of the smaller items take the longest to make and so it was with this little cover. Being made of 0.8 and 1.6mm thick steel and so small it took a lot of careful welding, brazing and grinding to get a result that was at least presentable. It's not exact replica of the original but it needed to suit my application.


Todays job was to make the adjuster that fits on the side of the gearbox.

The adjuster bolt lines up with the internal separate gear carrier and by putting pressure on this carrier, the final gear/ sprocket is pushed into the turret ring gear.


If you remember when I started this gearbox I had thought that a spring would have the desired effect but after some playing around I decided that a fixed/ adjustable stop would be a better option.
Jon
-
3
-
-
I feel your pain but I don't think that you would ever have had total success at keeping it straight, no matter what you did. Distortion due to heat is always a problem and I have tried most things but in the end you have to live with it. I assume that the roof bolts on to the rear panel, so if your holes are drilled with reference to either the inner or outer edge rather than in a straight line, will it not straighten itself to an extent when bolted in place?
keep smiling,
Jon
-
1
-
-
Evening All,
Thanks for the comments it's always nice to know someone is actually reading my drivel.
I had a couple of hours this afternoon so I made the linkage that runs from the trigger grip to the top of the gearbox. I don't know whether there was a spring in the original linkage or if they just relied on the spring in the MG trigger assembly but I have incorporated a spring as my linkage will not be attached to the MG when it is installed.

Trigger out


Trigger in


I am sure that you get the picture, so there is no point in explaining it again.
Jon
-
5
-
1
-
-
Thanks Burwood, it's nice to know that there's someone out there.
Evening All,
Continuing with turret gearbox, the next item that I needed to make was the handwheel. Not quite as simple as around disc as it contains a remote trigger for the MG34. It would have been a casting but as I don't have that option, I fabricated it.


It started life as a flat piece of 10mm thick steel plate which I cut, turned and then added the relevant bosses.


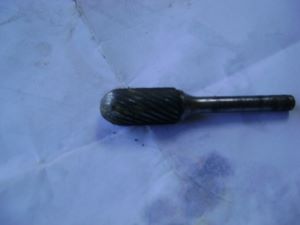
A quick grind with a burr and a shot blast made it look something like the original.


Then the wall of the bosses needed to be machine away so that the two are connected as when it is finished a pivoted arm fits in the channel and a slot for a drive key needed machining into the opposite side of the center boss .

The handle obviously contains the trigger mechanism, I made the outer housing from separate bits of 3mm plate welded together and then I ground the outer profile to shape.

In the pictures I have just dropped a 6mm bolt in the the top of the handle to show how it operates. When the trigger is pulled it raises a rod which raises the pivoted arm held in the channel of the wheel. The other end of the arm, which is slotted into a rod that runs up the center of the gearbox shaft, is pushed down this in turn pulls and pushes a series of rods linked to the trigger on the MG.


And that's as far as I got today as I promised myself to spend the afternoon gardening.
Jon

-
9
-
-
Is that a Serious question?
-
2
-
-
cracking job old boy, you are becoming an artist and it's a joy to follow your progress.
Jon
-
1
-
-
Evening All,
At last I have finished the gearbox, almost. It turned out to be quite complex but that was entirely due to me being too fussy.
I think the turret gearbox had three settings, fine, course and hand, by which I mean that you can rotate it by pulling it around, all three would be too complex for my little brain, so I decided just to incorporate two, hand and fine. when the lever is in the vertical position the gearbox is in hand and when the lever is push forward or backwards the gearbox is in fine.


While I was in the process of deciding how to manufacture the rest of the components it occurred to me that when one is concentrating on a target or having coffee, having to hold the lever down until the gearbox internals meshed, would be slightly inconvenient. Therefore I designed the gearbox internals in such a way that once the lever is pushed forwards or backwards it locks in place, leaving the operators hands free. Inside the gearbox there is a keyed dog that moves vertically on the main shaft, when the lever is in the vertical position the keyed dog is in it's upper position and the turret can be rotated by hand but when the lever is pushed forward/backwards the dog is lowered, the keys can mesh with slots in the large toothed gear and the turret is therefore connected to the hand wheel thus being in fine mode. Obviously trying to get everything in exactly the right position for the keys and slots to mesh every time would be impossible, so to over come this I decided to spring load the plate containing the keyed dog. If the lever is pushed forward or backward it locks in position, the plate containing the keyed dog is lowered and being spring loaded, if the keys and slots do not line up, the springs compress. When the hand wheel is rotated and the keys and slots line up, the pressure of the springs force the keys into the slots and from then on the turret is rotated using the hand wheel.


As clear as mud but trying to work out how to word it was more difficult than actually making the damn thing, me thinks
Jon
-
7
-
1
-
-
Nice job, from my experience with my Panzer wheels, vasaline is a far better release agent than silicon sprays.
Jon
-
Evening All,
Things are progressing steadily in the right direction but not as quickly as I would desire. I attached the light and the power plug in the turret, a small job but another one off of the list and I have been making the components for the turret rotation gearbox.
The gear box now has it's attachment brackets welded on.


I assembled the gearbox tonight, just to see how it all fitted, it's surprising how many parts there are and this isn't all of them.


It all appears to fit ok, now I just have to machine all the key ways and make the rotation wheel, if only it were that simple.
Jon
-
10
-
-
Evening All,
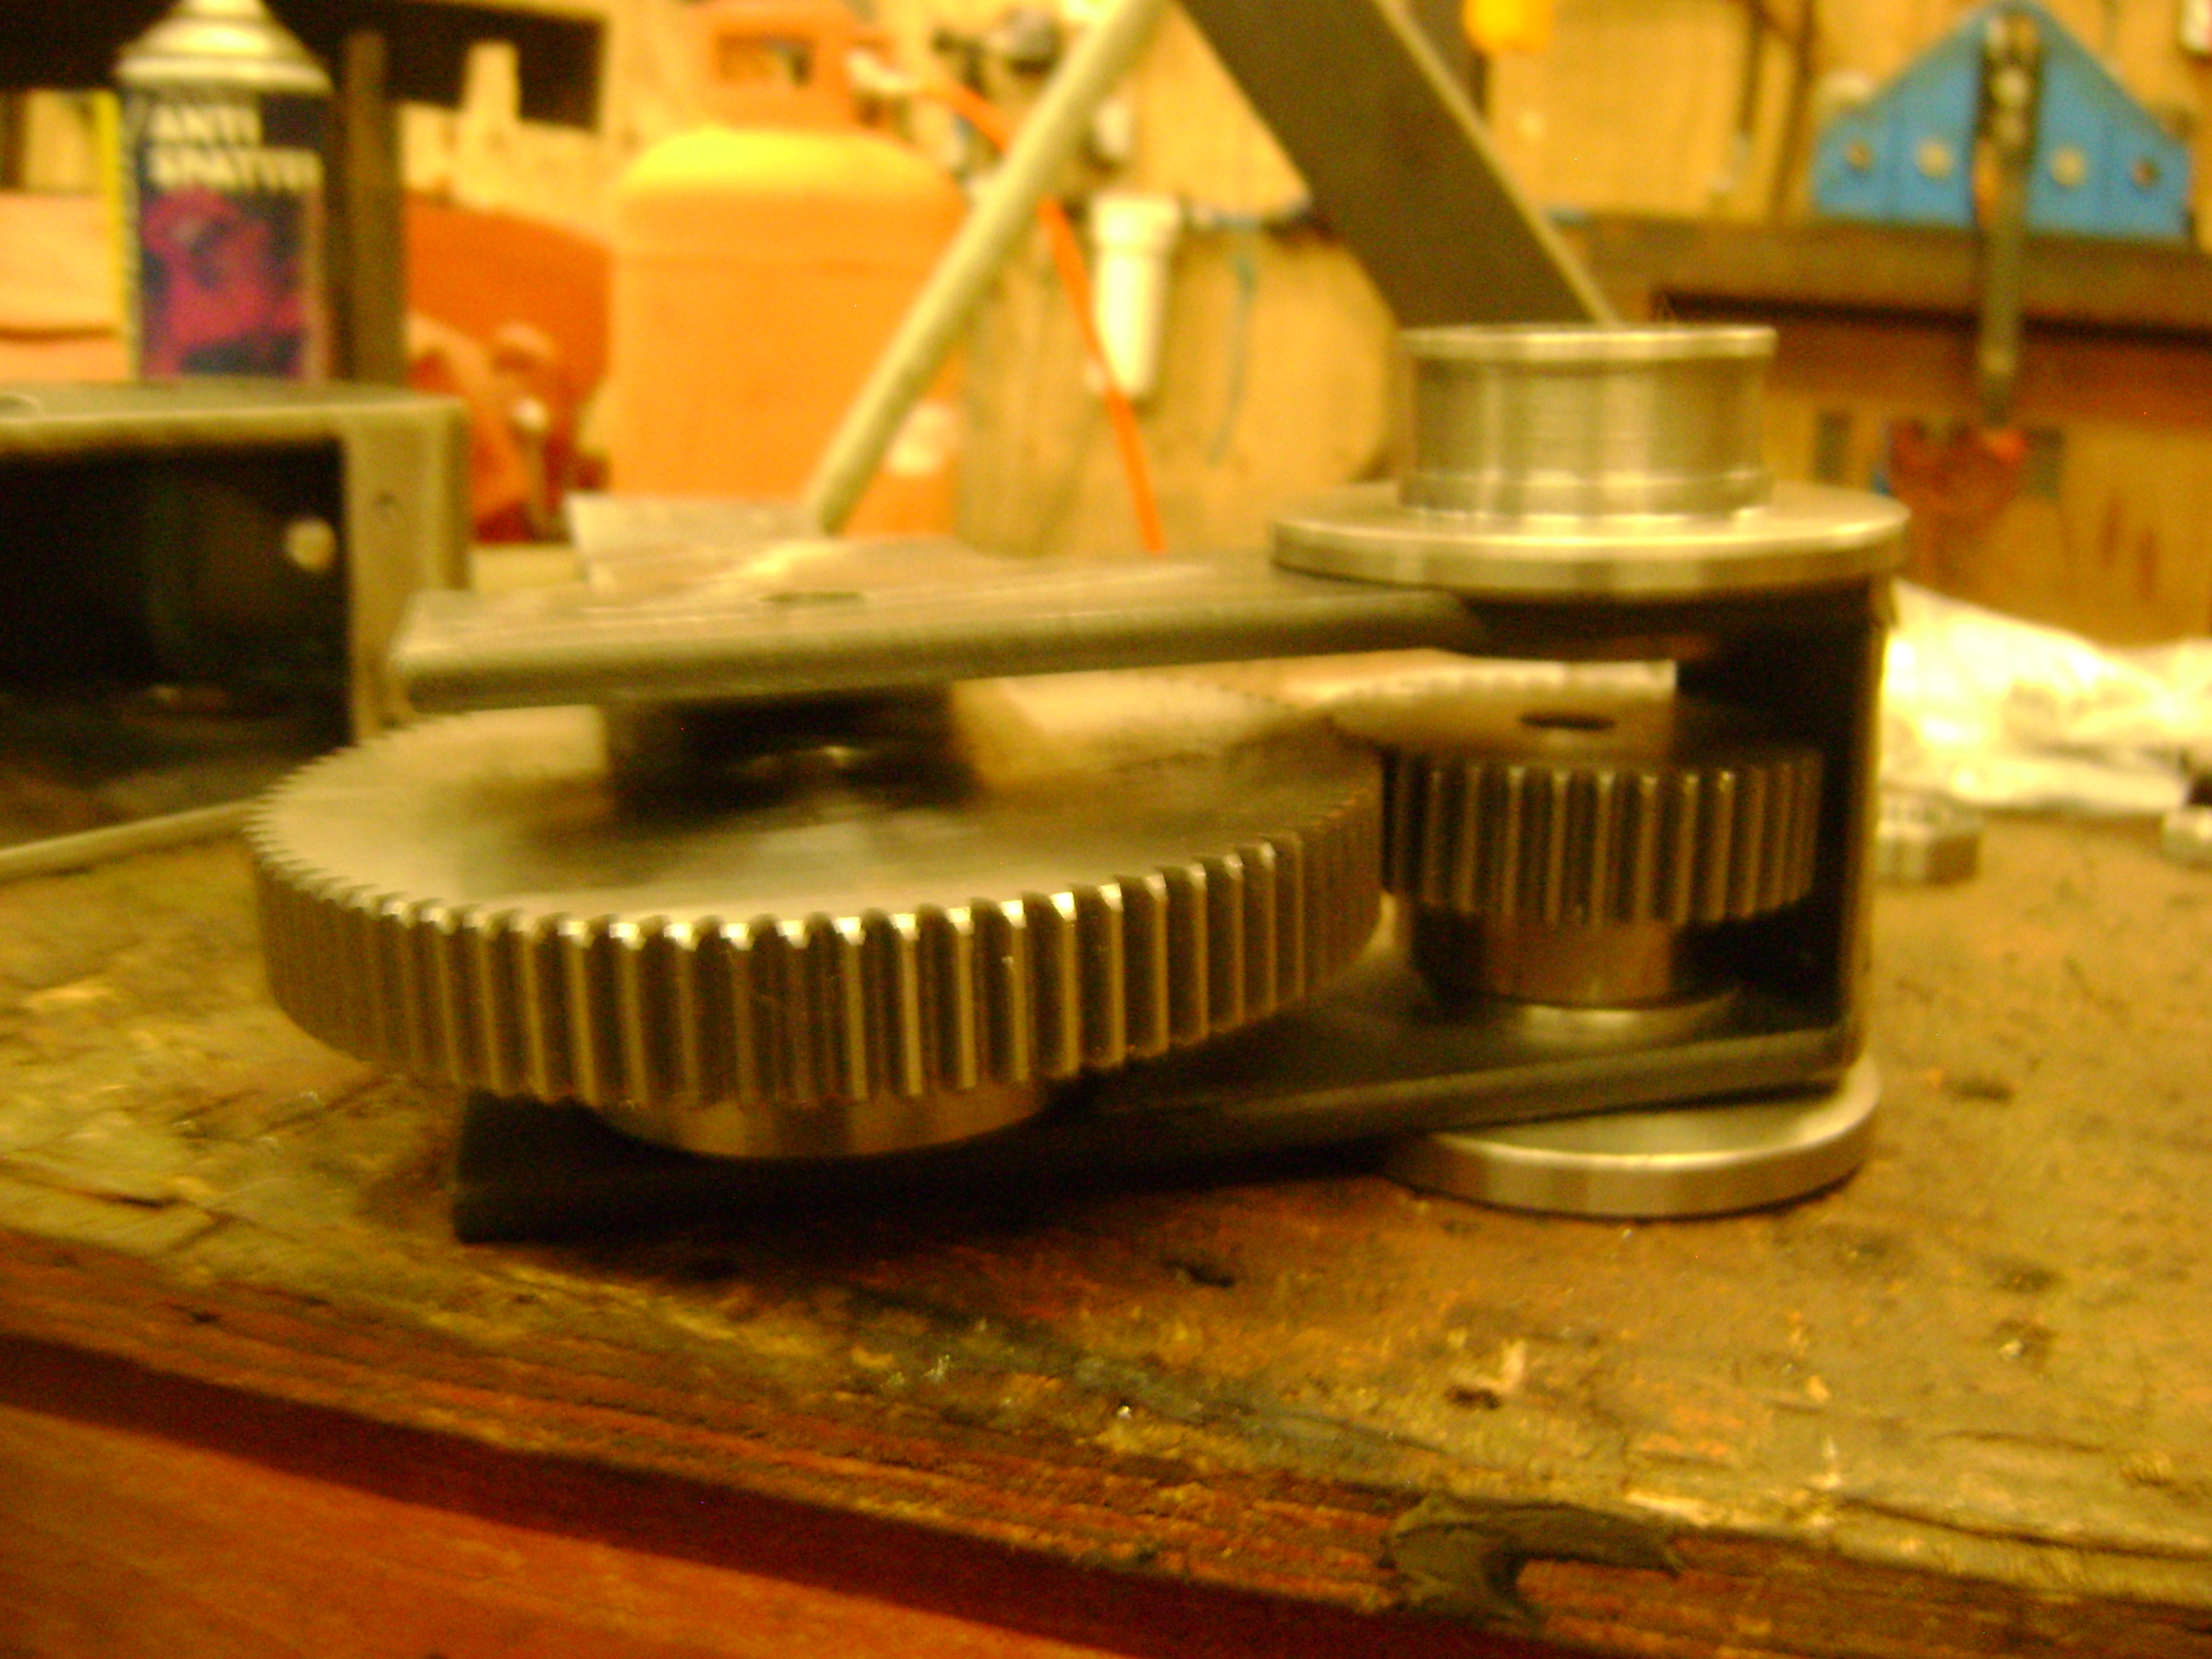
2021, it doesn't seem five minutes ago that it was 1982 and I was leaving school to enter the big bad world and if someone had told me what a shit year 2020 was going to be I wouldn't have believed them. But forwards, onwards and backwards. On to the turret rotation gearbox and just to remind you what it should look like.

The top section is the actual gearbox, the lower section is just a guard to stop things getting trapped in the gear that meshes with the turret gear ring. This is what the gearbox housing looks like in my world.


The original unit rotates the turret 4 degrees for every turn of the handle, so that's 90 turns to rotate the turret through 360 degrees, which I find quite hard to believe. I would have thought that there was a fine and course setting but I can't find any evidence of this, however I have read that the gearbox could be disengaged from the turret ring so that the turret could be rotated manually by hand. The original turret ring gearing would have been quite a precise component but of course mine has been fabricated, so I am trying to compensate for this by allowing the gear that meshes with the turret ring gear to have a certain amount of horizontal float. To this end, the internal gears are housed in a frame that rotates around the small forward gear shaft bearings, at the opposite end of the frame will be a spring, that puts pressure onto the frame, thus forcing the final gear and the turret ring gear together, I hope.


It's early days but I think that it will work.
Jon
-
9
-
-
Evening NZM and the same to you, lets just hope that this virus buggers off soon.
Not much to report I am afraid, I have been a bit down in the dumps lately and didn't feel like doing anything on the Tank until yesterday but I have completed some other jobs that needed doing instead. The Component that I started yesterday was the turret rotation gearbox, it's quite a complex little unit that not only rotates the turret but also houses the trigger mechanism for the MG34.

I have managed to put a digital display on to my Bridgeport milling machine, I bought the read out about three years ago, so it was about time and although I don't mind doing it the old fashioned way, the digital read out makes life so much easier.
Happy New year to you all,
Jon
-
3
-
-
Hi Dan,
Add this to my user name
@googlemail.com
Jon
-
It fits me and I am 5ft 11" so a nice size. I had been looking for a camo one to go with the plain tan one for ages and then one turned up on a Dutch dealers web site.
Jon
-
On 12/6/2020 at 10:40 AM, Enigma said:
That looks nice. Will you wear this one? If so, does the liner fit you?
It's for a mannequin that I am putting together with my camo pixie suit.

Jon
-
Morning Enigma,
I managed to get the red size marking off and most of the black without removing the paint or painting over it.


And then i found a picture of one with the markings of the Scots Guard Armoured Division on, so I copied that.

Jon


_LI.jpg.26c71b13de053491a4ff06b92609352c.jpg)


_LI.jpg.8798d75e8c72ee360c6e5e8df2b345c4.jpg)

.png.ef901a197f4550e3781e0a4beaec039a.png)


_LI.jpg.6cb409eee79c2a22e2f270f2d177a720.jpg)


.jpg.6c52b47620a06003f4ce4939cf9457f2.jpg)


Panzer 2 turret
in Tracked vehicles
Posted
Morning Rick, Patience was a virgin, or that's what I tell my wife. Sometimes I wonder if I should just put it together, paint it and get it running but I know that if I do that and put the finishing parts on the to do they won't get done. Finishing all these little time consuming bits is a million times easier with the chassis and upper hull apart than having to keep climbing in and out. No, it's just got to be done I am afraid. The good news is that I have made a drawing of the drive sprockets, so I can get that off for some quotes.
I have never been to the YWE but I have heard some very good reports so I am looking forward to a trip there.
Thank you Sir you are too kind but be careful with the field Marshall bit, although "it's just a bit of fun", some people might get a bit steamed up over my self promotion above my pay grade.
Jon