


greyhound32122
-
Posts
180 -
Joined
-
Last visited
Content Type
Profiles
Forums
Gallery
Blogs
Events
Articles
Store
Downloads
Posts posted by greyhound32122
-
-
no probs Mal least you can give the sump a good clean out if you havn't already did mine last winter it was full of sludge.
-
Hi Mal
according to my parts book it states the rod should be 6 3/8" long.
then there should be a 3/8" follower on the end which goes against the arm on the fuel pump.
parts B & C
regards sam

-
Hi Mal
are you sure the rod isn't missing the arm when you fit the pump? i know from experience it is very easy to do.
regards sam
-
cheers John got to keep up appearances
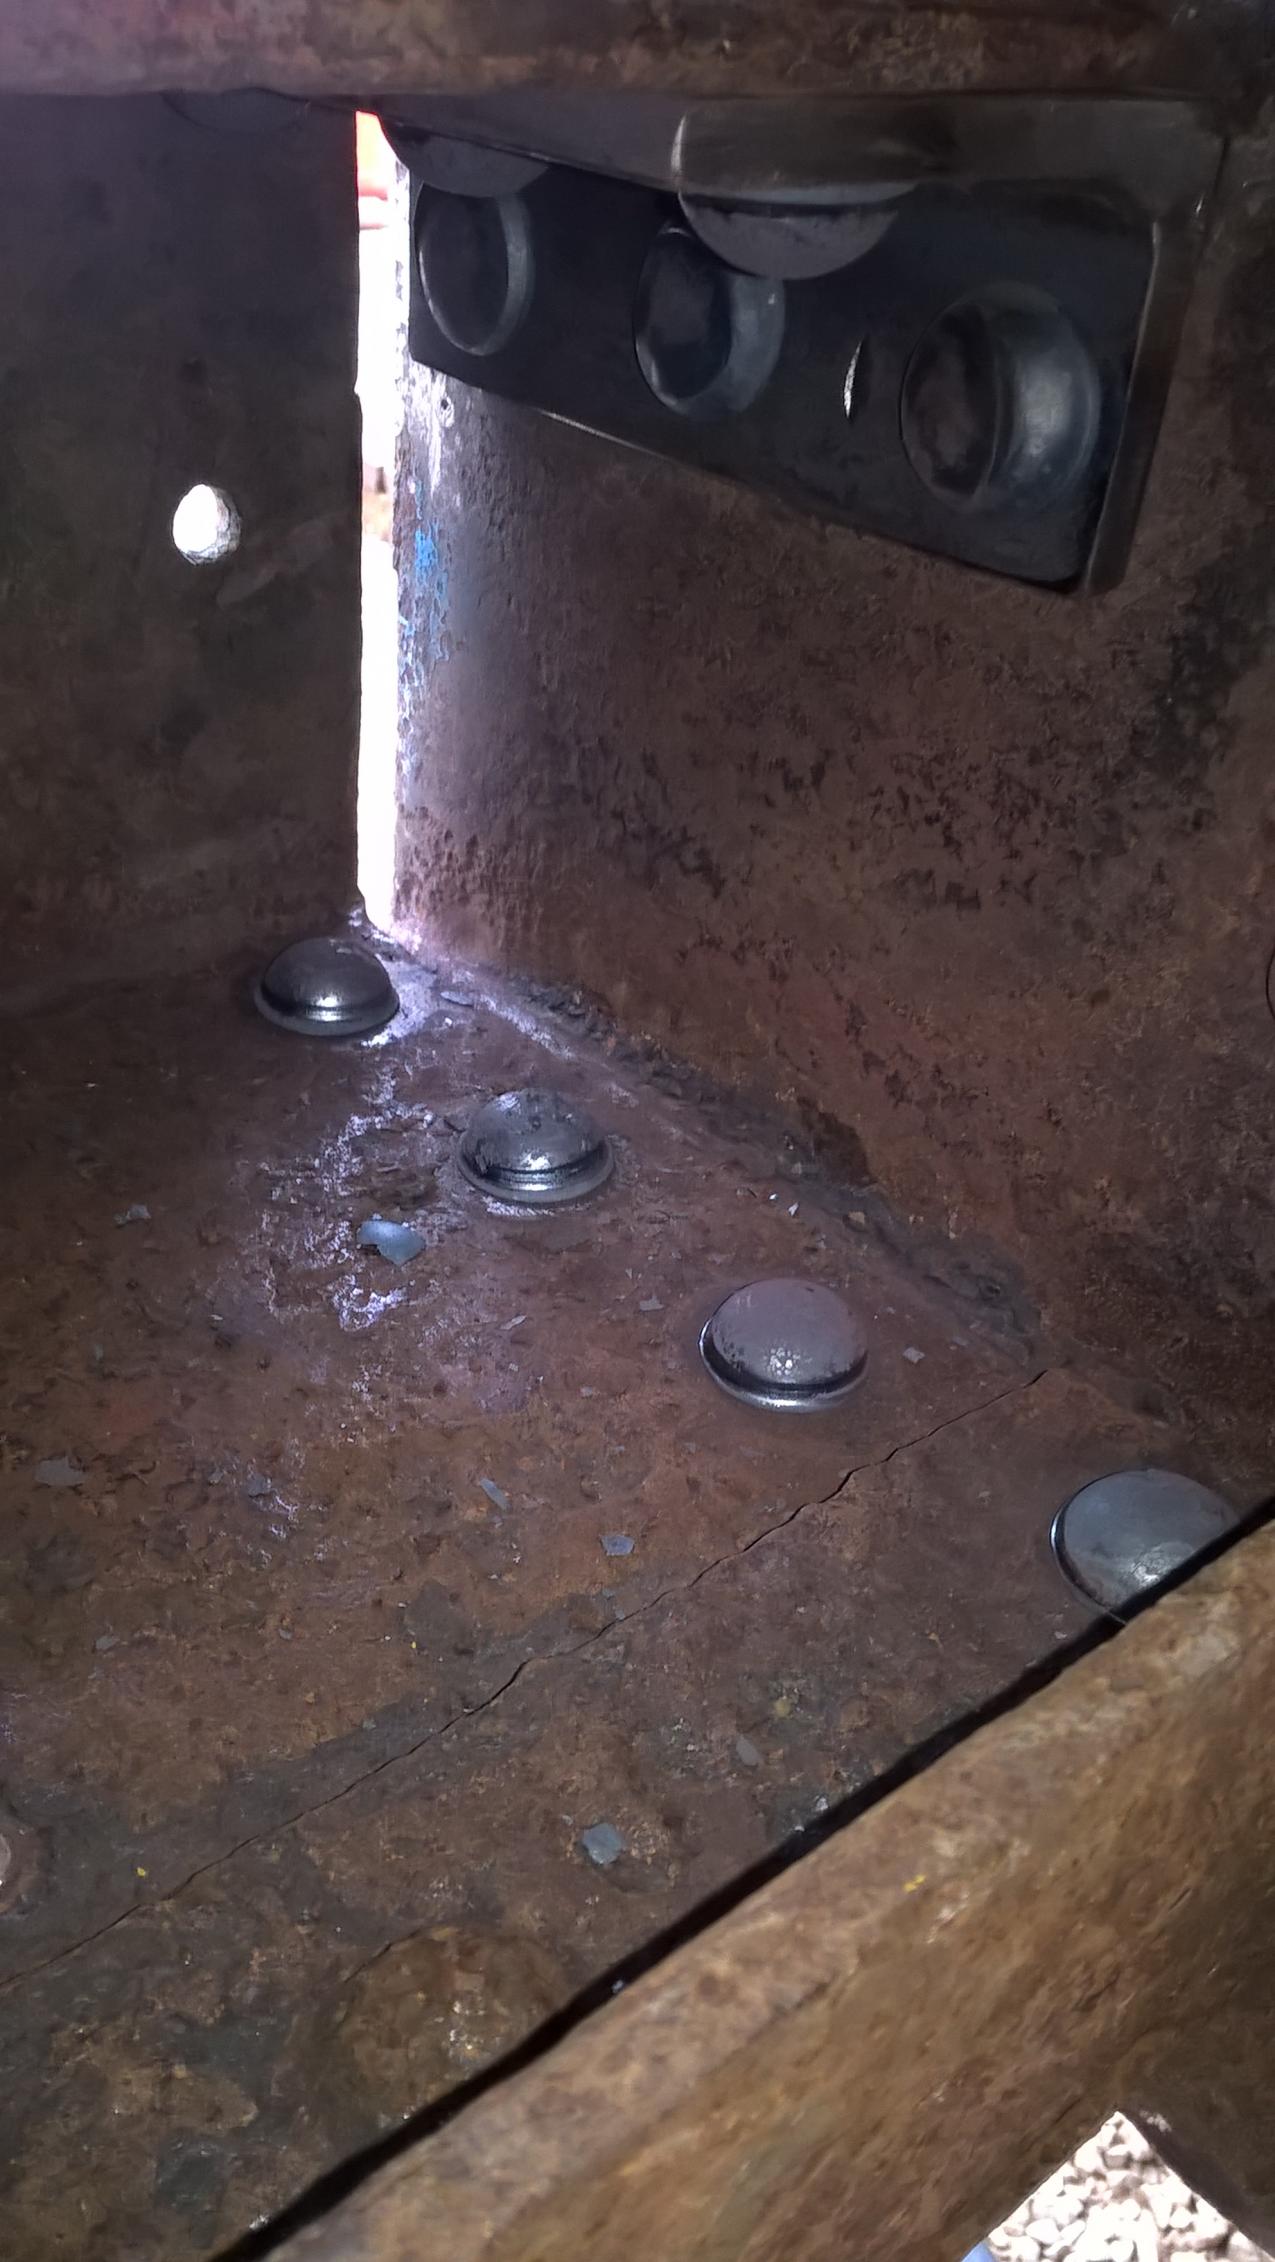
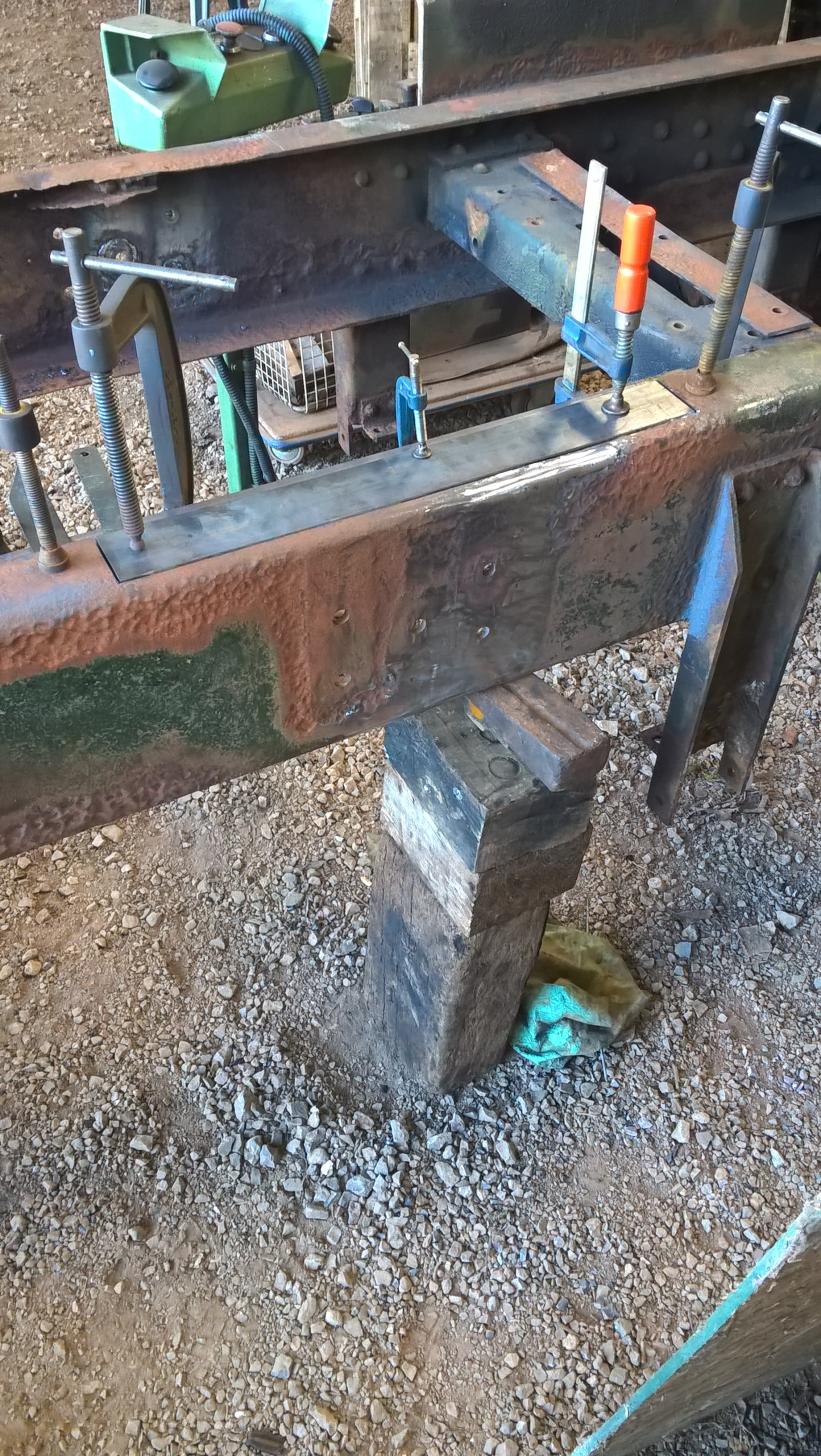
got a lot more done this saturday than first planned, all the little tidying up jobs are know sorted like re tapping holes, grinding welds and removing the last few small items. finally finished riveting the rear cross member in and riveted some of the ballast box mounts back on, these were badly corroded from living out side for so long resulting in 5 of the 10 being scrap. but the 5 ok mounts are good enough to go again and the keep some of the truck character.
to finish of the evening me and dad tackled the trunion shaft which in the end took longer to get the pinch bolts out than to cut the shaft out of it's housings!
pinch bolts removed
cut the ends of the old shaft to save the cast oil filler elbows to reveal these hemp elements which hold the oil like a sponge for lubricating the rear spring carrier bearings.
middle section of the trunion shaft removed to allow access to cut the old shaft out of the housings.
first section coming out nicly
a nice clean bore which just needs a good hone before receiving the new trunion shaft.
i think i have another 3 weekends of work then the chassis can go off for blasting/painting and can then start putting it back together again. still hoping to take 1531 to south cerney this year in rolling chassis form finger crossed.
regards sam


-
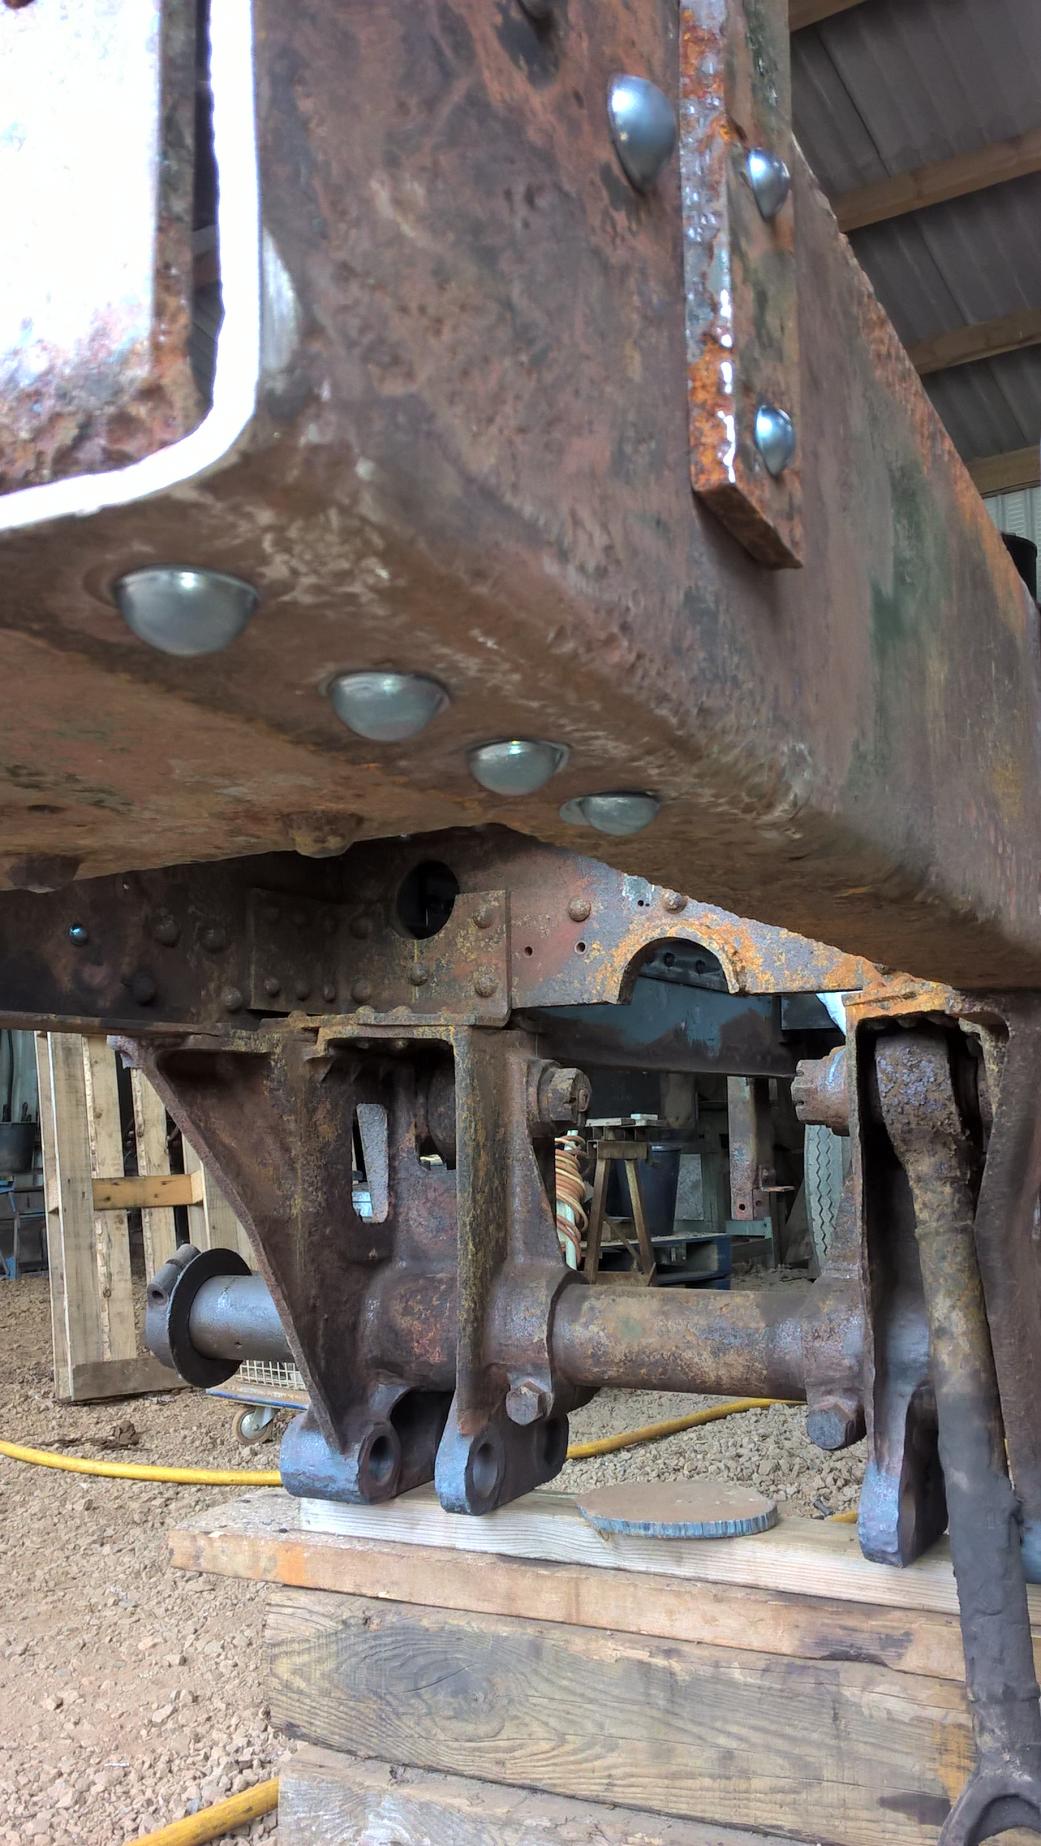
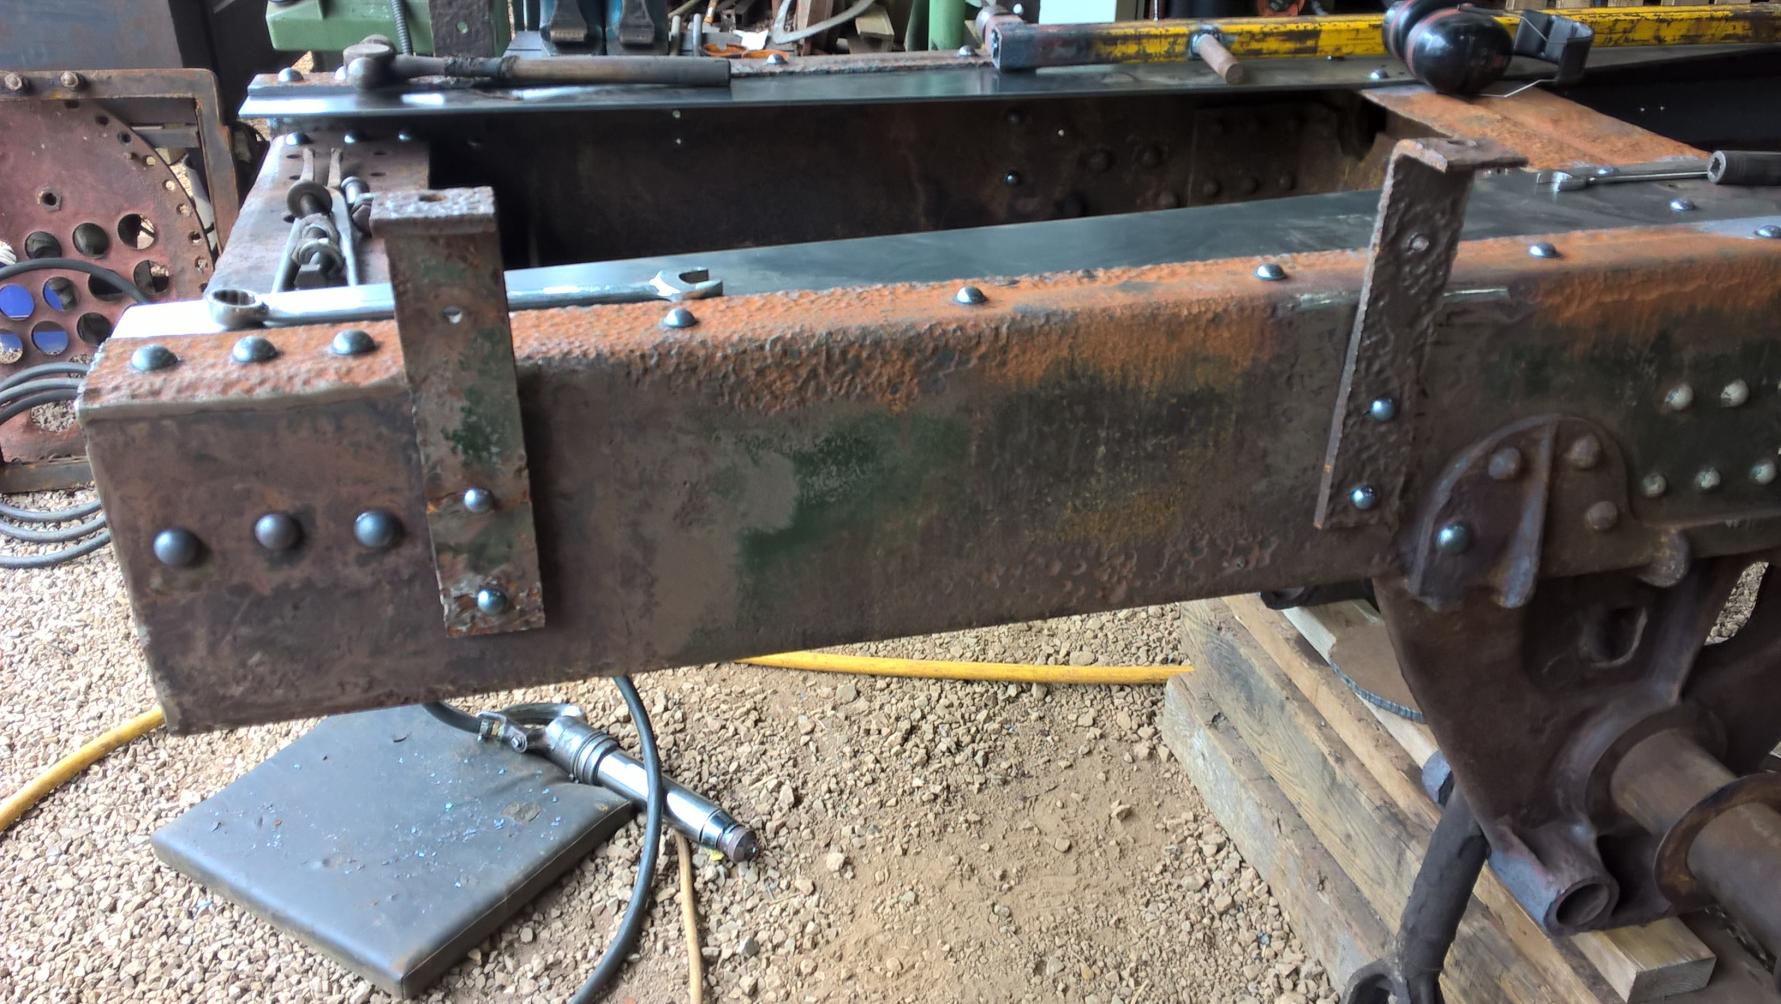
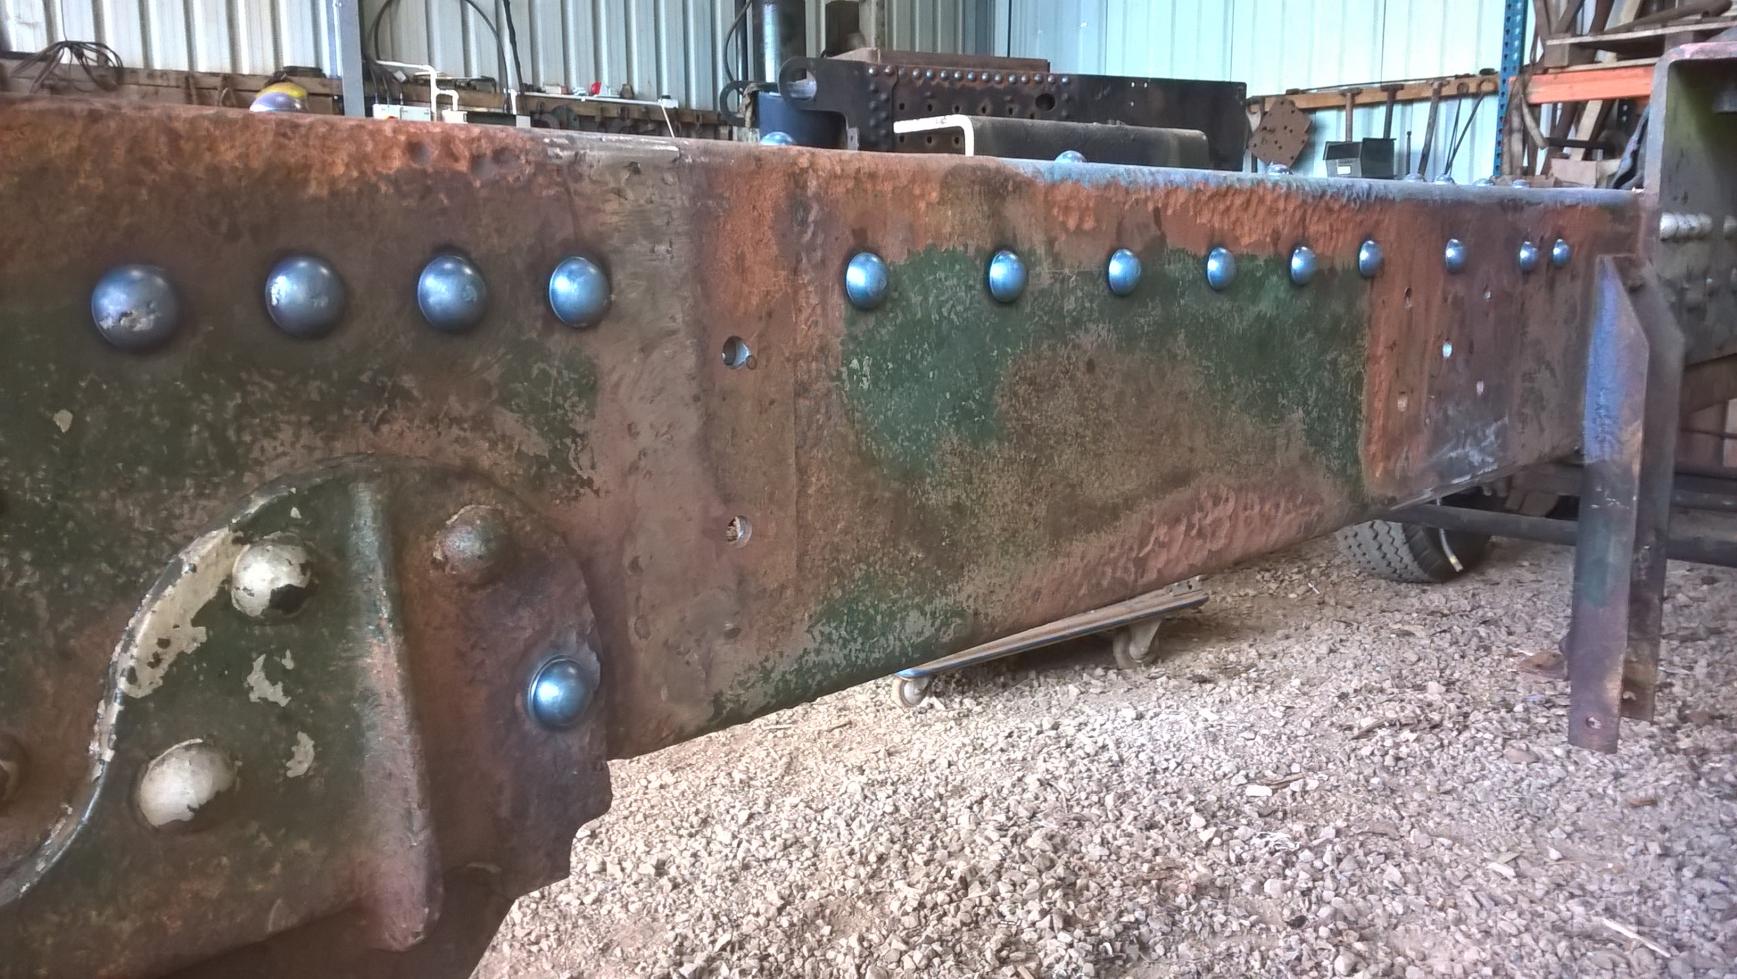
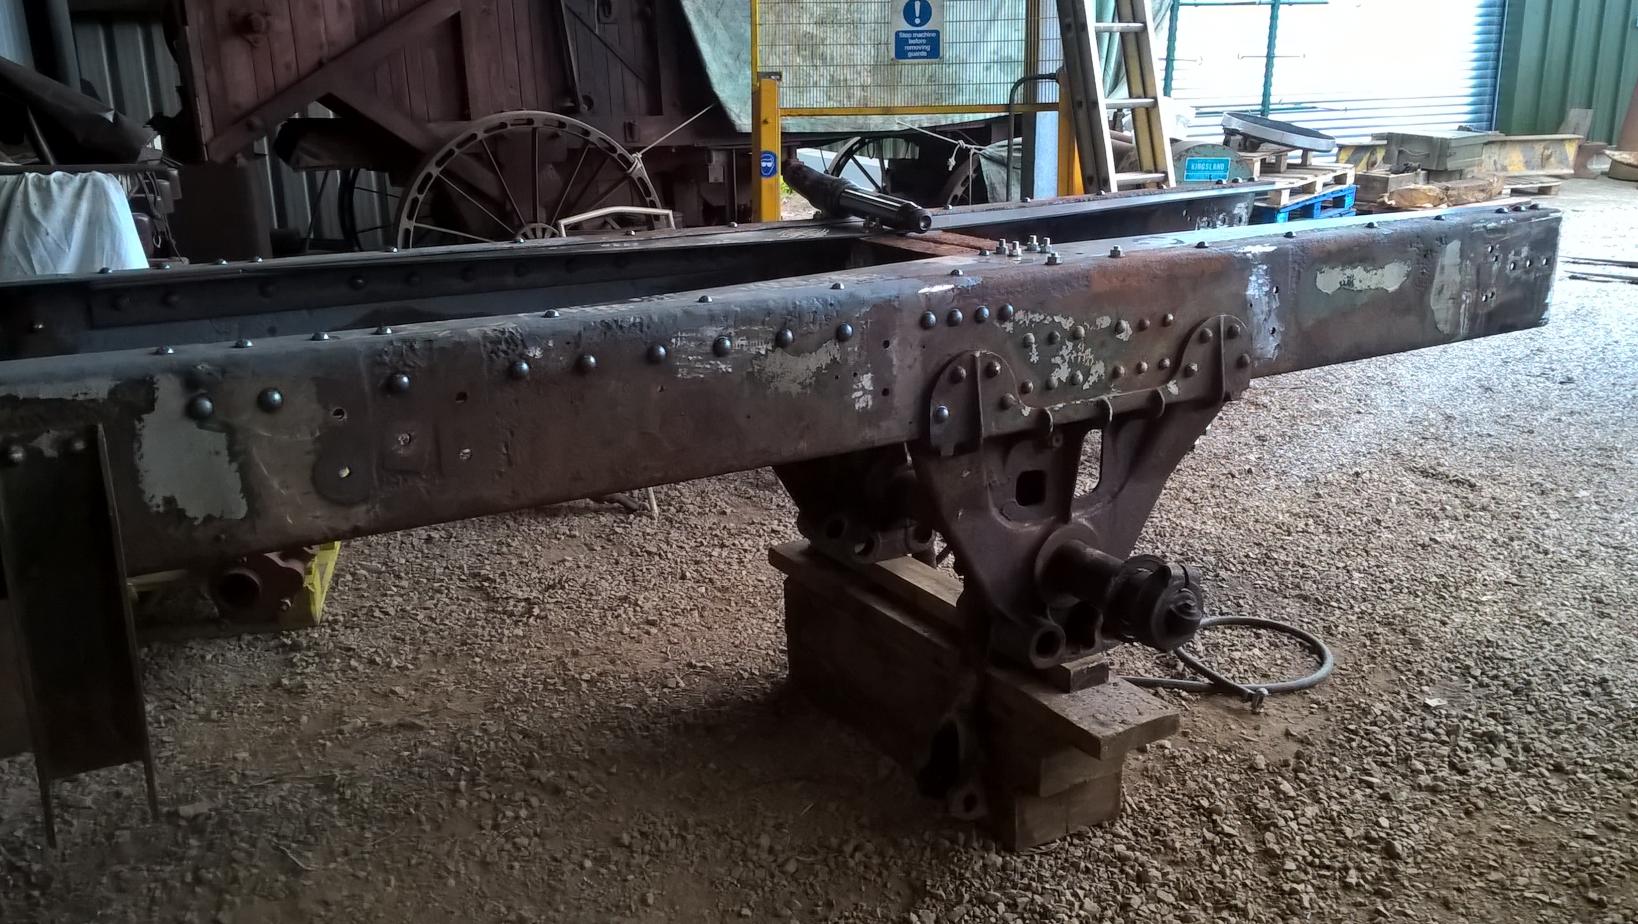
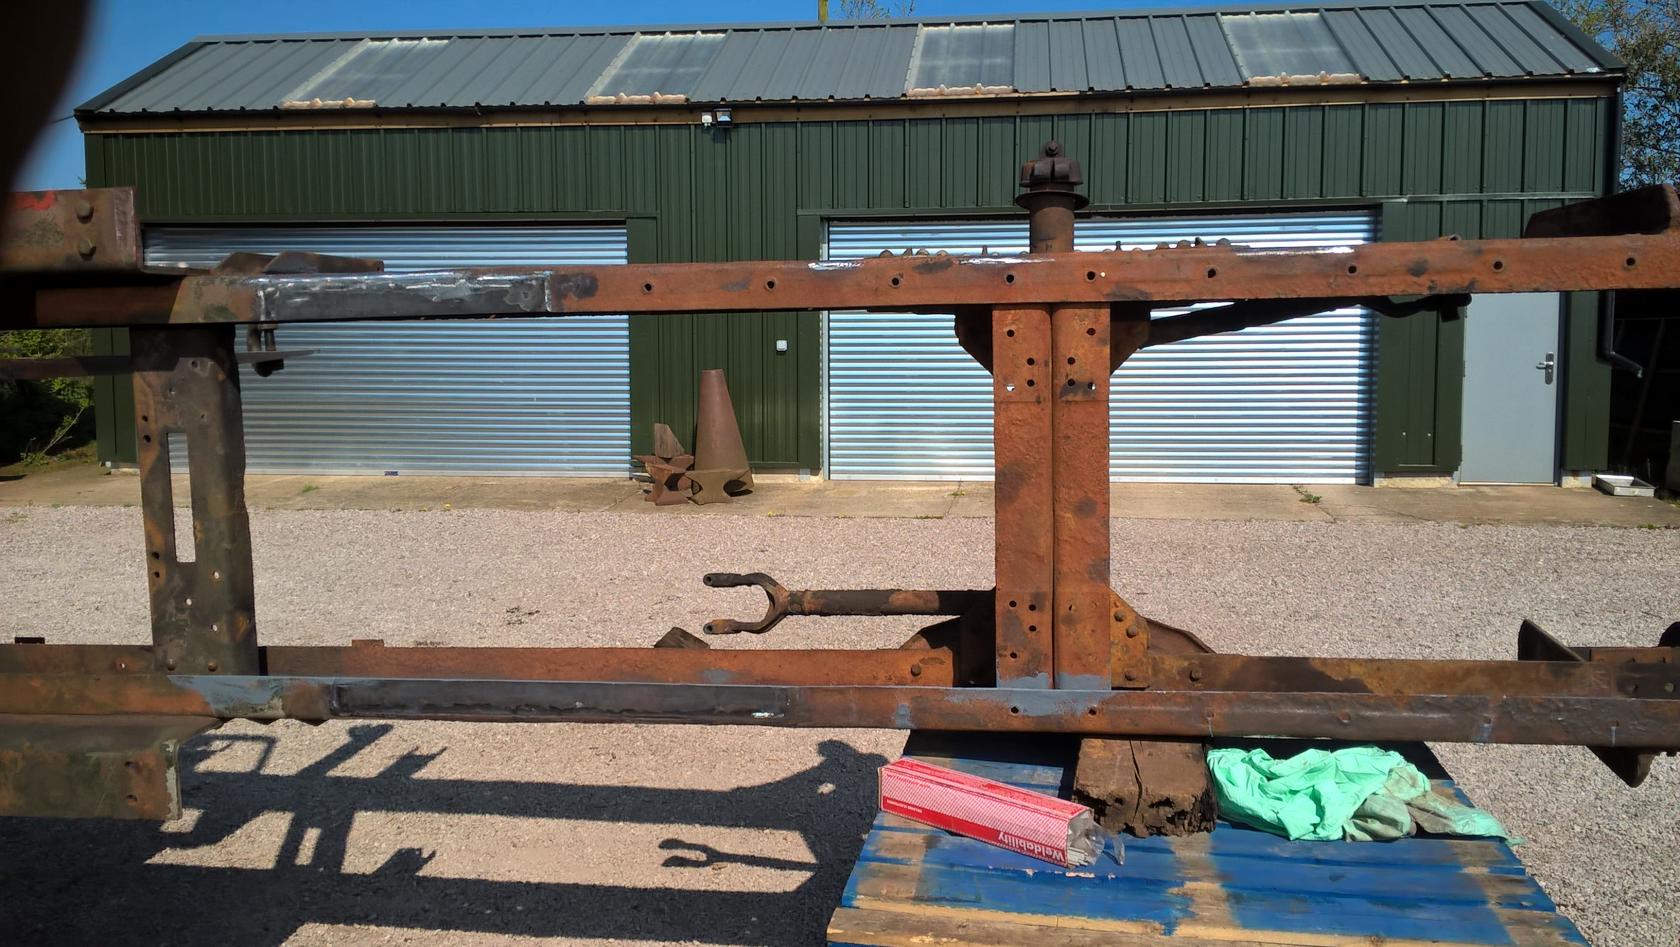
a nice cool day to do lot's of productive work, rear cross member test fitted with new side angle support's drilled & prepped for riveting on, before it goes into the chassis for final fit. followed by 1 1/2 hours riveting the gusset plates and the inboard support angle iron in place. ounce chassis work is done i got to replace the trunion shaft as the bearing journals are shafted (pun intended lol) so 1531 will have new shaft, spring carriers and rear springs.
new trunion shaft, springs and carriers for 1531 as all the original parts are either worn out or heavily corroded so replacement is only option. this will be next job ounce chassis work is finished.
regards sam


-
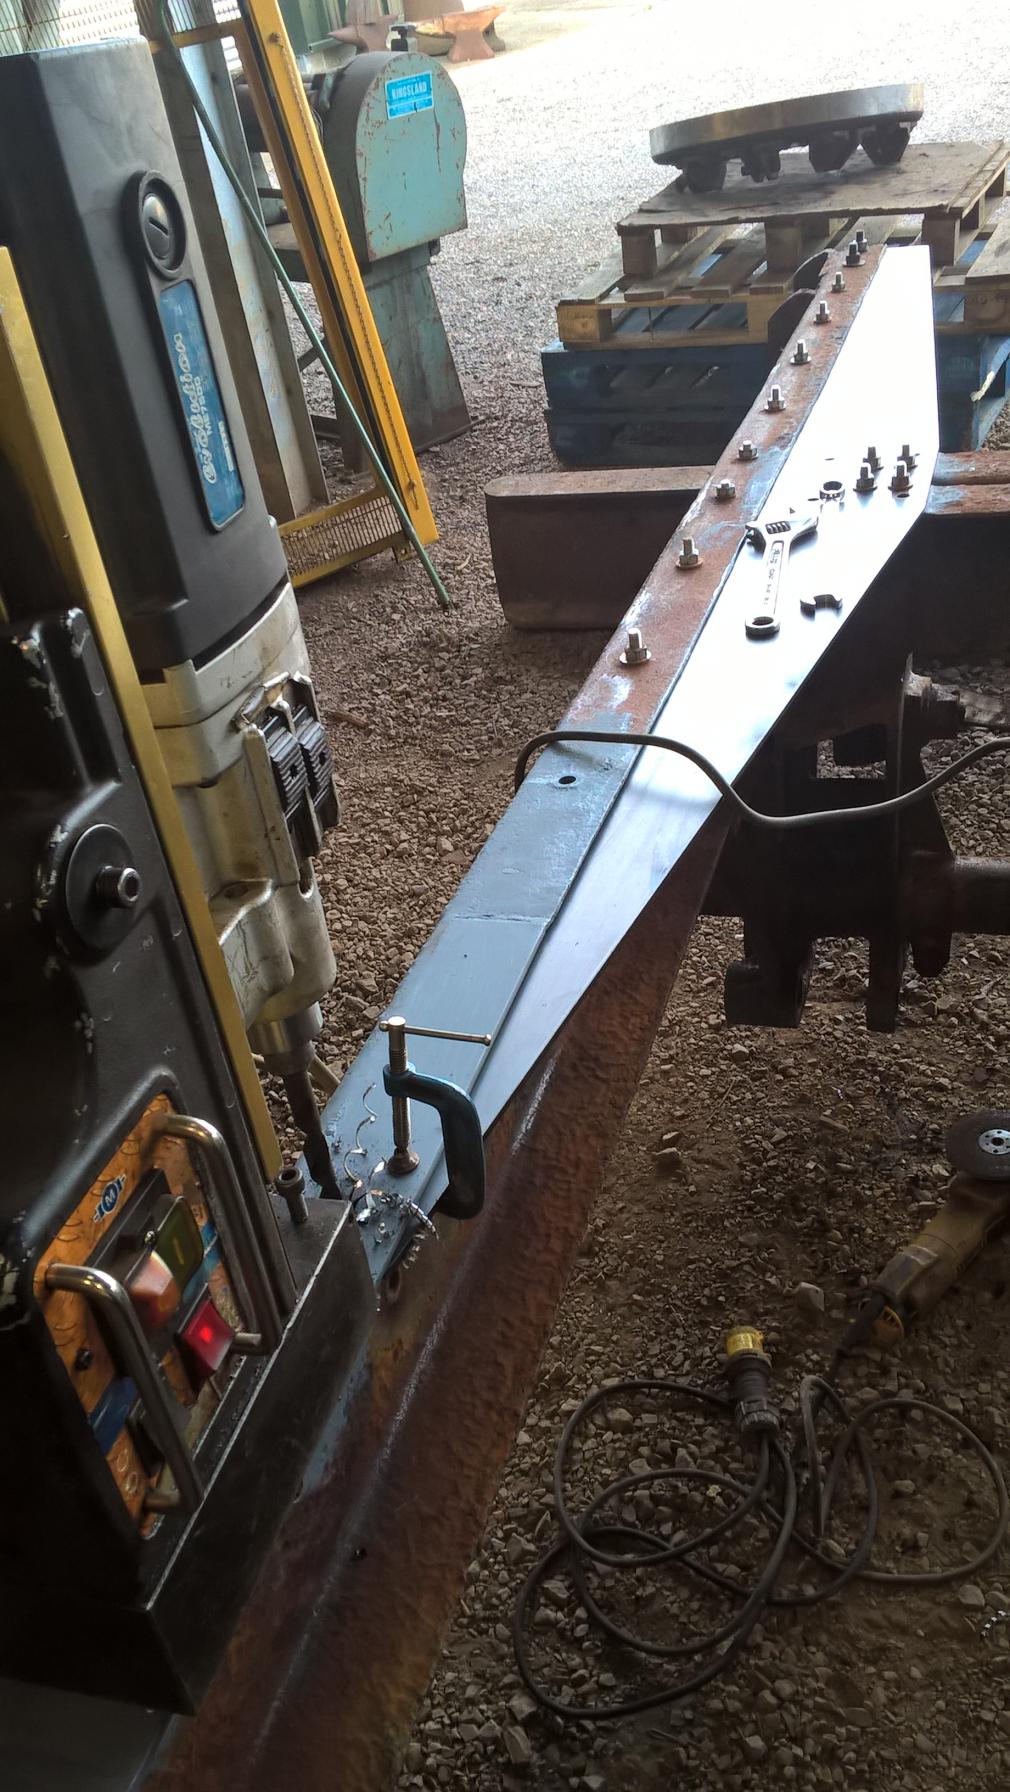
spent this afternoon fitting the new gusset plates and got the strengthening angle bolted into the left chassis rail.
hope to do a bit more tomorrow evening and get the strengthening angle fitted to the right chassis rail.


-
after noon every one
have got all the welding finished this weekend decided to build the R/H chassis rail up in the end as i just knew i would regret leaving it alone and it would be to late ounce painted. also finished riveting the front pintle hook member in while the chassis was on it's side and next weekend i am out with the 969 for the first time which shall be a welcome change. then will be drilling holes and riveting lots of metal together and getting ready for shot blasting and painting.
a lot more interesting jobs to come so don't go away.
regards sam


-
thank you handy1882 for the positive comment.
when i viewed the truck i knew it needed saving the poor thing was very close to no return as the cab isn't really salvageable and the chassis was in a very poor state. i would think another 5-10 years out side and she probably would have broken in two.
still 1531 will return to the road soon!
regards sam
-
hot riveting is a great team building exercise, you really don't want to get it wrong!
hoping to set up a gopro or something when i am ready to put the gusset plates and rear cross member in.
do some sort of long vid (movie) riveting it all back together.
the next truck i do will have to have a much better chassis i think!
-
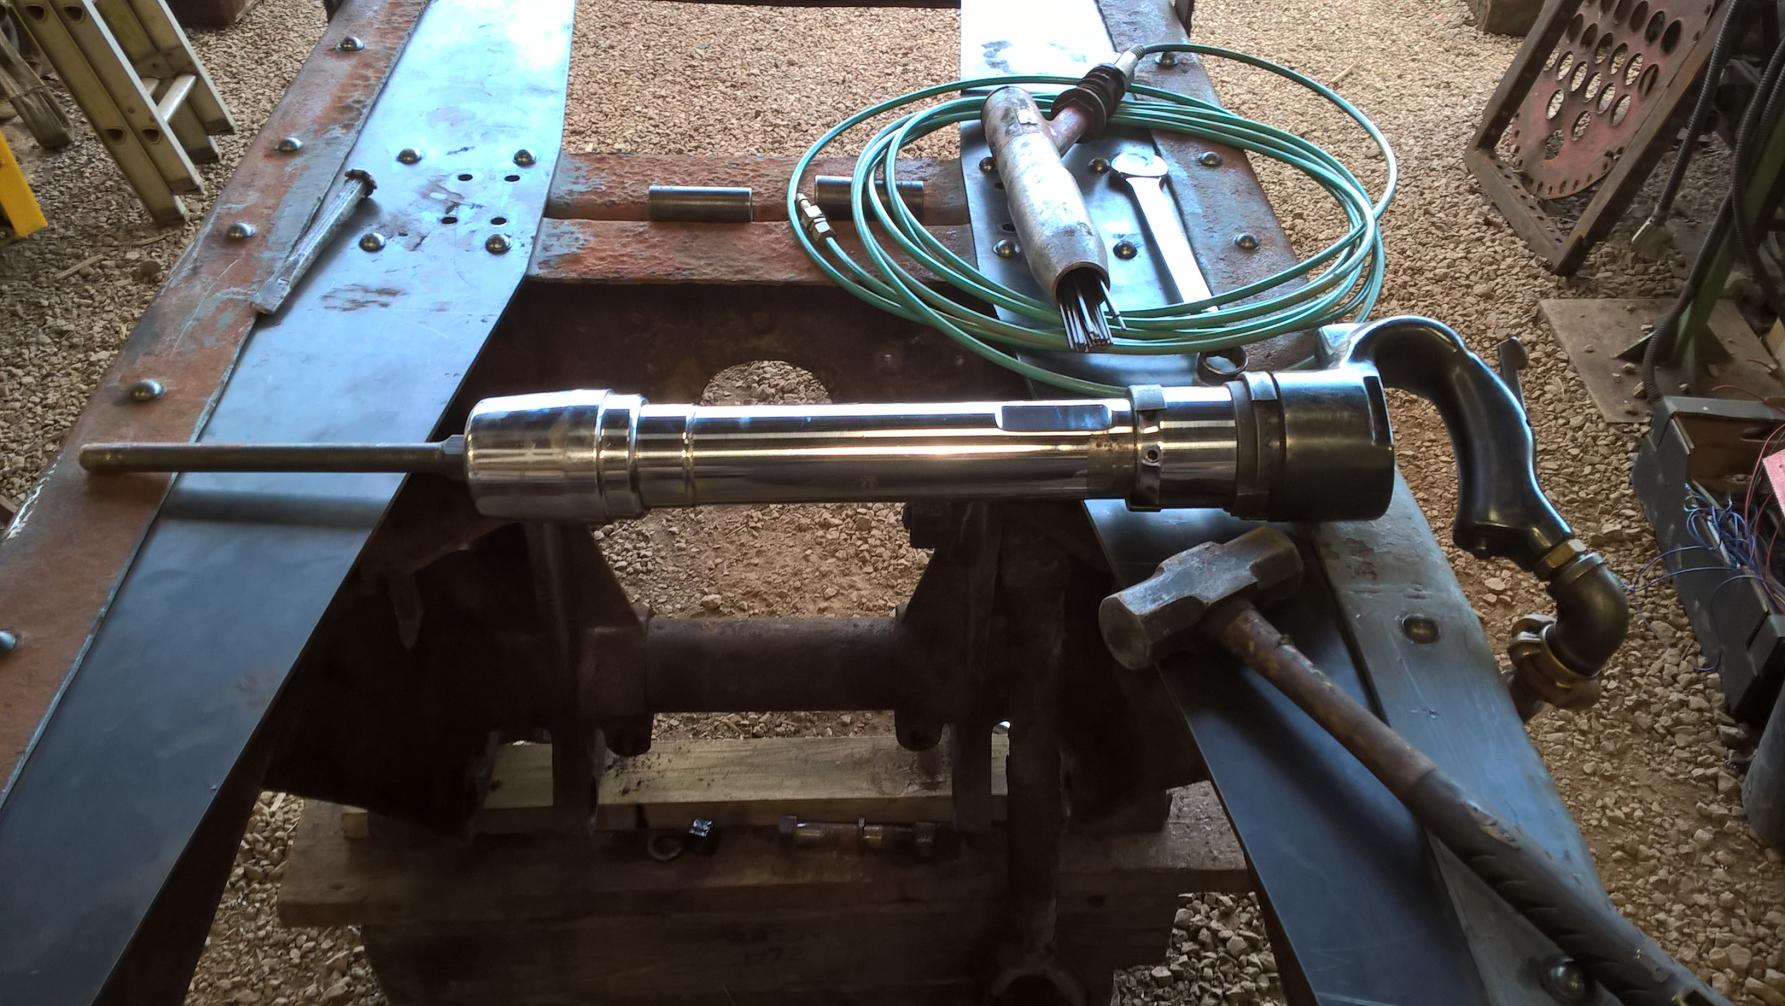
put the weekend to very good use, managed to get the torque rod pins out in the end. i know see why people say leave them alone! but they had to come out regardless so onwards & upwards.
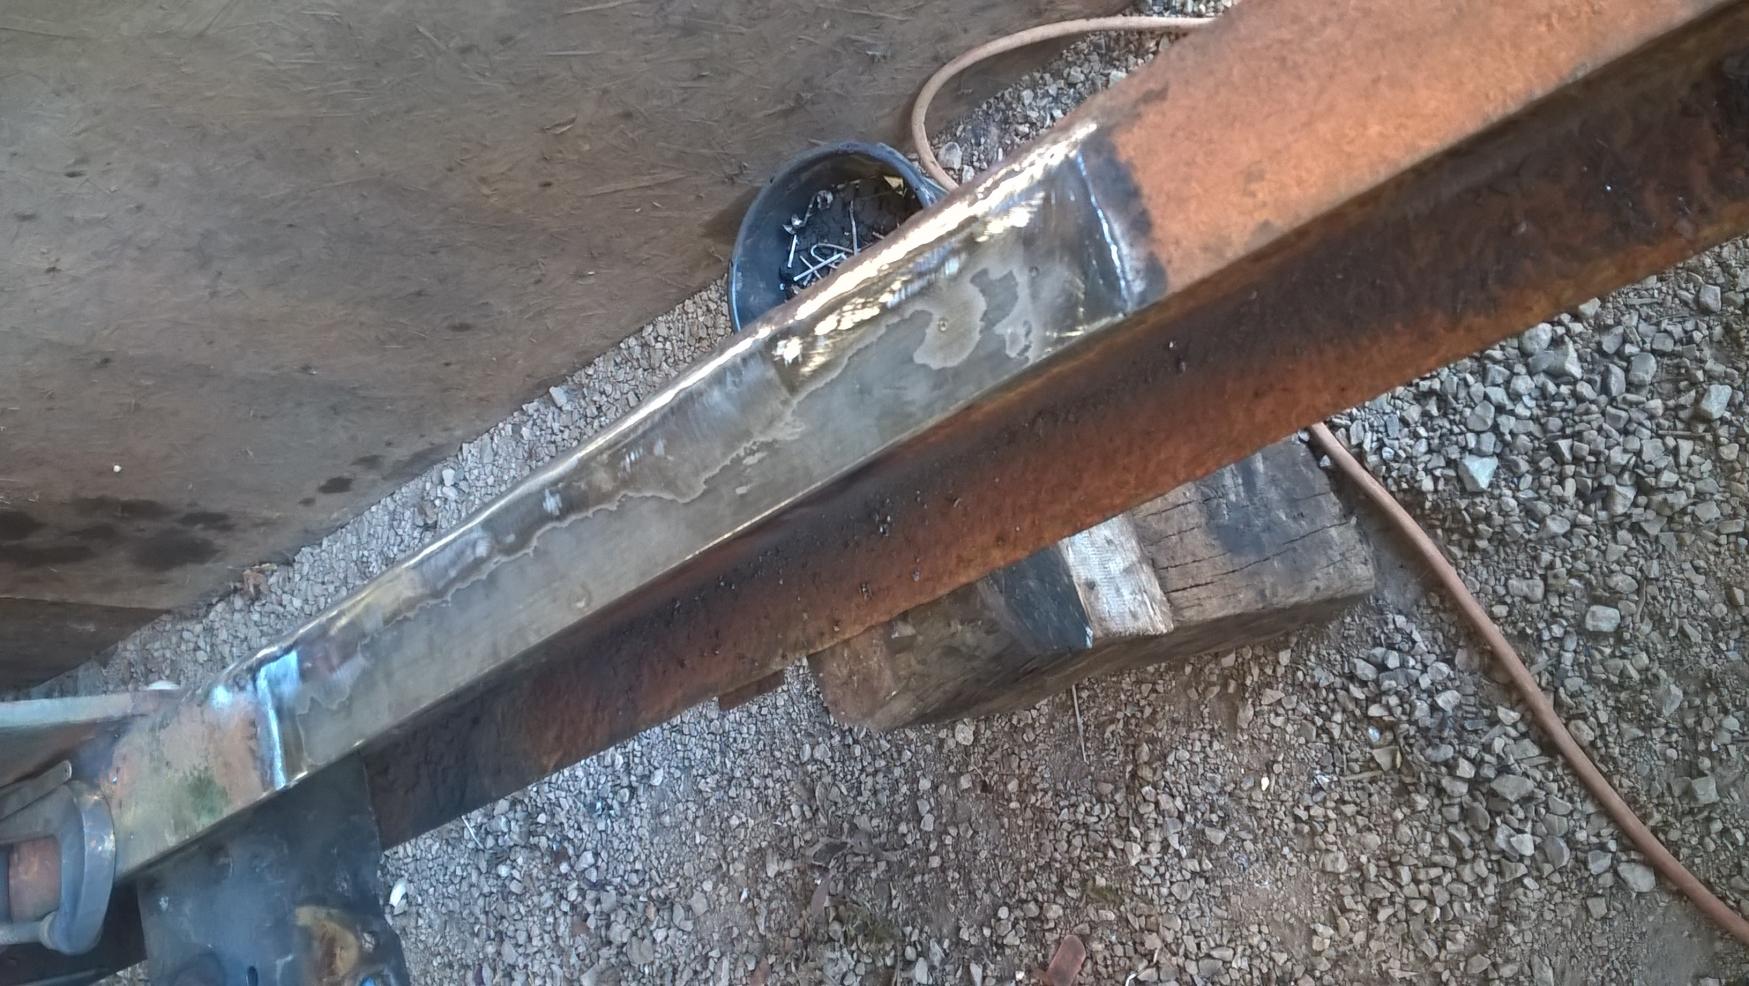
today (sunday) was dedicated to building up the really bad area's of the left chassis rail. in places small holes were starting to appear but after 8 hours continuous stick welding/grinding every thing that needed to be done is so. next stage is to let in the 2 plates into the top of the rails were they are very fin and that will be most of the bad jobs done and dusted.
another weekend of welding then the fun job of riveting the new gusset plates and rear cross member back in!
regards sam


-
-
-
couple of vids of the Rolls Royce NFL running for the first time and riveting some of the plates back onto the front end of the chassis, enjoy every one.
-
what is your last name sam?
i should be able to find you and friend you then i can link you to the vids
regards sam (uk)
-
Hi Sam
yes i do hot riveting i got a friend to take some video riveting some of the plates back into the front of the 980 chassis, are you on face book? i can link the vids to you on there and you can see exactly how i do it.
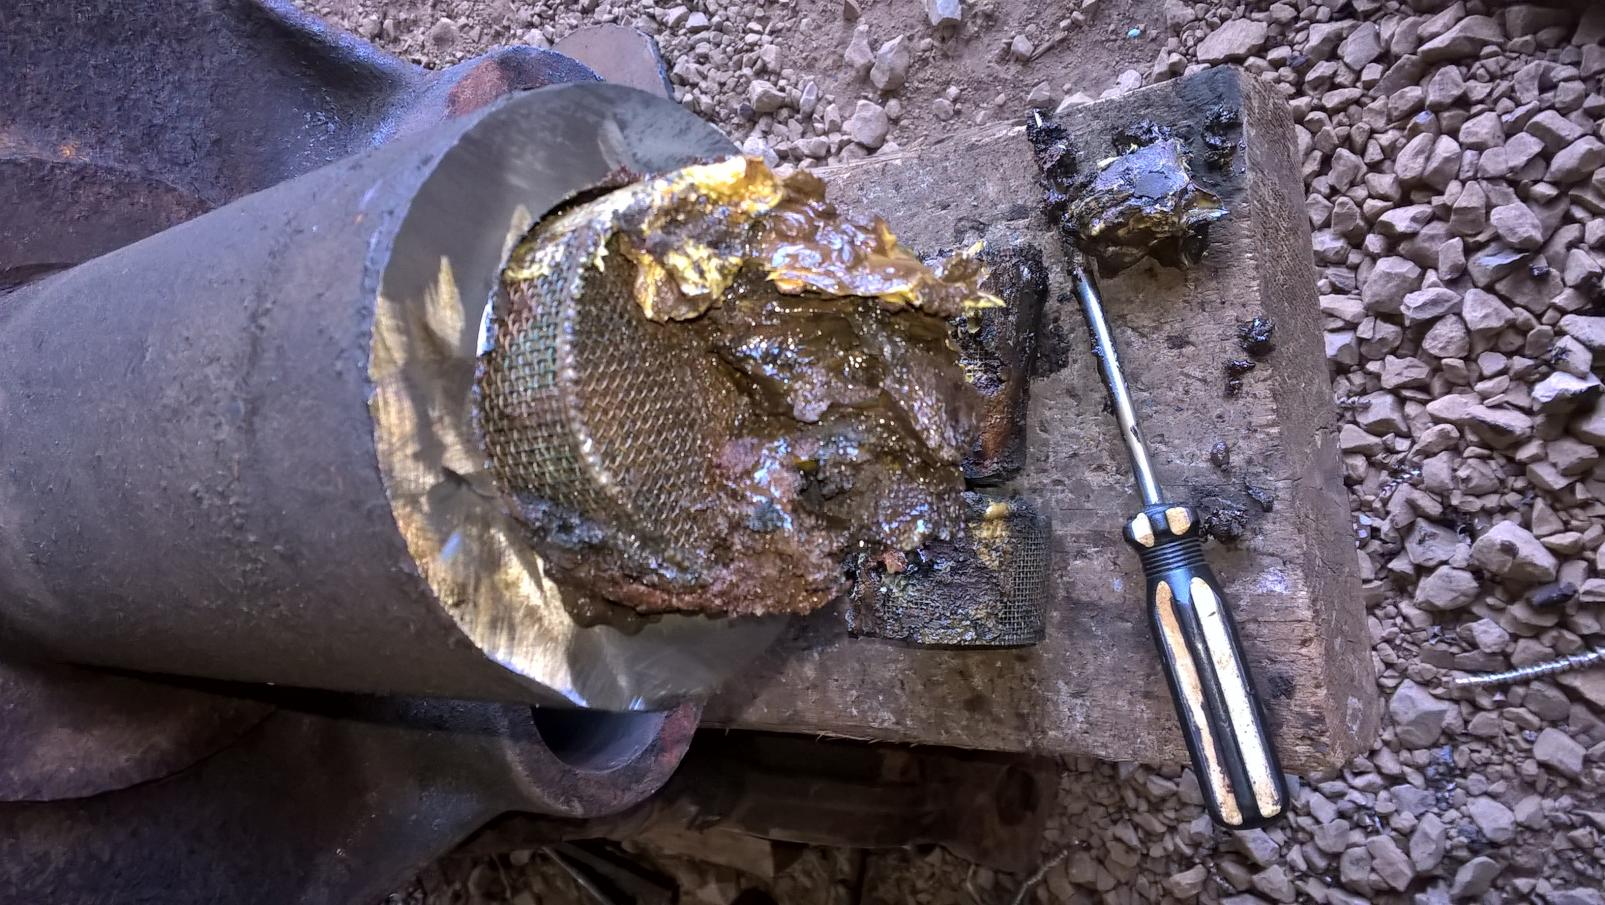
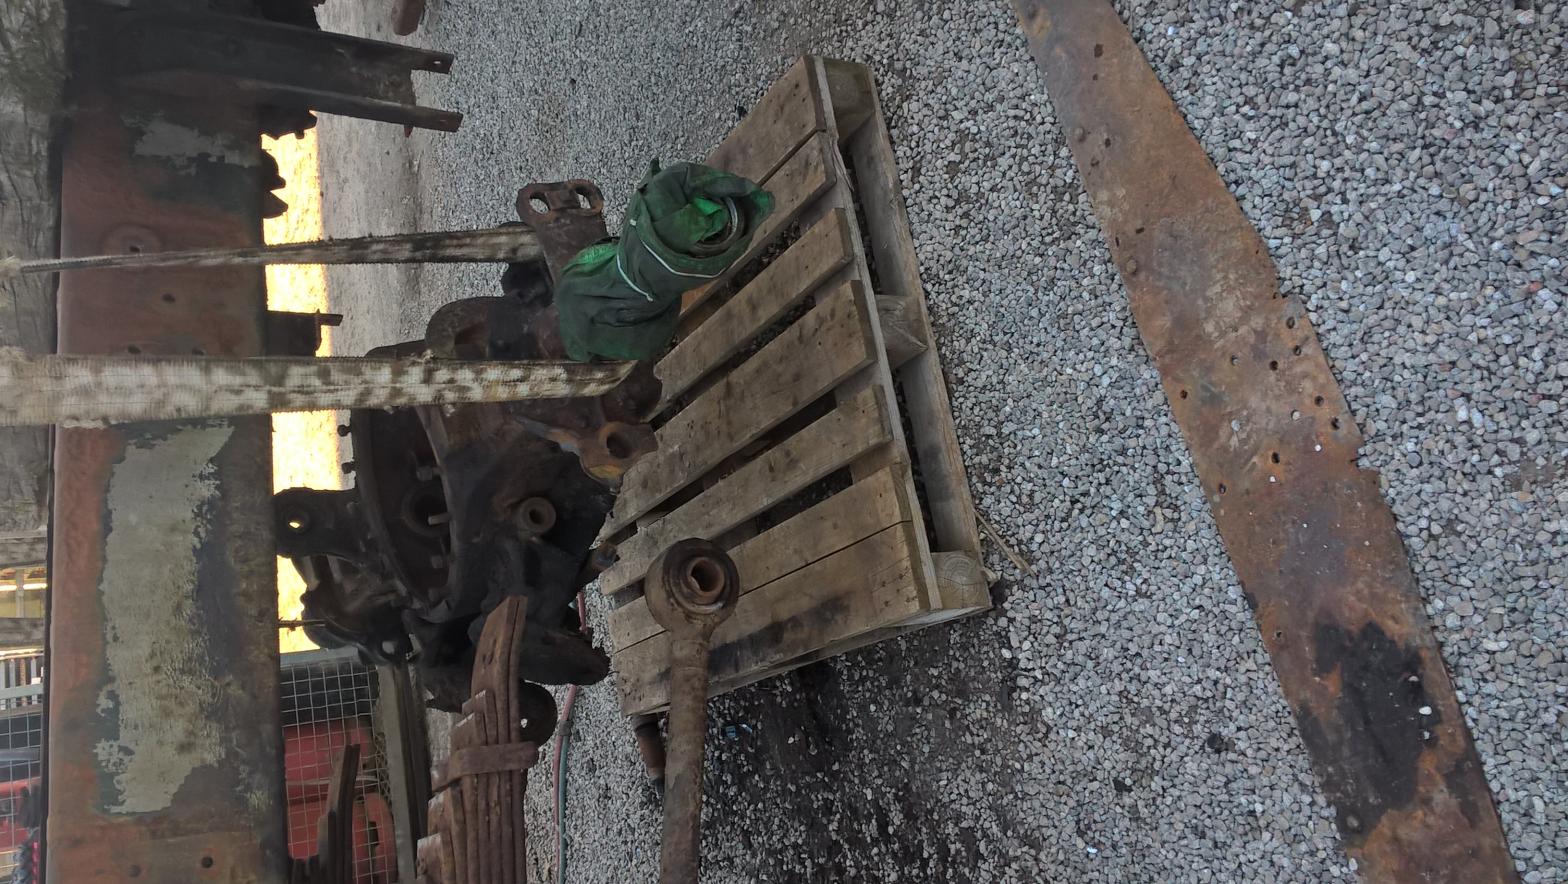
more done on the 980 this weekend, the last of the brakes are removed with the last "S" cam being very resistant which resulted in lots of brute force and using tapered wedges to draw the cam out along with the bushes.
next stage involved removing torque rod pins so the 2 axles can be removed in order to remove the spring assemblies as the springs both sides are no good. the first axle came off no problem what so ever, the second axle started good then went south quickly. with the last pin needing to be cut out with the gas axe which took all of 2 minutes to do then dropped the axle down onto a pallet, with this done the spring packs were removed with ease. all that remains is to remove the torque rods from the chassis and pull the pins on the front springs and the dismantling phase will be sorted. then the fun starts :-D
more to come next week, be glad to start fixing and painting parts soon.
regards sam


-
no need to apologise cosrec it is all interesting and puts some light on the truck's past.
regards sam
-
if you dont mind me pinching one of your pictures i could probably identify the operator by posting on some of the other sites i go on
by all means go for it and i think your correct it is "national breakdown" on the door, it had recovery services on the side of the ballest box. i may be able to take a pic of the remains of the decal on the door if it will come out.
regards sam
-
Sam , there is an assortment of DT halfshafts at home if you need one.
thank you john i am in the process of chasing a complete 980 rear bogie at the moment but is it doesn't work out i shall let you know.
regards sam
-
the truck was in the Ringwood area when i bought it Sean.
-
civilian history is something i am trying to uncover, all i know is the truck was released in 68 and it worked in scotland (no particular area known) for national recovery services. bought by John Keeley for preservation and sat in his yard till being sold last year in a yard disbursement sale. got bought by a friend and sat in his yard (first pics) then i bought her in January this year.
if any one can shed light on "national recovery services" in Scotland or have pics related to this firm that may show my T working that would be fantastic.
regards sam
-
thanks for the info on the bumper decal i could just make out the blue/yellow square with 19 coy painted in black in the top left corner on the other side of the bumper.
according to the diamond t 980/981 book 19 coy started off as 336 company think this is war time? in 1951 336 became 19 company, then in 1965 it became 19 TT squadron, my 980 left service in 1968.
is it possible to find the truck's war time unit? i have the H number and can only assume from the delivery date it either went to Africa, Egypt or Italy.
regards sam
-
Well done Sam , pleased to see your getting stuck in !
cheers John
have been putting it all on face book but it has been mentioned that a lot of people can't see it there so thought it best to start a thread here. know you can keep up with what's happening to

regards sam
-
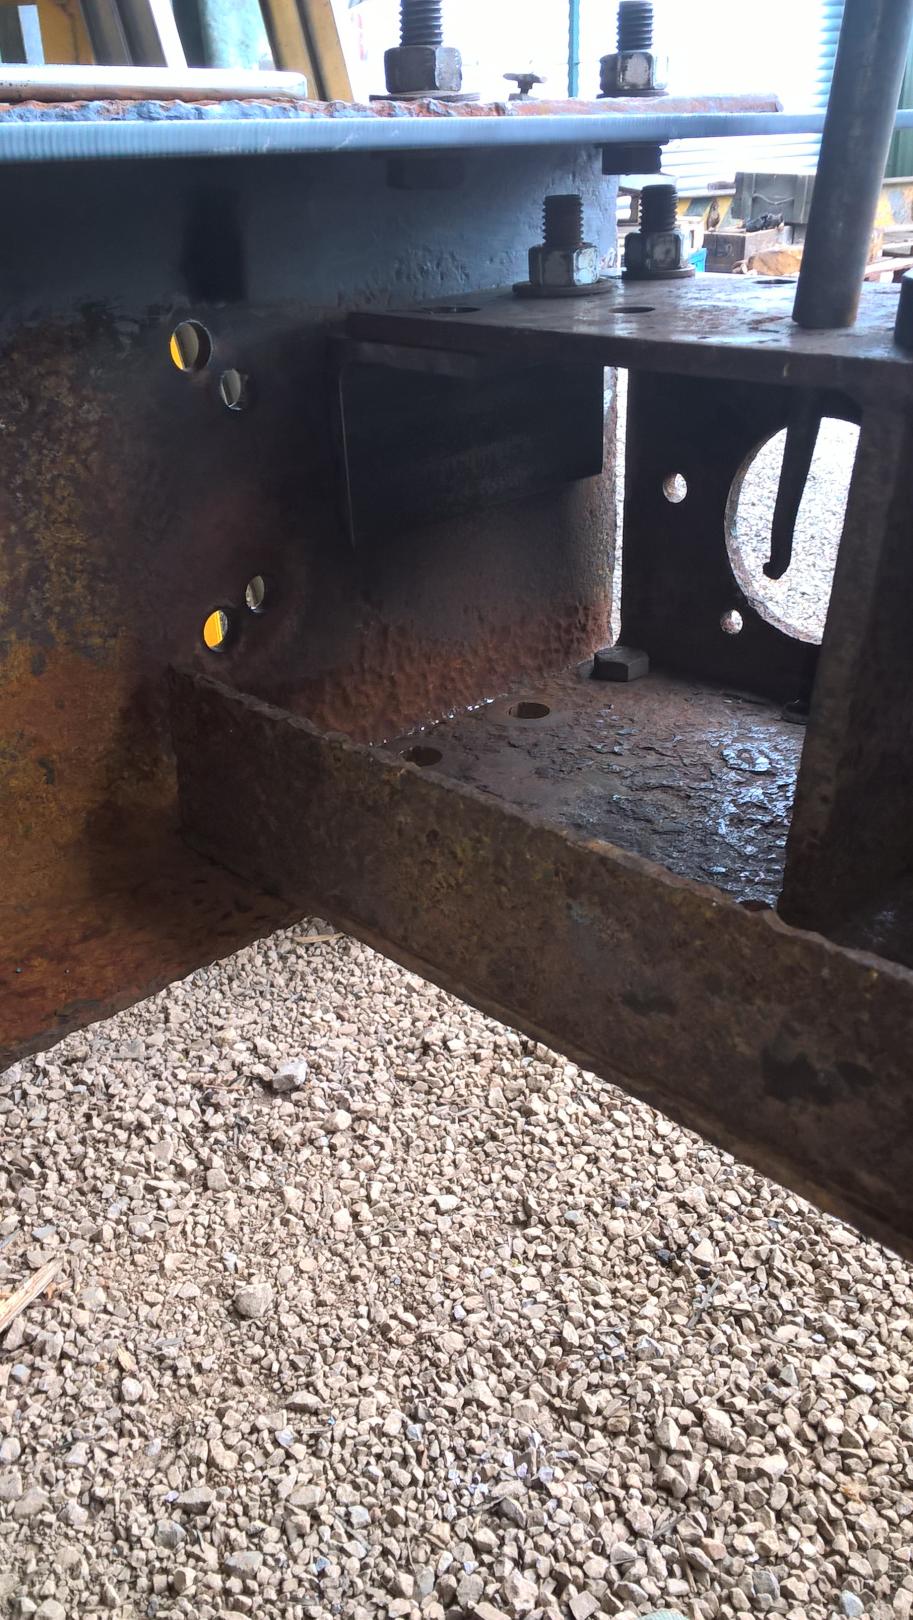
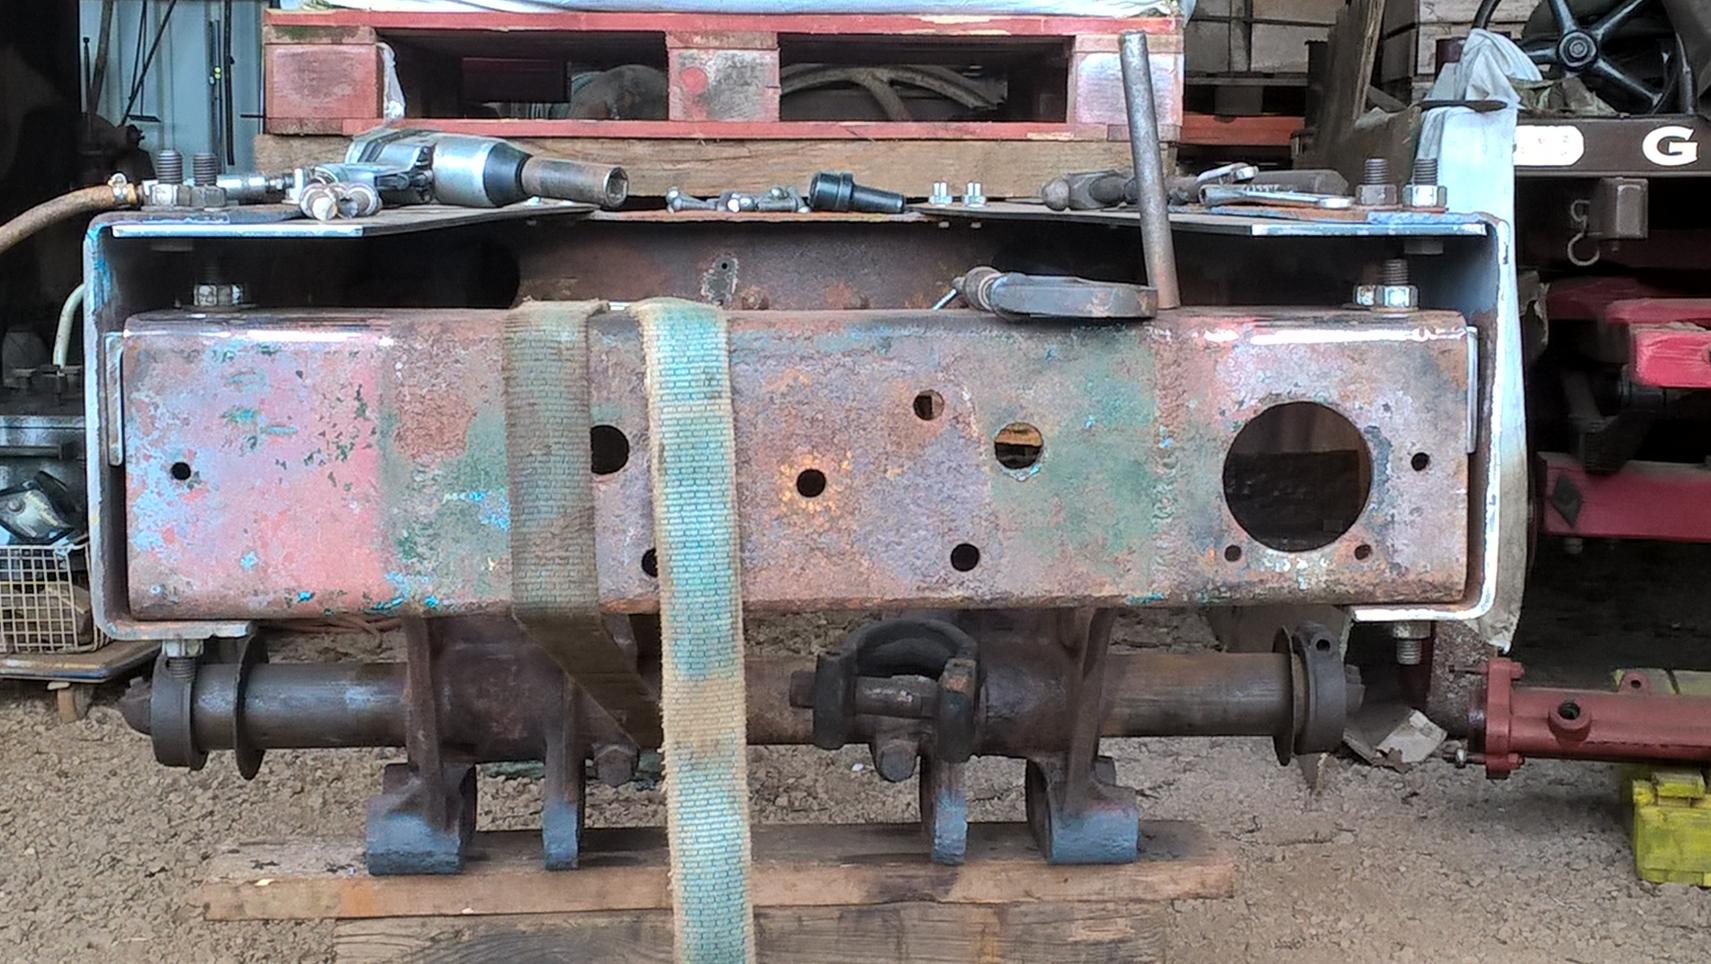
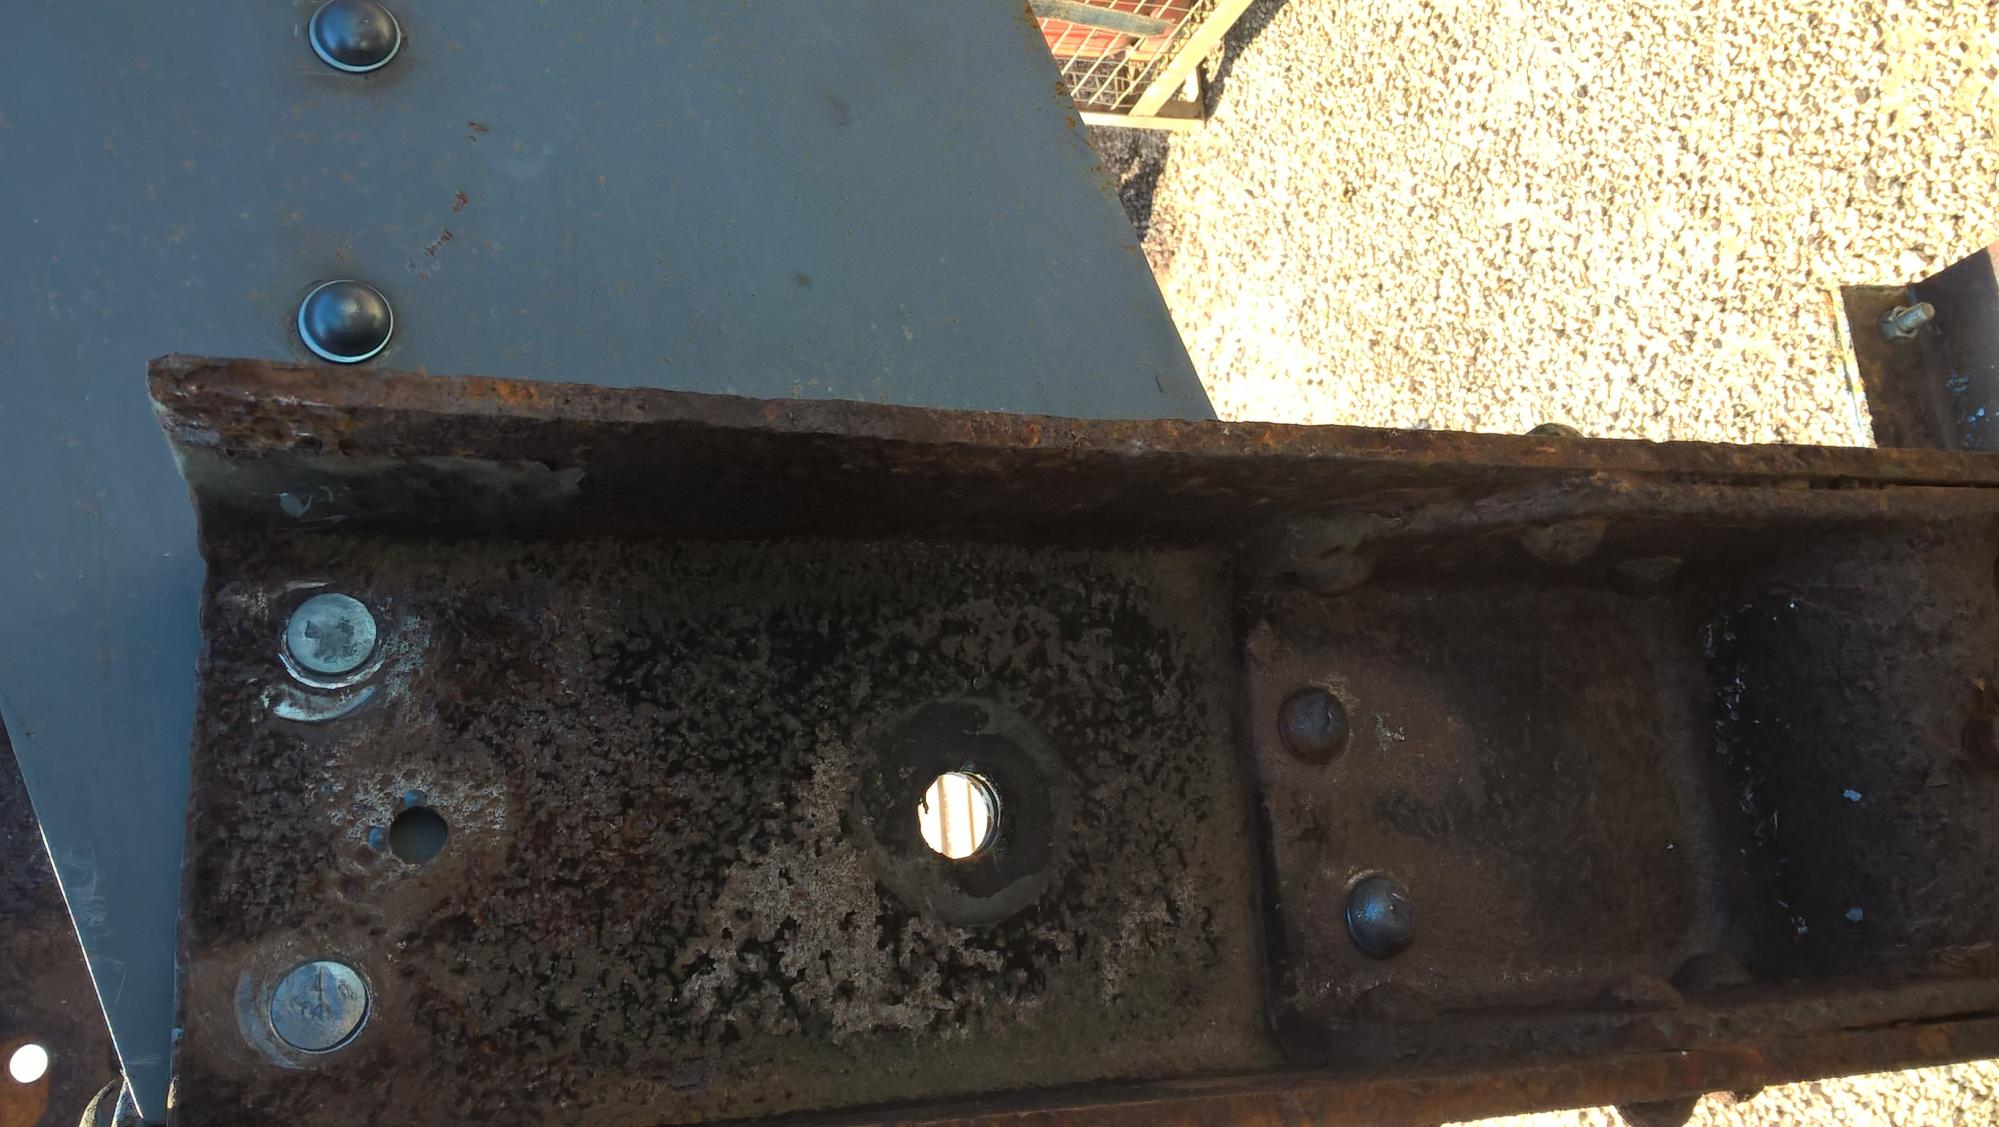
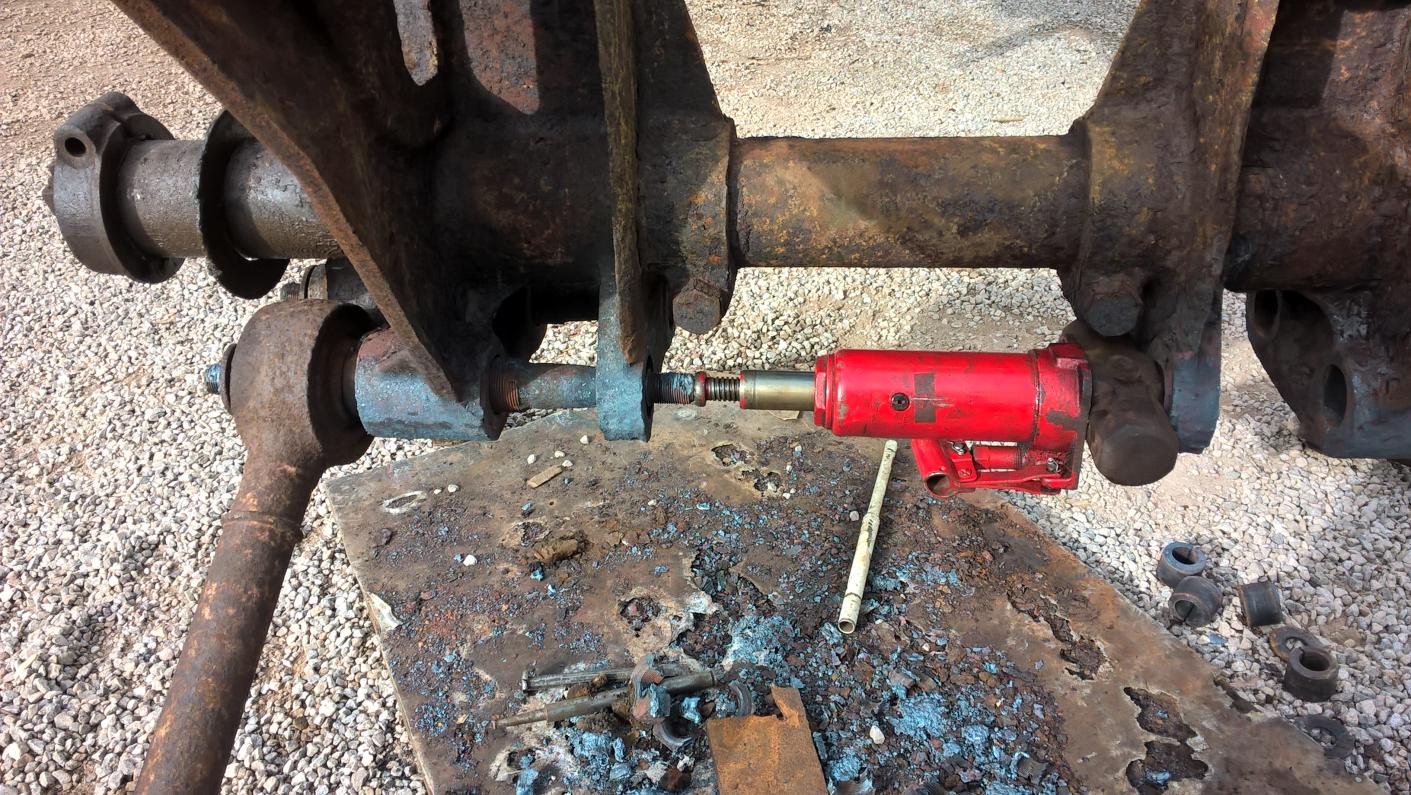
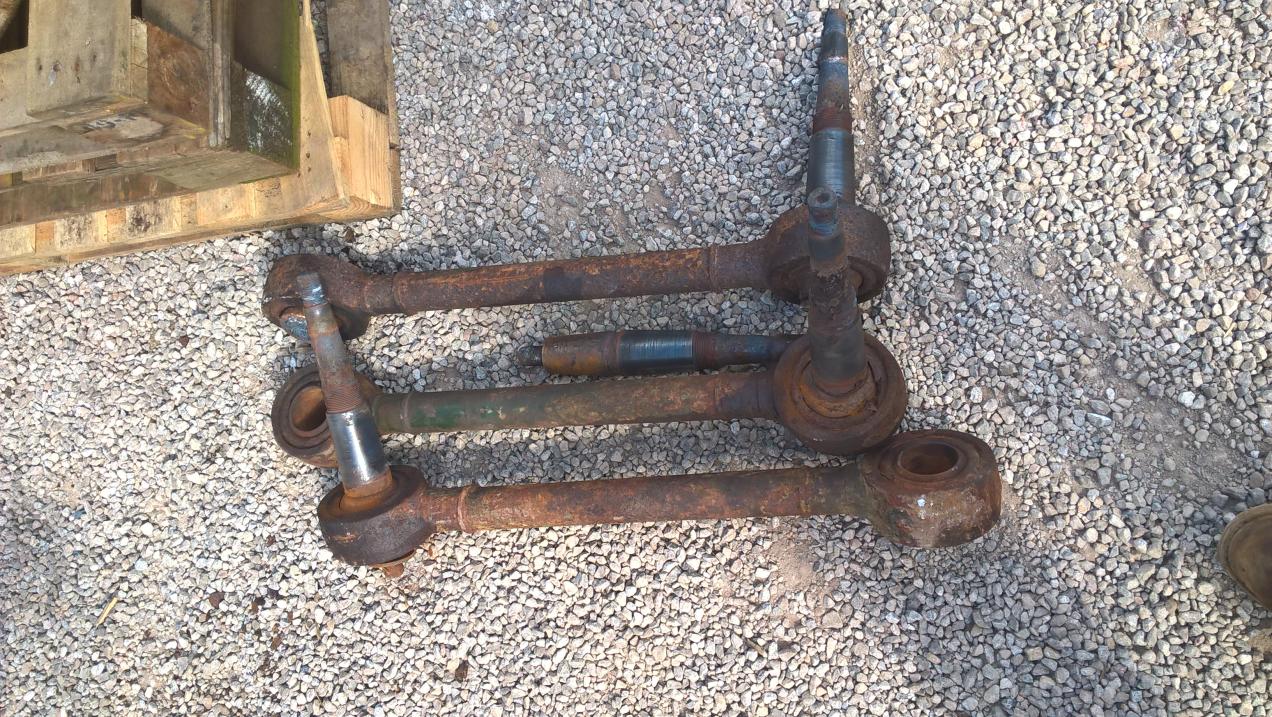
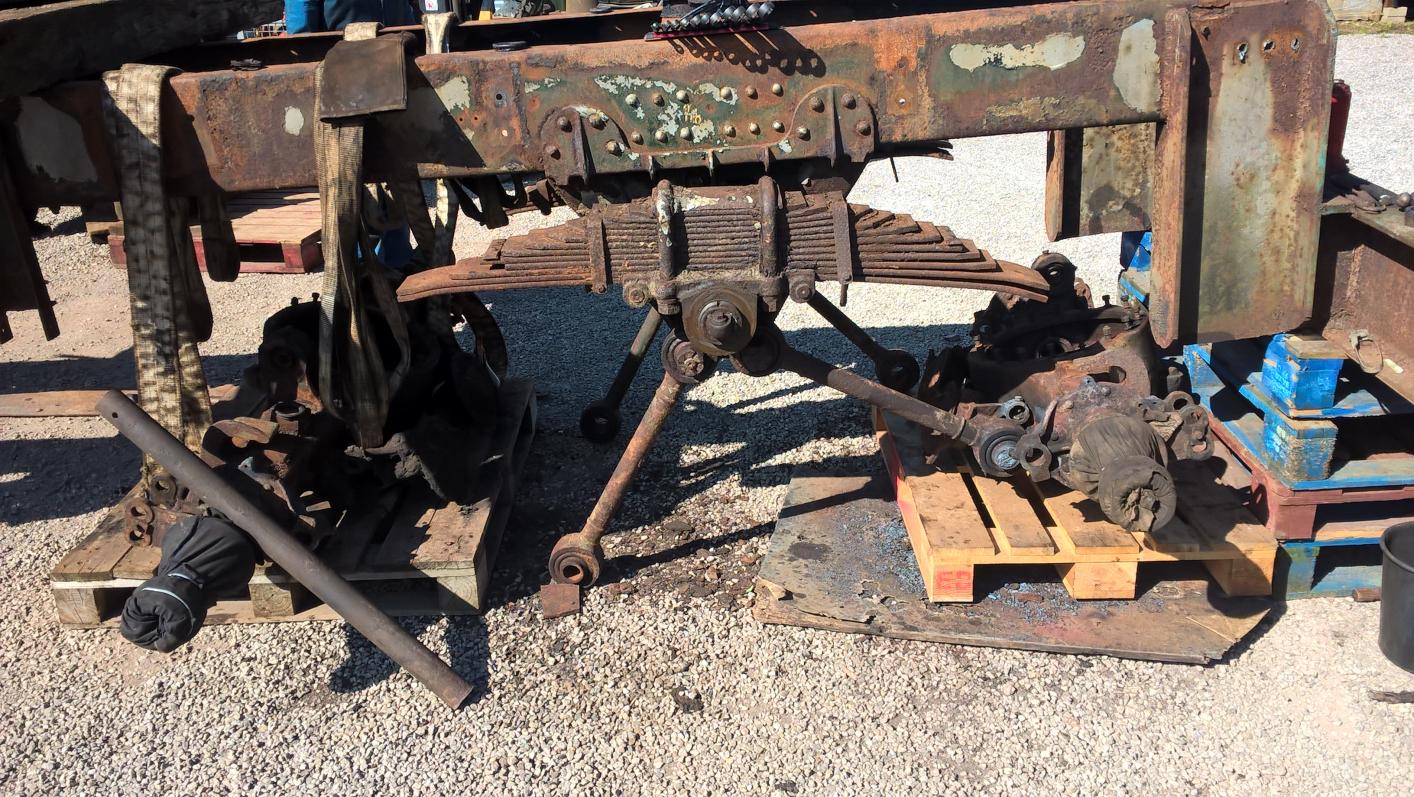
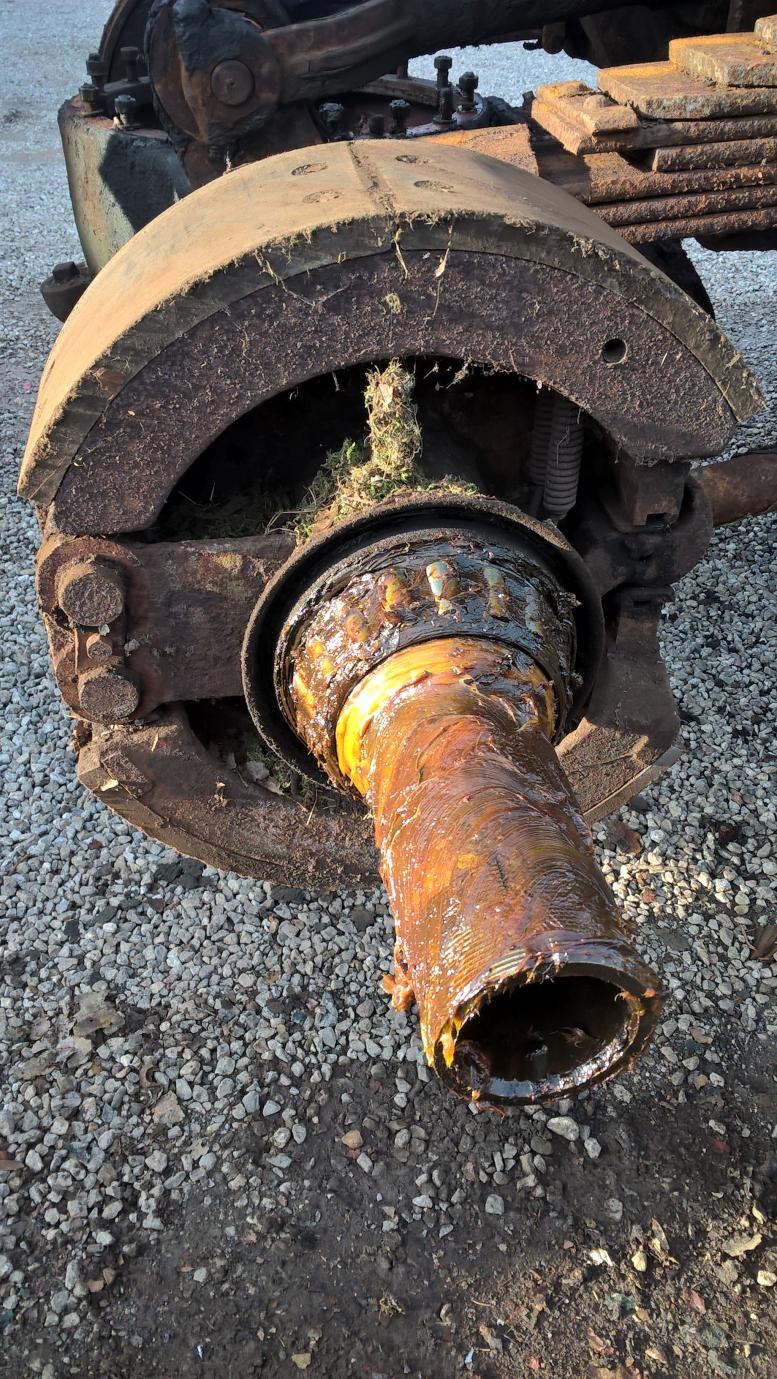
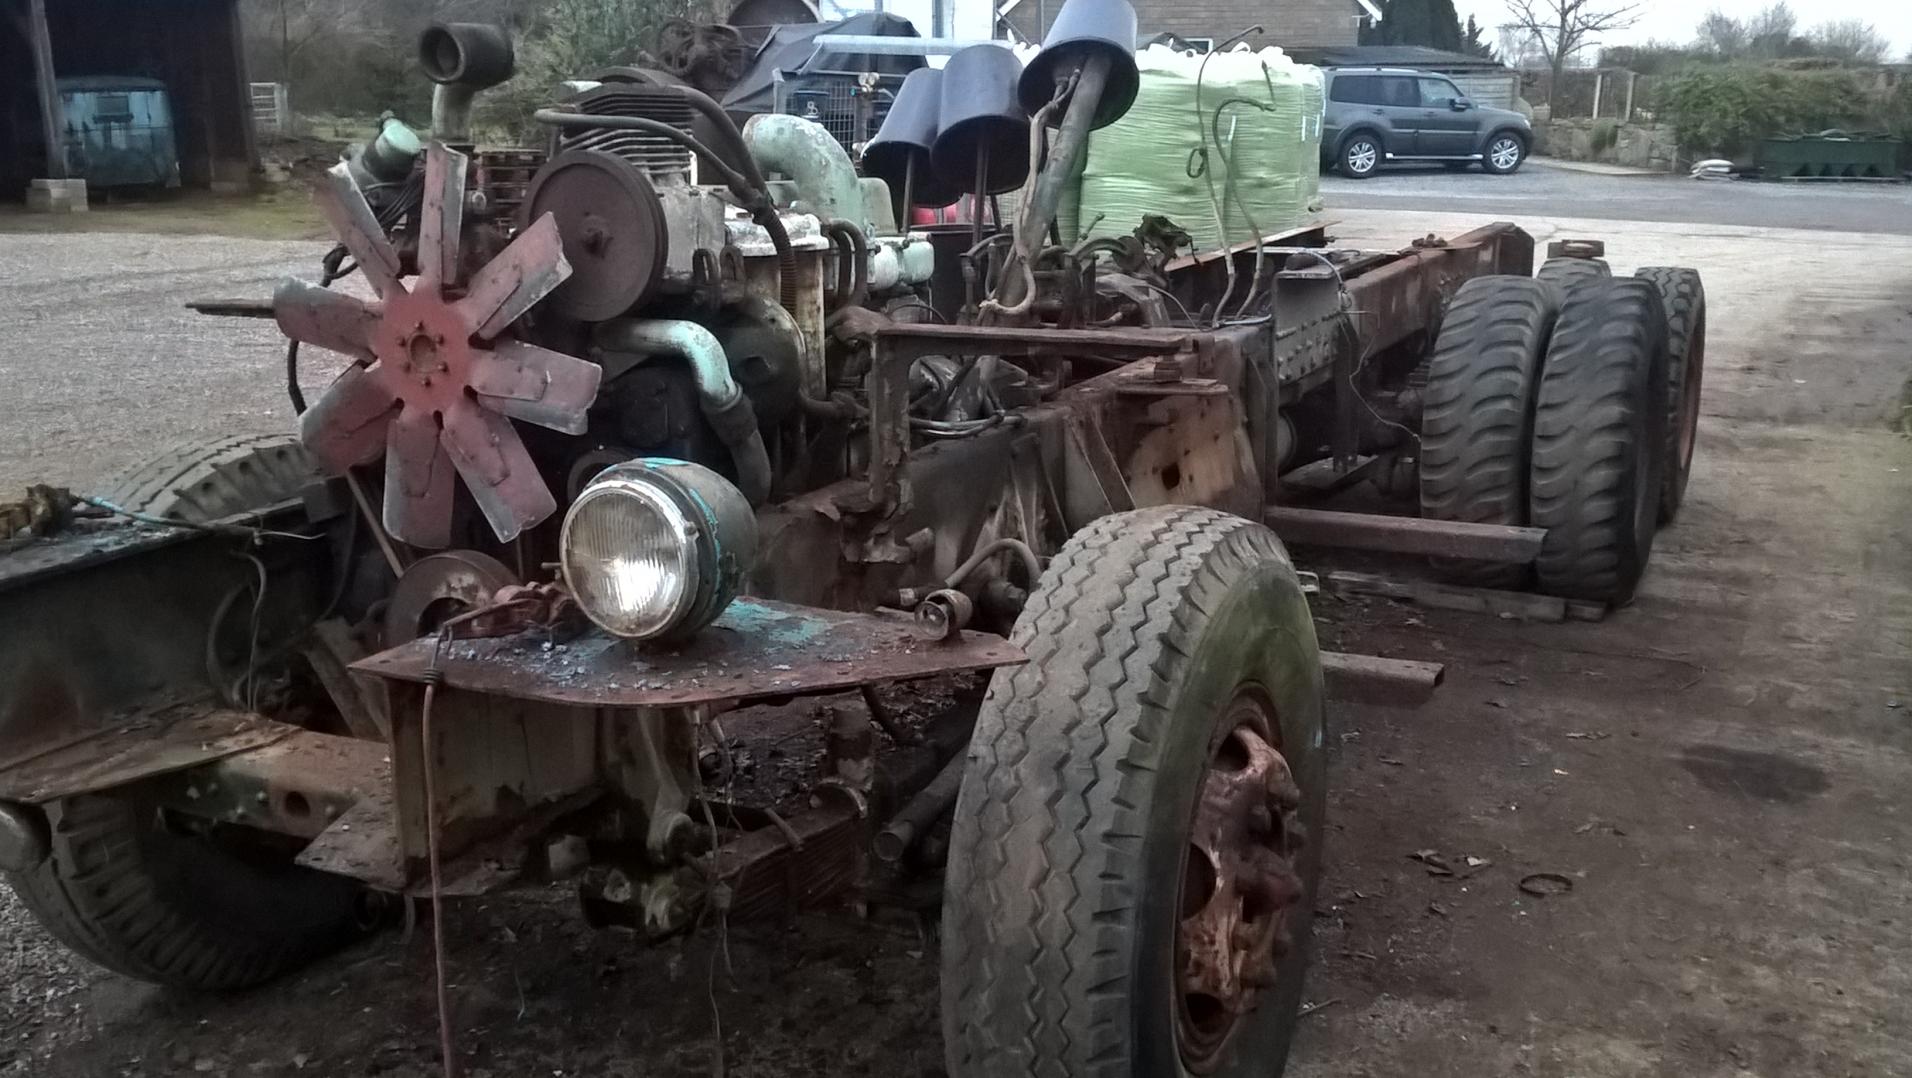
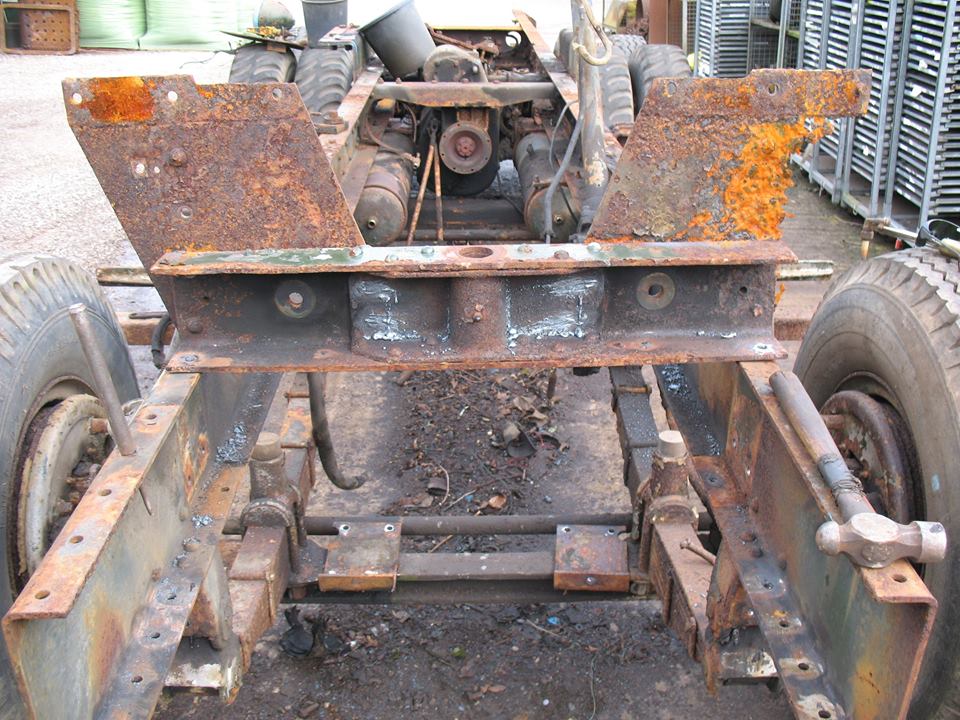
know up to date with the trucks progress the chassis is stripped down to a rolling chassis and i am in the process of stripping the rear axles as these need removing in order to carry out the various welding and riveting repairs required prior the chassis being blasted and painted. the truck has had a very hard post war military and civilian life as the rear cross member is twisted despite being the up rated version, some of the break linings were no longer attached to the shoes, and one of the half shafts is twisted which took a lot of brute force with hammers and wedges to get it out!
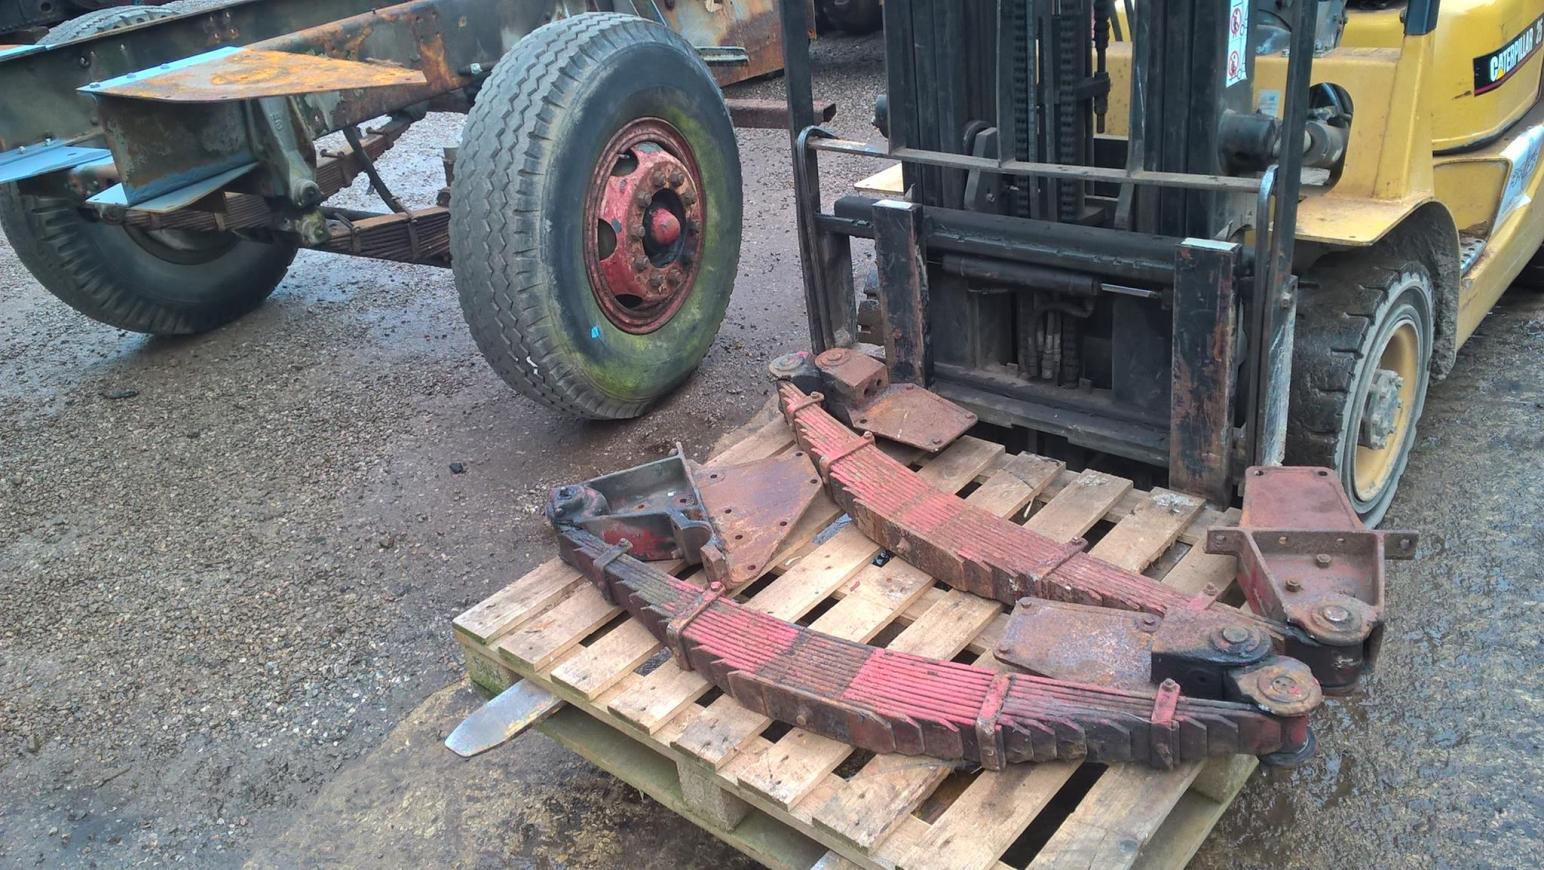
replacement front springs as the originals are beyond repair.
last big stage of the strip down involved diff and hub removal as i can already see the torque rods being a night mare to disconnect. whilst removing the prop shafts i found both diff input shafts require attention as they both have excessive end float on the bearings.


hubs were reluctant to come off due to rust build up inside the drum and the bearings being a snug fit on the axle tube.


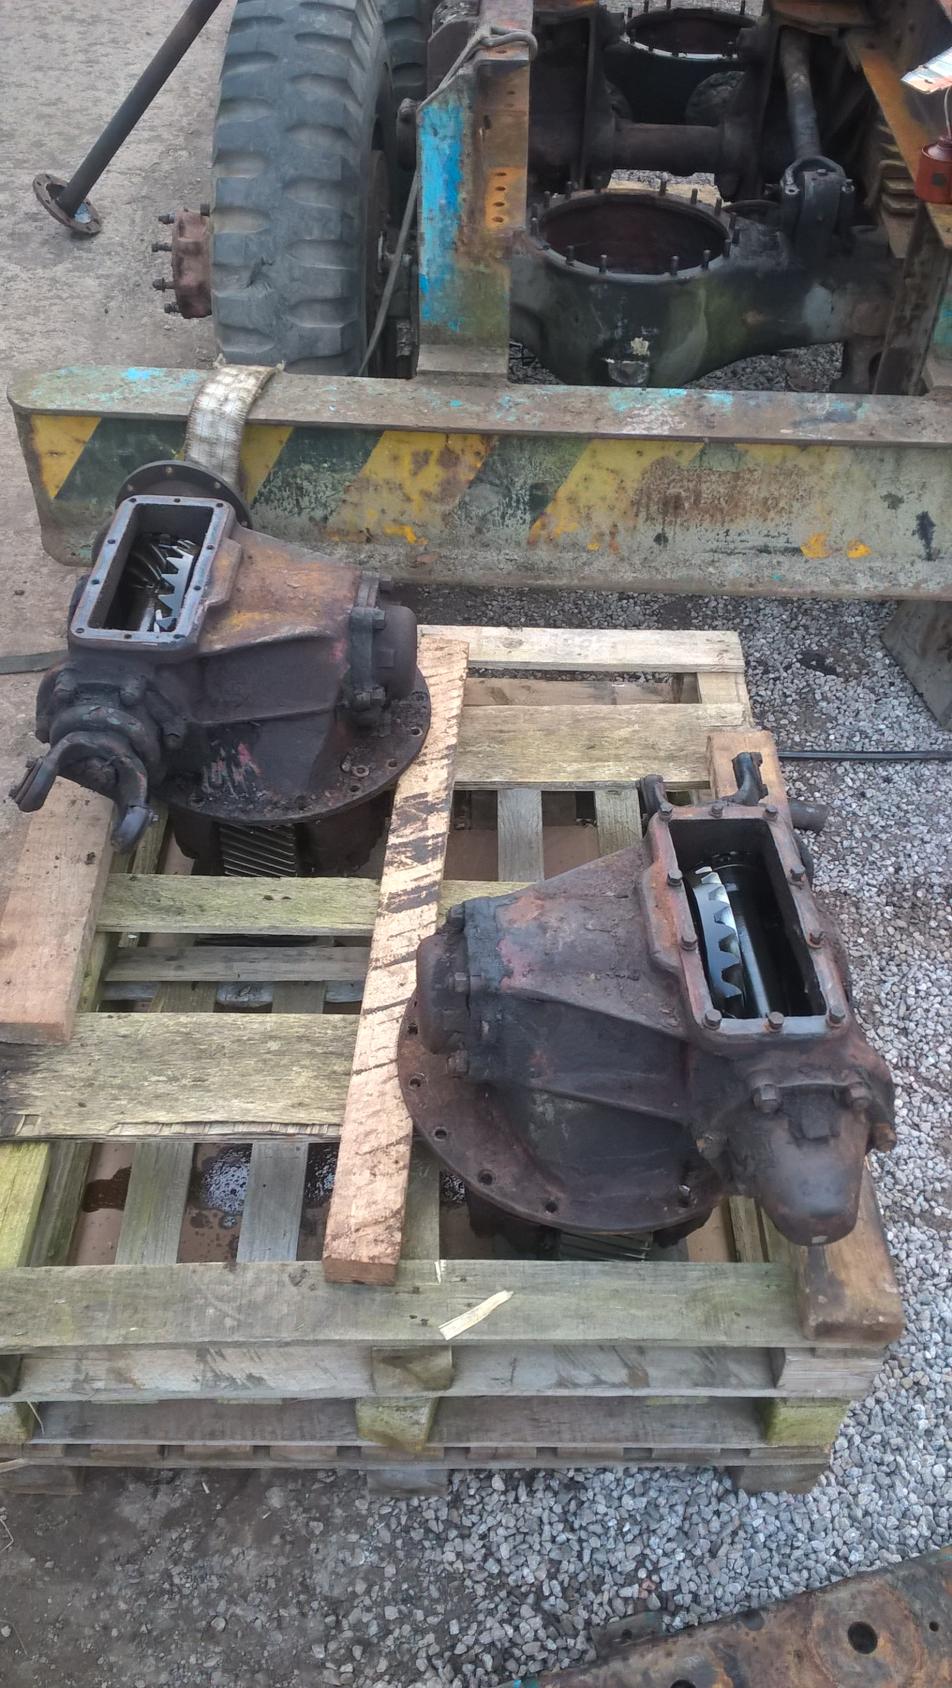

these wheel studs had been broken for a long time probably over tightened being the left hand threaded set, all these studs will be replaced on the rear hubs as all have there own issues.

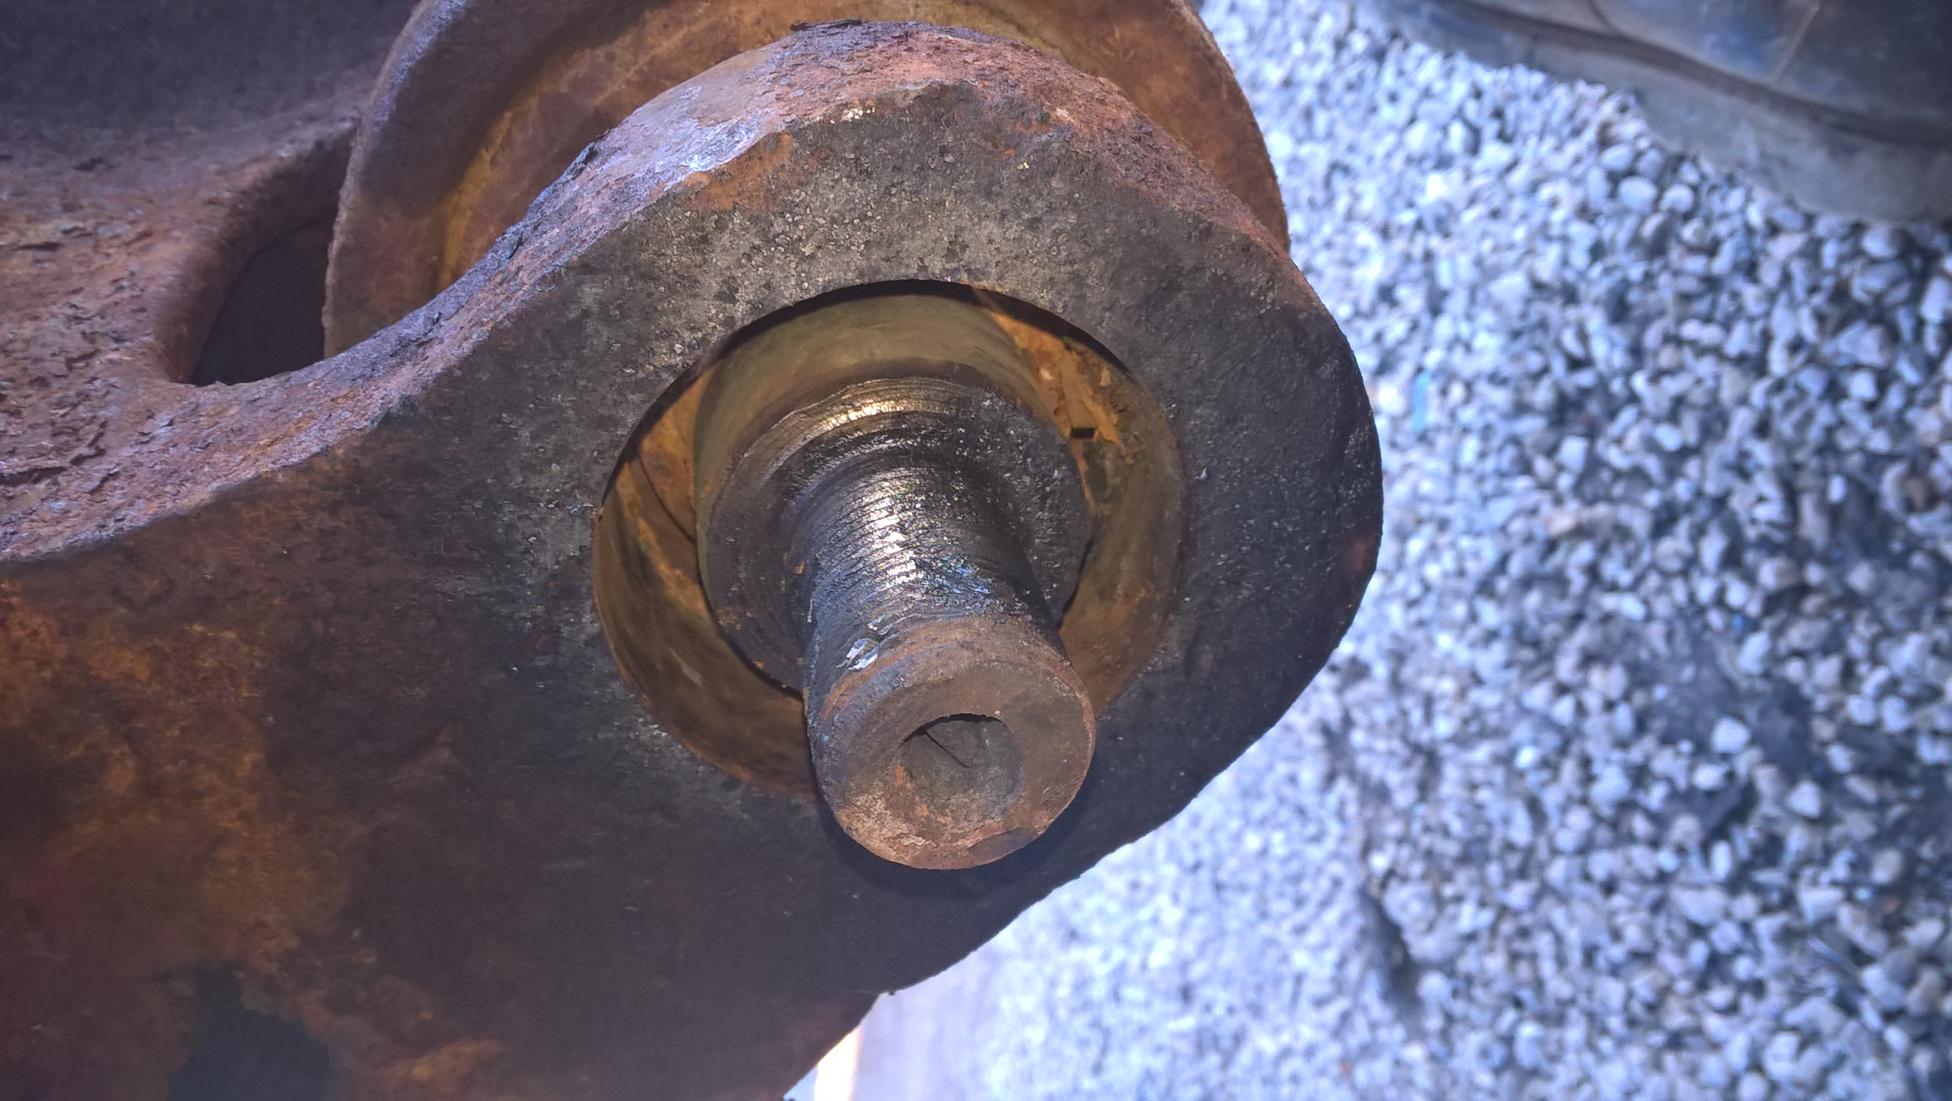
twisted half shaft

broken rear spring which i will replace with good used springs.

break lining remains sat in the bottom of one of the drums.

New gusset plates are being profiled and should appear shortly, various parts are being sourced and hoping to be well into the chassis repairs in the next 3-4 weeks long as the axles come out. plan is to take 1531 to south cerney this year (4,5&6 august) as a completed rolling chassis which hopefully is a realistic goal.
more to come in the next couple of weeks.
regards sam
-
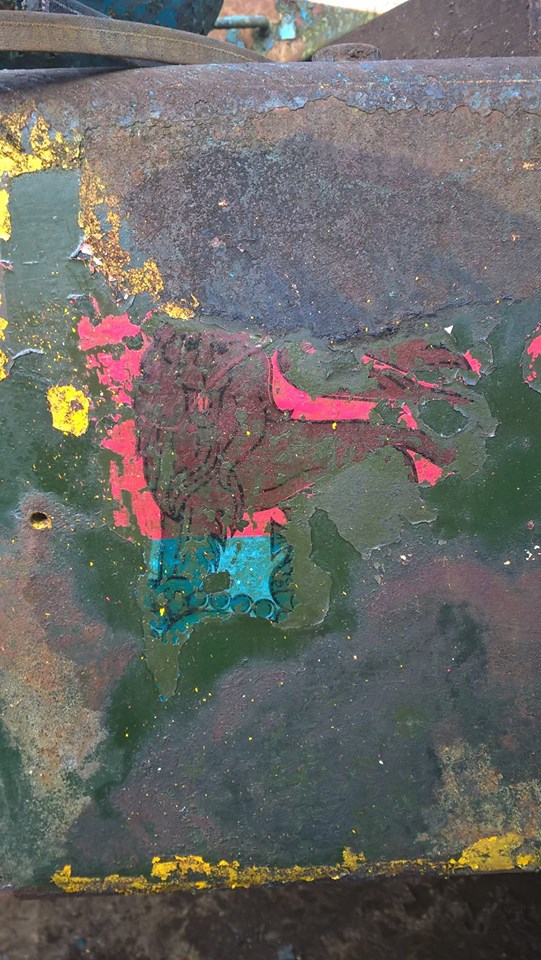
as the disassembly phase continues more bad bits pocked their heads out, when i removed the bumper i found the lower bumper support plates had rotted away so they were on the list to be removed and new replacements riveted back in. also while removing the bumper the post war unit marking was revealed from under the black & yellow civilian paint, which after talking to Graham Booth the truck was with 19 COY tank transporters.
also found the trucks chassis number on a post war registration sheet so the trucks numbers are as follow:
chassis number: 9801531
war time "H" number: 5109766
post war reg number: 20 YZ 65
release from MOD: 14/5/68


another Diamond T 980 restoration
in Blogs of MV restorations
Posted
thank you for your positive comments John got a long way to but can't wait for the first proper drive.
1531 has been in the yard 6 months and finally her chassis is ready to be blasted & painted not sure why it has taken me so long? front axle is strapped to the operating table ready for tomorrow hoping it isn't as bad as the rear axles!
replacement ballast box mounts under way.
110 rivets, 8 feet of angle iron and nearly 24 feet of 10mm flat plate and it is nearly good as new lol.
front axle ready for dismantling tomorrow.
chassis ready to go for a freshen up.
still hoping to take 1531 to south cerney this year as a rolling chassis fingers crossed.