


Minesweeper
-
Posts
976 -
Joined
-
Last visited
-
Days Won
5
Content Type
Profiles
Forums
Gallery
Blogs
Events
Articles
Store
Downloads
Posts posted by Minesweeper
-
-
great link, shame about their grasp of history "The LST program was developed in response to a need for armored infantry divisions in invasions by sea. England’s failed invasion at Dunkirk prompted Prime Minister Winston Churchill..."
Unbelievable!
I would like the guy who wrote all that deliver alecture on the history of WW2. We could all learn something!
-
That's a bit sad.
Tony
-
Old vehicles are exciting! Well done!
Tony
-
Hello Roy!
So pleased that you have joined in - your knowledge of the "early scene" will be much appreciated on this Forum!
Your new book is excellent and I would thoroughly recommend it to anybody who is interested in Transport during the Great War era!
Tony
-
The Squadron is reforming
I wonder how long it is since these two RFC Crossley types came together.
Tom
Wonderful to see the pictures! I look forward to seeing them in the flesh!
Tony
-
OK!
Thanks again!
Tony
-
Many thanks for that information - something that we have never heard of!
I think that probably most of our "spares" are already heavily rusted and that there would be no real benefit in doing anything further to them. However, something to bear in mind for the future - and thanks again!
Tony
-
A really wonderful piece of work - congratulations to the Builders.
-
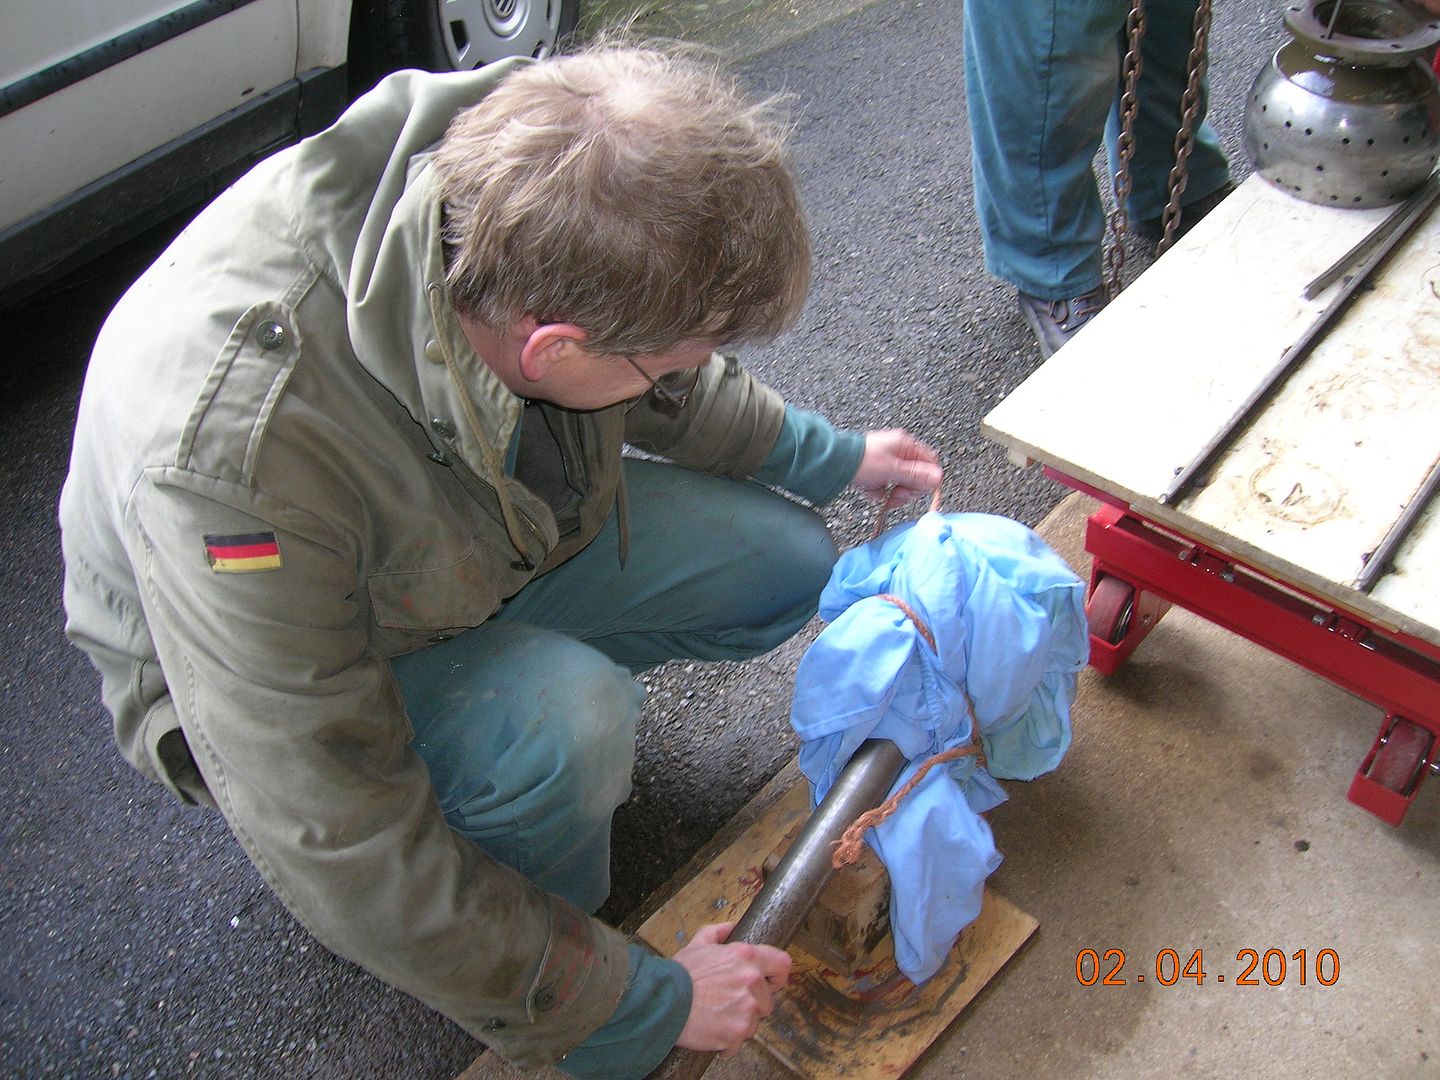
Still doing the same thing, but as i am doing my Emperor impersonation from "Return of the Jedi" i thought i would add another photo:
Always useful having odd bits of furniture around the shed:
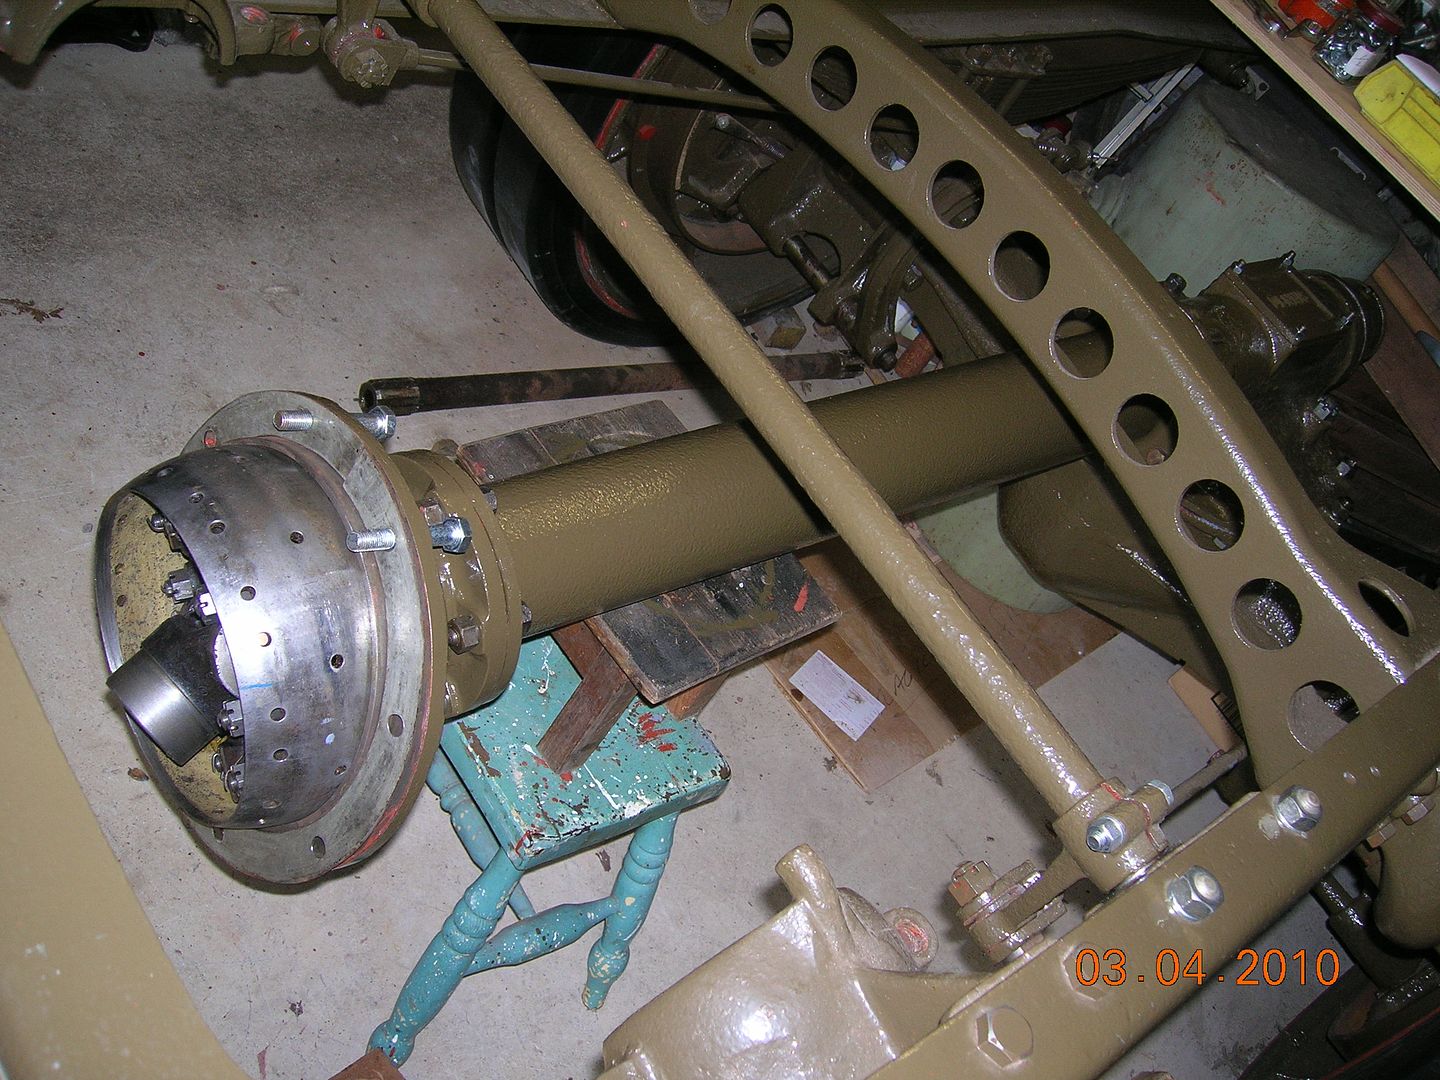
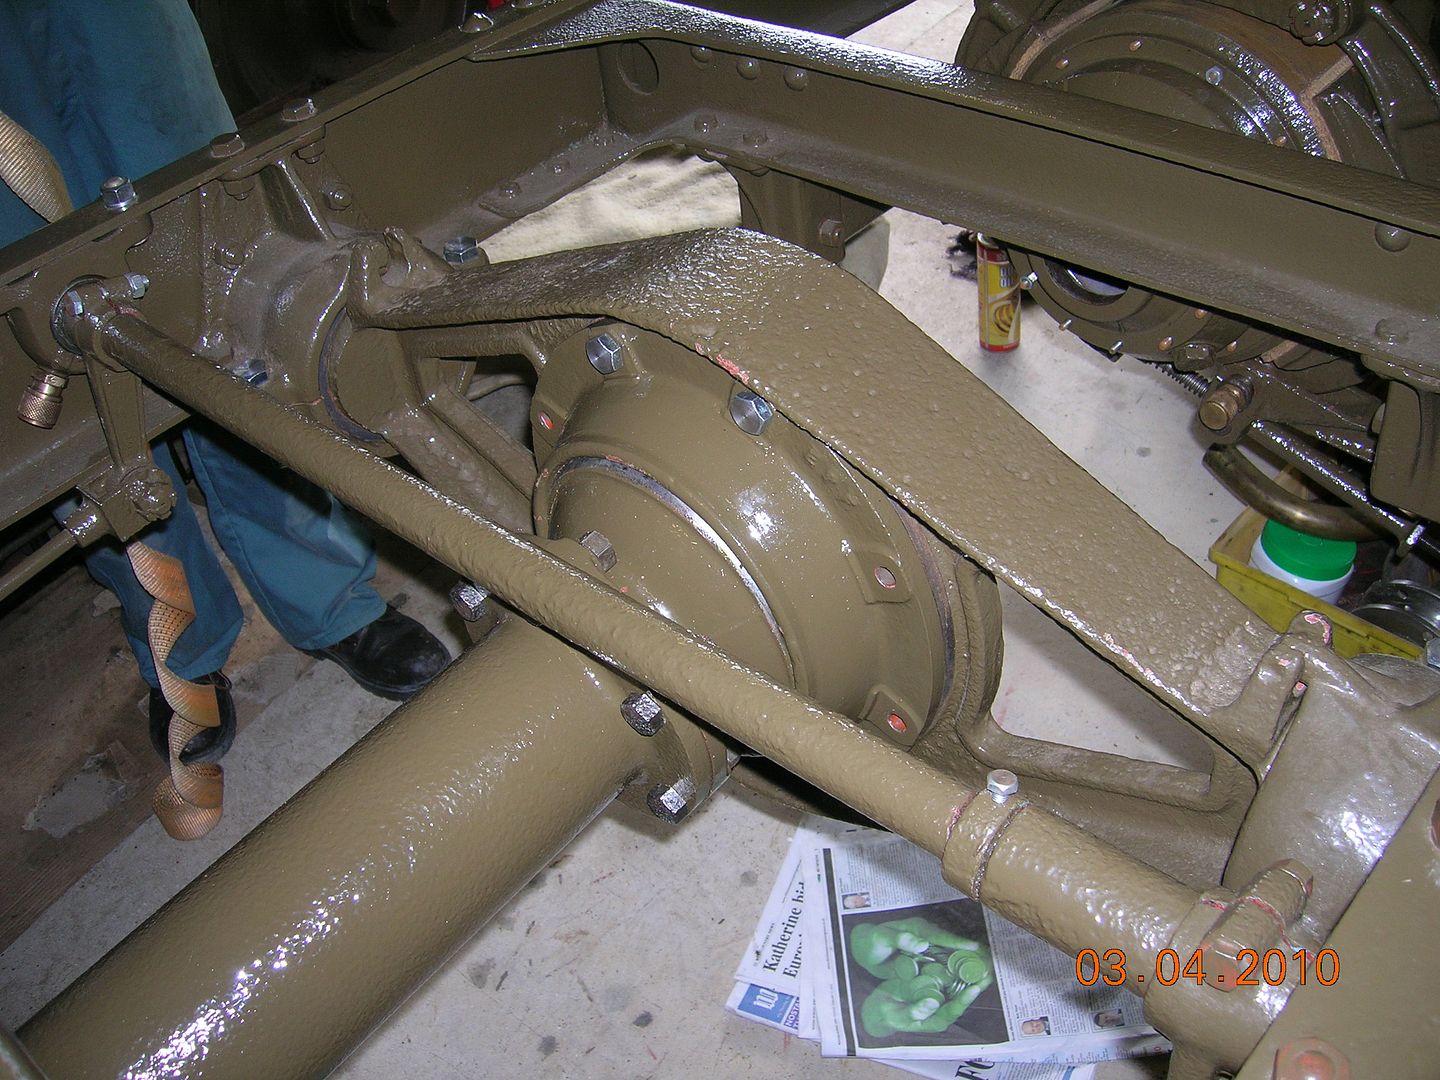
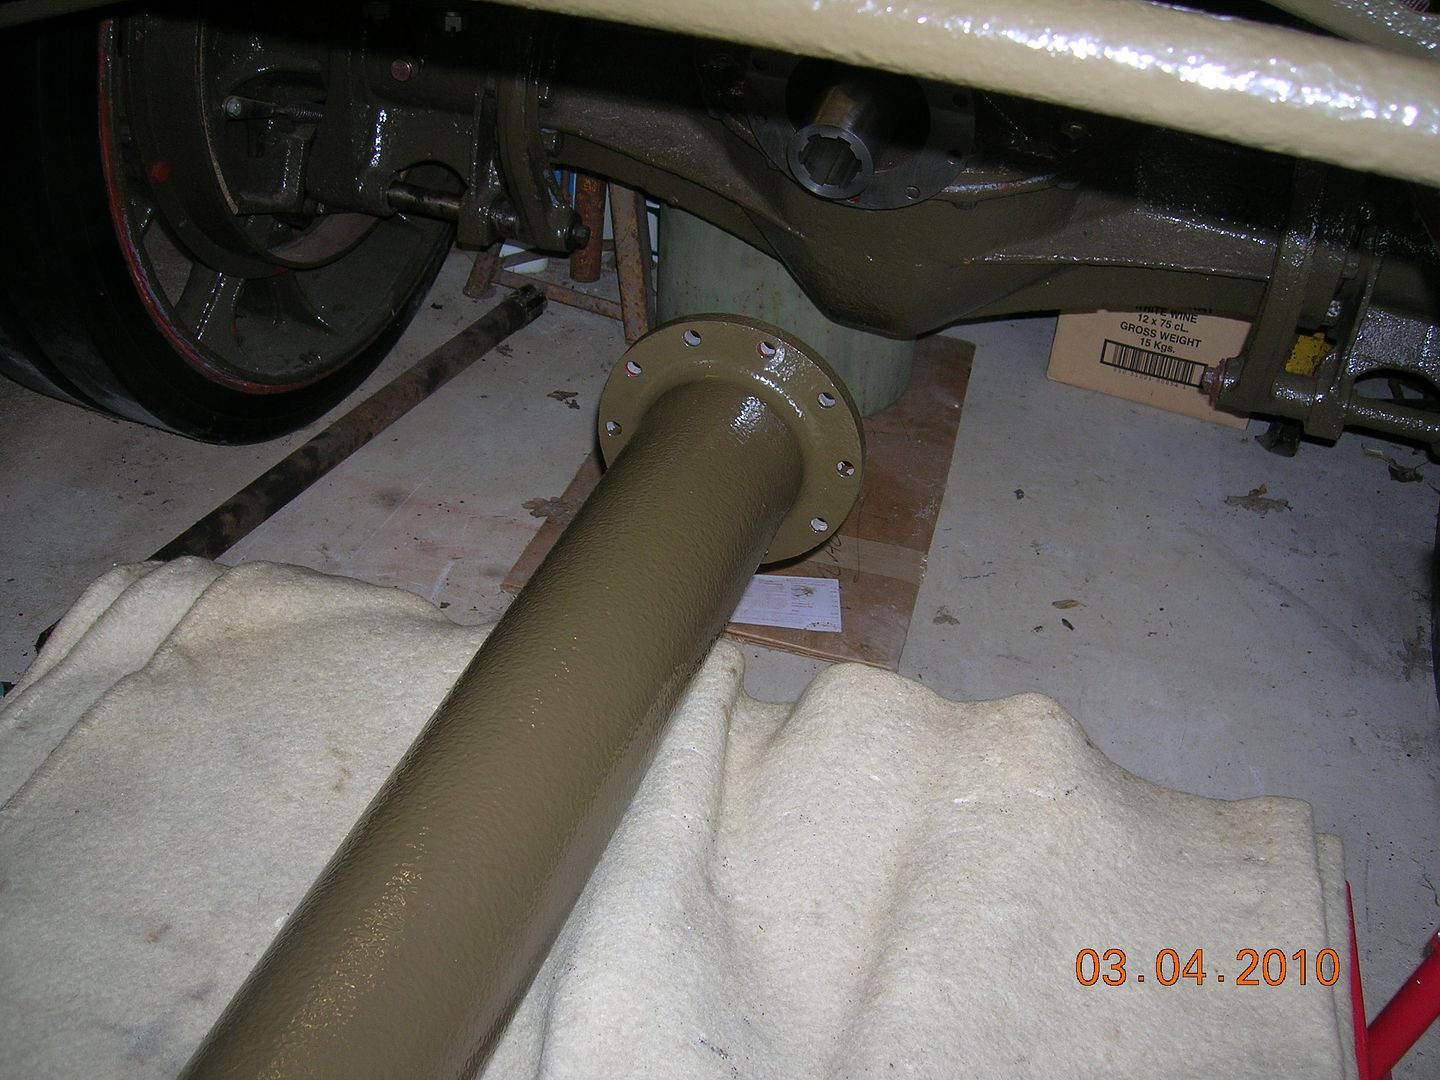
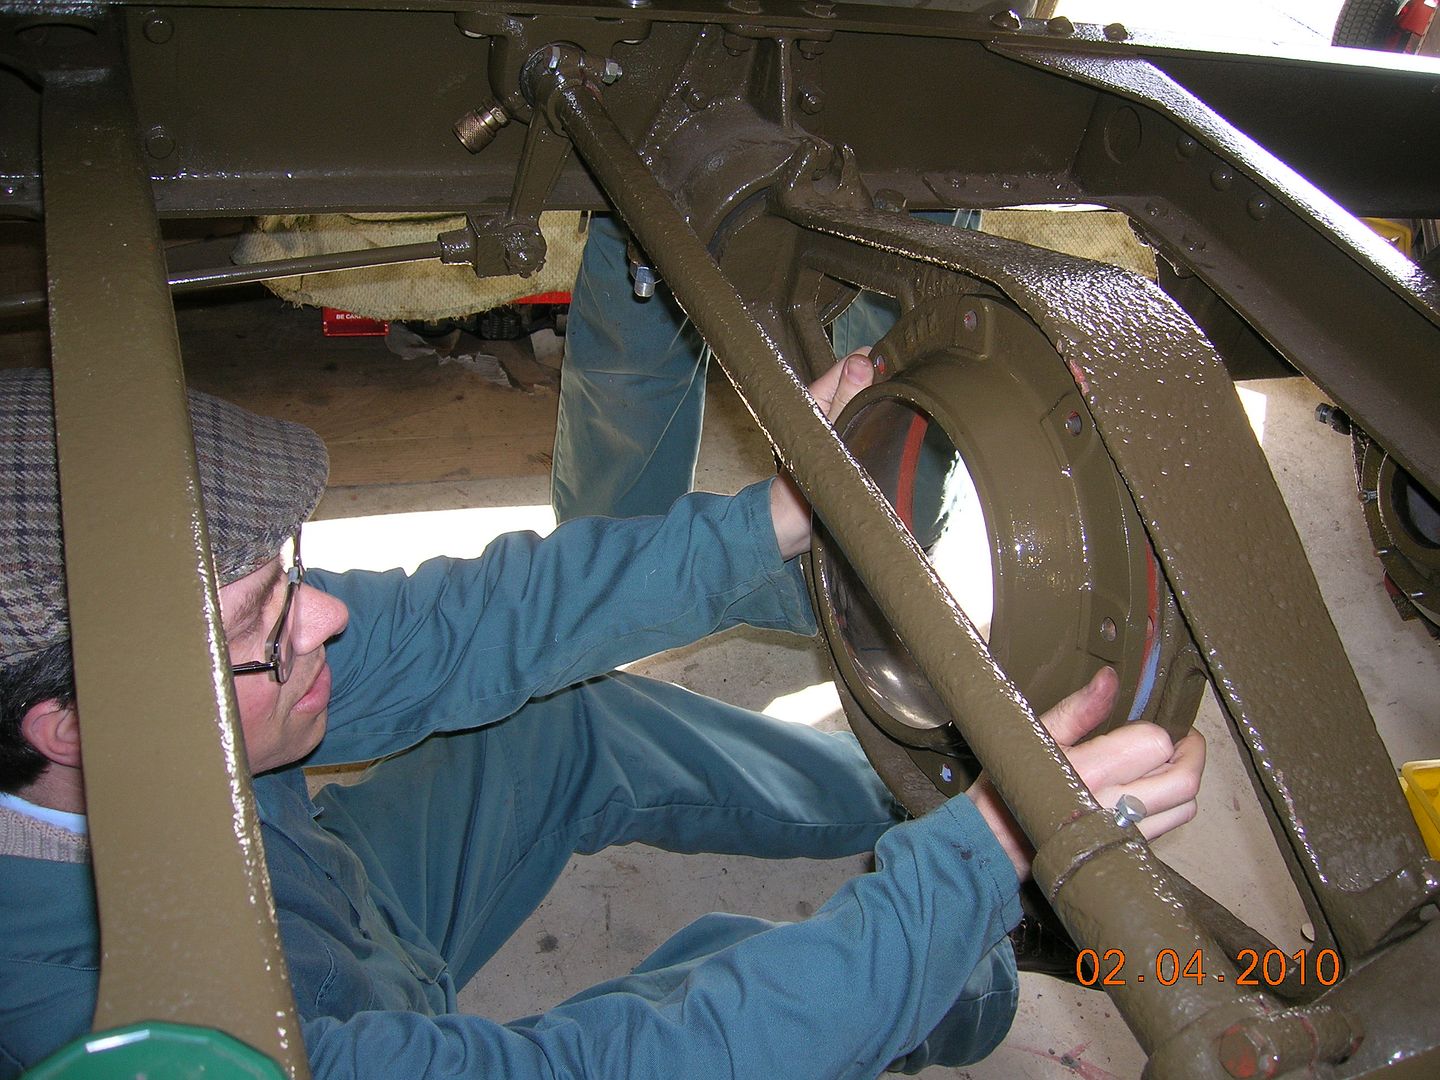
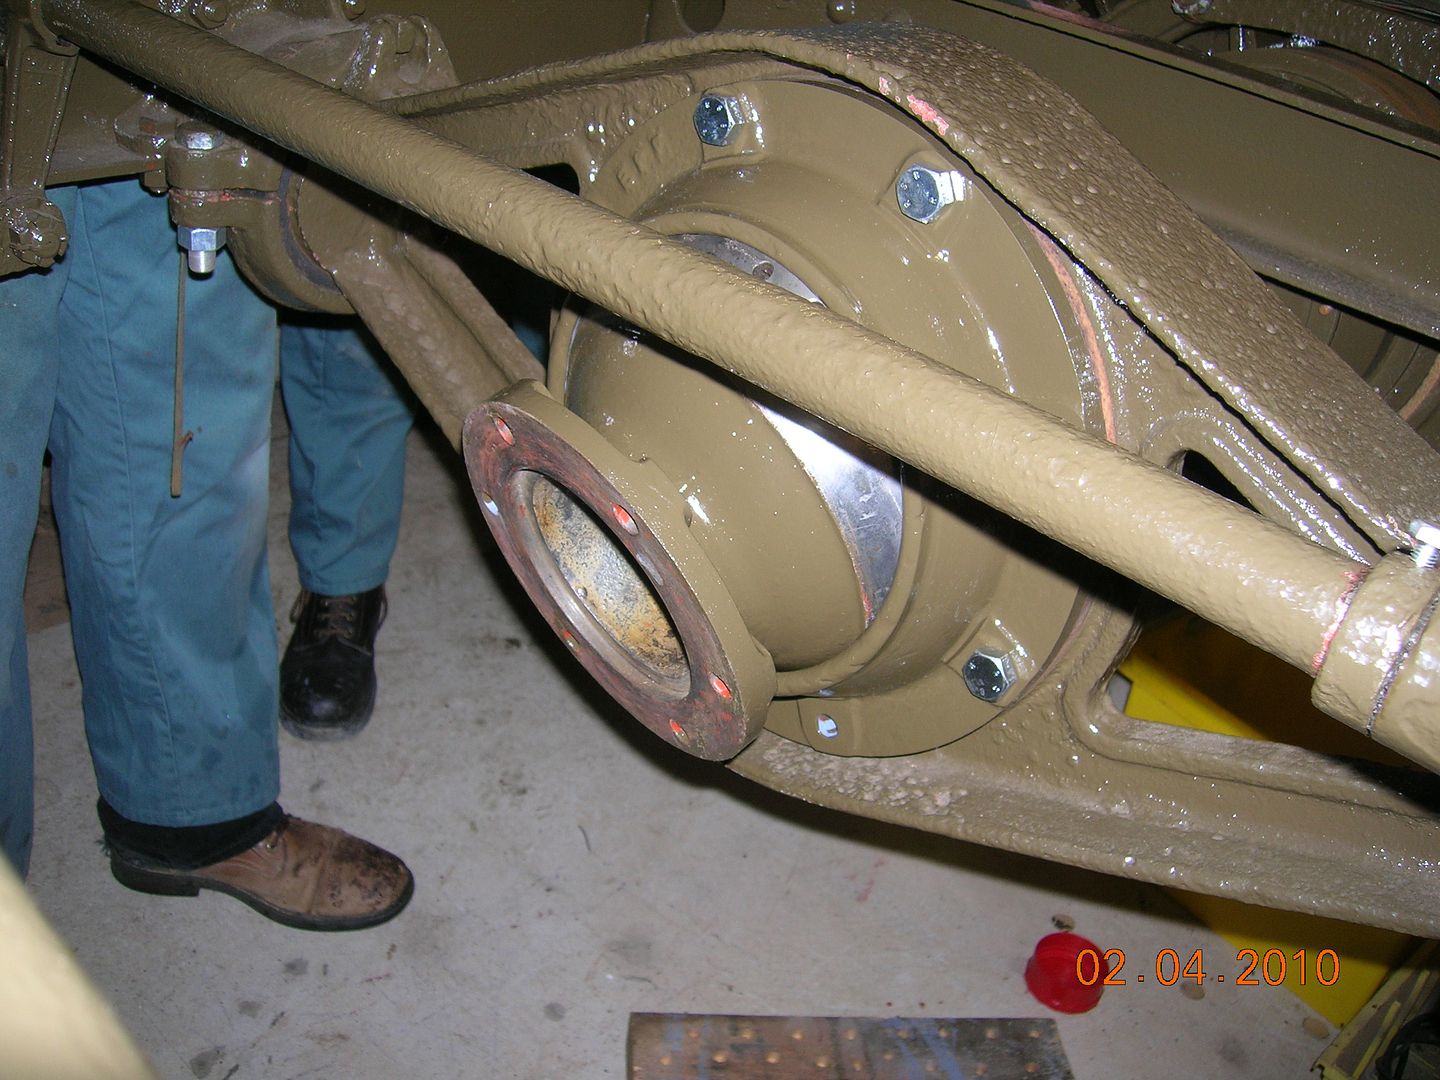
The next task was to bolt the cross member and the rest of the ball joint on to the end of the tube:
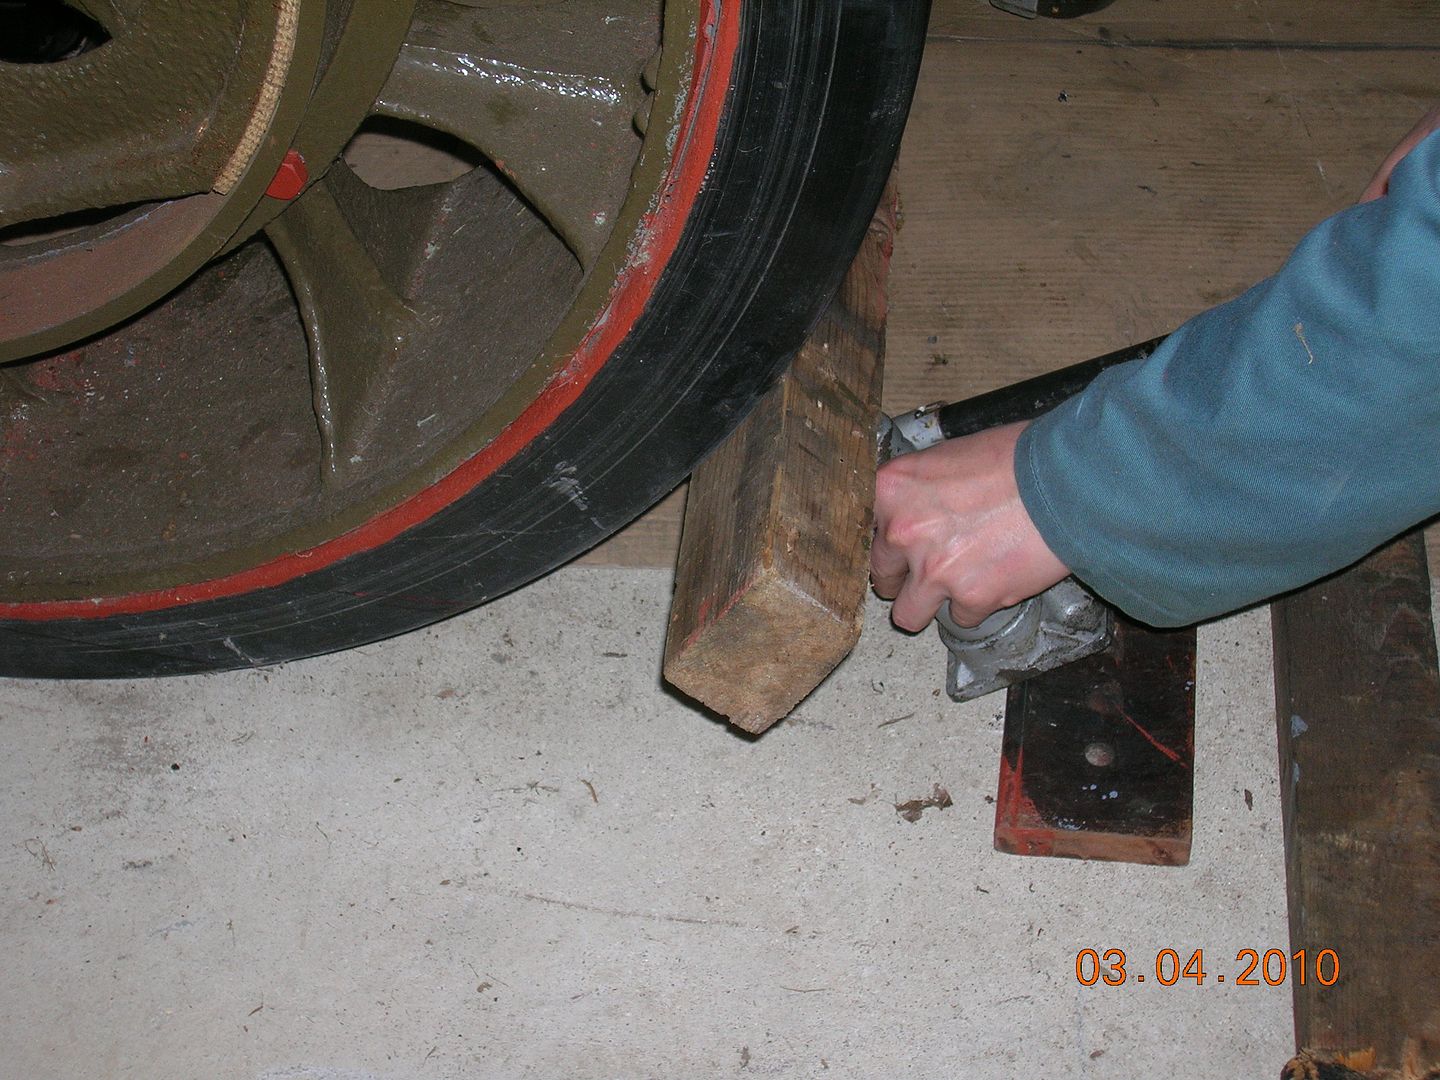
Then lining up the cross member to its bracket proved problematical. We straightened up the axle by chocking one wheel and jacking the other one forwards:
Then to move the whole axle forwards, Steve came up with the idea of dragging it into position with ratchet straps secured around the chassis:
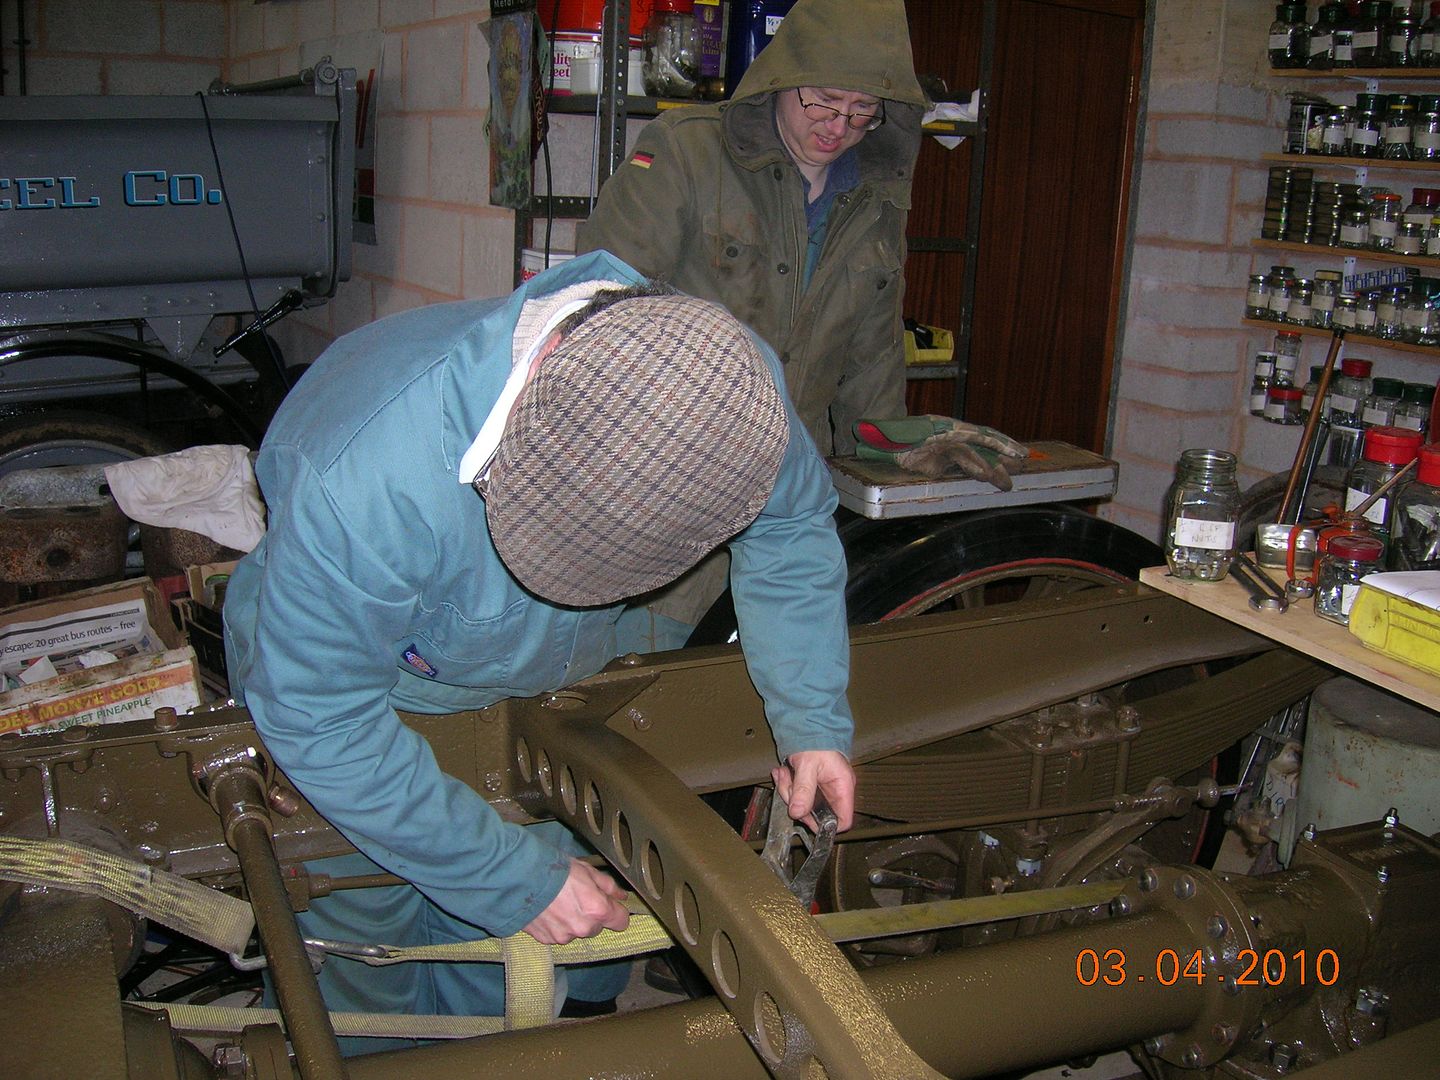
This worked and we had another major component fitted at last (and something less on the floor to trip over).
-
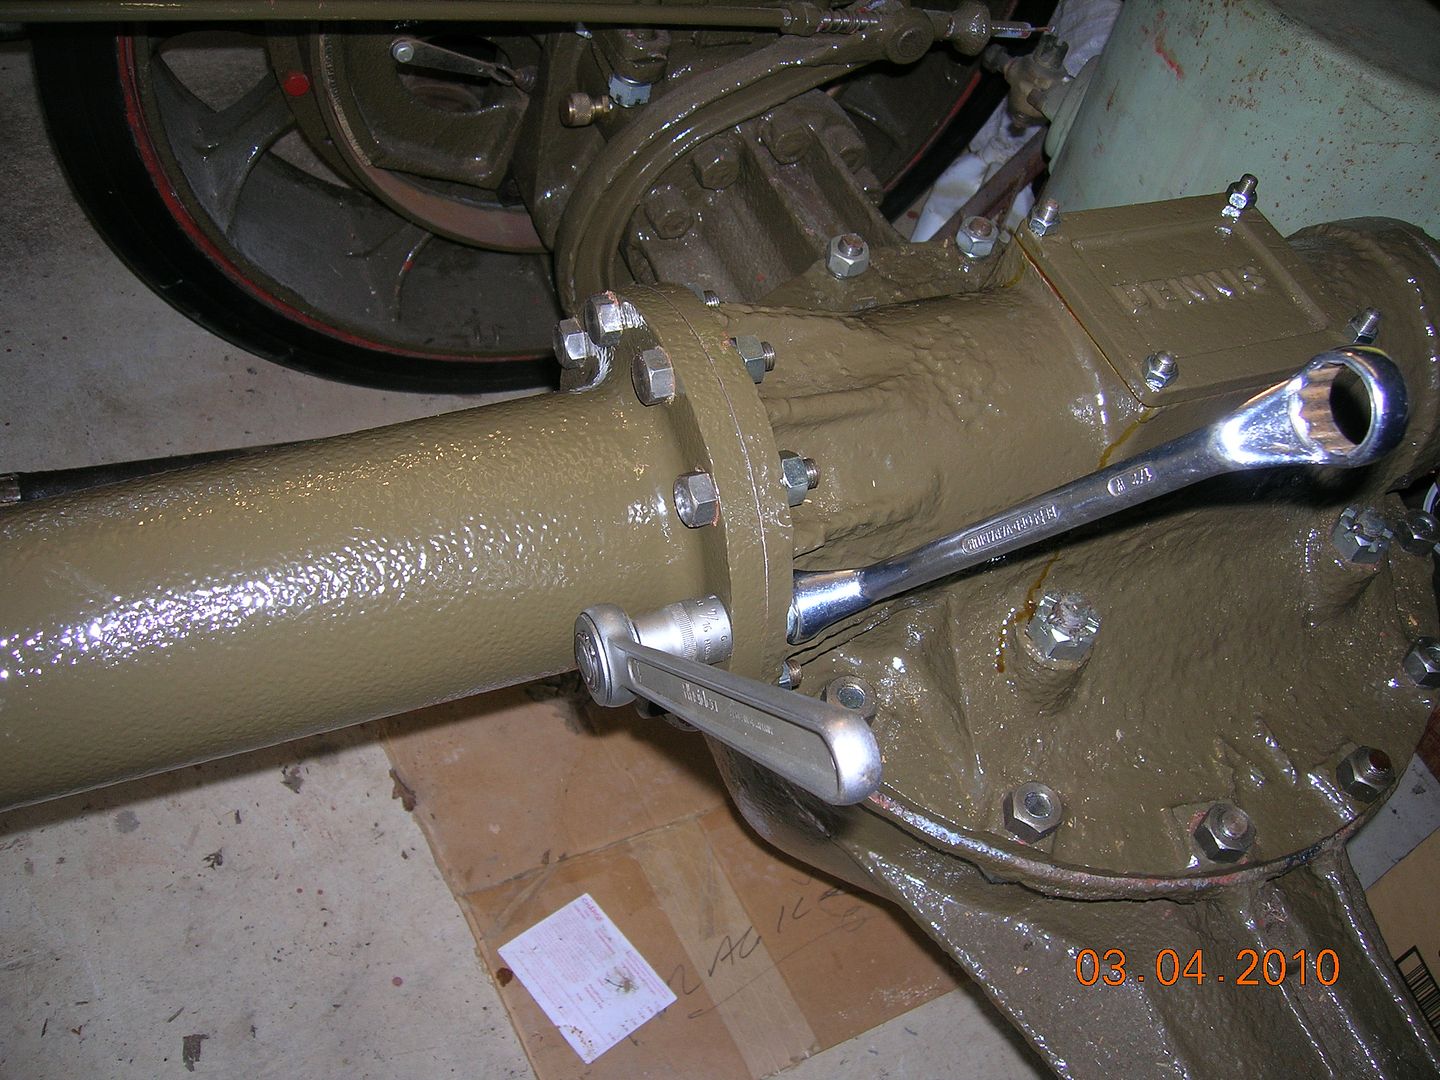
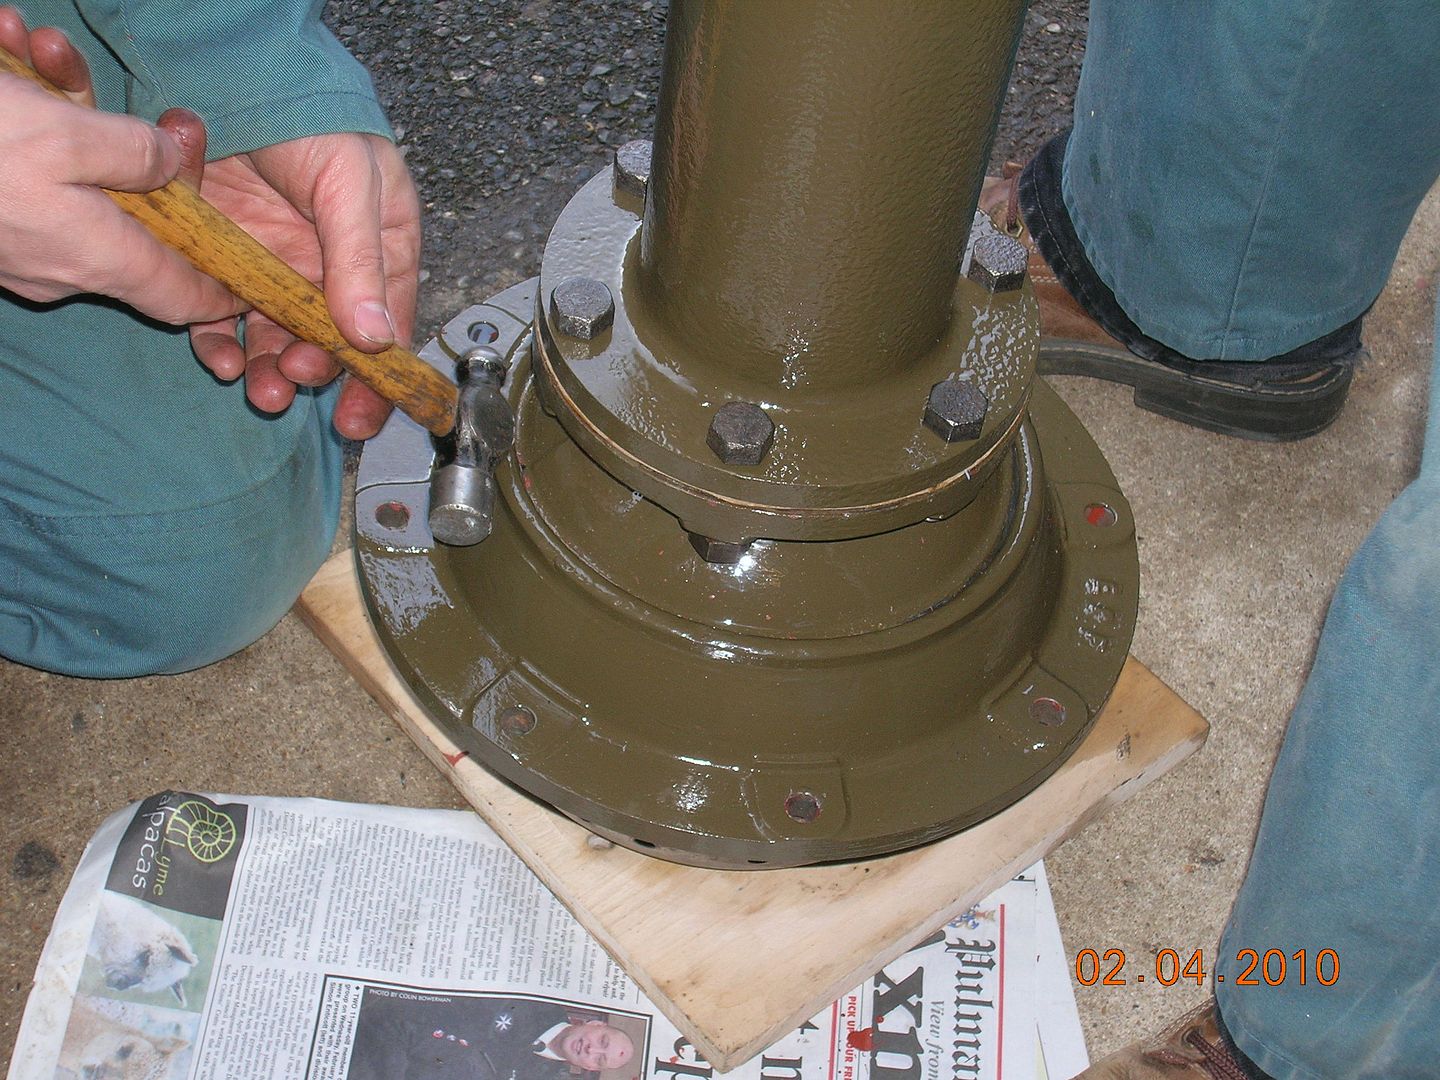
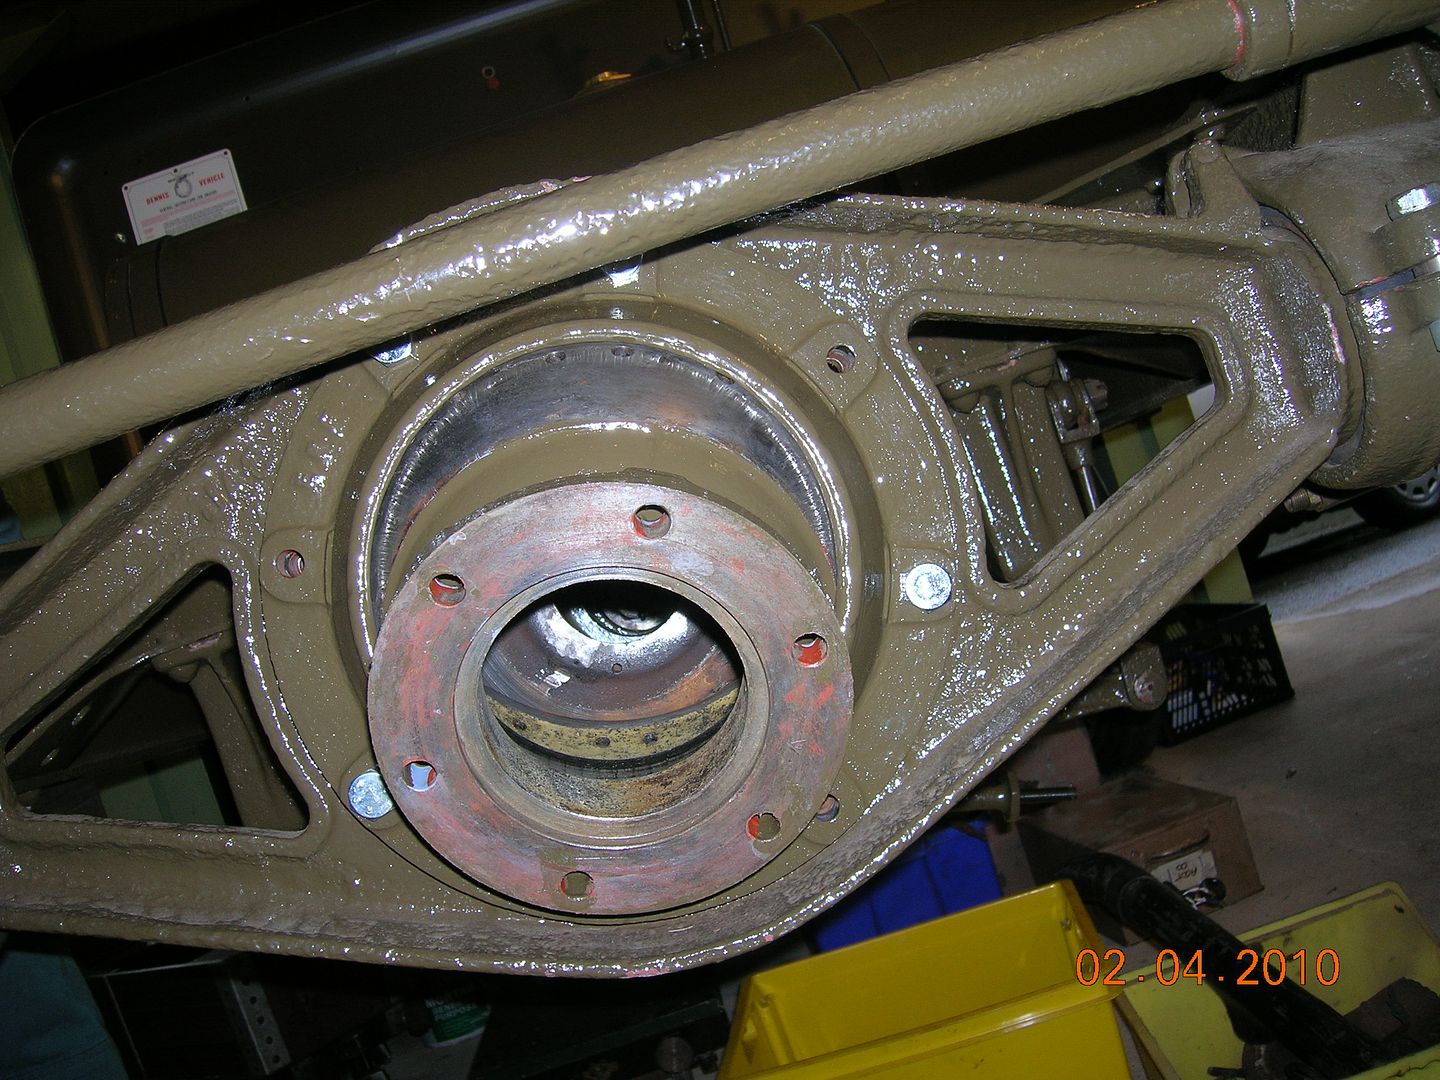
New leather oil seal being fitted and wired to the end of the torque tube:
The next task was to move the tube into position ready to fit. As you can see it was quite heavy:
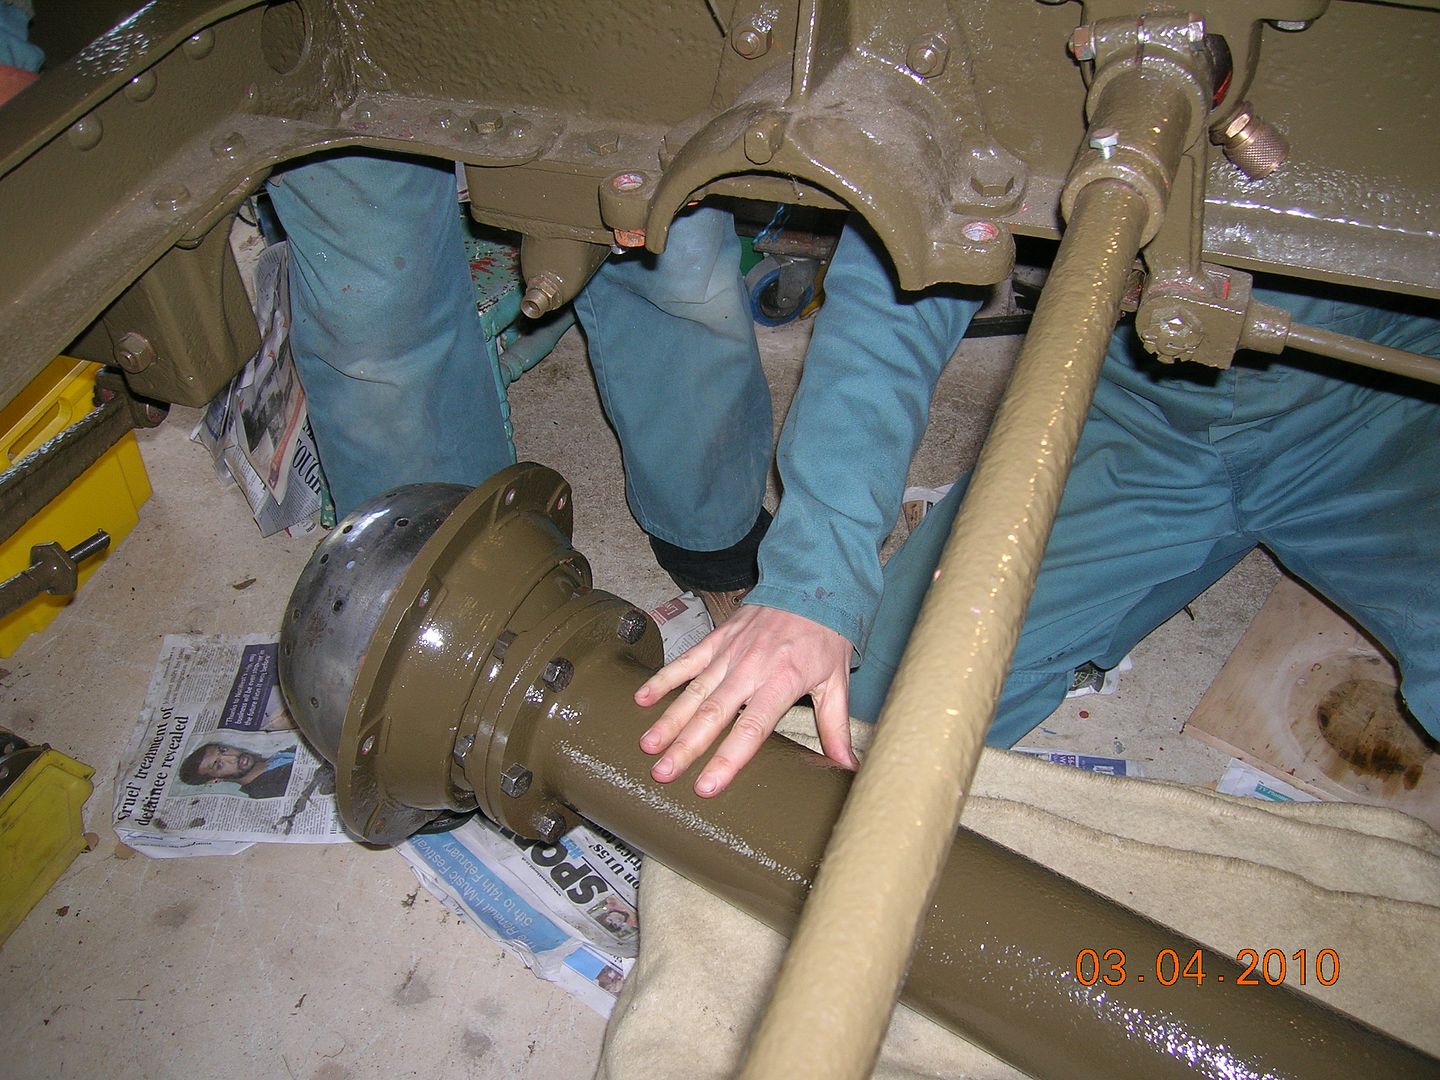
All lined up and sitting on our lifting table ready to be bolted up:

-
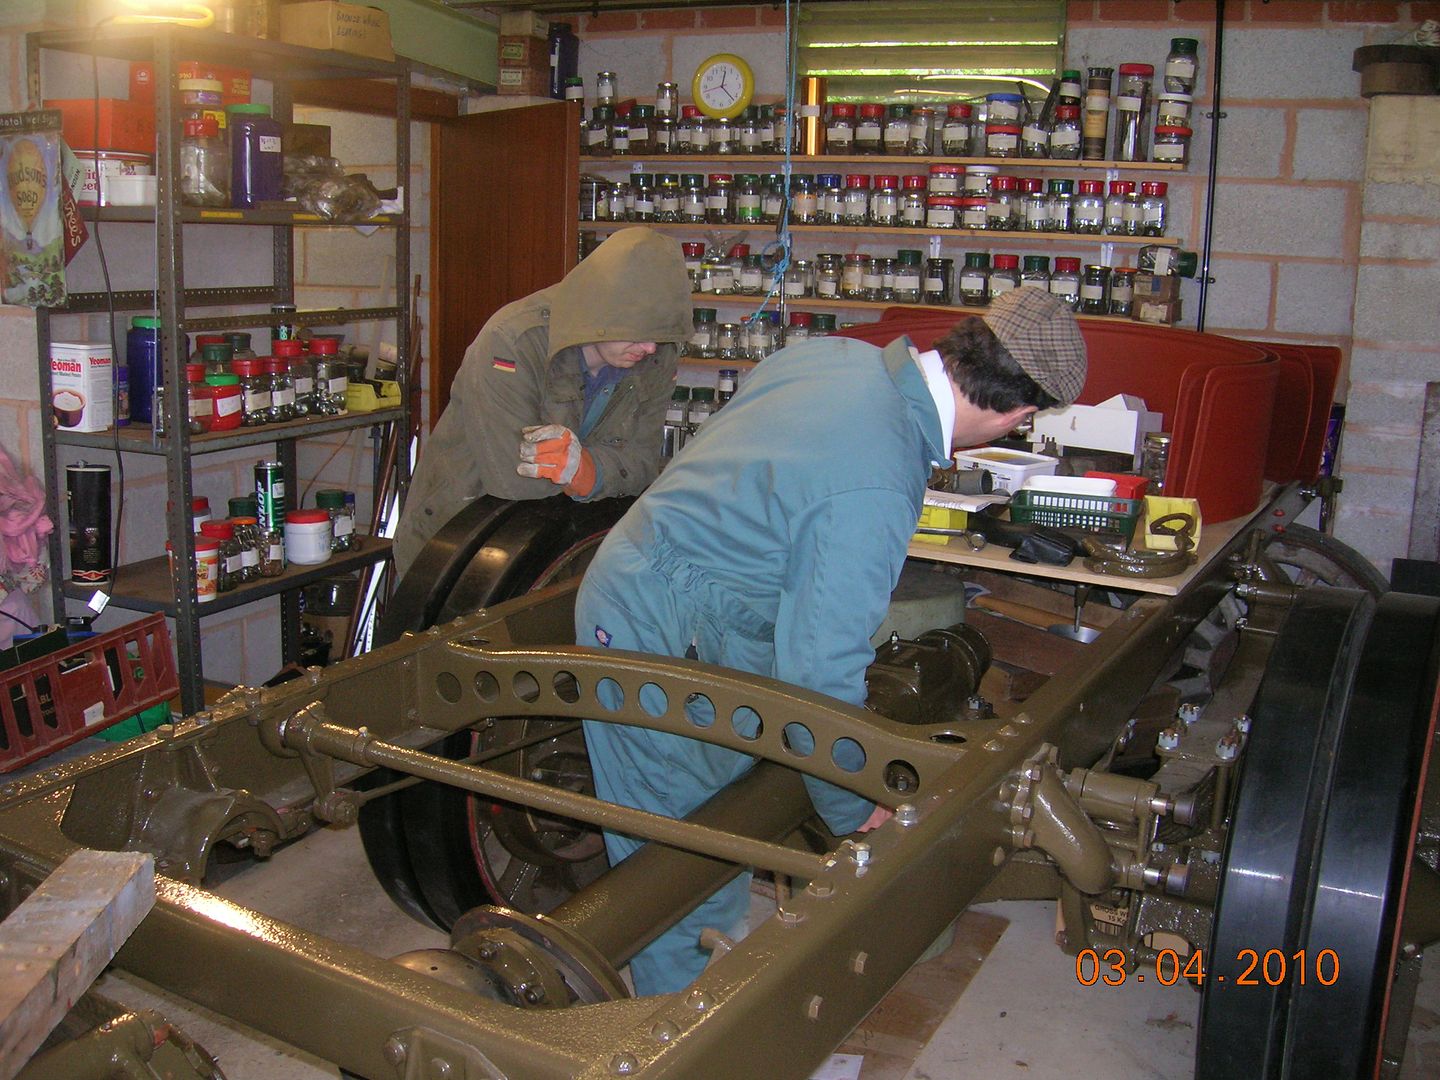
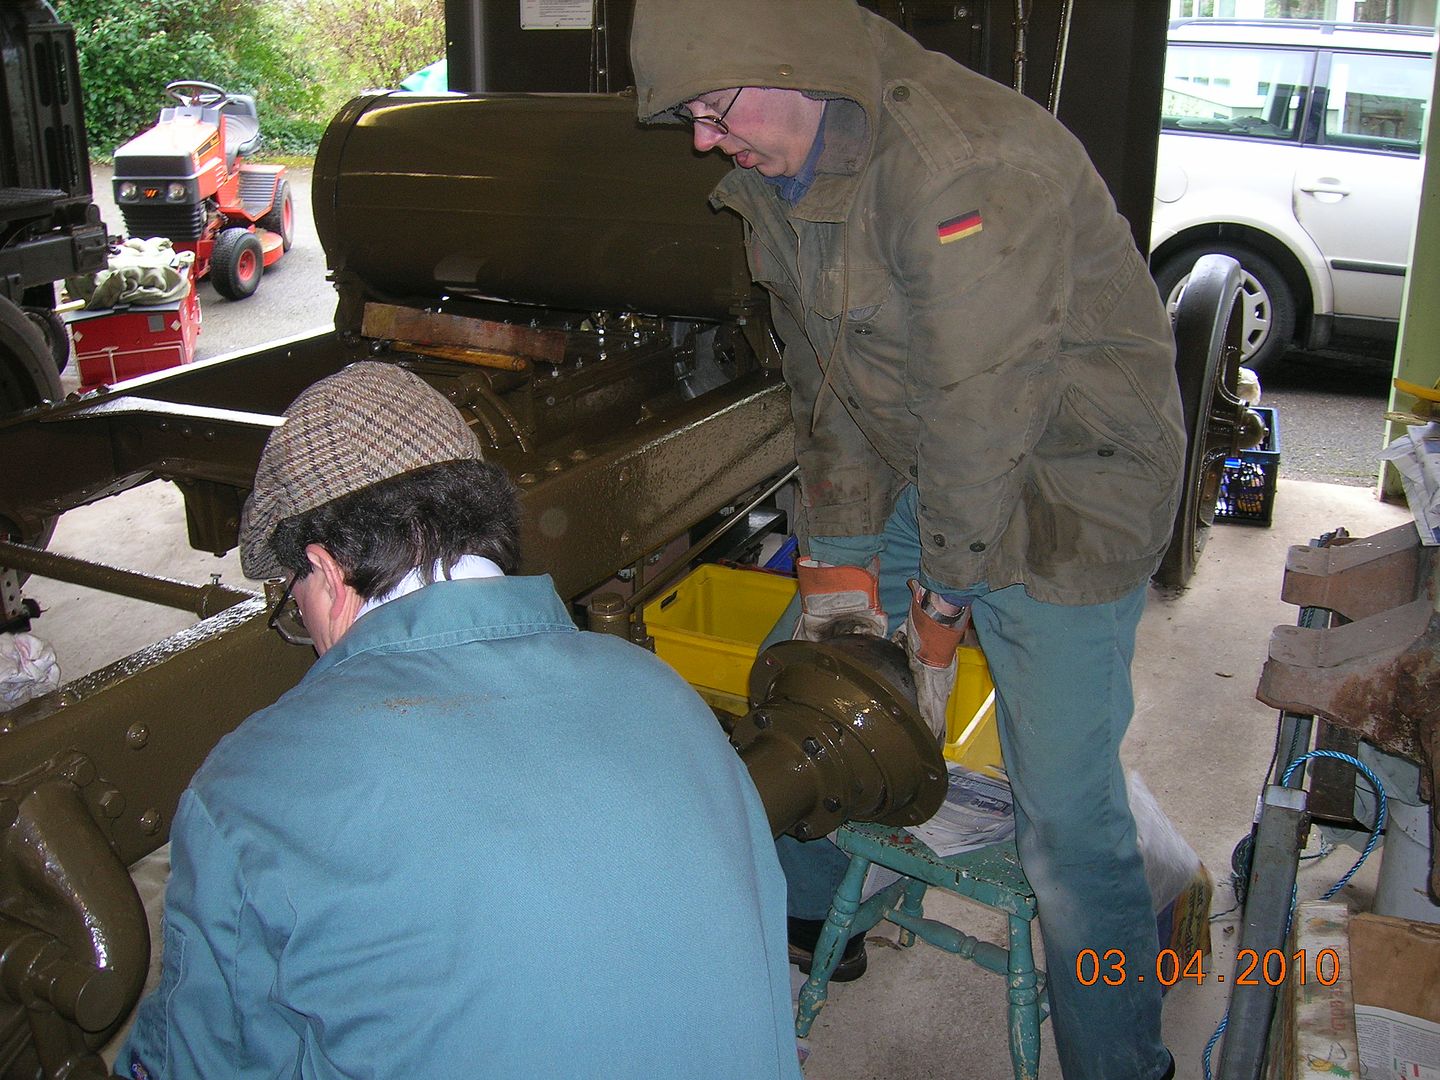
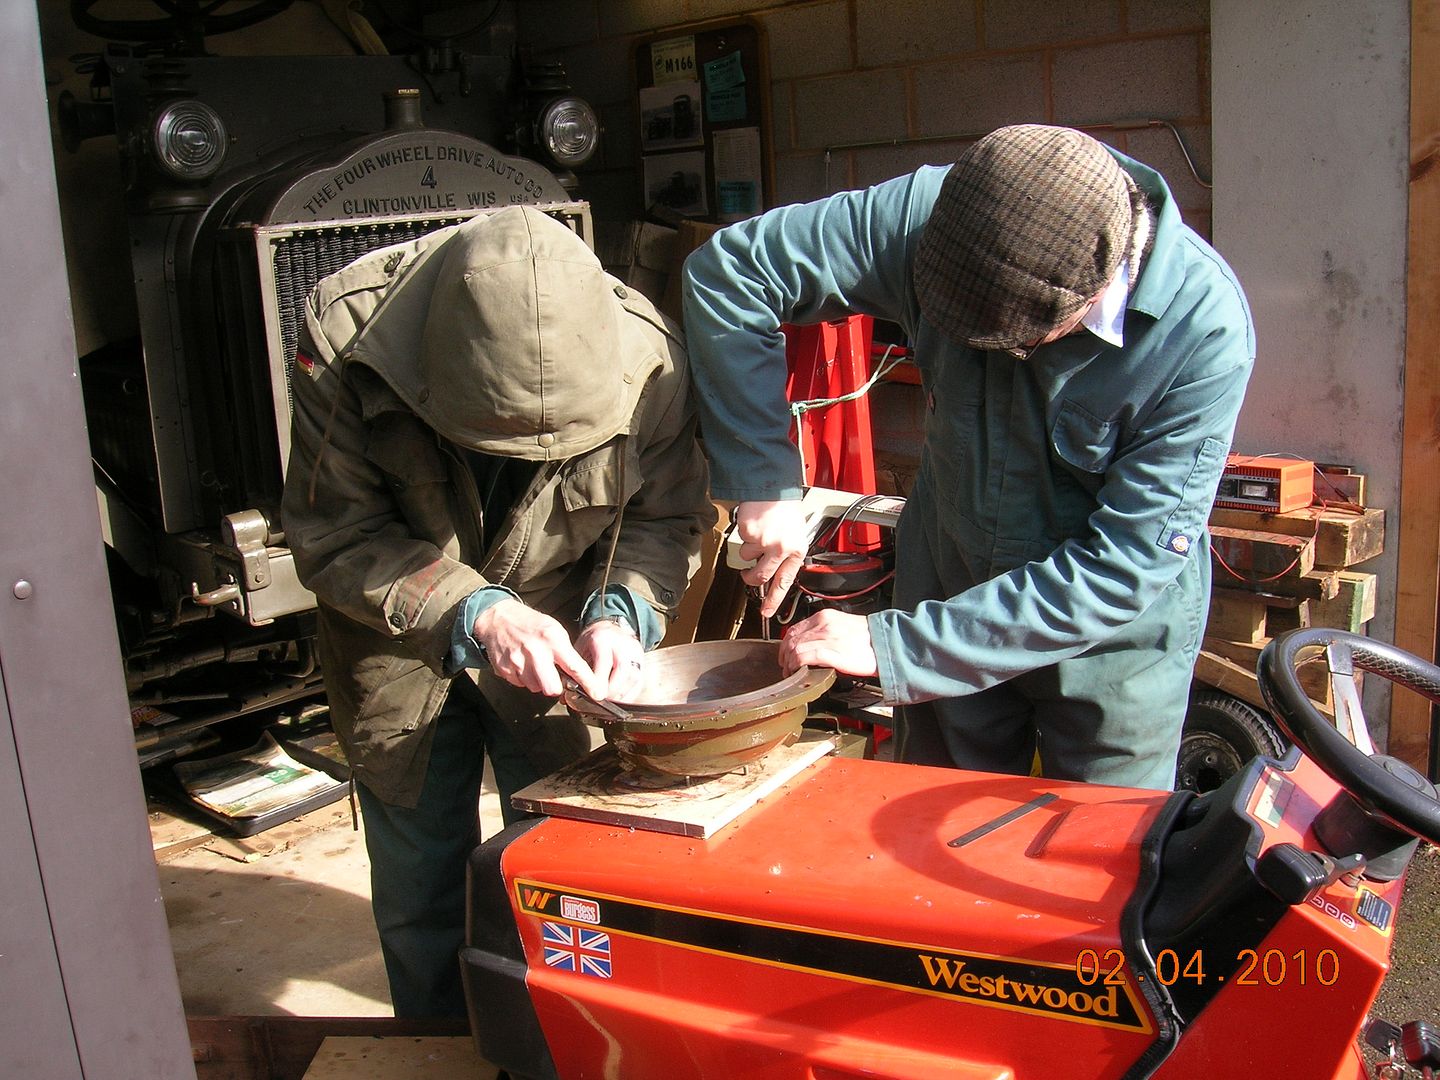
Plenty of photos to post up tonight, so here are the first lot of us putting the prop shaft back together:
Christmas has come early:
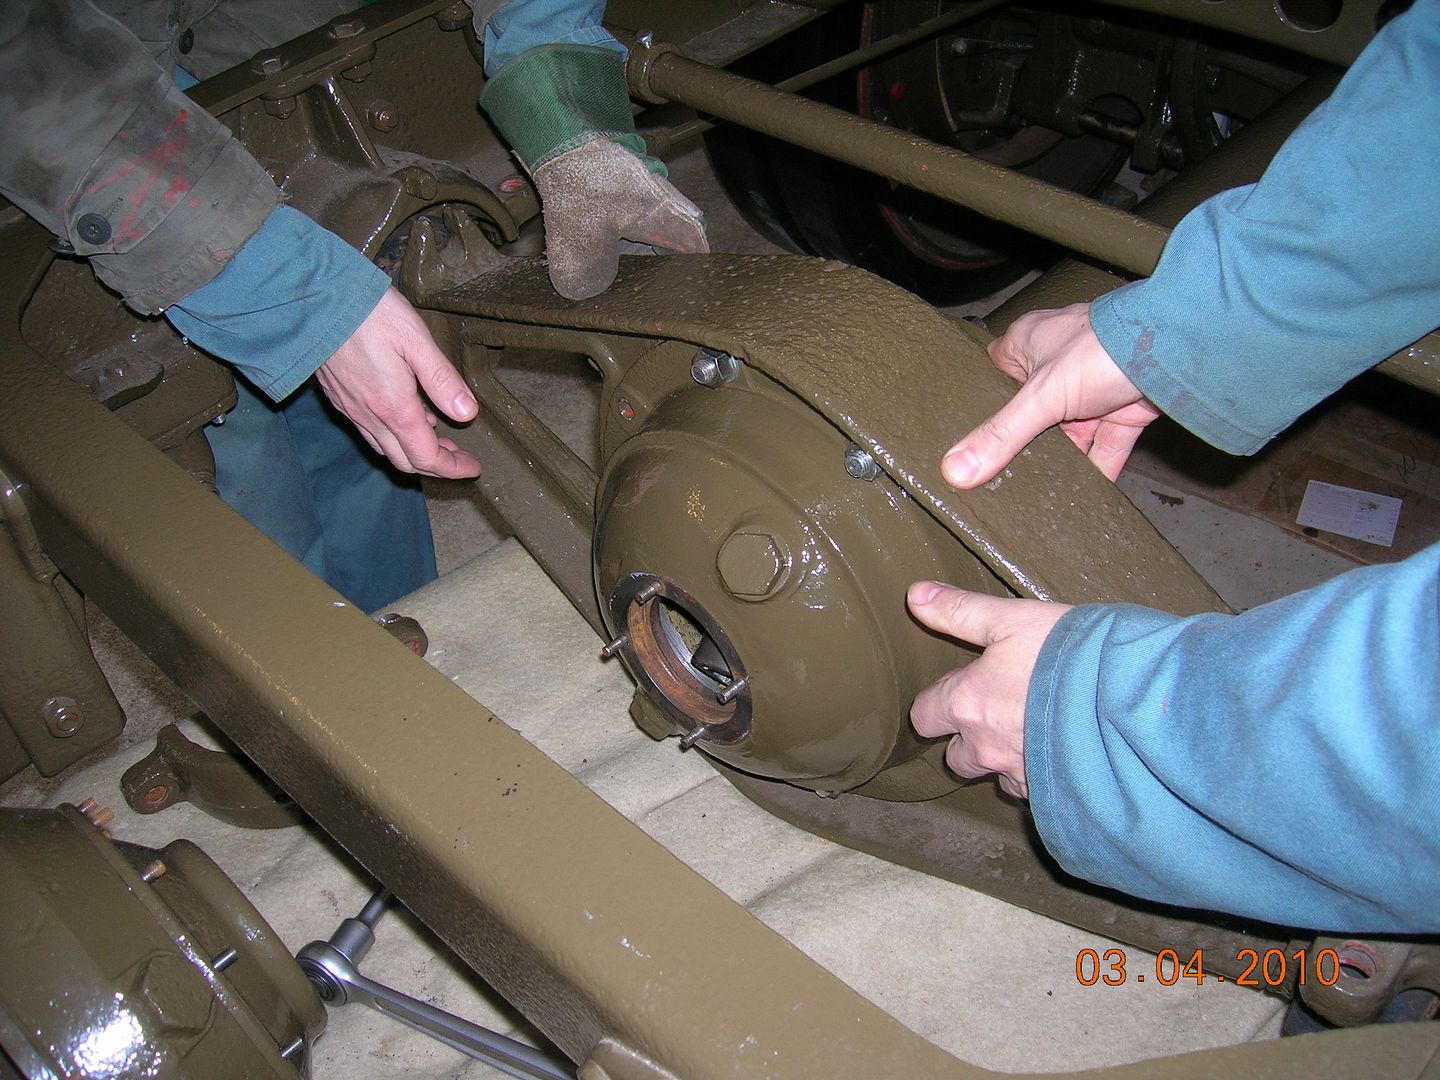
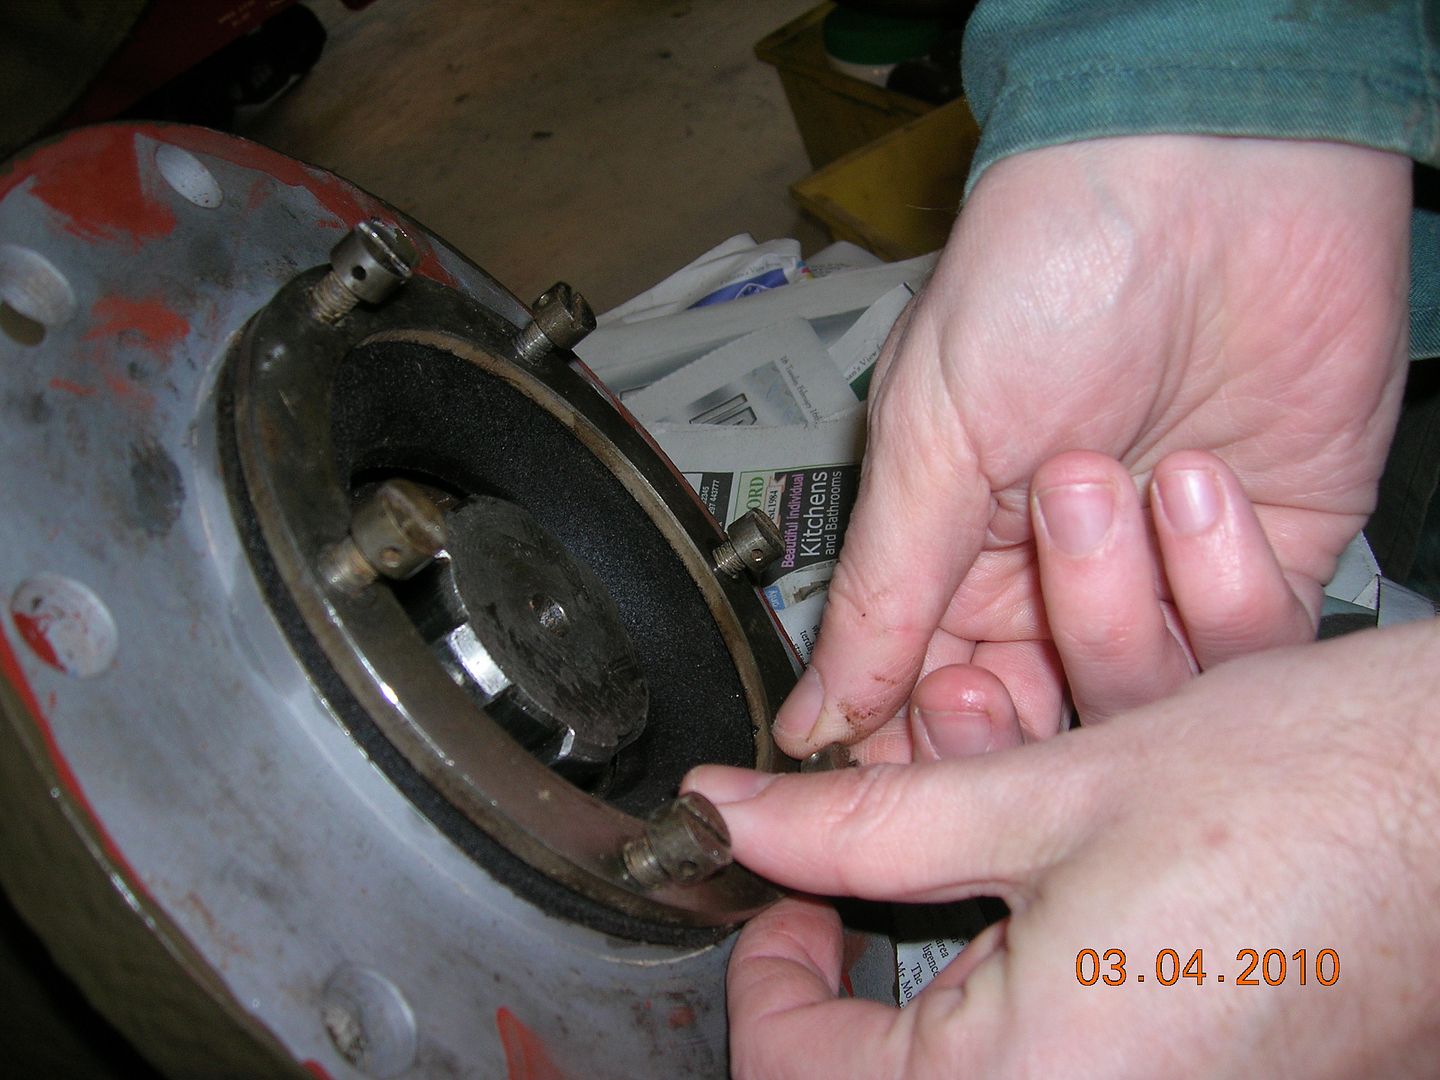
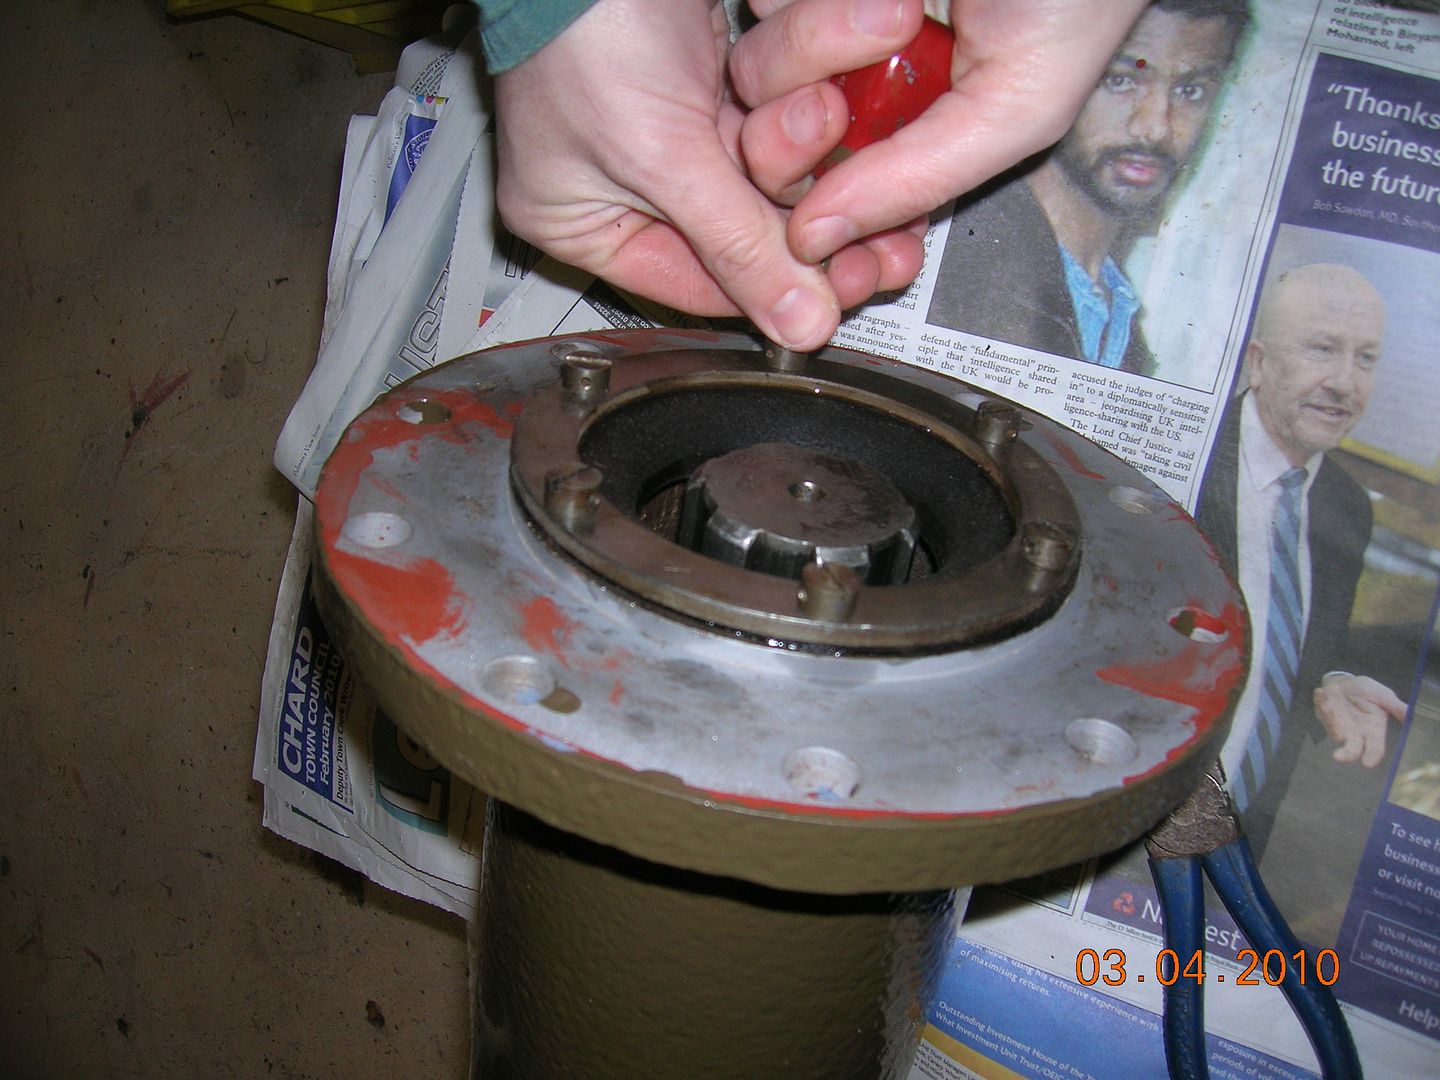
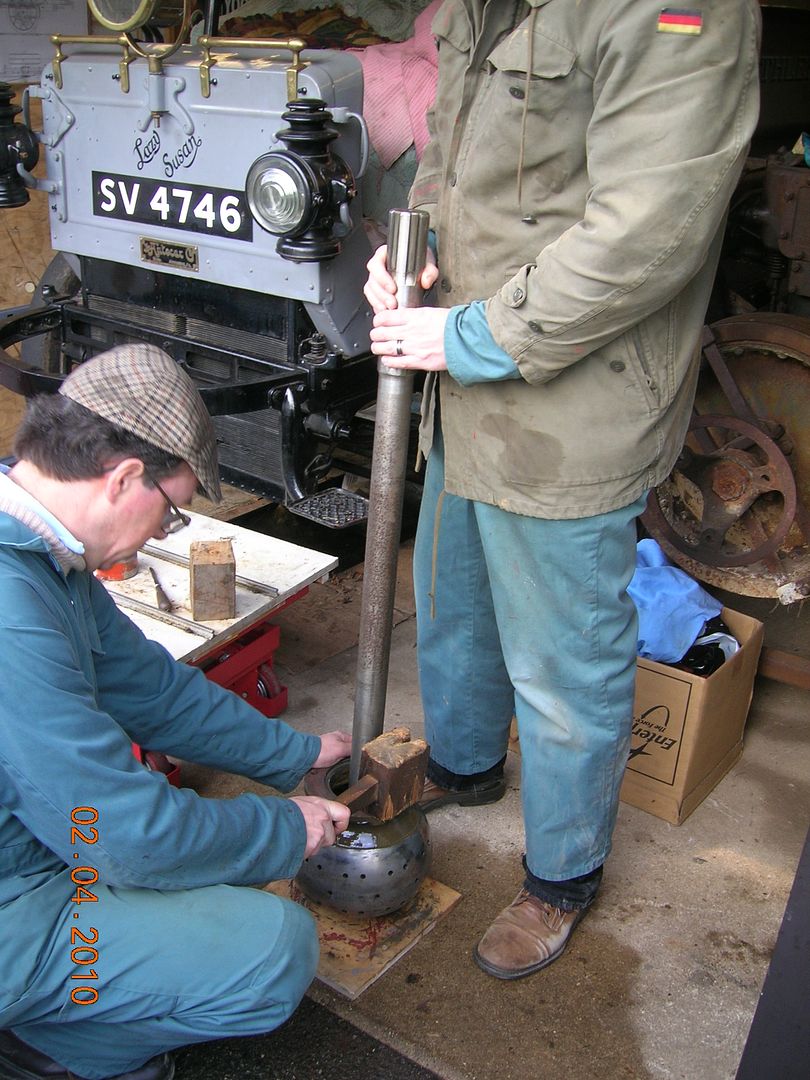
Fitting the bearing into the ball joint:
Fitting new gasket:

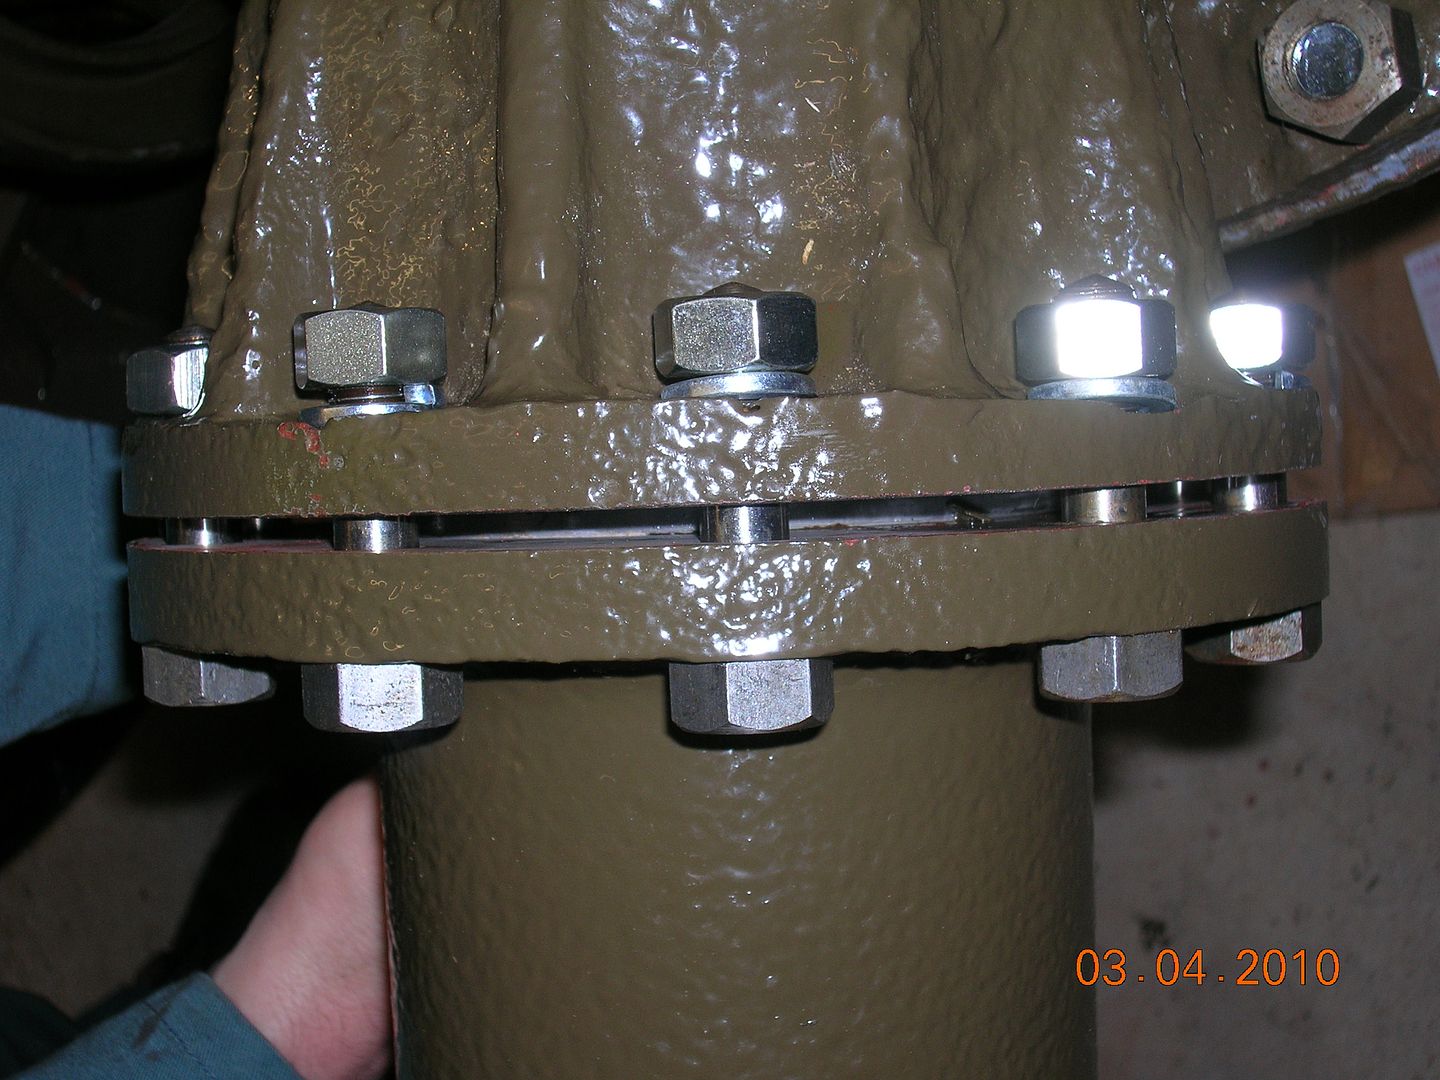
Bolting up the joint:
-
Did it still have the original engine and rad when you found it.
We were offered an early Albion chassis some years ago, but it had a much later engine and rad on it. I think it was living over Gloucester way at the time.
Tim
-
Oh of course. I thought that looked like the one in the BAttleship.
-
Easter is always a time for a family get together and truck assembly. We have a lot to do this weekend, but have had to delay some parts of the reassembly until next time. We did however undertake a trial fit of the torque tube ball joint which was very succesfull. All very heavy and a little awkward. Cant wait until we do it with the prop shaft and torque tube in place. That will be fun!
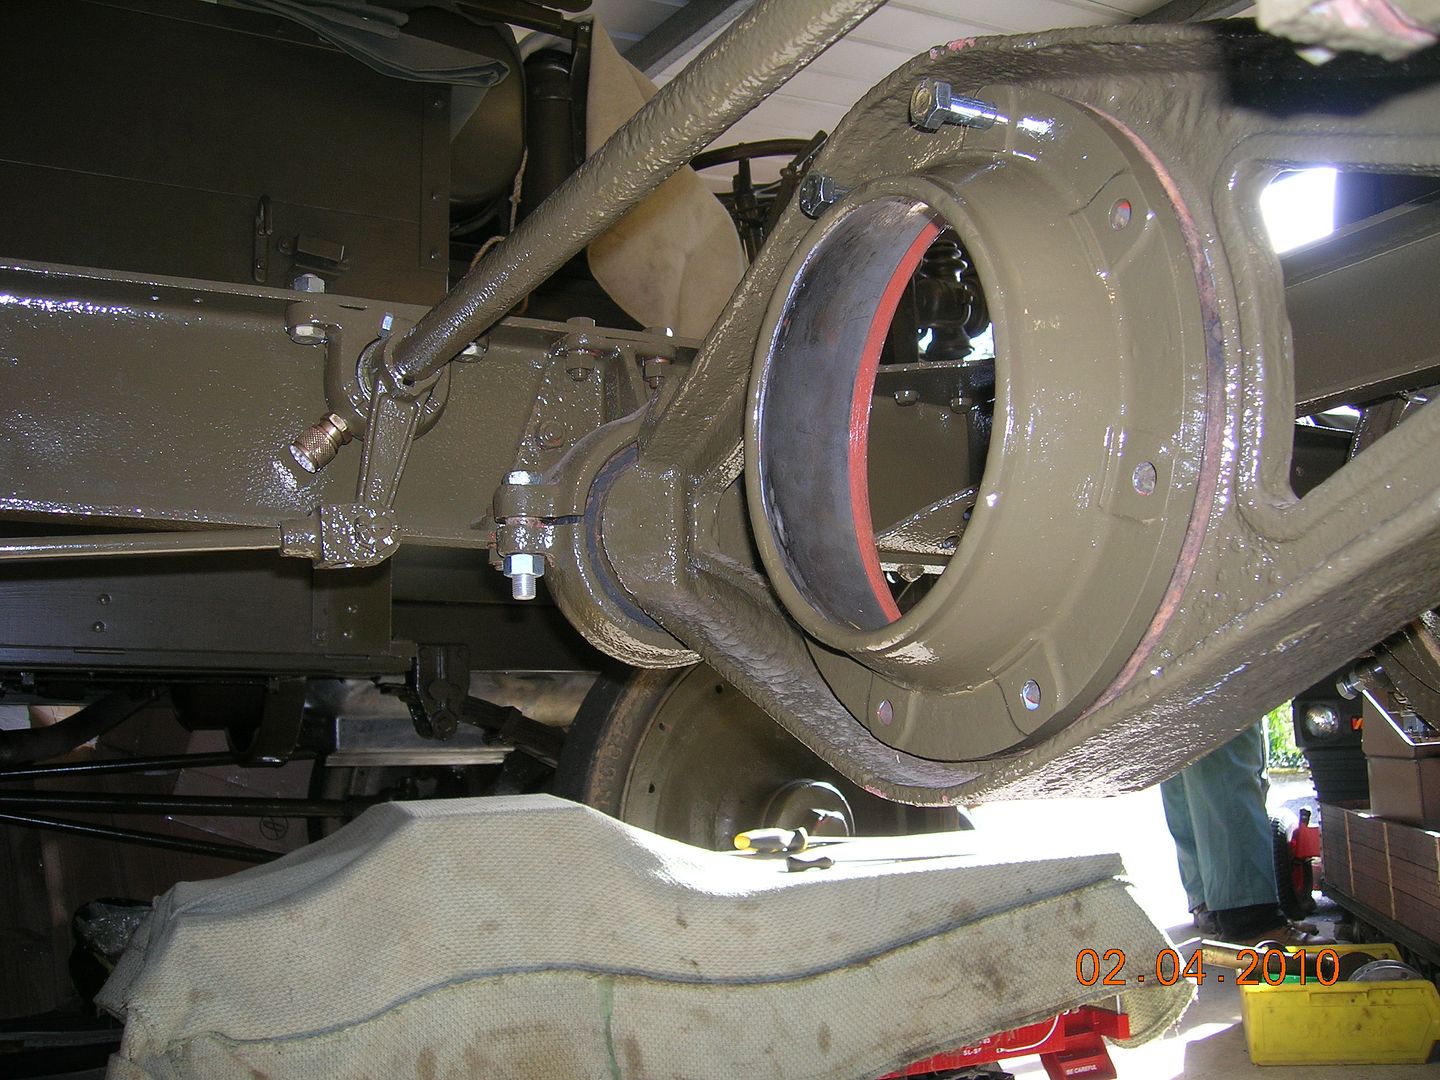
Somehow i managed to lose my head:
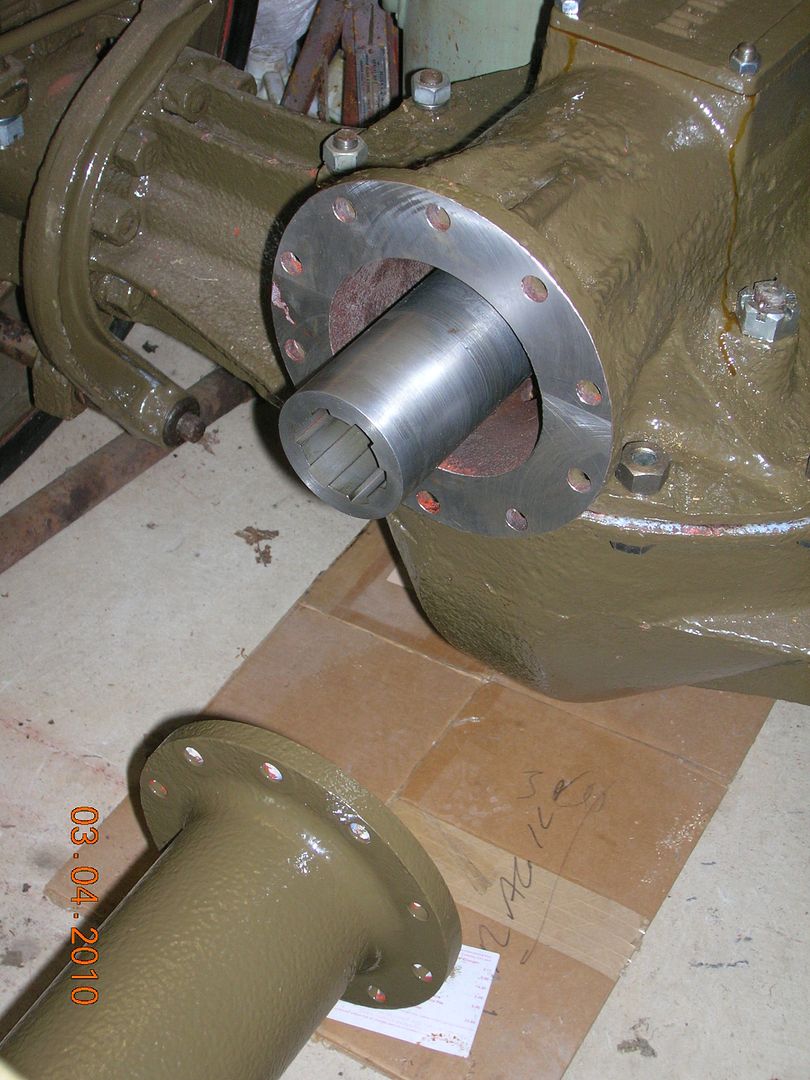
and have a go to see if the prop shaft fits in to the newly made differential coupling:
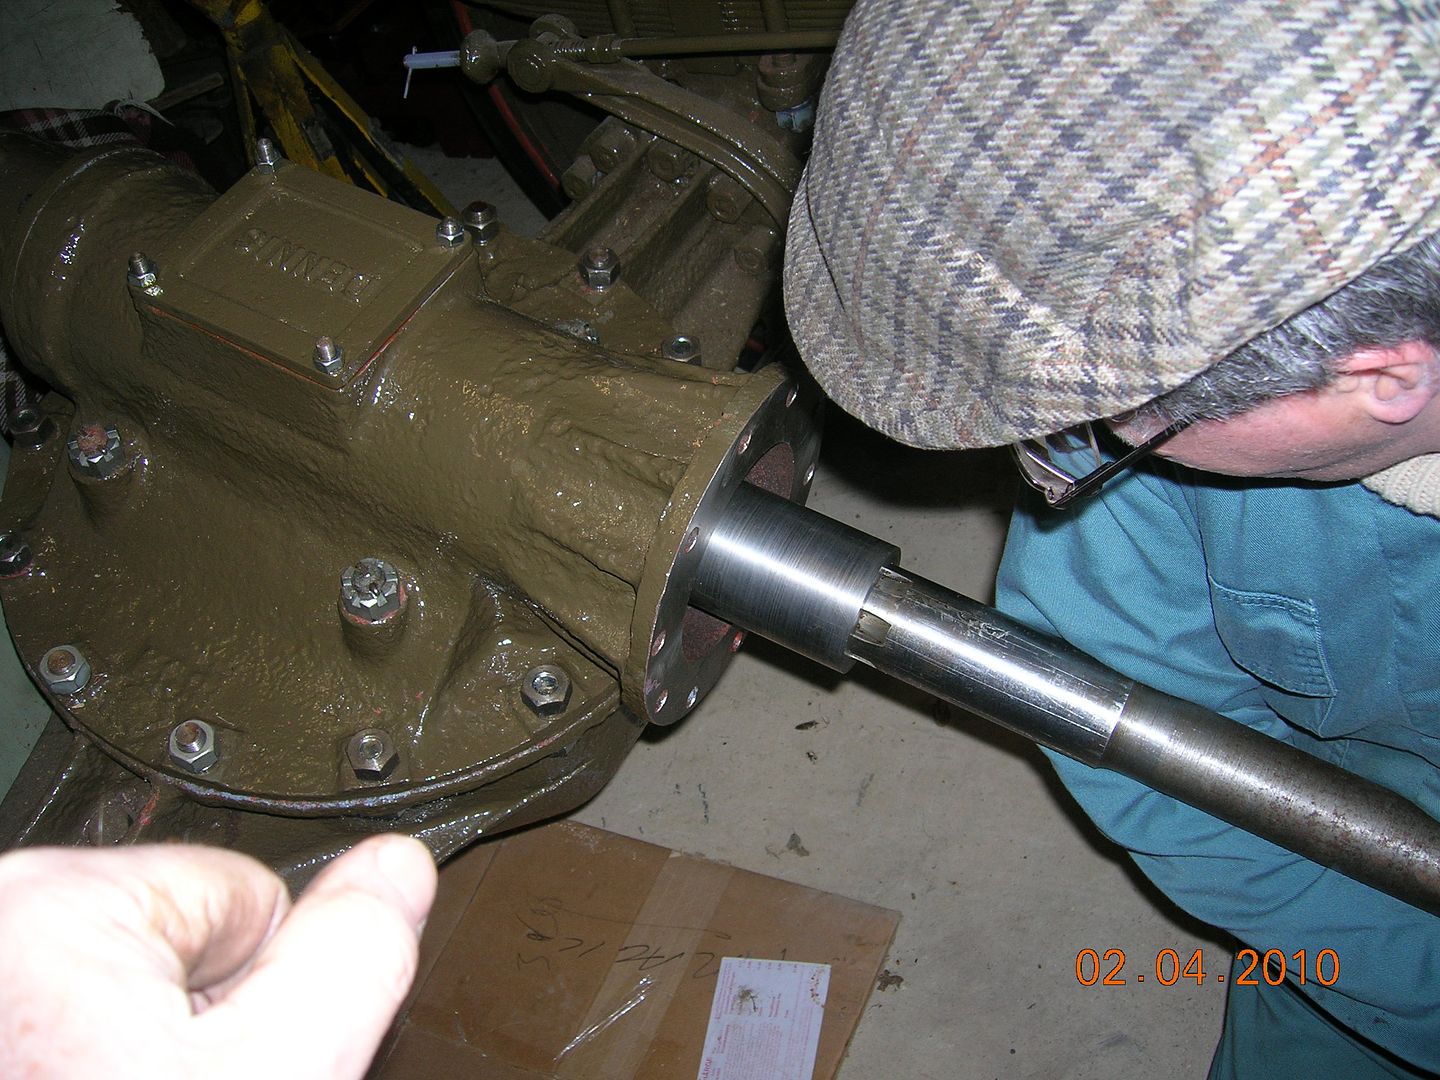
It did first time. Proper job.
Tim
-
Sorry. We have no working knowledge of continental engines and i guess that from the lack of any other response no one else does either. What car is it in?
Tim.
-
Thanks. Always useful to know where to get this sort of stuff from.
-
Wonderful story! That really is indulging in horse-play!
Tony
-
Brilliant - well done! We have a half-size Land Rover here - you will need one like that to start him off!
Tony
-
I am sure that all members of the Forum would be distraught if the Forum ceased, and I am equally sure that none of us would wish for Jack to be out of pocket in keeping it going - especially with costs ever increasing.
It must be Jack's decision on how it is to be funded and if he wishes to do it through TPM, then it is up to members to support him in every way that they can.
Jack - if that method does not work out, then please consider again coming back to us for a donation or a regular subscription.
Tony
-
As far as I know, he is still going strong. I write to him from time to time and have no indication that he is no longer with us.
Tony
-
Yes, getting closer and closer to running, Richard - but one thing that we have not yet really put our minds to is the exhaust pipe! I think that we should have that on first!
Tony
-
I guess that will depend on how big the void turns out to be .
Yes, I think so. I have pushed a bit of wire into the hole and find that it is as deep as 3/8" in one place - but it seems to taper inwards and does not go right through the casting - so I remain optimistic that it is nothing that cannot be put right!
Tony
-
The porosity in the small bolting flange is annoying but not the end of the world. I shall make up the small flange with its pipe that bolts on to it, just to see exactly where the bolting holes are going to come - and then plan how to deal with the porous bit. It may well be that the easiest solution is to drill or mill out the porous bit and replace it with a piece of bronze rod - either to screw it or silver solder in. I think that it will become apparent as I proceed.
Tony
-
Didn't RASC run the LCT's?
Certainly RASC in my day and not RCT!
Tony
WW1 Dennis truck find
in Pre WW2 vehicles
Posted
Thanks Gordon! I was looking out for one again at Beaulieu on Saturday when I was there but no luck! It really does look as if we will have to make one!
Tony