


Dodge'40-'45
-
Posts
179 -
Joined
-
Last visited
Content Type
Profiles
Forums
Gallery
Blogs
Events
Articles
Store
Downloads
Everything posted by Dodge'40-'45
-
Made some progress on the BMW. -Frame is almost ready for painting, just need to weld some small holes. -Disassembled the clutch, plate looks ok, but will get a new one while we're at it. Clutch was stuck when i got the motorcycle. -New brake shoes and cable set arrived. -Started work on the engine: Clean oil came out of the engine, this might indicate it ran not too long ago. Cilinder head is scrap metal. The thread for the exhaust nut is gone. Several cooling fins have broken around the spark plug, likely because of a spanner. trying to find a nice one, haven't had any luck yet. Cilinder and piston itself are in quite good condition, no grooves or play. While trying to remove the crankshaft pulley, a piece broke off... luckily, repros are available.


-
Removed the paint from the fuel tank. One big dent, for the rest it seems Ok, just need to be cleaned and coated.

-
Drilastic Pillion seat arrived today, it's in great condition. Just needs a new layer of paint. Still has the original paint and rubber cover on it.


-
dismanteling continues. Got down to the frame today. Engine will need complete rebuild, gearbox seems ok but will also be checked. The wiring on the headlight was really bad. They removed the original switch to place a more modern switch. The front fork came of easier then expected. It's a telescopic fork which is not hydraulically damped, unlike the larger BMW models. It has a Noris ignition which is strange because it should be Bosch. don't know if this is original. Will have to make new cables, the ones on it are way too long and they did all kinds of stuff to adjust them. The headlight brackets are also mounted wrong, they are upside down and should switch sides. The front brake handle was also home made. Managed to find an original Drilastic pillion seat today, one more item off the list. Next up will be getting the paint off the frame. And a parts list... :-D


-
Started dissassembling the BMW today, The seat cover looks like it was made from a Lederhosen... The thread from the exhaust is nearly gone, so that will also be a problem. They tried to fix it by drilling a hole in the cilinder head and fixing the exhaust pipe with a bolt. The drive shaft broke during one point and was welded back together. However it doesn't seem centered correctly. On the other hand, frame is in very nice condition, doesn't seem broken or even repaired. Rear mudguard has some cracks and dents but nothing serious. i've decided to not start the engine. Oil lines seem quite rusty and after the home made brake shoes, i'm not sure what to expect.


-
Front brake did have the original brake shoes and they were in great shape. I decided to take off the fuel tank and valve cover. Valves look Ok, engine has good compression so i guess it'll run after i have reviewed the electrics. The carb is an original SUM 741 which seems to work.


-
Found a nice Bosch Horn today. Removed the whole rear wheel and drive. it's in quite good condition just the lack of grease made it sound strange. Oddly enough, the brake shoes have been home made. Not exactly what i hoped to find, Will need to source a couple of correct ones, will also check the front brakes tomorrow. Hopefully they will be originals..


-
Hi All, Now that the DKW is done and running well, i went out to find myself another project. Recently i found a BMW R35, 350cc OHV motorbike . Like most period BMW motorcycles it is driven by a drive shaft instead of a chain. It has had a previous restoration on which they used some post war parts (headlight, front brake drum,...). Engine doesn't currently run, will try to start it later. First need to check the Bosch Dynamo and SUM carburetor. It has quite some play on the rear wheel, I guess the bearings might be worn. Headlight stays have been mounted incorrect. It's original color would have been black with white lining, but i plan to restore it as a Wehrmacht (heer) dispatch rider's bike.


-
restoration 1938 dkw rt 100
Dodge'40-'45 replied to Dodge'40-'45's topic in Blogs of MV restorations
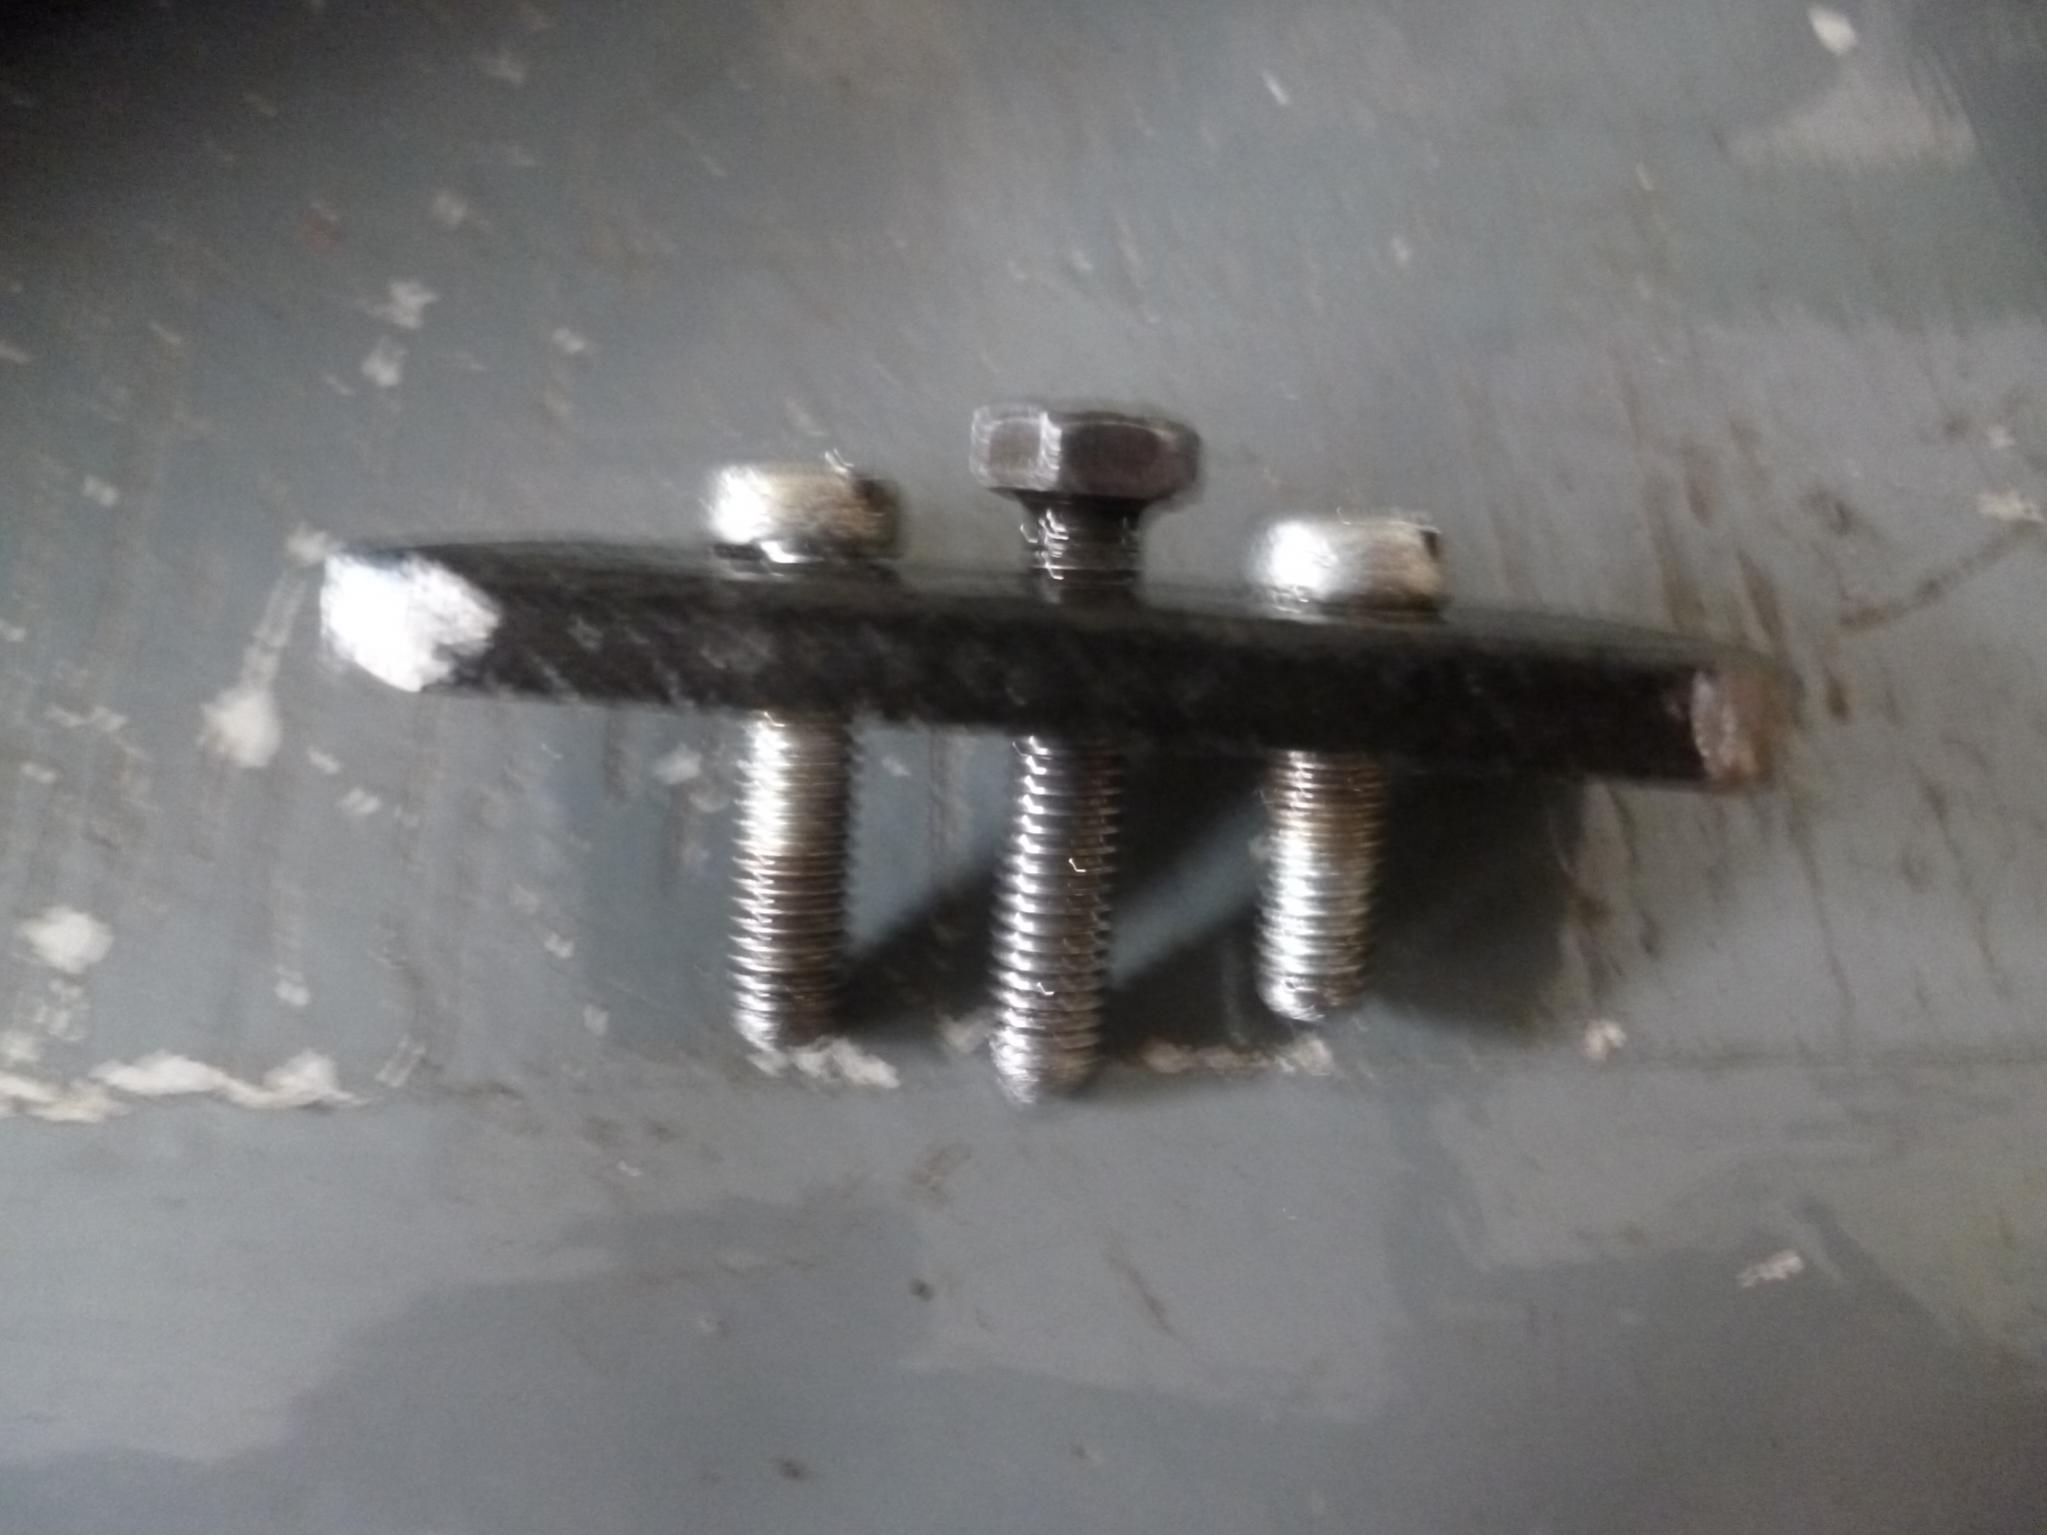
Operation Clutch, Part 2. New Clutch plates arrived. We found a new retainer at a friend's place, after some adjustment it fitted. Next up was fitting the clutch plates. the biggest problem was compressing the springs. We found out a press drill and a big ratchet socket did the trick just fine. The retainer fitting of the clutch housing was damaged by the previous spot welding. We had to spot weld the retainer back in place to be absolutely sure it wouldn't come loose again. Last up was fitting the clutch back in and making a new lock ring. Pleased with the result, Kick starter is working fine now.


-
restoration 1938 dkw rt 100
Dodge'40-'45 replied to Dodge'40-'45's topic in Blogs of MV restorations
Hi Dave, Got my clutch plates from Ebay. As for the clutch part, have you tried Greiner-Oldtimer parts? They have quite an amount of DKW parts. Niek -
restoration 1938 dkw rt 100
Dodge'40-'45 replied to Dodge'40-'45's topic in Blogs of MV restorations
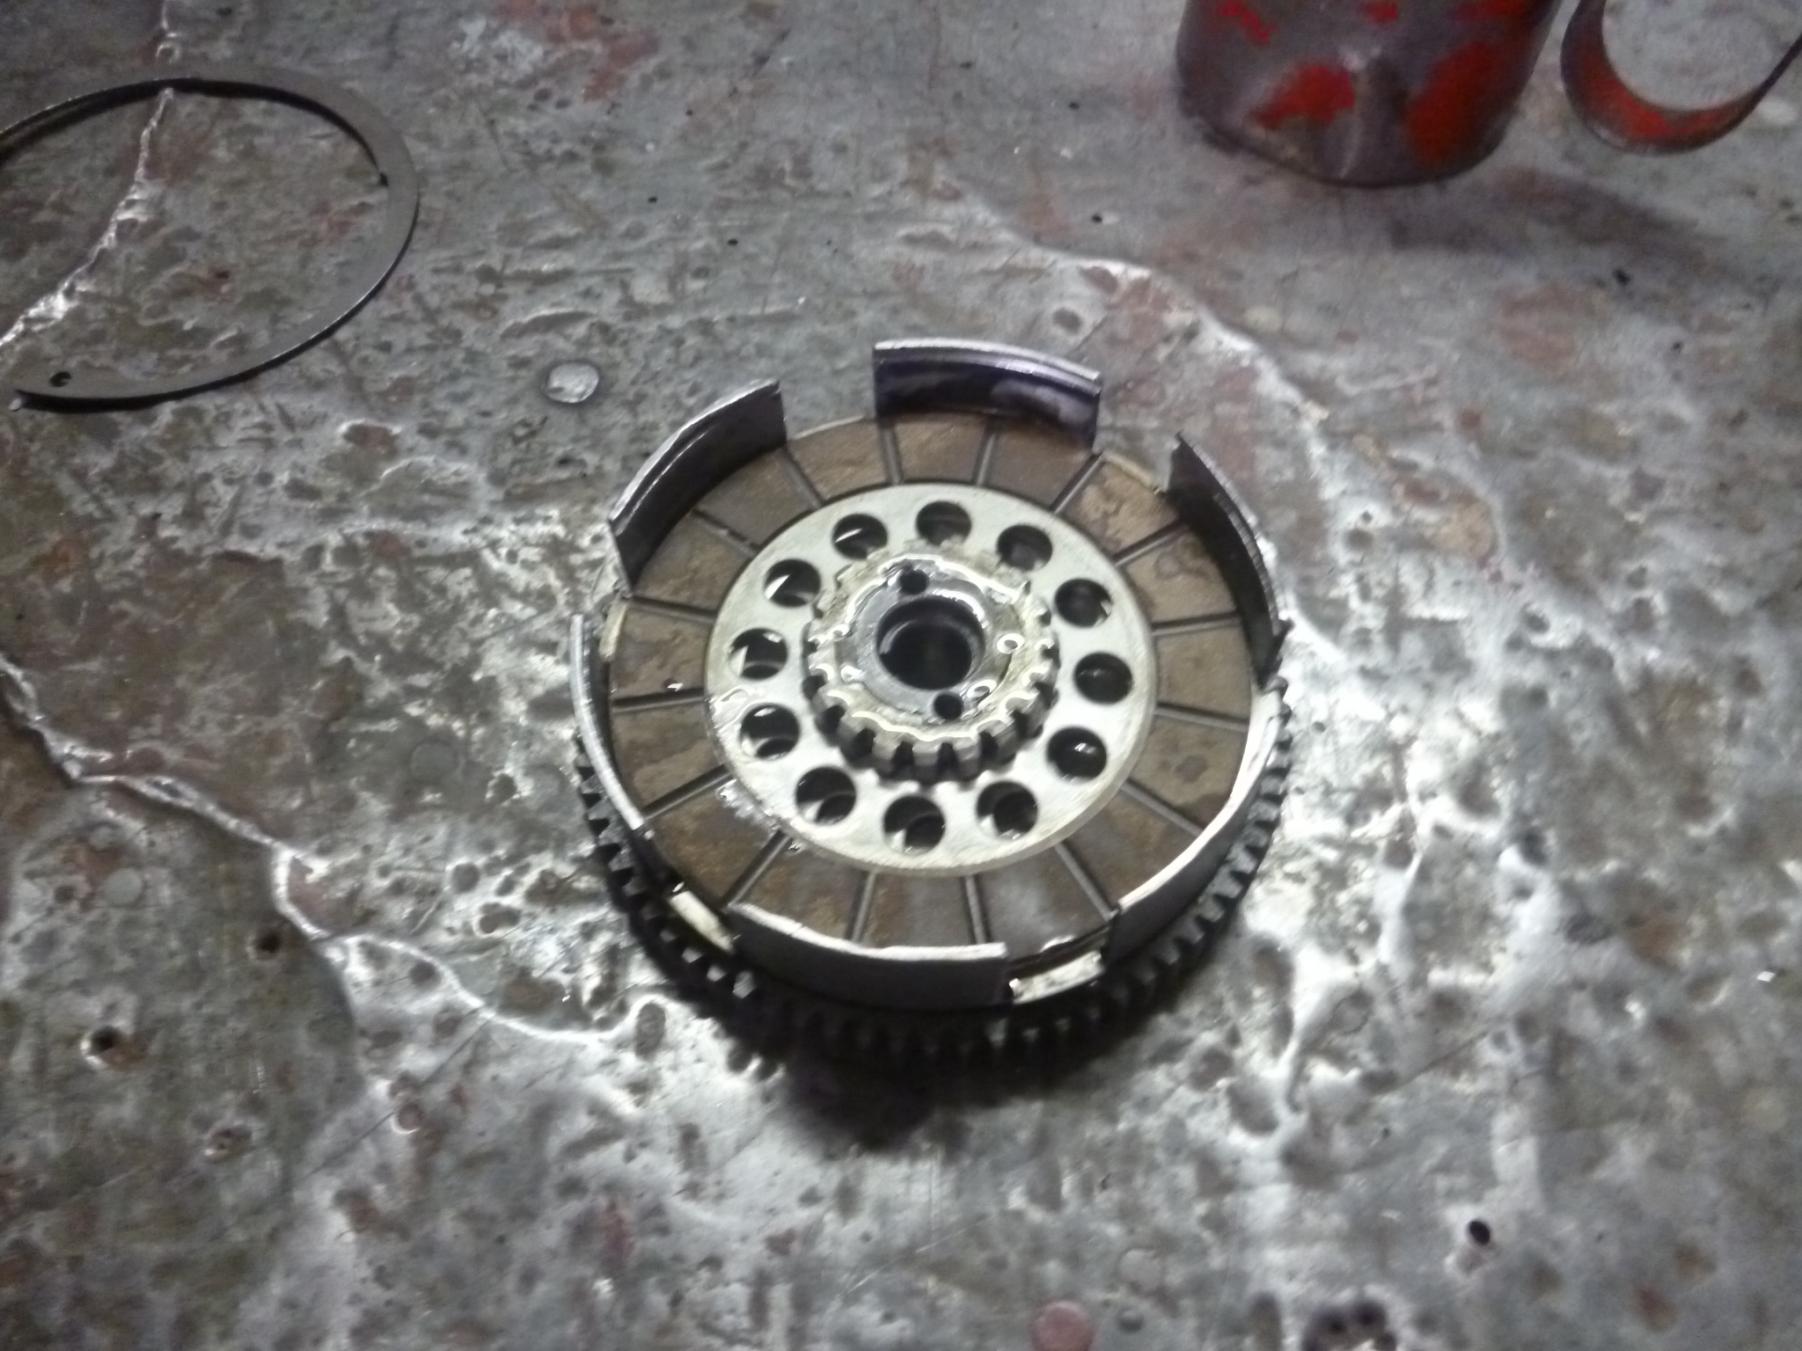
Weeeell this is what's left of the clutch... Lock plate was made out of a piece tin can. At one point during it's lifetime the big retainer holding the clutch plates broke... No problem they thought, we'll just weld it to the clutch housing instead of getting a new retainer. Found a set of new clutch plates, now just looking for a new retainer. Had to make an improvised tool to disassemble the clutch.


-
restoration 1938 dkw rt 100
Dodge'40-'45 replied to Dodge'40-'45's topic in Blogs of MV restorations
Hi Lex, Thanks for the info, could have guessed the clutch is on it's way out... But like you said, when riding the bike you can't notice it. The seller told me not to use the kick start and that you were supposed to run the bike to start it... Now i know why. :undecided: :nut: Will open the clutch cover tomorrow and see how far they're gone. Any ideas on where to get a couple of new plates? Haven't really looked yet at the oil but it does seem more like grease that's in it then oil. I'm probably going to use gel-oil which is special for gearboxes with primitive seals. The switch on mine is different and doesn't seem to have the button. Interesting to hear about the army manual. Niek -
restoration 1938 dkw rt 100
Dodge'40-'45 replied to Dodge'40-'45's topic in Blogs of MV restorations
Hi Lex, It's a field mod the problem was that the weldings on the replica were sturdier then the ones on the original exhaust. taking off the bracket would have damaged the exhaust. But on the other hand it does runs alot more quiet then before. Do you use your kick start often to start the engine? Mine doesn't work very well,seems to be slipping when getting over the TDC under compression. Do you happen to have a drawing of how the clutch works? What's the best way to switch off the engine? just closing off the fuel? -
restoration 1938 dkw rt 100
Dodge'40-'45 replied to Dodge'40-'45's topic in Blogs of MV restorations
Well went to get some 2-stroke oil today and did a small test run. Had to adjust the clutch a bit and throttle cable. Runs nicely now and is ready to roll! :-D


-
restoration 1938 dkw rt 100
Dodge'40-'45 replied to Dodge'40-'45's topic in Blogs of MV restorations
exhaust is finished, had to adapt the bend a bit and reshape it so the new muffler would fit. hope to make a test drive soon. Also fitted the rear number plate and connected the taillight.


-
restoration 1938 dkw rt 100
Dodge'40-'45 replied to Dodge'40-'45's topic in Blogs of MV restorations
The End is near! Things left to do: Connect fuel line place the rear numberplate fixing the exhaust adjusting brakes / clutch and last but not least, test drive. :cool2:

-
restoration 1938 dkw rt 100
Dodge'40-'45 replied to Dodge'40-'45's topic in Blogs of MV restorations
Work continues. Had to make a new throttle cable and clutch cable, both were too short. All in place now and they seem to work like they should. also mounted the rear wheel and put on the chain and chainguard.


-
restoration 1938 dkw rt 100
Dodge'40-'45 replied to Dodge'40-'45's topic in Blogs of MV restorations
Hi Lex, Thanks, but got a BSA which needs a repaint after. And once that one's done i can start on a 1943 Dodge D15. So I can safely say that most of my spare time is taken for the next 3-4 years . Had a look at the gearbox, it says 4-36. If i look at the engine number it also dates it as a 1936 /1937 engine. -
restoration 1938 dkw rt 100
Dodge'40-'45 replied to Dodge'40-'45's topic in Blogs of MV restorations
rear mudguard and luggage rack back on, fixed wiring clips on the inside of the mudguard. Got some nice braided wiring loom and luckely got the original light switch.

-
restoration 1938 dkw rt 100
Dodge'40-'45 replied to Dodge'40-'45's topic in Blogs of MV restorations
Footrests and center stands are now back in place. Mounted the engine back in the frame. The frame is a lot sturdier now. Put all the cables in place and started on the electric wiring (well 6 wires in total... :-D spark plug wire not included). now that it's back on it's stand i can remove the rear wheel and put the mudguard back on first so i can get measurements for the wire for the rear light.


-
restoration 1938 dkw rt 100
Dodge'40-'45 replied to Dodge'40-'45's topic in Blogs of MV restorations
I doubt the frame is any heavier then a BMX.:cool2: Don't have any plans yet to go to Wieze. Bike is finally coming back together so i'll have to use all the weekends i can get -
restoration 1938 dkw rt 100
Dodge'40-'45 replied to Dodge'40-'45's topic in Blogs of MV restorations
Made some more progress on the DKW. Went to collect the centerstand. A friend of ours very nicely welded a couple of new bushes on it and recentered it. The old ones were very badly worn because the stand wasn't centered correctly. Started with assembling the footrests and brake pedal assembly. just put the back wheel in to get it up on it's wheels so we could see if the footrests where in the correct position.
-
restoration 1938 dkw rt 100
Dodge'40-'45 replied to Dodge'40-'45's topic in Blogs of MV restorations
Hi Sjoerd, Don't know where to get the spools mine where in quite good condition. I think i saw a set of them a while ago for sale on Marktplaats? As far as the color goes, i'm not really sure if the geländes originally were black? Surviving examples seem to be Brown, and a brown layer of paint also revealed underneath the black paint on the gas tank on mine. This DKW has had a previous restoration or atleast a respray indicated by filler (old red type) found on the front mudguards. As far as field grey goes, i only found this photo of 2 HJ machines which do seem to be painted field grey. They seem to be quite new machines. And i also have some pictures of machines that are in use with the WH which are resprayed. regards, Niek
-
restoration 1938 dkw rt 100
Dodge'40-'45 replied to Dodge'40-'45's topic in Blogs of MV restorations
some pictures of the new exhaust. Blackout cap arrived. Painted it using quite dilluted paint so it'll look more matching to the bike and added a more period apropriate looking pair of ropes.


-
British 10 cwt trailer for sale very nice
Dodge'40-'45 replied to monty2's topic in British Vehicles
Never seen this type before. Chassis appears to be a machinery type rather than GS. Looking at the Contract number on the rebuild plate it's from the same contract as our Binned trailer. This contract appears to be for 10 cwt trailers with various body types. Does it have the original data plate present?


