


alixcompo
-
Posts
244 -
Joined
-
Last visited
Content Type
Profiles
Forums
Gallery
Blogs
Events
Articles
Store
Downloads
Posts posted by alixcompo
-
-
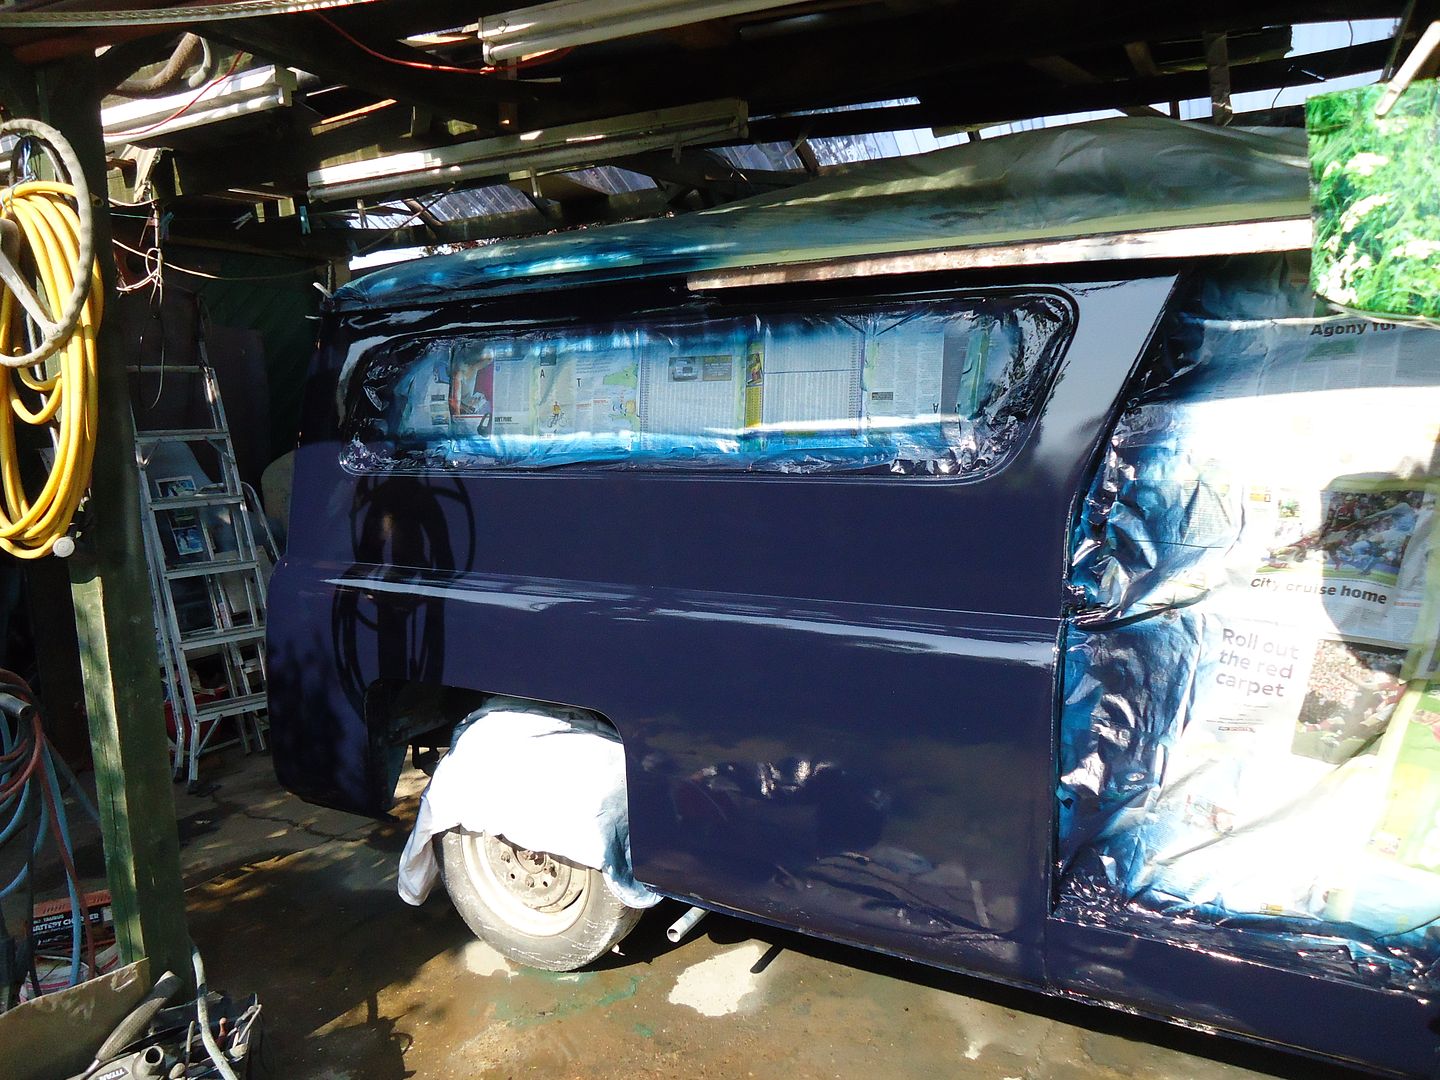
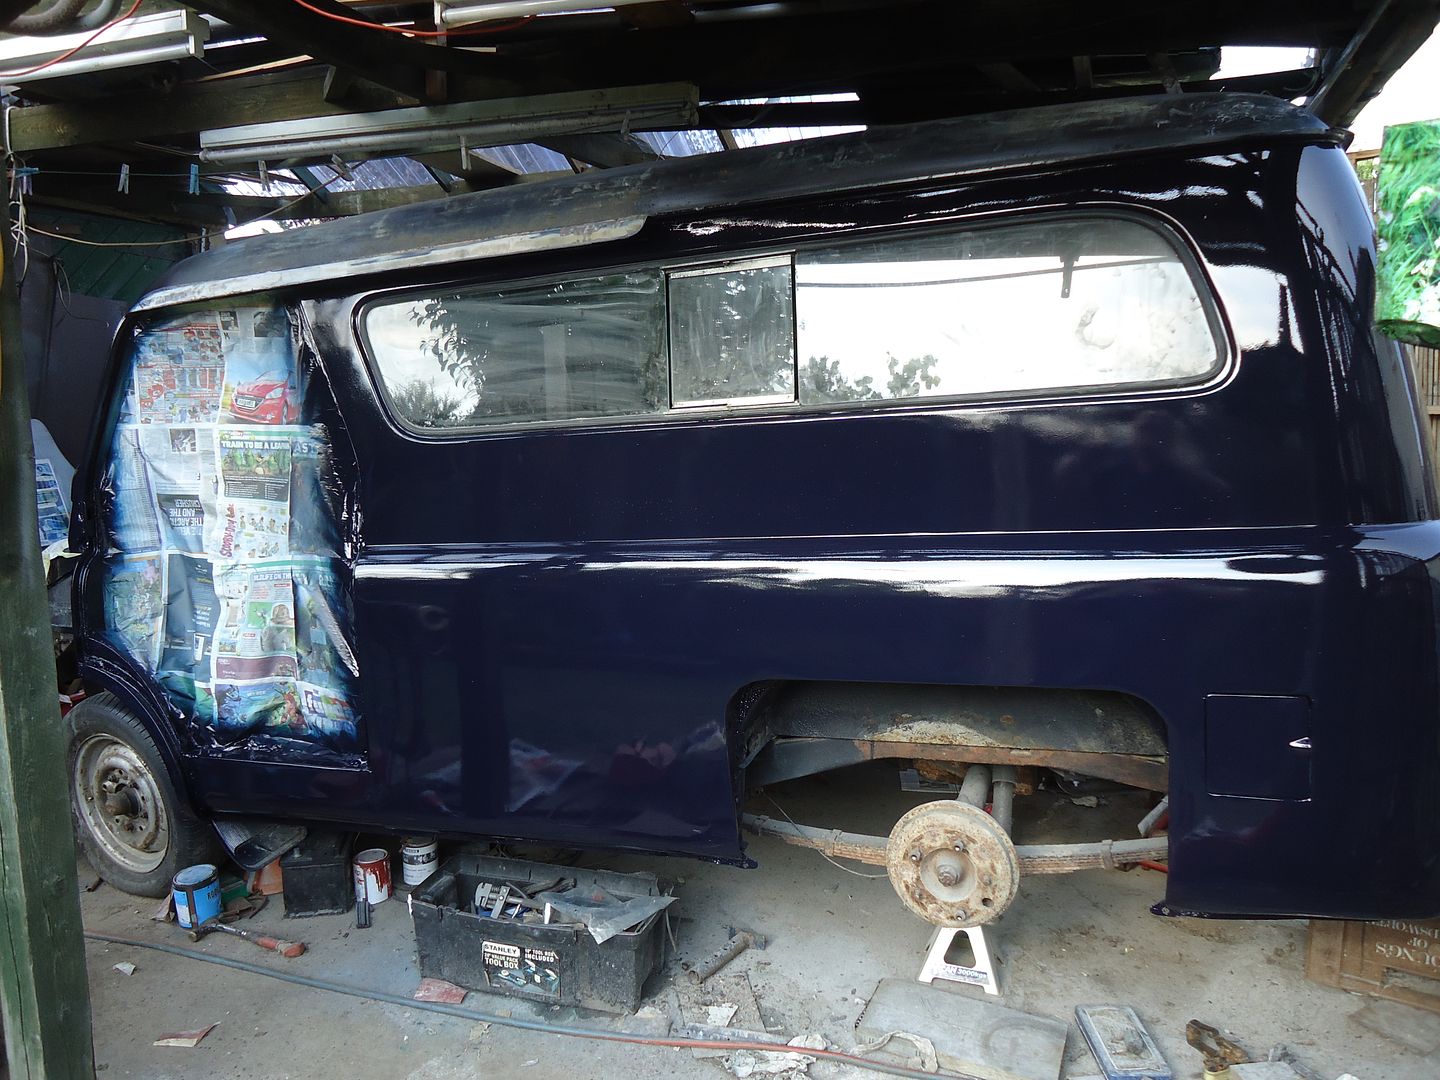
Today; turned the van around and painted the offside.
Tomorrow the roof.
-
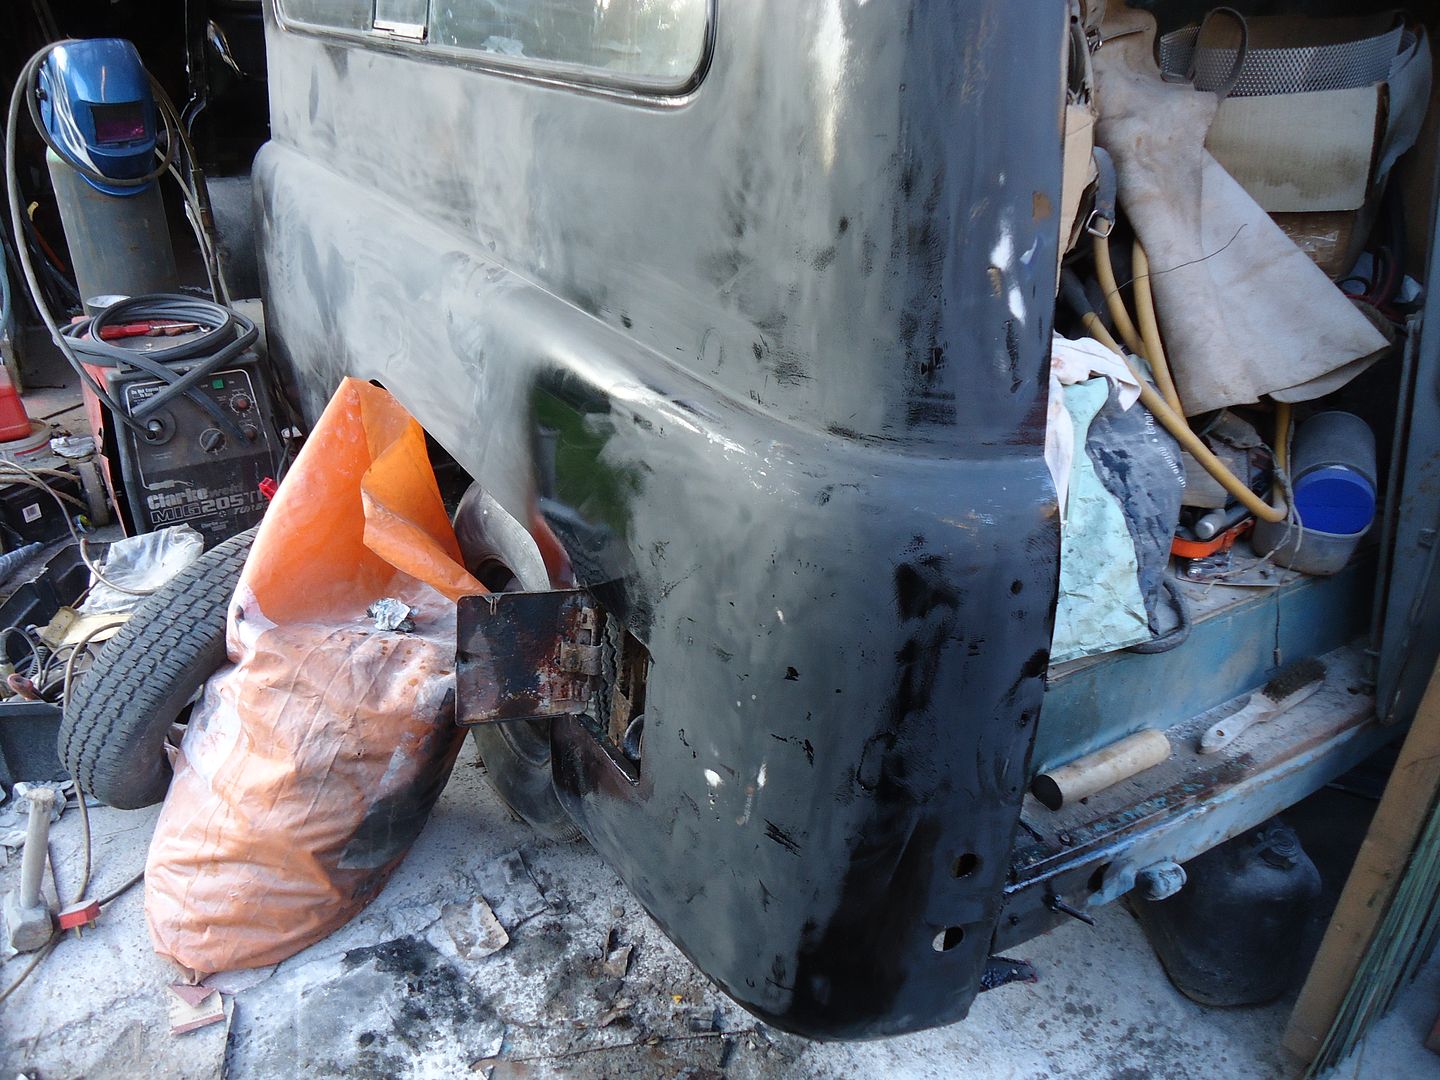
I would like to report some progress.. Hurrah

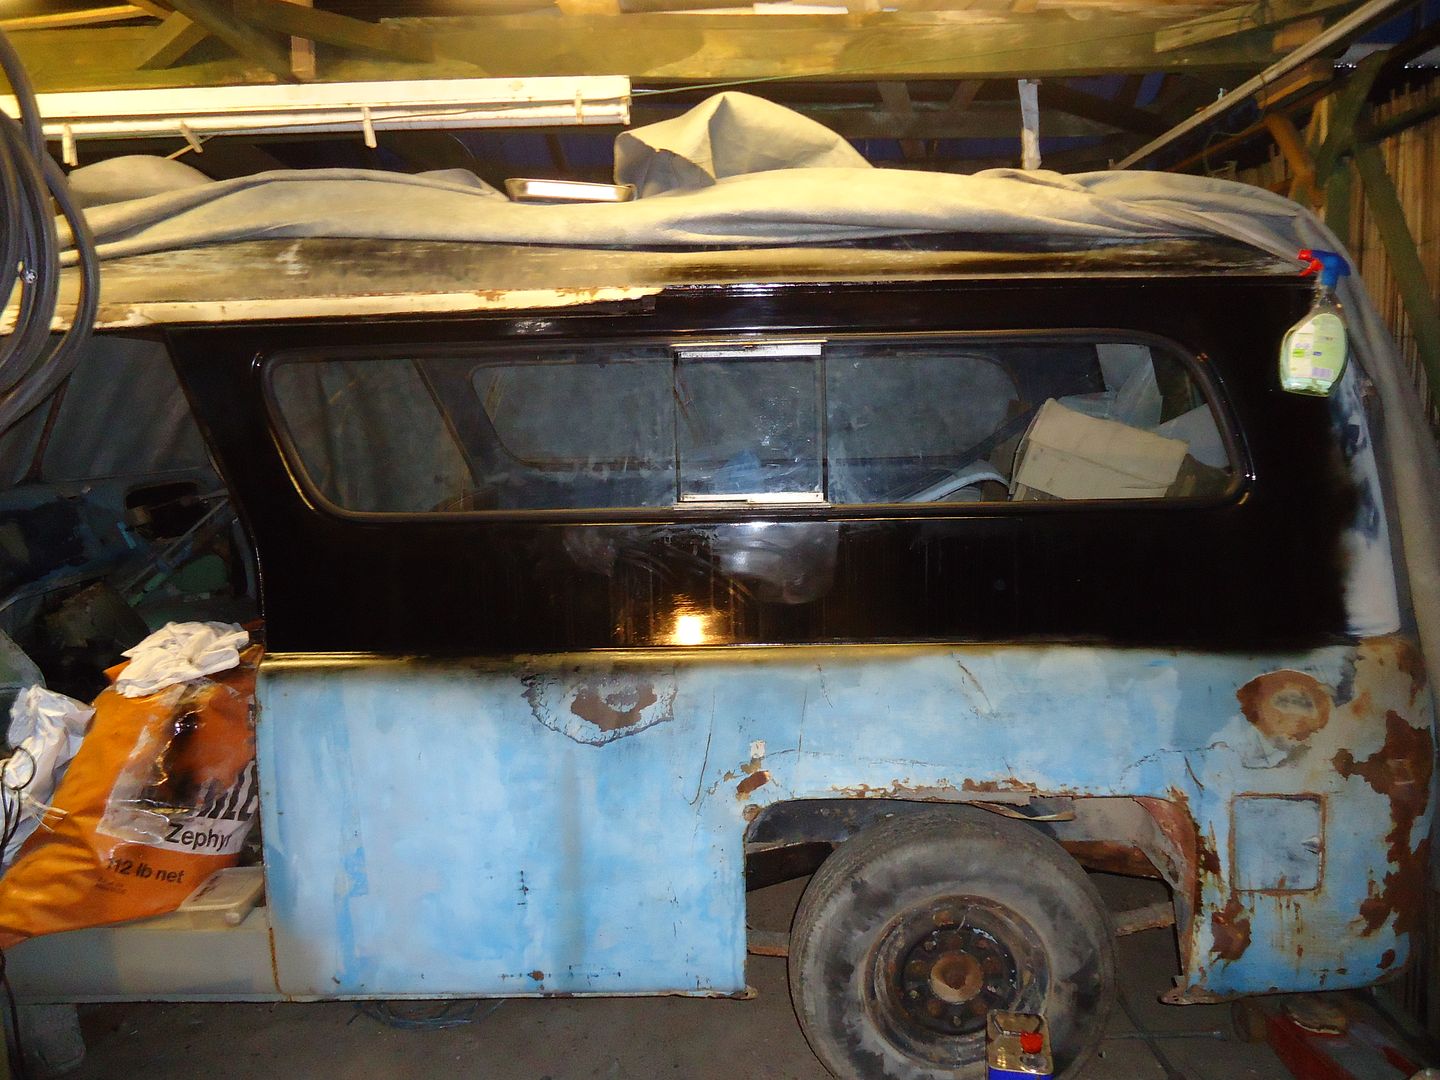
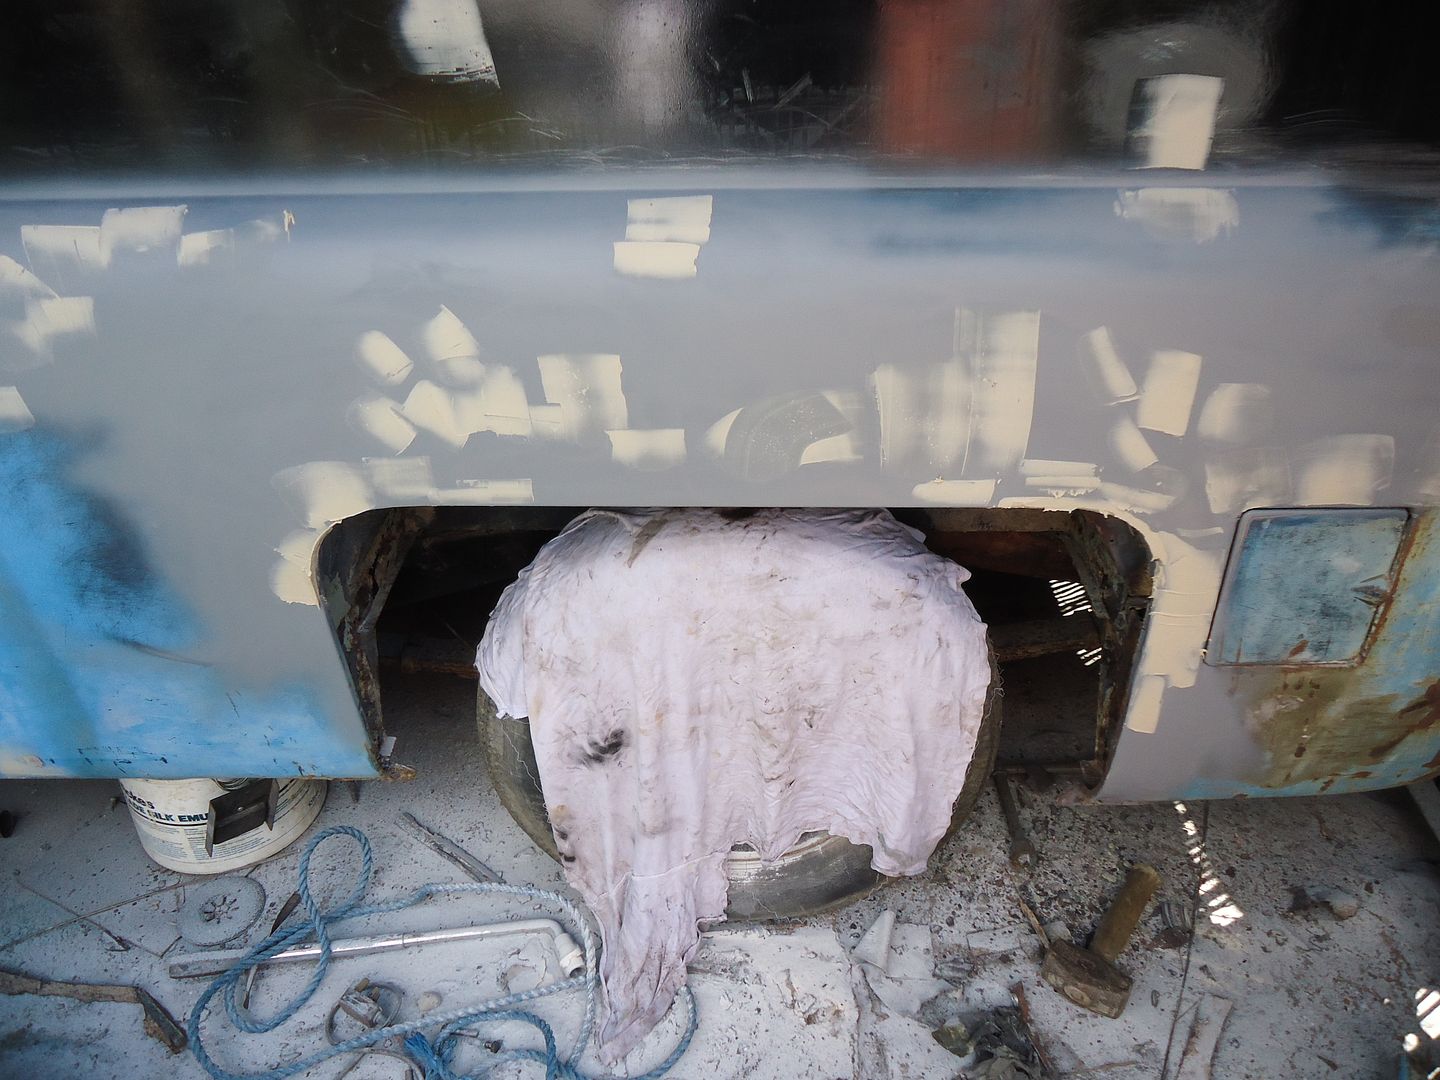
The back panel was (like everything else) really beaten up. Welding on bolts to pull out the dents was working up to a point but on the other side it was more severe and it is a double panel that it isn't possible to hammer out.
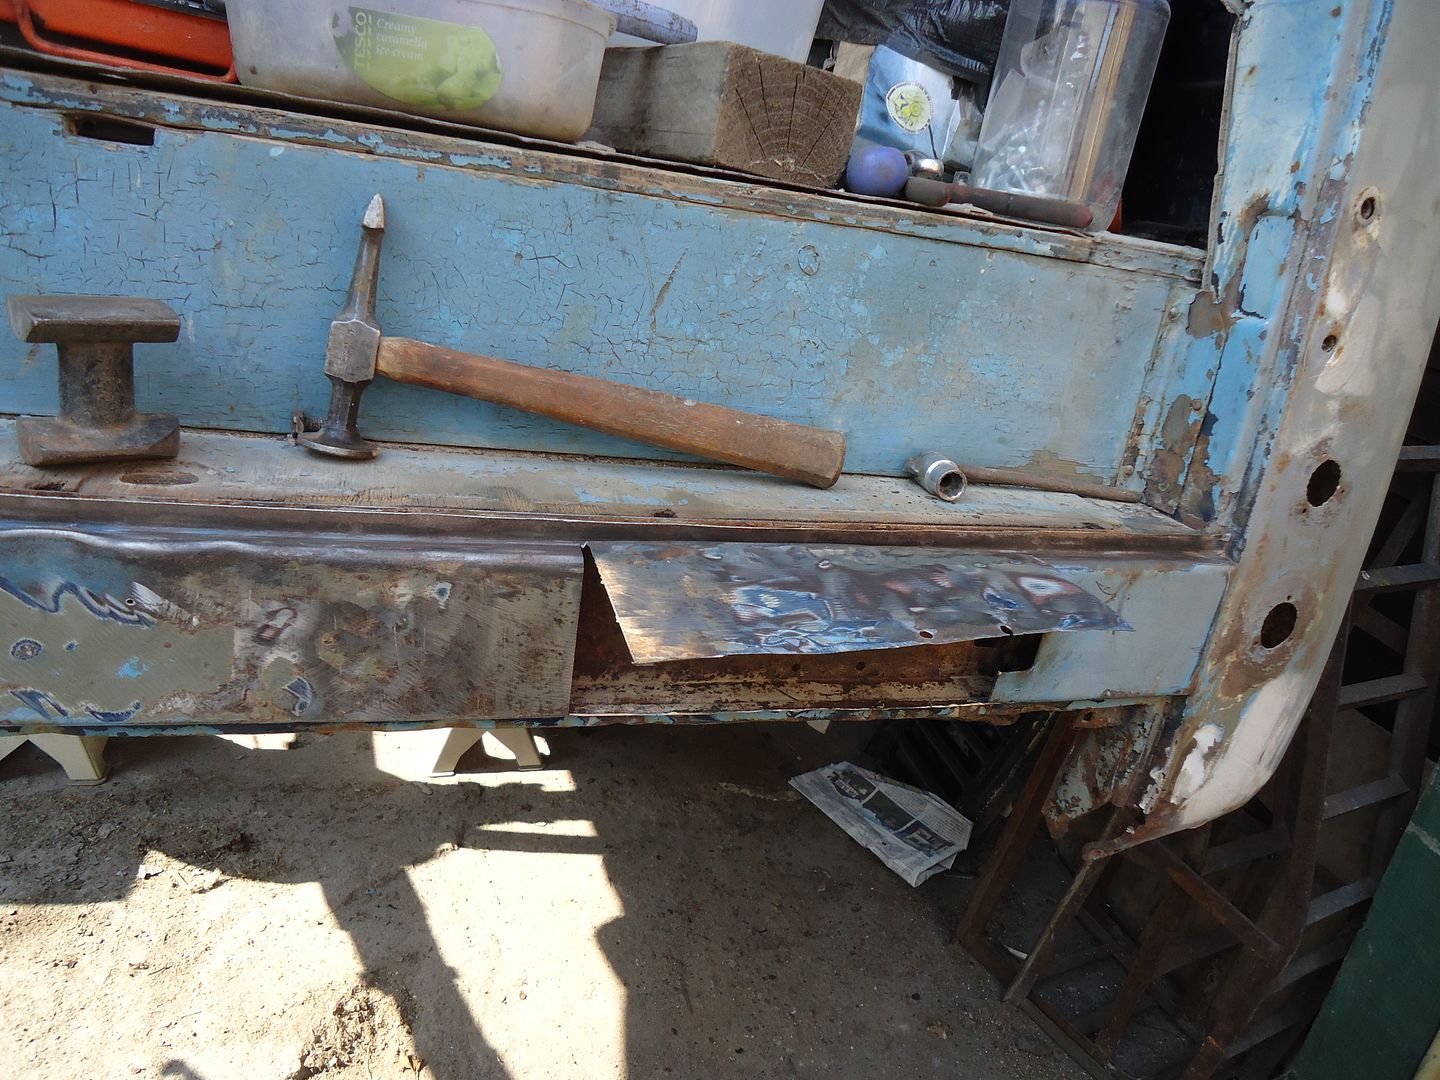
So I cut a flap and folded it up where I could get at it with a hammer and dolly. It also allowed me to reshape the double skin behind it, back to where it ought to live.
Then I welded the flap back in place.
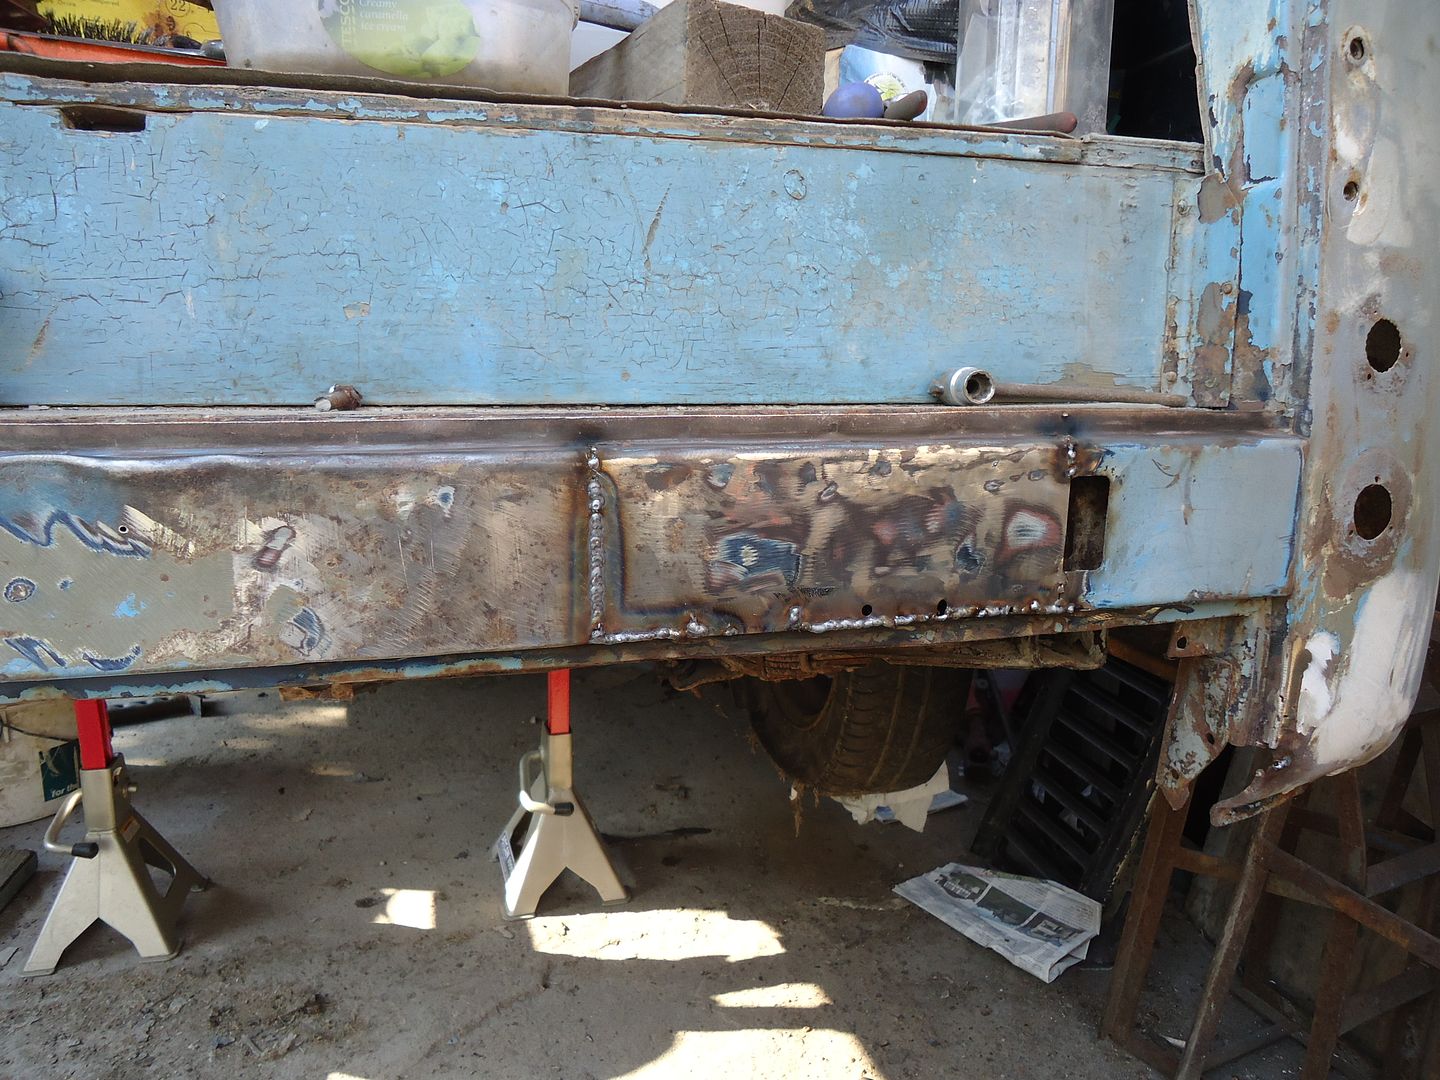
That square hole is for the bumper bracket to poke through........ Although..... There-by hangs a tale:
You may notice that if a bumper was fitted then it would cover one of the rear lights.. Hmm
I shall have to do a bit of research methinks..
But what about this then;
 I am very chuffed and very knackered and very thankful for one of my lads helping out.
And we are spending tomorrow on it as well.
-
I was amazed at how many people I spoke to said that they were "Doing their own thing" which I thought was fantastic and yet for the efforts they had made then they should (and probably would have) been feted by the local villages had there have been some organised approach.
Fantastic to everyone who made the effort. I am in awe.
-
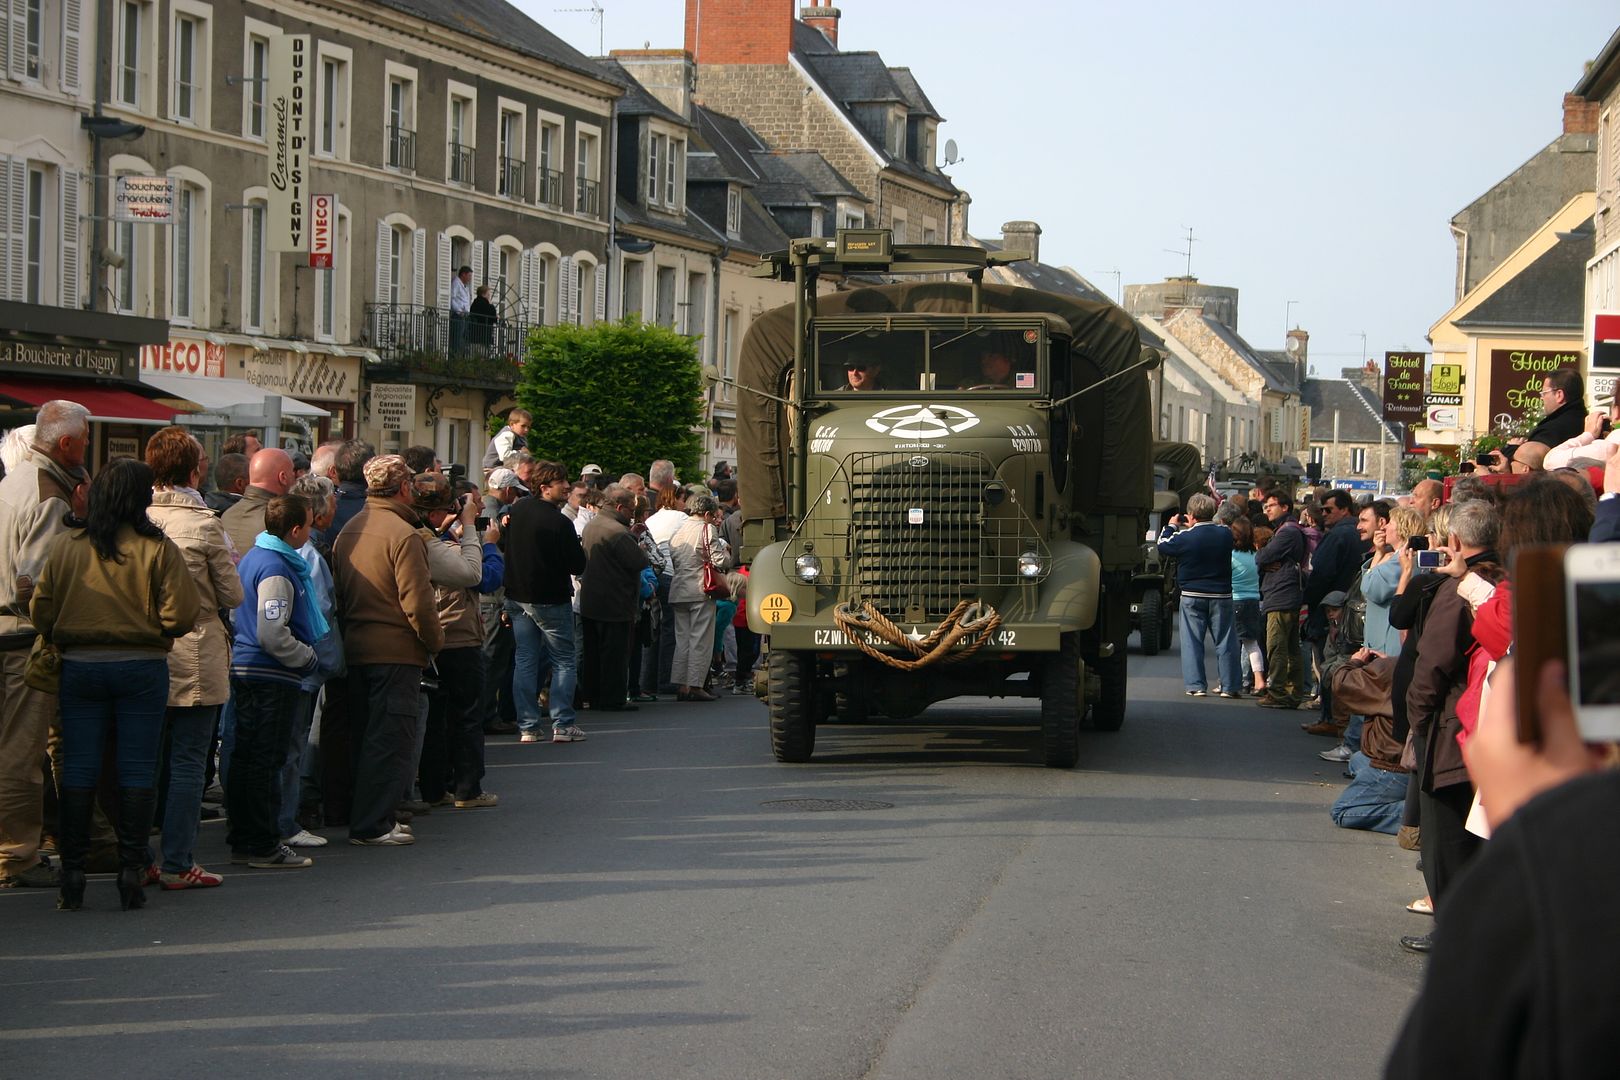
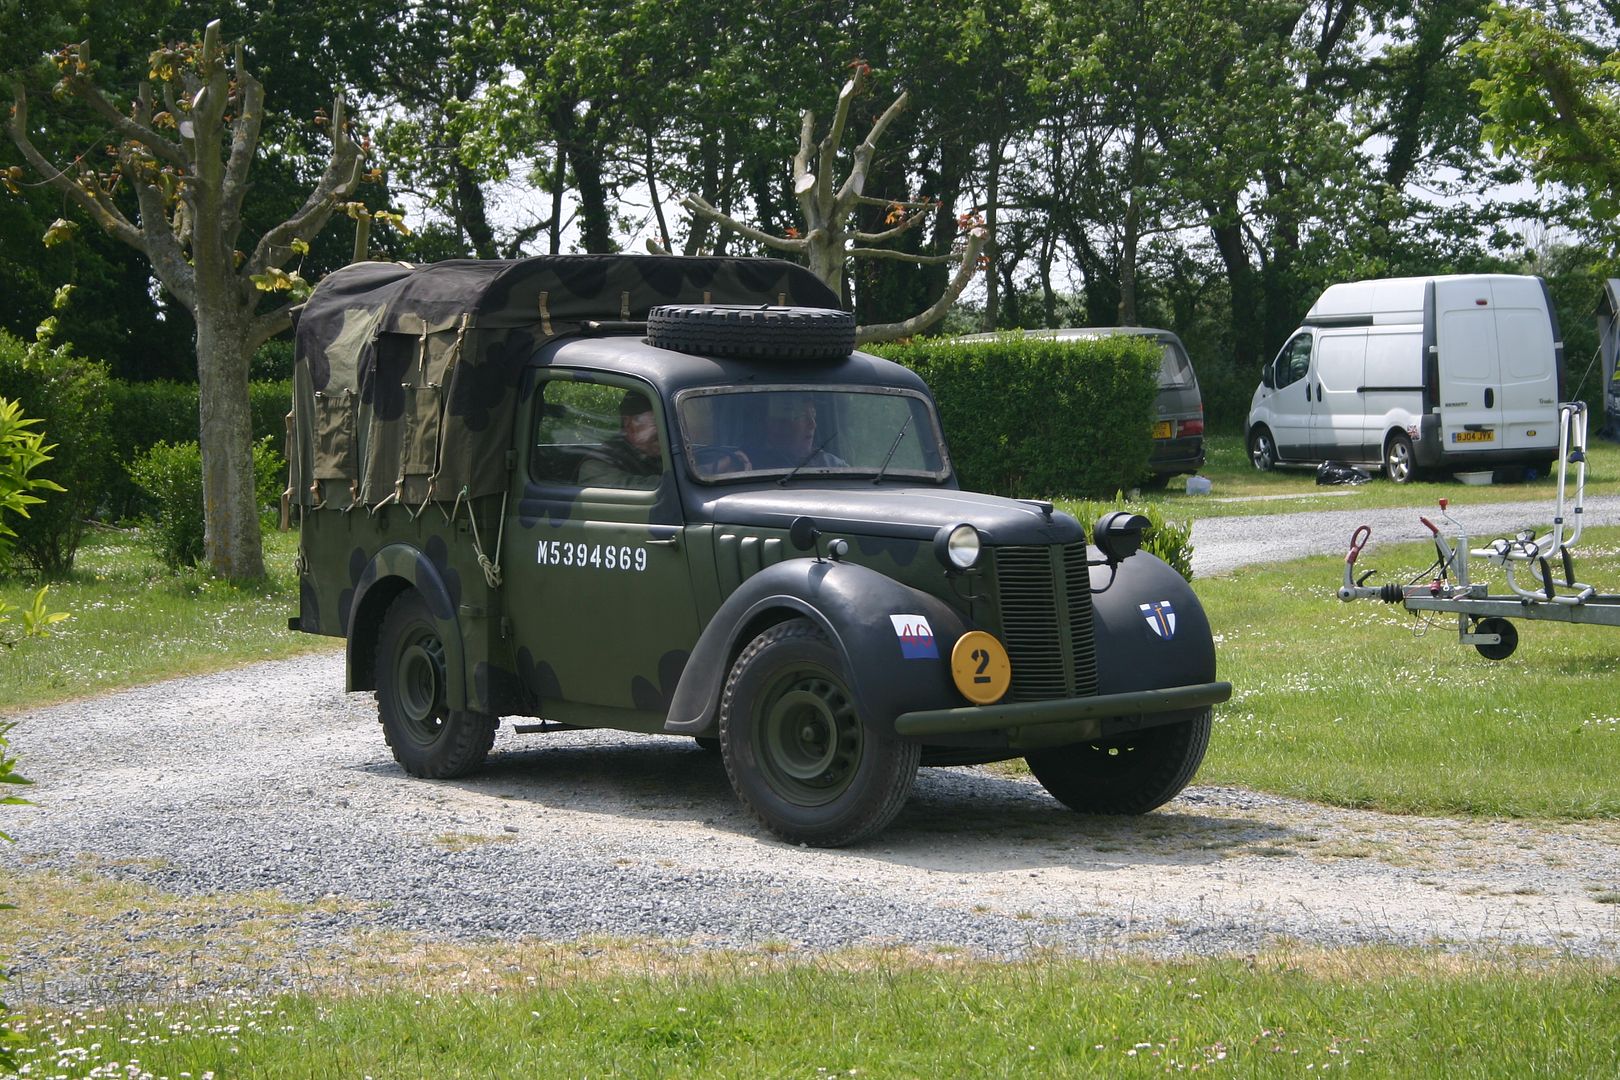
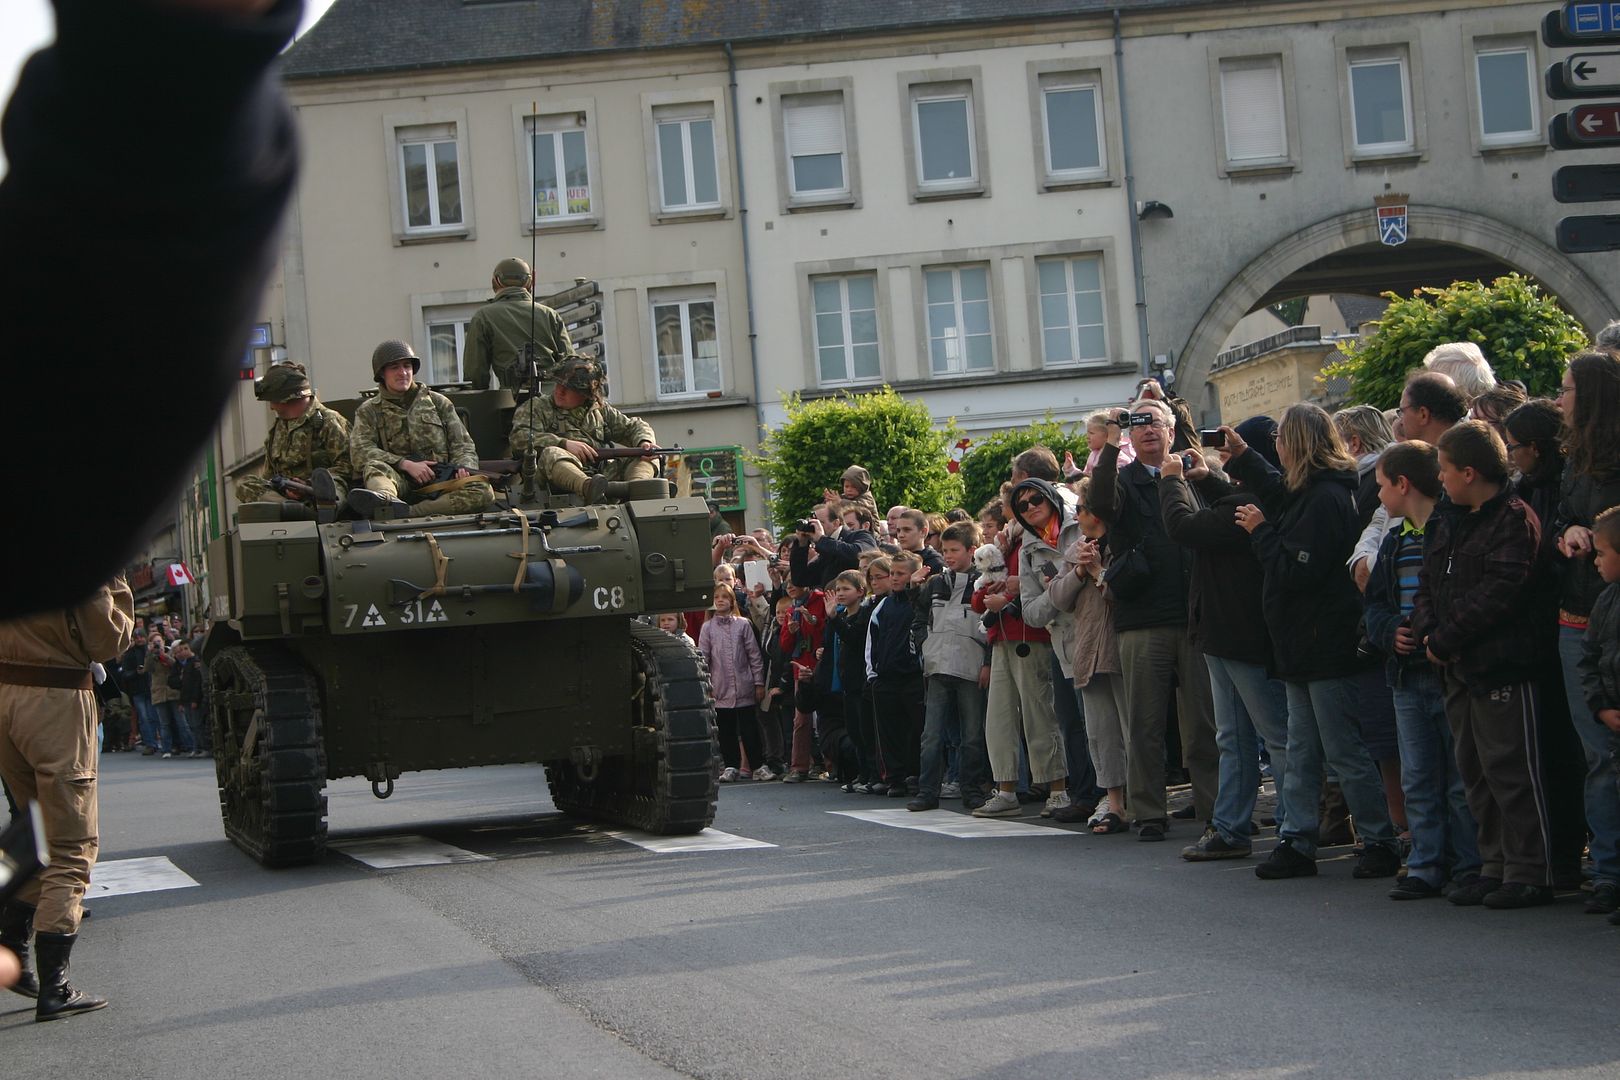
In France at the moment and was here for the D-Day period.
Displays in lots of villages and met the nice English guys in the 'Tilly'
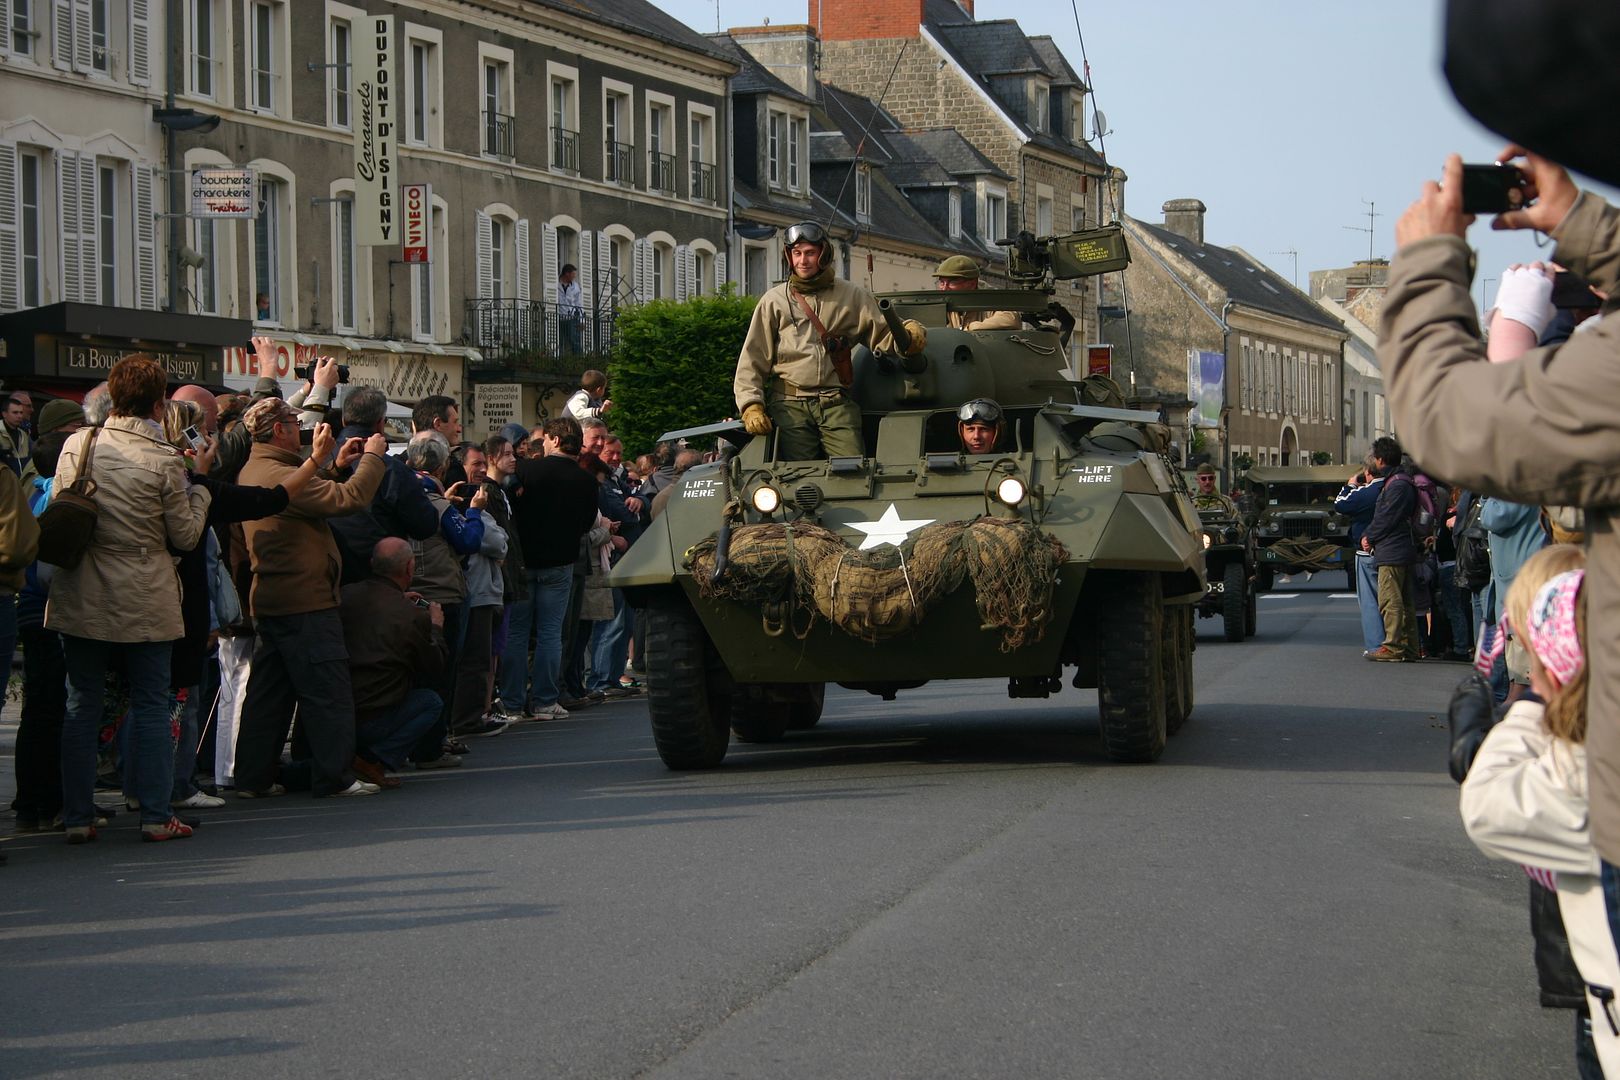
It is a bit weird that all the American stuff is owned by Frenchmen. This was in Bayeux the first 'Town' to be liberated (apparently by the Brits) not a single UK vehicle. Not a single Frenchman dressed in British uniform.
Brought out a very good crown though.
-
While I am feeling pretty smug about changing the rubber seal on my windscreens........
It was rather short lived as the tool I have doesn't seem to fit the locking strip which I am having to insert manually.
The seal is an excellent fit though
-
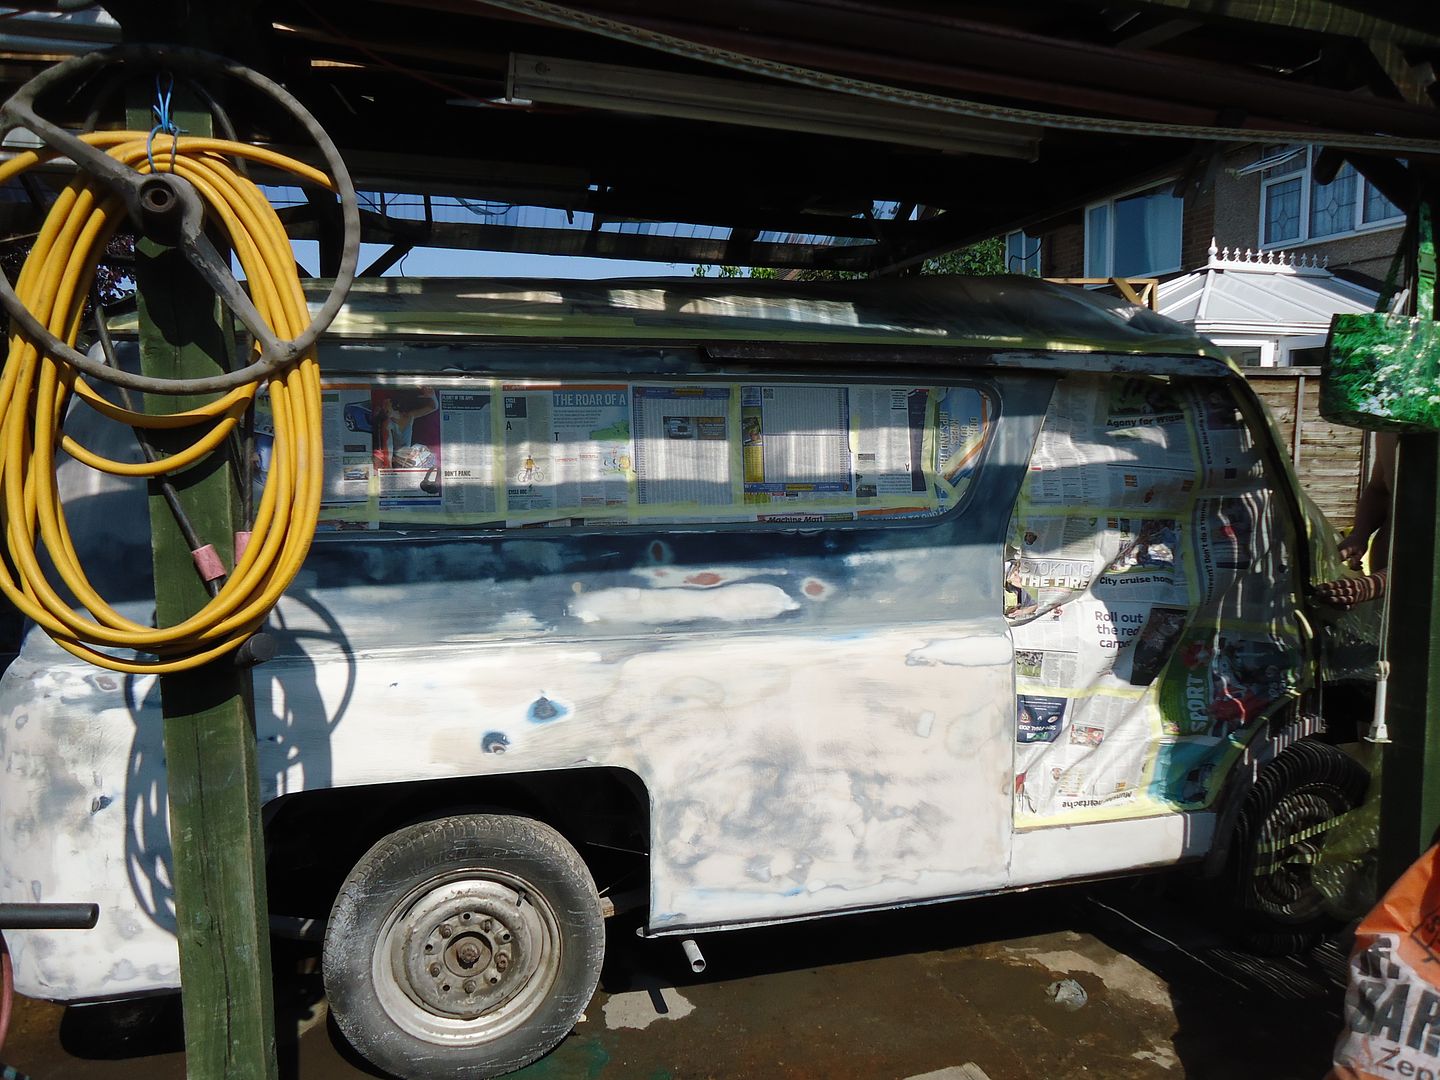
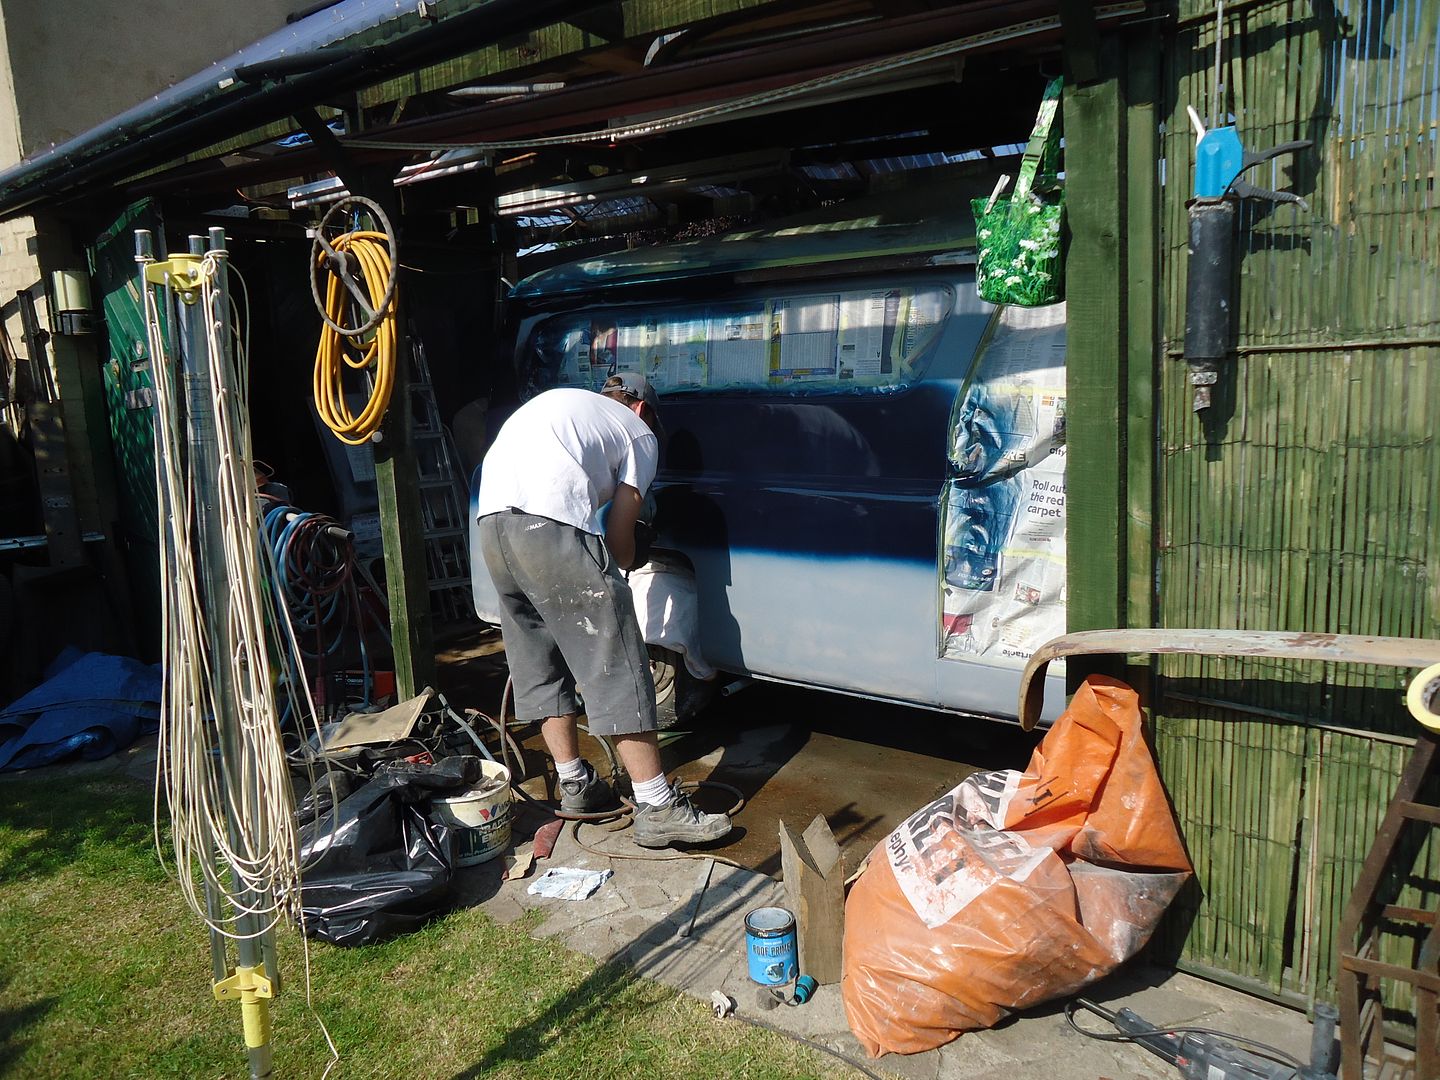
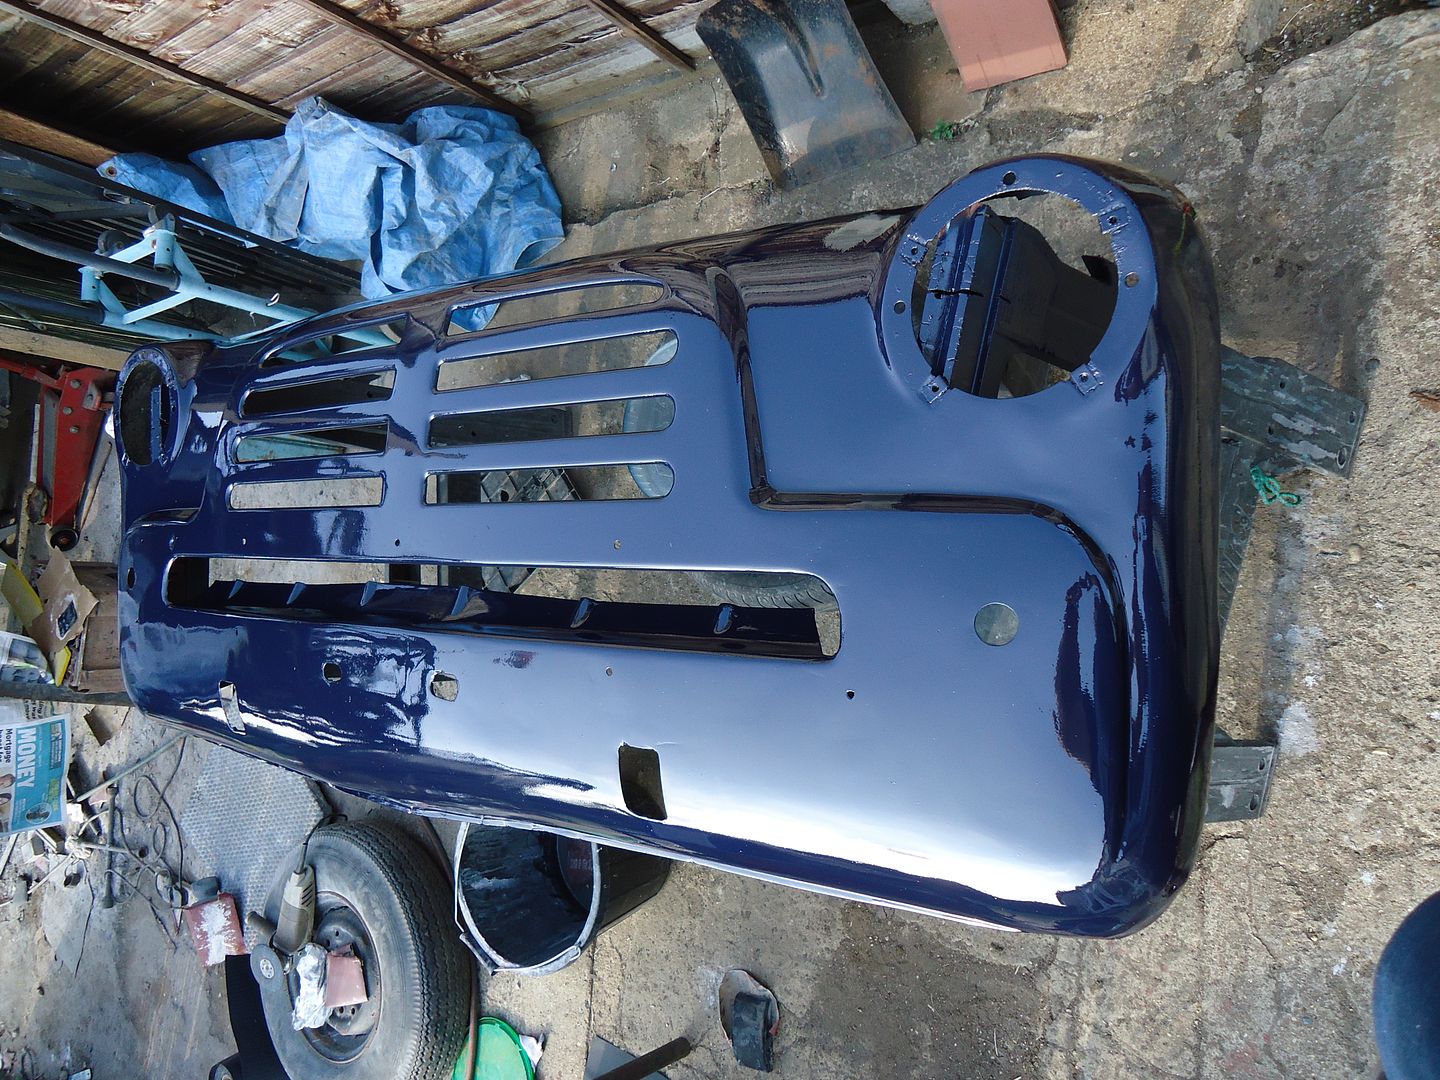
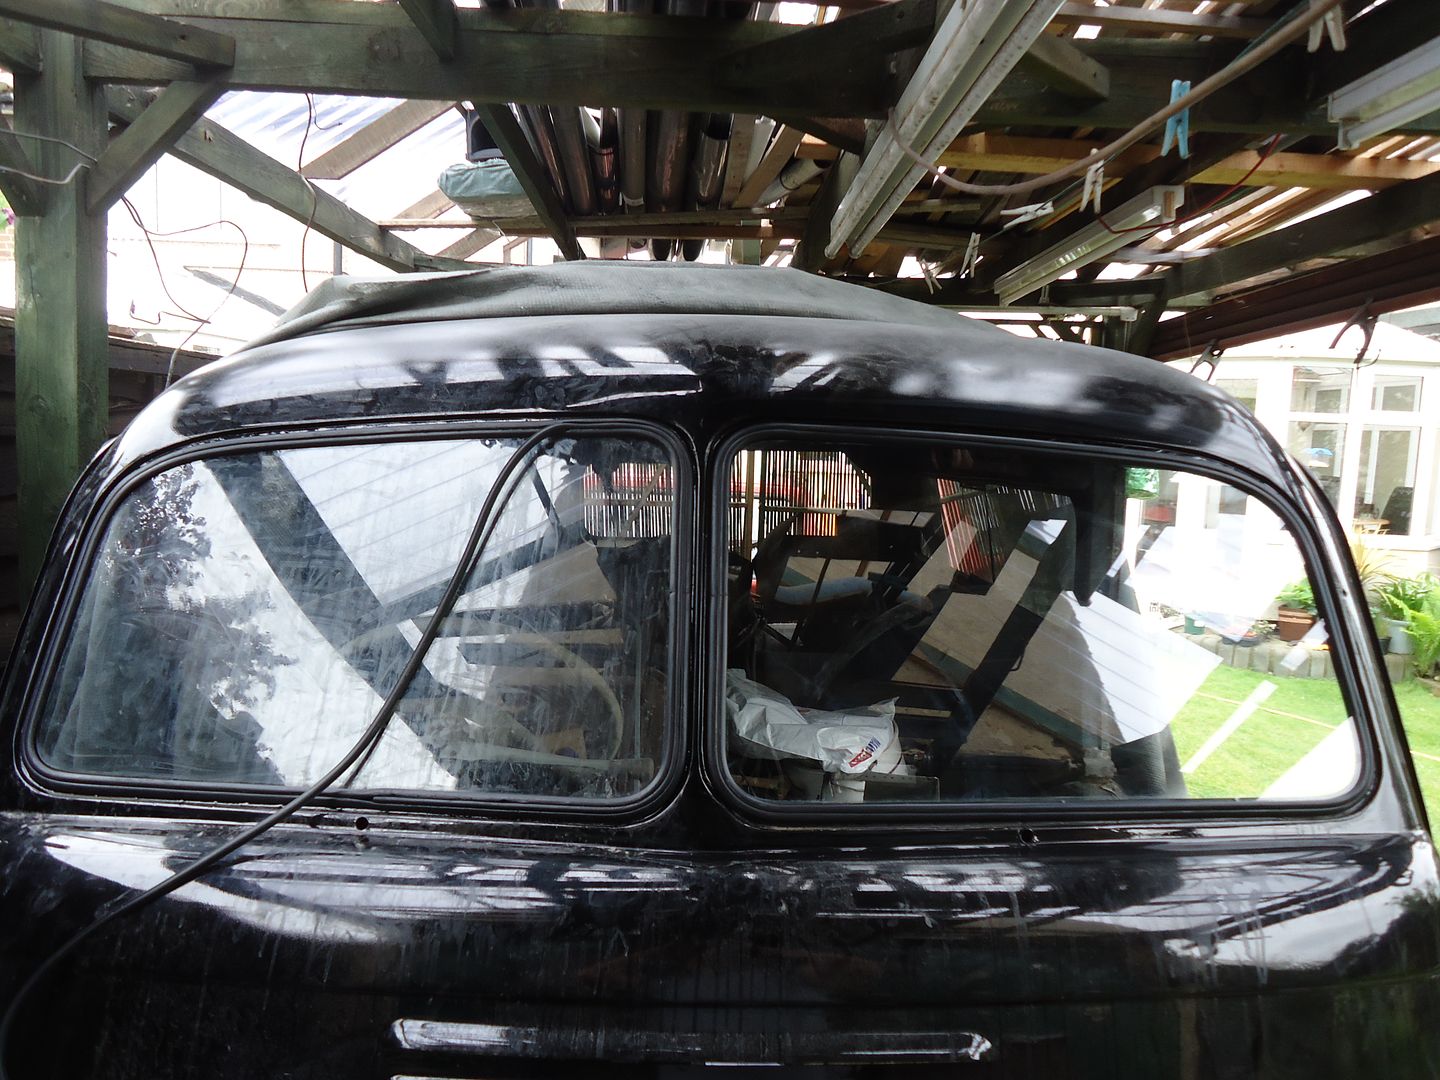
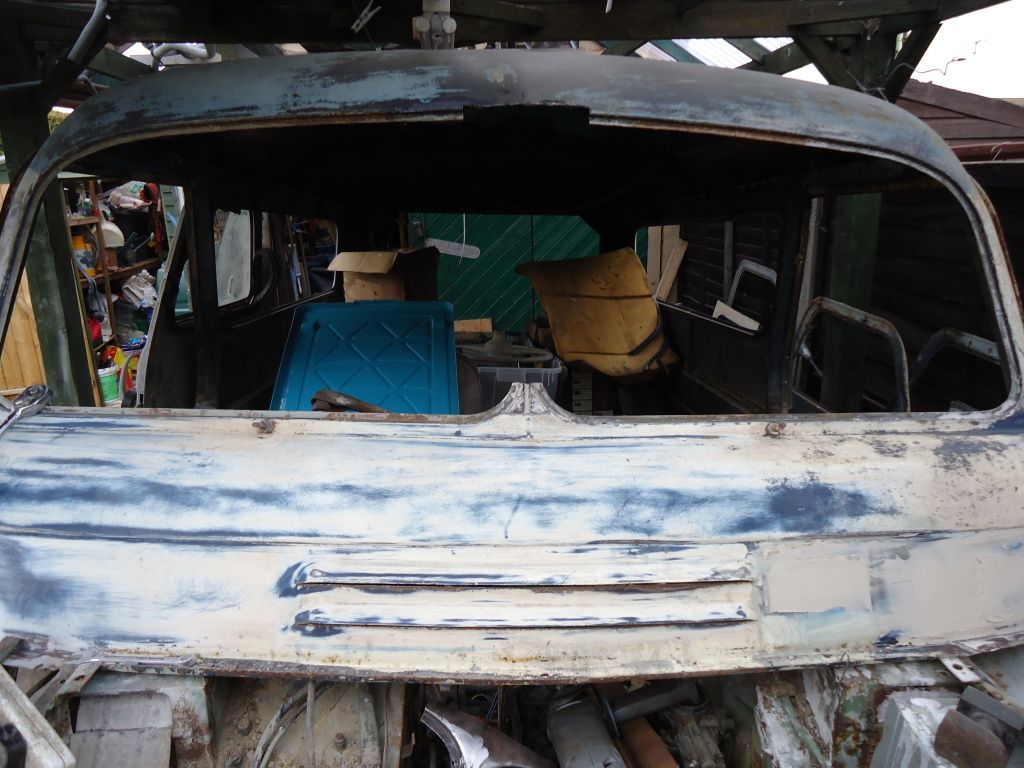
Ok so I haven't posted for a week but............... 3 hours a night rubbing down bodywork doesn't really make for an interesting report; although I have gone from this
To this
And now with arms like Tarzan (no power tools here y'know) I have started on the front panel
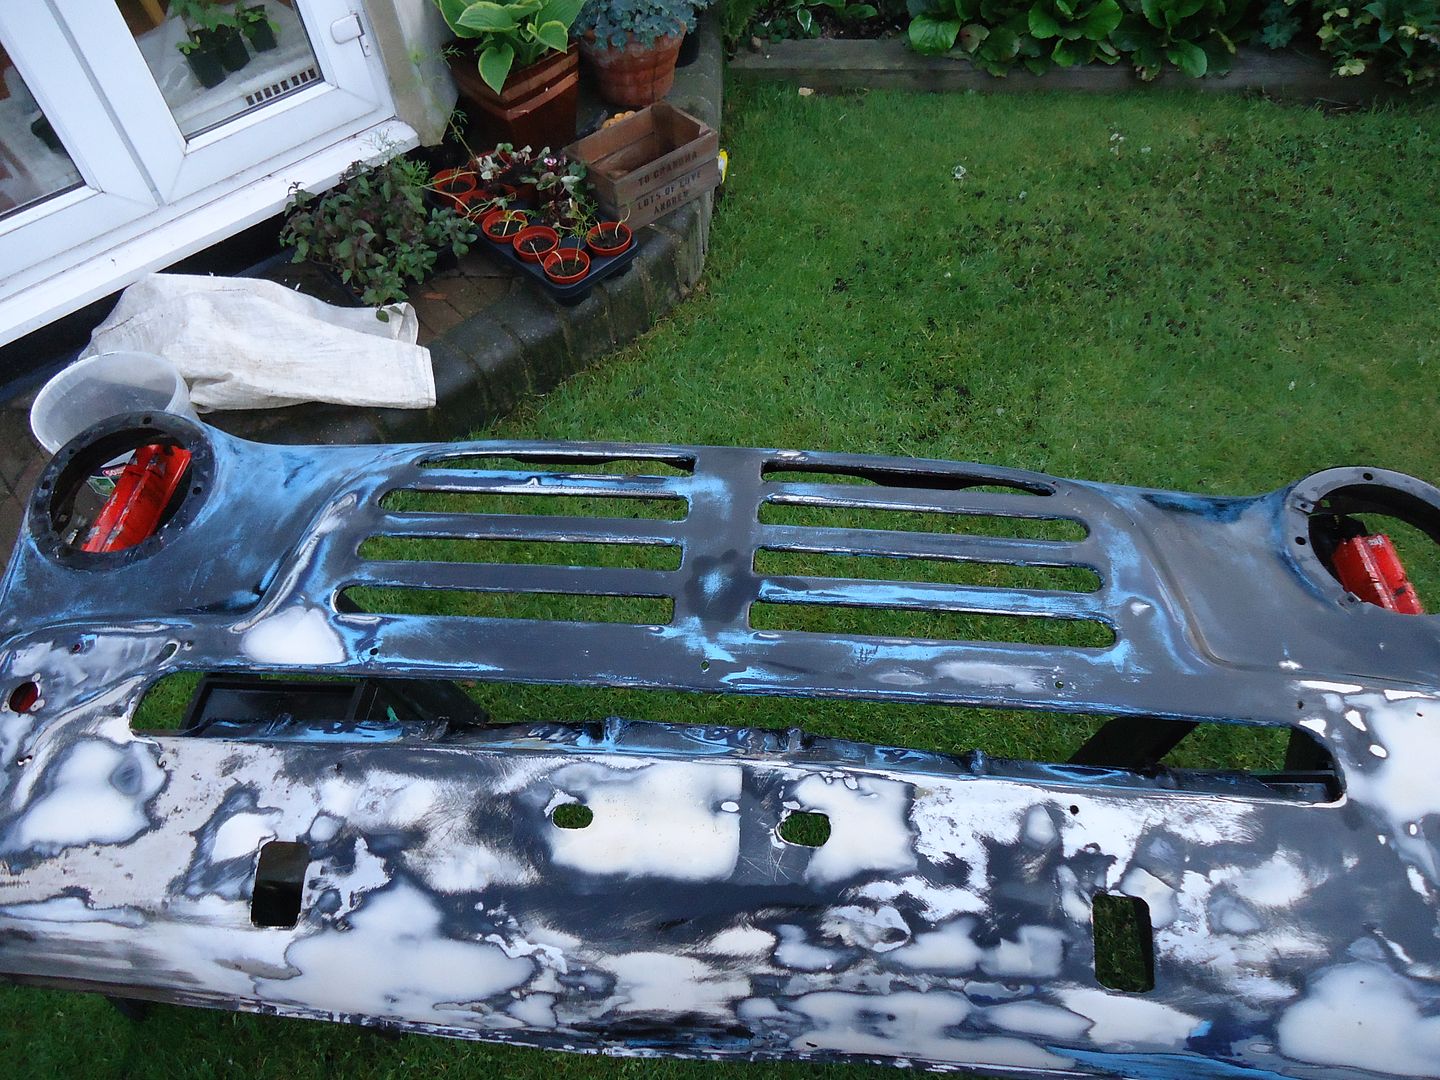
While I keep repeating that the van didn't have as much rust as you might expect in a vehicle 56 years old, it has got enough dents to justify a previous life as a Banger Race, demolition derby winner.
I am developing a lot of archaic skills with a funny shaped 'Hammer and Dolly' and also a lot more modern ones involving cellulose body filler and 2K acrylic paint.
It doesn't help that the van was painted in either household gloss or emulsion and left to bake in the sun fo 30 years.
The reulting effect is a finish known as 'Crackle' in the custom painting world.
If you imagine an effect where the paint you applied then shrank by one third then the valleys and canyons that are left are challenging to say the least.
My technique is ; rub with 600 wet 'n' dry till your knuckles bleed, thin coats of filler and lots of coats of 2K acrylic paint. Then rub the whole lot down again.
It is pretty tedious work after a day out in the real world.
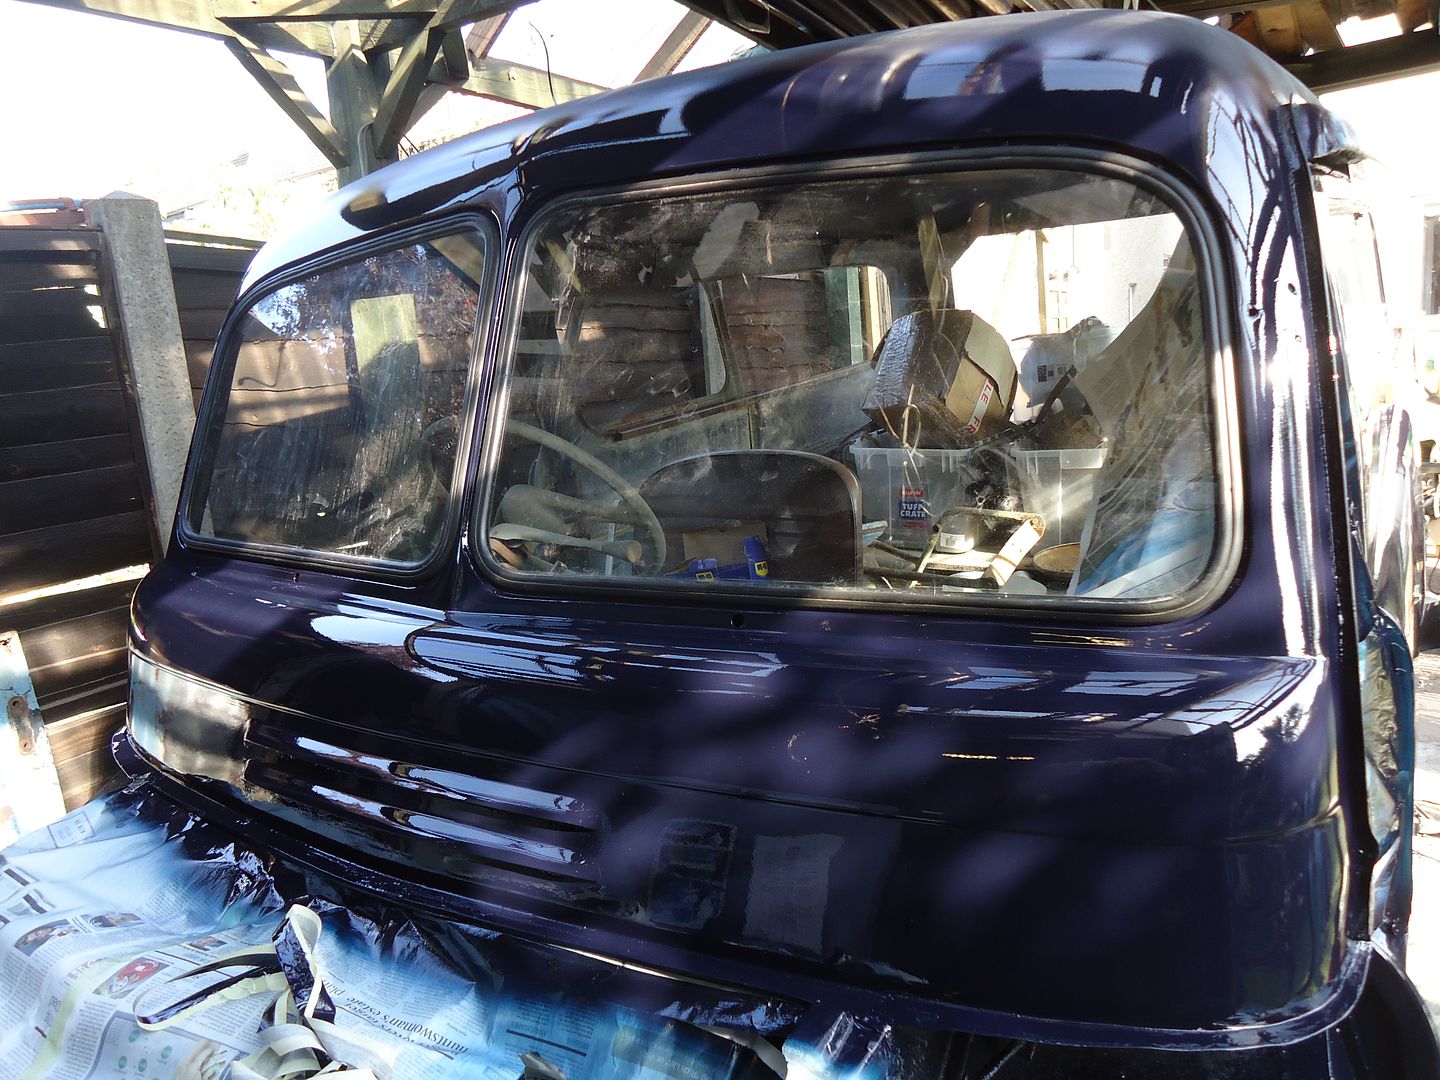
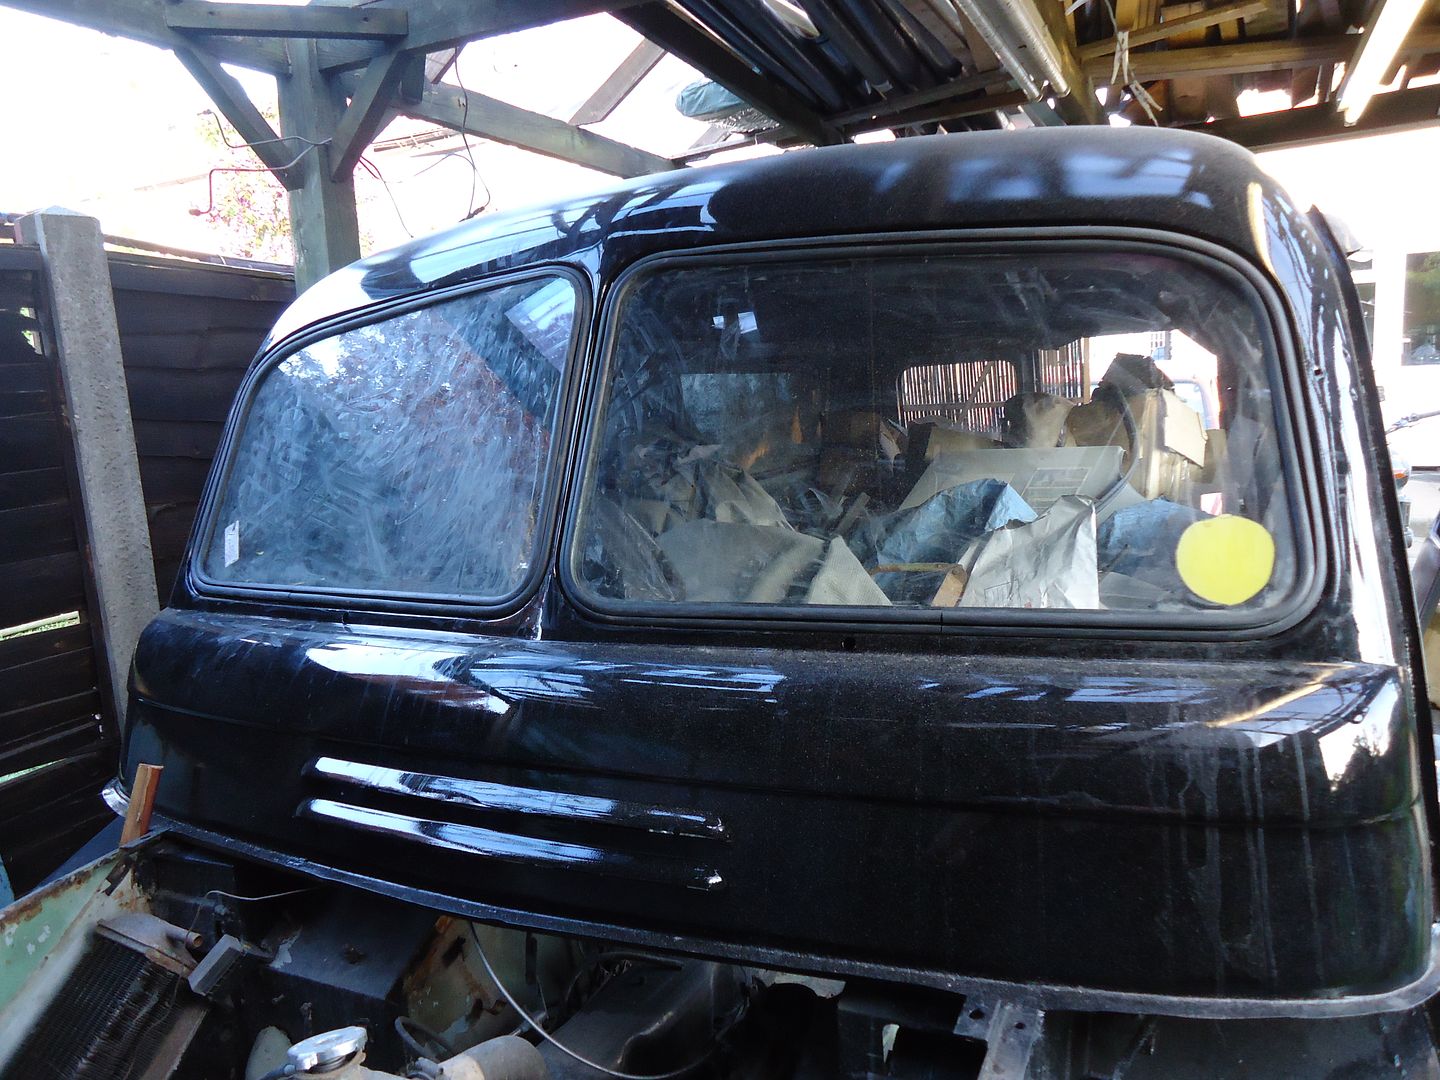
But better news on the windscreens.
Dodgey photo but this was the result of fitting my screens;
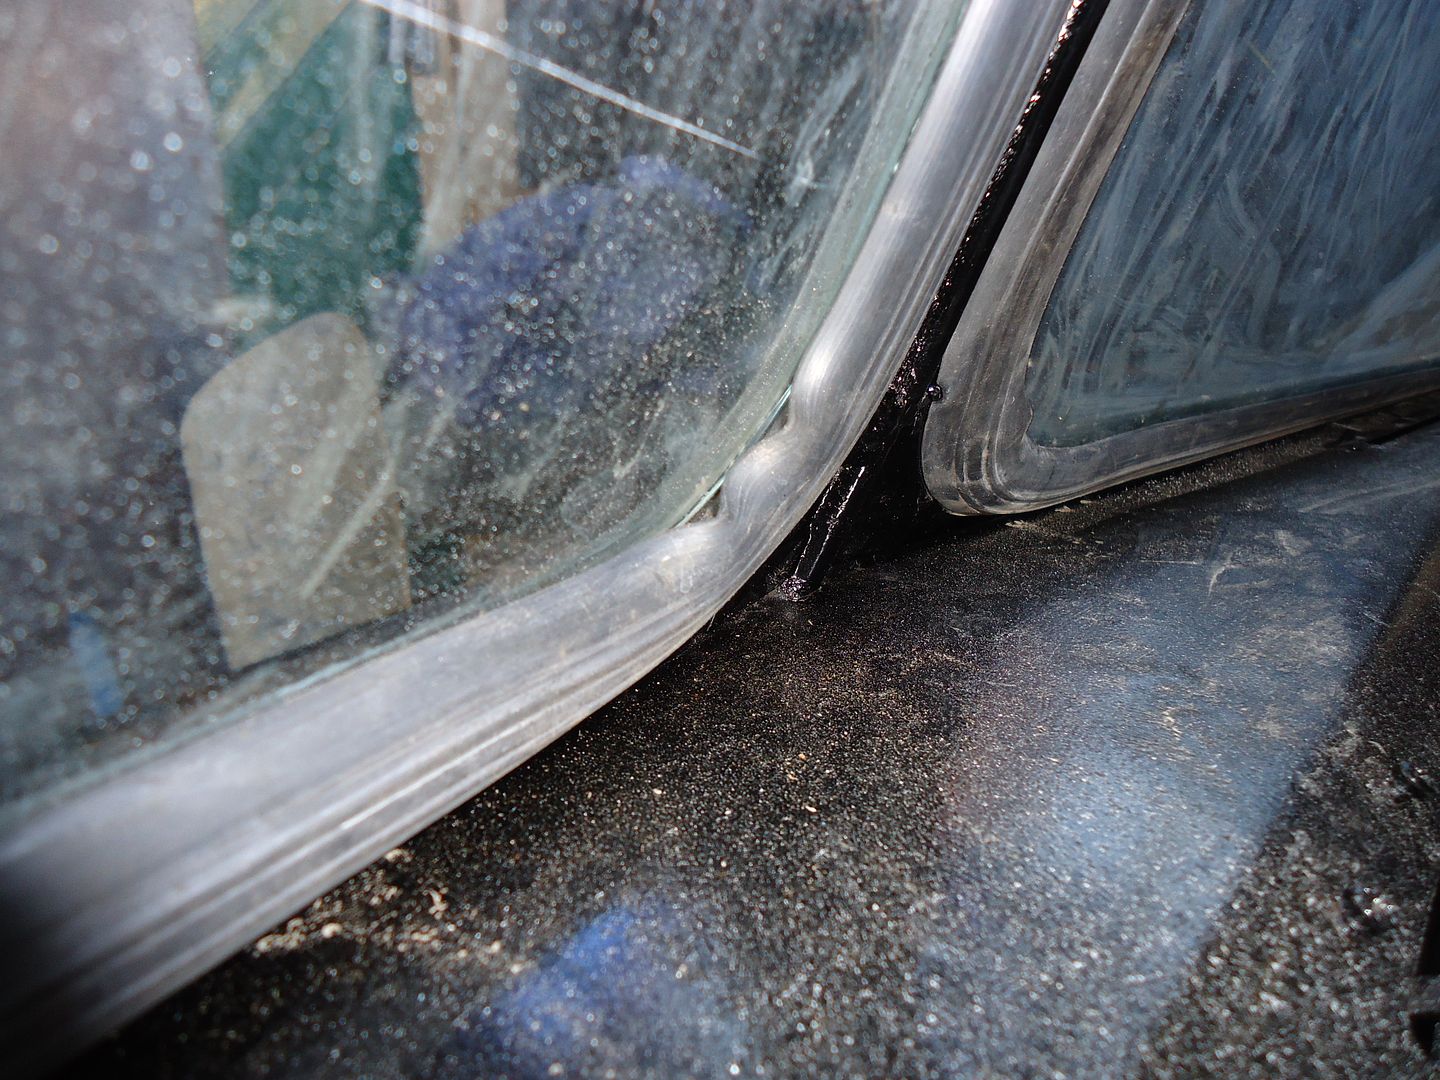
The modern rubber seal was entirely inappropriate and the glass was bulging while the seal was crinkling on the corners.
Having spent an inordinate amount of money on various profiles of window rubber, I stumbled across a previous purchase, intended for the side windows, that I hadn't actually got around to opening.
However; while useless for the side windows it turned out to be perfect for the front screens. This has turned a bit of a disaster into a fantastic success which also justifies the £74 plus postage I paid for the seal.
Whilst it might not that different (aside from the finger marks) the fit of the alternitive seal is a world away from the first. Other than 'Des' few people will even notice the difference.
Again I am very pleased; but the effort involved is *****y huge.
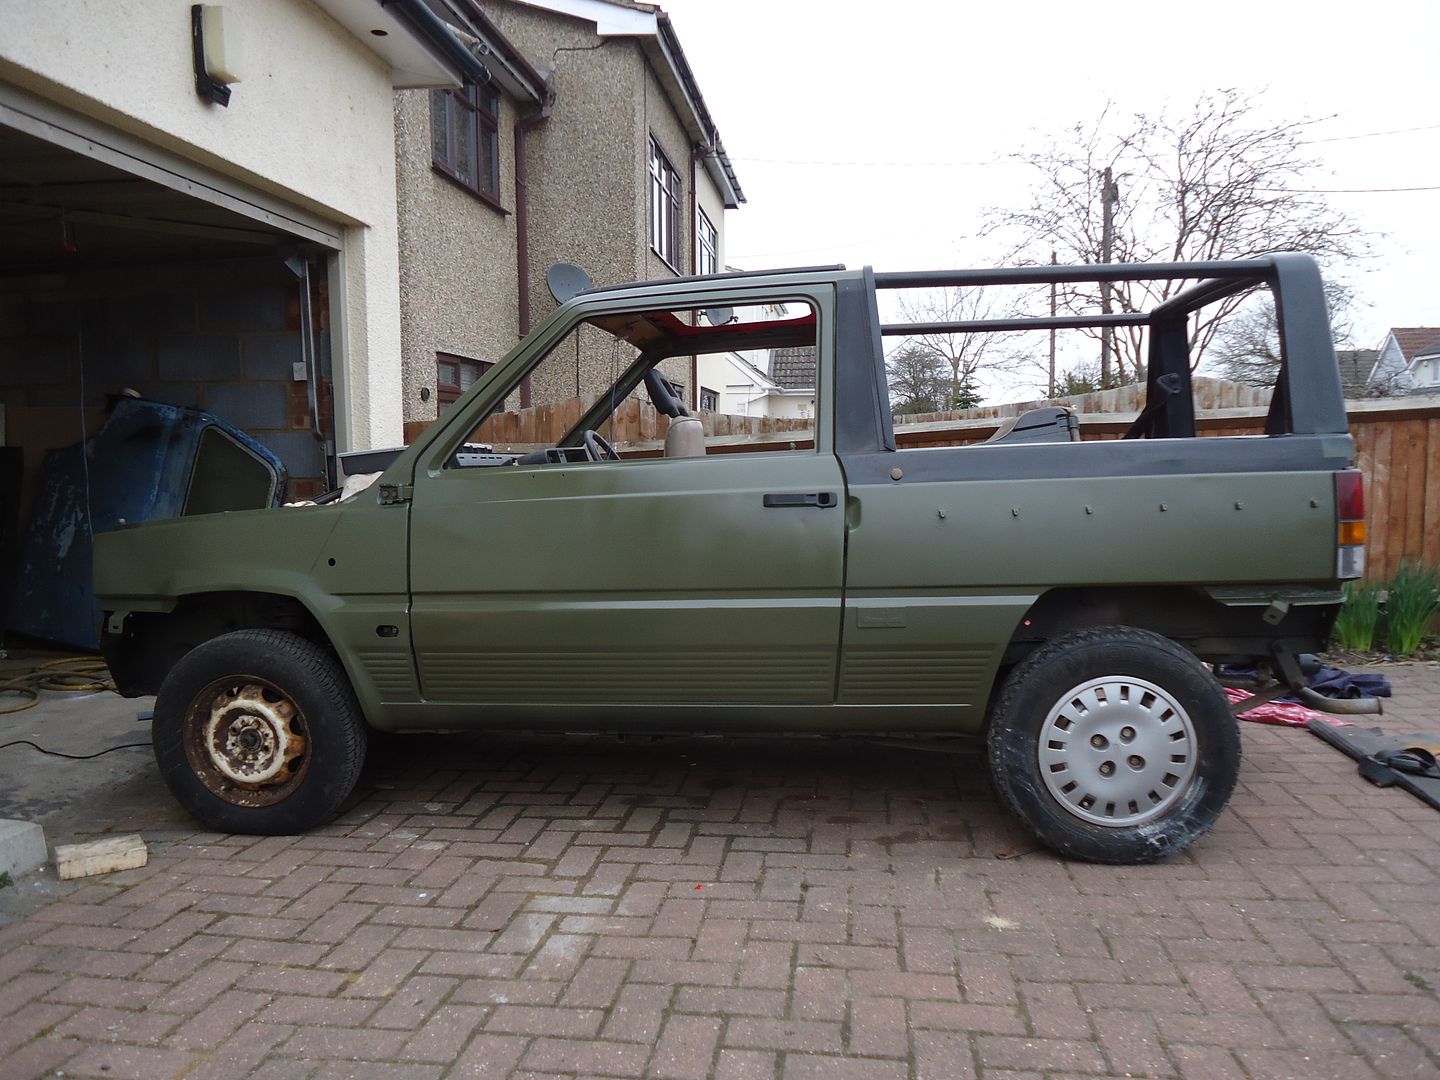
This will be at 'War & Peace' this year but I can't promise it will be the right colour or driving very far
-
I do also have this that is in 'Matt Green'
-
My favorite comment so far was the guy who said that I had used so much welding wire, I could have knitted a new van..
-
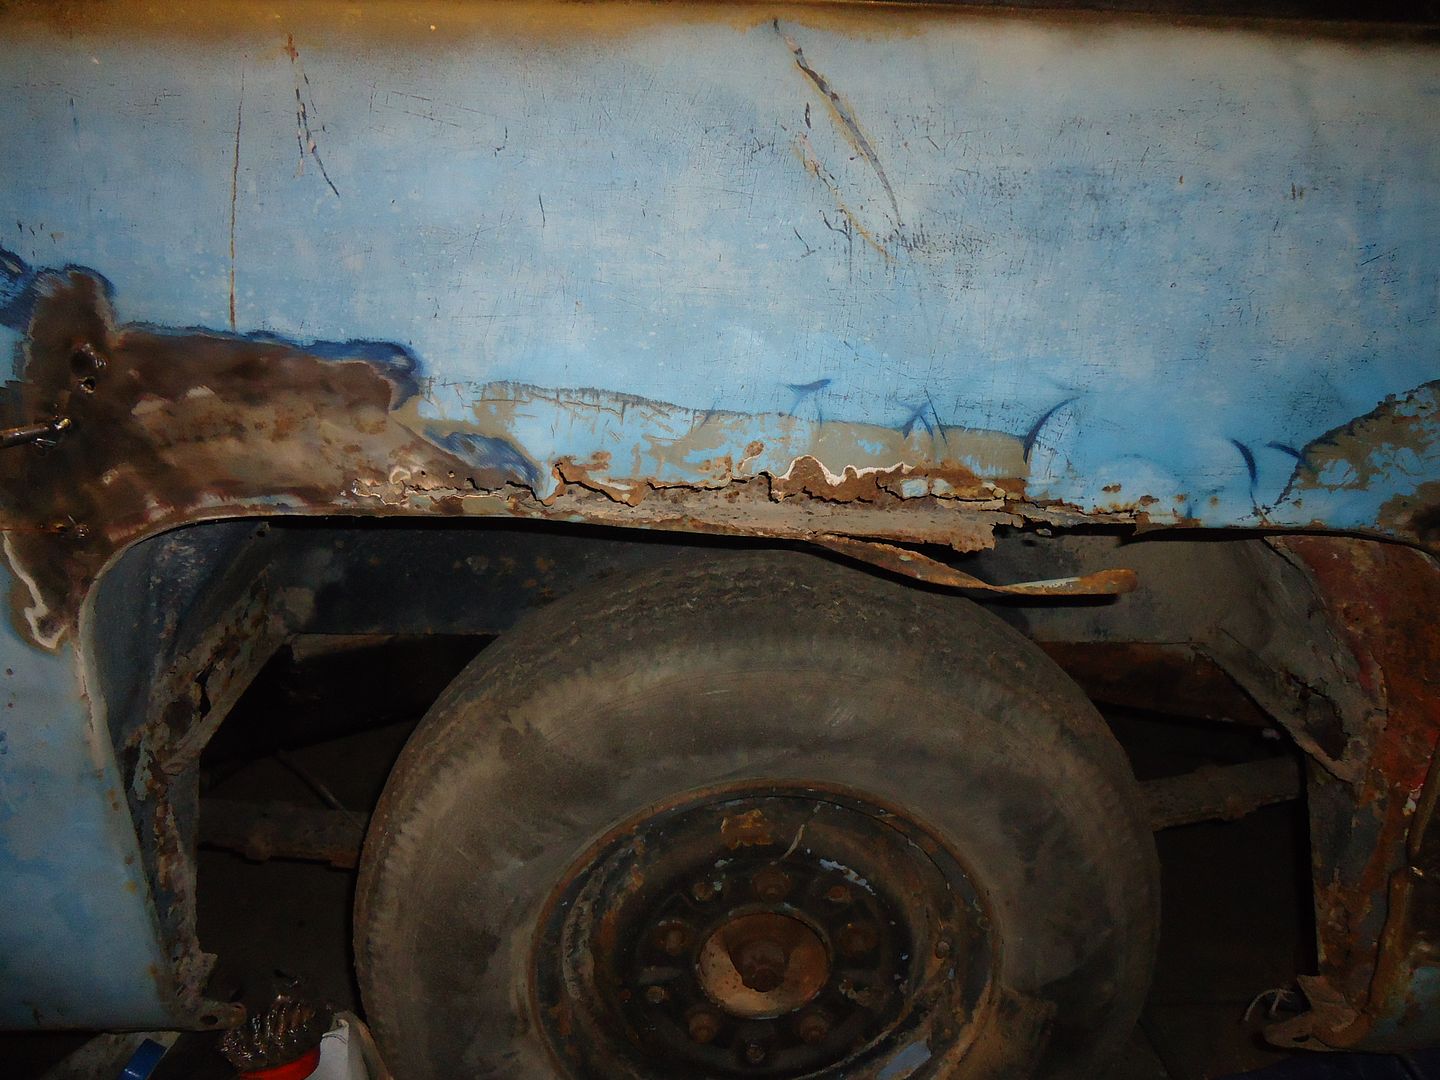
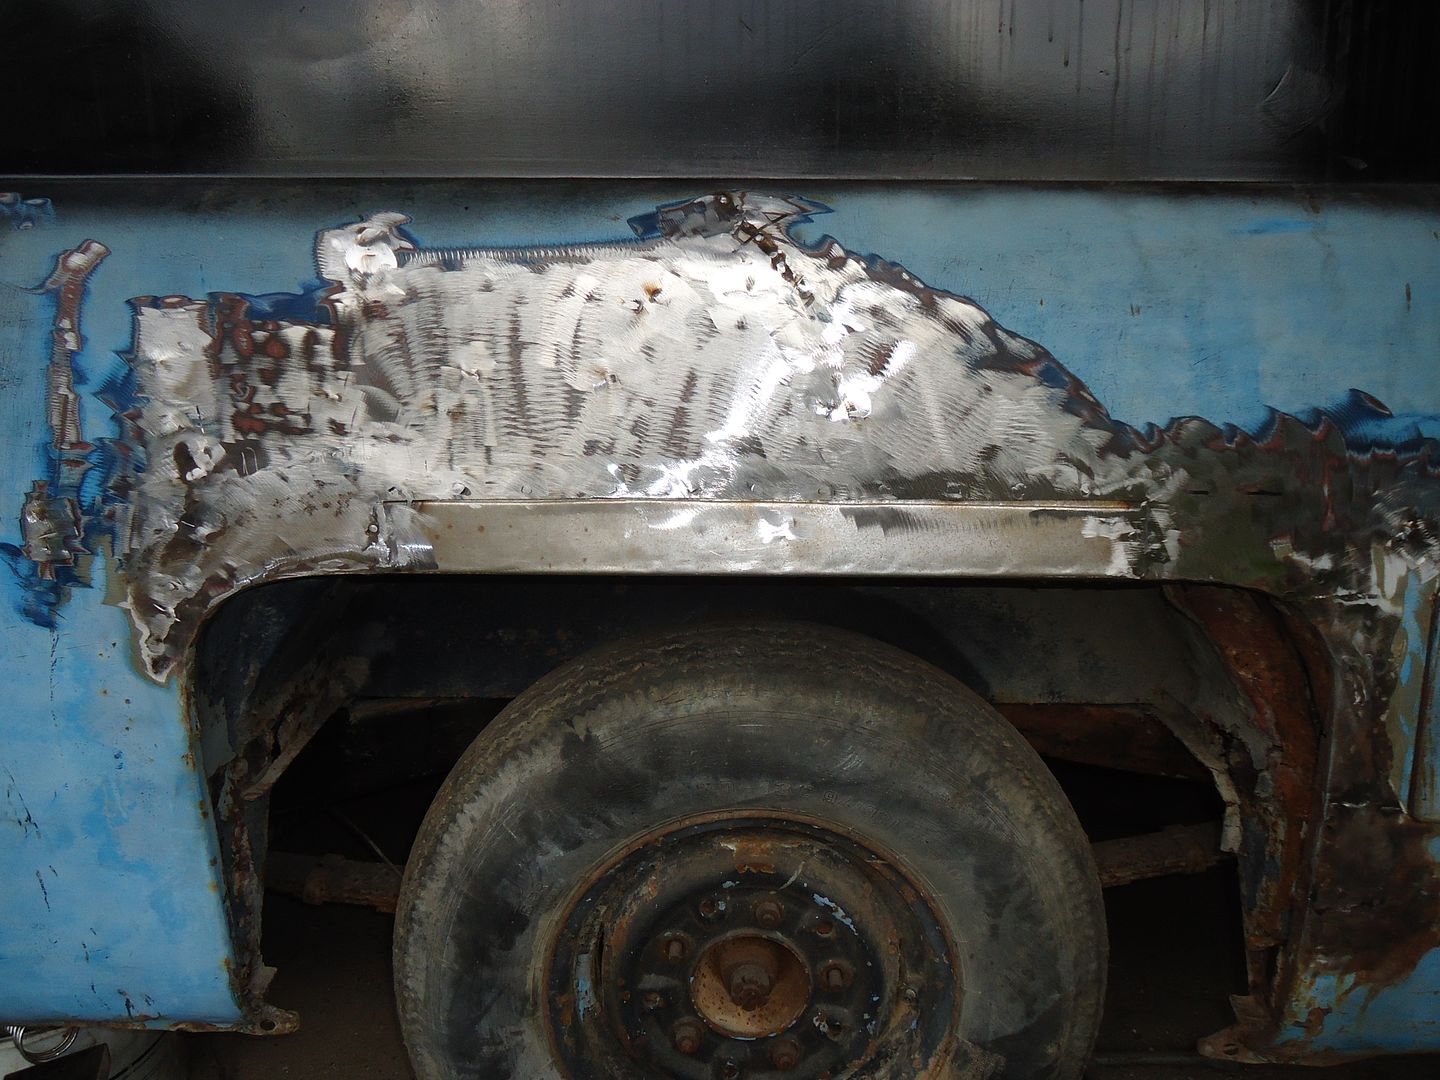
I am getting a couple of hours per evening at the moment. The wheel arch repair has travelled around to the back corner
This is how it was; and the corners had 2" dents in them
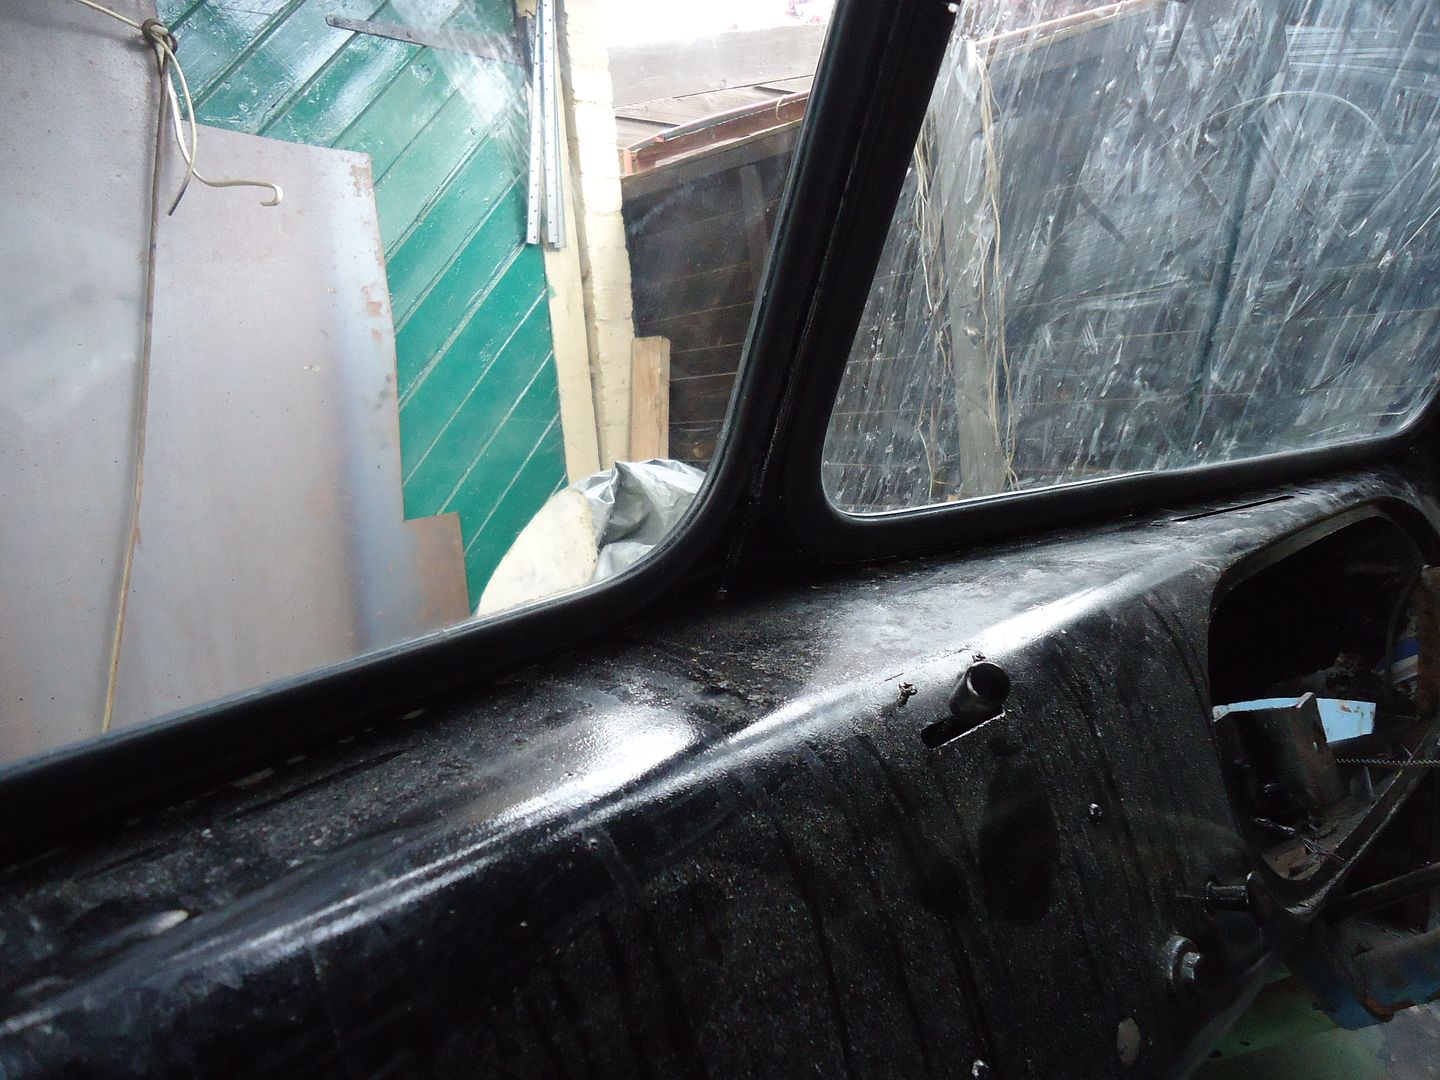
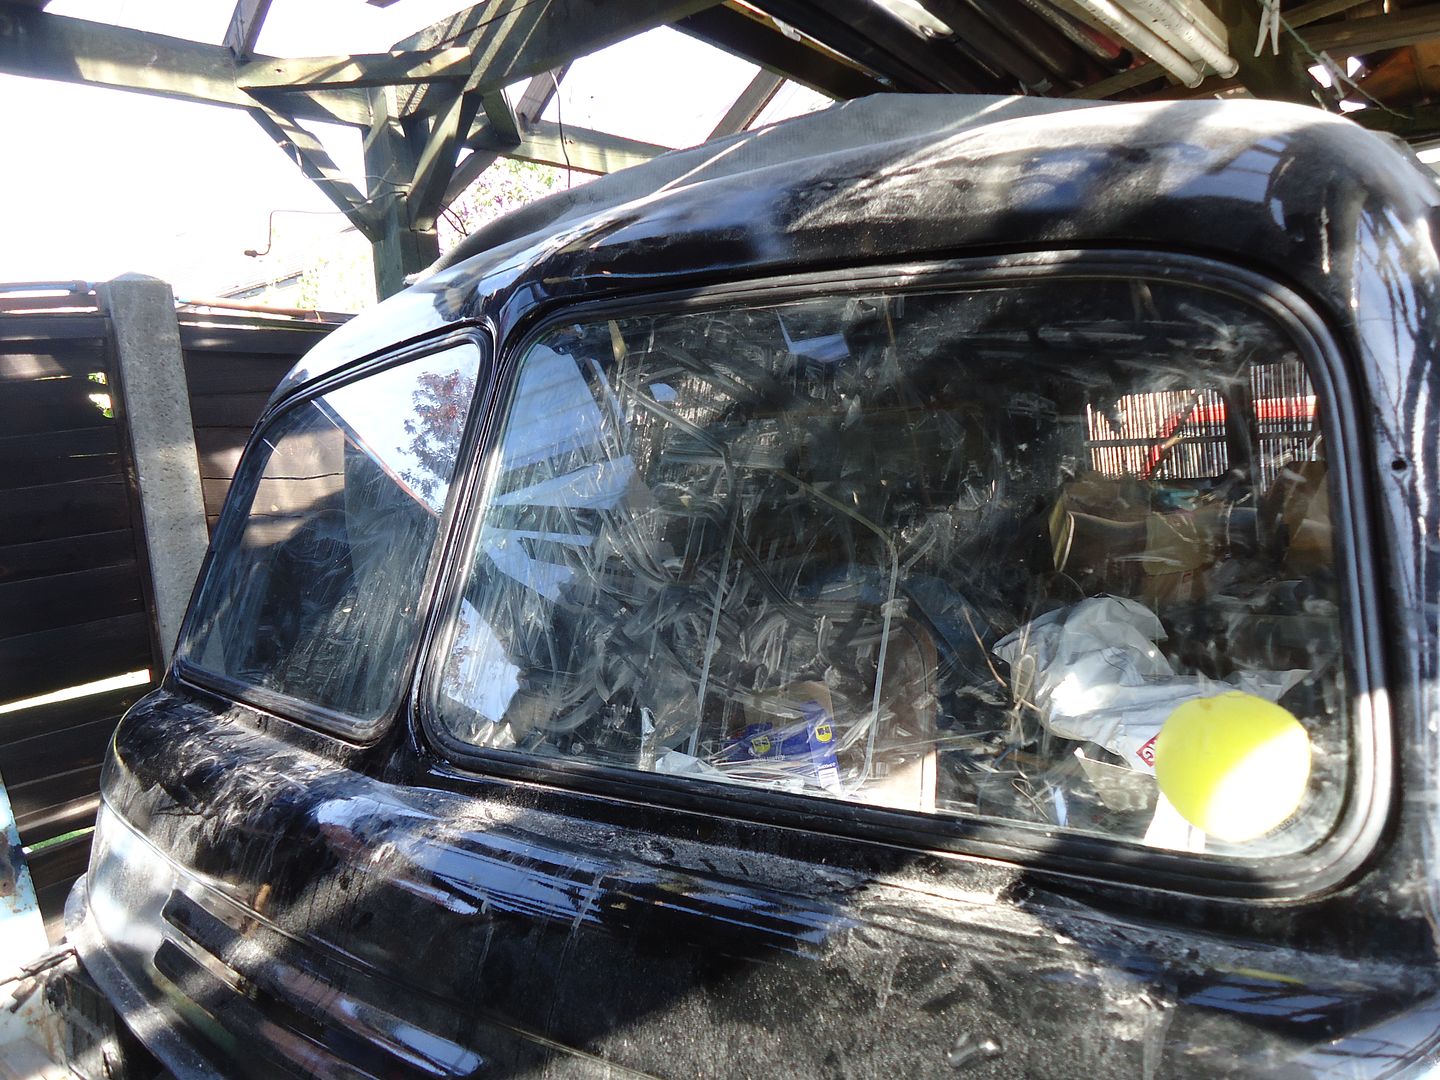
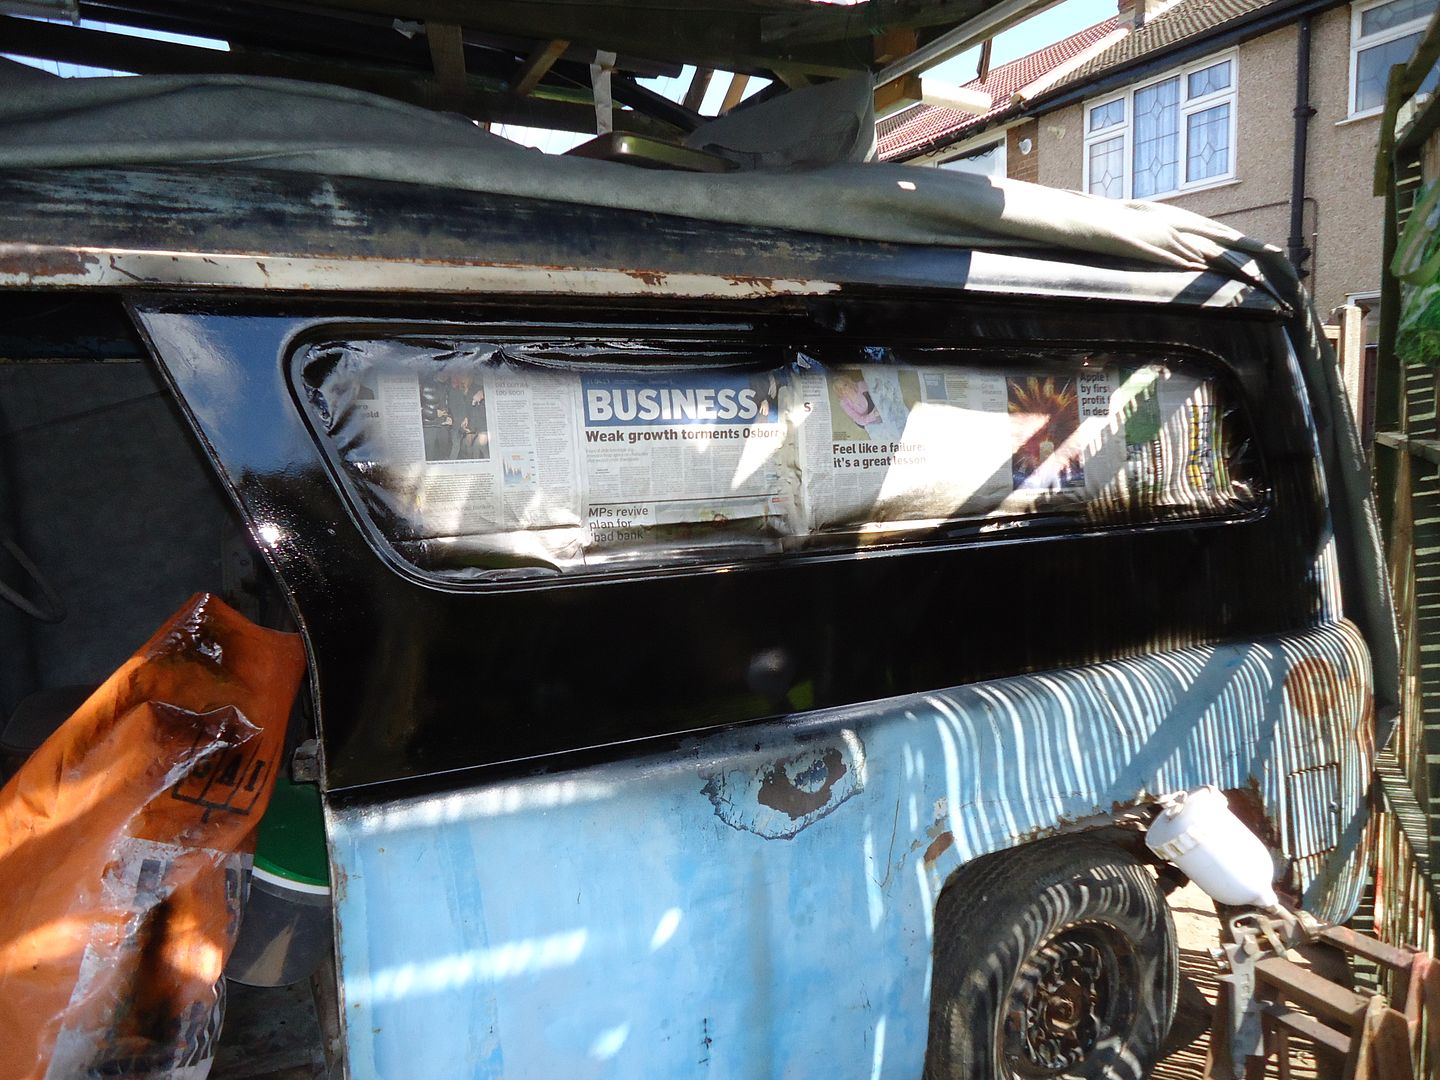
And as promised I had some time to attend to the windscreen area
I've used modern rubber seal and the fit is appalling. It will have to do for now but I need to find some seal that is a bit smaller, turns the corners tighter and generally does a better job.
Major step though getting some glass in the front
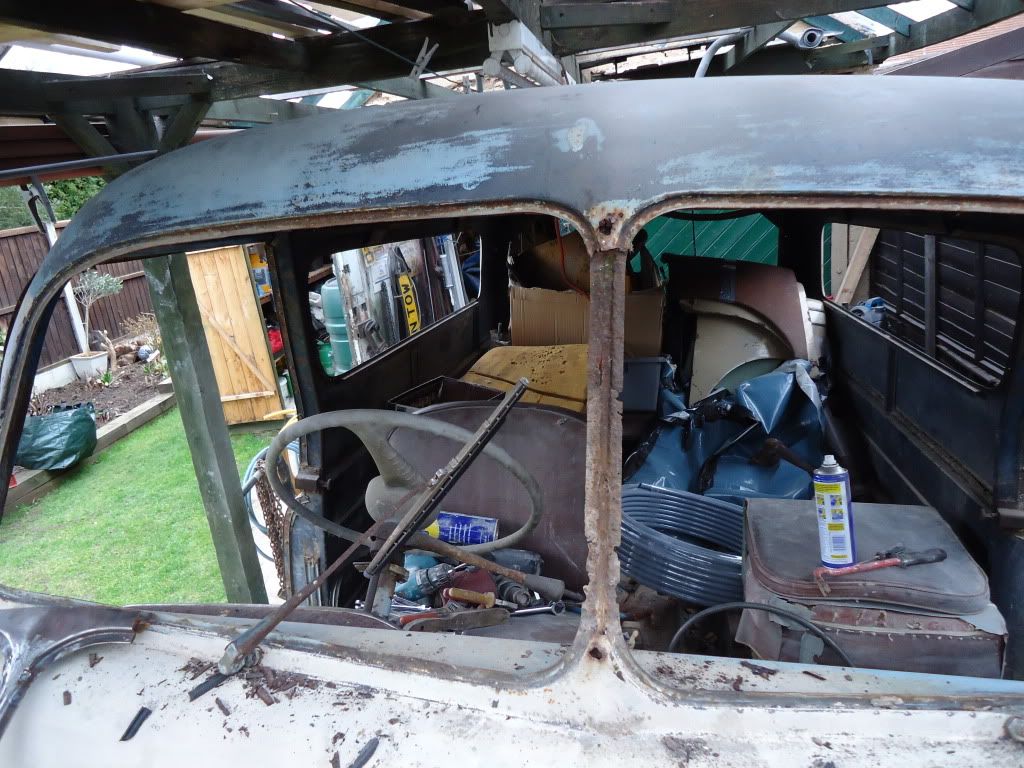
It has been a long journey
-
I'm only getting a couple of hours every now and then in the evenings but it's a real pleasure working on the old bus.
I've moved on to the windscreen area now. I am determined to get all the vehicles glass in over the next couple of weeks.
I have had a long term trouble area on the drivers screen pillar which was bent slightly out of shape while no amount of bashing with a big hammer would 'adjust' it.
So with sublety out of the window it was back to the cut down 'Acrow' prop.
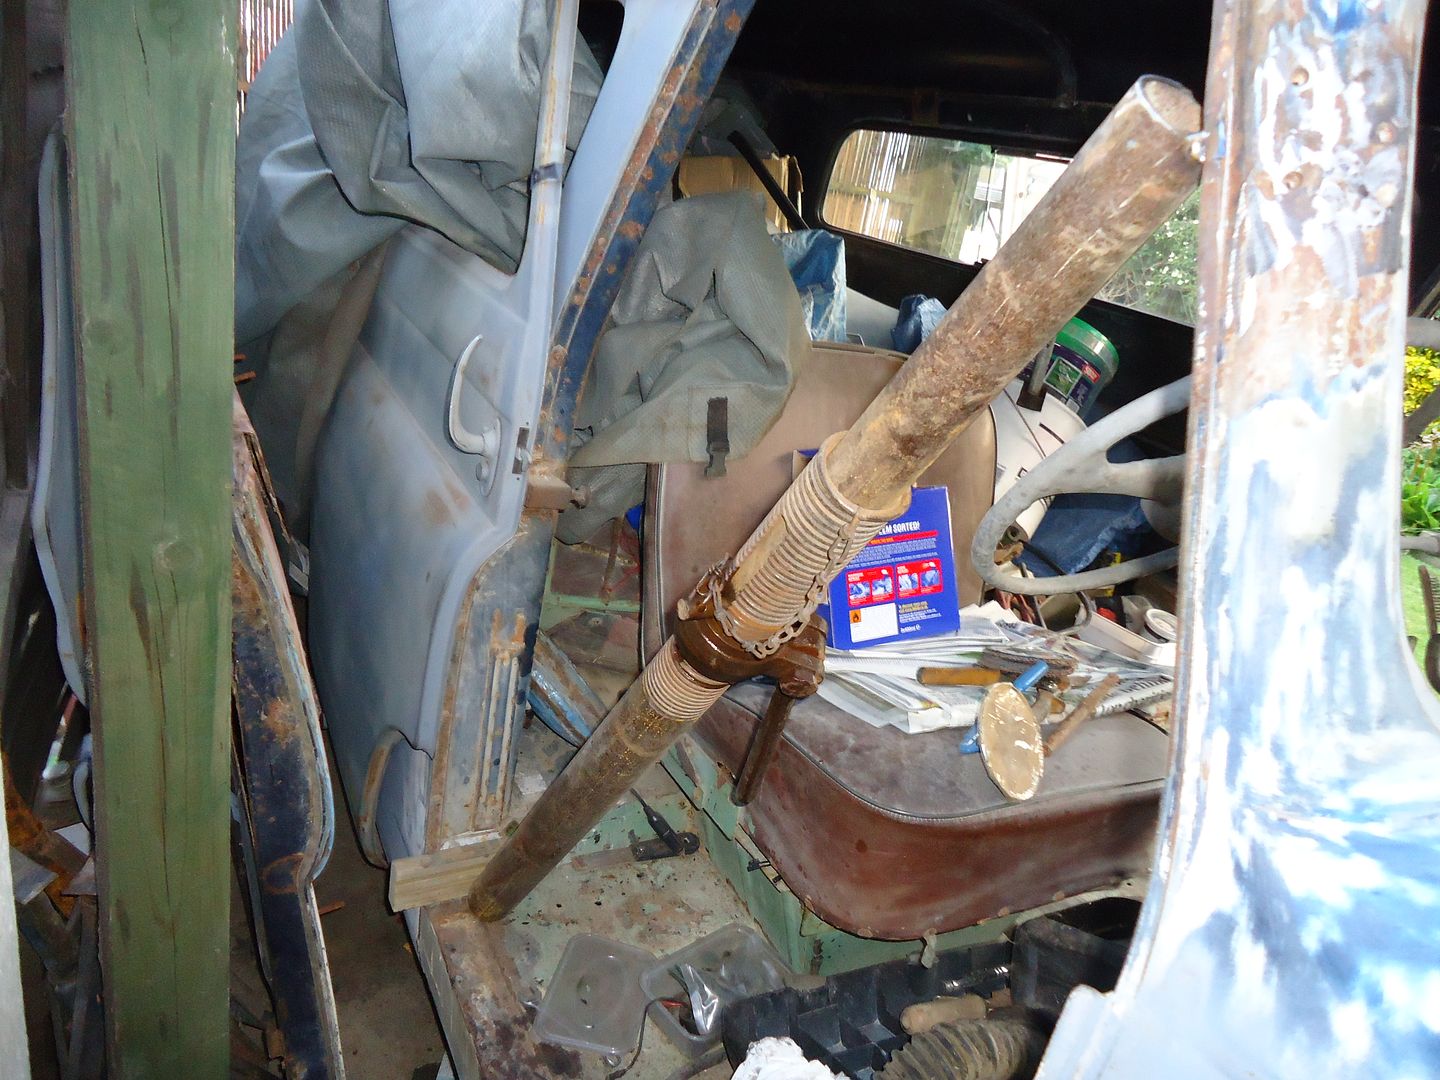
Wedge the heel against something strong; weld the top to the bit that needs to move and....
It always works. I love it. My favorite tool after a hammer.
-
This is progress; not a lot but it is progress
-
And I thought it was just me.!!
-
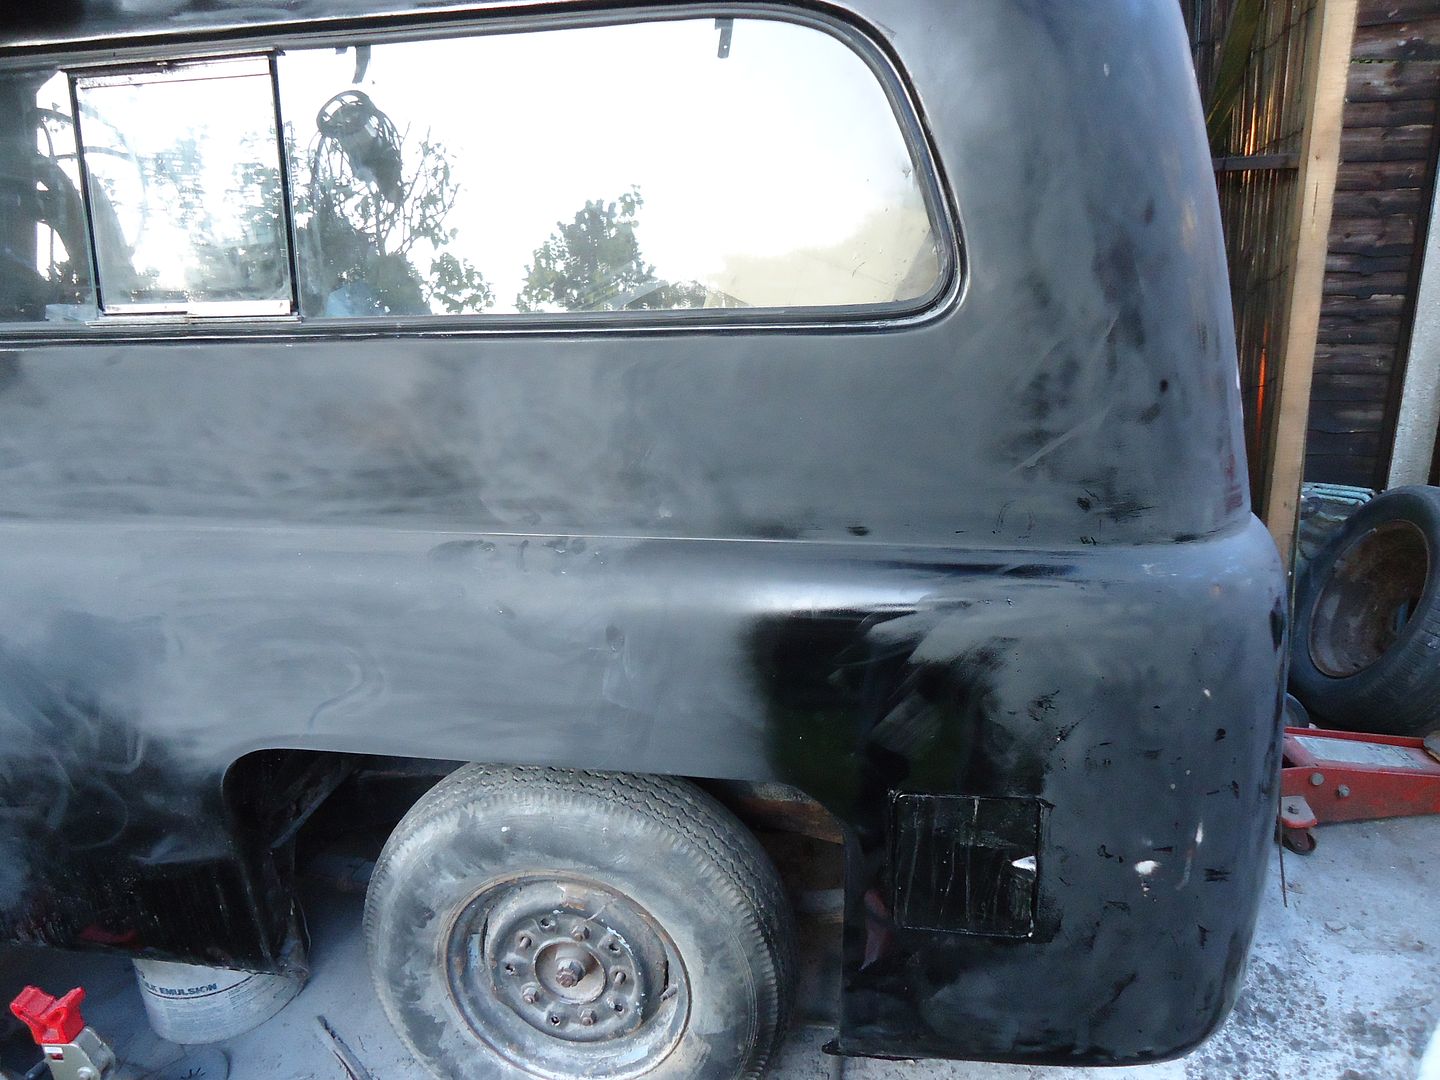
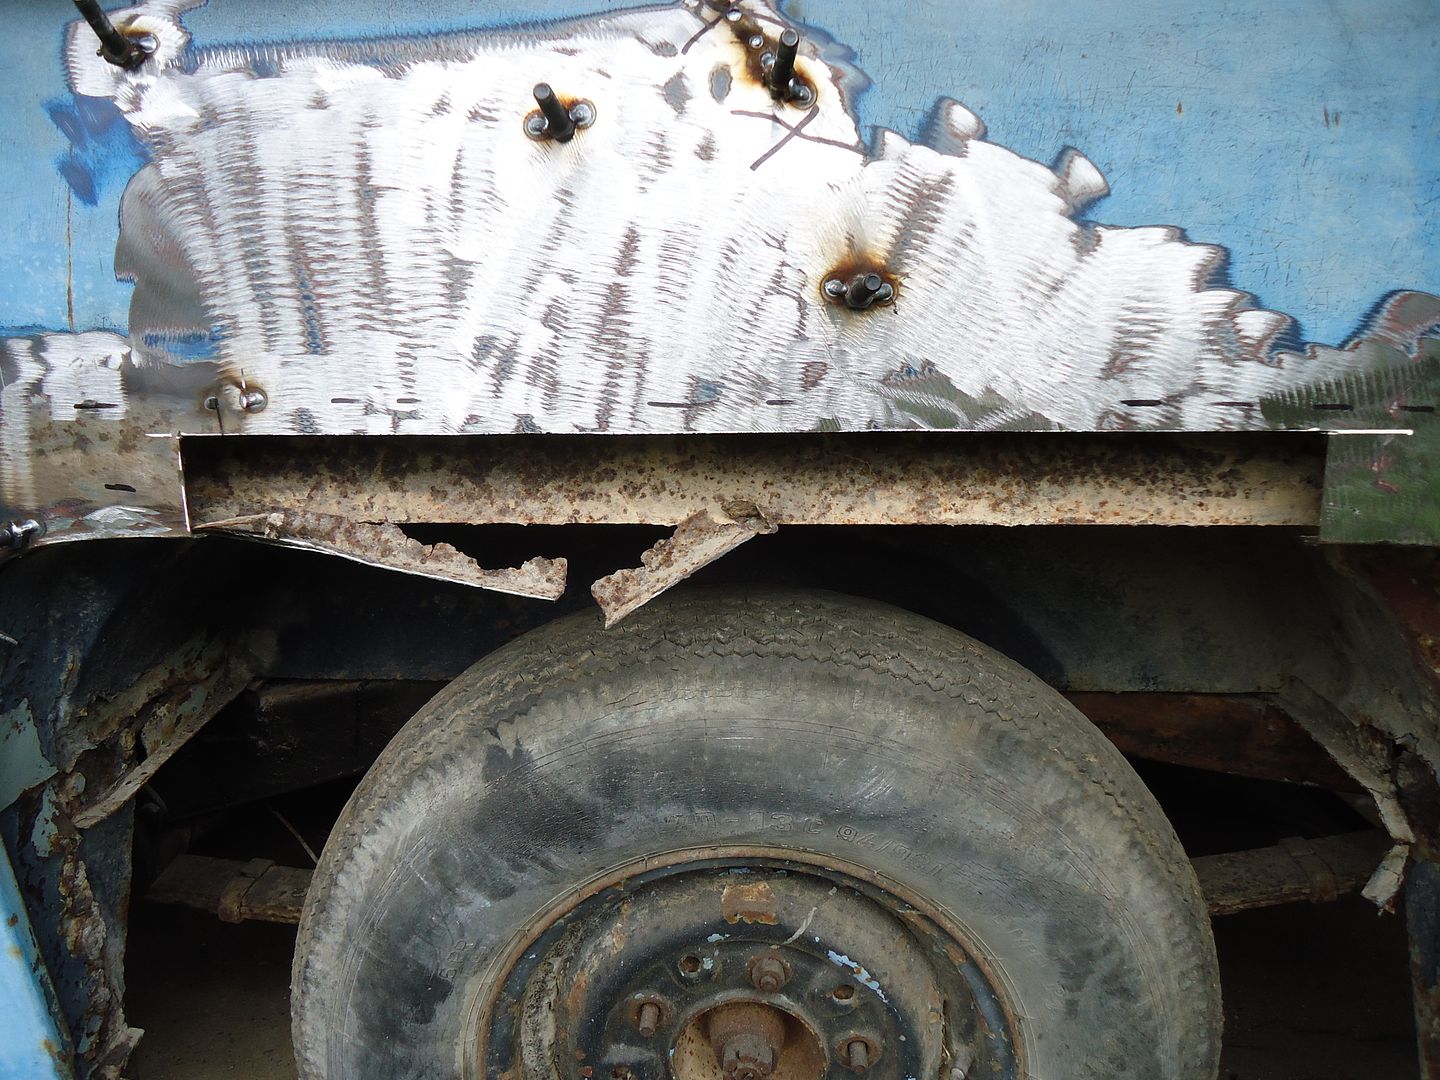
Window fitted attention turned to the nearside wheel arch
Lots of dents, out of alighnment/shape everything
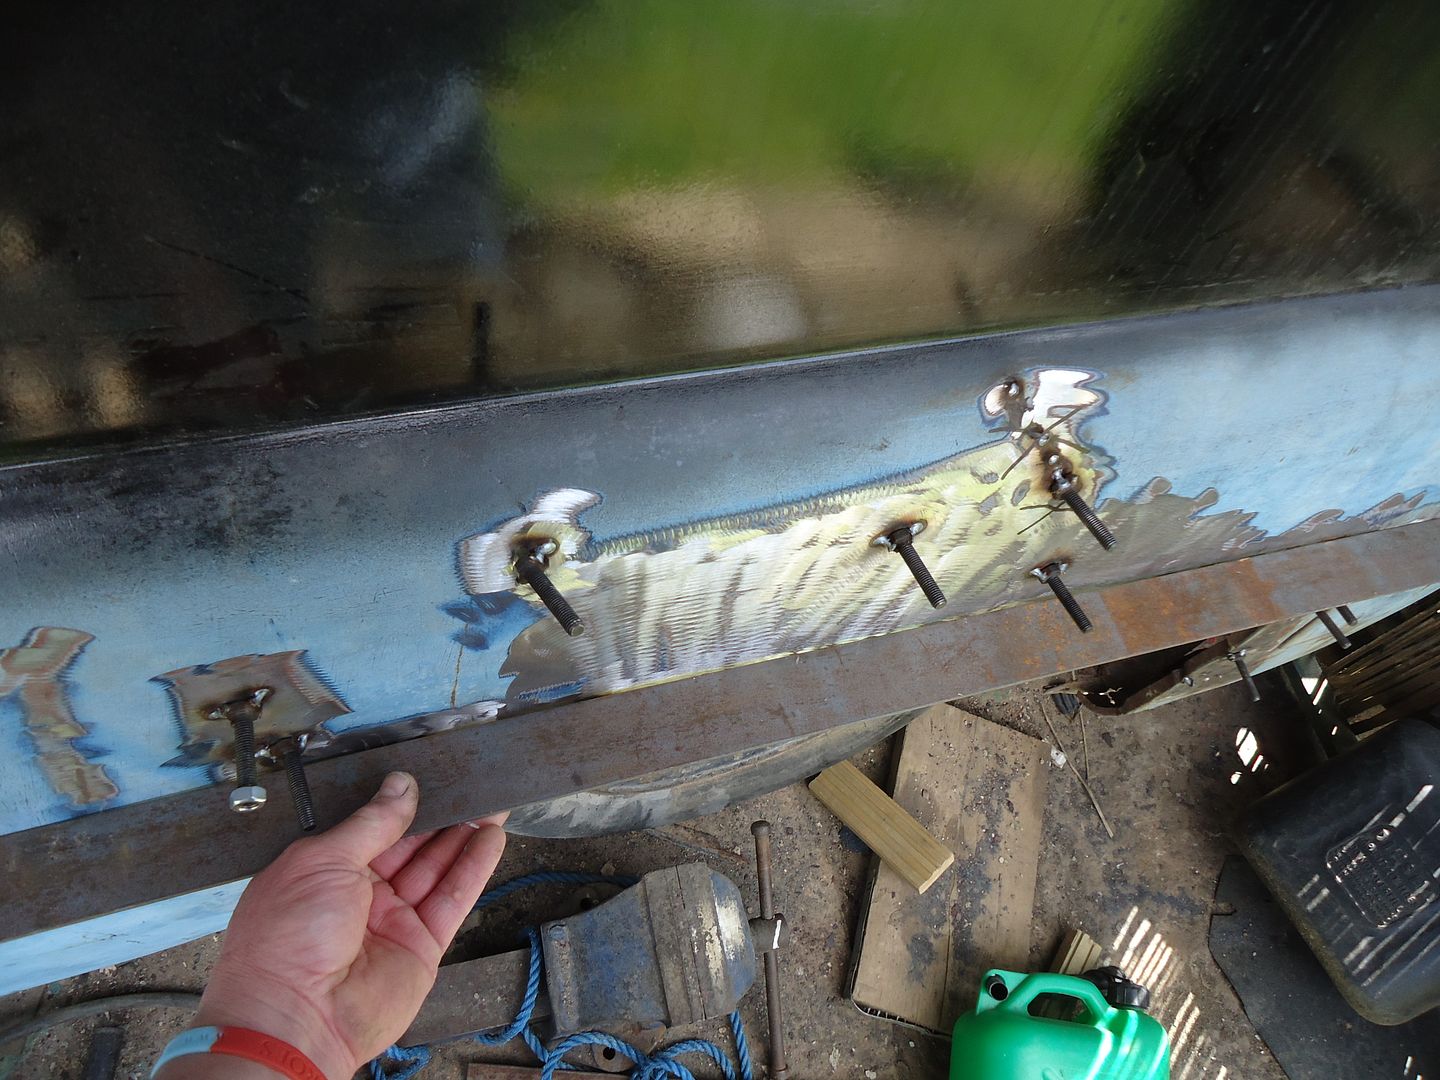
A long straight edge and a forest of bolts welded to the body can eventually pull it back into approximate shape
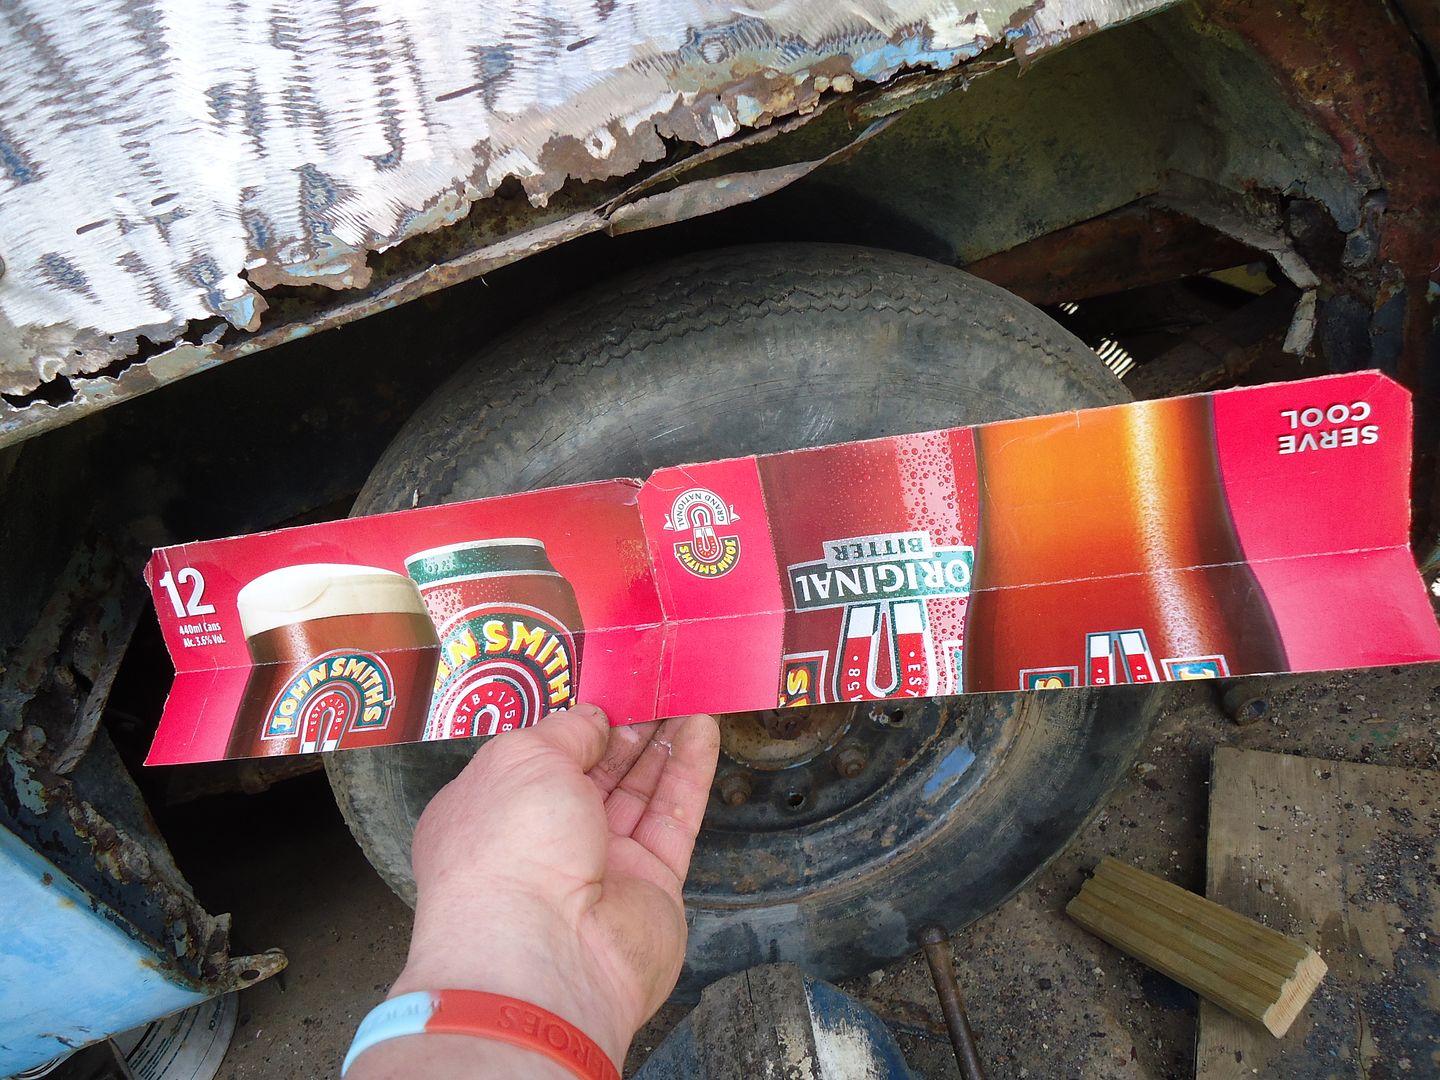
First up go nuts with the grinder and make a cardboard template (beer boxes are great; I only drink the stuff for the box y'know) even simple panels require a template which will always save a lot of time.
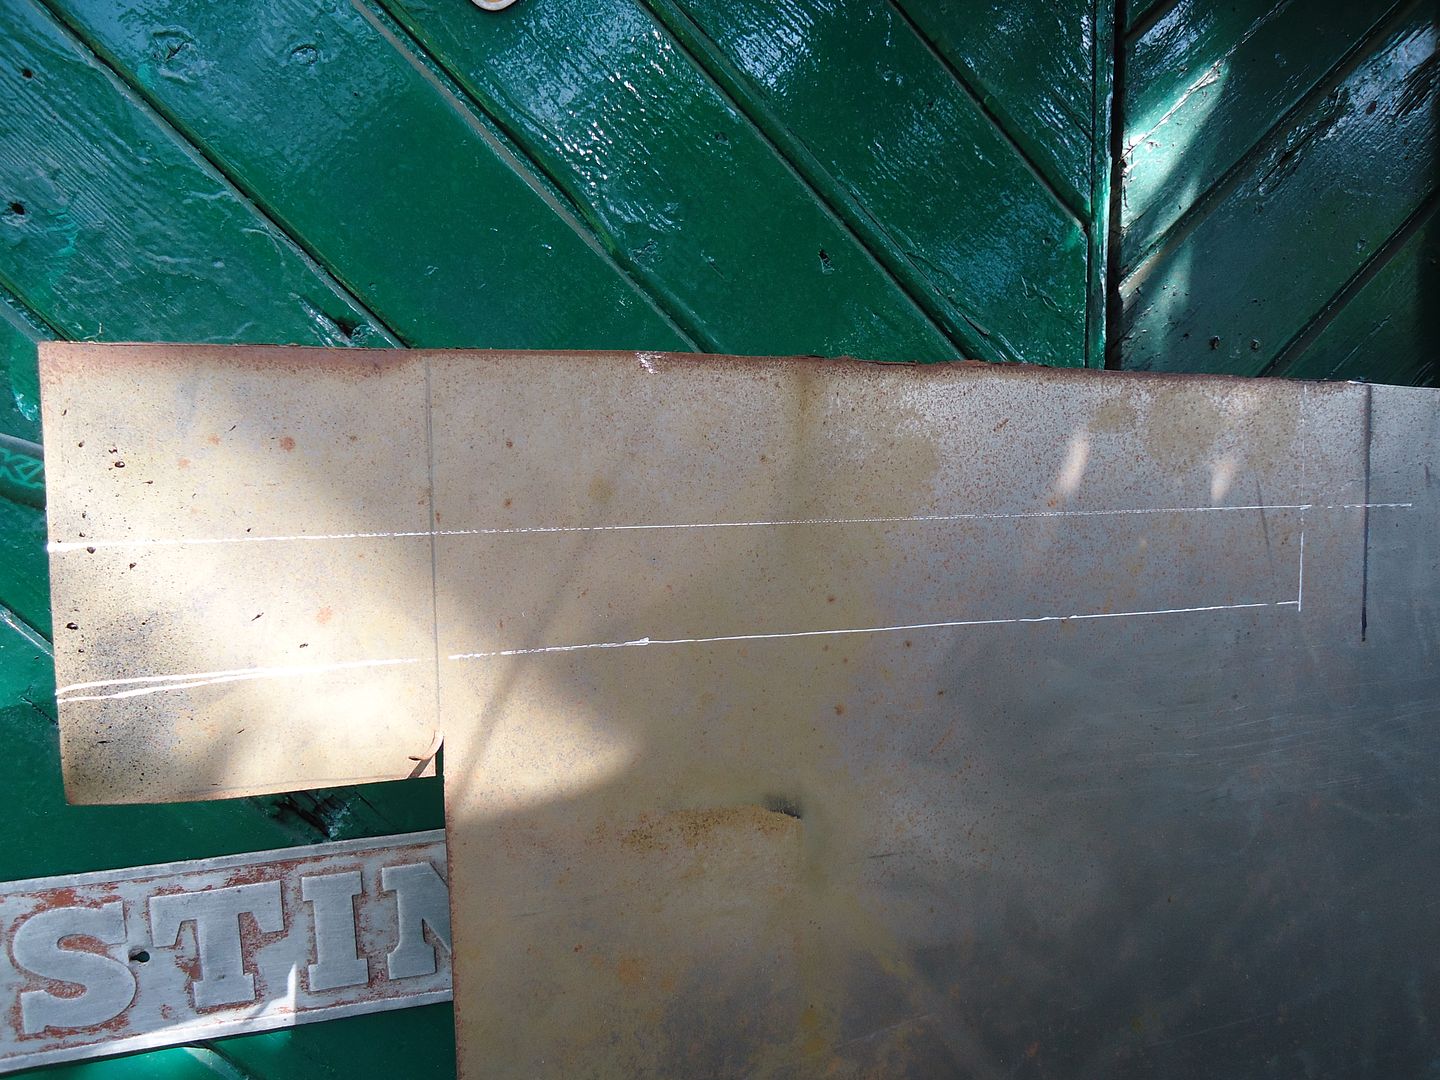
Transfer the template shape onto sheet steel using a Tippex correction pen, not forgeting to mark the 'bend' line.
Cut out rust being pleasently surprised that the inner wing is quite good and only needed a new 'L' shape section to be bent up to meet with our new outer panel
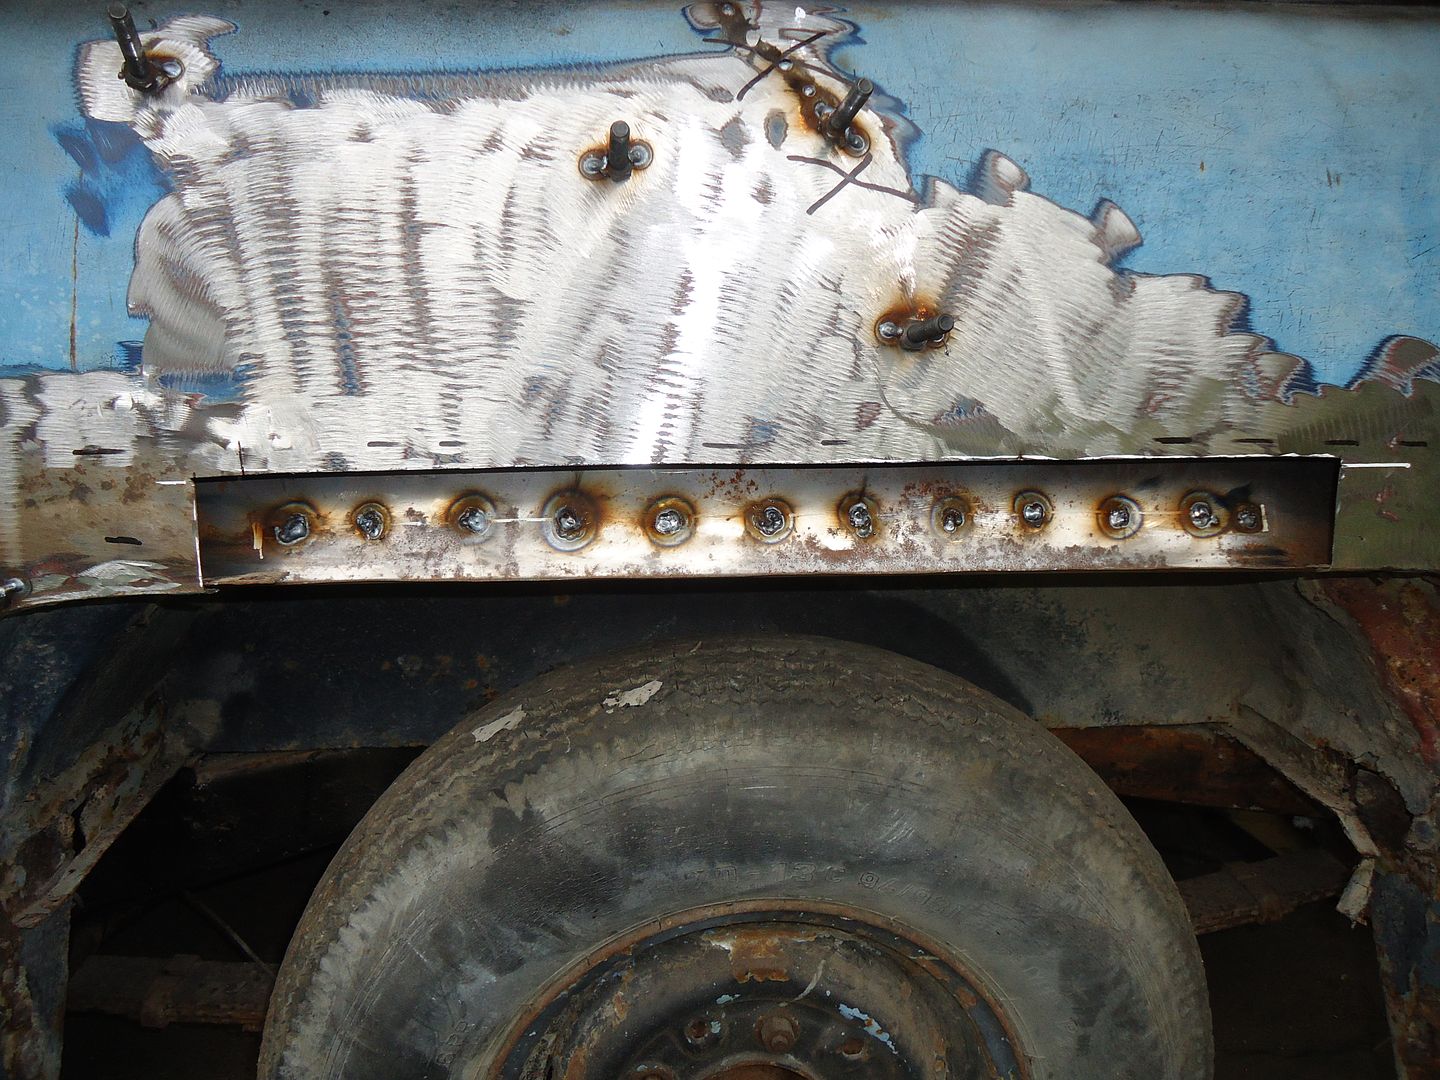
Inner repair section welded to inner wing/wheelarch panel
New outer panel with its 'Joddled' edge welded on through punched holes in the original bodywork and all ground back
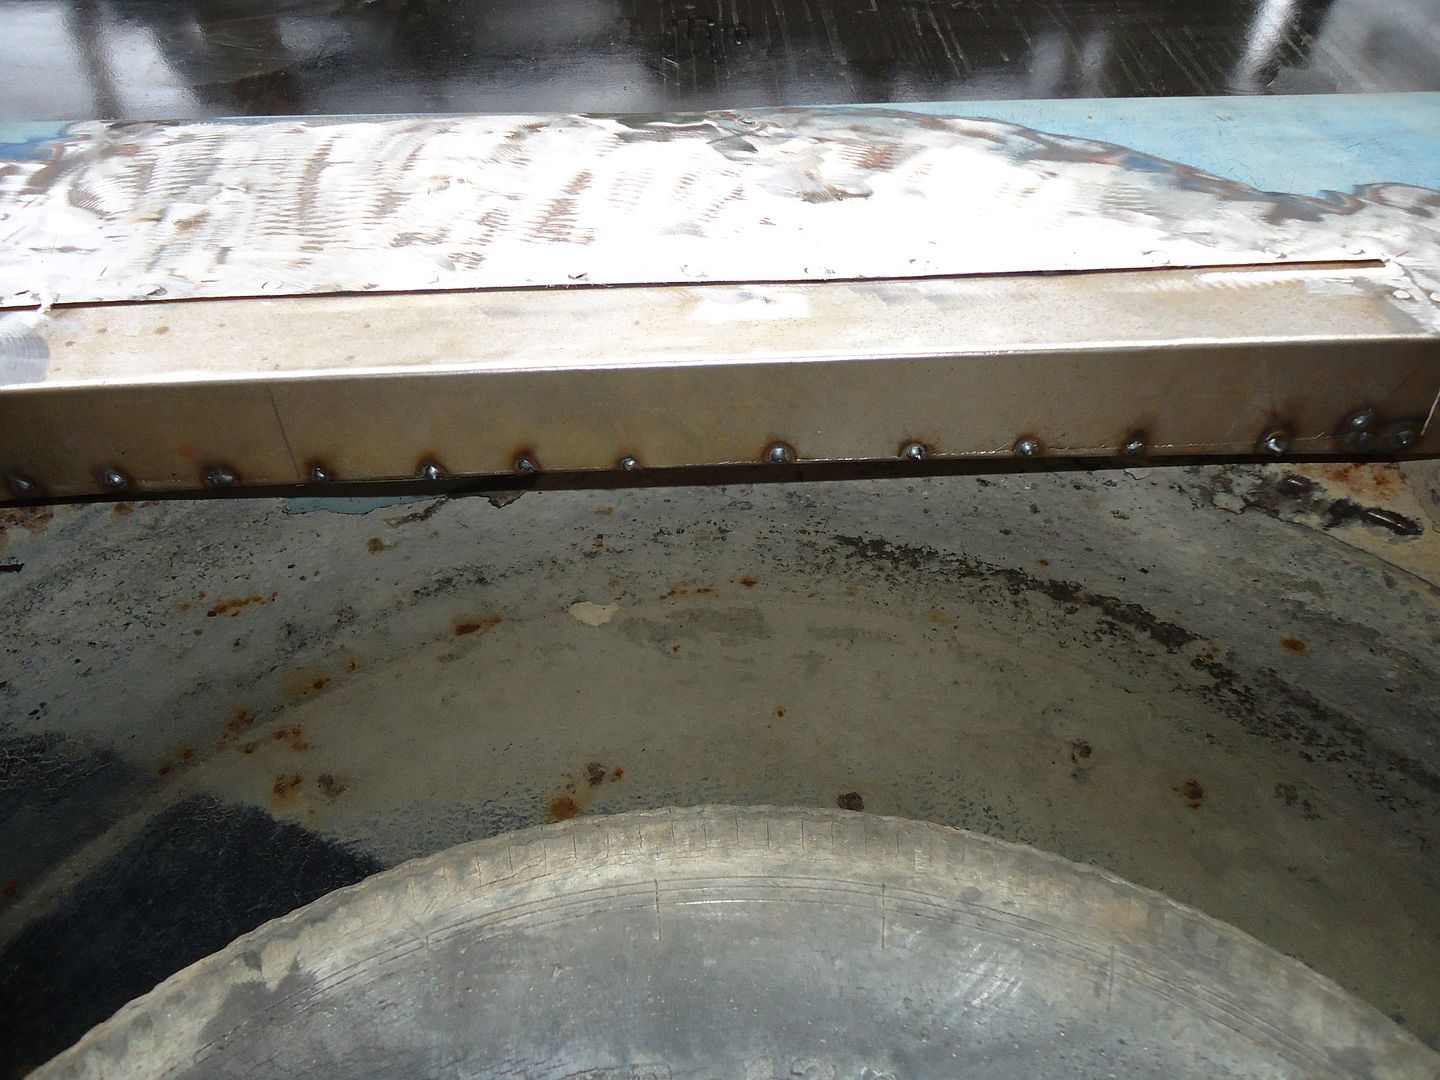
This is from underneath the wheelarch so that you can see where the new inner and outer panel sections meet and are welded together.
I wish I was clever enough to be able to do this without the aid of filler but that is the next job tomorrow.
-
Great photo. Any more.?
I can't find out anything about vans that served as runabouts in Malta.
Someone must have some memories.
-
Fantastic mate, does it feel like you've turned a corner?
Yeah very much. The off-side bodywork is pretty much done, 99% of all welding, chassis scraped and painted, engine running, gears select I have 3 x 16" wheel rims...... No stopping me now.
Thanks for your support.
-
I'd like to report some progress.....
After my original estimate of drivable in 4 months here we are a year and a half later and I actually have some side glass fitted. Hurrah.#
So, I mentioned that I had found someone who had got some original profile window rubber remanufactured. I had previously bought two different lots of glass seal. Both of these were too tight on the glass, in-so-much-as, I need a bigger hole in the bodywork; And the new profile just would bend round the tight corners.
But first;
Once this glass is in it is staying in during the rolling restoration. Therefore the frames needed to be prepped, de-rusted and painted.
This isn't the finish colour but I have a lot of it and it was cheap. 2 pack acrylic goes on nice and thick and is very sticky and durable. I use it as a base, as a sealer and filler. I can use 120 grit paper and still get a smooth finish.
Anyway. The window apatures were rubbed back, rust treated with loctite rust remedy and paint.
I shall be able to prep back to the window rubber for the final finish.
And here it is a significant step forward.
Van from Luton via Folkstone and Malta window glass from Devon, rubber from Kent...
I feel as though I have walked every step.
I am very, very pleased.
-
This may not look much
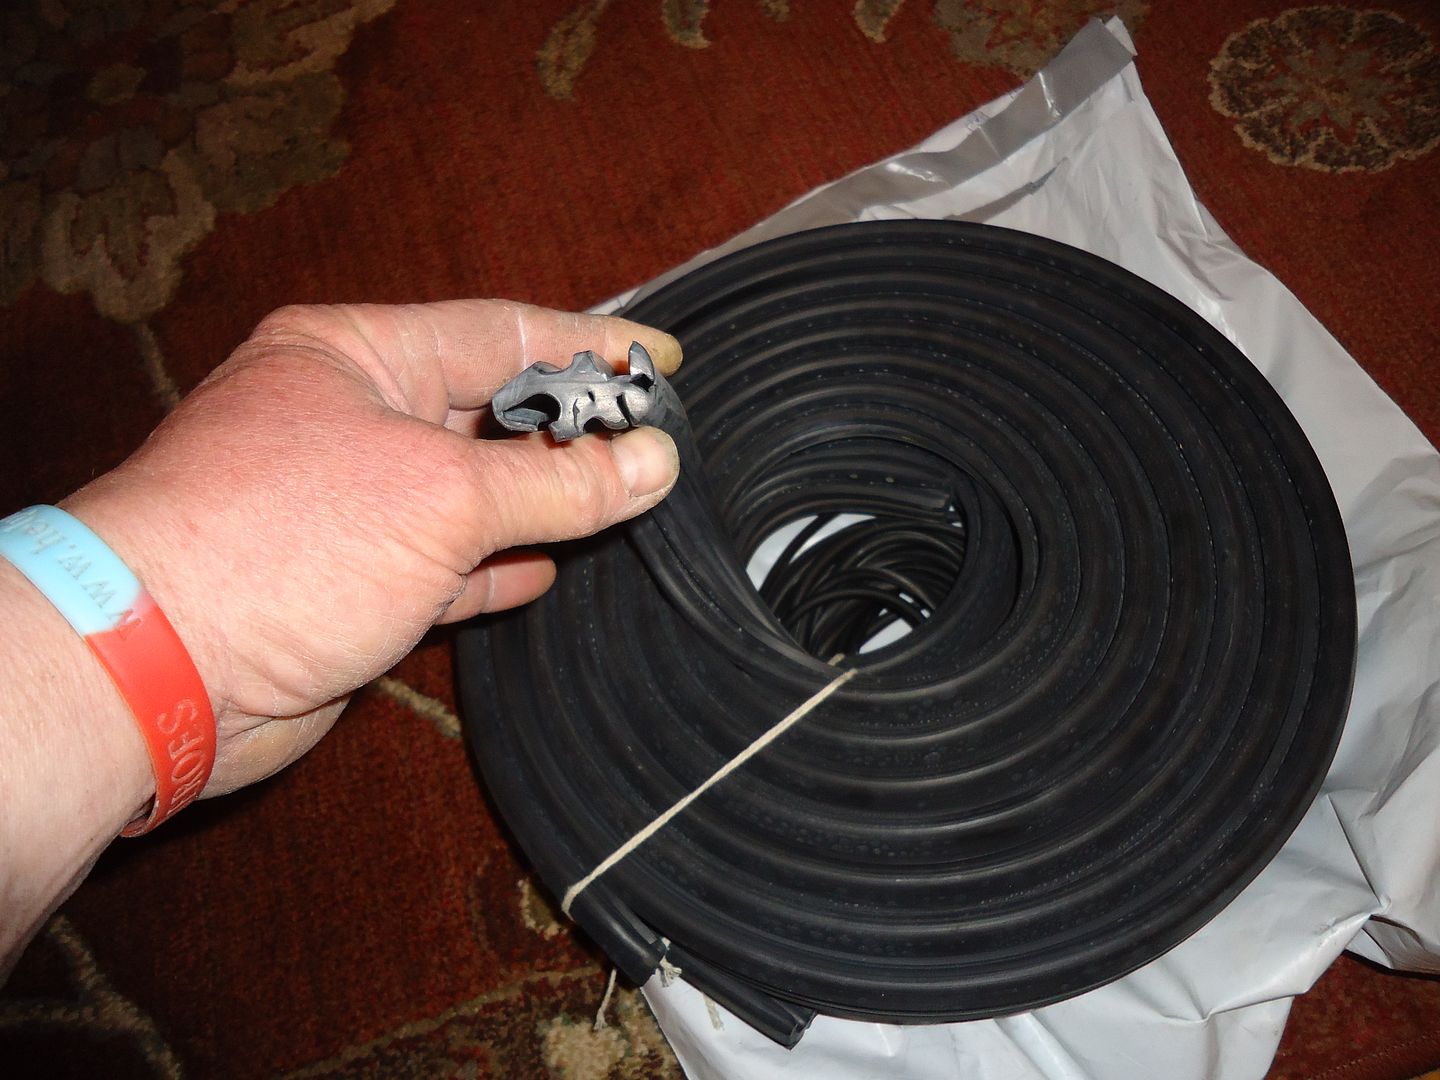
But it is original Dormobile side window section window seal.
Completely unavailable up until now, a CA Bedford restorer had the dies made and now can supply this profile.
For the CA he also has (shaped) rear window seal and front door seal for aluminium frames.
I can pass on his details.
-
Is the steering box packed with grease..? If so it might just be worth seeing just how much play is taken out when it is
re-packed. You may be surprised quite how much space a lubricant can fill.
But then I know nothing. It is official. I've been told.
-
Just goes to show what I know. Many thanks for your response.
Any ideas on markings.?
-
Help please. I have a 1989 LDV 200 truck which I know was used by the RAF at Mildenhall.
It is the small single wheel flat back.
It is in Olive Drab which has been overpainted and the vehicle was used as a milk float in its later life.
How can I discover it's military history? I can't find any plates, I don't know if there are any numbers that have been covered and quite frankly I don't know where to look for them anyhow.
Any tips will be welcomed
-
Looking superb. Well done
-
I am very new and initially looked to the forum for advice; which arrived like a torrent.
I have only been to one specific MV event (War and Peace 2012) with my sone who is kinda challenged.
We were overwhelmed by how nice people were to us. In fact people made an effort to be nice.
A genuine pleasure.
Many thanks to you all
-
Last summer (if you can call it that) I bought a set of 4 'military pattern' 16 x 650 tyres fitted to lightweight landrover rims.
All I need now is one more 16" Bedford rim and I can fit them.!
-
Well I haven't been far away. Too cold for rational thought I have been pursuing another project which I have parked in my daughters garage; which is a lot warmer and better lit than working outside with a lead lamp at home..
However
I'm very excited.
These arrived in the post today
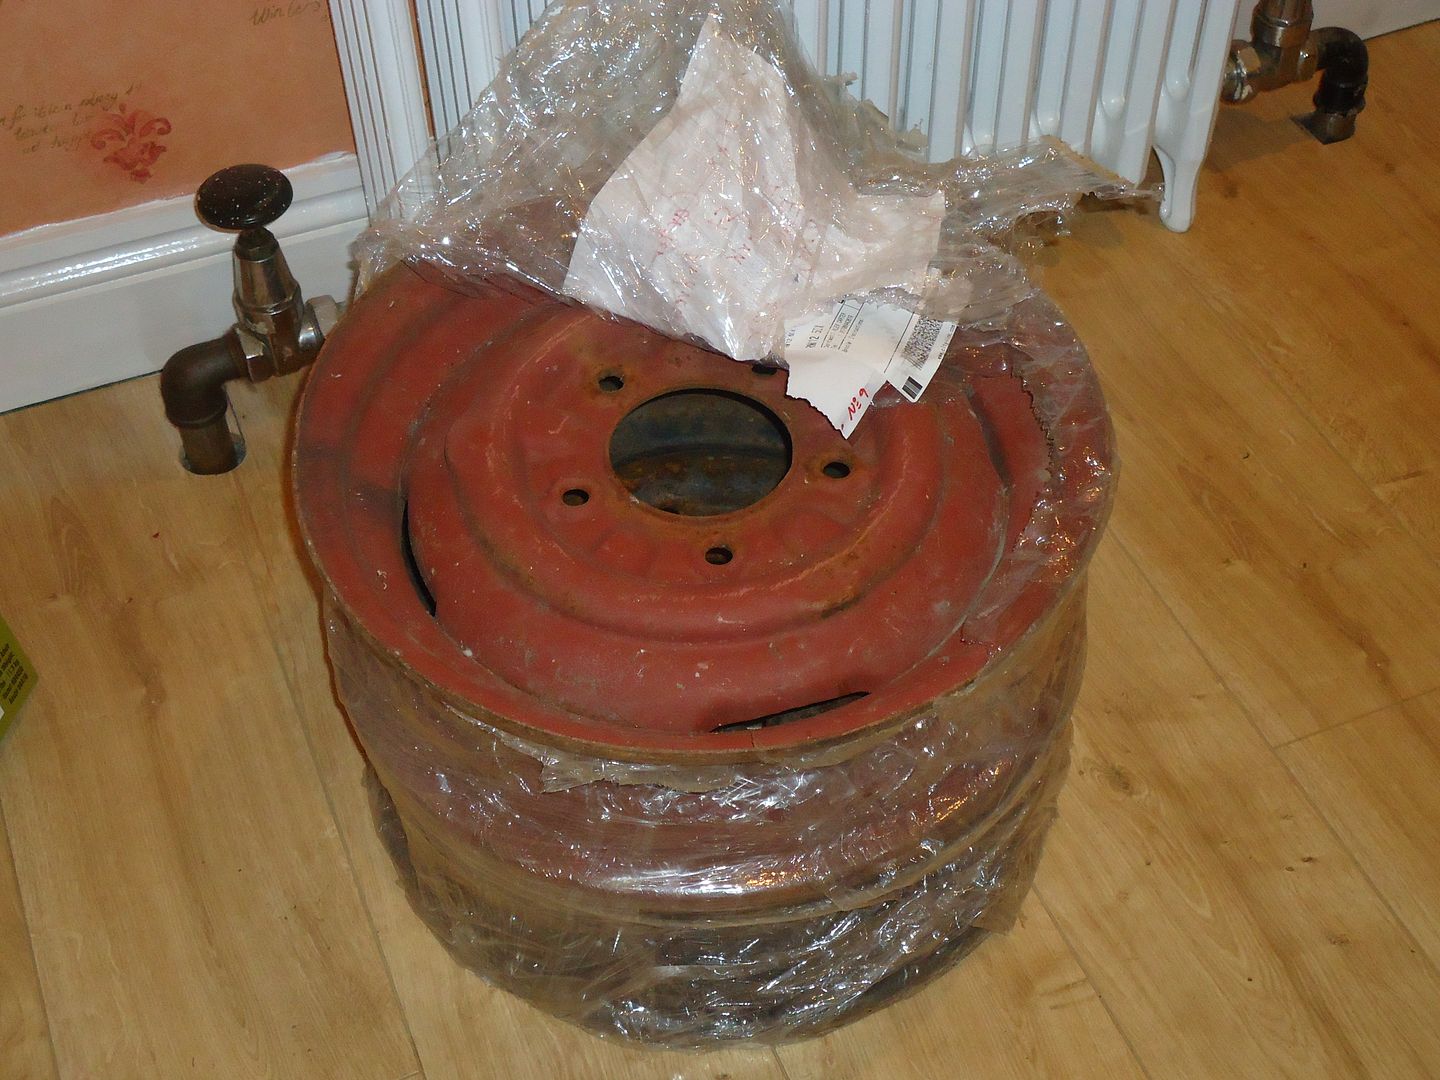
I've been looking for over a year,put out wanted ads, searched everywhere, almost been scammed by foriegn rascals and bought several from people who believed they were the correct size and it turned out they weren't....
As a result of the CA Bedford group on Facebook I responded to someone who was looking for 15" rims. I answered that I had loads on account of trying to buy 16" ones which turned out to be 15" when they arrived. I mentioned that if he had genuine 16" wheels then I would walk to where he was to collect them.
He never responded but someone else got in touch and 'gave' me these two. I am so thankful. I had pretty much given up the hunt and thought that none existed
These are the real McCoy, rocking horse poo, hens teeth, 16" rims for my 1958 Bedford CA MK1.
Be pleased for me.
I think I'll keep them in the house for a few days and admire them


Some men are born MV enthusiasts and some have MV thrust upon them
in I may be stupid, but......
Posted
Yeah but I think it was him who suggested fitting it with tracks..!!!