


PScott
-
Posts
49 -
Joined
-
Last visited
Content Type
Profiles
Forums
Gallery
Blogs
Events
Articles
Store
Downloads
Posts posted by PScott
-
-
I have just finished removing the old instrument console from my Centurion. The capillary tube from the oil pressure guage ( 26ft long) was broken about 30mm from the end attached to the banjo on the engine block of the Meteor.
I know the capillary tube for the temp gauge is filled with some kind of alcohol ...BUT what is in the capillary tube of the Oil pressure gauge?? Does it use the oil from the engine like conventional modern pressure gauges?
The capillary tube goes into and "round" housing that attaches to the Meteor via a banjo fitting, the capillary tube appears to be soldered into the fitting.
Can i remove the broken piece and re solder the tube back into the housing?
I have a brand new instrument console, but i would like to still repair the old gauge.
Thanks for any help..
Paul.
-
Perfect!!!
a small question are the sidelight with singel or dual pin socket?
And do you know of any places to get centurion spares in europe?
Hi Niels.... the side lights are just "2" wires/pins...
-
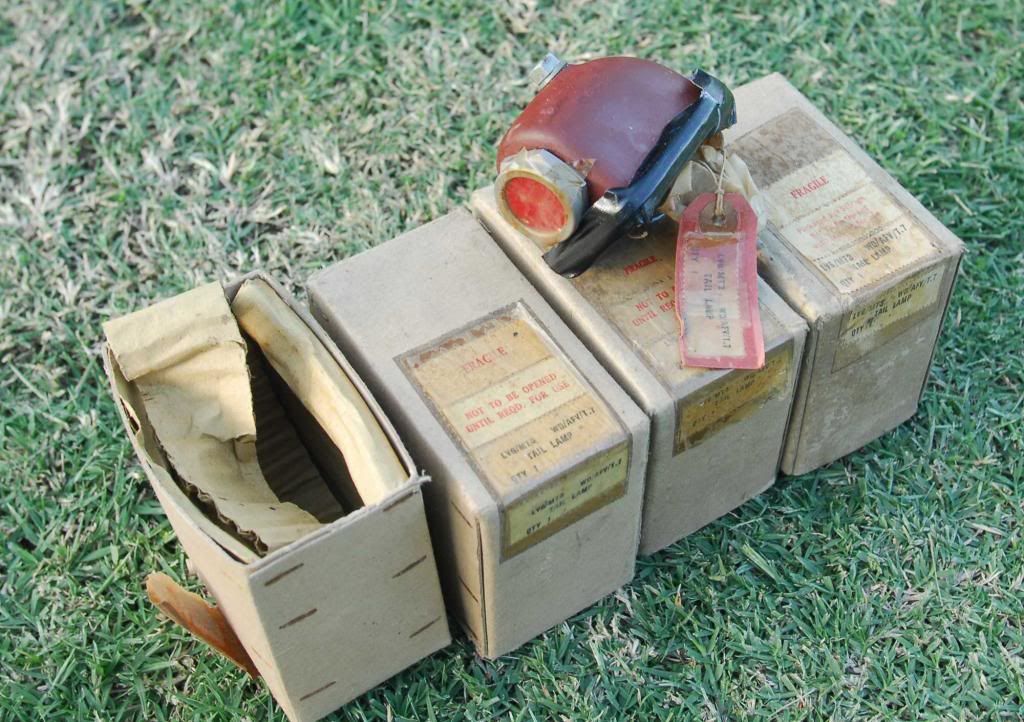
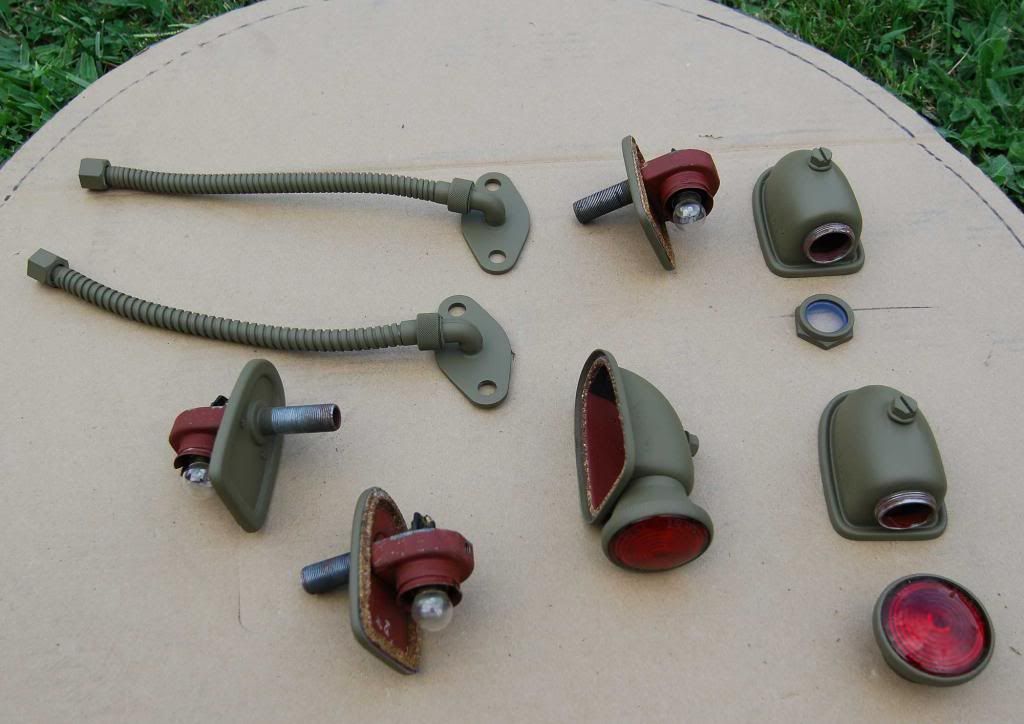
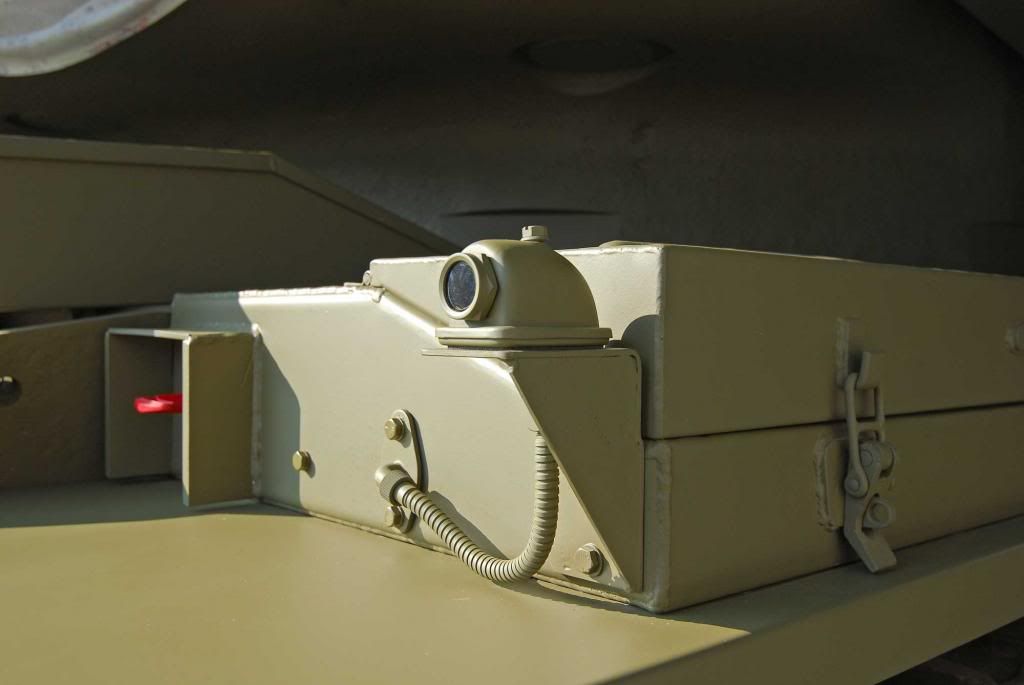
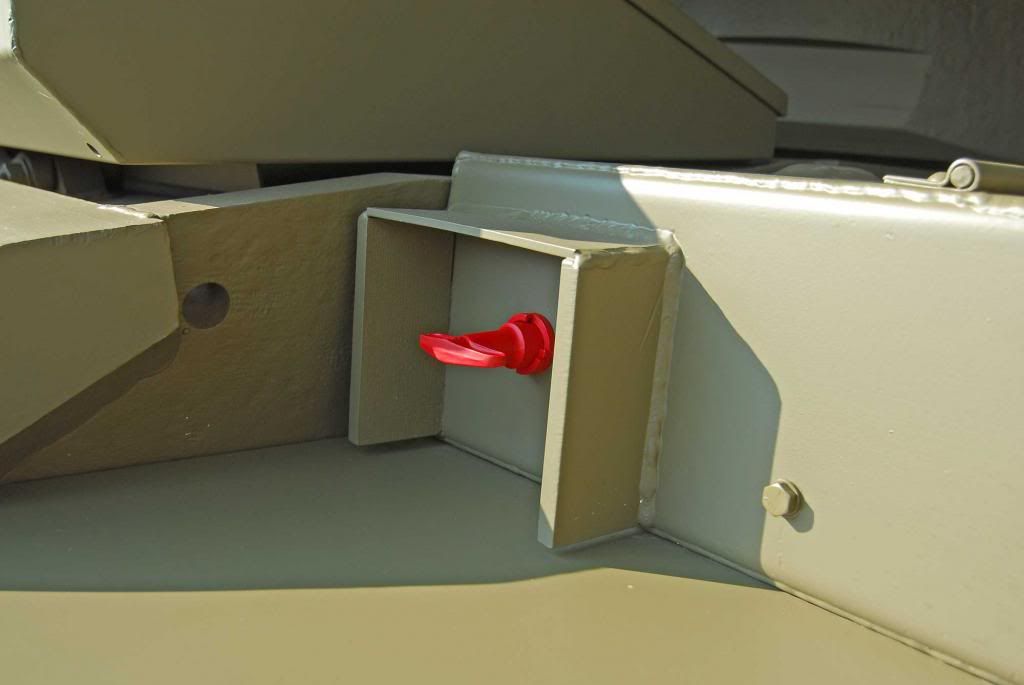
Well , some small but very tricky items installed..
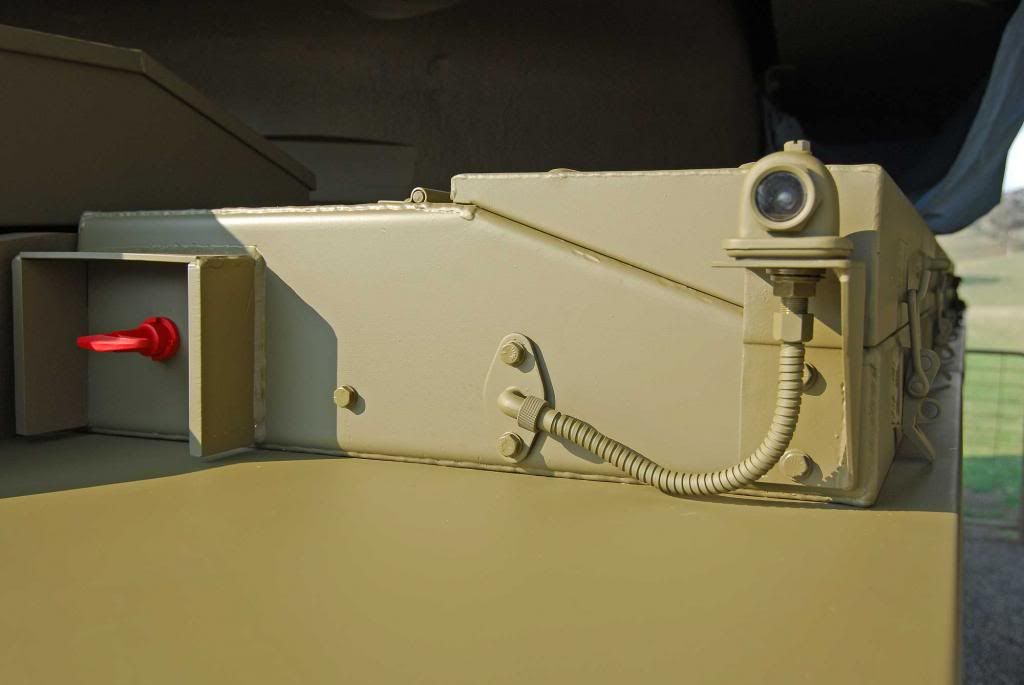
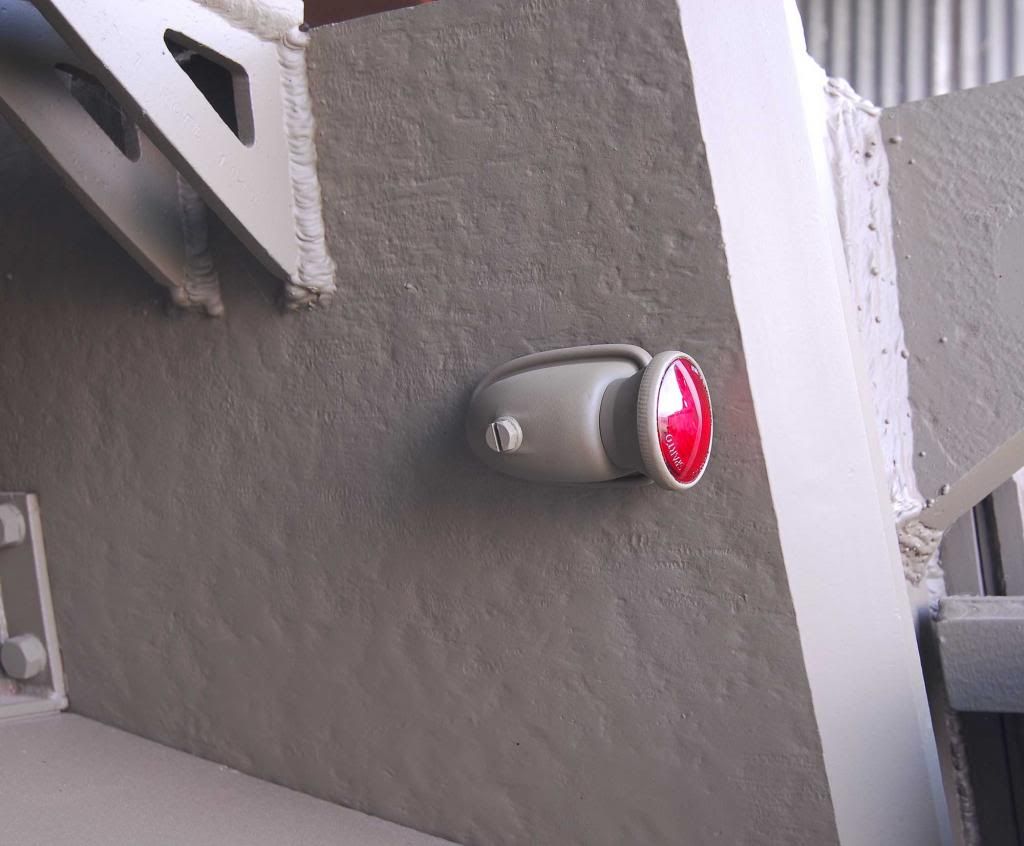
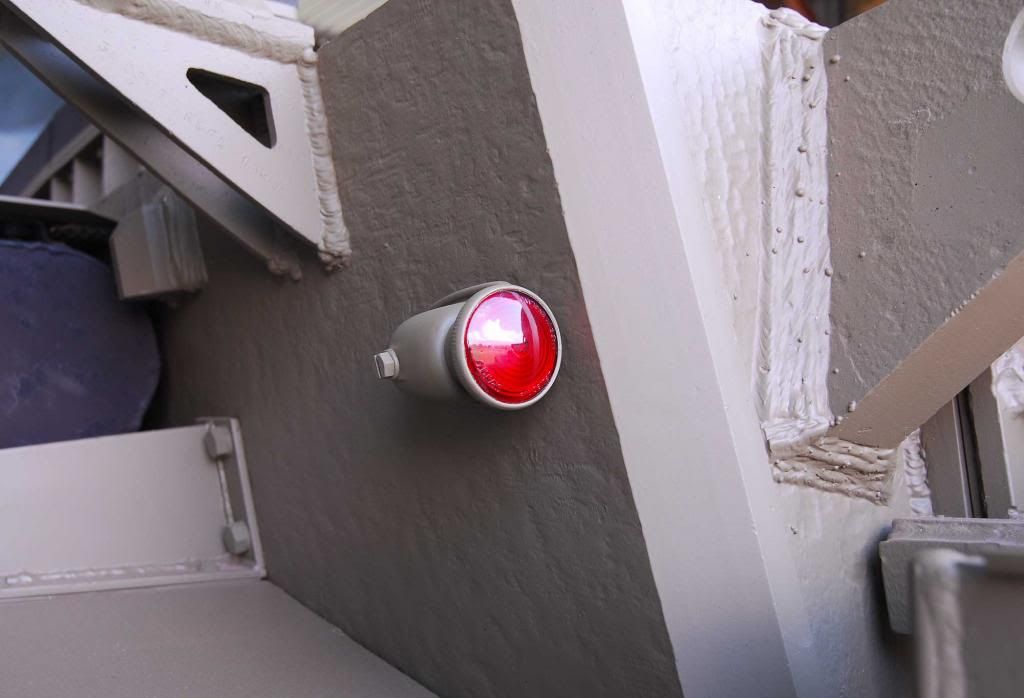
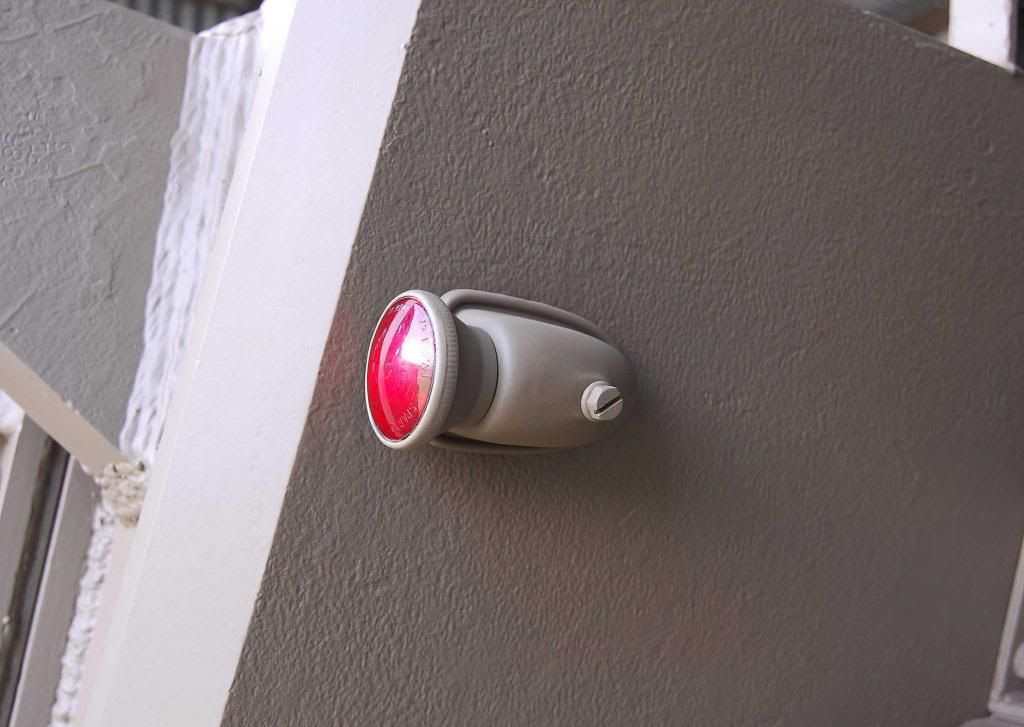
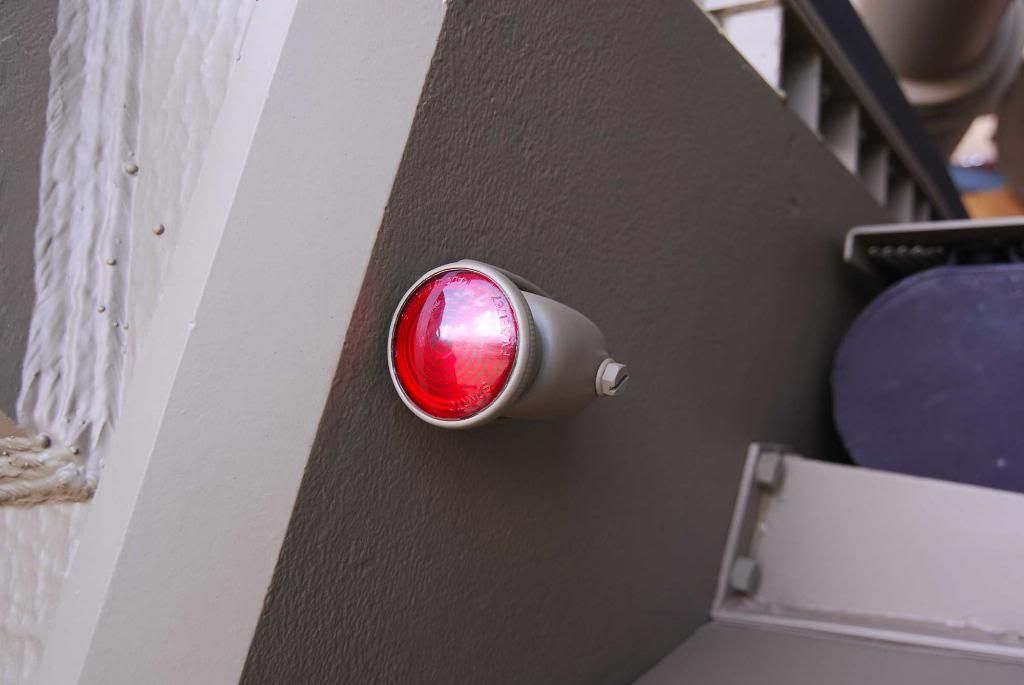
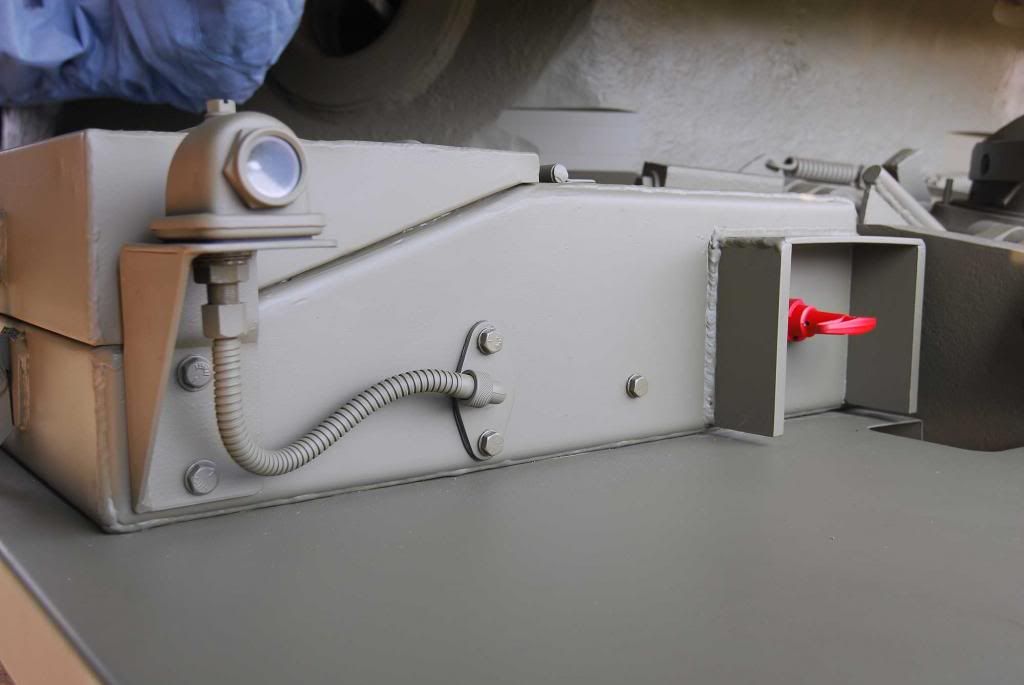
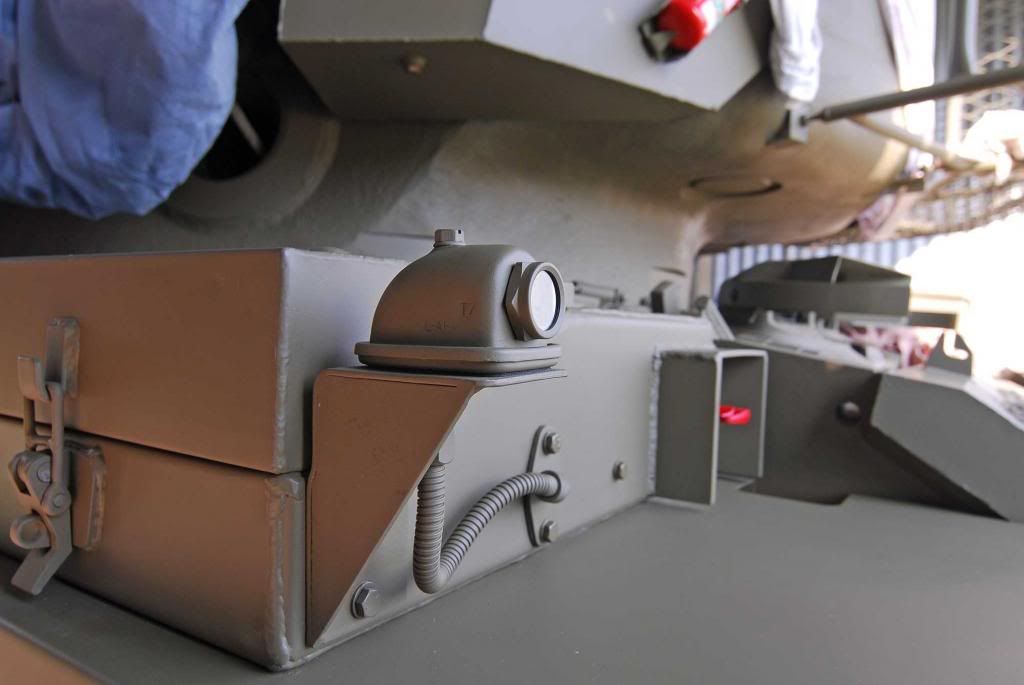
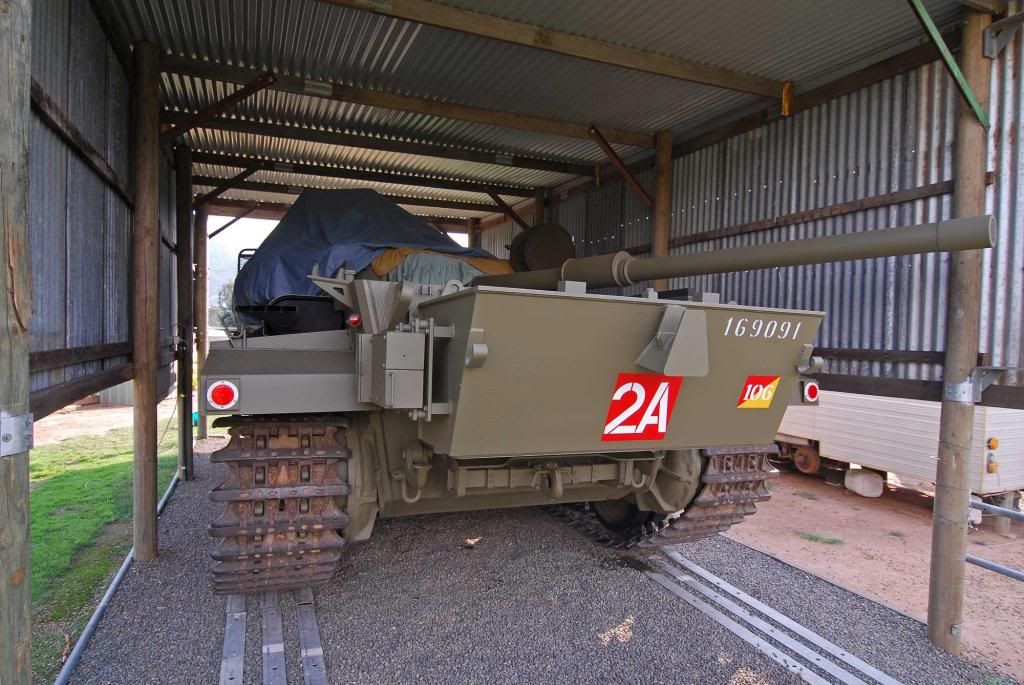
New convoy lights stripped and re finished and mounted front and rear.......new armoured wiring looms fitted, this was a a "bigger than Ben Hur" job! The looms run from the front storage boxes to a junction point on the hull side, they then go through the hull and to the internal junction box. The left hand side loom is in "behind" the wine rack( ammo storage) ...to access it requires alot of neck twisting and sore elbows and skinned knuckles!!!
New external fire extinguisher activation cables were also installed....not quite as nasty as the wiring looms, but still not fun....
A few snaps of the "innocent" looking items..
Paul.
-
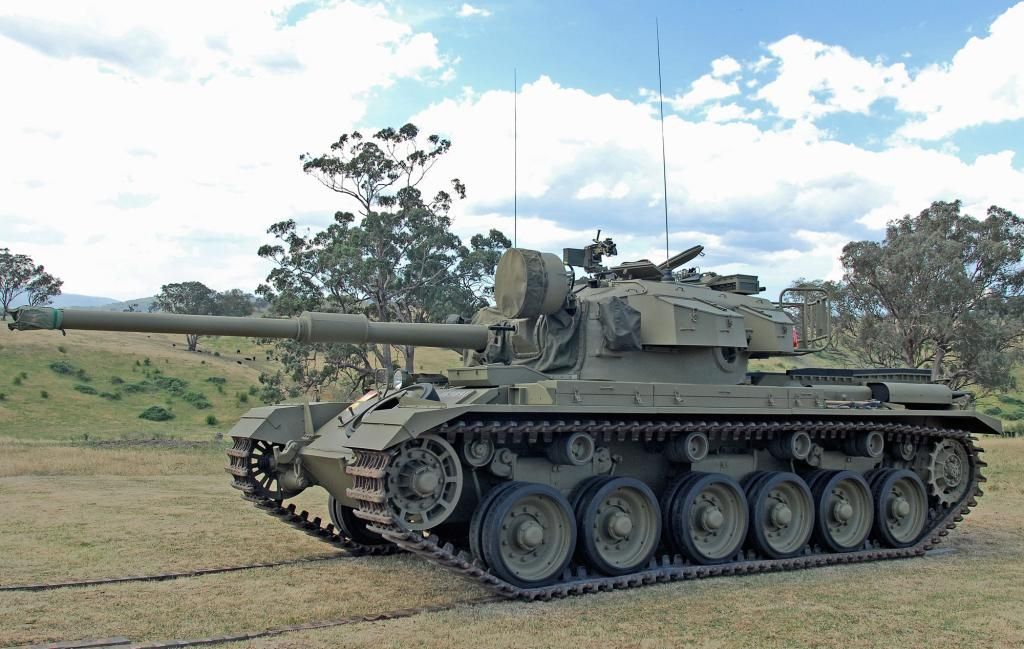
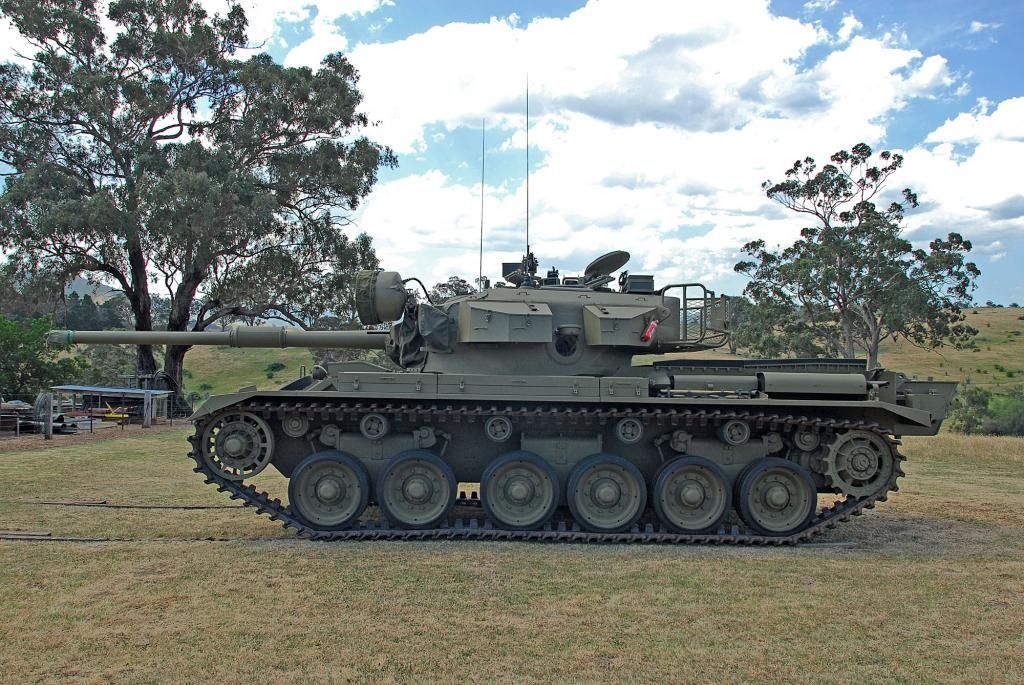
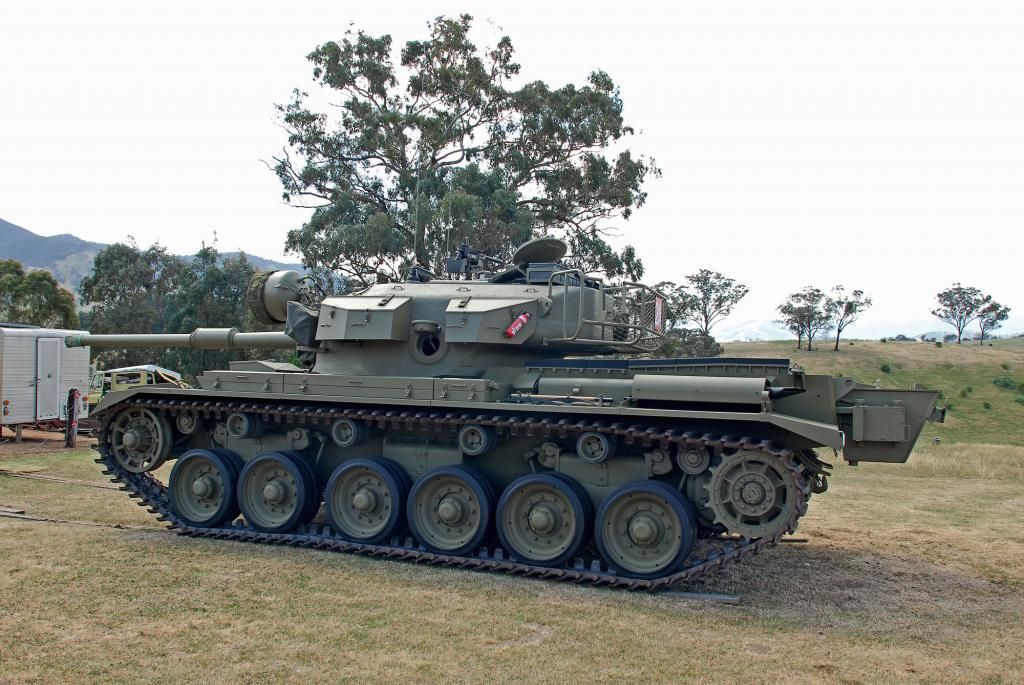
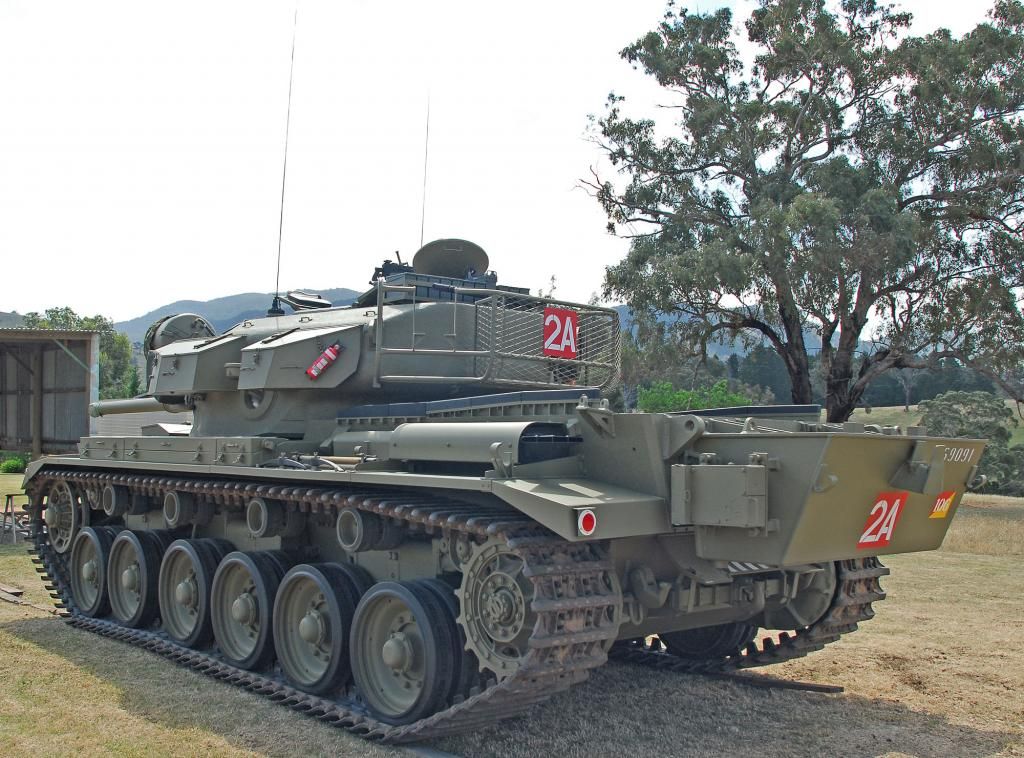
Well it has taken about 10 months to strip each of the 6 suspension station,s , re finish/paint and install as well as the 24 new road wheels, which were also stripped and re finished.
What a difference the 24 new road wheels make to the overall appearance...:-D
I also located an original Centurion "Crow bar", as strange as it may seem they are as scarce as hens teeth here.
I also re manufactured the rear tow cable holding mount on the rear long. range fuel tank.
A few pics...


-
Does your licence let you display in all Australian states?
As far as i know, yes...
-
Your restoration looks 10000%
How do you go on with the guns, have you had to get a special licence?
Hi Juddy,
yep , i had to get a permit to possess and display the MG,s..
-
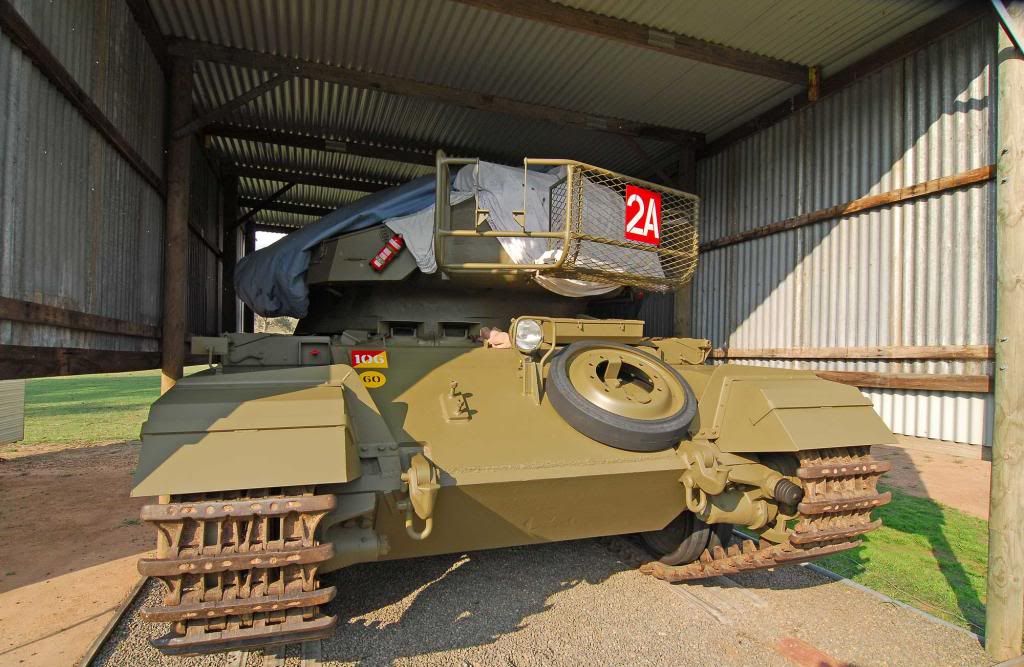
Out for a couple of pics with the new roadwheels and completed suspension stations.........well nearly finished.......one to finish on the drivers side rear!!!!!

-
Some pics of the .30 mounted in the rear turret mounts..


-
Thankyou!! :-)
-
Could someone please advise as to what oil was used in the main gearbox on the Chieftain MBT, and its modern day equivalent
Thanks..
-
Fitted the road wheels to the rear left hand supension station today......one side finished!!!!


-
A few other items installed over the last few months..


-
Weather is good agian , so back to the suspension stations......
3 down, 3 to.......


-
Where about's in East Gippsland are you,as I lived and worked on a farm in Outtrim in 1985/86 and while there I visited a TA Recovery Unit not far from there.You will have some great hill's to take it out on, and good luck with the restoration work.
Arnie
Swifts Creek , about 50km below MT Hotham .....
-
-
For anyone that interested, i have been continuing with my restoration.
I still cant post any pics here so please follow my progress here http://www.mvca.com.au/forum/viewtopic.php?f=49&t=1873&start=165 This is Page12 and continues through to Page19.
Thanks..
-
Any updates on this great project ???????
Yes many, but i cant upload anymore pics. Obviously i have exceeded my limit. So i am not sure what to do as i contacted the site Admin, but no response..
You can view my progress here... http://www.mvca.com.au/forum/viewtopic.php?f=49&t=1873&start=165
-
Would anybody know the approx weight of a Cent MK5 Turret .....bare Turret and with Gun/Mantlet Assembly
Thanks..
-
they must be around 40kg each?
Andy
90Kg each..
-
Got my turret box well on the way to being finished........ just have to do the canvas on the hinge, then paint and install the new webbing strap..


-
I got 3 turret boxes to replace to old ones on 091, 2 were Brand new ( Long bin and short rear bin) and 1 was used ( front medium bin) as there are none available anywhere......even Tim Vibert hasnt any.
I started to repair the used box , but i wasnt happy with the idea of this , so i decided to make a new box myself.
I plasma cut all the pieces today, folded the rear sections that form the top hinge section and tacked it together. Even though it is only started looks good, so much better than the old unit with the many repairs.
I have brand new latches and fittings to put on the sides and lid . I will cut out and fold the lid tomorrow. new straps will go on and new hinge canvas. Once the fv number is stamped into the lid, you wont tell it from an original.
Anyway, just a couple of pics of the tacked up box, ready to weld up tomorrow..


-
I'm liking this thread alot. Out of interest what are you using to clean the metal up before painting, some sort of wire wheel? I'm presuming it wasn't very rusty because you don't appear to be blasting any of it.
Good luck with the rest of it, Richard
I am using 2 needle scaler,s ( large and small) for the paint removal, and various rotary wire brush,s for final cleanup. The hull was fairly well protected against rust by the MANY layers of paint, a pain to remove but it did a good job of protecting everything.
I am not a fan of media blasting, as unless you can completely strip everything down to individual items the blasting media causes to much damage in places where it shouldnt be.
A needle scaler is slow work , but it does a very good job and causes no undue damage to anything.
-
-
Just a few more trivial items added.
I had a NOS blade sight which was black, this is apparently how they were issued then they were painted to the base color of the tank. I stripped it back to bare and will now re finish it.
The thing is actually a work of art....every peice is machined and serial numbered....alot of work for just an auxillary sight.
Even though the turret boxes were new , i decided to again strip them back to metal, the paint job looks so much better than just rubbinng them back and spraying over the British Bronze Green.
It also allowed me to replace the canvas that covers the lid hinge, as after all these years it was a little perished . I also rteplaced the straps on the lids with NOS items as they to were perished.
I got some 1/8 x 7/16 solid rivets from the UK for the hinges, these are becoming very hard to get here in Aus.I also got solid copper rivets to join the straps on the lid
The main big bin on the drivers side is finished and installed.
I also fitted a NOS cupola seal..I also stripped and refinised the aerial bases....the main rubber section was refinished using a flexable rubber coating.
Just slowly adding bit by bit......


M50 Israeli Sherman spotlight
in Tracked vehicles
Posted
.......