


JPA-Adventurer
-
Posts
25 -
Joined
-
Last visited
Content Type
Profiles
Forums
Gallery
Blogs
Events
Articles
Store
Downloads
Posts posted by JPA-Adventurer
-
-
It's coming along very nicely, Jase.
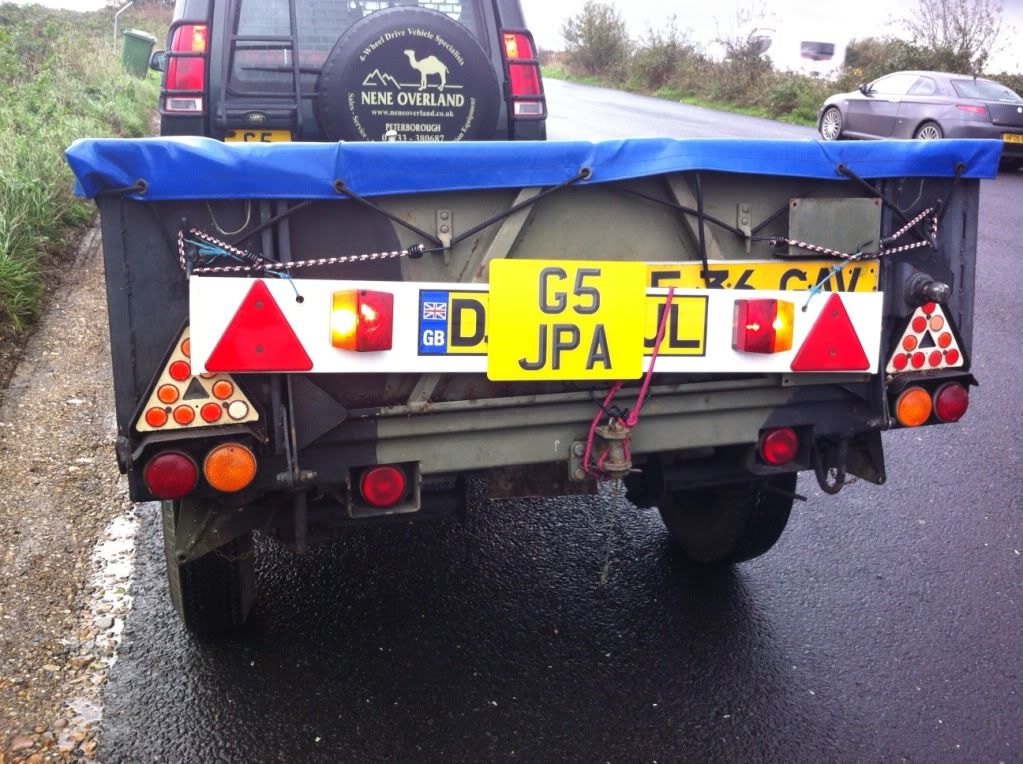
Re taking it abroad, as far as I am aware you will need an export licence even for a holiday trip as it is a military vehicle - even though it is only a trailer. As it is indeed only a trailer, I don't suppose getting one will be too much of a hassle. More problematic might be the trailer break-away cable - are you able to cobble one up that will operate the handbrake if your hitch fails? You could run into trouble with the French and Spanish Police without one, or so I would worry if it was mine...
John.
thanks John
yep, I've purchased a breakaway cable and will retro fit it.....just in case
looks easy enough, as there's a handy bit at the bottom of the handbrake lever mechanism that I can pop a heaby duty carabiner through
Ive also got a fat heavy motorcycle security chain that will fit from towbar to Sankey and provide secondary coupling that won't let nose hit the floor if hitch fails
Will look into the export licence, never heard of that but I know plenty of people who use Sankeys abroad and have turned them into camping trailers, but I'll check it out to be on the safe side, so thank you
Sankey is now fully stripped and ready for shot blasting and repainting next week, yay !
Jase
-
Latest update.....
well, i priced up some decent paint, undercoat, primer etc from Por15 range and this came to about £85
Then spoke to a local coatings guy who has offered to shot blast the whole thing clean, use a professional 2 pack primer followed by a 2 pack coating (he says it's the toughest coating he can find on the market) and he'll do the whole lot for not much more £££'s than I'd have paid in paint !
So, I'm off to see him today to discuss exactly what he can do....and agree a cash price.....and then fingers crossed the chassis can take a huge step forwards and be back to A1 condition very soon !
have to say I'm very impressed with the condition of the chassis, for a 30-40 year old piece of steel it's in amazing, new condition.
Thinking that once it's properly coated I might still coat all the unseen bits with the clear, hardening wax coating that the military must've used, as that's probably what has kept it so good
does anyone know what the wax coating is called, and where I can buy some?
cheers
Jase
-
Well today I had a first little go with my first ever angle grinder (new toy, yay !) and used an 80 grit flap disc
Blimey, I was amazed how easily it ripped the paint off !....and underneath the NATO camo paint there's a horrid lime green layer but then it's straight through to bare metal.
Made a start like you do, and then just kept going
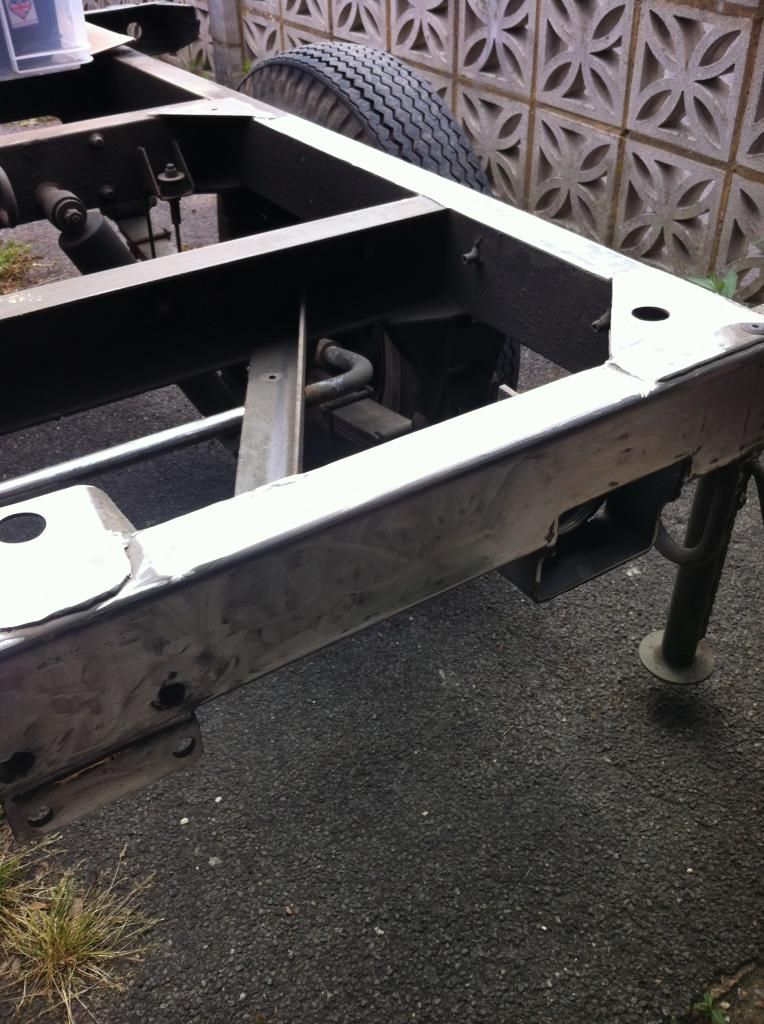
Not bad for a few hours work, eh?
Only trouble is, the sides of the chassis have a thick waxy coating and this has clogged up the flap disc a bit....and screwfix are out of stock, so packed the trailer away for today
At least I've made a start
Jase
-

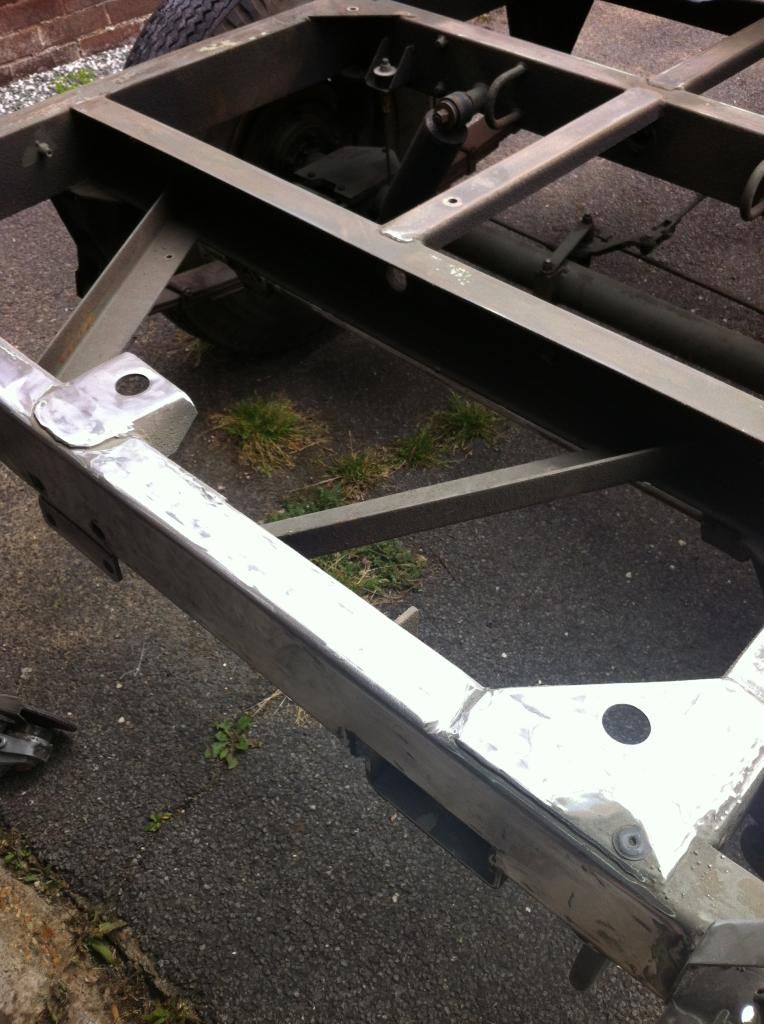
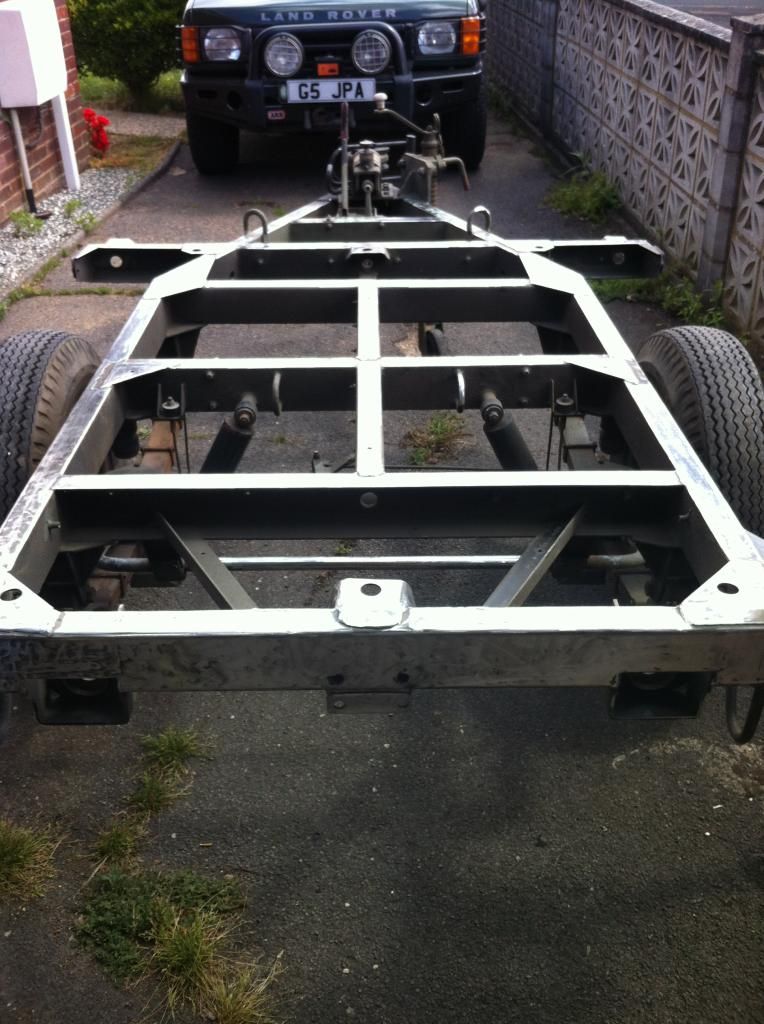
Well, my lad helped me to lift the tub off and get it to the back if the garage, it's in pretty good nick but has some rust bubbling along the bottom edges. Thinking I might grind it back and treat it with Neutrarust and then cover up the edges with some "L" profile lengths of black chequer plate
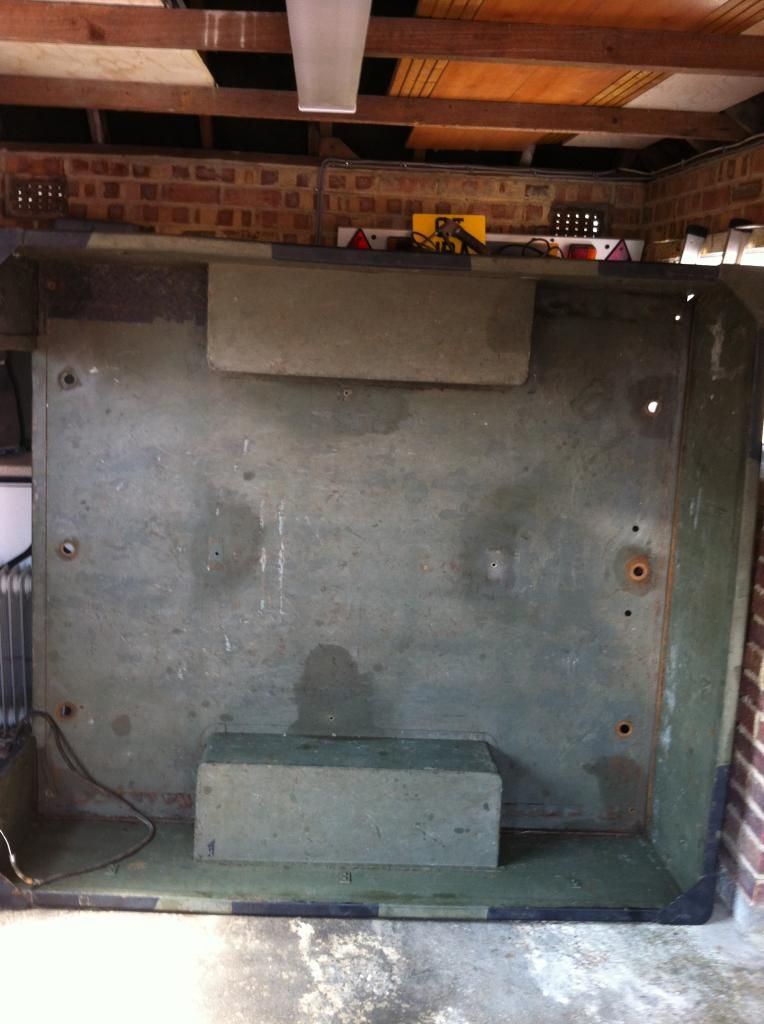
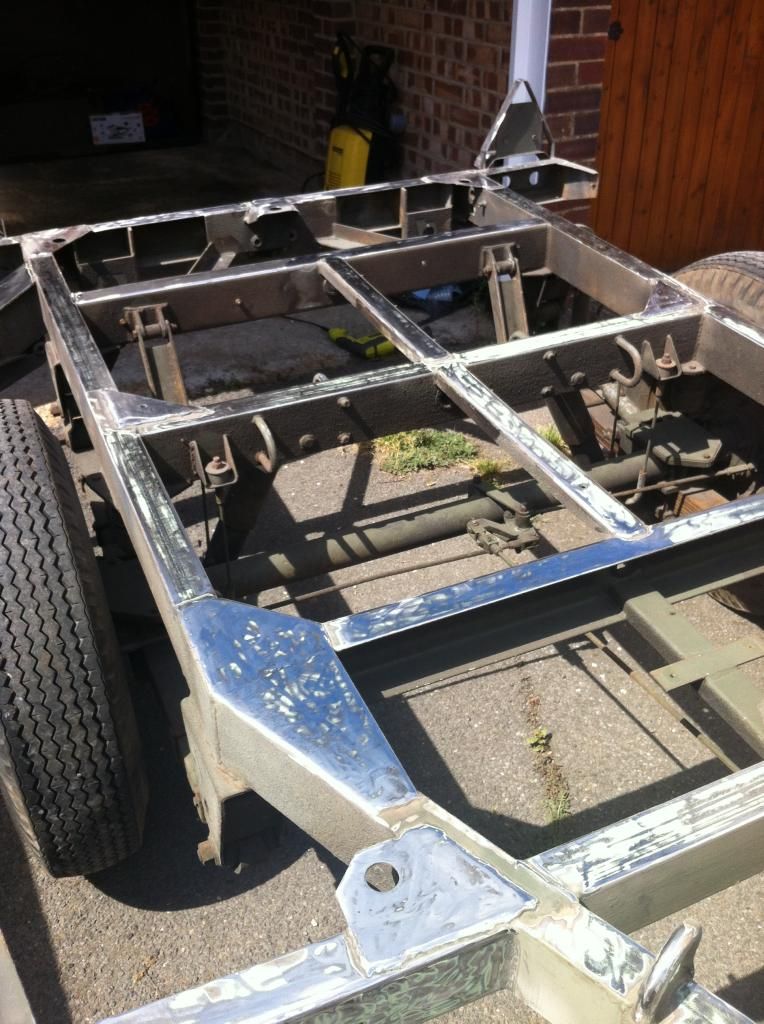
Really pleased to find the chassis is in fantastic condition all round, I've jet washed it to remove any crud and next job will be the sanding and prep for painting
Here's a few photos of the bare chassis
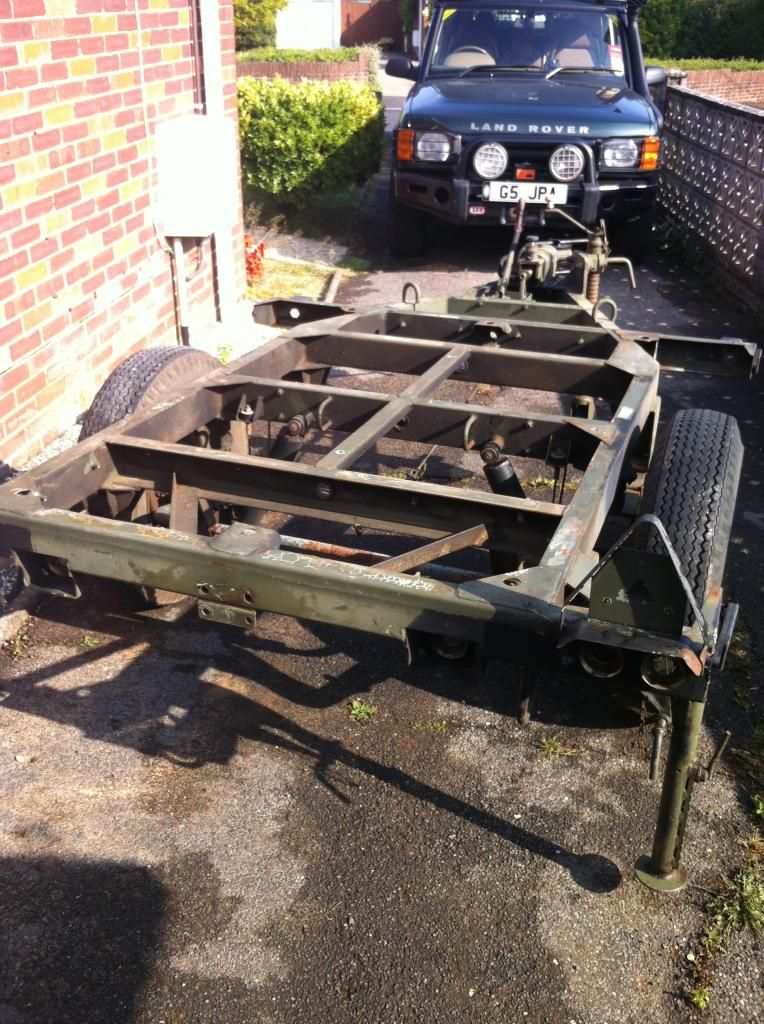
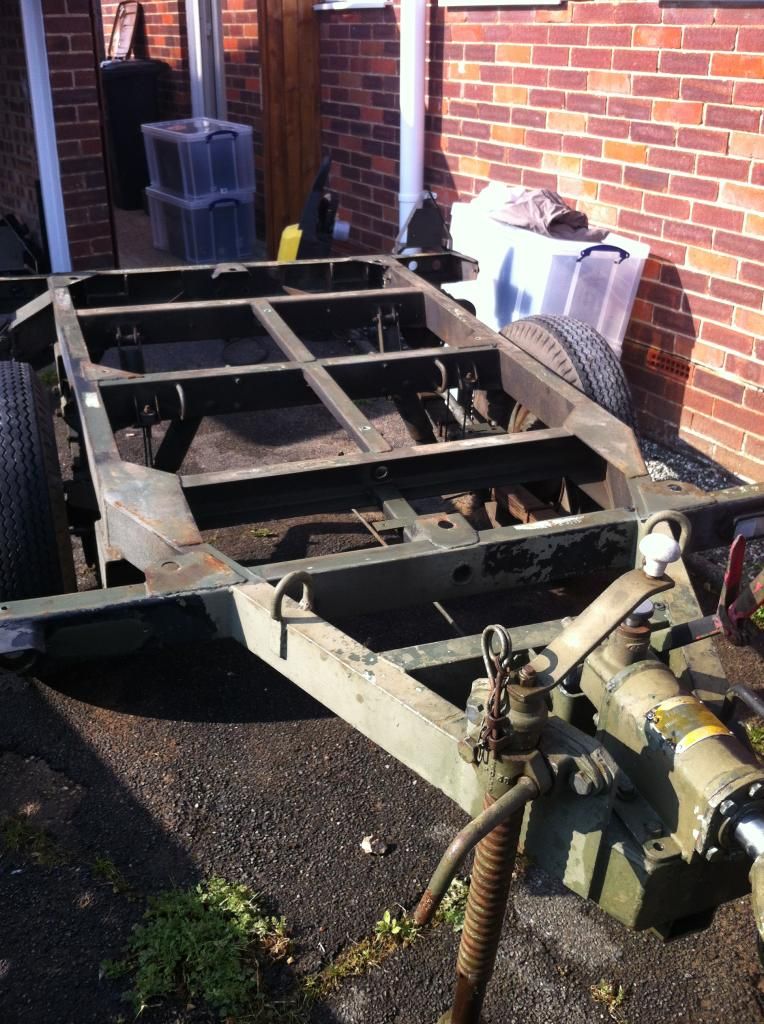
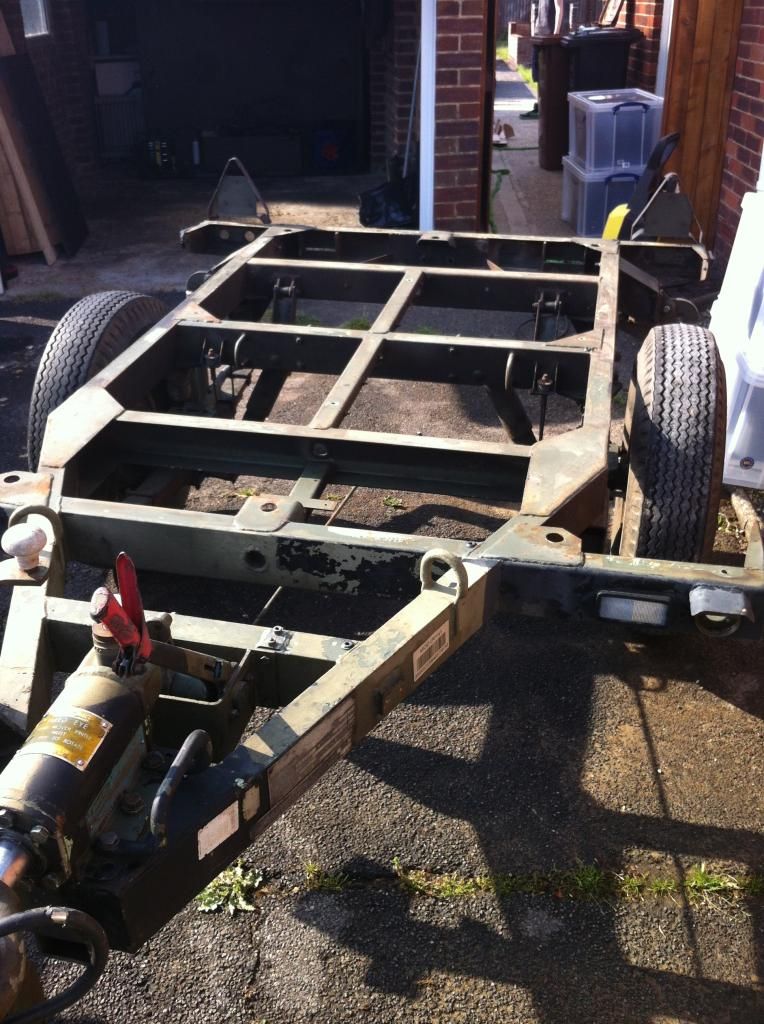
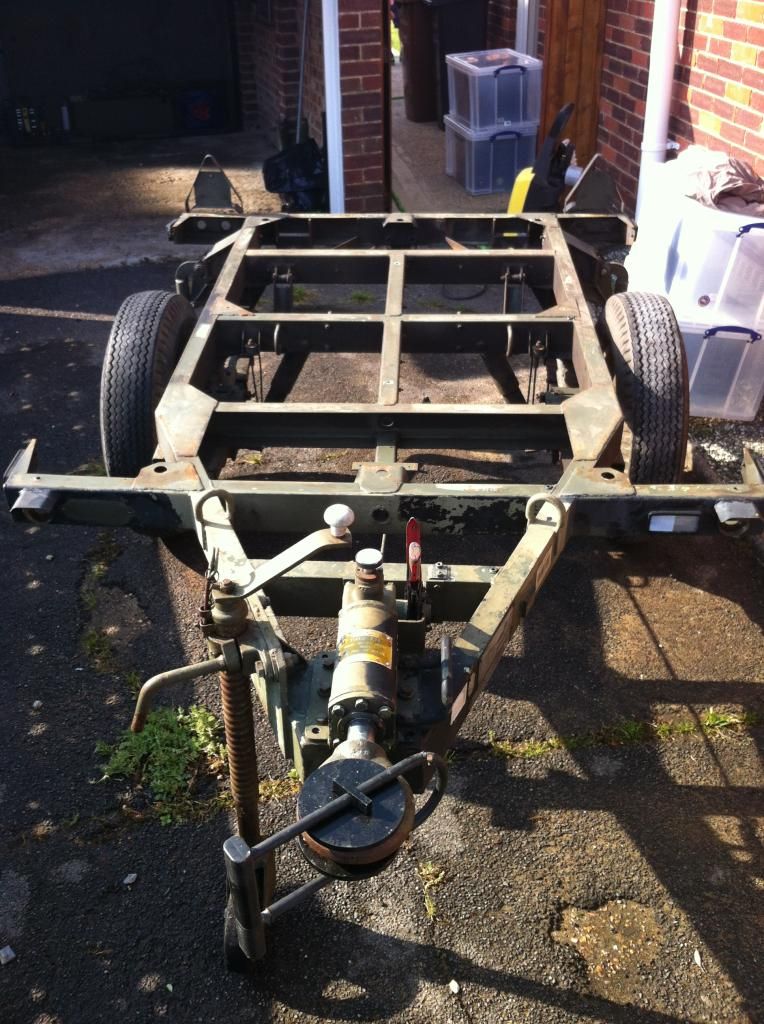
Think the chassis will look good once it's tidied up, then I can sort the new electrics out
Found some more grease nipples as I worked around it with the Karcher, so once it has dried off in the sunshine I re greased all round
Happy days
Jase
-
Latest update on the refurb.....
Well, lots of little bits of tinkering, the odd hour or so here and there and I'm making some progress.
First I worked out how to remove all of the light fitting and cabling ( decided I will replace all of the wiring and new plug as I convert everything to 12v ).
Managed to remove all of the wiring carefully, and it all seems in good condition. Once I've cleaned it all up I will sell it on if anyone is doing a proper restoration.
Next I removed all of the bolts that attach the tub to the chassis
Next I tackled removing the 6 tie down rings.....BLIMEY....what a pig of a job that turned out to be ! Easier to access them all once the wiring was out of the way, and after many days of soaking with wd40 I bought a set of roll pin punches to try knocking the roll pins out from underneath. No chance ! The little beggars were stuck solid, except for one which only knocked out cos I had enough room for a decent swing of the hammer. Everywhere else there's just not enough space to swing the hammer. VERY annoying!
So, out came the angle grinder and Dremel and after a lot of faffing about I eventually managed to get all of the tie down rings out, phew! That was a good feeling to have finished them.
I've now lifted the tub off the chassis enough to wedge a piece of thick wooden post under the front and back, all I need now is to wait for my 2 sons to give Daddyo a hand to lift the tub clear and take it off completely. Feels pretty heavy so I've taken the tailgate off to help reduce the weight a bit
My next job will be to clean the chassis with the Karcher before I set about sanding/grinding to get a good smooth finish before repainting and waxoyling.
With the tub off I can also sort the new electric cabling much more easily
Oh, and I found a nice Wanner Grease Gun on gumtree for a tenner so I've bought that, filled it with new grease and pumped the towing eye assembly with plenty of new grease.....nice !
Loving it !
Jase
-
Well I bought some parallel punches from Screwfix and soaked each roll pin in plenty of wd40
Managed to get one pin out after lots of hammering, but all the rest are seized solid and there's not really enough room to get enough swing on my hammer...grrrrr!
Got an angle grinder coming soon (Fathers day gift, yay) so I will have to resort to cutting the pins!
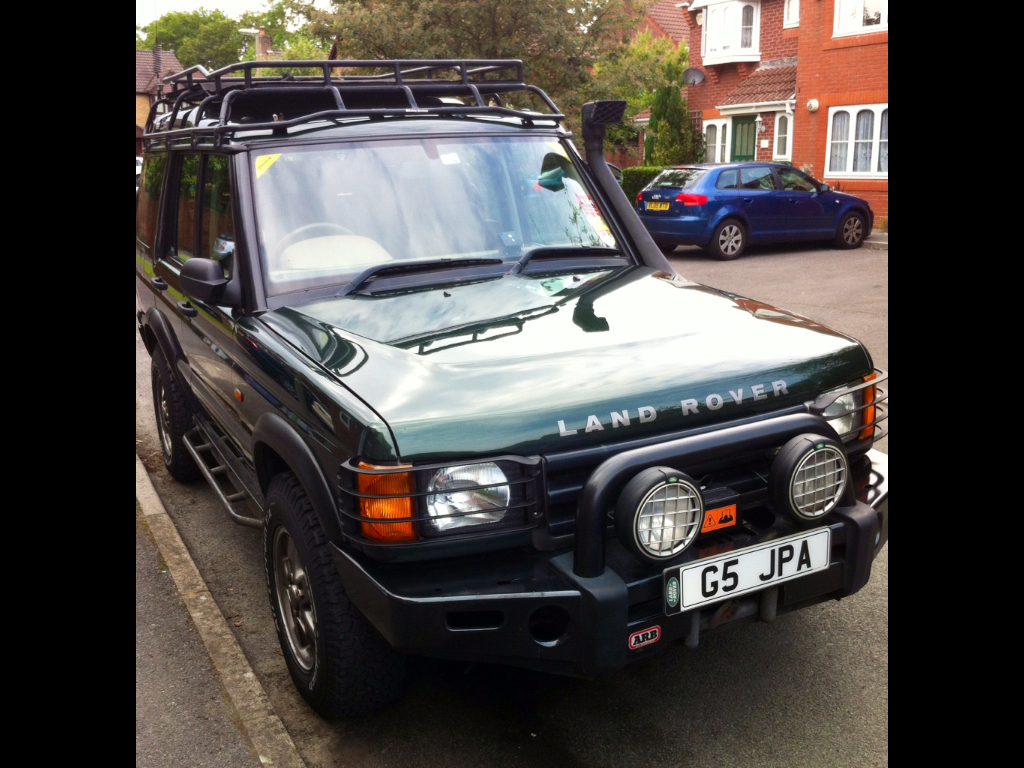
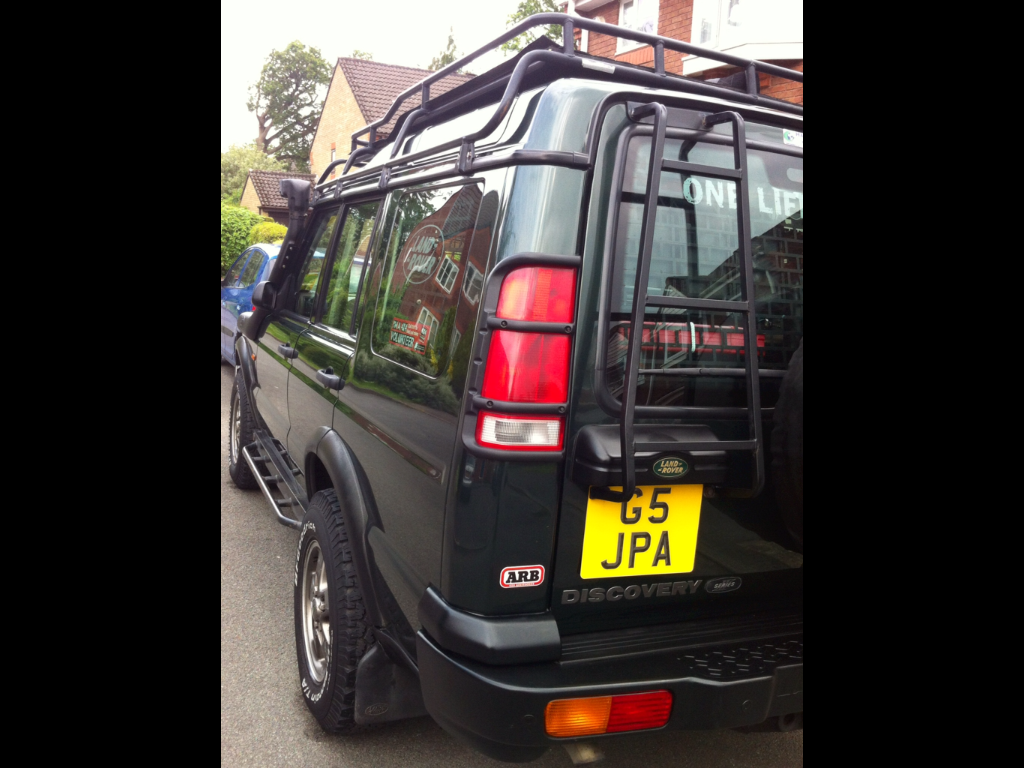
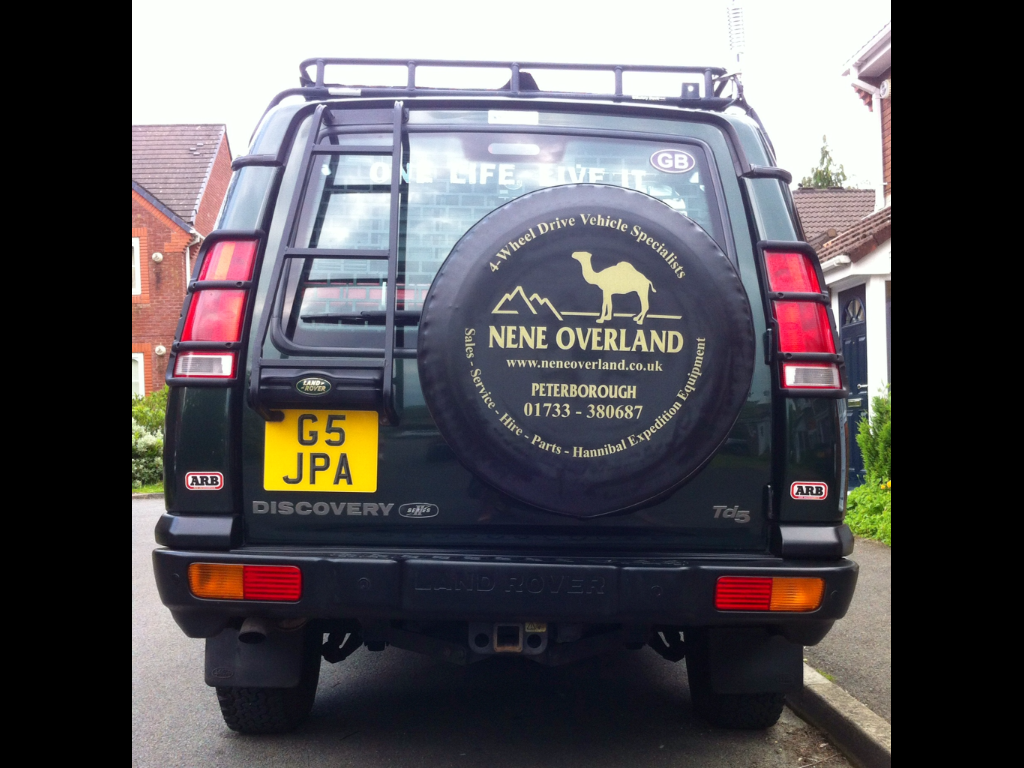
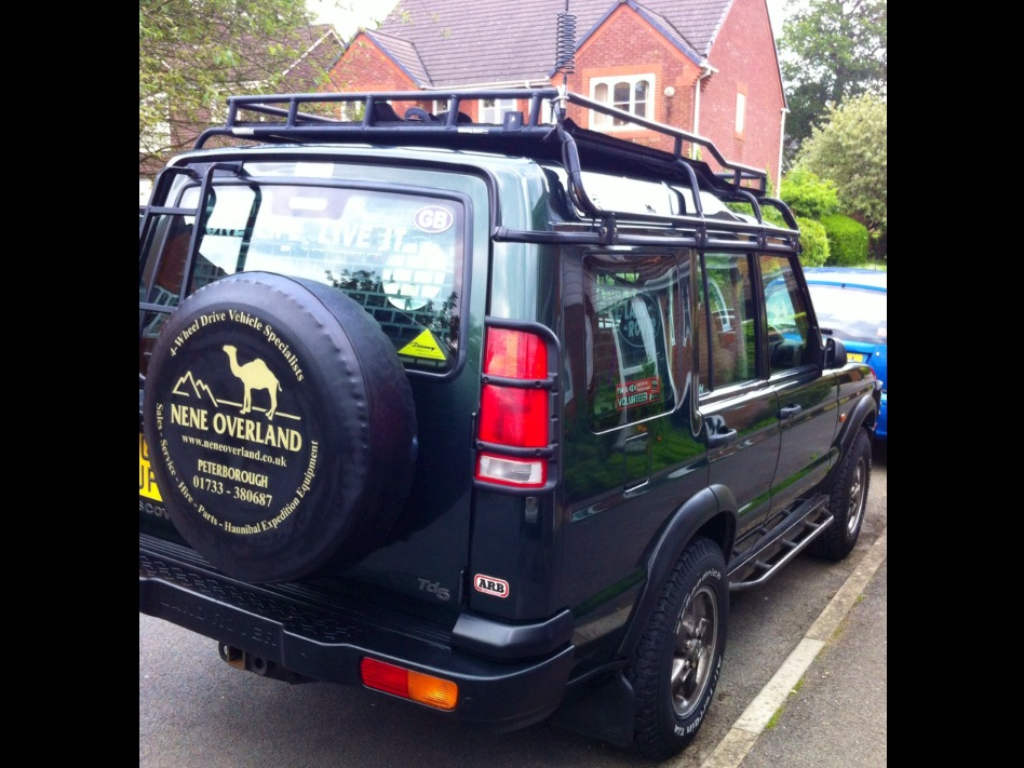
So, not much progress on the Sankey these last few weeks, but I did manage to wash and wax the D2 and I hear that the new towing plate for the 2" receiver is almost finished.
Here's how shiney the D2 looks now :
-
I have no idea what size the roll pins might be, but in the past I have often use a set of drill bits as a set of of gauges to measure such things.
Not that I have ever used the blunt end of a drill bit to knock out a pin, oh no, that would be plain naughty, oh dear me no...
trevor
cheers Trevor, I've got plenty of old drill bits I can use to work out the size

Kind regards
Jase
-
the body tub is fixed to chassis by about 8 j bolts then lifts offAny tips on getting the pins put of the bottoms of the tie down points?
lots of rust on mine and I'm wondering if the pins can be knocked out either way....or is there only one direction they'll slide out?
both ends of the pin look the same, but that might change once I've taken a wire brush drill attachment to them, lol
cheers
Jase
...ahh, now they're cleaned up I can see that they're "roll pins" eg a hollow pin with a split running down the length
will need to buy a roll pin punch, does anyone know what size punch I'd need (cos that'll stop me having to buy a whole set, lol)
cheers
Jase
-
Well, next job I'm tackling is to remove the tub from the chassis to enable me to give the chassis a good clean up and fresh coat of paint.
It will also give me easier access to sort the electrics out, as I need to convert to 12v and a standard 7 pin plug
Also, I need to tidy the tub up too, the bottom edges are rusty and bubbling quite badly in places, with a few small holes here and there. I'm thinking that I should strip away all the rust and apply Neutrarust to stop the rust in its tracks and then maybe tidy up the edges with some strips of 90 degree angle chequer plate (??)
I'm thinking that a strip of black chequer plate all around the bottom edges could give a neat finish,
I've managed to remove all of the bolts that go through the floor of the tub and throught the chassis....
BUT....no success yet in removing the pins from the undersides of the swivel fixings.
Looks like they're "roll pins" that need to be punched out, but problem is I don't own a roll pin punch.
Just wondering if anyone knows the size of punch I'll need please?....that'll mean I can just buy one, rather than a whole set
Thank you and best wishes
Jase.
-
If you put the ERM (Army reg no!), 23 KE 63, into www.rlcarchive.org and pay £35, you will be able to get the history of your trailer or obtain the later (Merlin) history for free by making a Freedom of Information Act request to the MOD via CIO-FIO@mod.uk.
I'll help you translate whatever you end up with!
Nice one, thanks Peter....I will try the free one first and see what happens
and yes, will need a hand to understand the reply, lol...
Kind regards
Jase
-
HI JASE
CES means complete equipment schedule the items that go with the trailer
ARMY CODE NUMBER refers to that type of trailer not to a individual trailer so as you say to a batch
there are five pages in the book not a lot but if you would like a copy PM your address and l will pop one in the post
REGARDS WALLY
Thanks ever so much Wally, I really appreciate that
will send you a pm
kind regards
Jase
-
HI JASE
SEE attachment it matches the information on your data plate your trailer came into service in the financial year 1986/87
hopes this helps a bit
regards wally
Wow !....thanks very much Wally
That's a really good find.
Did you find that by the CES number (31224) and what does "CES Number" mean? Is 31224 a number that's unique to my trailer or does it relate to a batch of them?
Are there any more pages to the document? If so, how do I find them?
sorry for all the newbie questions, but I love to learn !
Kind regards
Jase
-
Now that the brakes are working I turned my attention to the tow coupling, which seemed to be seized.
At the back end of the coupling there's a thick load of grease, haven't cleaned this away so not sure if it's grease that's escaped or just a generous glob of grease put there by the previous owner
On the front of the coupling the black seal looks a bit perished.
Anyways, whilst knocking it about with the lump hammer I noticed a tiny shift of movement in the towing eye...another couple of firm smacks and it freed up !
For the first slides I used the hammer to knock it backwards and forwards, but then was able to push and pull it by hand.
Now, if I push the towing eye fully back with handbrake up I can then release the handbrake and as the lever drops down there's enough power in the spring to push the towing eye back out....result !
Ideally I'd like to replace the seals and re grease, but at least for now the towing eye seems to be sliding well, and with the brakes now working I'm feeling pretty pleased with my progress so far.
If anyone knows how to remove the coupling, or how to replace the seals (and where to buy the parts) then please let me know....thanks
For info, the tow coupling ID plate shows it was made my SACOL Southampton (and I live in Southampton!) and it's serial number is 42557.
Jase
-
Took some info from the Sankey's plate, thought I'd post it here in the hope that someone might be able to tell me more about its history, what the codes/numbers mean, it's age etc (??)
There's an ID plate on the drawbar of the trailer....bit faded, but here's the bits I can read :
MANFR : GKN Sankey
SERIAL NO : 1603
CON NO : FVE 21A/3801 (might be 3501)
CES NO :31224
NSN : 2330-99-893-4847
REG NO : 23 KE 63
CODE NO : 2853 0790
No : 1429
Does any of this info help to tell me more about my trailer??
regards
Jase
-
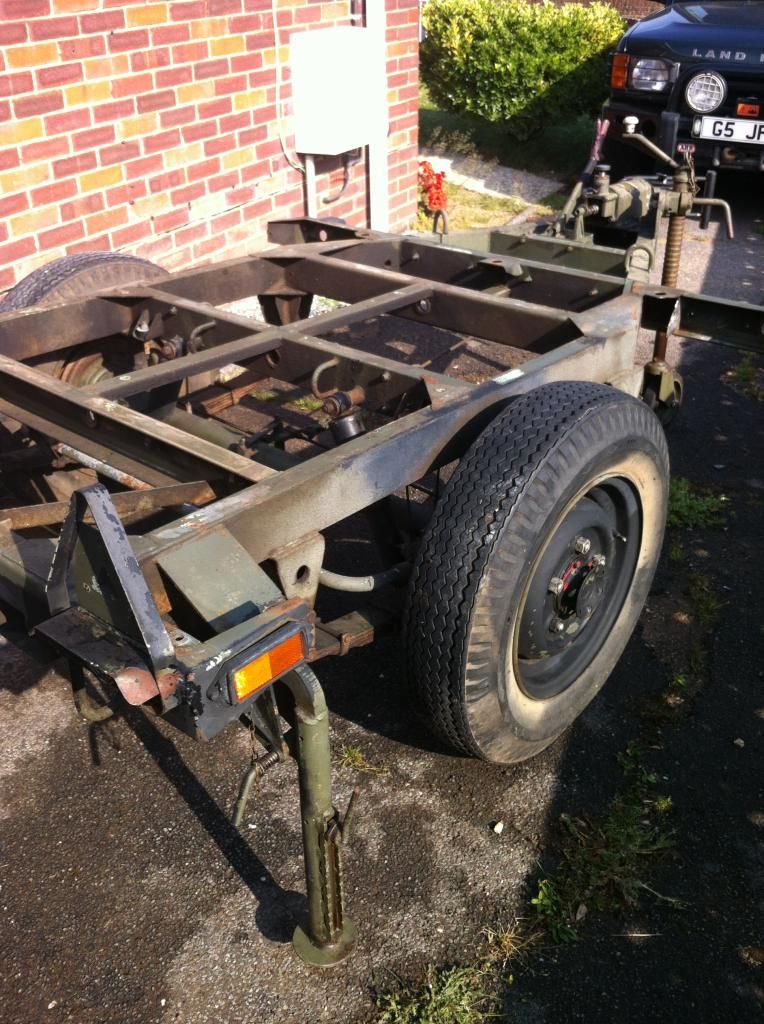
Tyres....
Well, as I removed the wheels to sort the brakes I checked the wheels and tyres.
Tyre tread is excellent but sidewalls do have hairline cracks and I've no idea how old the tyres are.
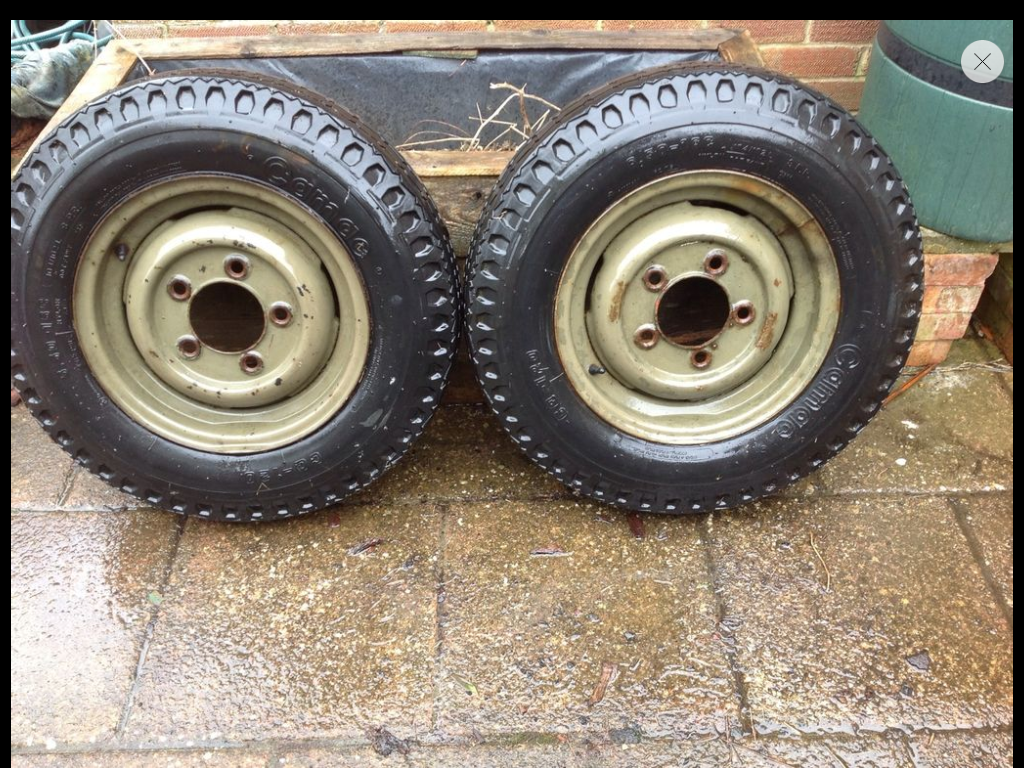
Safety is top of mind for me and also I want a spare wheel (will be mounted on the trailer) so I set a search on eBay and waited until a bargain cropped up....
Luckily a pair of wheels with the same size tyres as mine came up for sale at £50. I bought them because the tyres are "new", they still had the little rubber whiskers on them so haven't even been on the road by the looks of it.
Will put the new tyres on the trailer and keep the best of the other 2 as a spare. Not bad for £50 and I'll stick the other wheel/tyre up for sale and even if I only get a tenner for it, it'll be another tenner in the kitty, lol
Here's the new wheels/tyres :
-
First job I wanted to tackle was making the brakes work.
The brakes are drum type, and the towing damper simply presses onto a spoon plate to operate a T-rod system.
Everything was covered in crud and nothing was moving, therefore no brakes at all....so fearing the worst I started to figure out how the brakes work and the best way to understand the set up was to start cleaning!
Armed with wire brush and goggles I set to work and carefully worked from the handbrake backwards. Doing this has given me a better understanding of the braking system already.
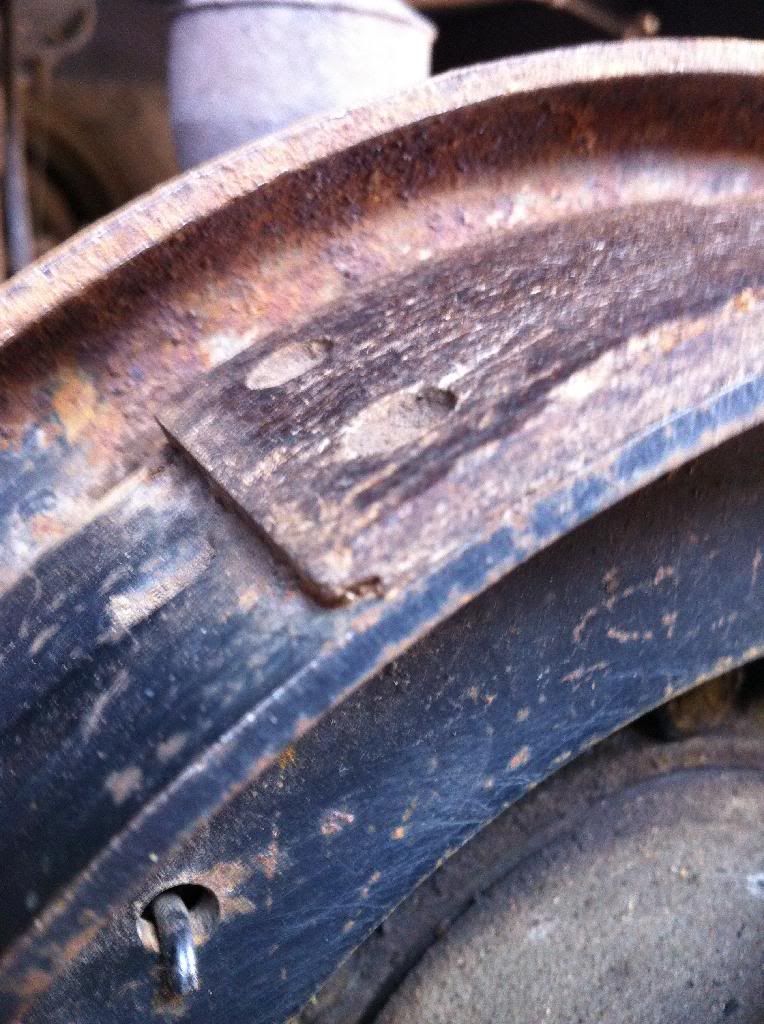
I jacked it up and removed the wheels and then spent ages getting the brake drums off. Plenty of brake cleaner, lump hammer, grunting and patience (several cups if tea helped) and finally I was chuffed to get both drums off.
Then set to work on cleaning all of the crud out of the drums and the mechanism. Lots of brake cleaner later and everything looks so much better.
I'd been looking online for info about brake shoes, got confused, and was sure I'd find knackered brake shoes that I'd need to remove and take to a brake lining company....but....amazingly I found all the brake shoes had plenty of meat left on them....result !!
Probably spent 5 hours of unrushed cleaning and tinkering and was very pleased that my efforts magically brought the brakes back to life and they're working really well again...
....total cost so far?....about £5 for the big can of brake cleaner, lol
Here's some pics, sorry about quality but taken on my phone. The 2nd pic shows the 3mm or so of meat left on the shoe :

Early progress, probably doesn't sound like much but as I say I'm VERY novice with a spanner so for me it's a big sense of achievement
Jase
-
Hi all, Sankey thread to follow
-
Yes I think we're talking about the same thing...tie down points, they swivel around. The pin gets rusted up underneath and has to be punched out but theres very little space.
Any tips on getting the pins put of the bottoms of the tie down points?
lots of rust on mine and I'm wondering if the pins can be knocked out either way....or is there only one direction they'll slide out?
both ends of the pin look the same, but that might change once I've taken a wire brush drill attachment to them, lol
cheers
Jase
-
Yep, i'll be sure to add some pictures
Whats the best way to add a picture?
i use photobucket on the Disco2 forum and just paste the IMG code into a thread....is it the same on here.?
cheers
Jase
-
Thanks for the reply Clive
please bear with me, I'm completely new to the world of Sankey trailers, but keen to learn !
Well, there's an ID plate on the drawbar of the trailer....bit faded, but here's the bits I can read :
MANFR : GKN Sankey
SERIAL NO : 1603
CON NO : FVE 21A/3801 (might be 3501)
CES NO :31224
NSN : 2330-99-893-4847
REG NO : 23 KE 63
CODE NO : 2853 0790
No : 1429
Does any of this info help to tell me more about my trailer??
im thinking I need to replace the towing damper, but cannot get it off. All mounting bolts removed but it's stuck fast
could it be the layers of paint? Or is there a secret fixing that I don't know about? Haha
regards
Jase
-
Tow coupling is seized. Free's off if I hit it with a hammer and then slides fine, but leave it a few days and it's seized again.
its a sankey mk2 WideTrack and the coupling is bolted to the top of the frame.
ive taken all the bolts out and hoped it would just lift up, but it just won't budge!
Am I missing something?....any tips greatly appreciated
many thanks
Jase
-
Hi everyone,
well, I'm a Land Rover Disco 2 owner and an active member of the d2bc club forum
I recently bought a Sankey WideTrack trailer, and I believe it's the mk2 version (tow coupling on top of drawbar and drum brakes operated by a t-rod system.)
i need to get the trailer ready for our next Overland camping trip (France in August) so would welcome your support with advice etc
i will post some threads in relevant sections, the first one being how do I remove the tow coupling??....I've taken all the bolts out and assumed it would just lift up, but no, it's stuck fast.....even my FB hammer won't budge it.
towing eye is in need of new seals as it keeps seizing....(can free it with hammer and it slides fine but leave it a few days and it's stuck again) so anyone know where to get seals from please let me know
id also love to learn more about my trailer !
very best wishes to you all
Jase.


My Sankey WideTrack Mk2 thread...
in Trailers, plant and equipment
Posted · Edited by JPA-Adventurer
.