


Beno1983
-
Posts
54 -
Joined
-
Last visited
Content Type
Profiles
Forums
Gallery
Blogs
Events
Articles
Store
Downloads
Posts posted by Beno1983
-
-
There certainly is not a lot of space in them (especially with radio gear in the back) for sleeping! I'm sure the fun you had in it more than made up for the lack of sleep! I know Jim the Lightweights owner would like to have a Landrover Ambulance but his missus would kill him if he got one!
-
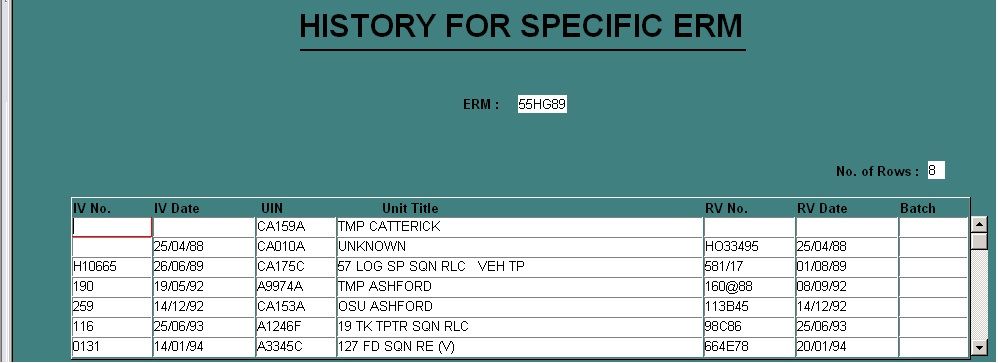
Thank you both for taking the time to provide the very detailed info above its very much appreciated and great to know where she has been!
I had a look on Google and was a bit confused that every time I searched for 19 tank transporter sqdn I was getting 27 regiment back as results so thanks for clearing that up
I missed the bottom row from the initial post
As you say it was disposed of.
-
Hi fesm_ndt
Thanks for the comment, Ive just had a look at your link that must have been an incredible experience! I notice you say you miss your Lightweight what was her fate?
-
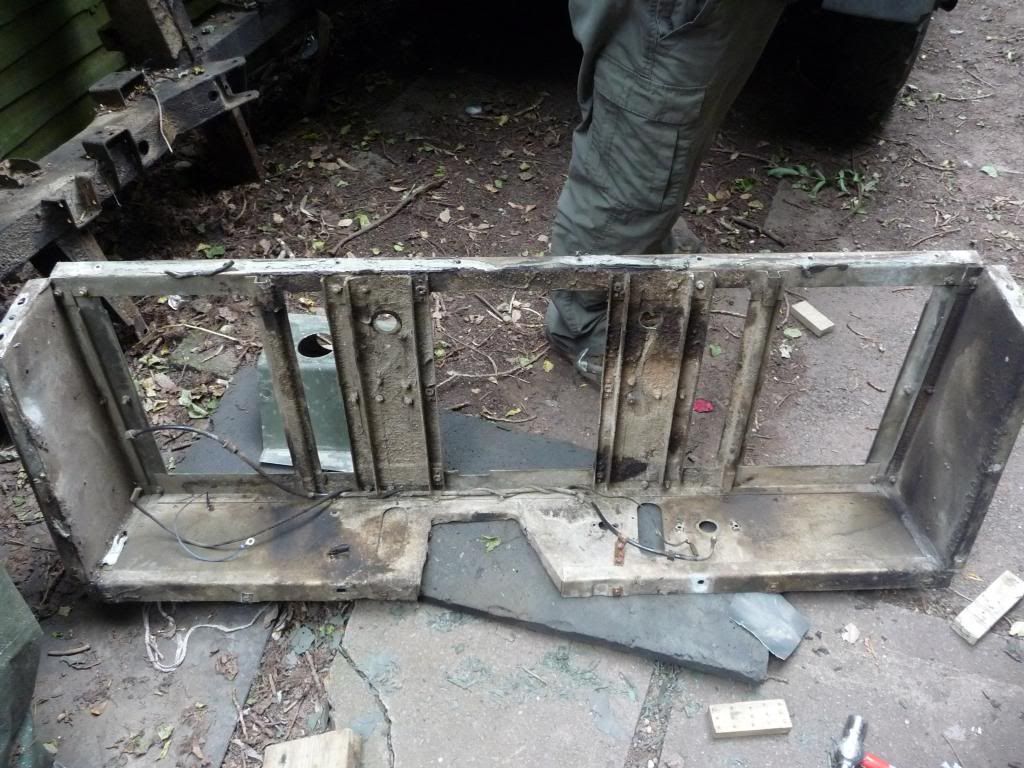
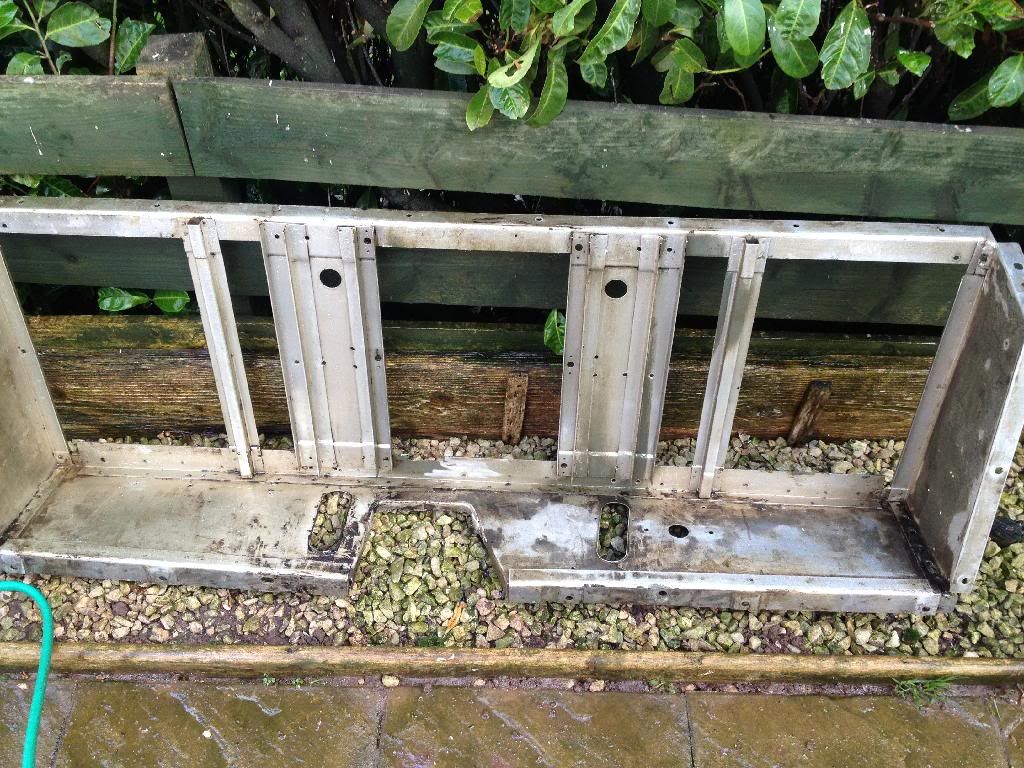
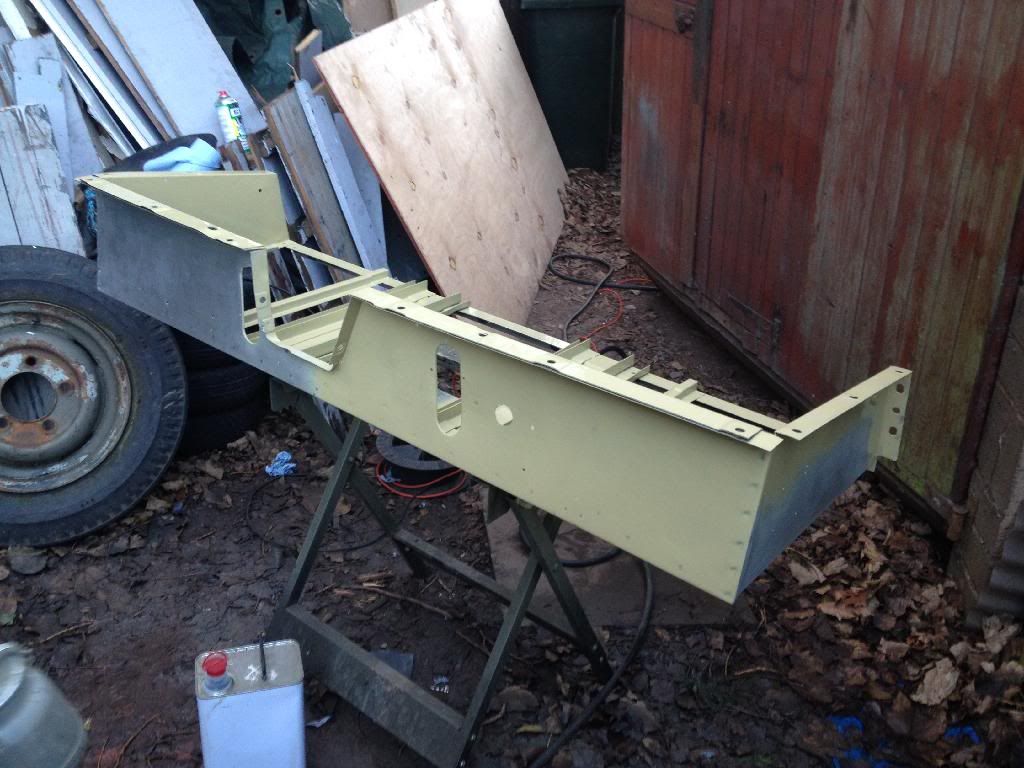
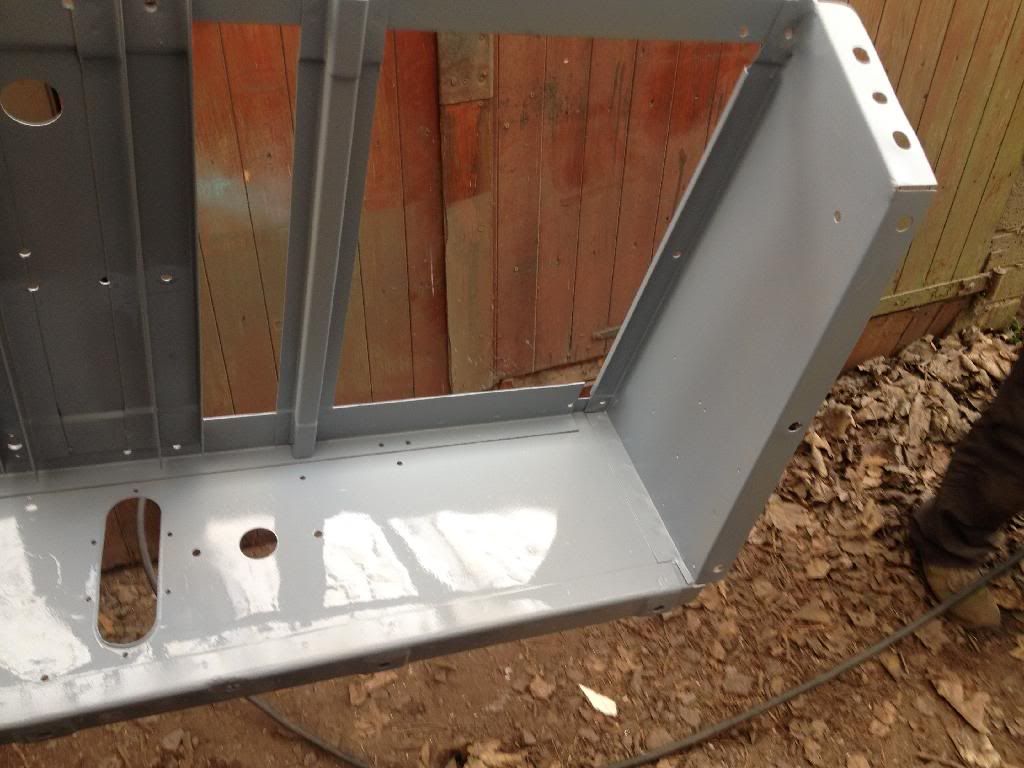
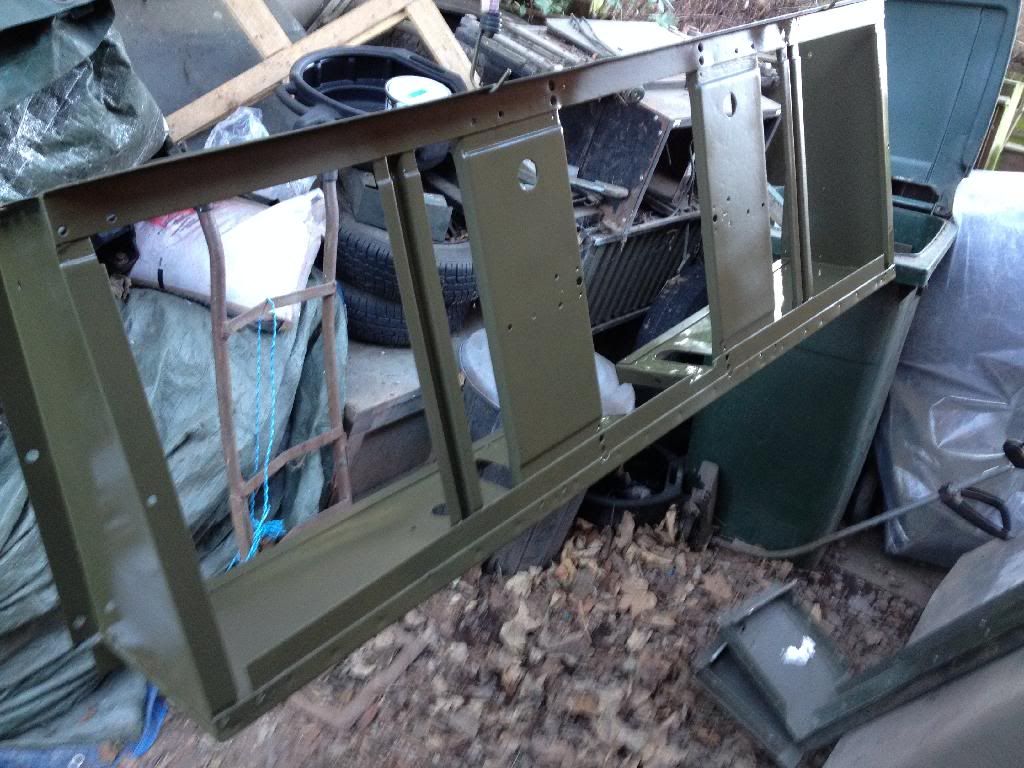
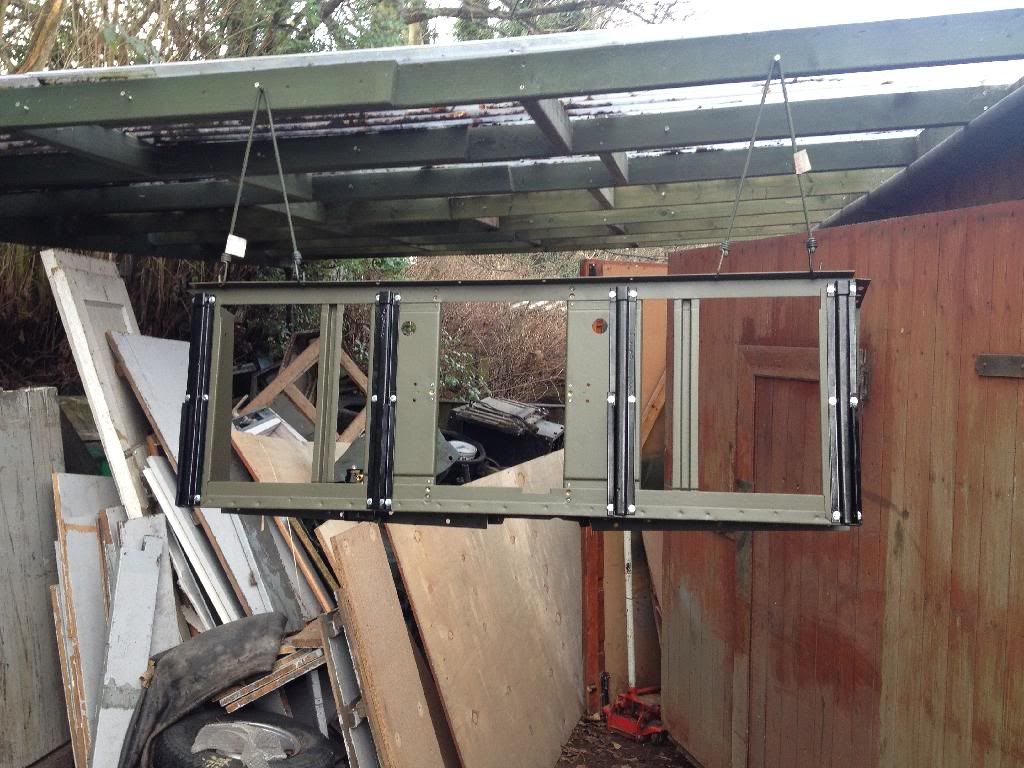
Thanks WCmatt high praise indeed! The old frame is the original chassis from 55HG89 which we had to replace due to rot, we kept it so that we could use it as a reference point for the various holes and bracket placement on the new chassis. Not to worry though we still have the MT350 as you say as well as a Sankey trailer and a Wolf to sort out after the Lightweight is finished!
-
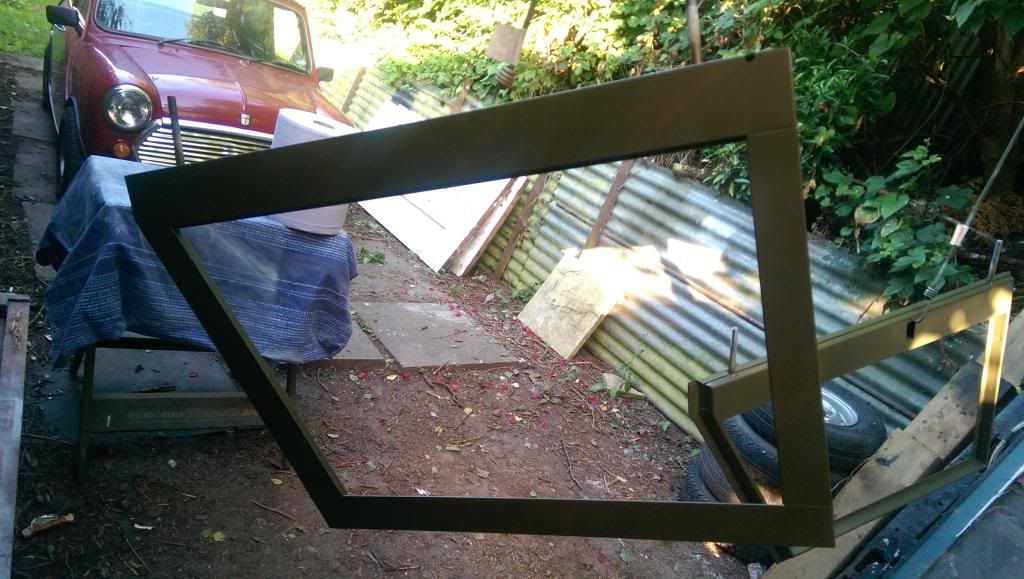
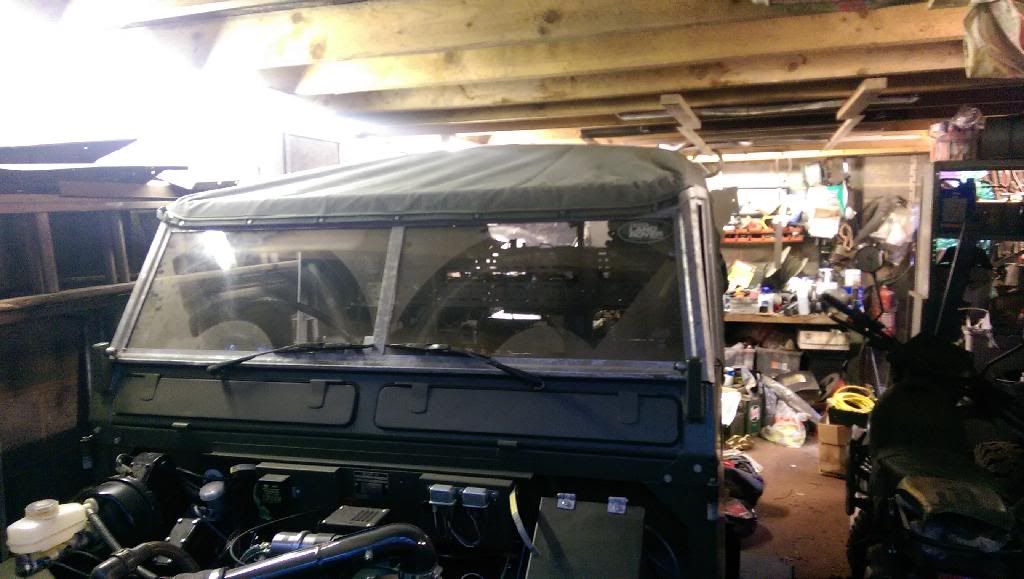
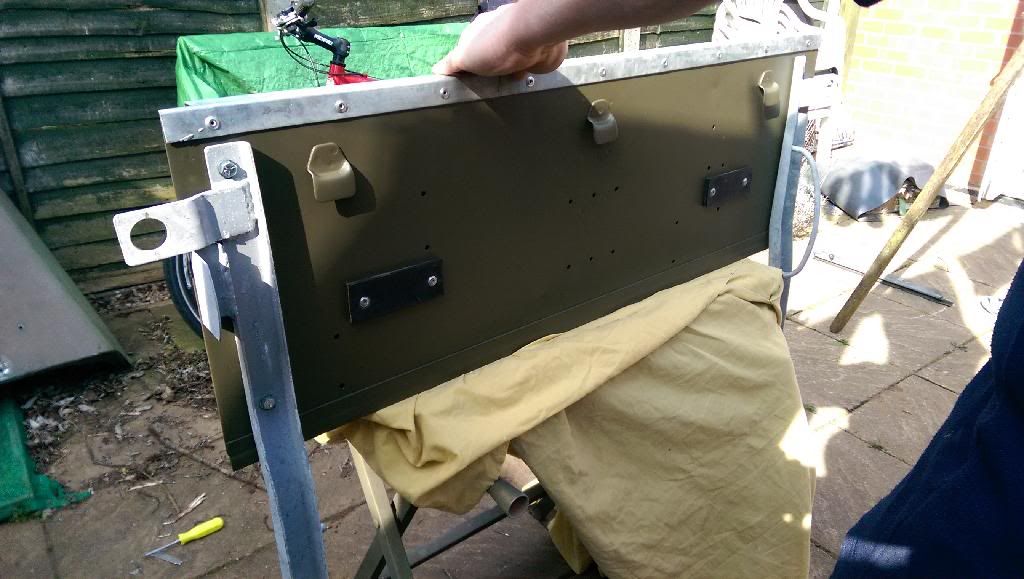
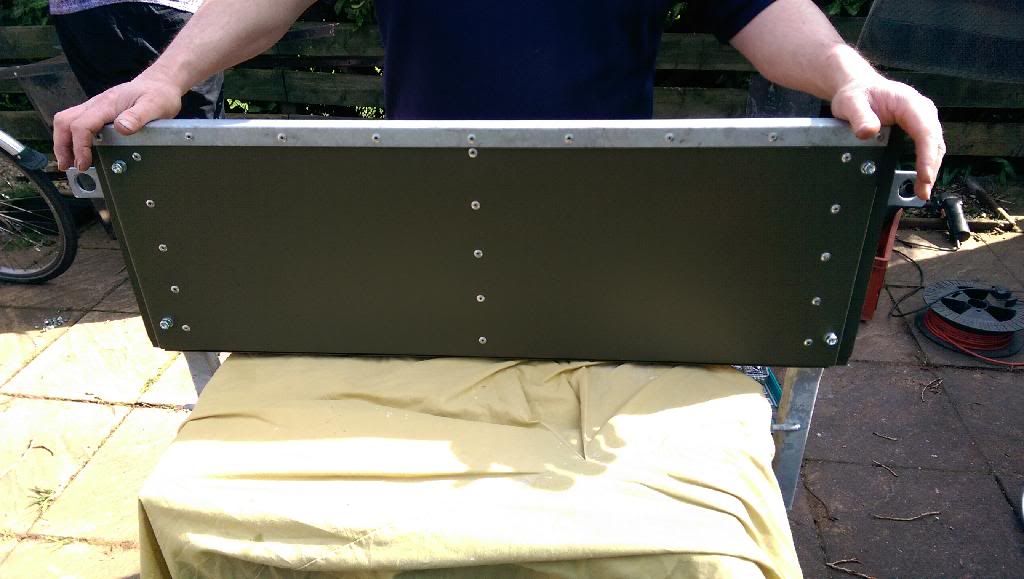
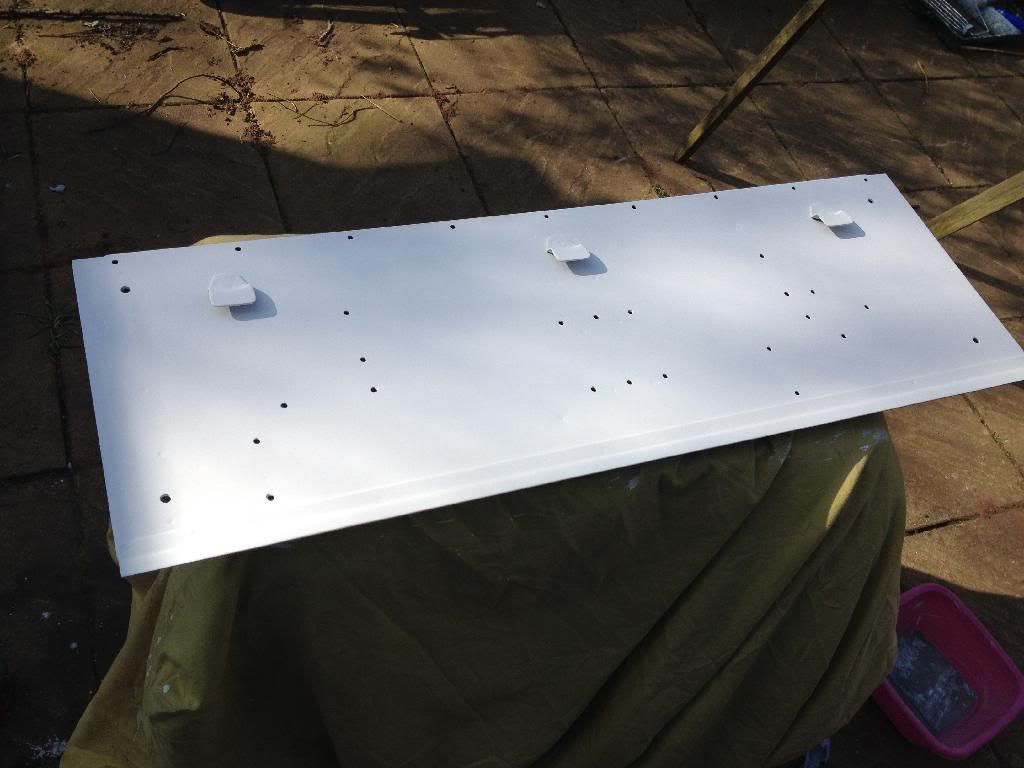
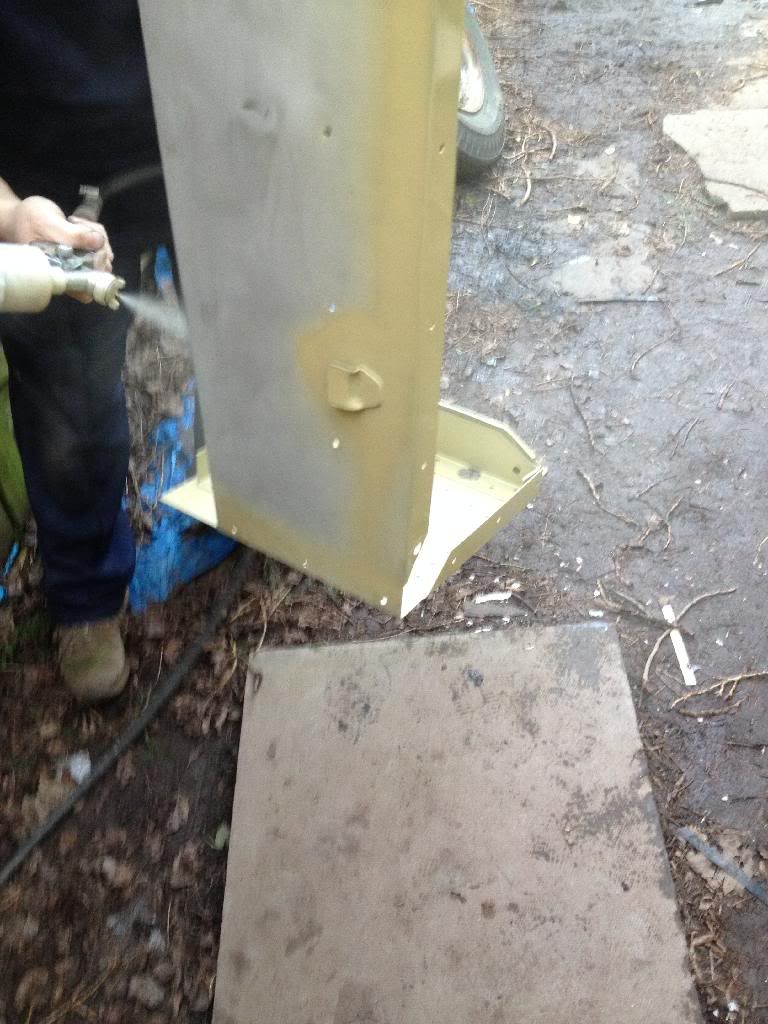
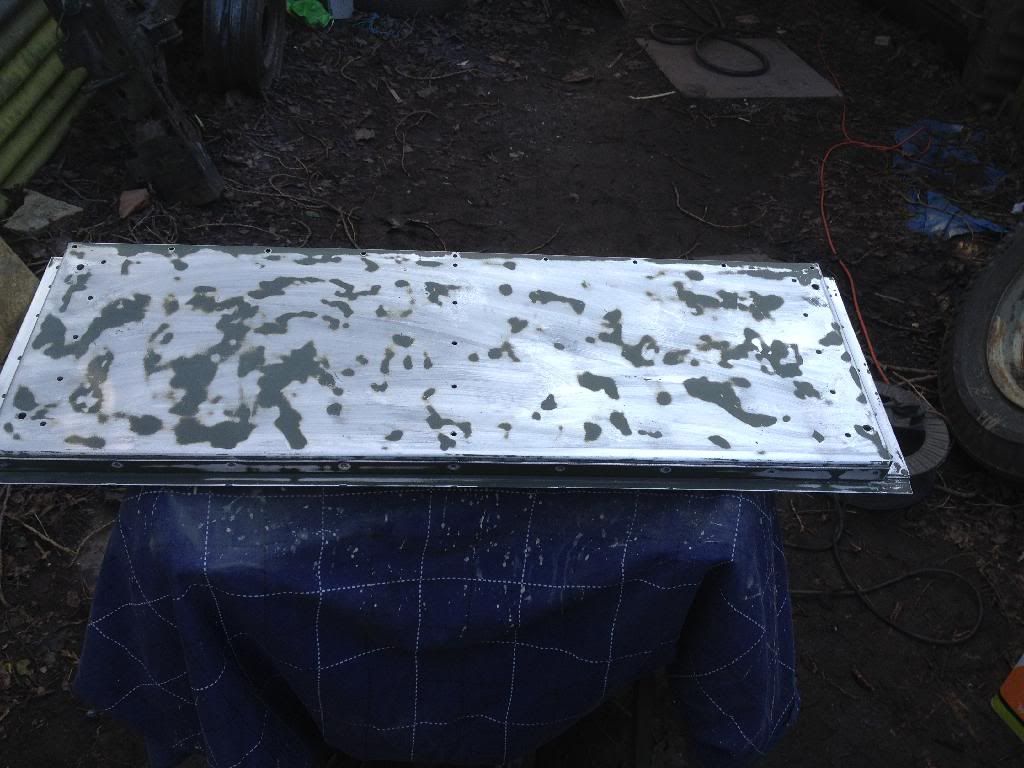
Finally managed to make some progress on the doors were pushing to get to at least one show this year so hopefully we will able to get the list of jobs we have left sorted before the end of the show season! We decided to go with new doors and door tops as pretty much all of the rest of the panels on the vehicle are original and the doors that were on the vehicle before had rotted out on the bottom and needed re skinning.

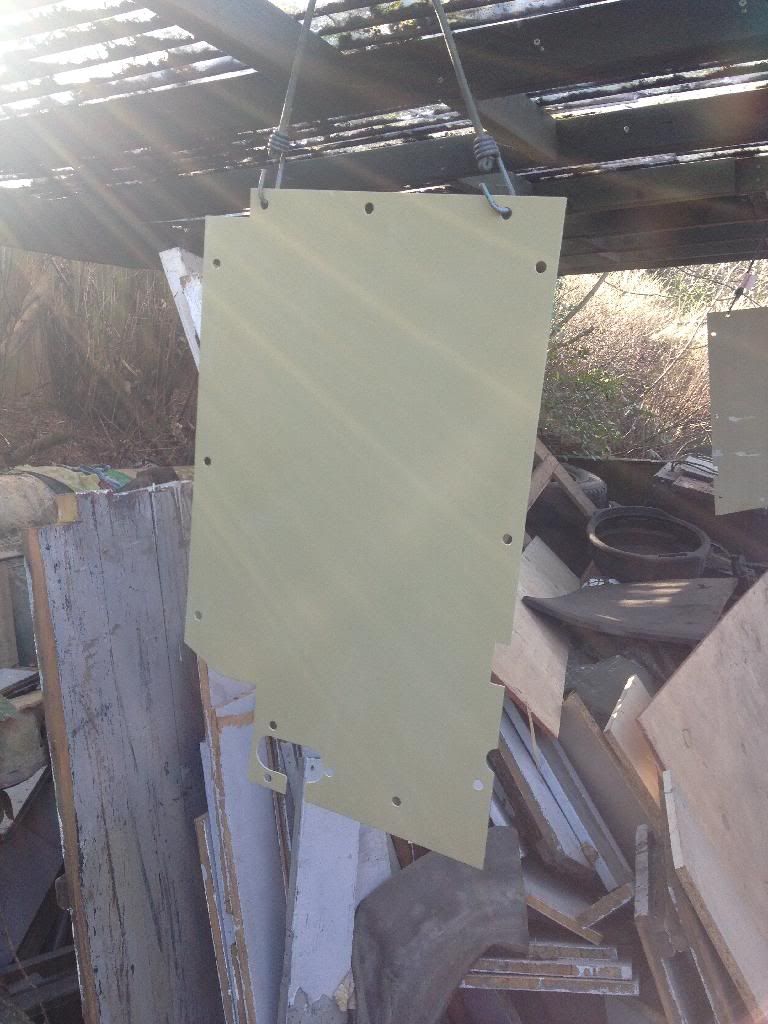
Disassembled the door tops for paint

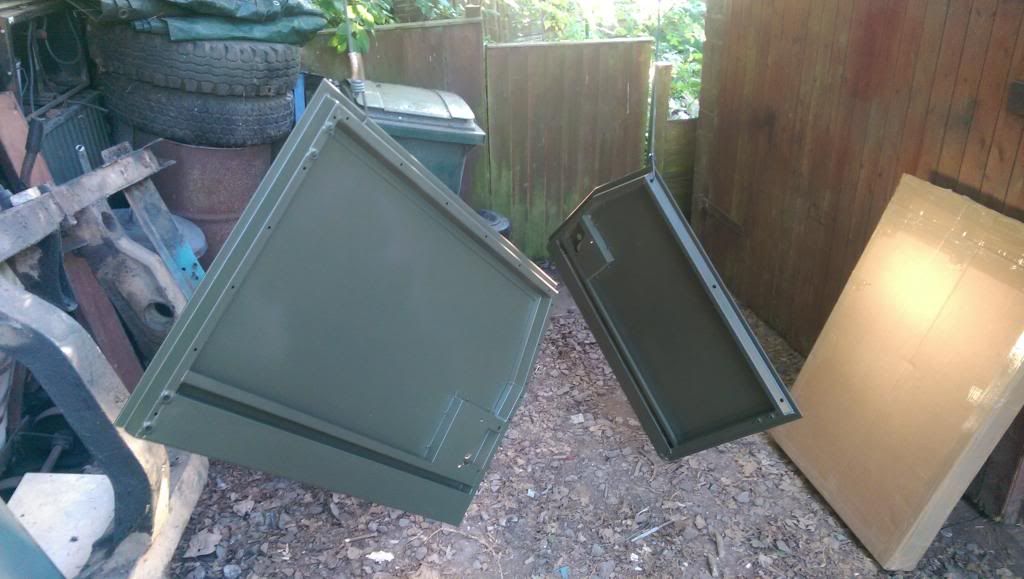
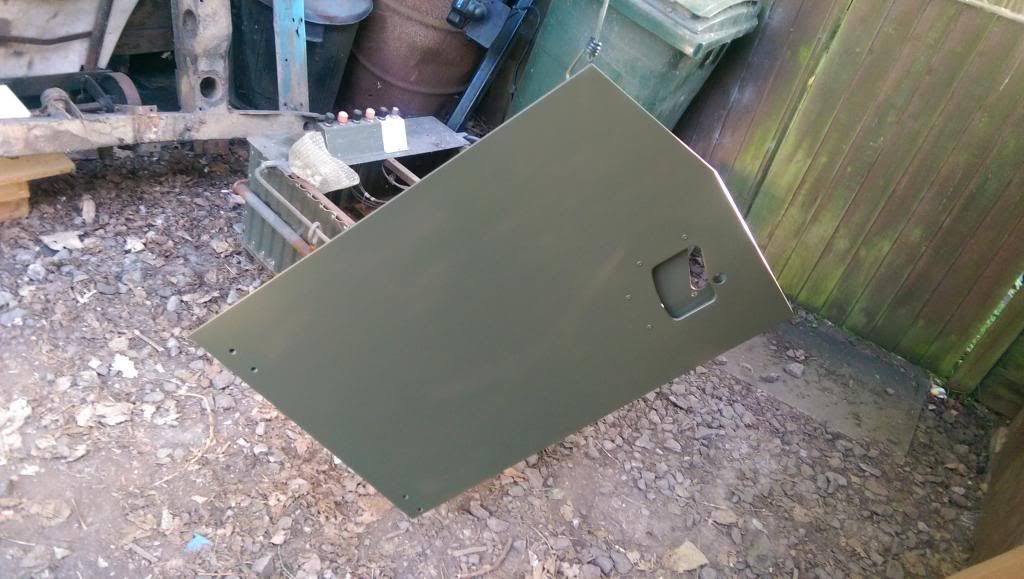 NS back together
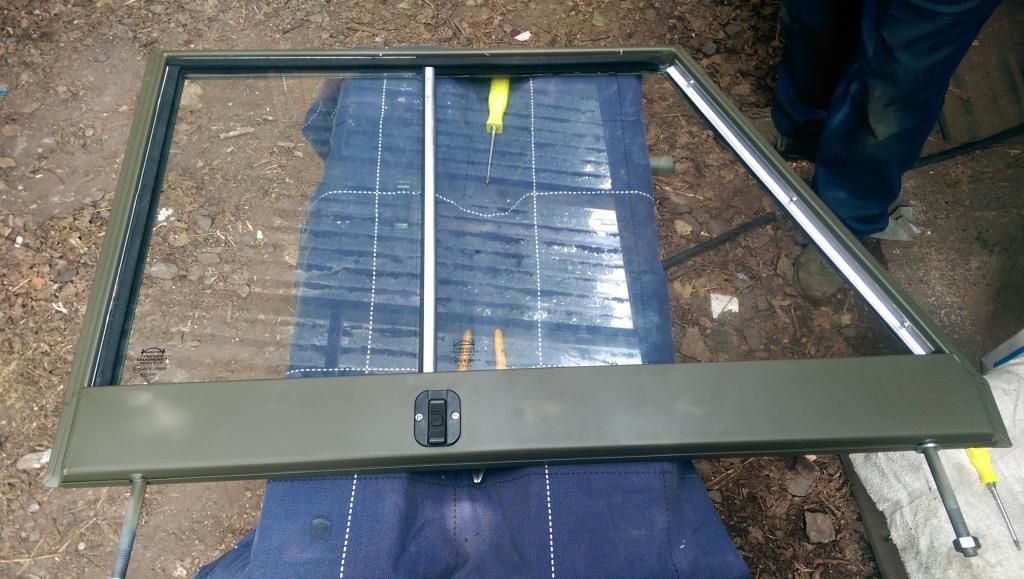
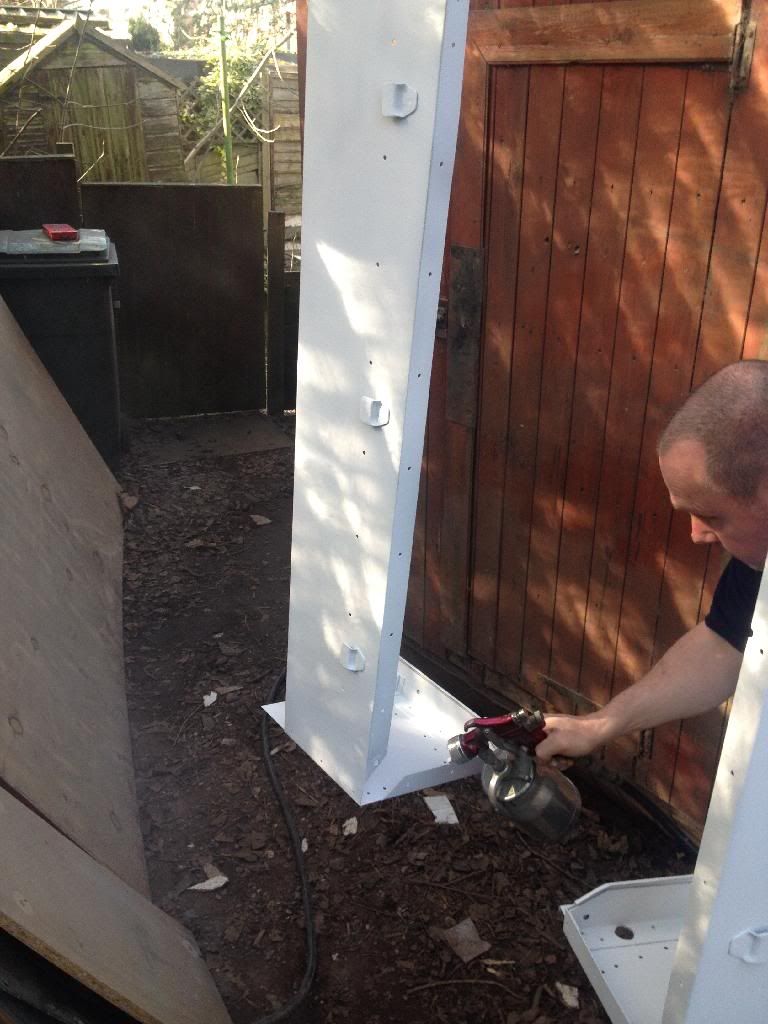
 Now for the bit we were kind of dreading, re fitting the doors! Luckily it went on with only some slight adjustment and seems to fit quite well, all be it without seals yet!
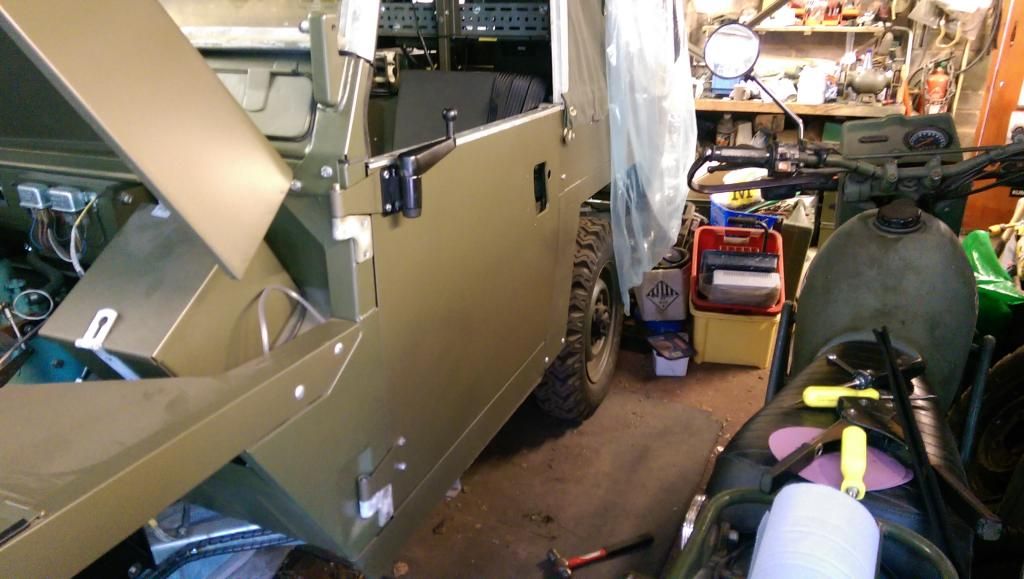
 Next were onto the other side and then door tops and the rest of the list!!!
 -
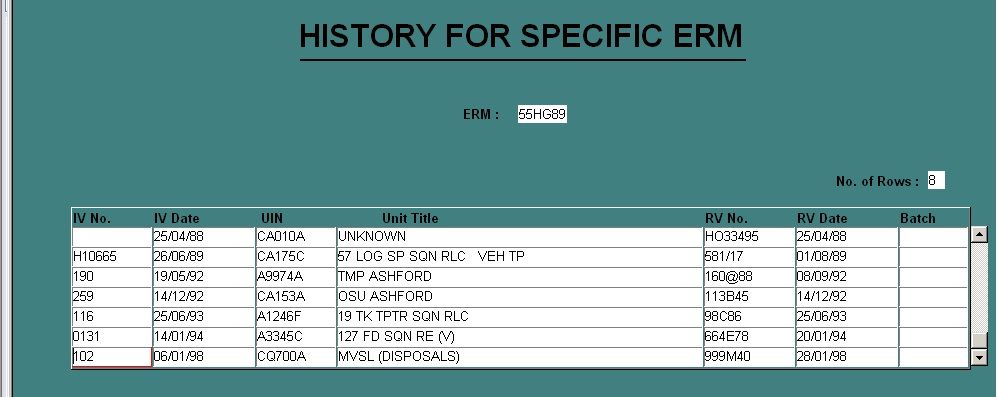
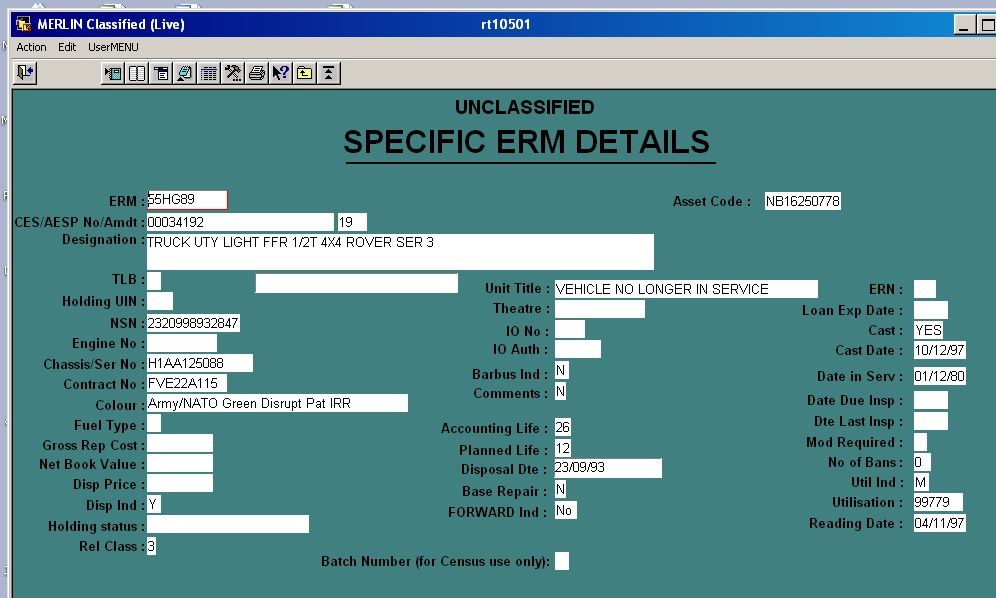
Hi All
Got this info today using a FOI request, any detail on the unit codes would be very much appreciated!


-
Looking good! BTW, what is the motorcycle parked next to the landie?
Matt
Thanks WCMatt, its the next project, Jims Harley Davidson MT350
-
Hi all
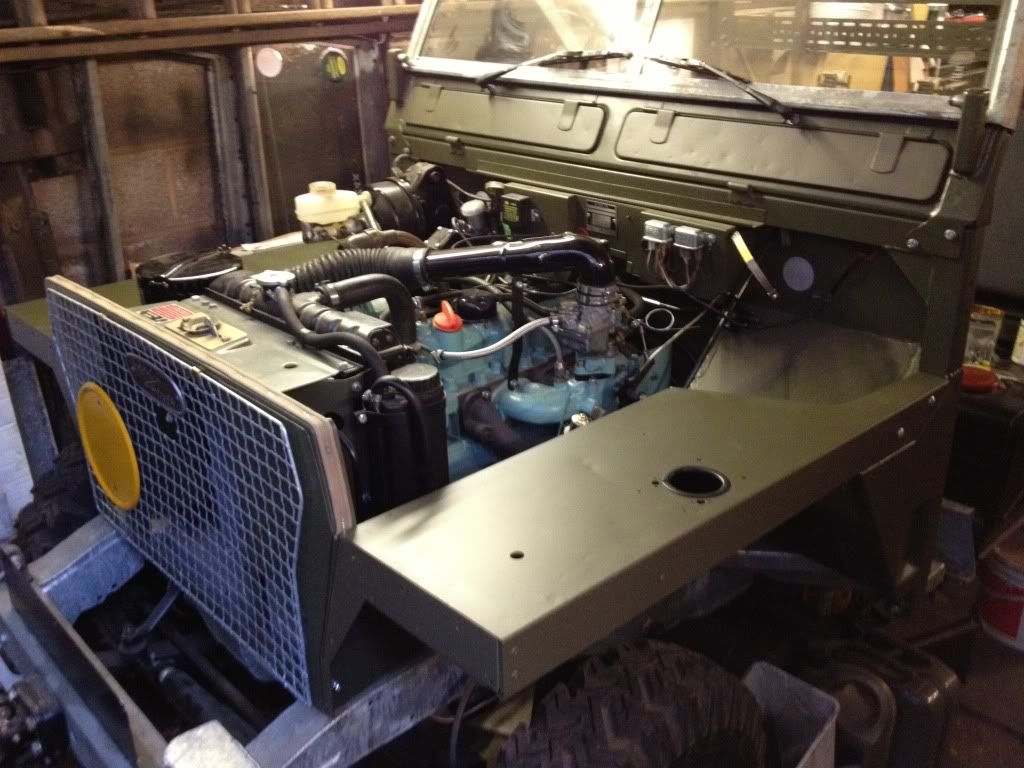
We have managed to get a bit done over the last couple of weeks so thought it was time for an update, we have decided to take some time off work this week to really get some bits back on the vehicle as were hoping to make it to the leafers at t'pit in August so time is not on our side!
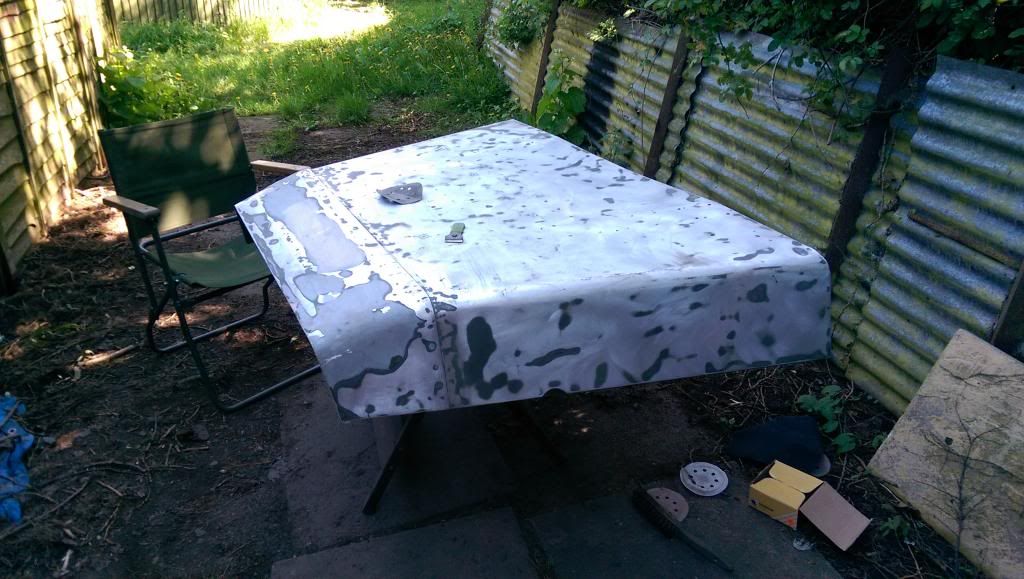
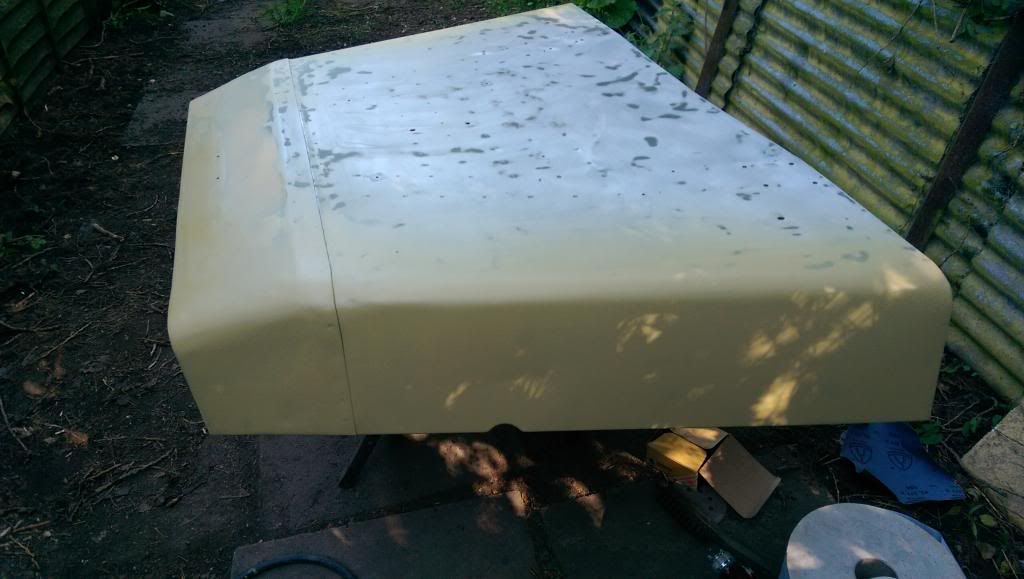
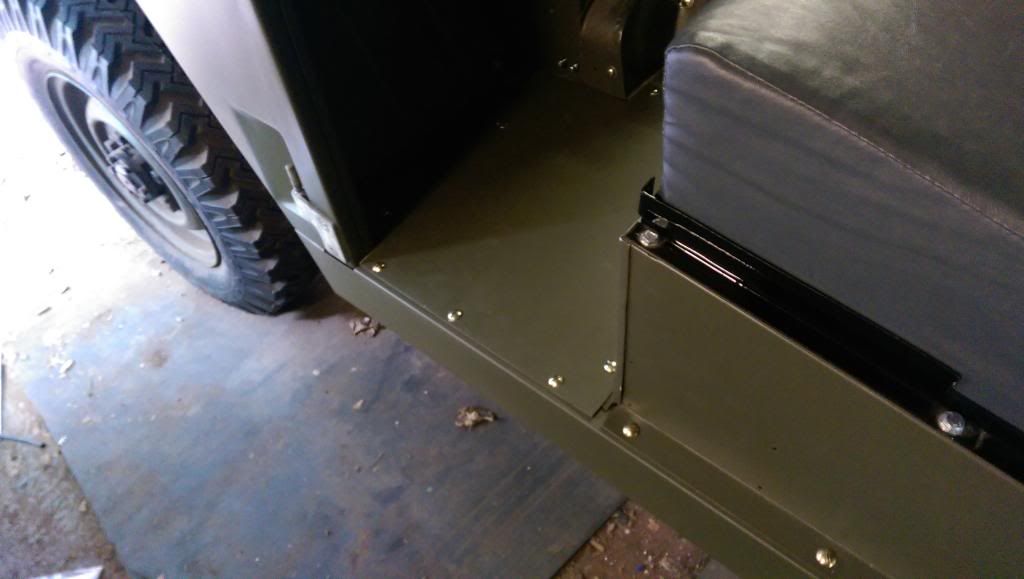
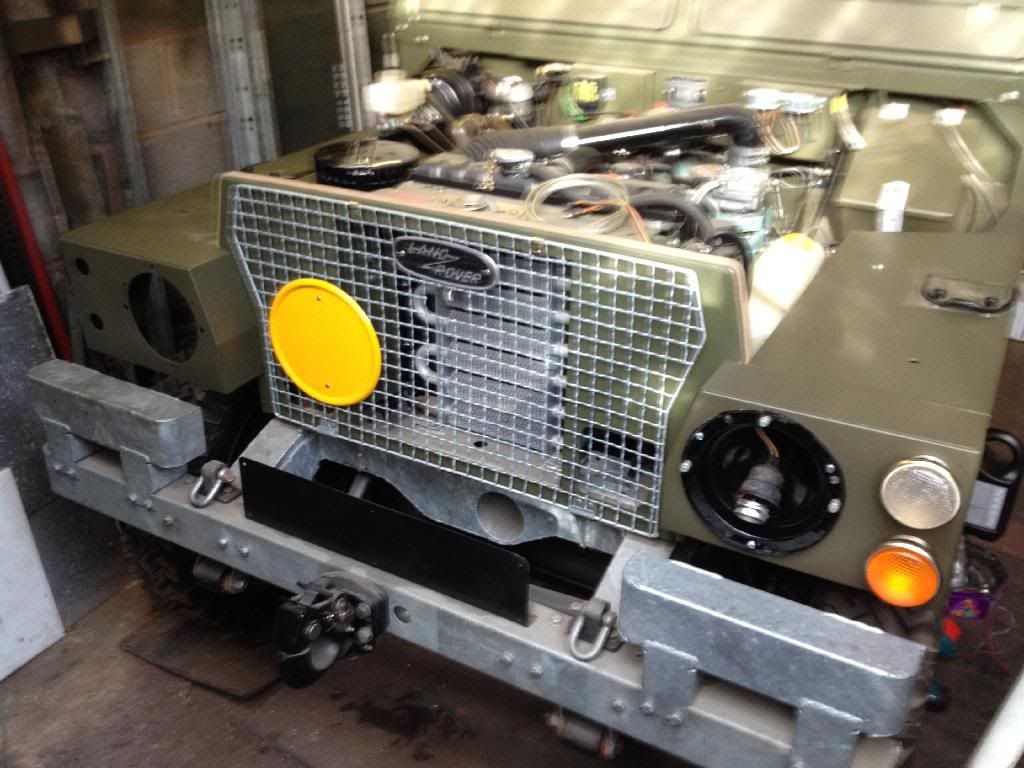
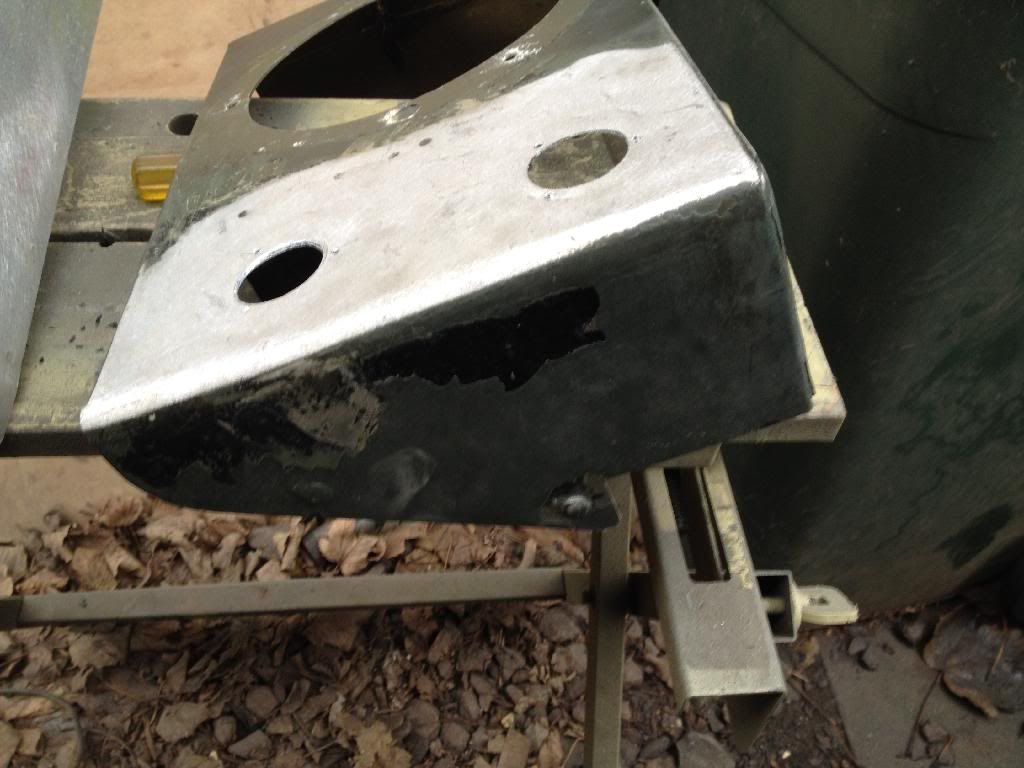
We have been mainly concentrating on getting the bonnet painted and fitted which for some reason has seemed to take ages but were finally there. Weve also managed to get the O/S floor, sil and TUAAM boxed fitted!


-
The amount of time I spent on these machines, seeing one in this condition is a sight for sore eyes, well done!
With all the new fitments and paint do you still get that smell of oil, petrol and canvas?
Hi Hobbit
There is defiantly a smell of oil, petrol and canvas but that could just be from Jims garage! Its always good to hear from people who have used them in the past. Did you work on them or drive/operate them?
-
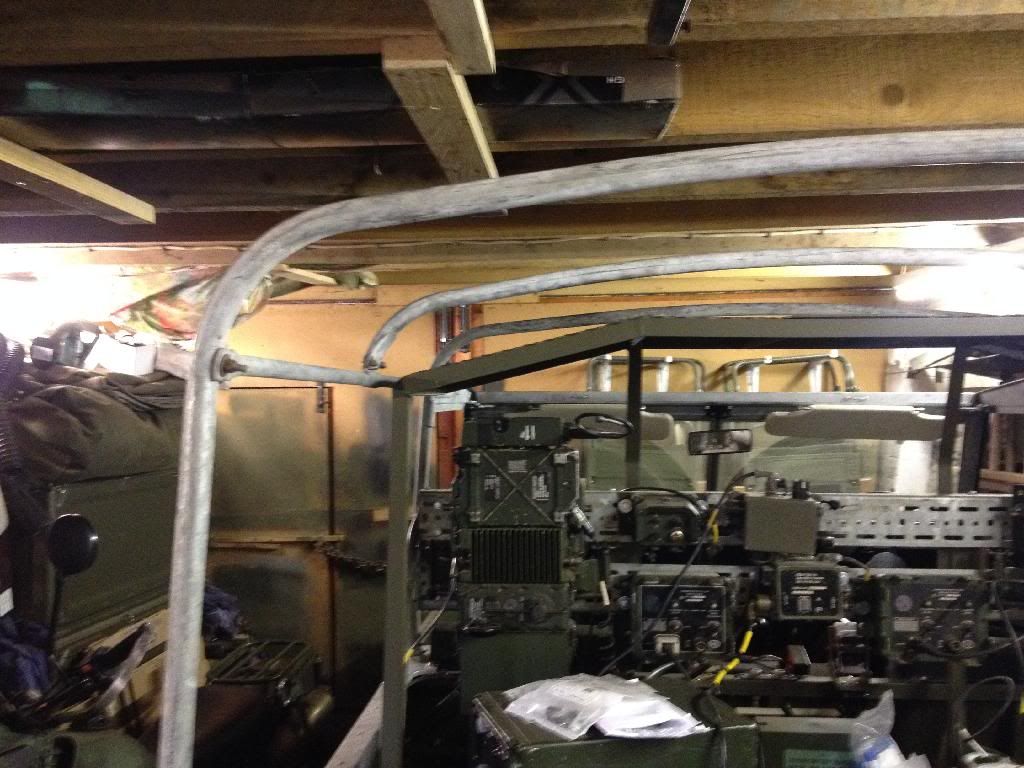
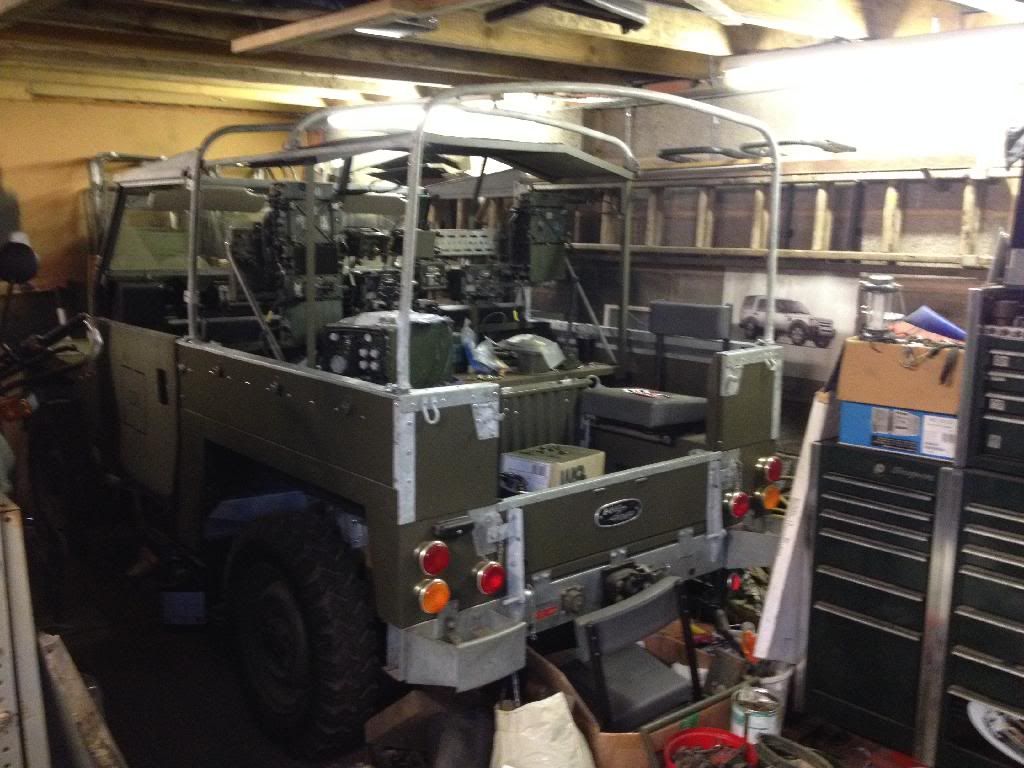
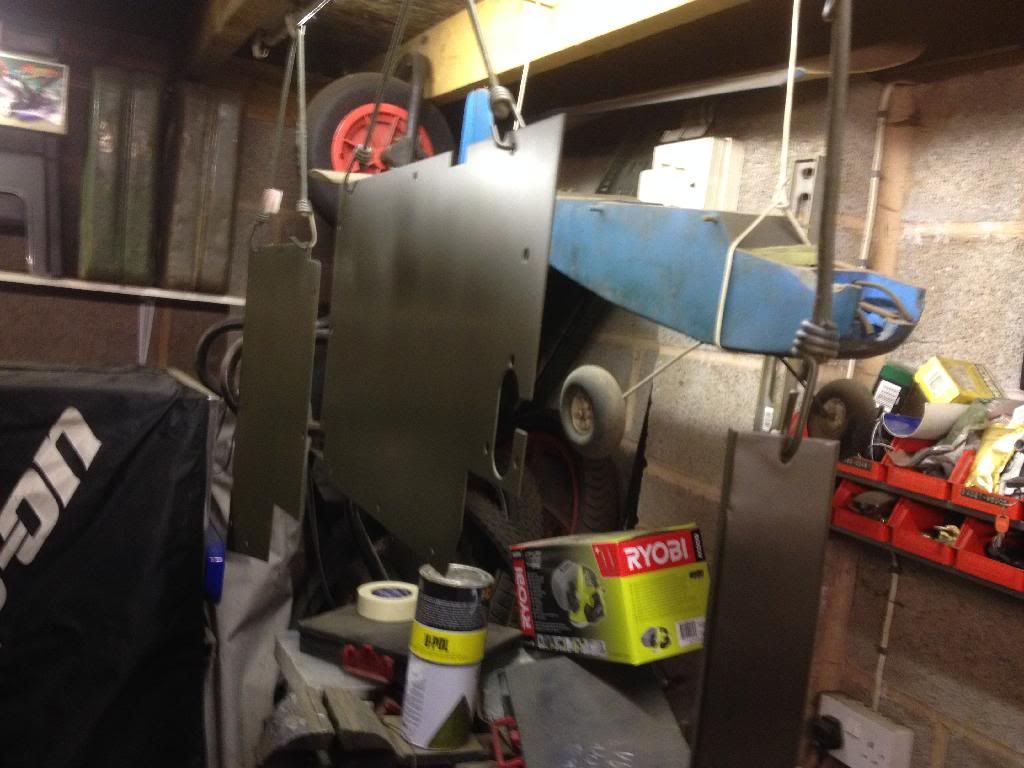
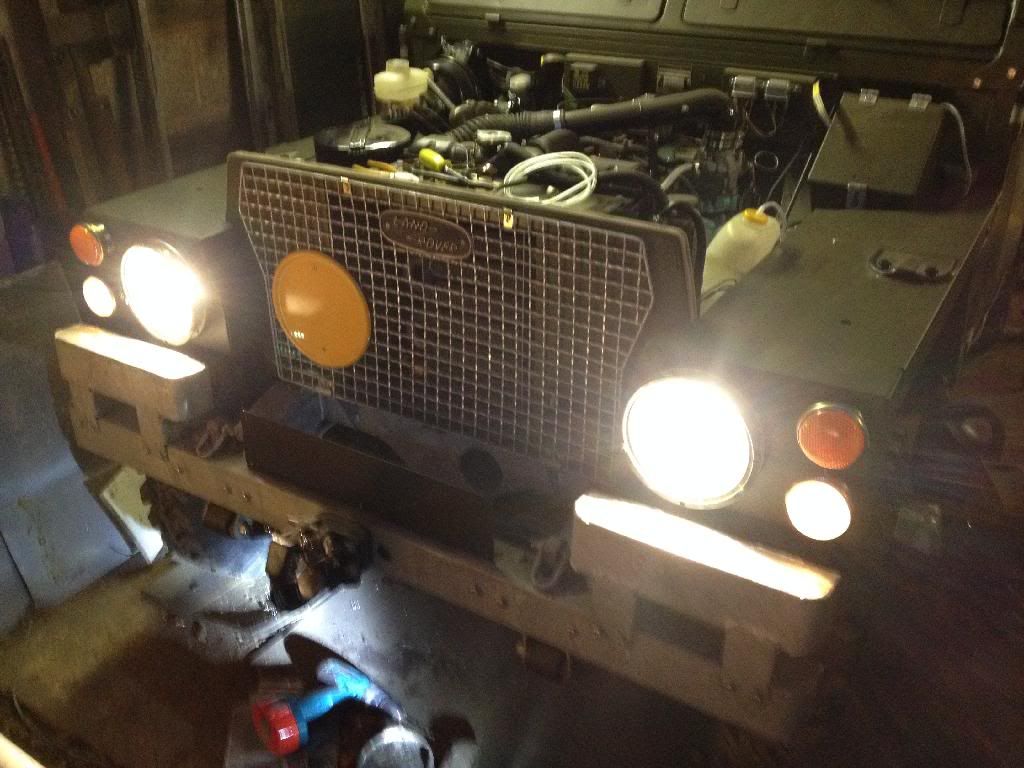
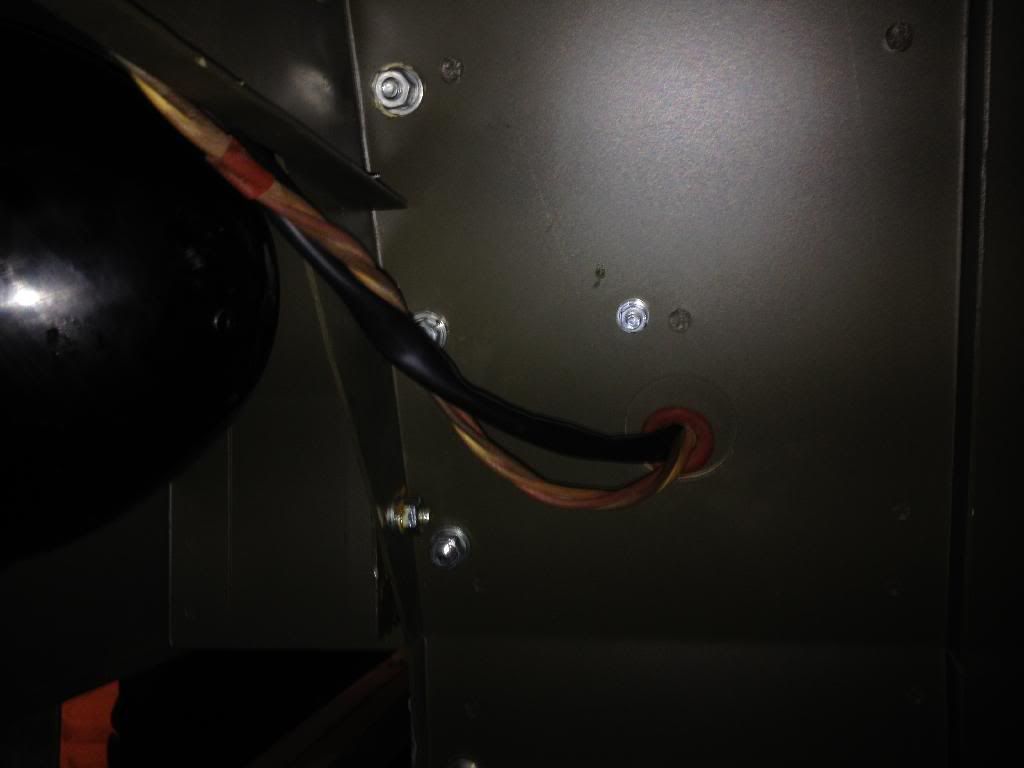
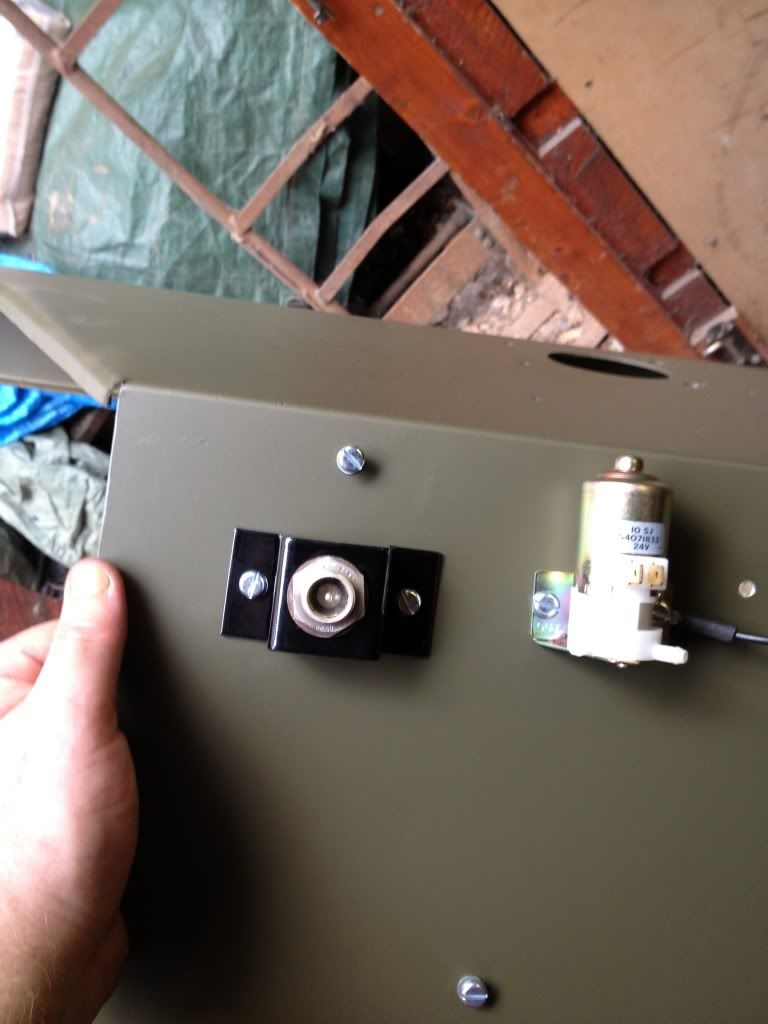
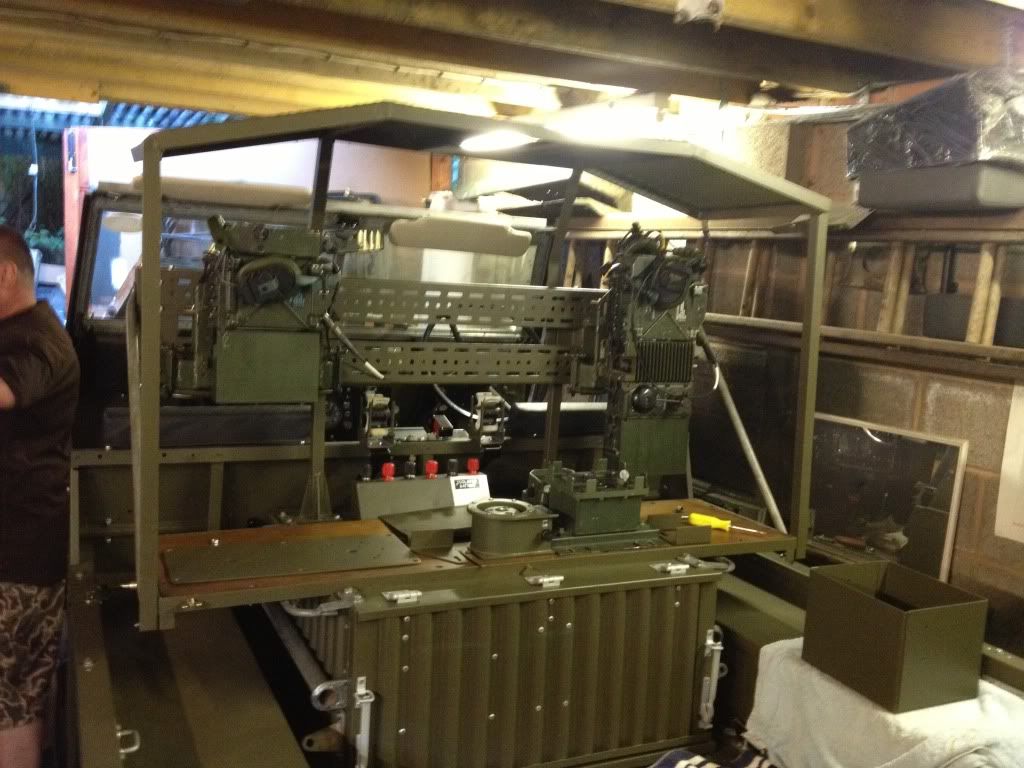
Did a little bit more work over the weekend mounted 2 penthouse lamps to the radio table and had some fun and games when we wired them up. To begin with we used what we thought was the correct cable which had a 2 pin connector one one end which we connected to the 3 way power distribution box and then a 3 pin penthouse connector or the other end. We attempted to test the wiring and for some reason we were only getting 24 odd volts at the battery with the engine running where we were getting 28V previously. As we had changed the lead that goes from the shunt box to the generator panel recently we suspected that there was an incorrect connection somewhere on that lead so started to fault find. Turns out that the issue was caused by the penthouse power cable which was not wired as we had thought! Lesson learned never trust a cable is correct again!
After all that let there be light!
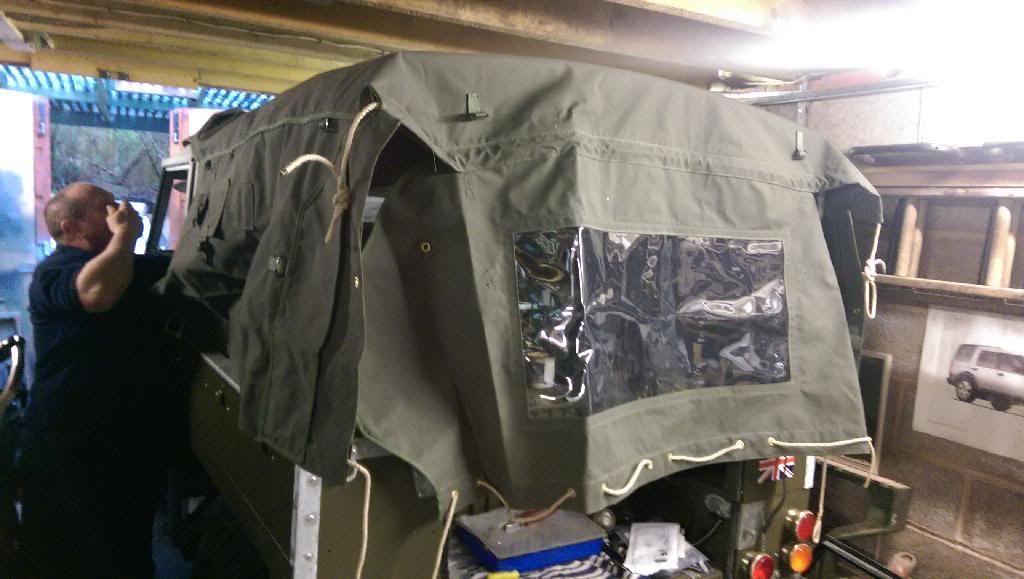
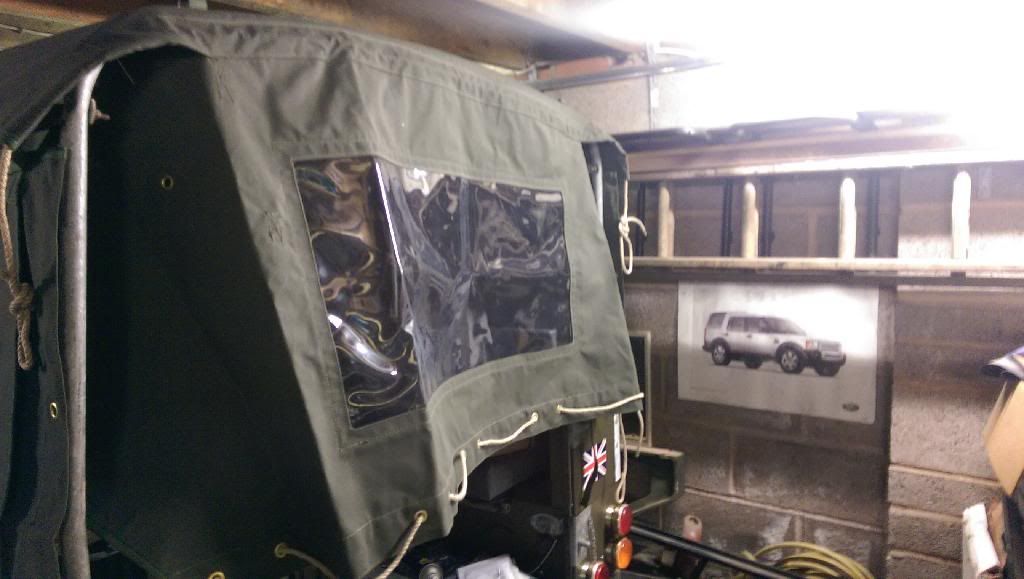
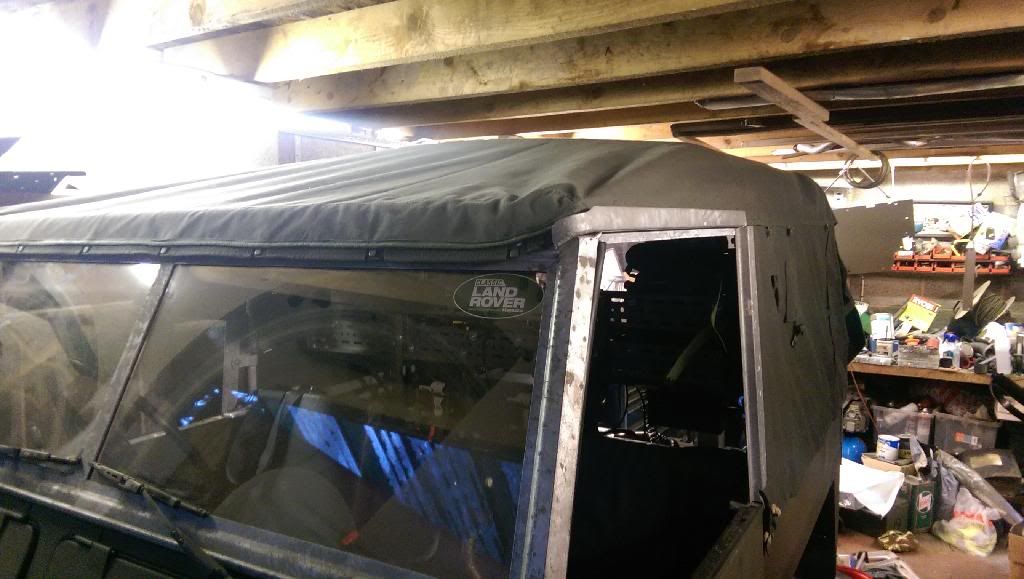
Nice new tilt from Undercover Covers
-
-
Congratulations for that excellent restauration.
I finished a restauration of a FFR Lightweight IIa in 2009 with Dexion radio rack and Larkspur radios. One thing I couldn't find out was where and how to fix the horn. I think it's at the bracket of the air filter but I've also seen some photos where the horn was fixed on the right side of mask.
How did you do it?
Daniel
Hi LightLandy
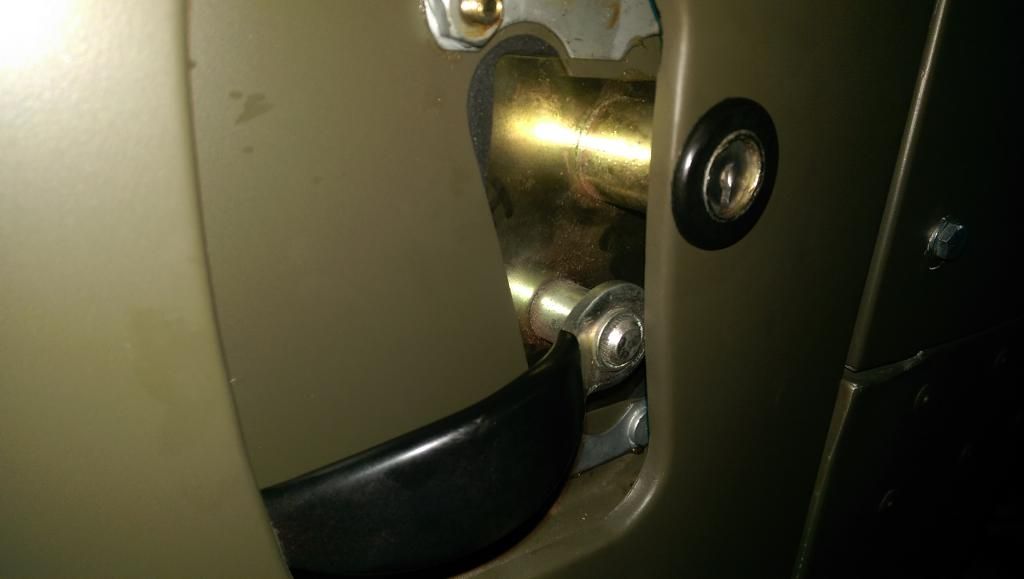
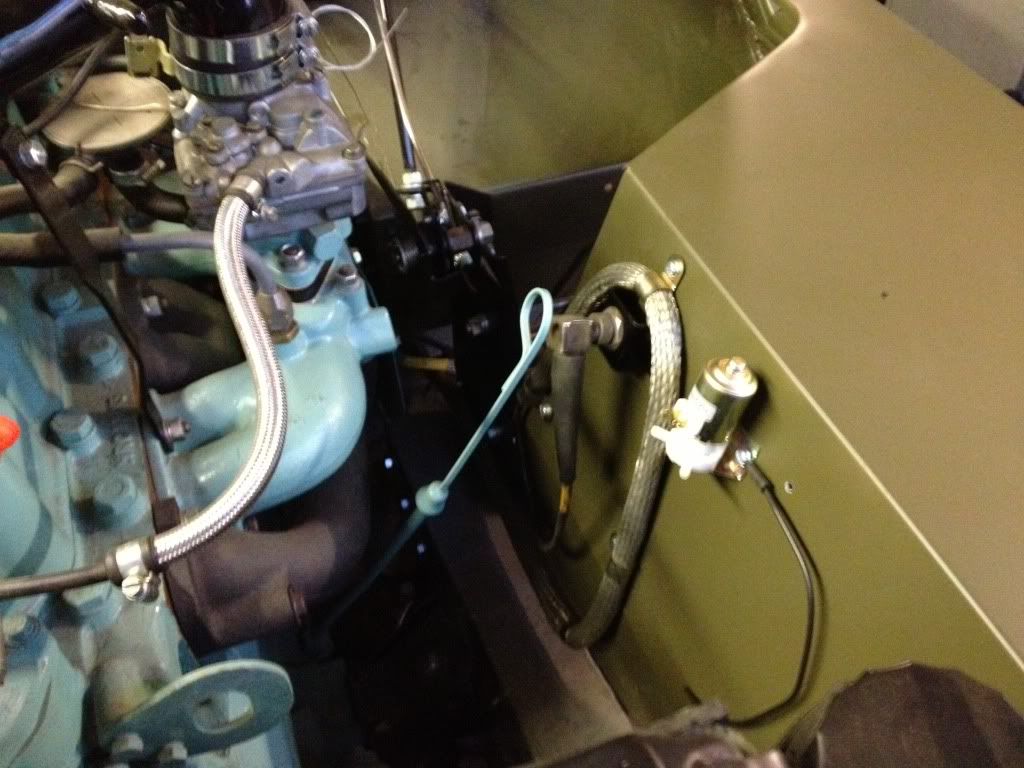
We have seen a few methods of mounting the horn, when Jim got the vehicle it had an incorrect horn that looked like it came of a truck of some sort. It was on a triangular shaped bracket on the front panel and was on in the middle with the oil cooler. We decided to mount it on the inside next to the air filter as we have seen a lot mounted this way and it just seems a good place to put it.
Here are the holes that we mounted it to
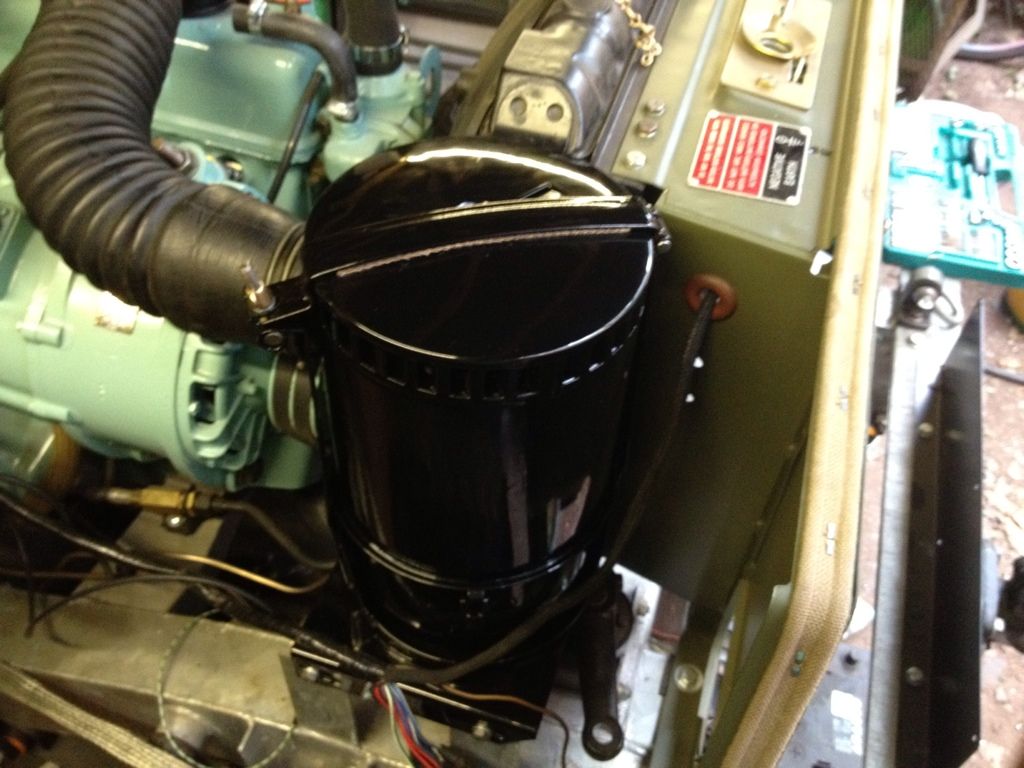
Dont have any photos of the actual horn itself, will take a picture on Saturday and share it
-
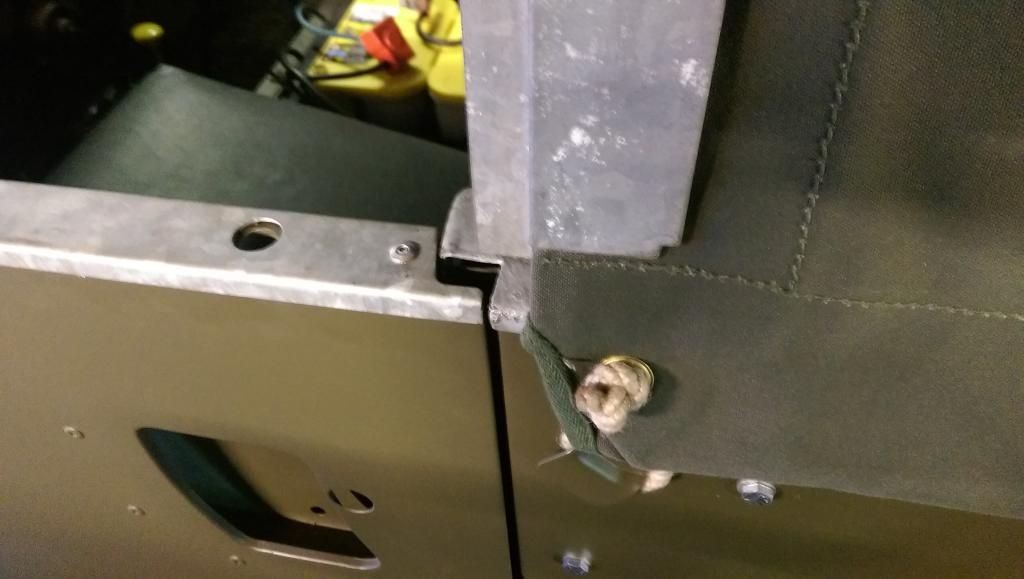
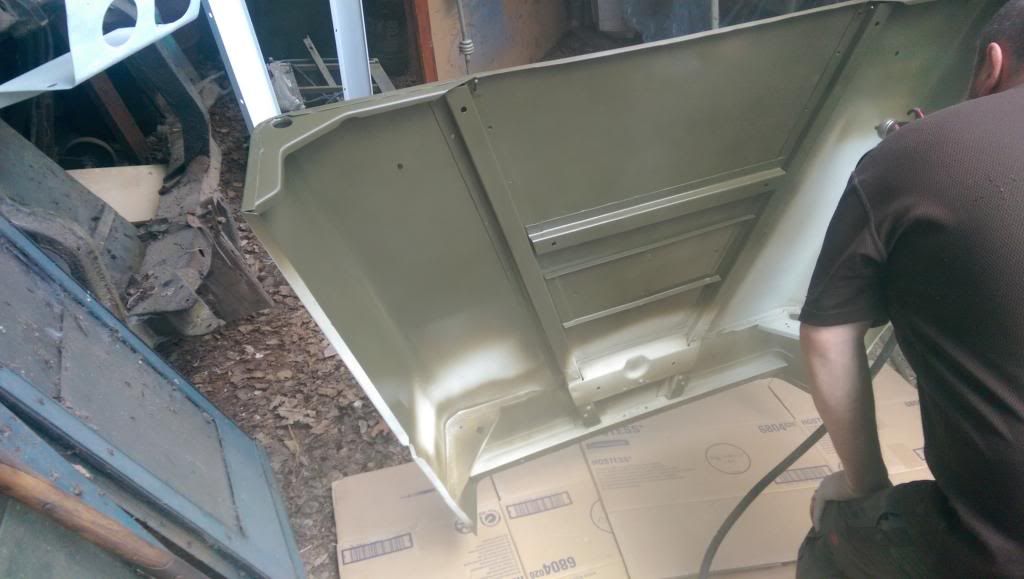
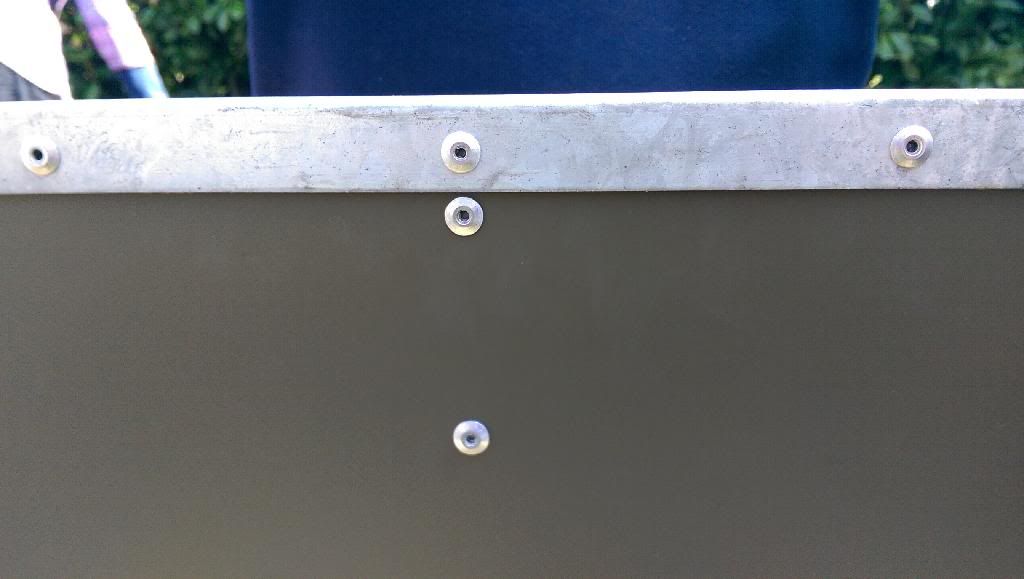
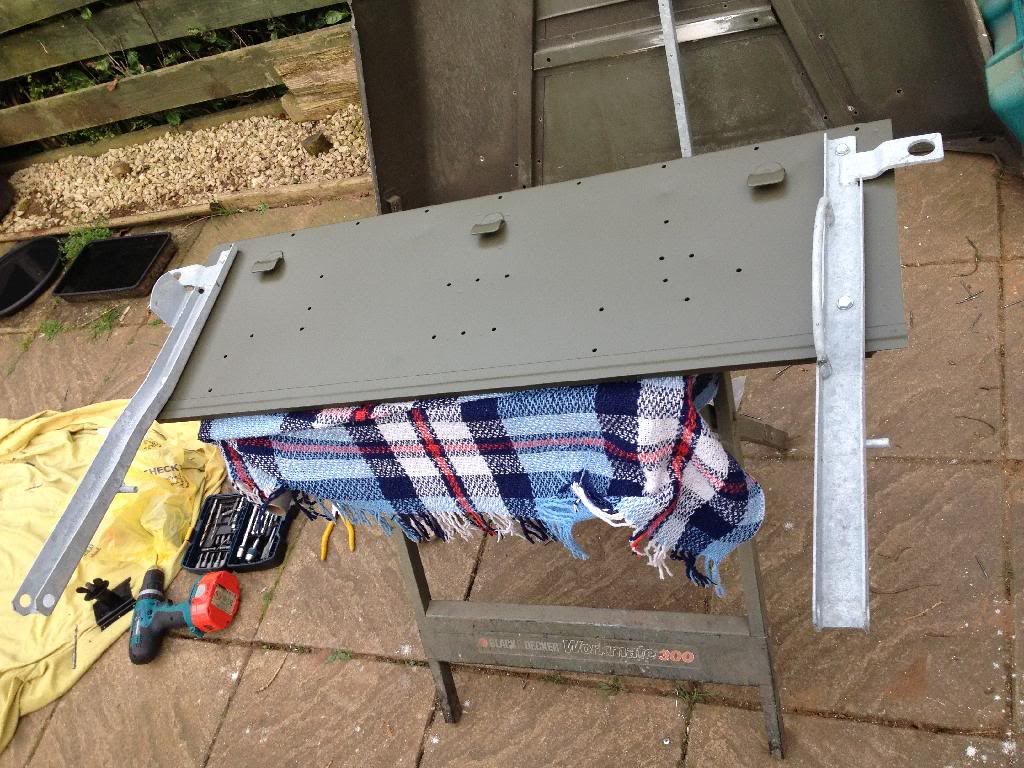
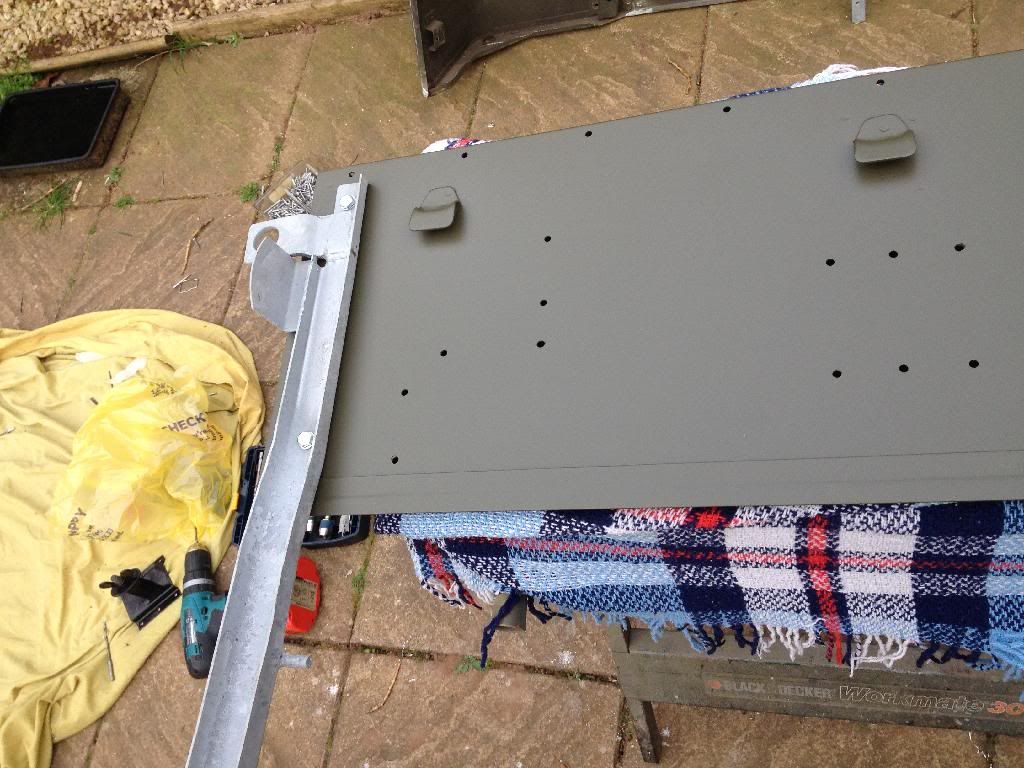
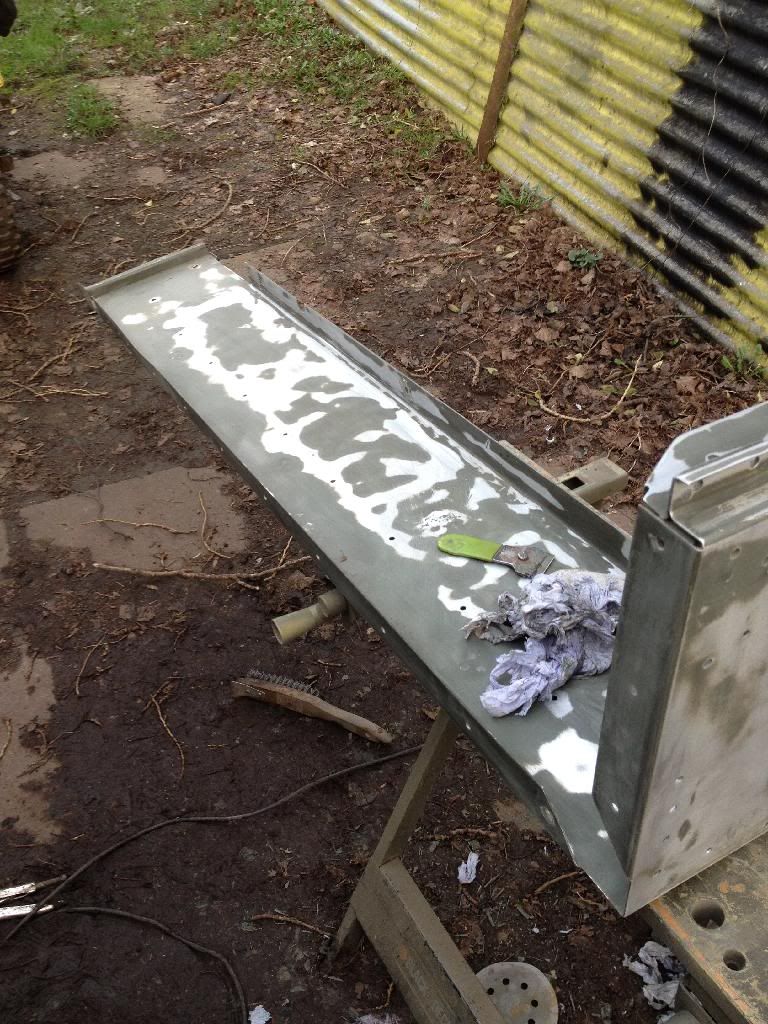
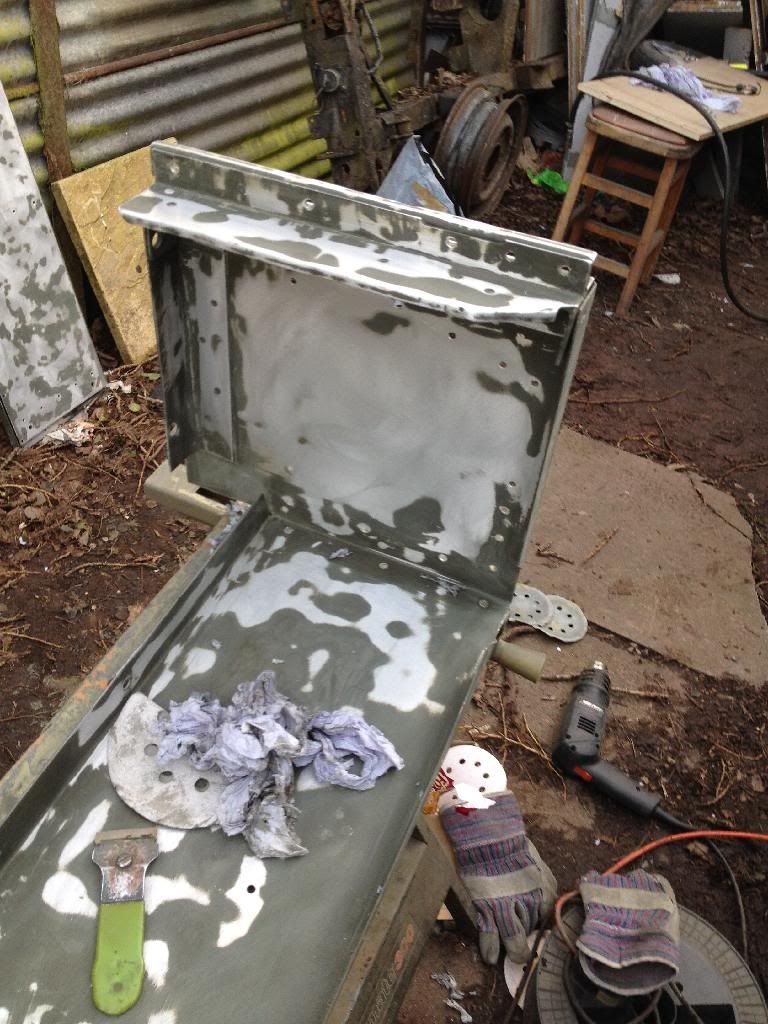
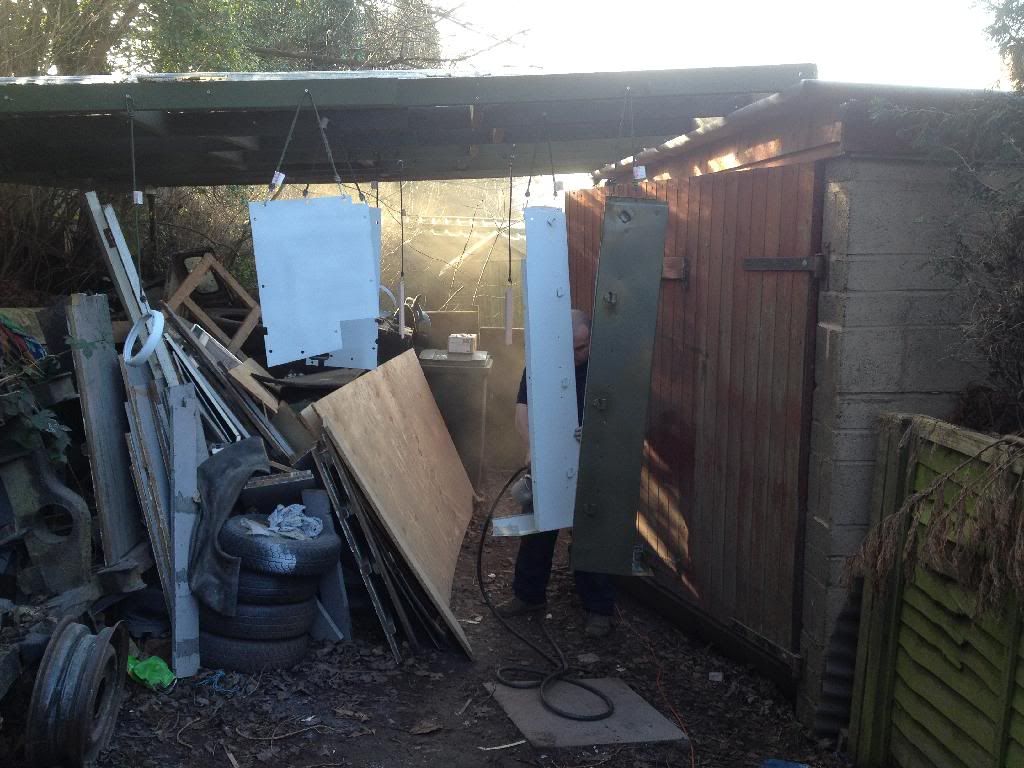
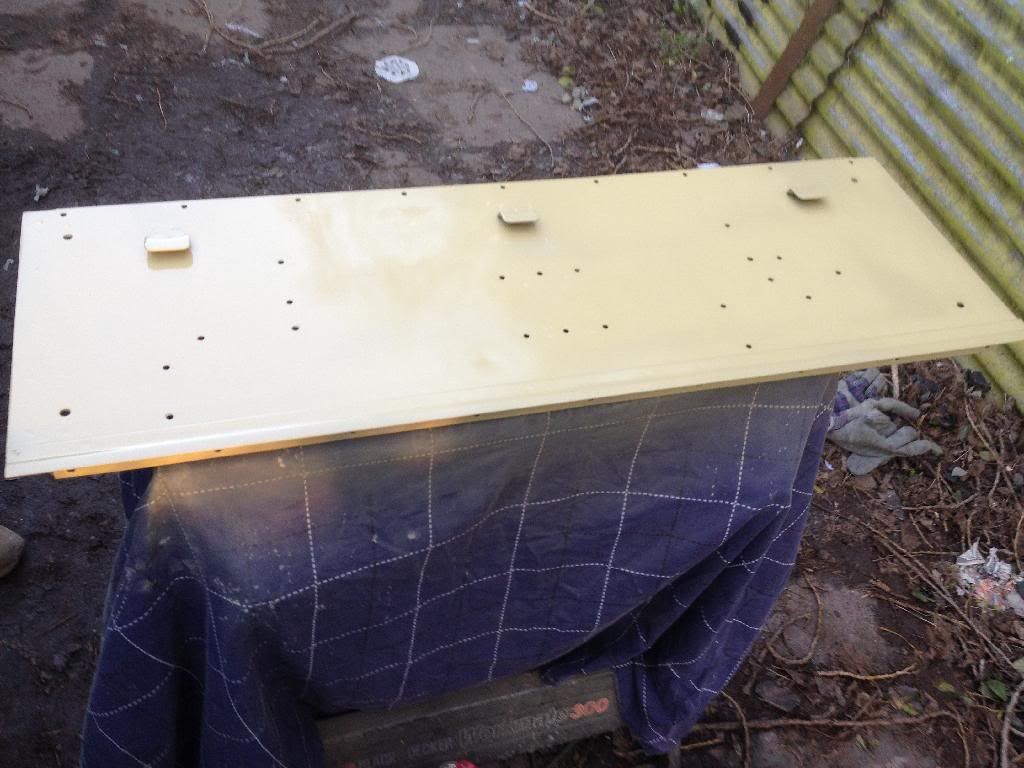
Did a bit of work on the upper tailgate yesterday needs some slight adjustment and the seals putting on. To be honest Im really glad its done as I think its the last time I will have to rivet onto painted panels! Will soon be time to do some more painting of the bonnet, doors and wind boxes so hopefully the decent weather were having holds for a bit!
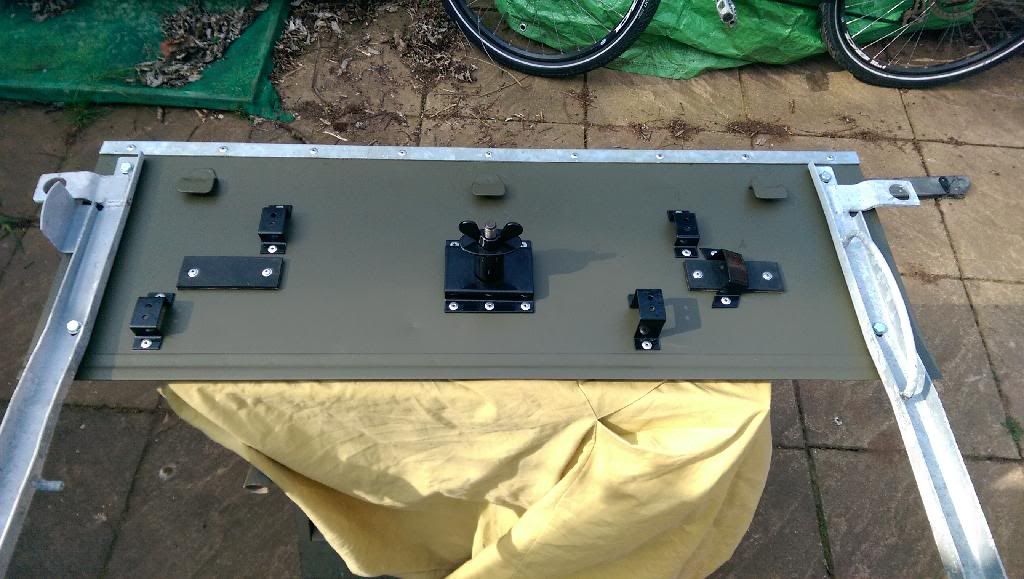
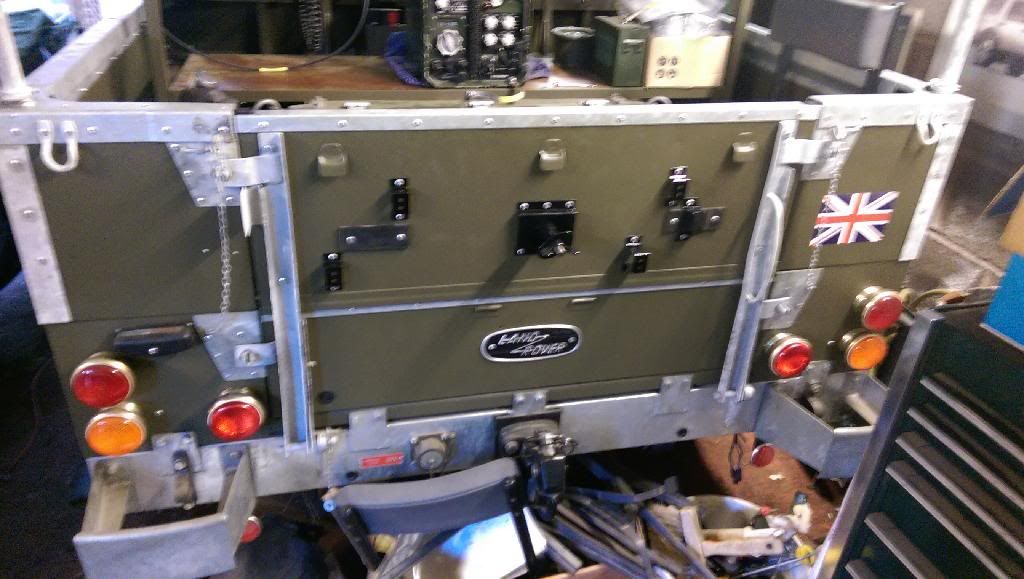
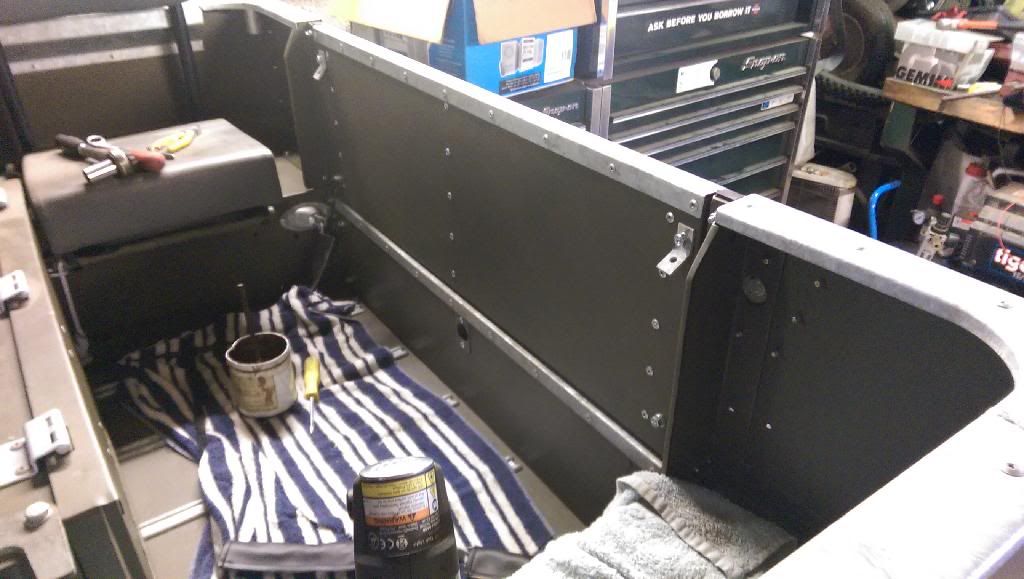
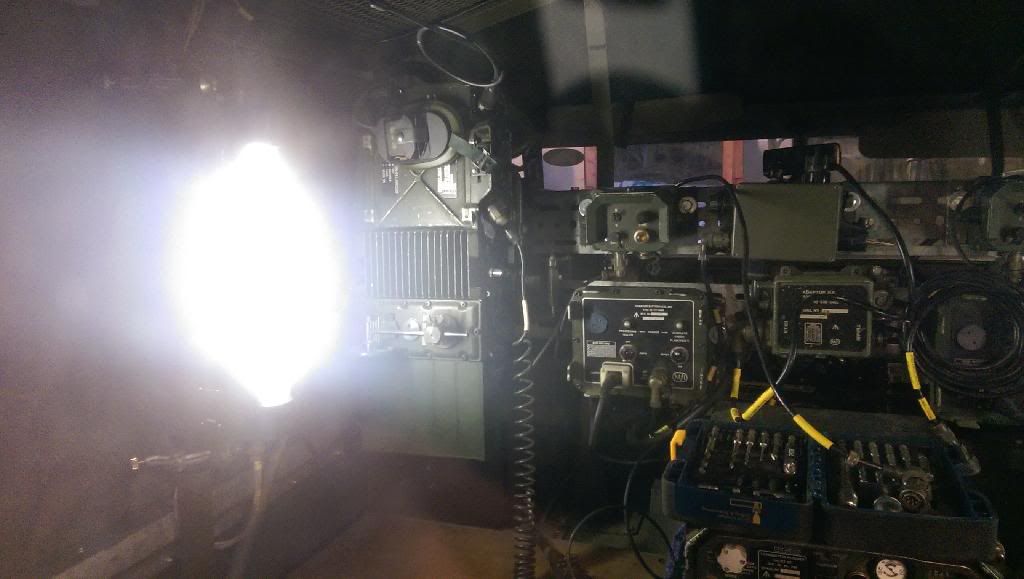
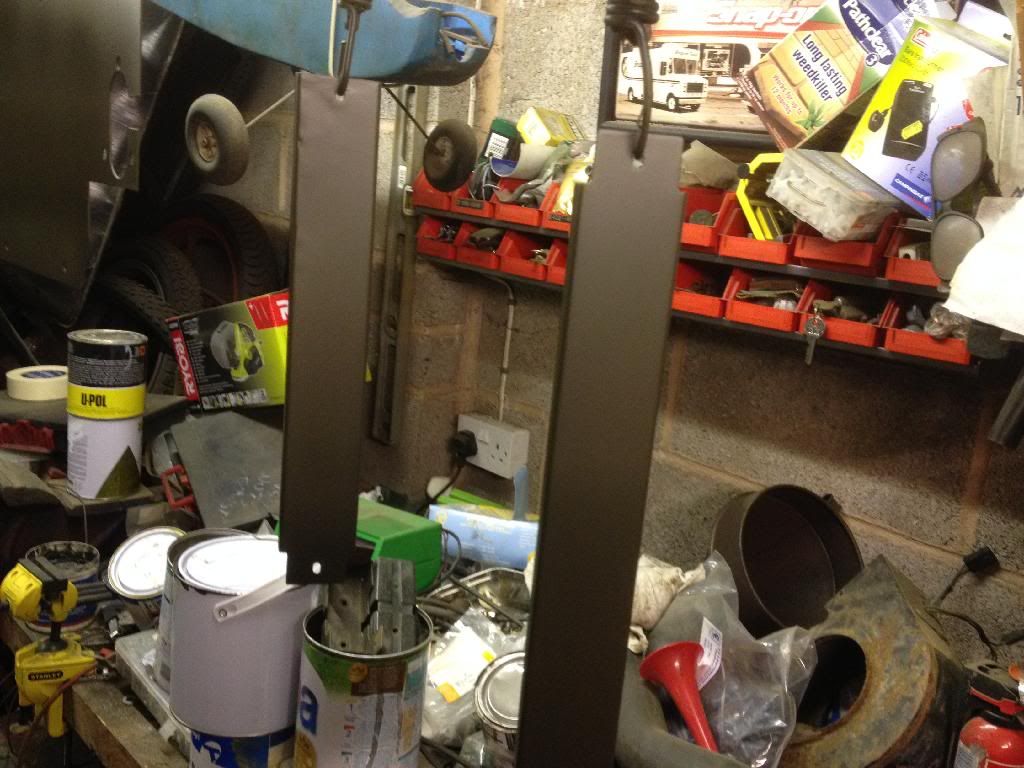
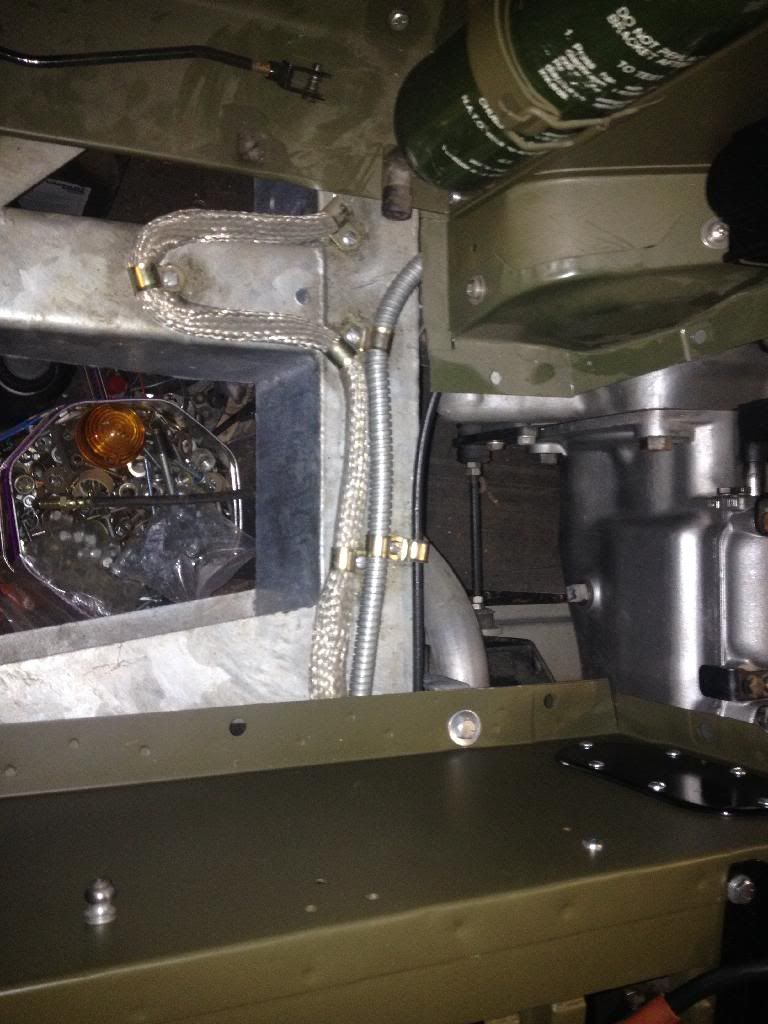
Had a bit of a tidy up of the radio table as it has become a bit of a storage area recently, still need to get hold of a couple of cables then we can get all the cables routed properly.
-
Thanks for your comment WCmatt the cappings are easy to get off but we found that the tub sides are really flimsy without them for support. There are 8 rivets on either side that go directly ontop of the painted surface, needless to say there were some tense moments after every one snapped and we check we hadnt ruined a few weeks of work! What are your plans for your Lightweight and how long have you been working on it? If you have any questions on anything you have seen above please let me know. As Ive mentioned before this forum and its members are an constant inspiration to me so more than happy to help out whenever I can as many other have helped us in the past!!!
-
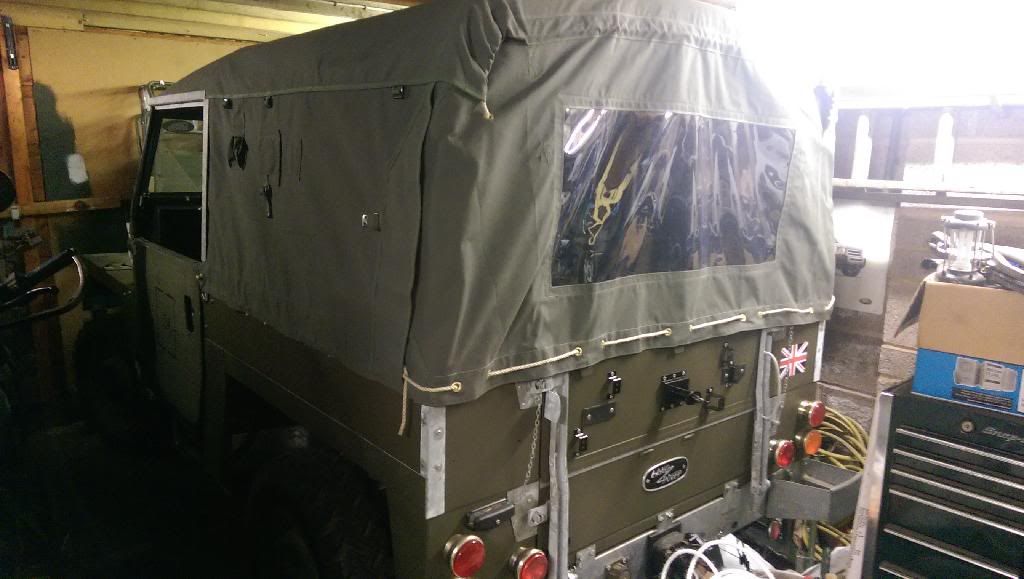
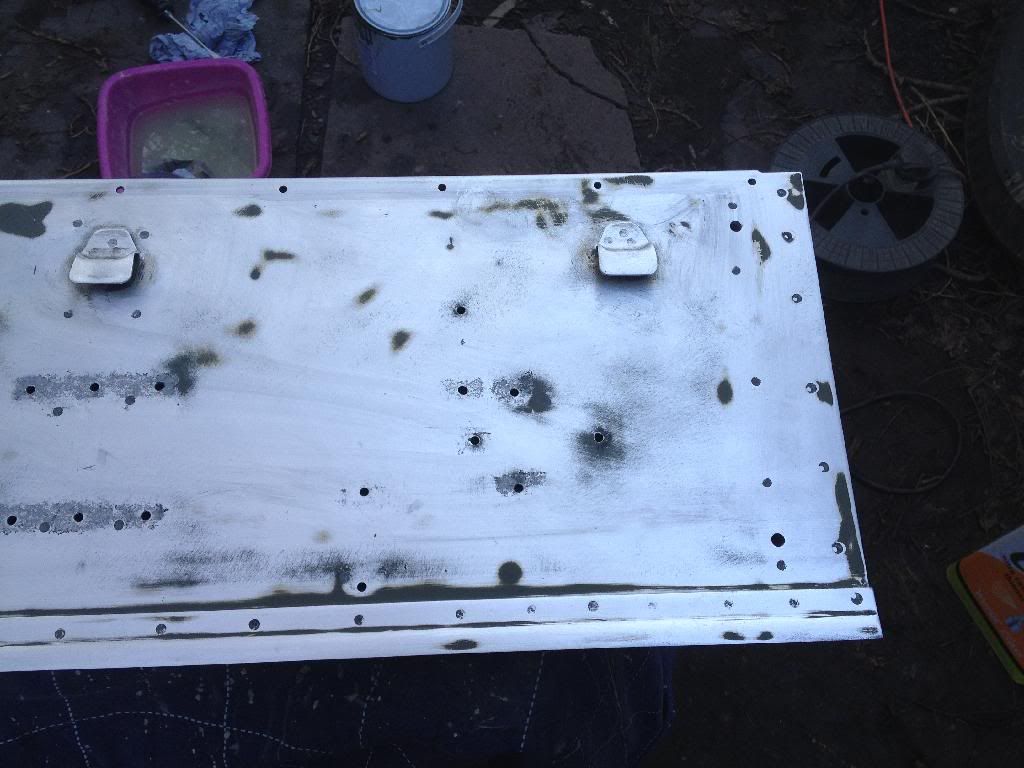
Owing to the good weather yesterday we managed to get the final coats on paint on the tub sides as well as the upper tailgate. This meant that we could get them fitted today.
We started with the tub sides and riveting on the various cappings and fixings to them. I thought a while ago when we drilled out all of the old rivets to prep the panels that it would be a pain to get them back on again without damaging the new paint, but as it turned out this was fairly easy if you are careful. The only thing I would recommend is getting hold of an air powered rivet tool as doing it with a manual tool (as I'm sure I will find out tomorrow when I start to ache!) is not ideal and you have to be so careful not to damage the new paint surface.
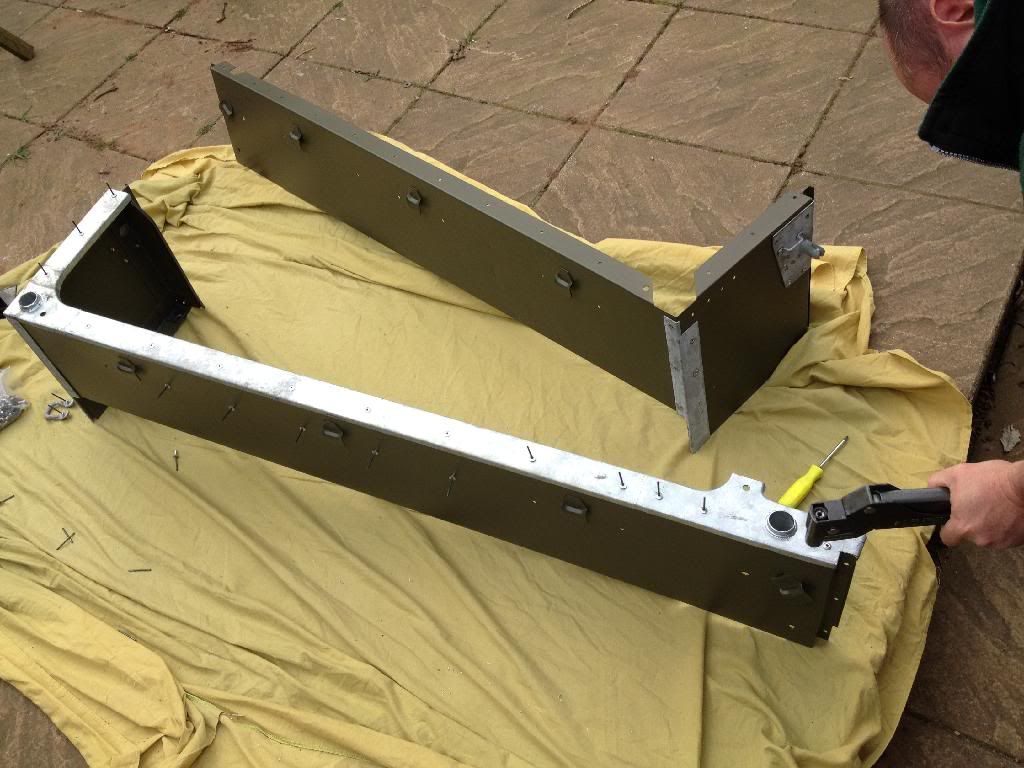
We also managed to get the hood sticks on and mostly bolted up
And then the tailgate! Tho pretty sure the screwdriver holding it on at the min is not a standard Lard Rover part as i cant find a FV number on it anywhere! :-D
Next we need to get the tailgate cappings and the Pioneer tool fixings on, I've counted another 59 rivets to get that job done!!!
-
We have been looking at trying to get some painting done recently as as we have had a nice dry and even warm weekend we decided to try to get as much done as possible!
Hoping to get some of it fitted soon will be nice to get the cappings back on the tubsides and get them fitted back to the tub, they have been off it for a long time now. Once there on we can fit the NOS hood sticks and then the tilt!
-
Great, thanks again for your help!
-
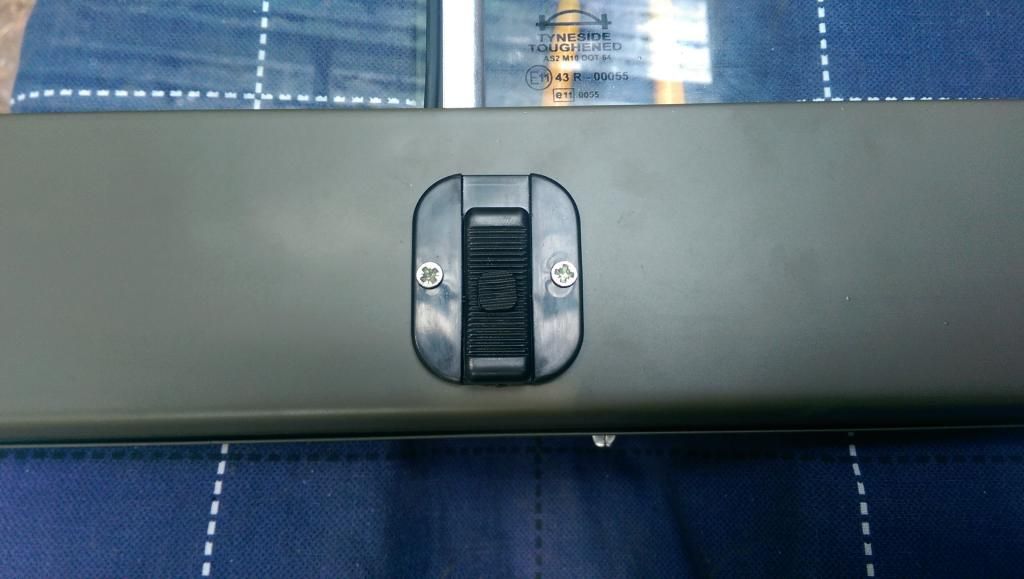
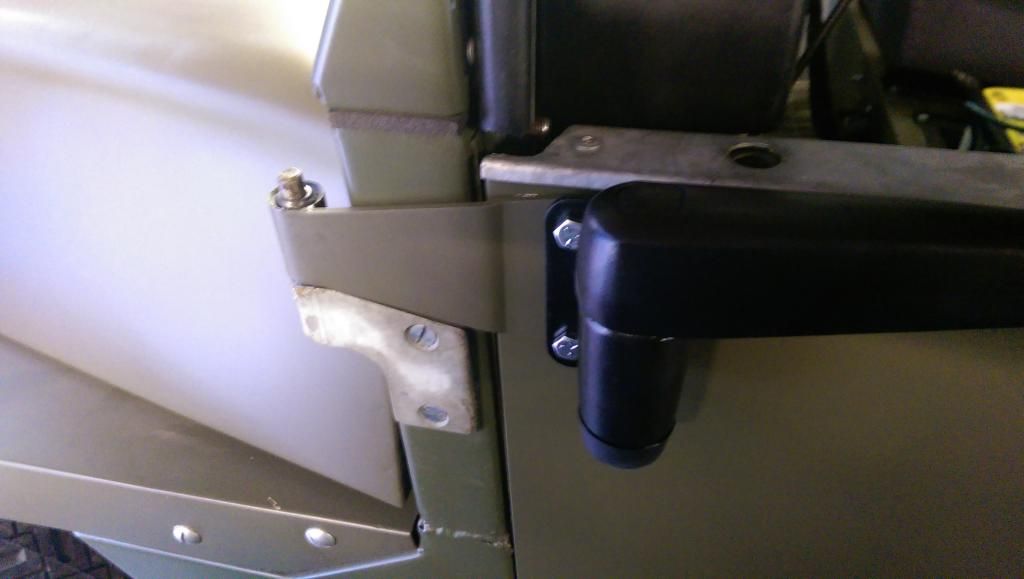
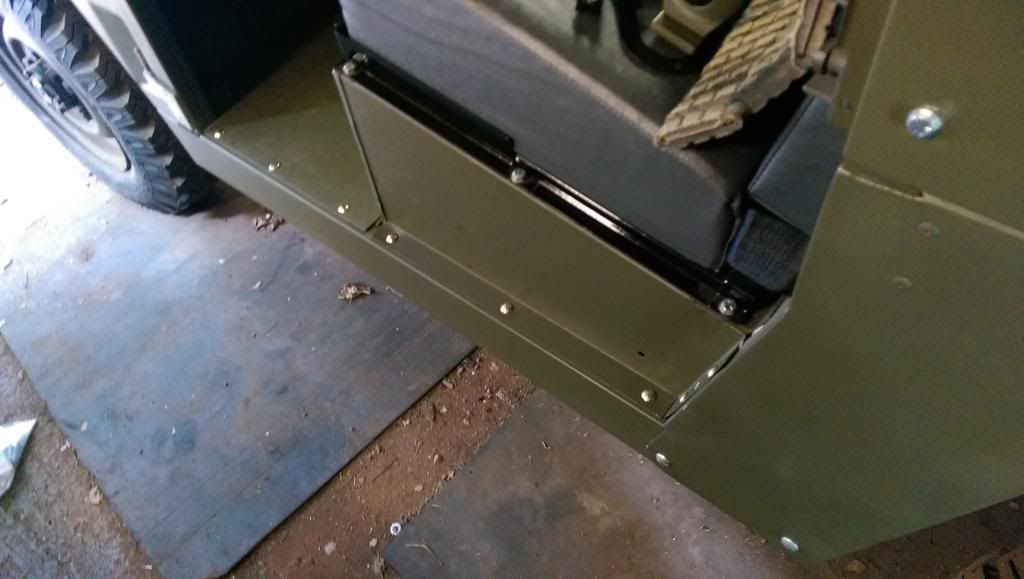
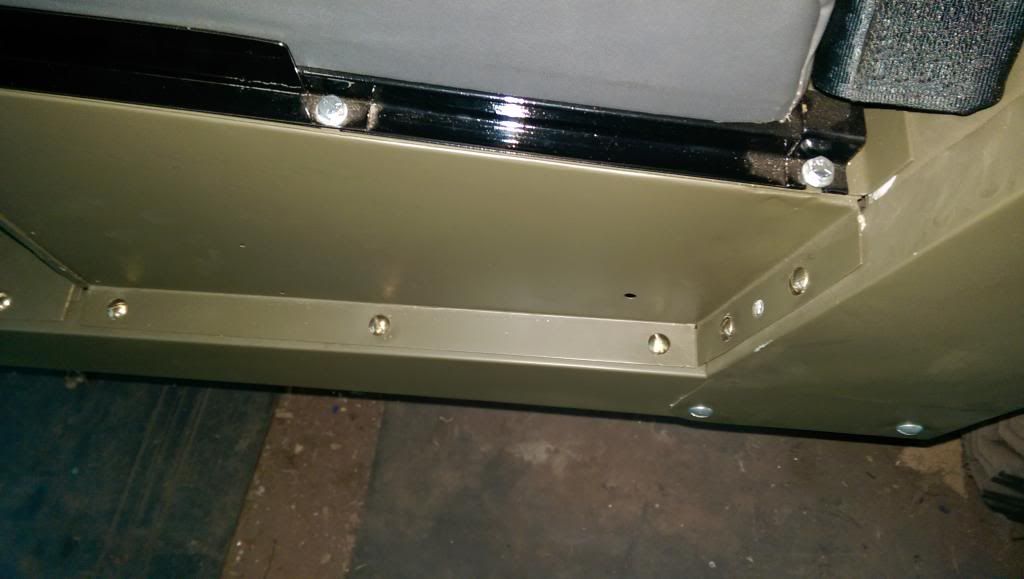
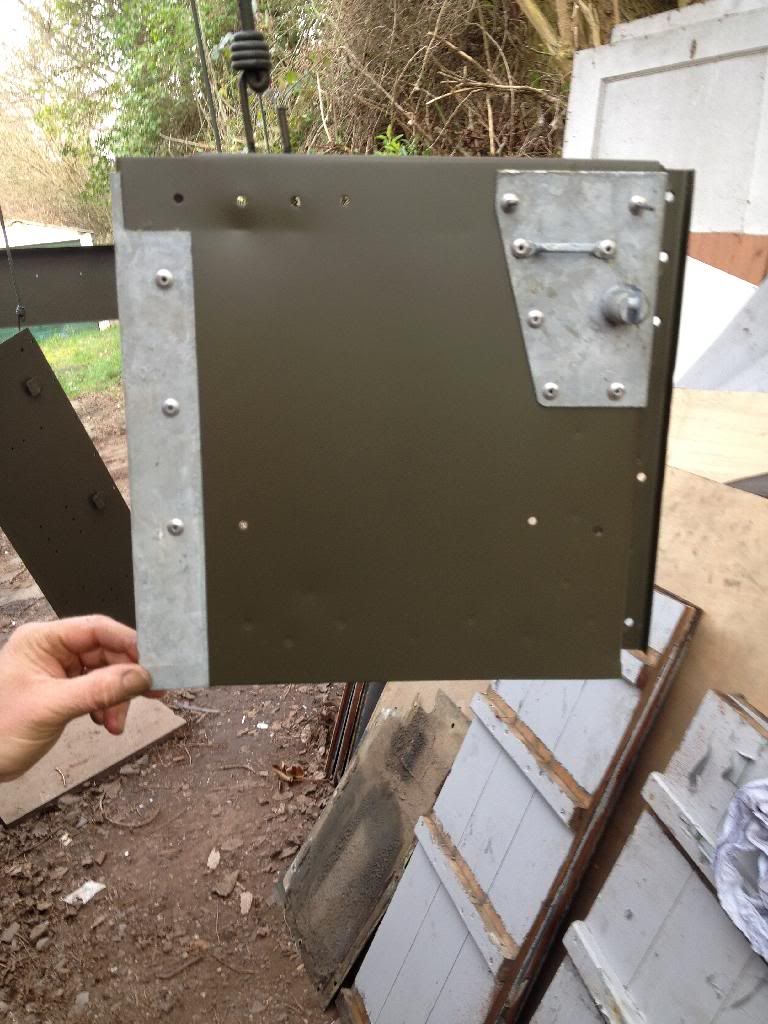
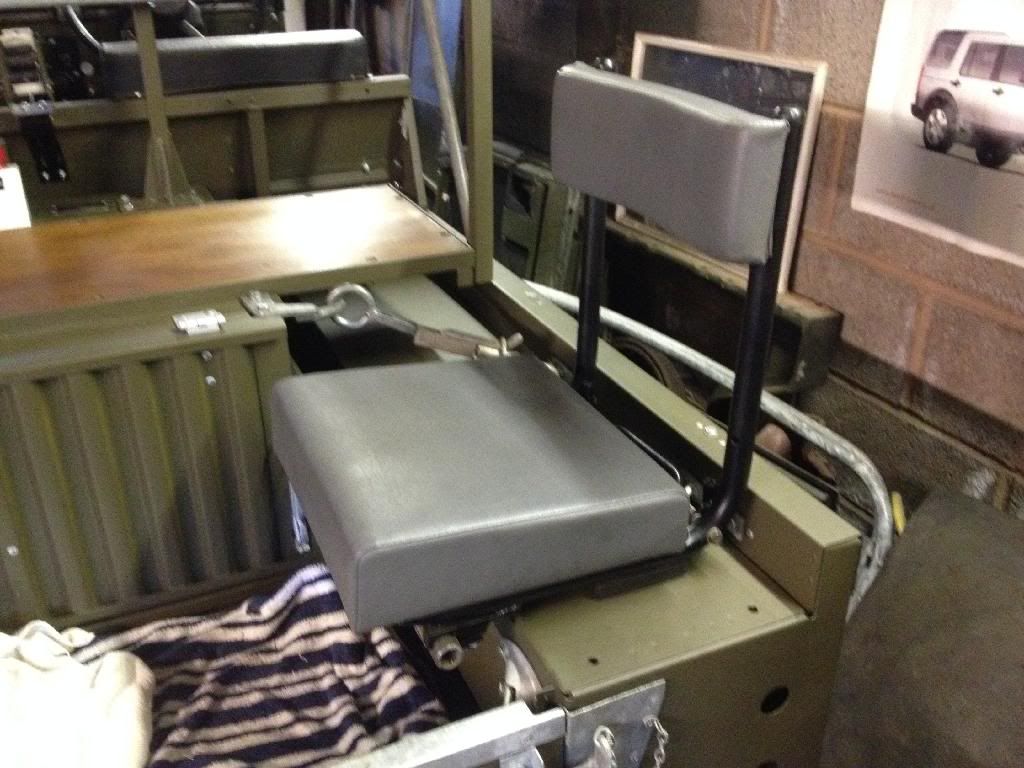
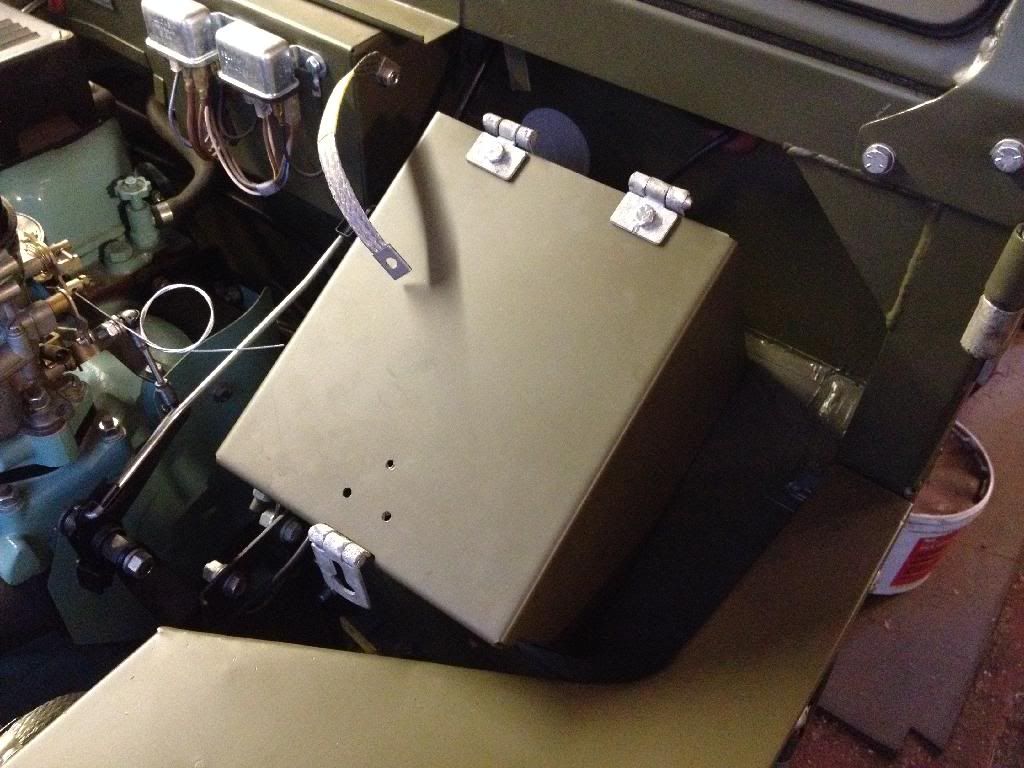
Hi All
Does anyone happen to know the correct fastener for where the seatbox connects to the tub as in the photo
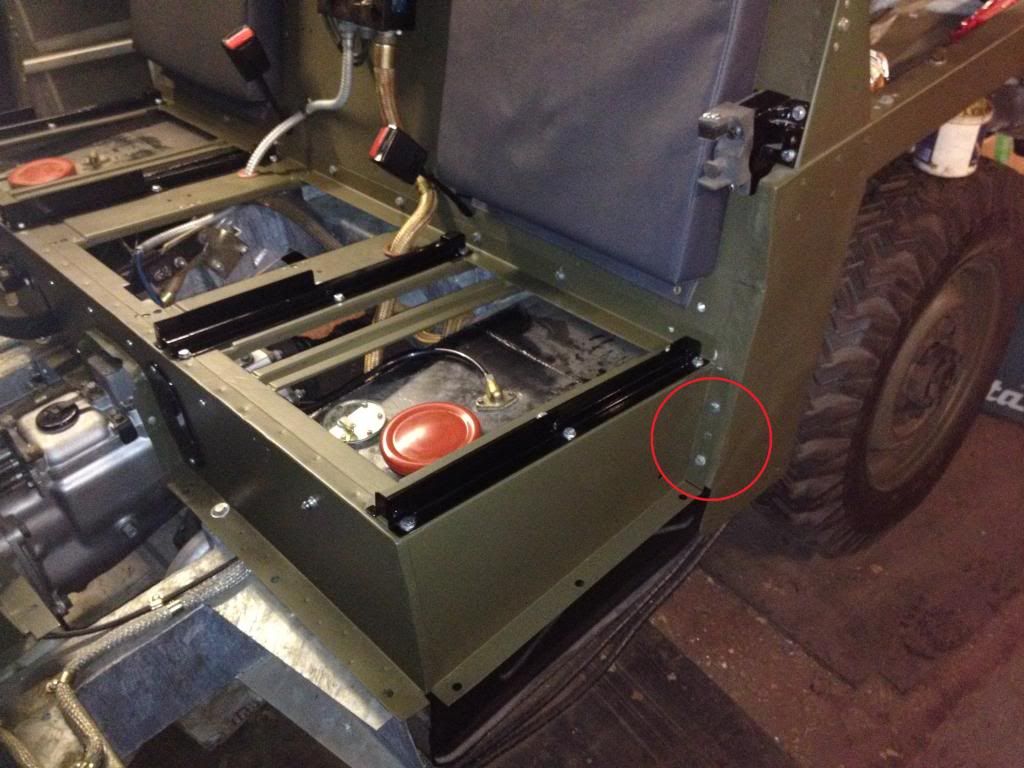
Were guessing its some sort of dome headed bolt so that is does not interfere with the door seals any ideas???
-
Seem to have put more parts back on in the last few weeks than we have in the last 6 months, guess all restorations are like that sometimes!
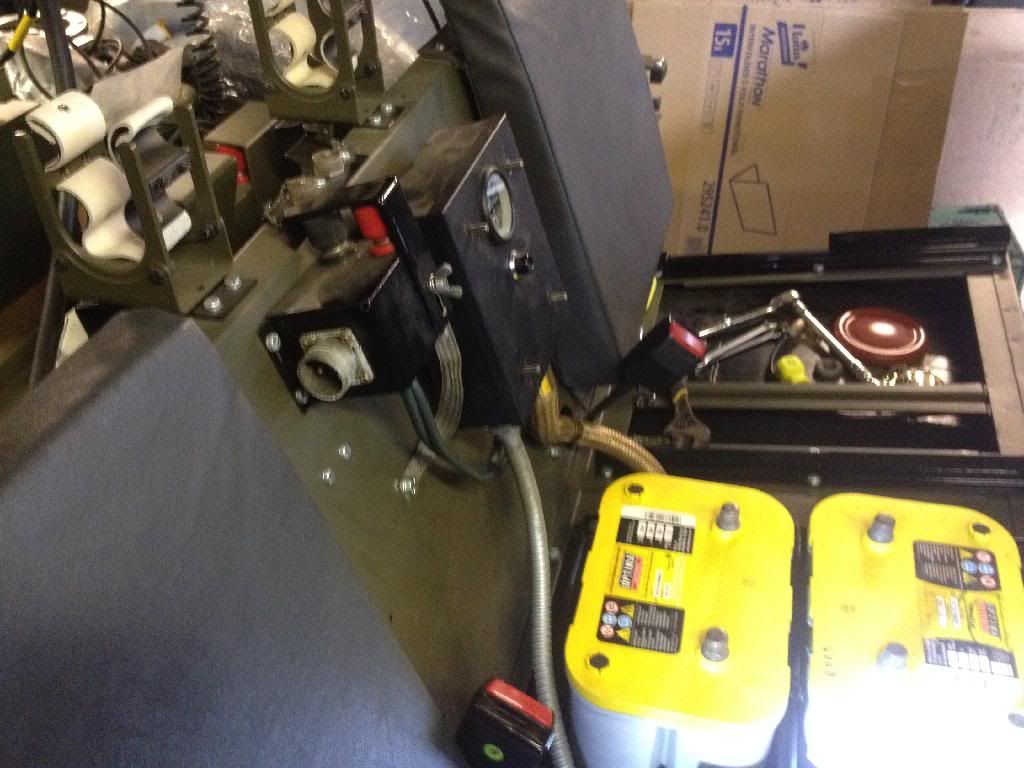
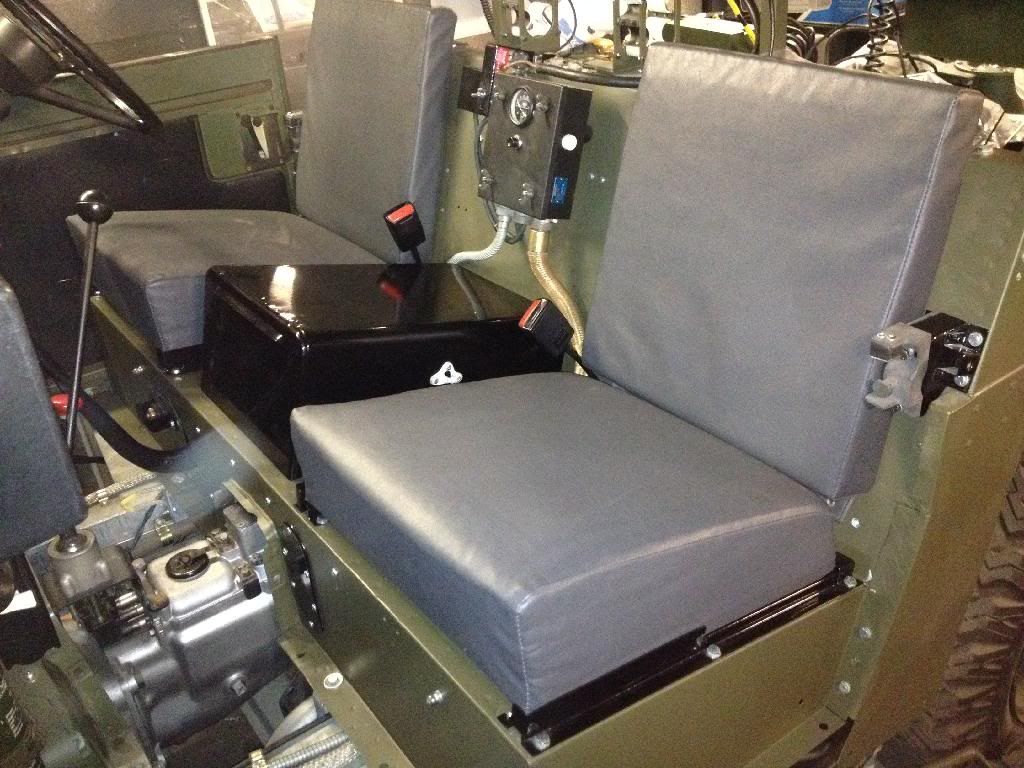
We have been working on the seatbox and battery/charging system connections as well as the wiring for the lights. Even managed to start the engine up for the first time in about 8 months, once we managed to get fuel to the carb she started right up, the yellow top batteries really turn it over well!

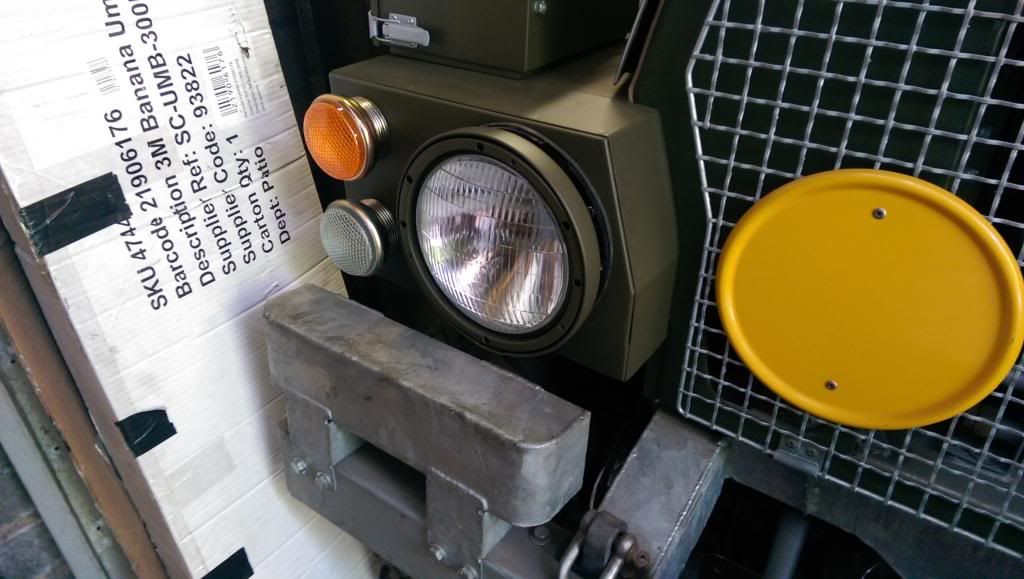
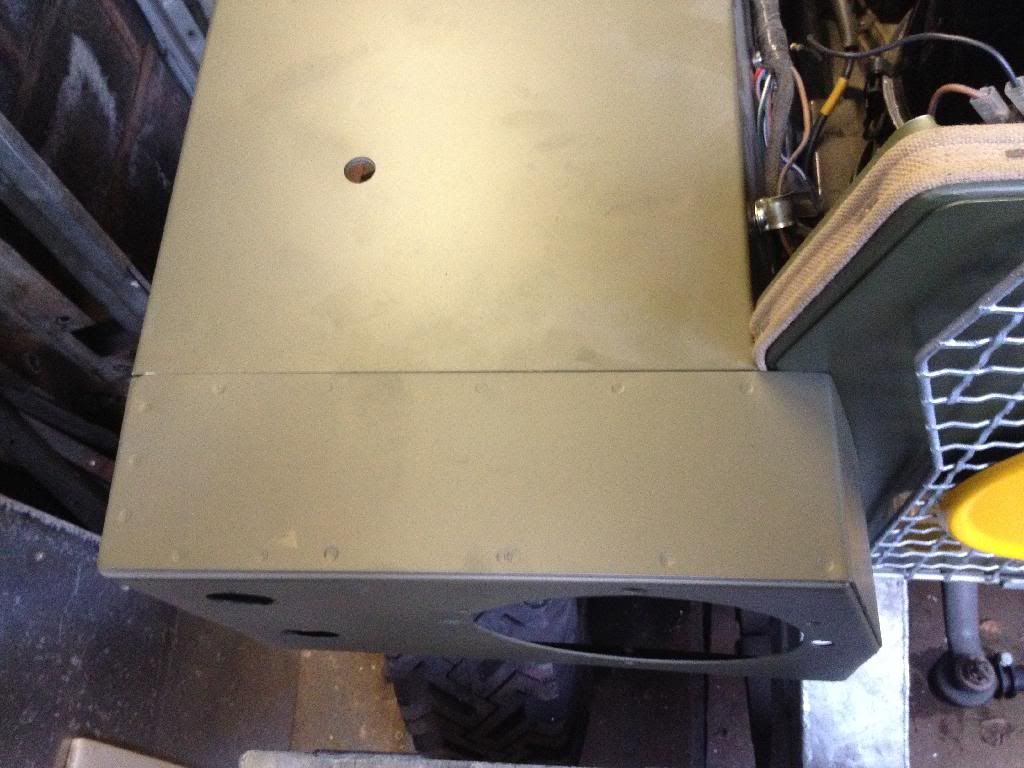
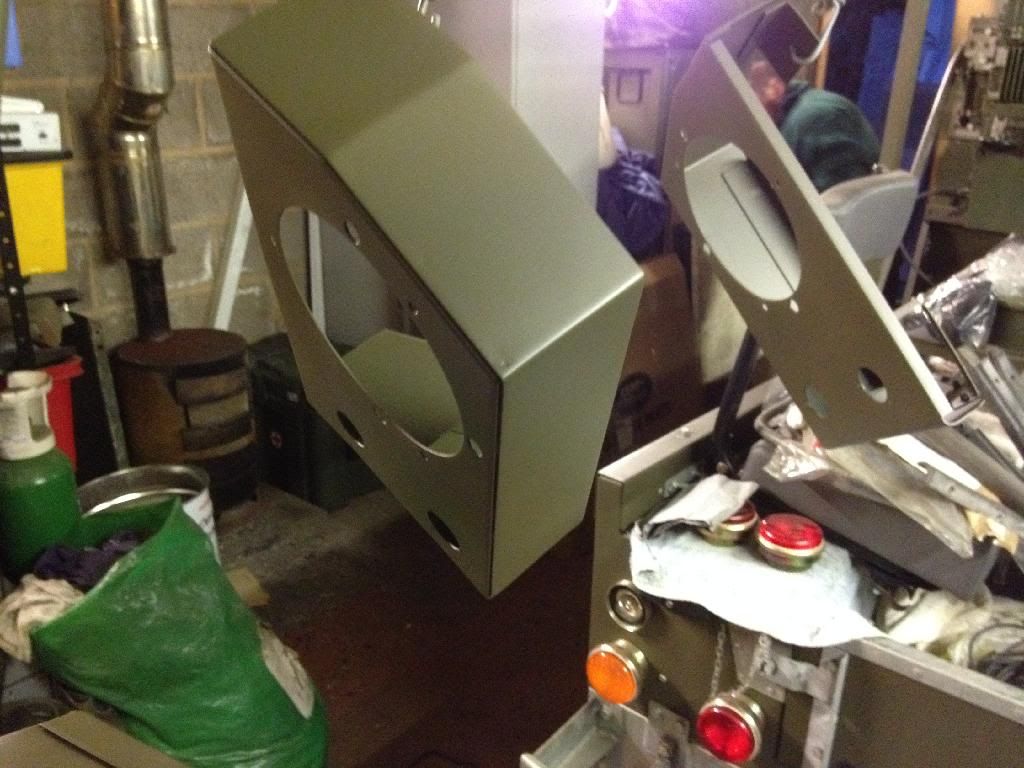
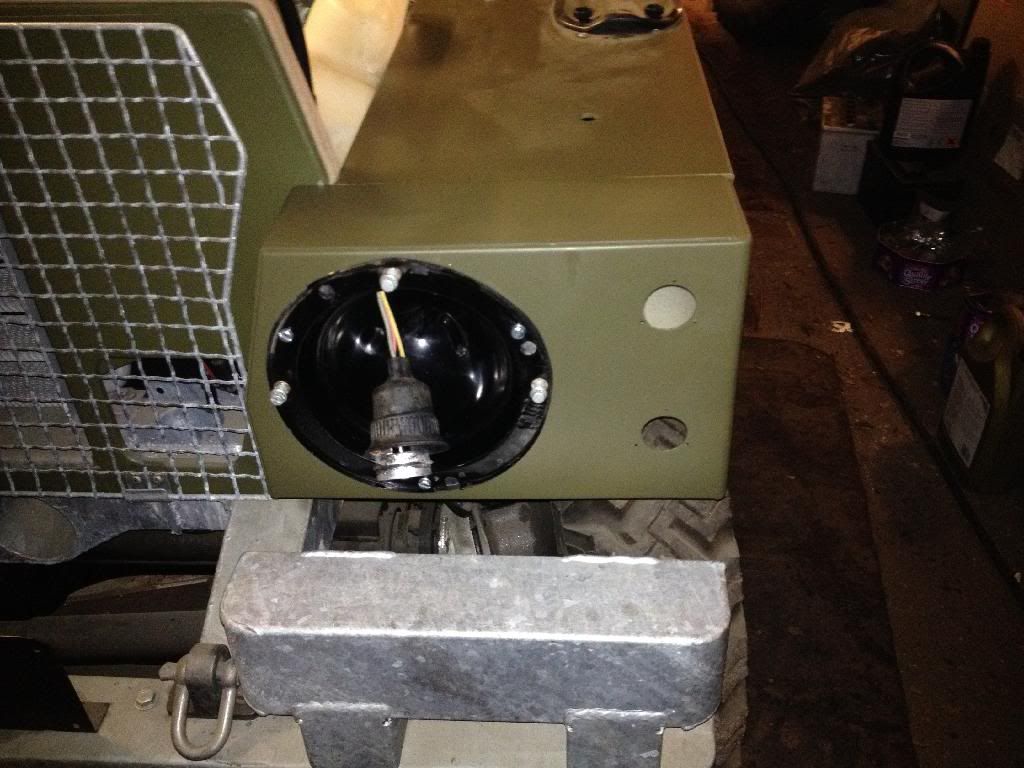
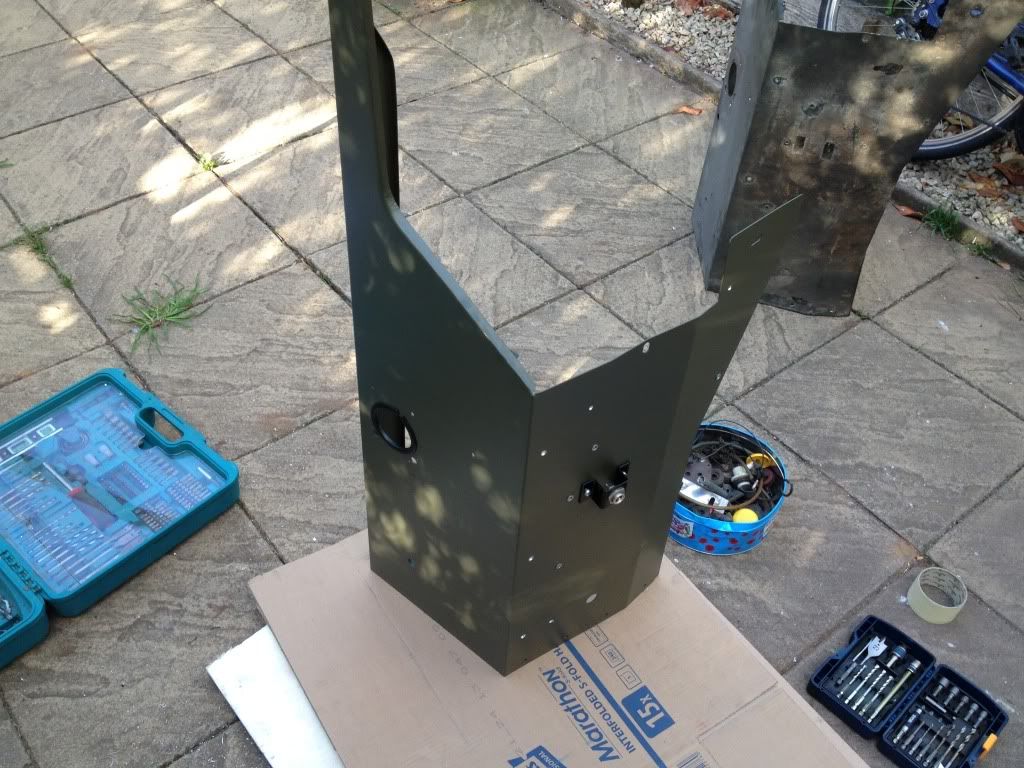
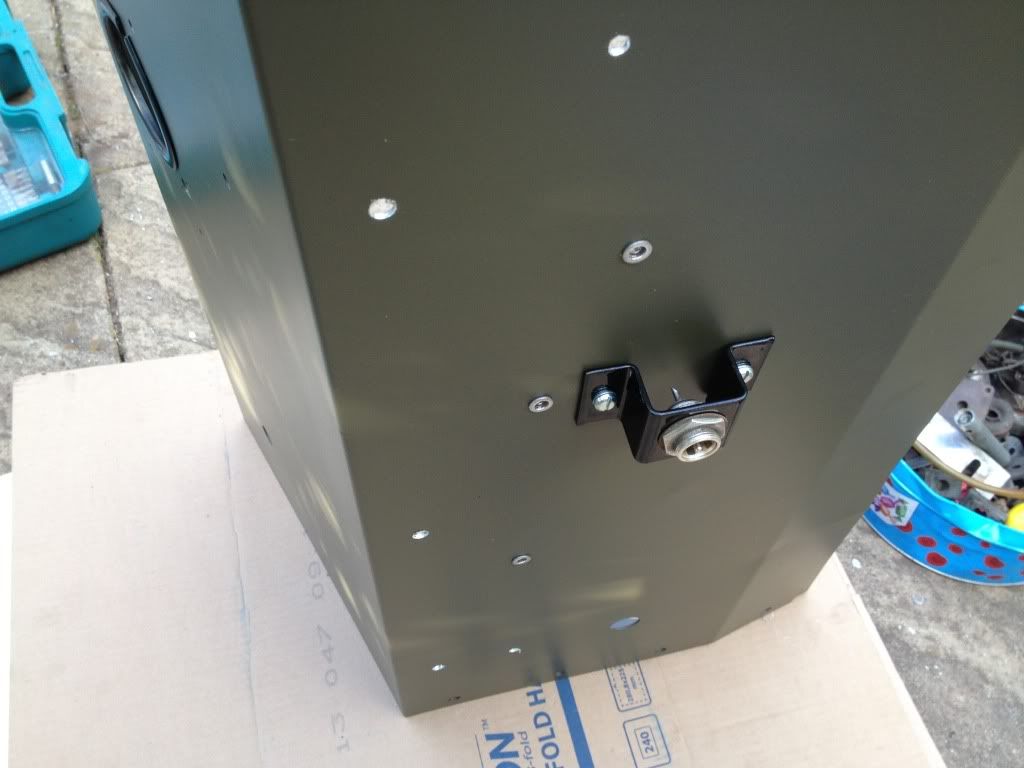
Put the O/S headlight box on
Then wired it up
Need to get some more P clips for this as we have ran out
Was really good to start connecting things up and checking that they power correctly without shorting or just not working at all! Just need to wire the O/S rear lights then thats pretty much all of the wiring sorted, just got a lot of FFR cabling to run and somehow make it look presentable! Jim was ecstatic with progress look how happy he is in this picture
-
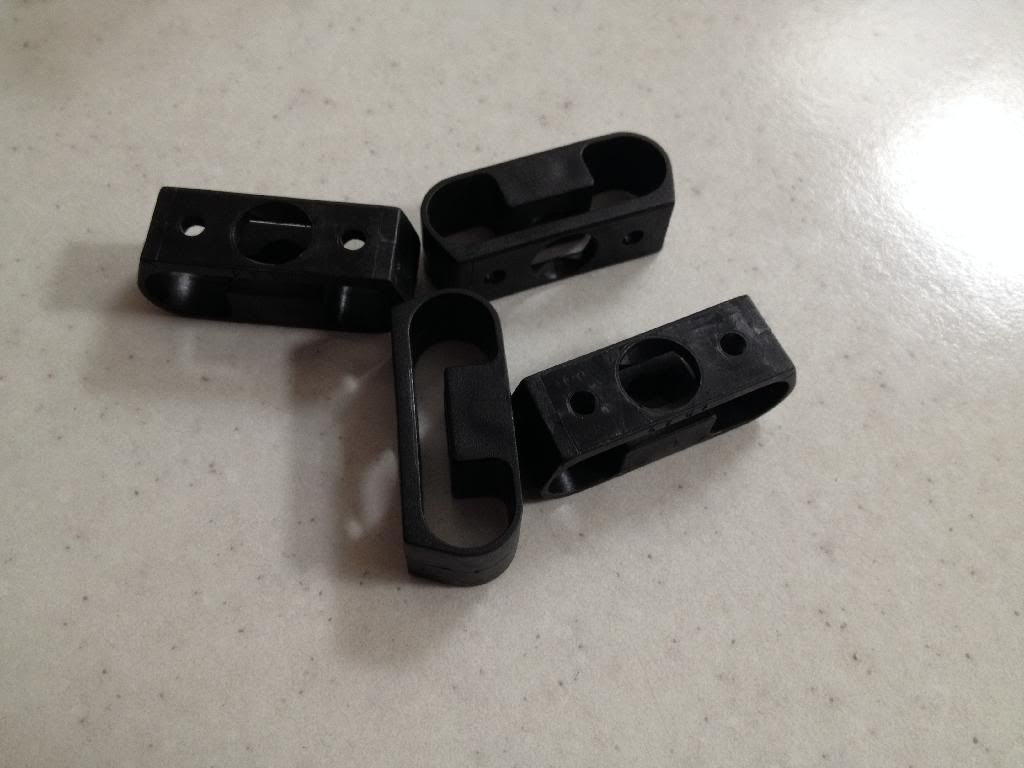
btw , probably the RAREST L'wt tool type thingie is the steel tube BZP plated that stows in the terry clips , tub side of seat backrest , bet you don't have one LoL
You are not complete without one !
I have only ever seen just ONE !! didn't know I had one , sort of half knew it was there but thought it was some sort of tent-pole of antenna extension. Best of it was , I had been looking for one to measure length , OD & wall-thickness to replicate exact some fakes LoL
Would that be the bar that runs from the tub bulkhead to the tailgate for hooking your feet under when traveling in the back by any chance?
-
Just wanted to say thank you to all that have replied with such great comments. Having posted pictures and info on other sites in the past we have had some not so positive feedback, looking at some of the restorations on HMVF and the sheer dedication to preserving these vehicles we are really happy that you seem to approve! The primary reason for creating this thread was to document the restoration and provide assistance to others that find themselves searching google or the like for hours on end try to find out how something goes back together! Without fail every time we have asked the forum for assistance you have delivered, this is a great site with great members and a massive amount of knowledge. Thank you to all that have helped us so far, we will continue to keep this thread up to date whenever we make decent progress!!! (Weather and WAGS prevailing!)
Ben
-
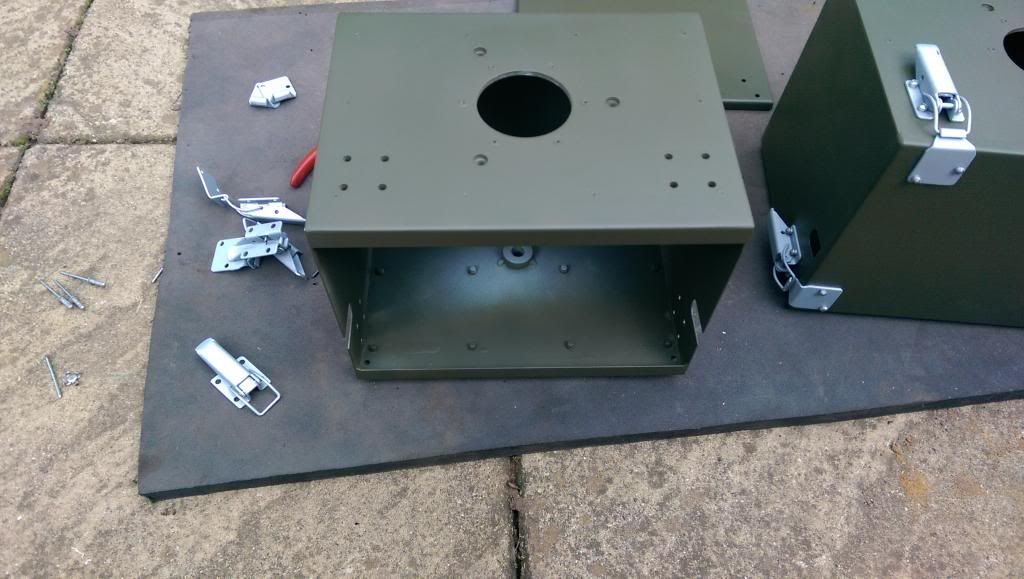
Put a few bits on last month but didnt really thing they were post worthy on their own.
After a searching on the web managed to find these
Turns there a Cessna aircraft part, found a supplier in Germany!After spending the last few months working on various bits we finally manged to get some parts onto the vehicle this weekend. The main focus has been getting the seatbox sorted. Its was covered in underseal much like the tub, but unlike the tub there were more hard to get at areas. We had to soak it in jizer on several times to shift it.
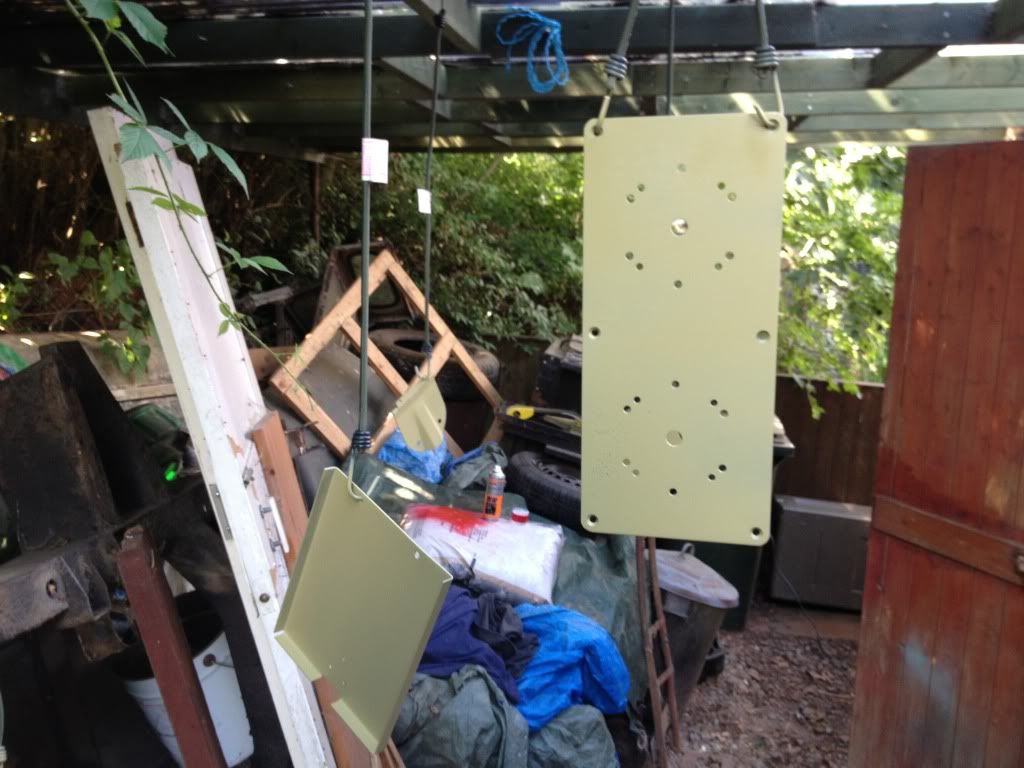
Also sorted the headlight boxes
Next were onto fitting the O/S headlight box and finishing off some bits on the seat box, then its onto the tub sides!
-
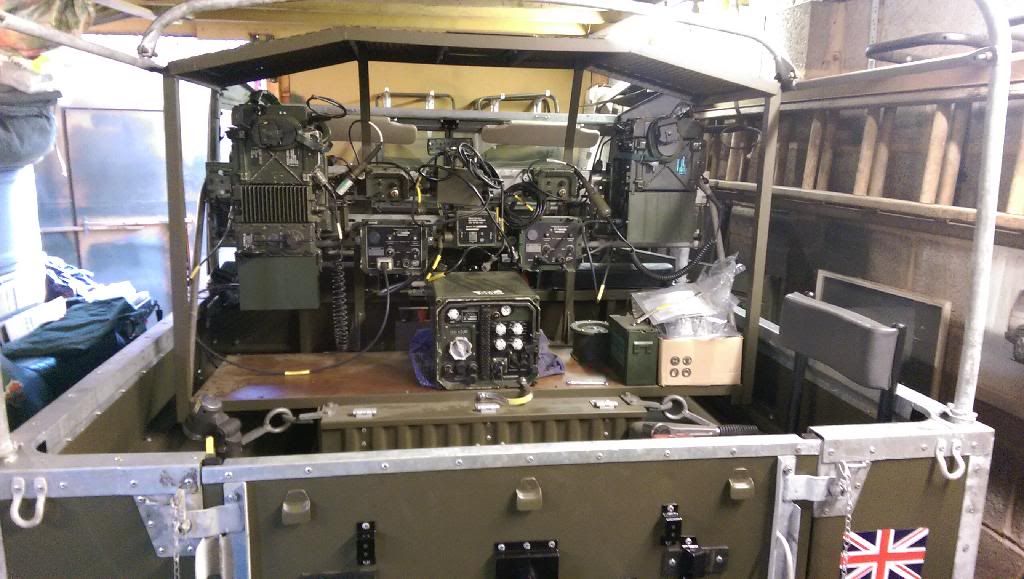
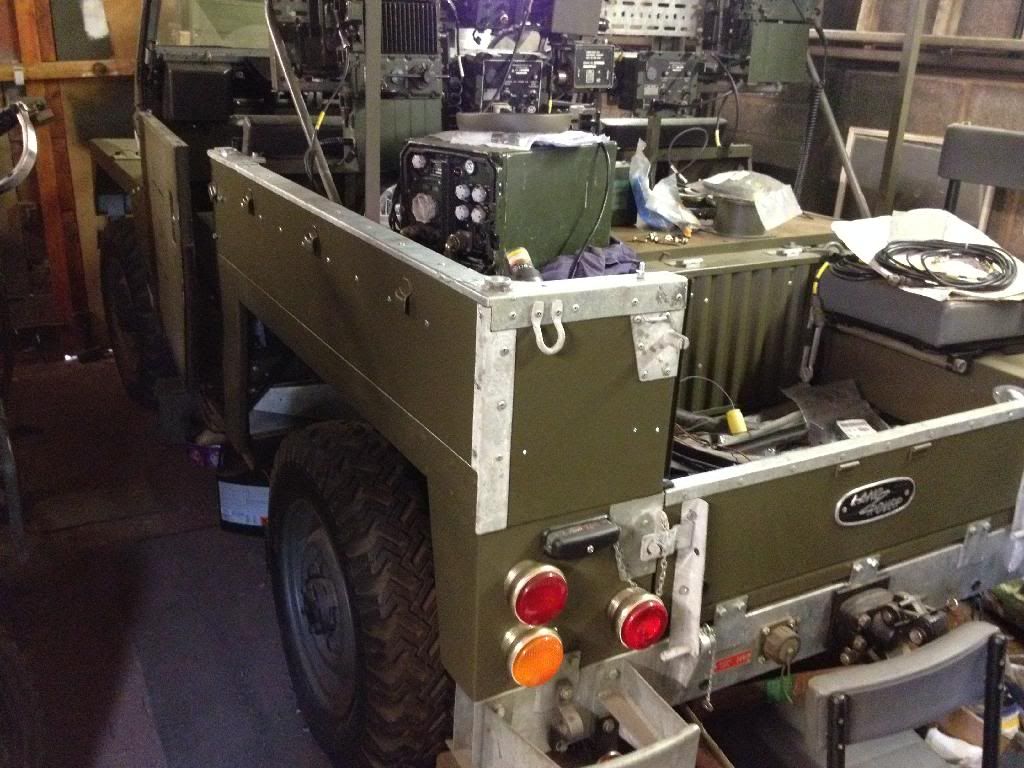
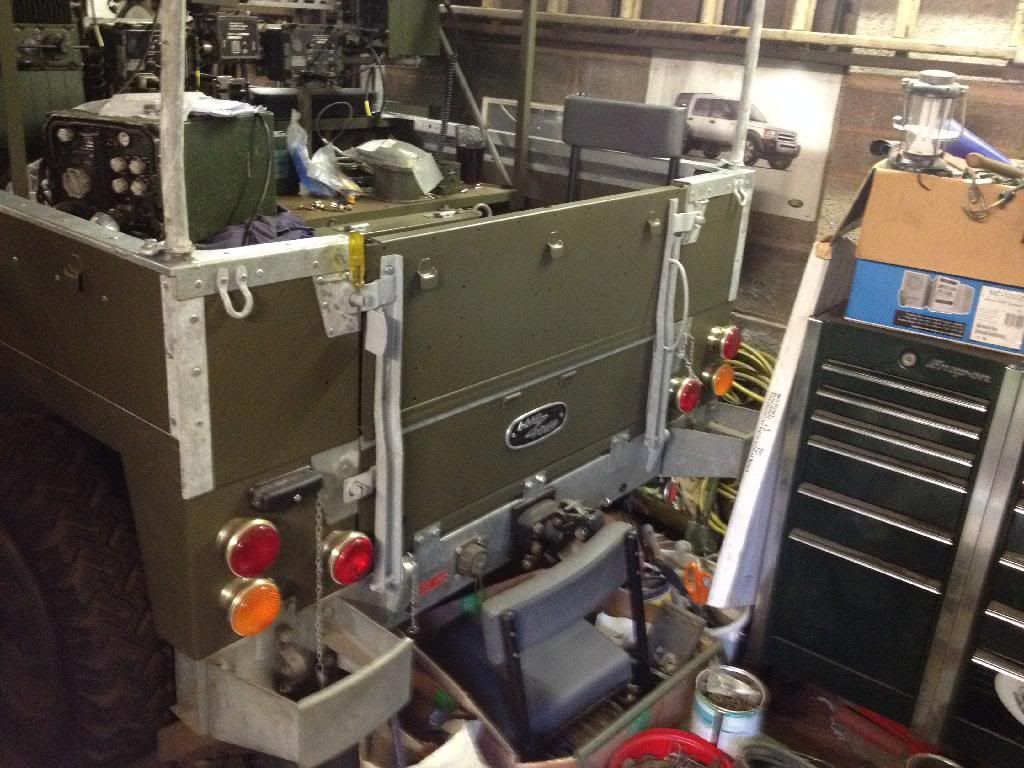
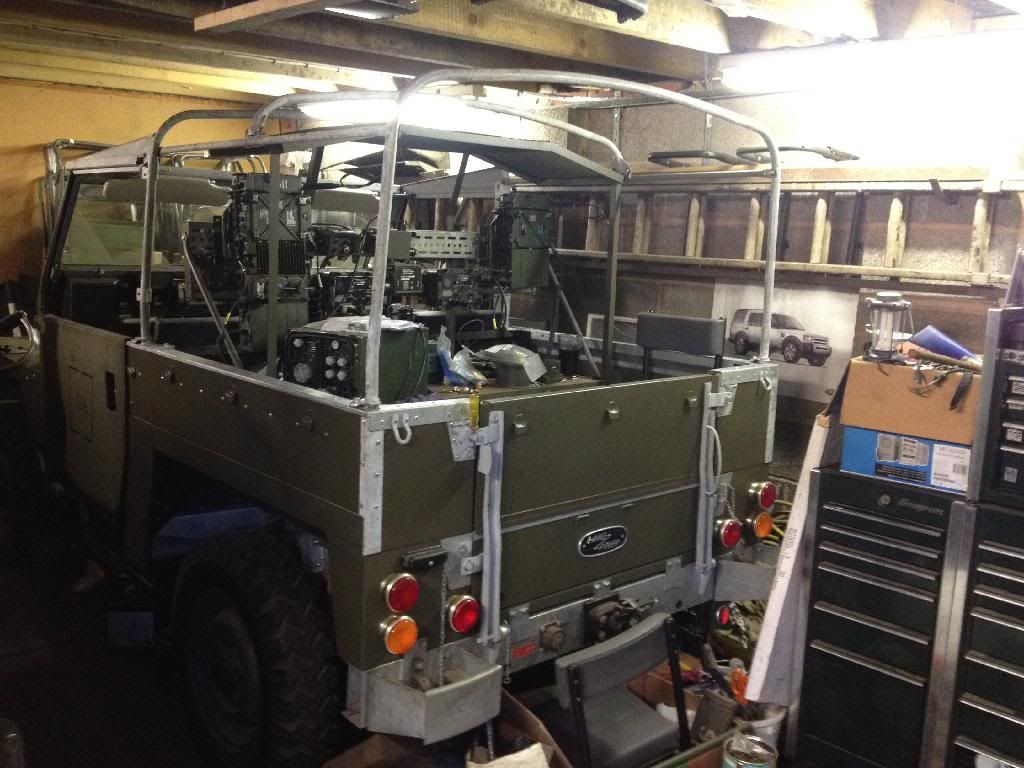
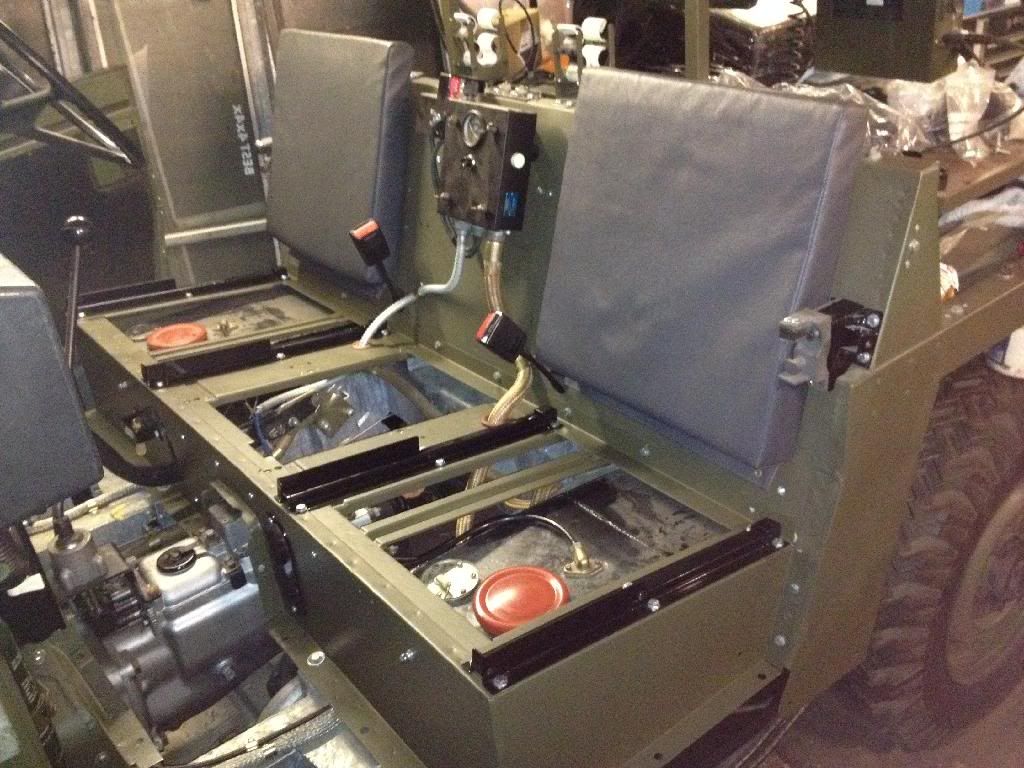
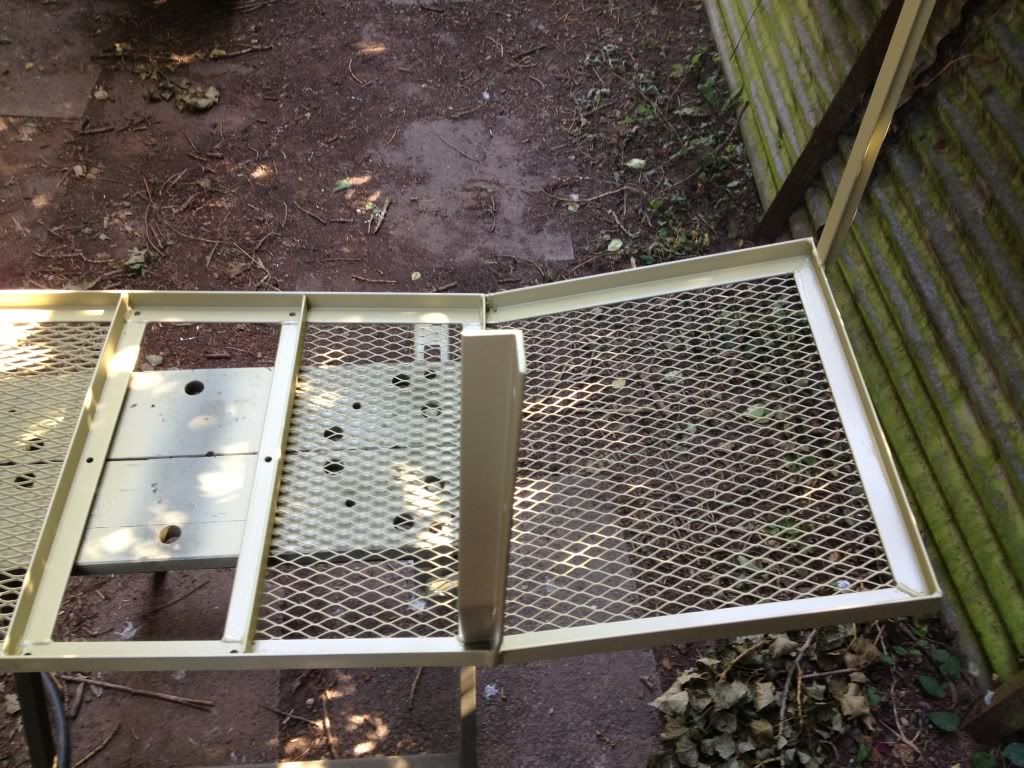
Done some more work on the radio table, last weekend and this painted the rest of the radio table parts and the wings. Took stock of what we have got and what we need to get. At present looks like were going to go with 2 352 sets, most of which we have got already and a 353 set which we need to source. Im sure there will be plenty of items we need at Peterborough tomorrow!
Had to regenerate the diagram from scratch as the old one was past it

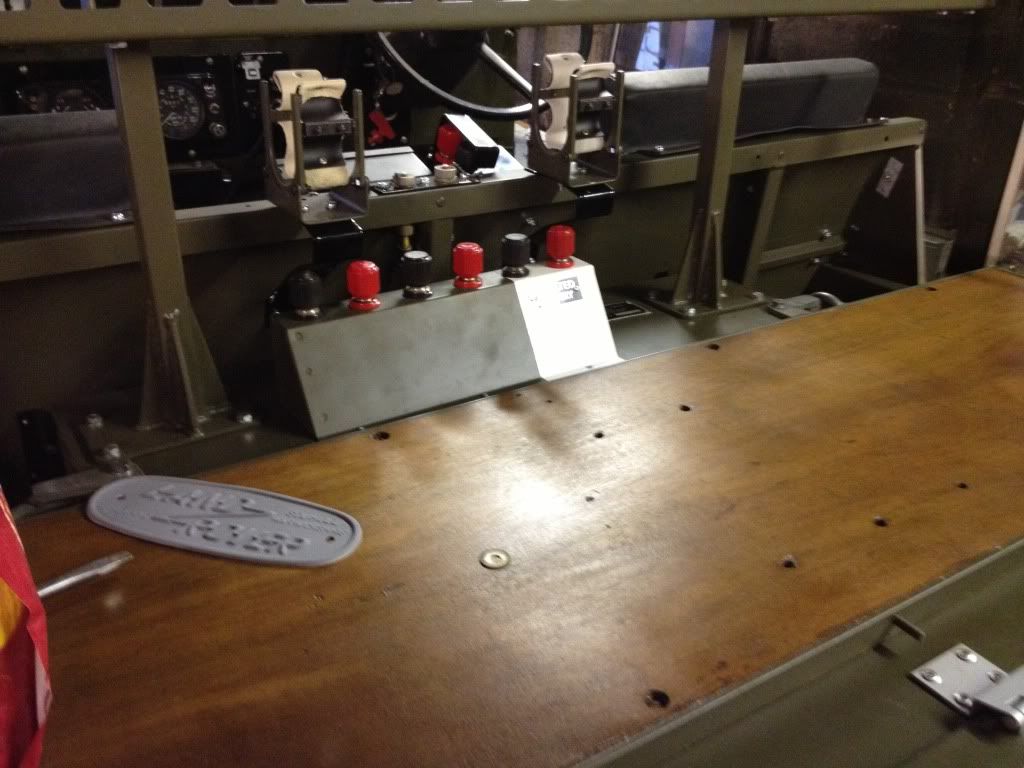
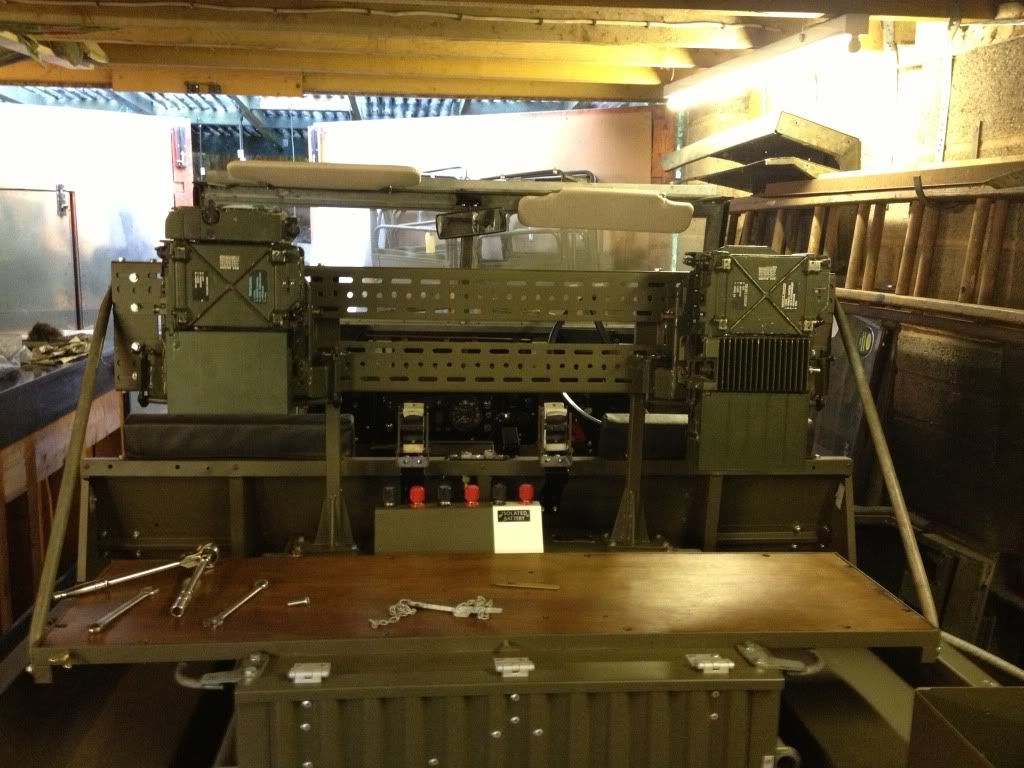
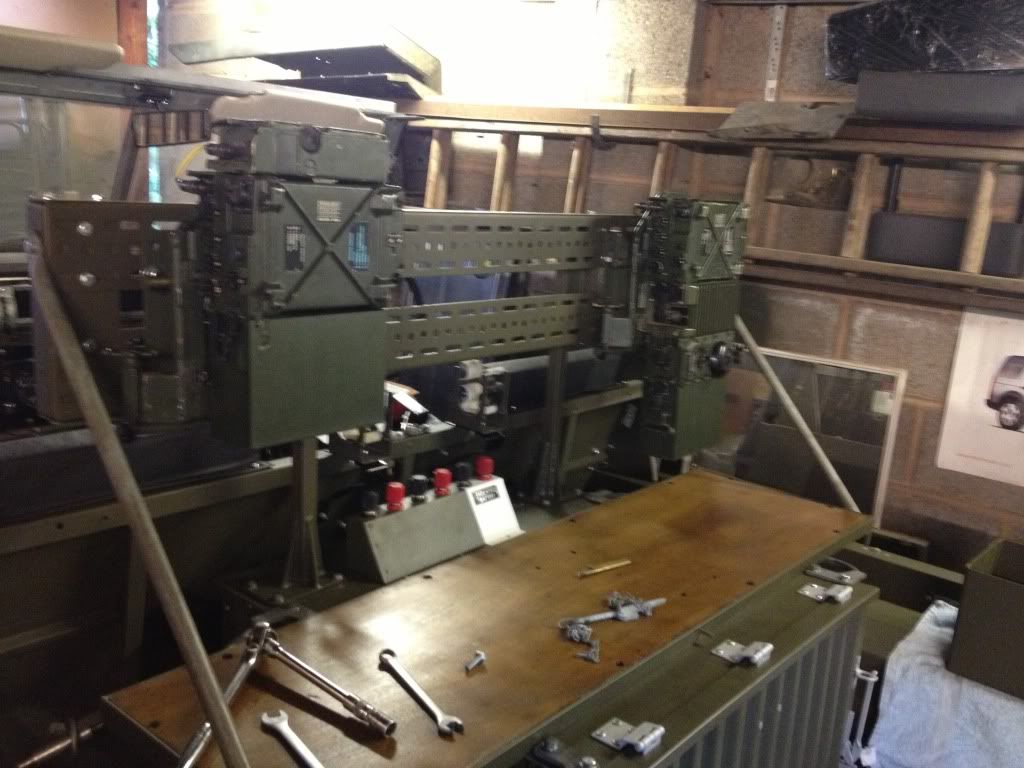
Starting to look a little more FFR now! got loads of little bits to work on and then its onto the seatbox.
-
Many Thanks!


Land Rover Lightweight 55HG89 Restoration
in Blogs of MV restorations
Posted
Hi All
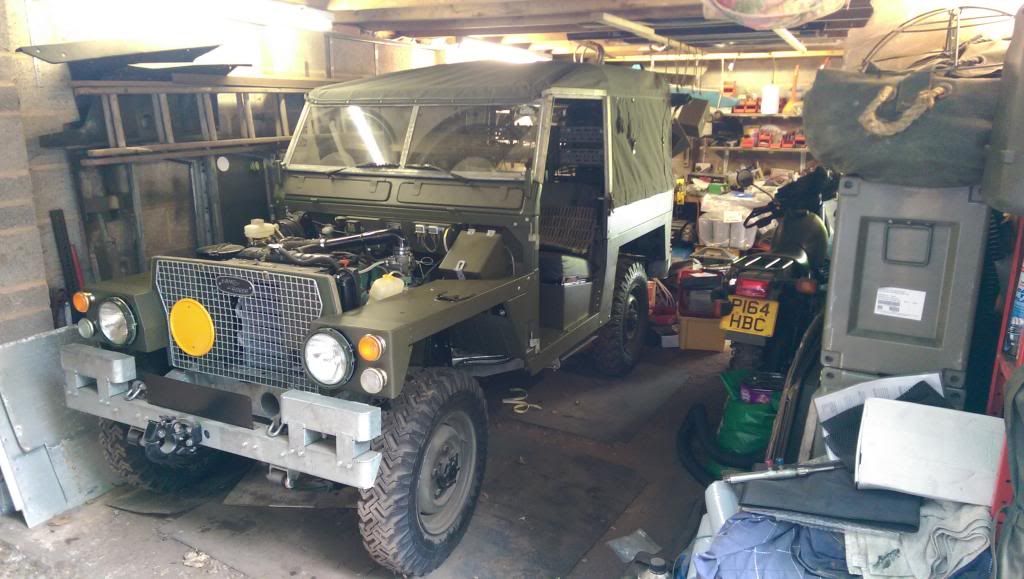
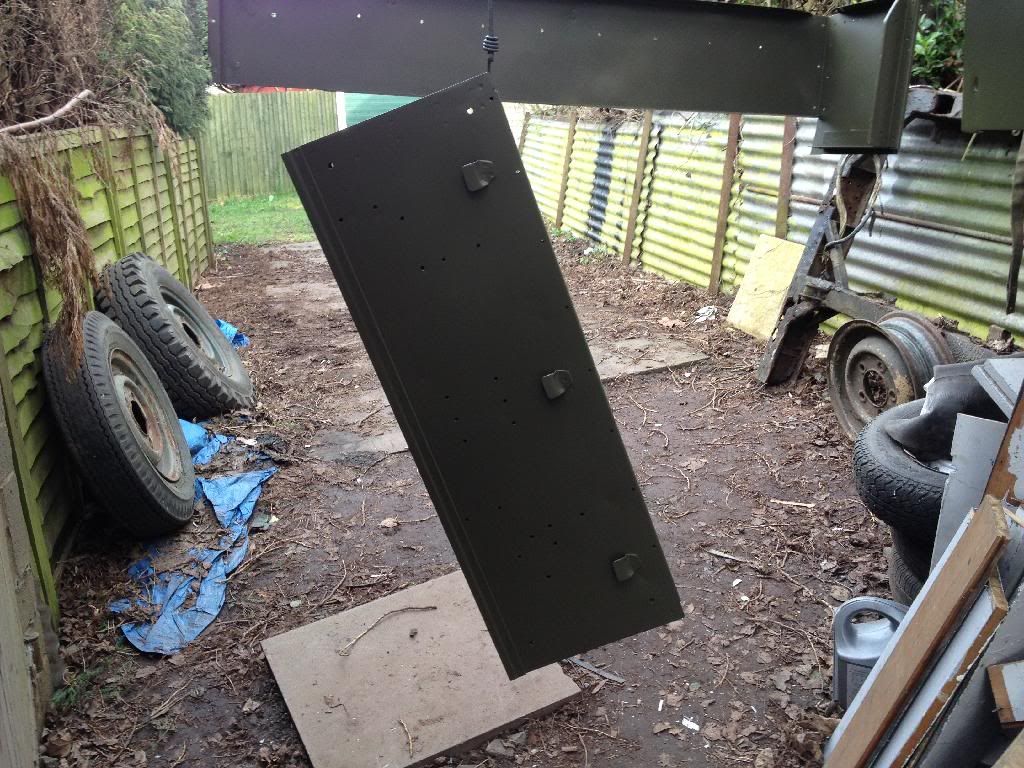
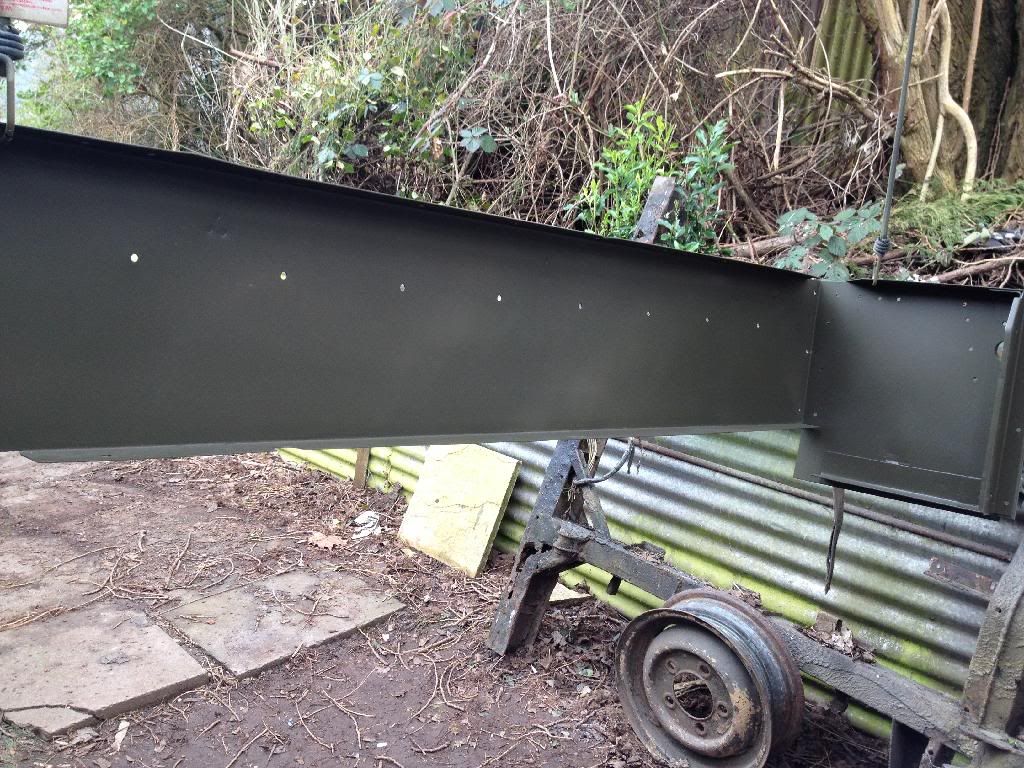
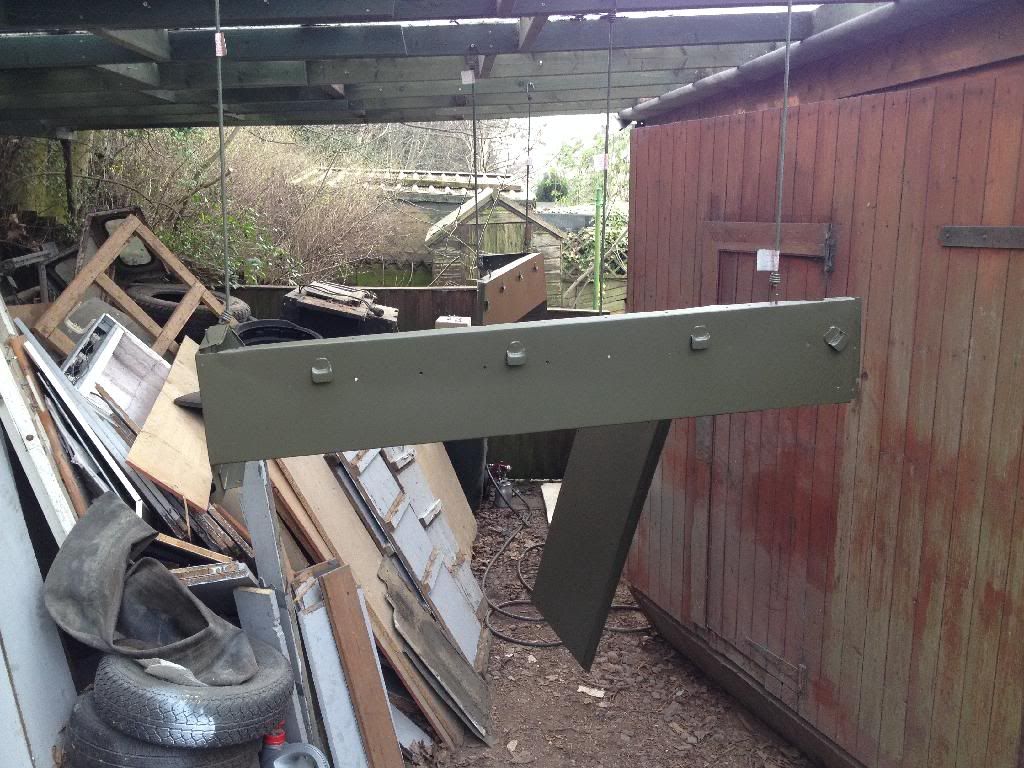
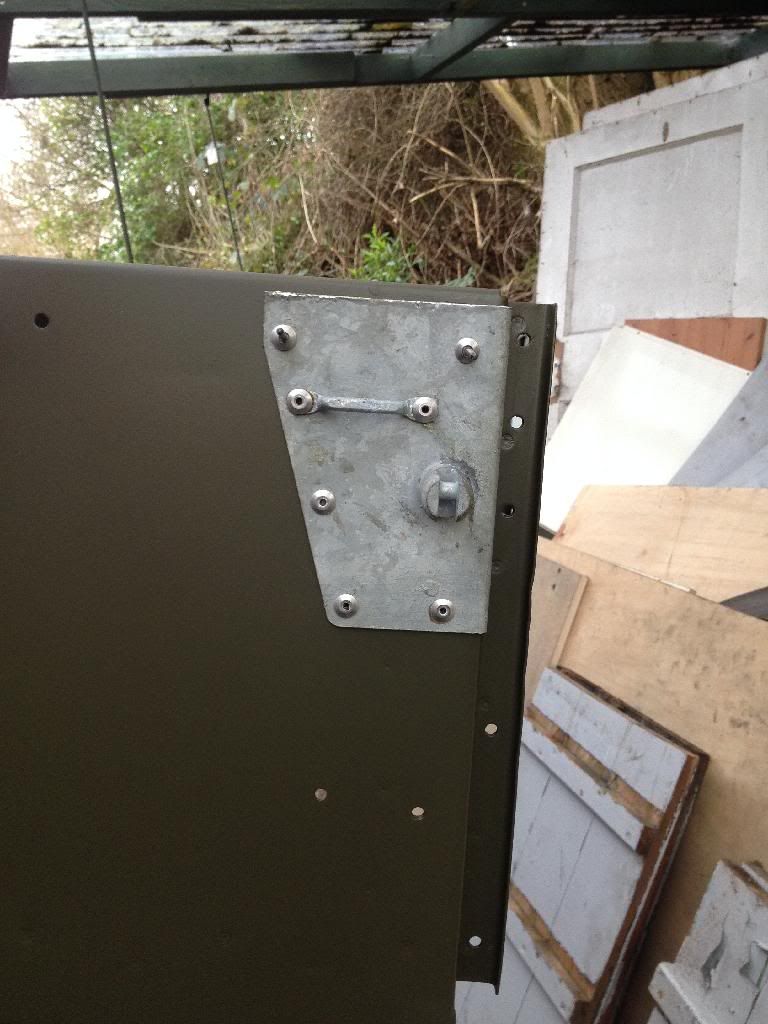
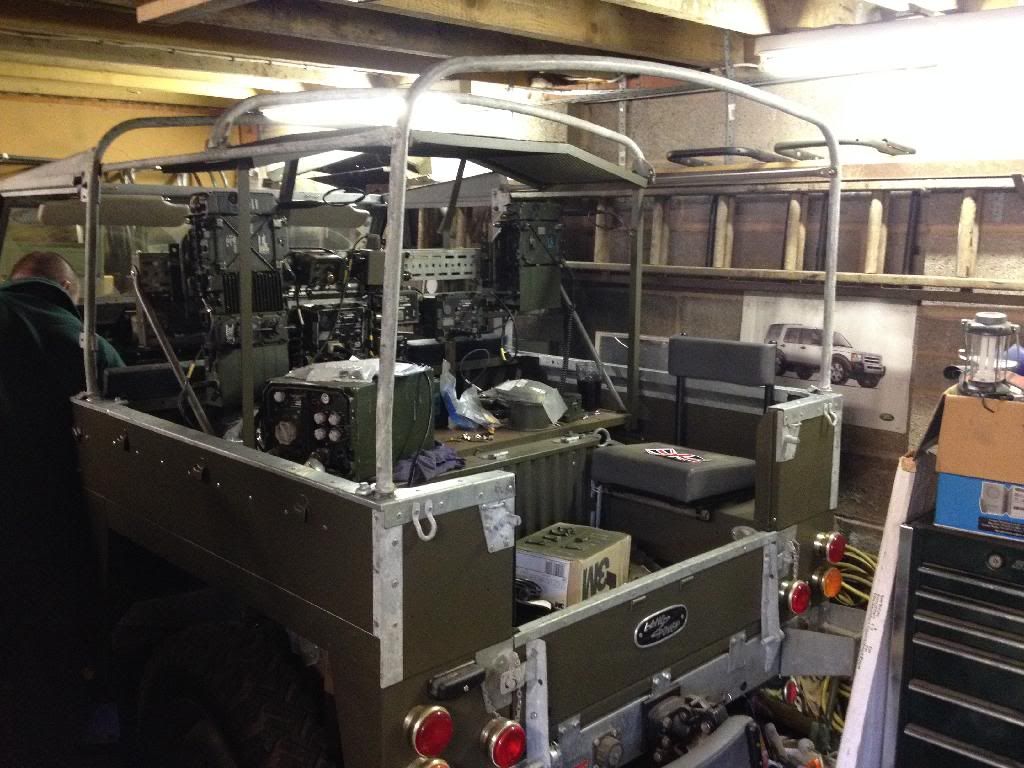
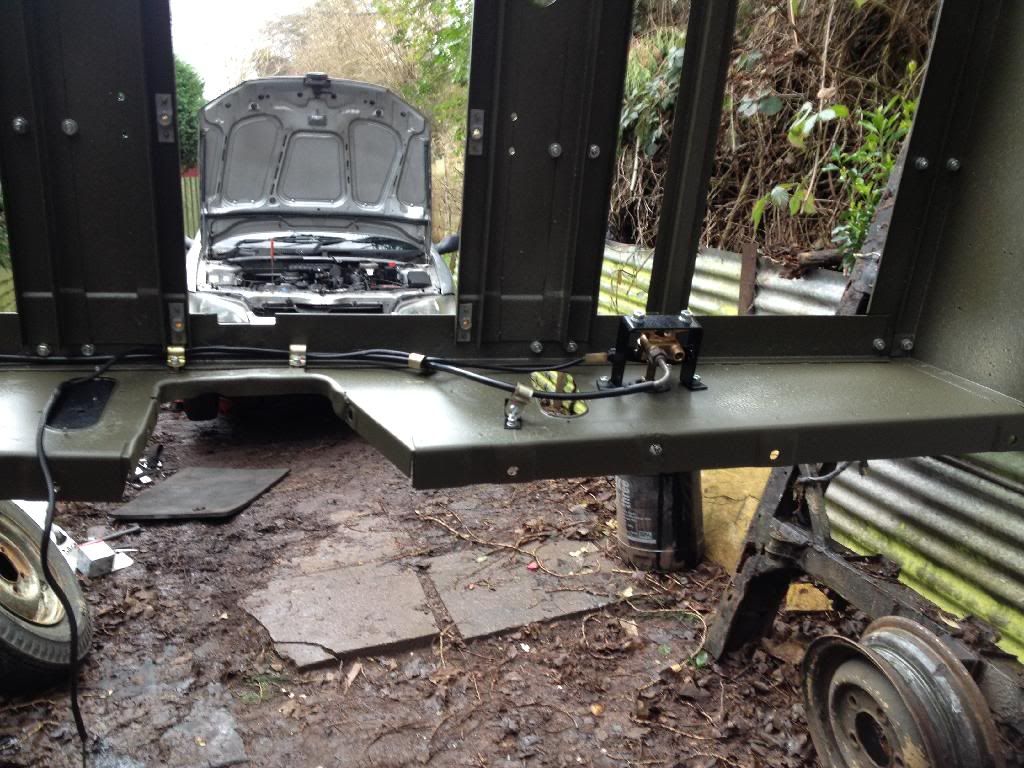
It has been a while since posting on here and as we had some decent weather we thought it would be a good idea to have a got at putting a mast on the back of the lightweight. We managed to get hold of the top bracket for soft top vehicles and decided to fabricate a base plate for the over rider out of a plate used for ground mounting the mast, brought for the princely sum of £2 at a recent show!
We then test fitted it and its pretty clear we will need to remove the mast either taking it in or out of the garage!
Hopefully we can get her to some shows this year and finally get some of the last bits we need to do done so we can finally call her finished!