


Lowrdrbird
-
Posts
19 -
Joined
-
Last visited
Content Type
Profiles
Forums
Gallery
Blogs
Events
Articles
Store
Downloads
Posts posted by Lowrdrbird
-
-
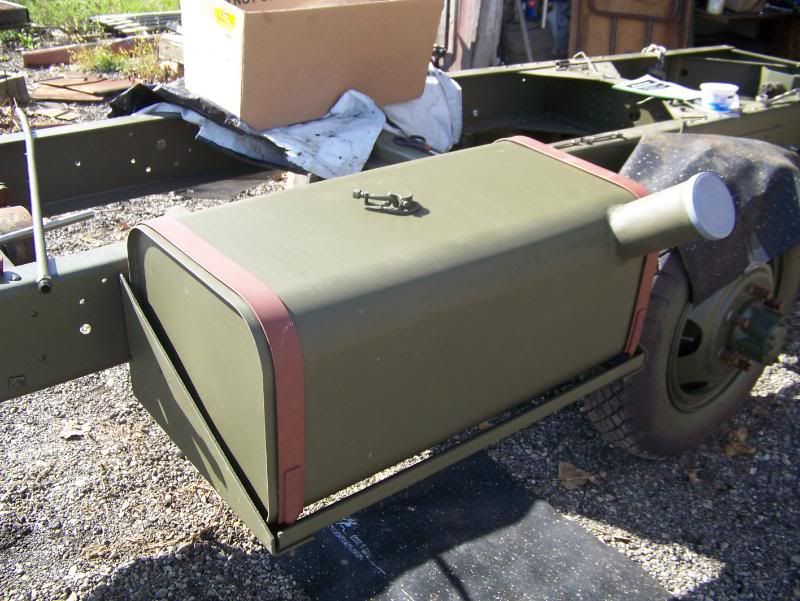
Well gang here are some more updates from my buddy who is working on the bed so I will let him tell you in his words
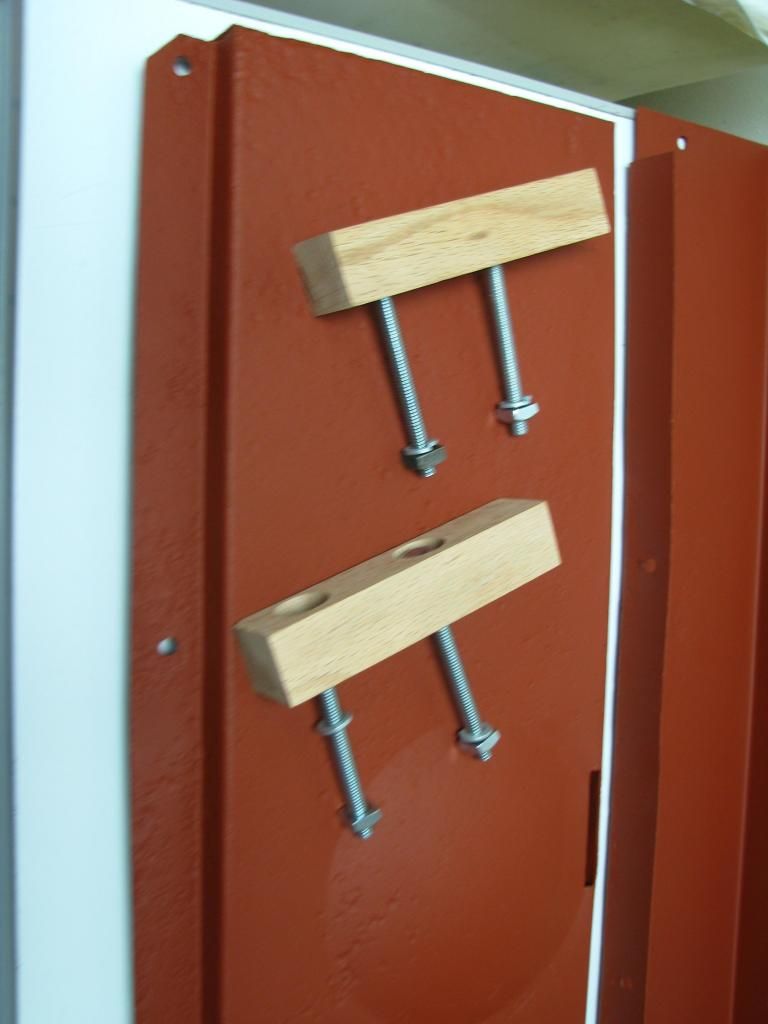
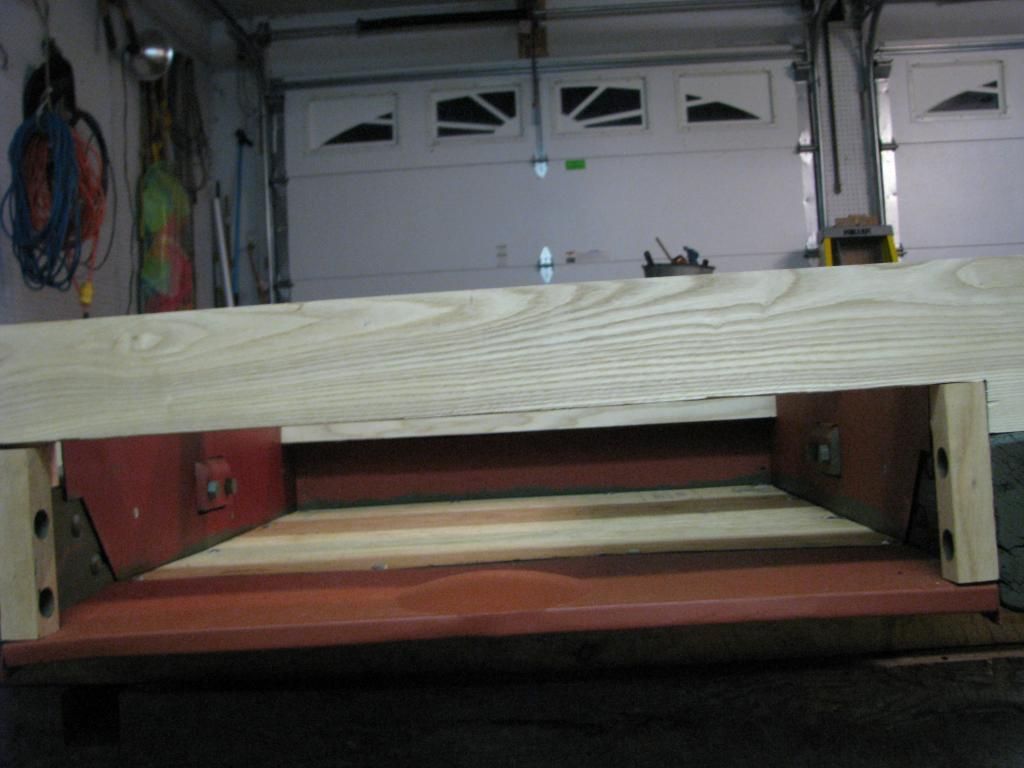
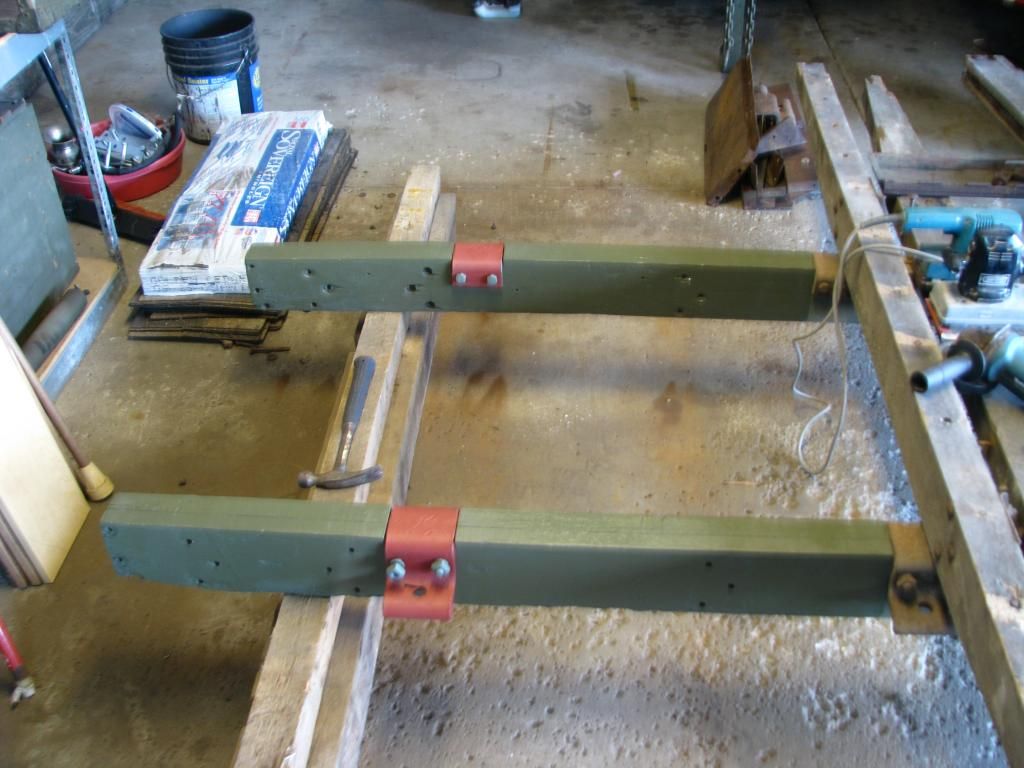
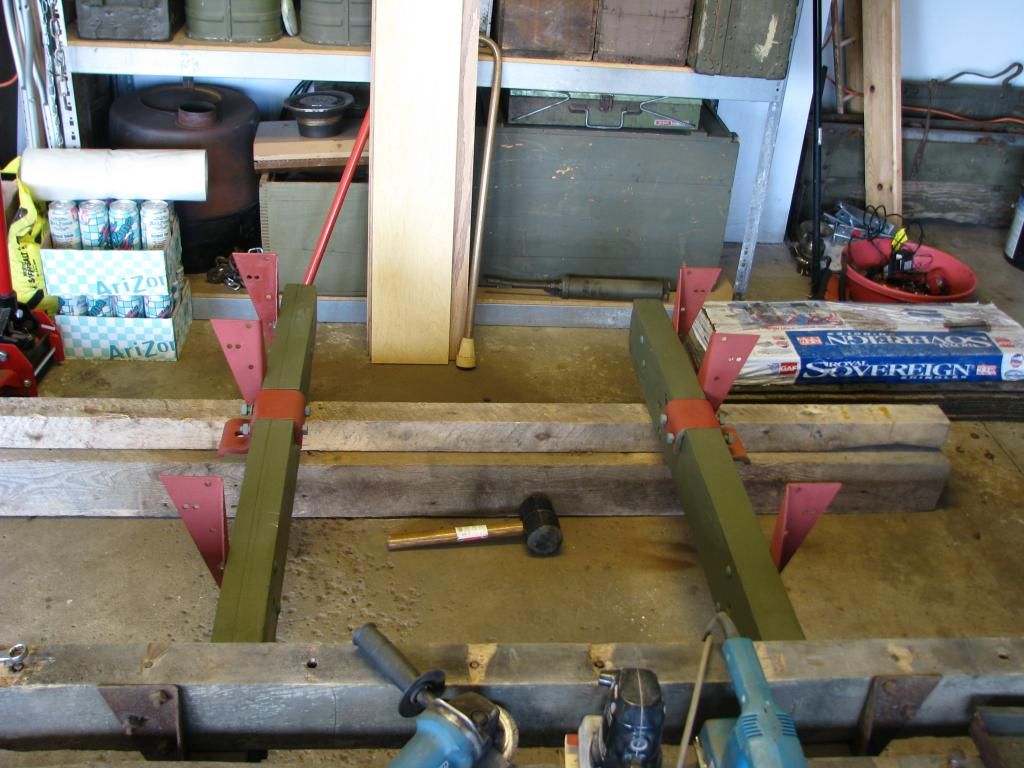
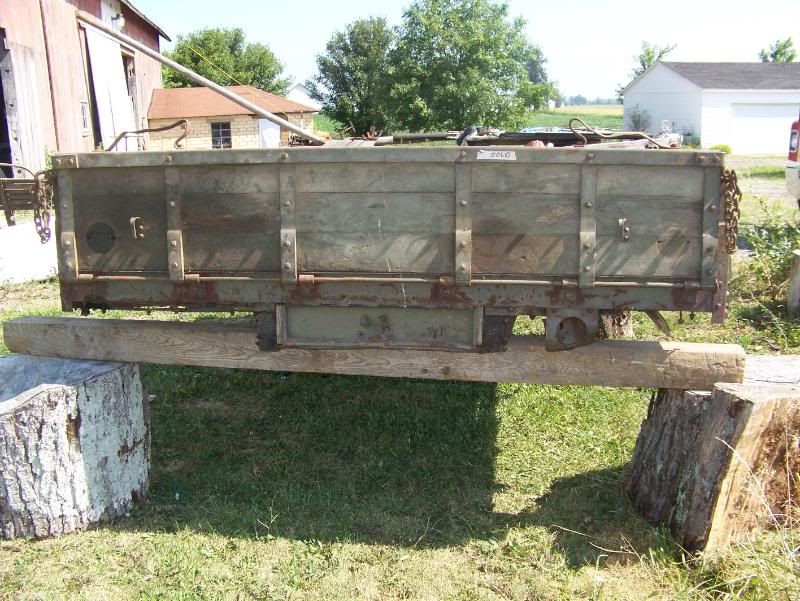
"Well, it has been a very productive day working on the bed... I finally have all the pieces back and are now ready to put the toolbox section back together... the 2 side panels are nailed back in place using a little longer nails... there are 3 per panel to start with... next was the back piece that the toolbox door latches too... then, I put the front back panel in... after taking measurements, I cut the first toolbox floor out of 3/4 plywood... the first one was too small so I cut a second one that was perfect... the measurement was 26 3/4 X 28 1/4 X 3/4... I then used 12: 1 1/4 X 1/4 carriage bolts to fasten the floor back in... the final piece's to put in are the 2 small piece's of wood that the door closes onto on... at first I put these on put, wasn't able to put the floor in, so I had to take them back off... now it will be time to put the beams back on
 "
"
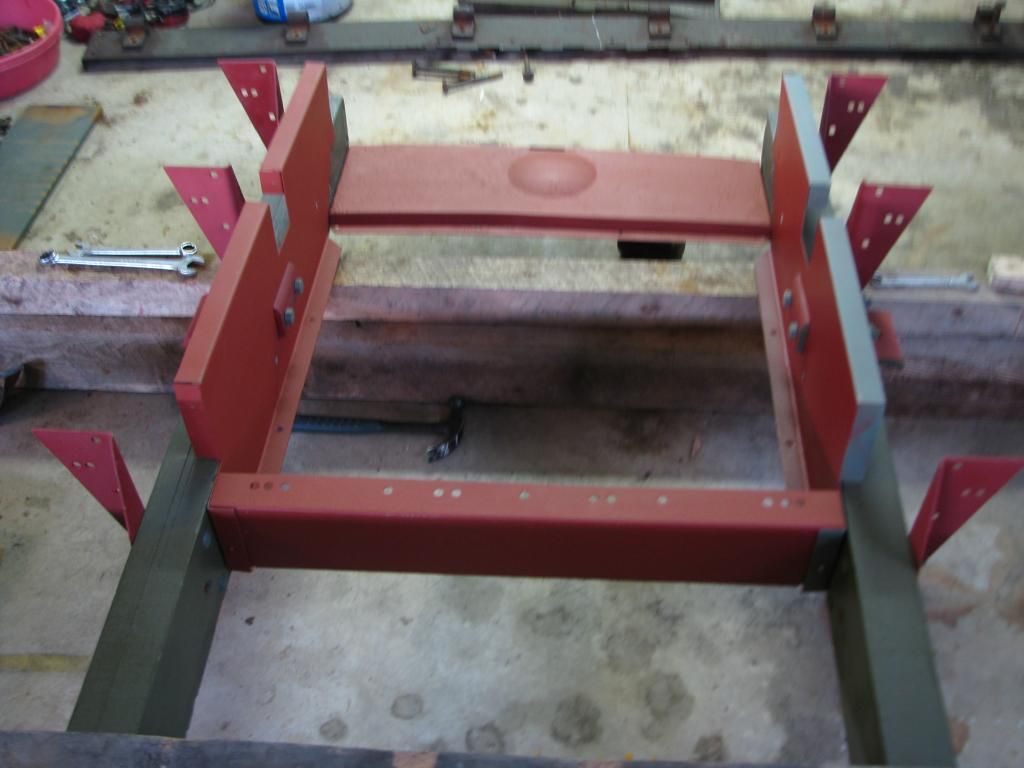
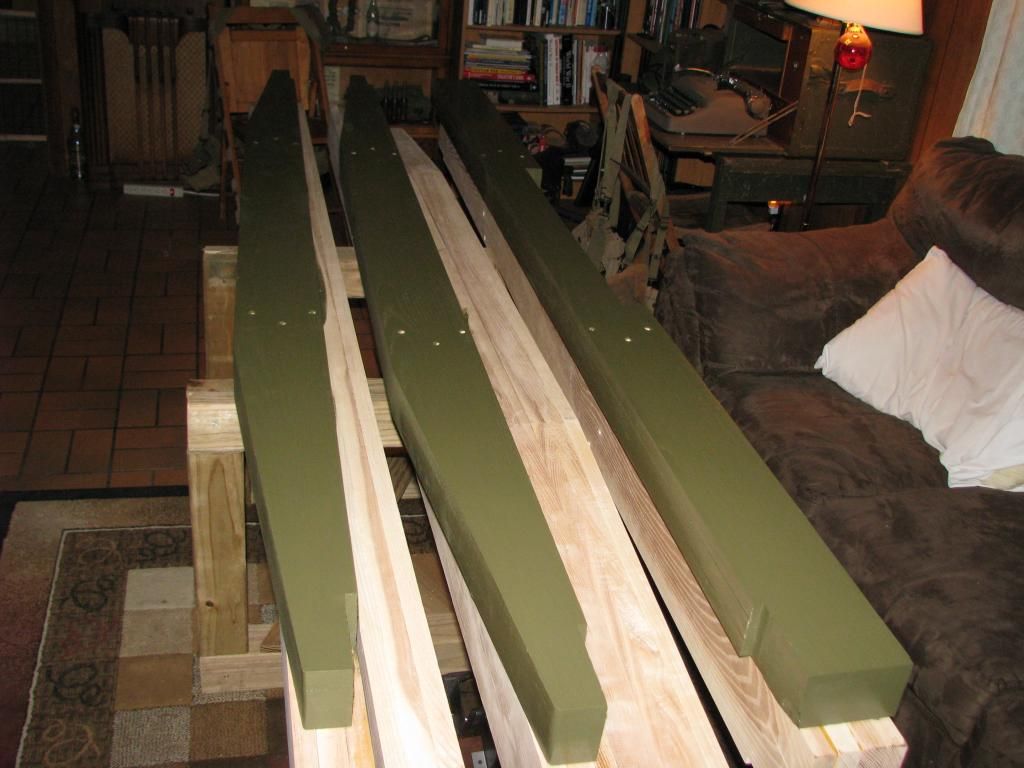
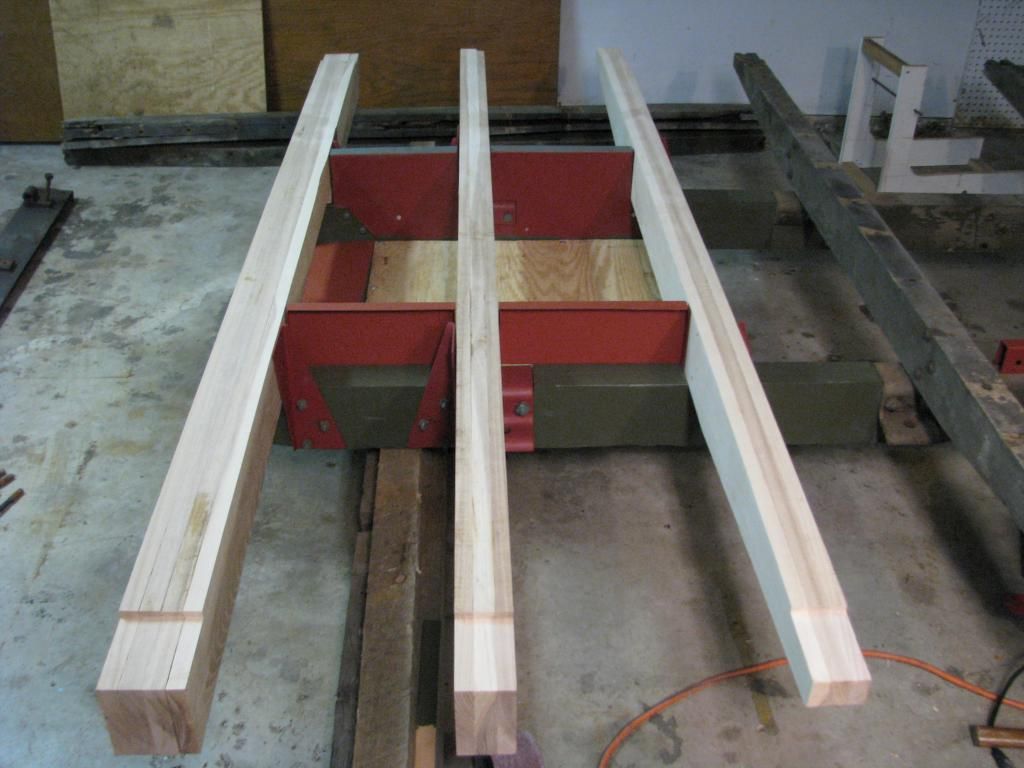
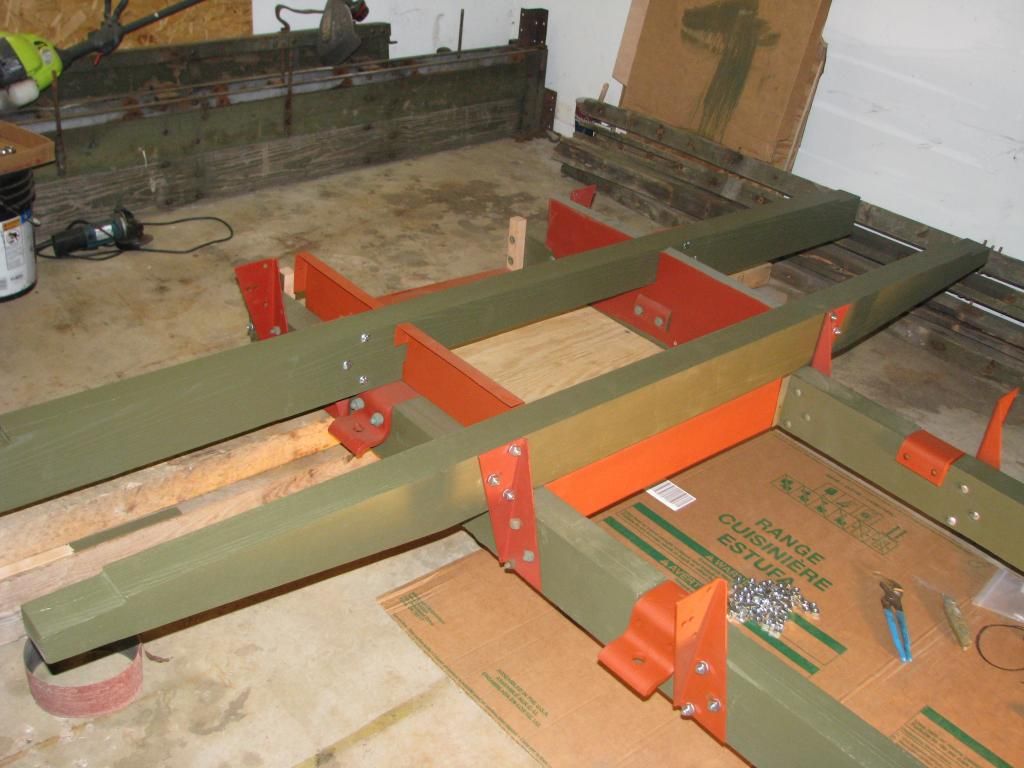
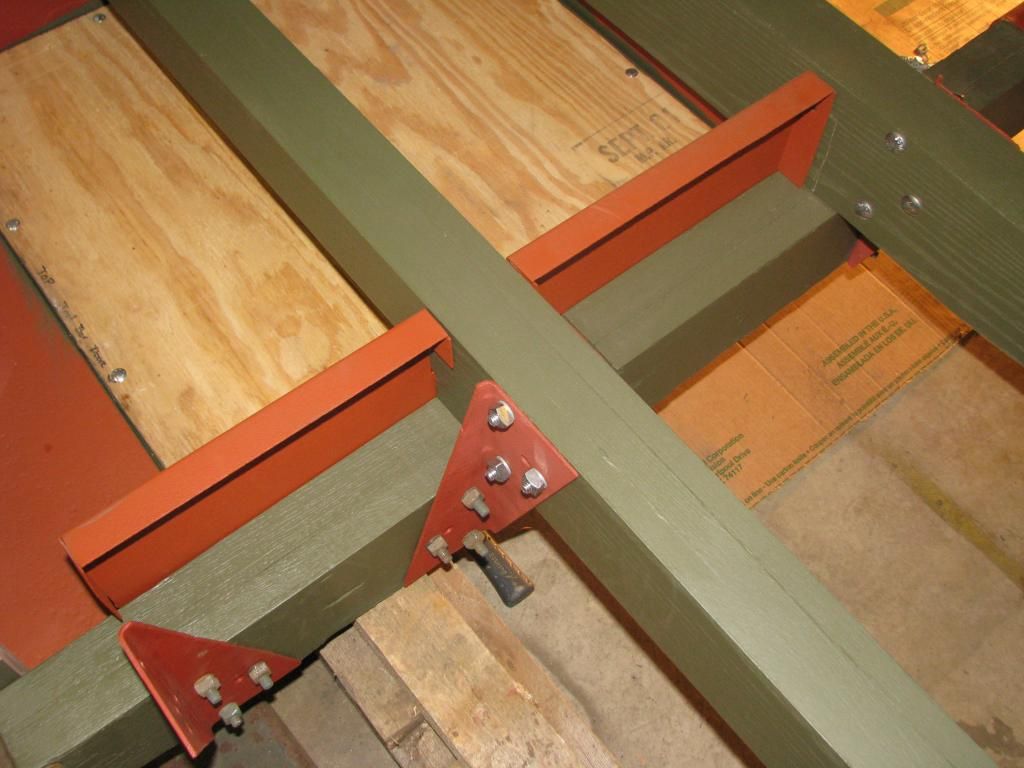
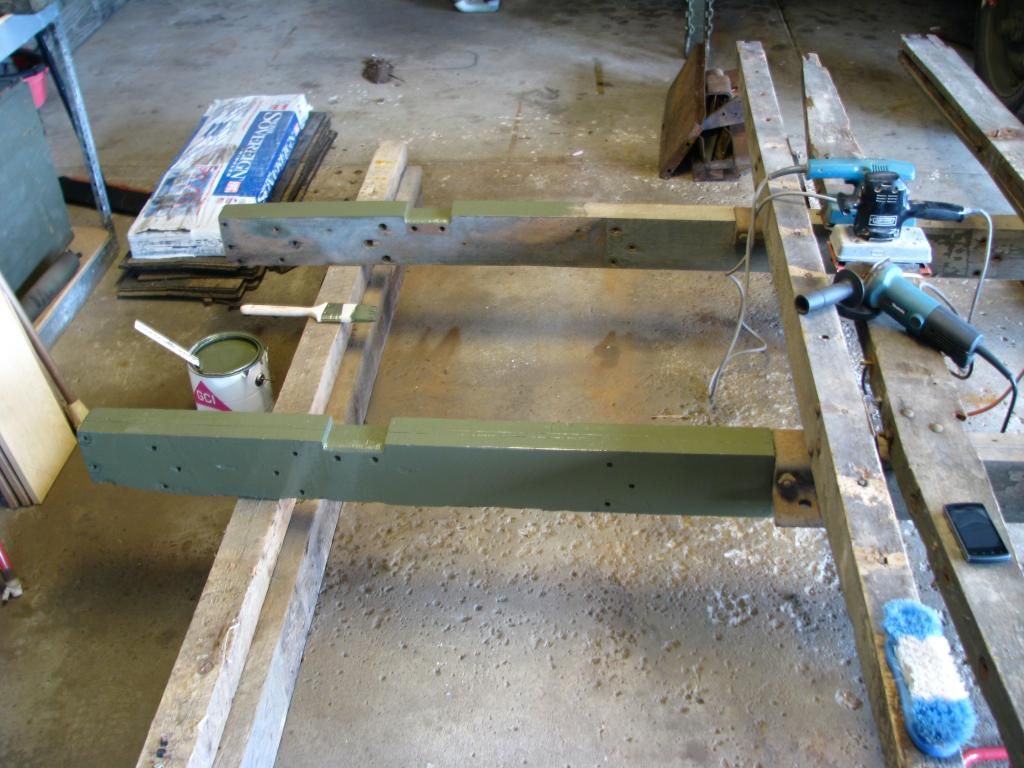
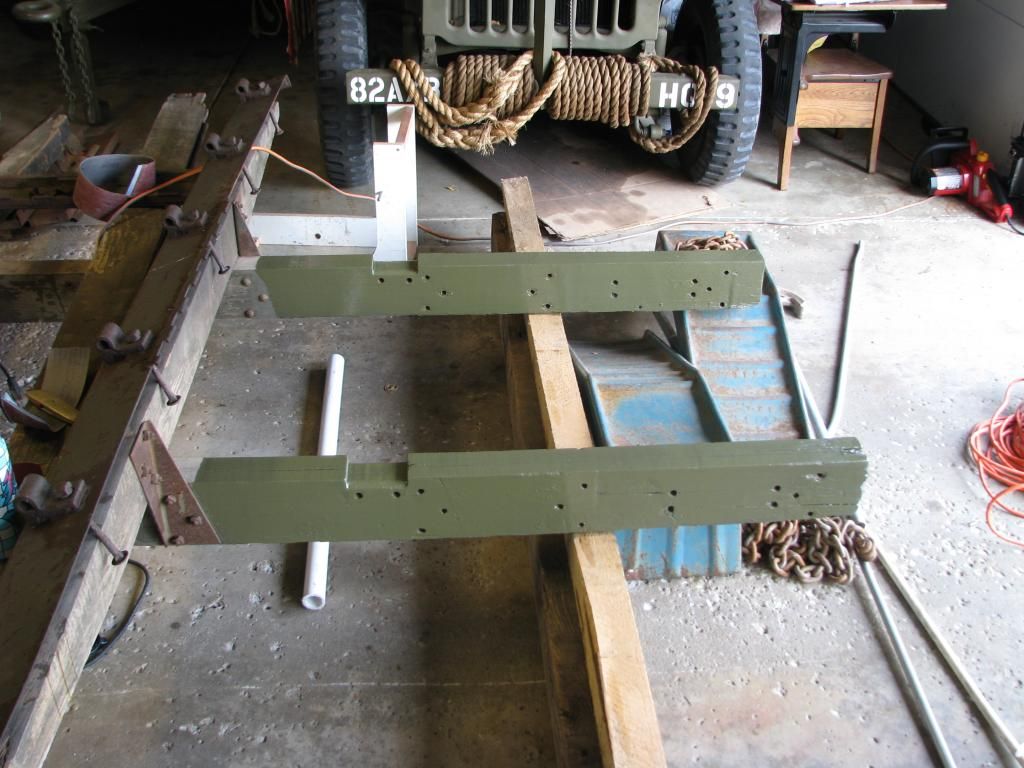
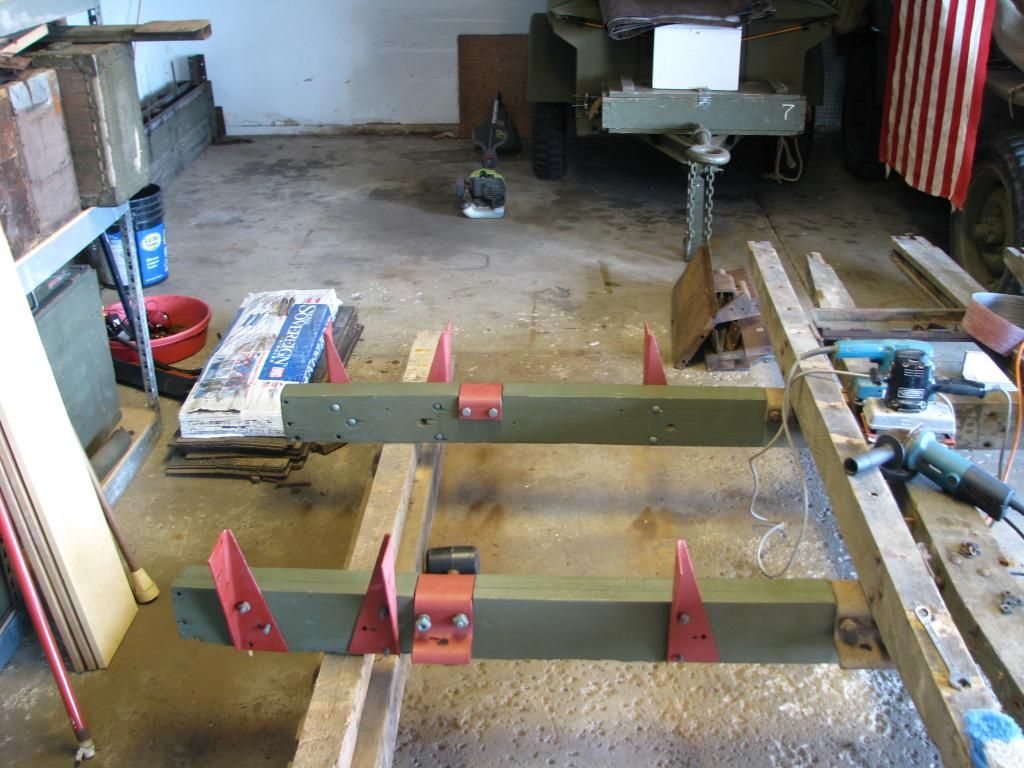
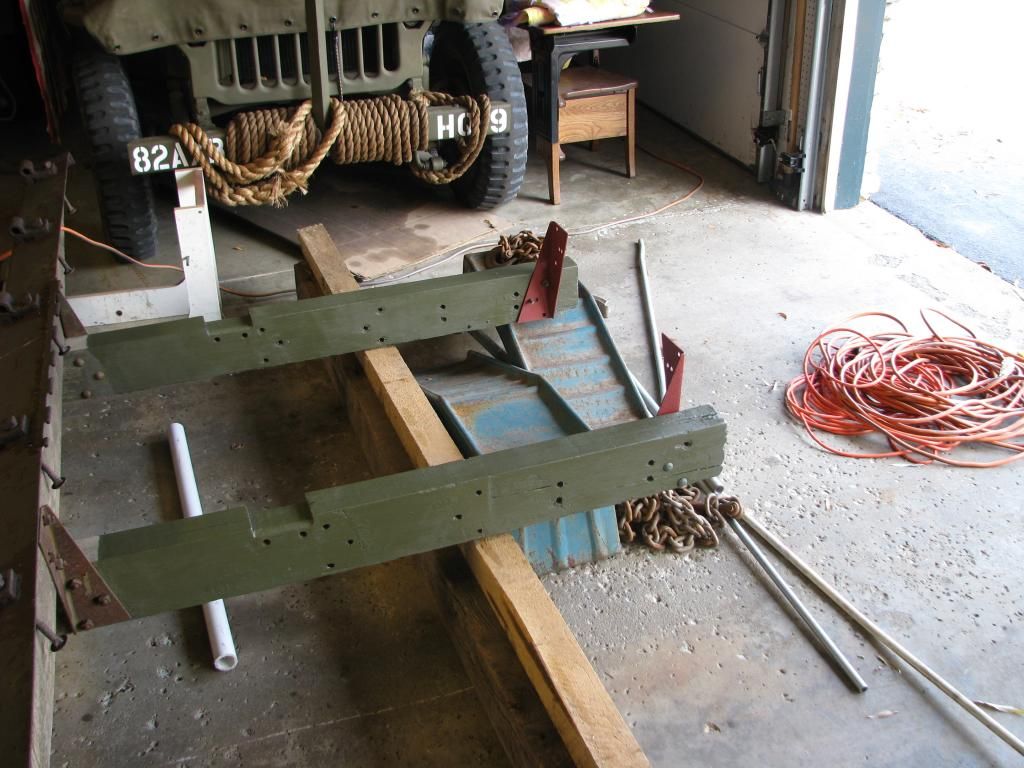
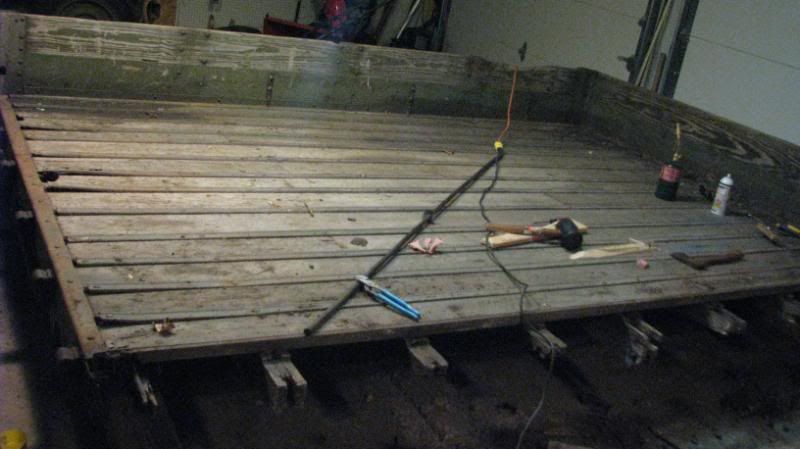
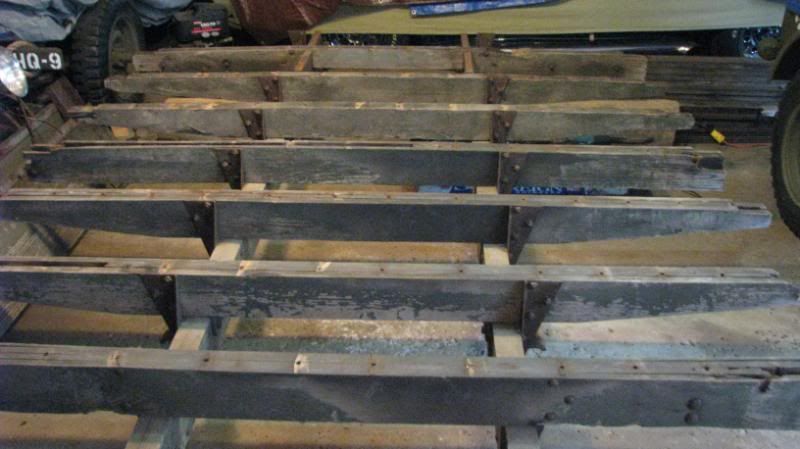
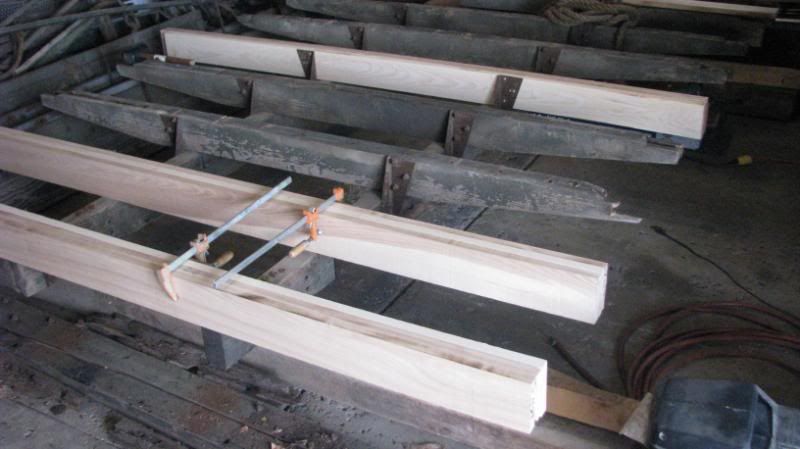
"Well, it has been a very productive month... I brought the new beams home on the 1st of January and laid them out in order... I test fitted some of the beams to make sure the holes lined up then I brought all the beams in my living room to keep them warm so they can be painted.. I decided to start at the toolbox and work to the cab... The first 3 beams were hand painted and kept at room temp for about 3 days before I brought them out to the garage to be bolted back on the main beams... I picked up a whole bunch of new carriage bolts, split washers, and square nuts to put it all back together... after the beams I finished were installed, I got the remaining last beam to figure out were the tail light brackets were mounted... once that was done, I put the brackets up and traced the out line of the bracket and the holes to get ready for drilling... once done, I tested the fit and installed the screws the attach from the bottom in... Now they are attached... enjoy :)"
-
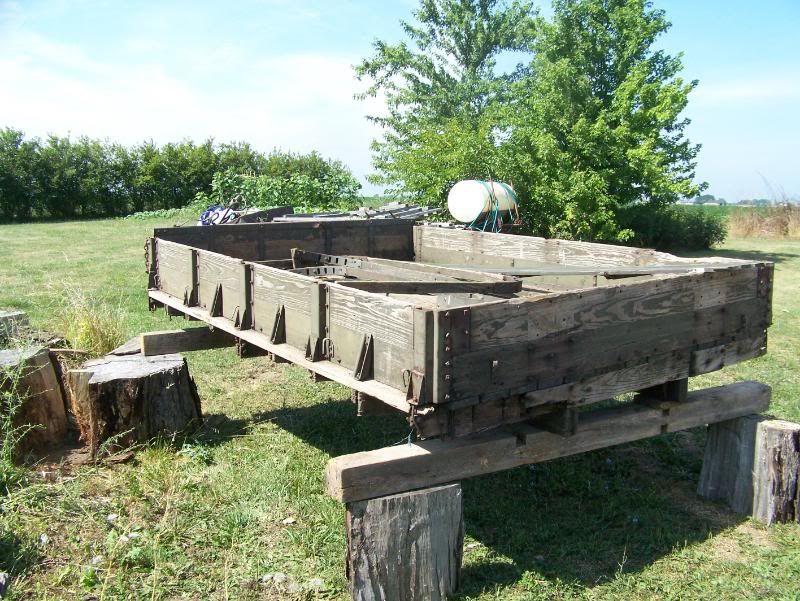
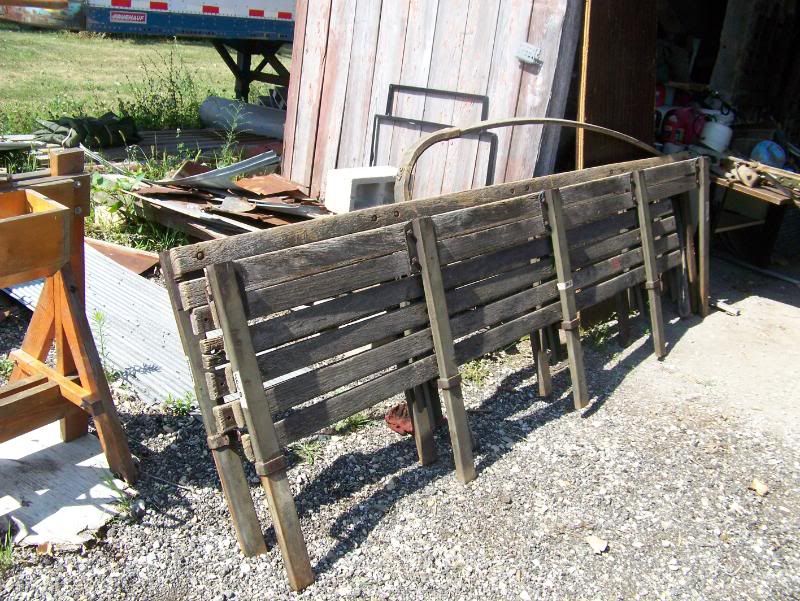
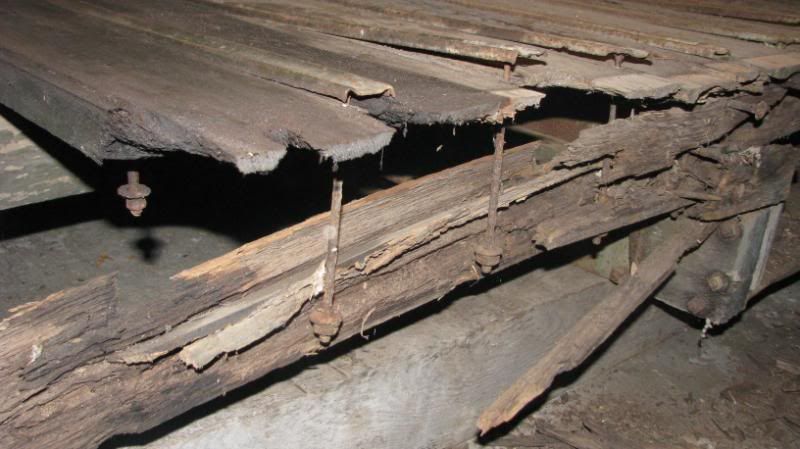
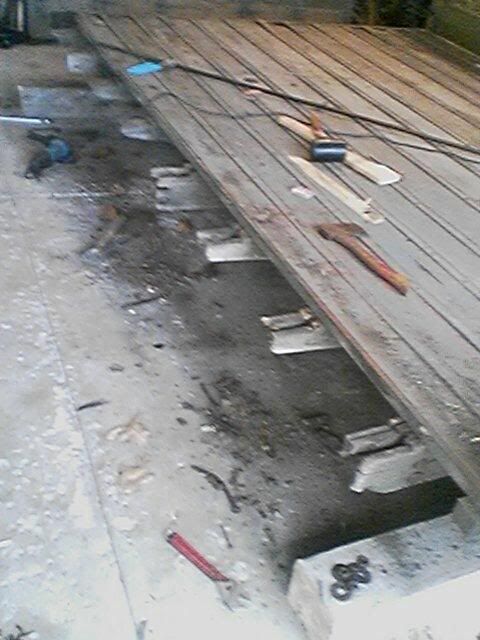
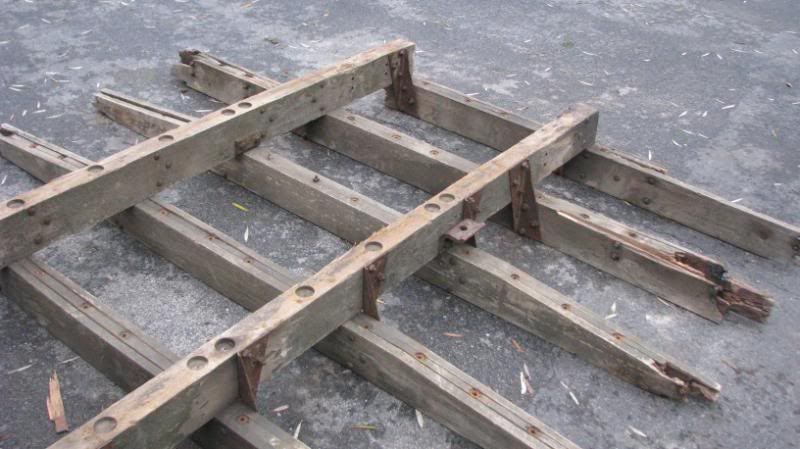
Got an update on the bed Here is from my buddy
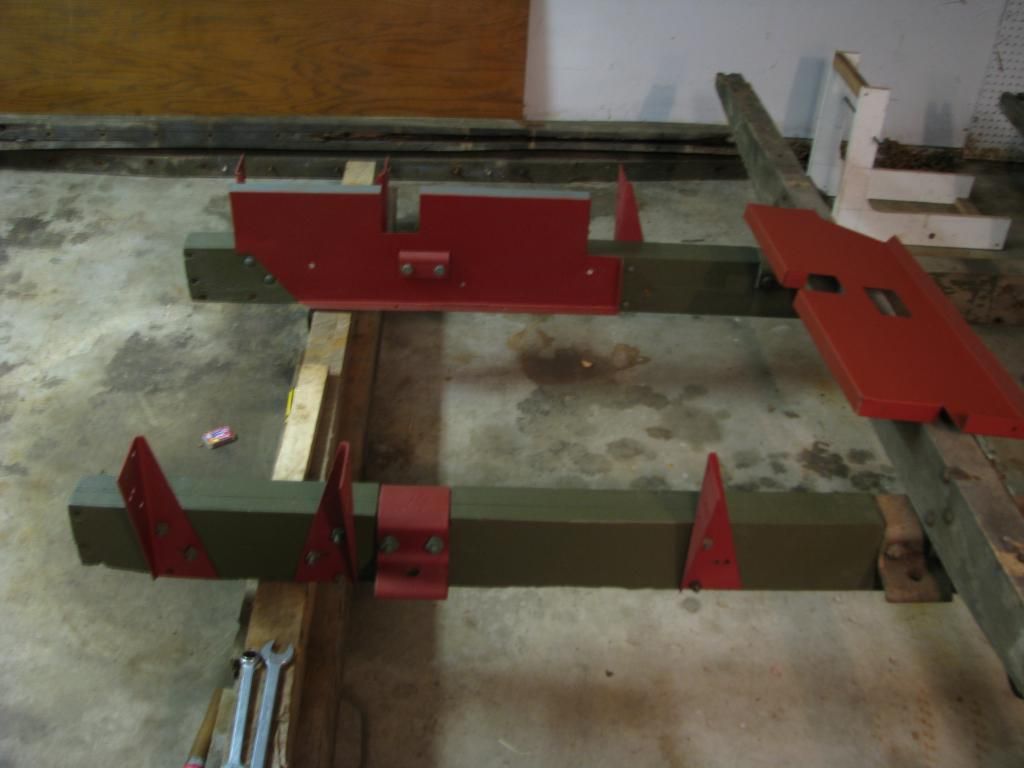
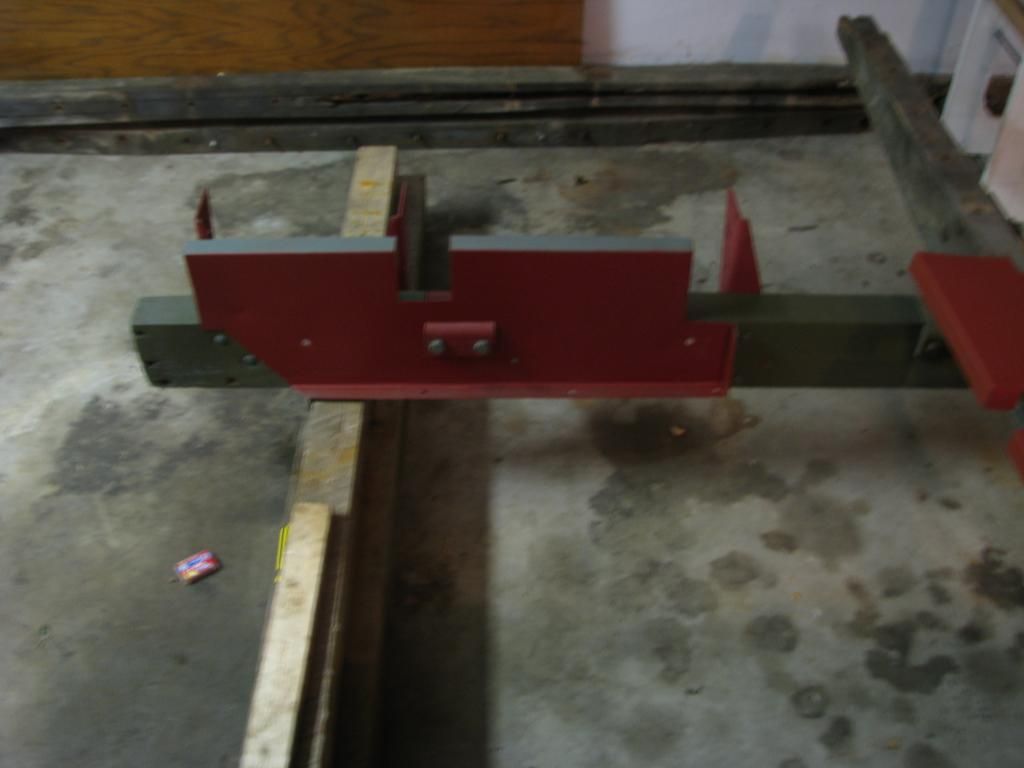
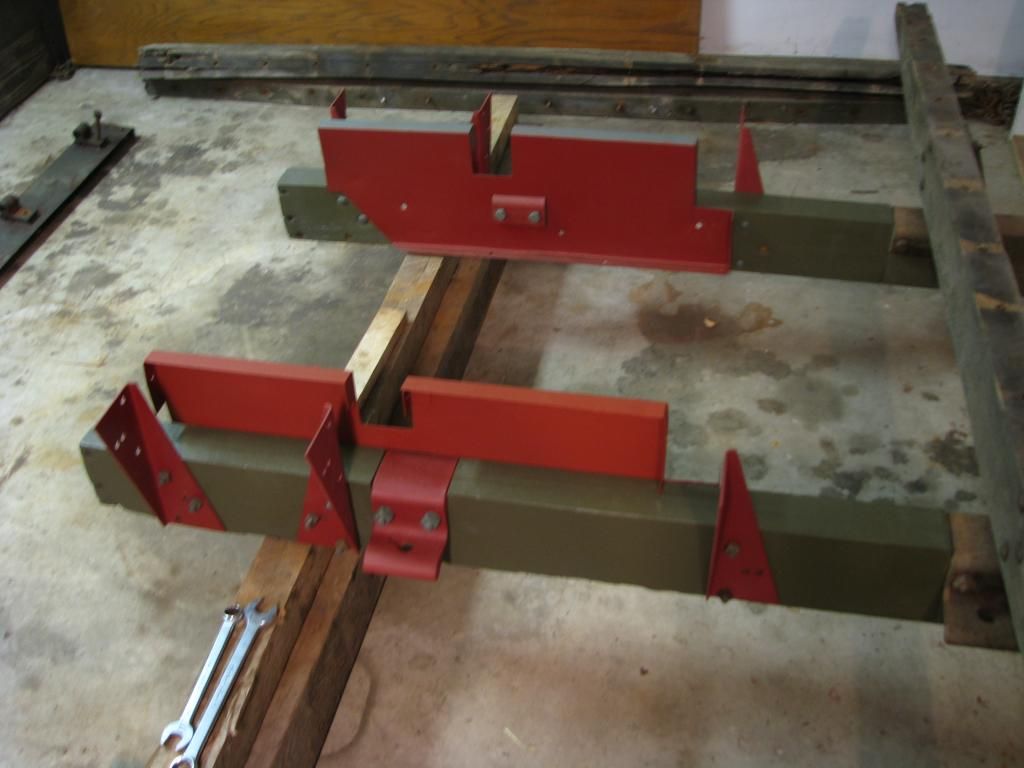
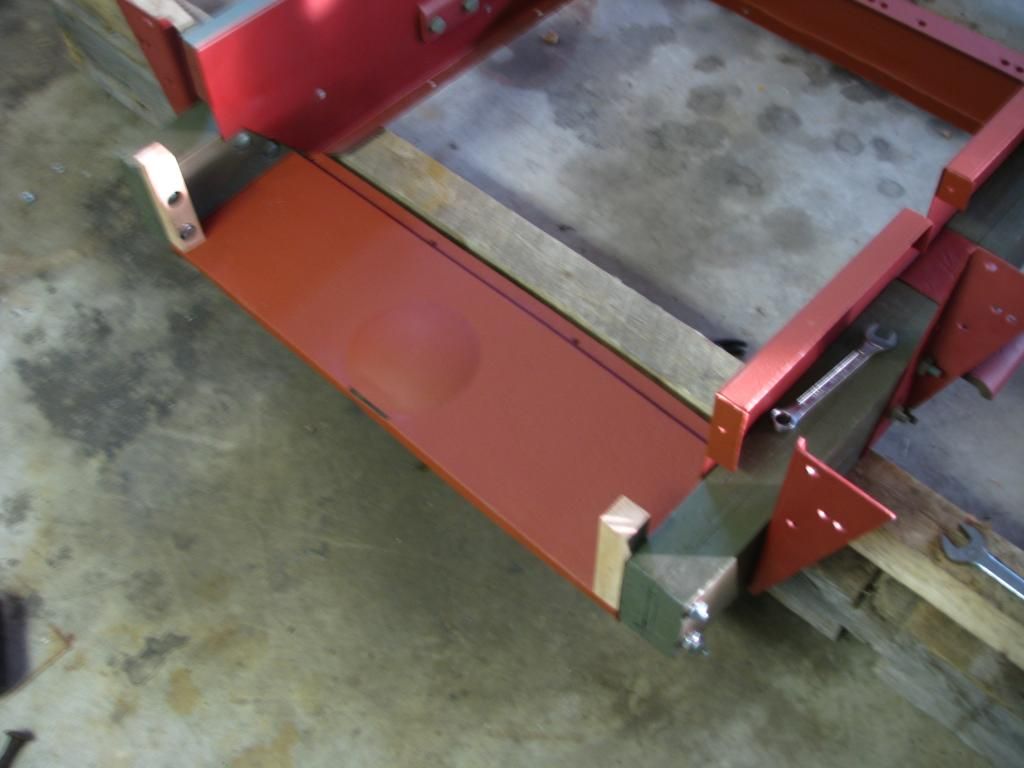
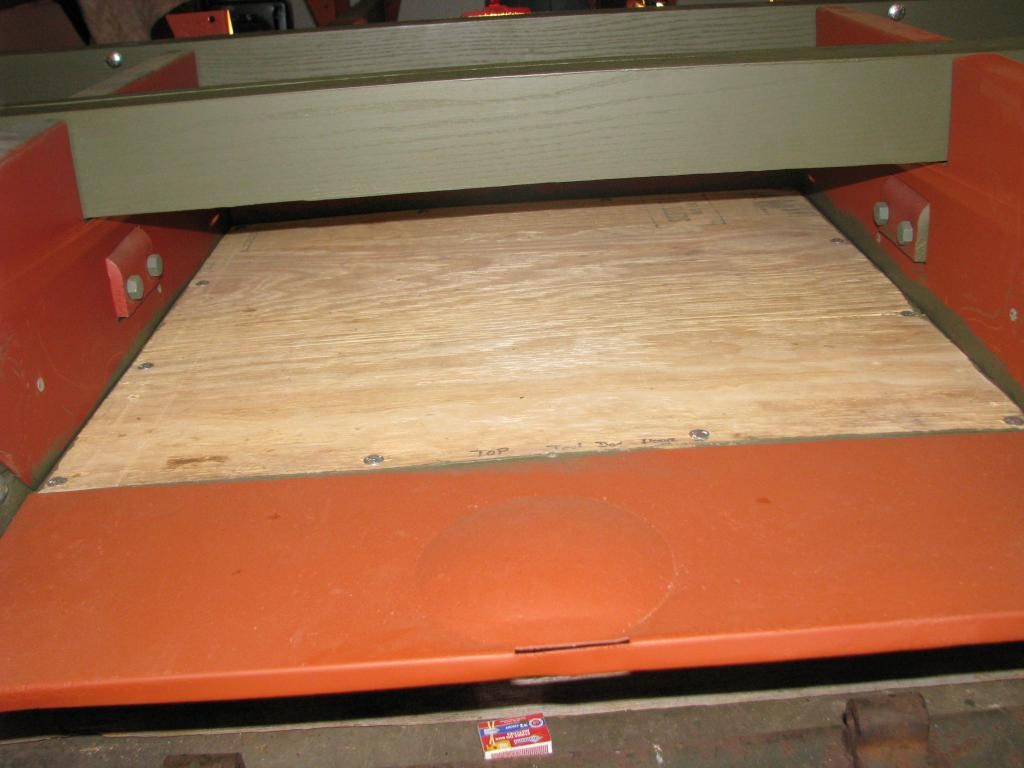
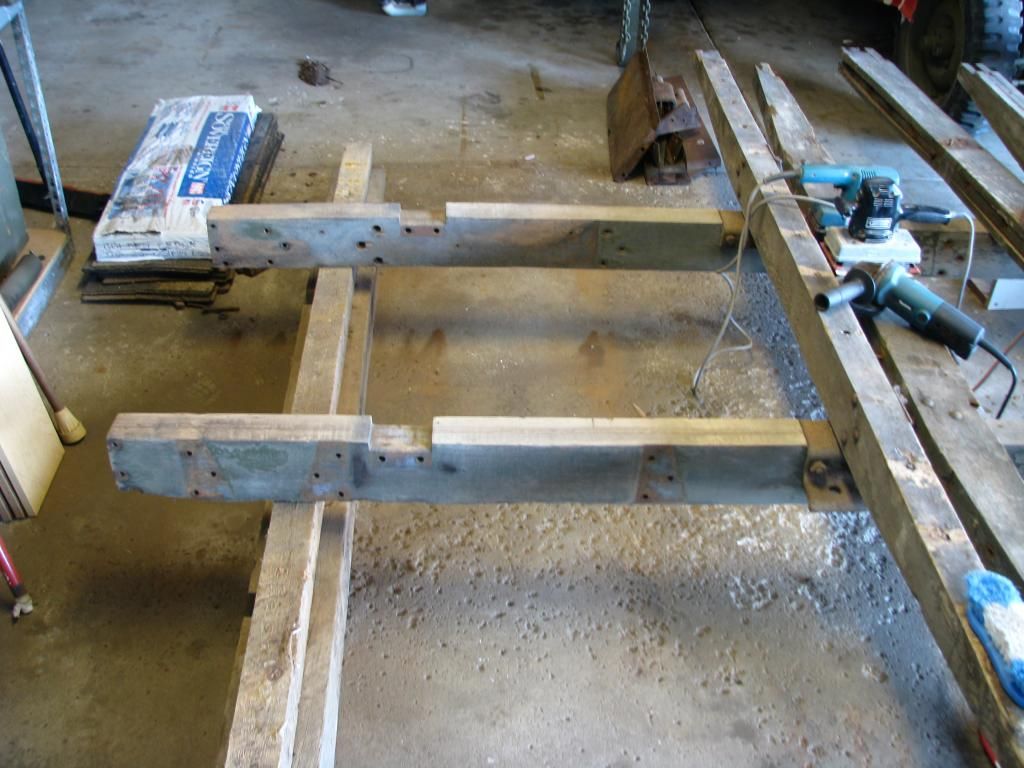
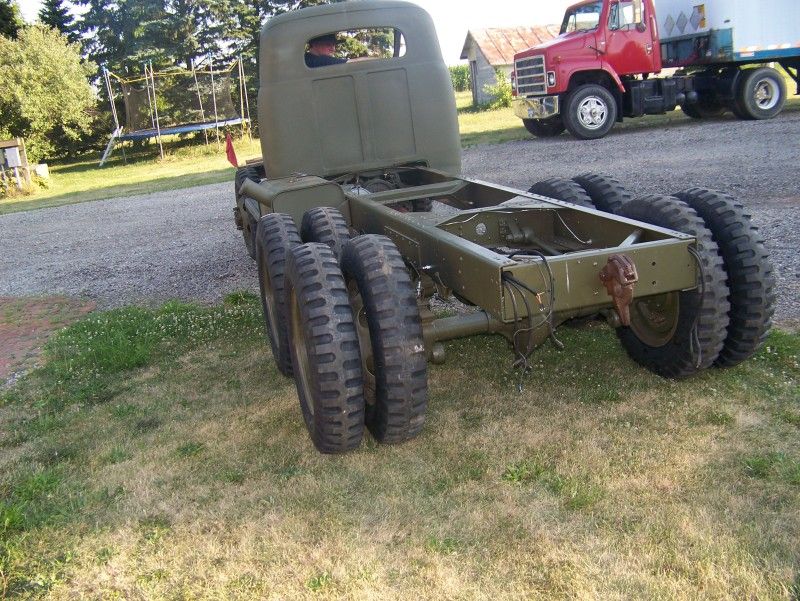
"well, the time has finally come to rebuild the bed... most of the parts have been sandblasted and now are being put back on the original main beams... all of the cross beams are brand new and are waiting to be drilled and painted... I left 2 beams on to keep things straight and they will come out when the new beams are in there place... next step is to put the toolbox liner back in and put the floor in, then the beams go on...."
-
Well today was a productive day.
Garrett came into town and we worked on Phantom for almost all of the day today. Yesterday was a play day he got to drive her all over the place.
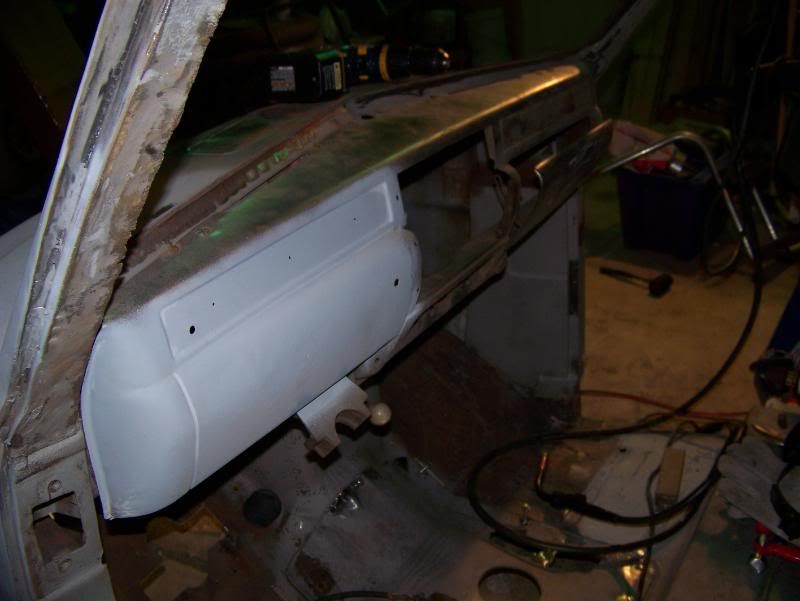
Today we worked on the rest of the interior door panels and got those set along with the panel around the steering column and pedals. Only problem with us doing this was we lost our only heater into the cab. :cry:
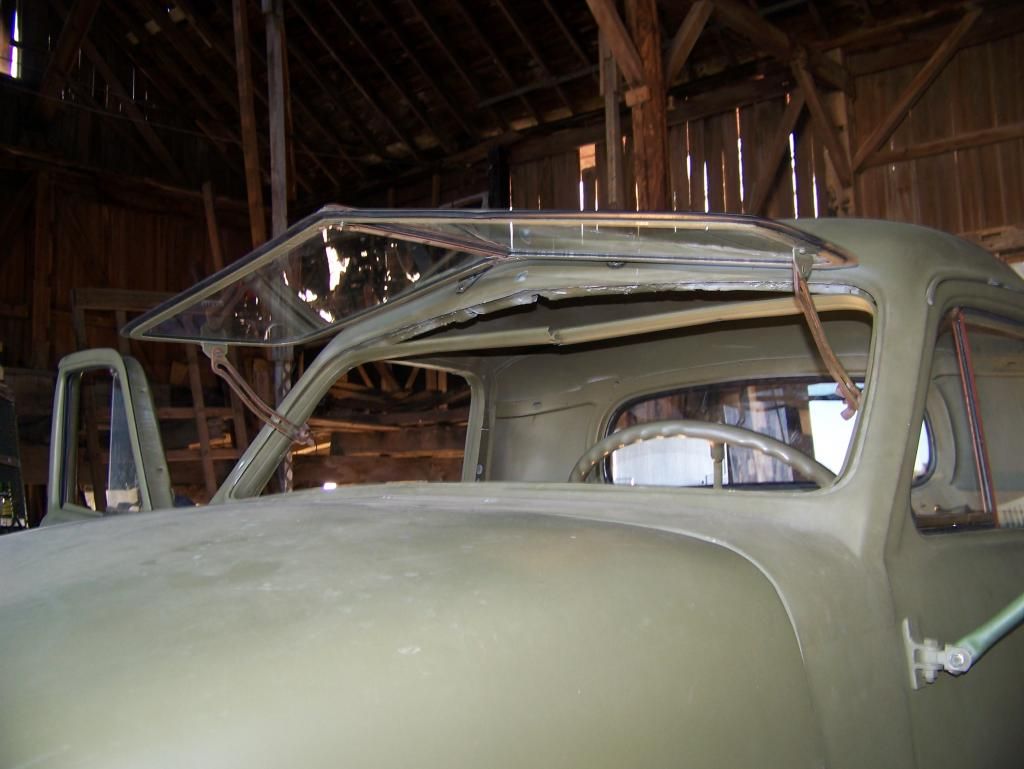
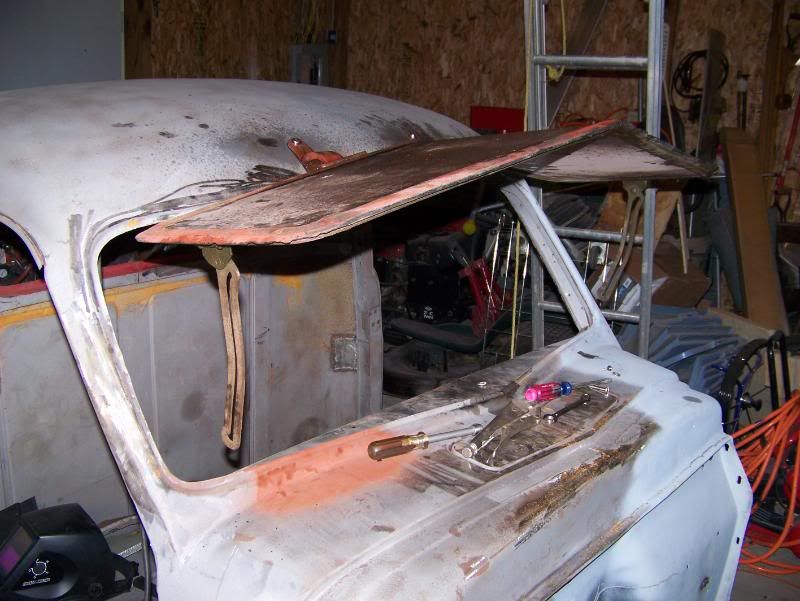
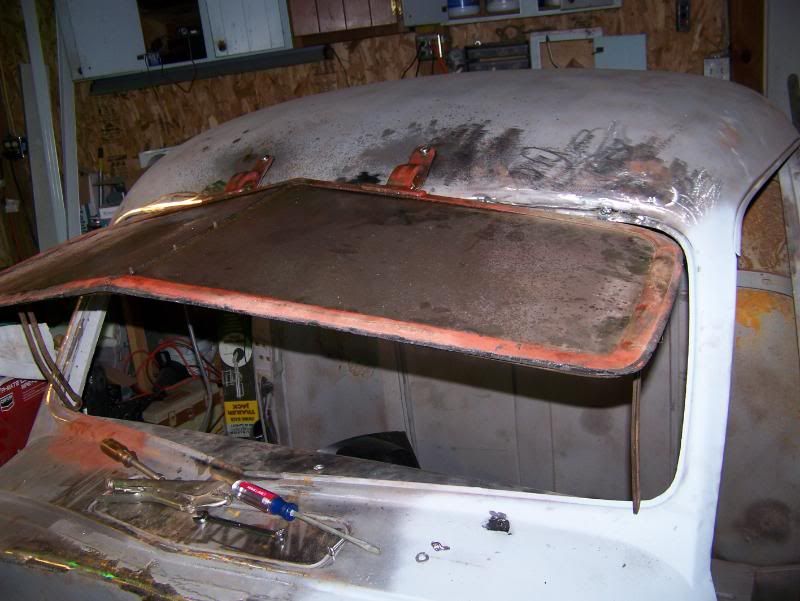
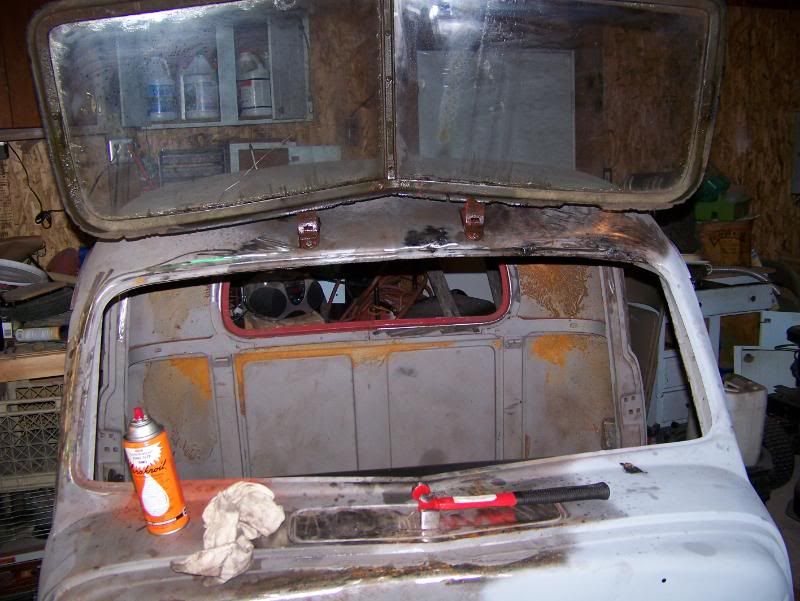
But we also worked on the windshield and were able to get that working so we welded the brackets into the cab pillars and attached the holders she is coming along looks like it the home stretch. Talked to my buddy and the Bed should be coming along real soon since the wood is done now. I cannot wait then Phantom will be done. Oh and the head liner will be here later this week. Along with the wind lace.
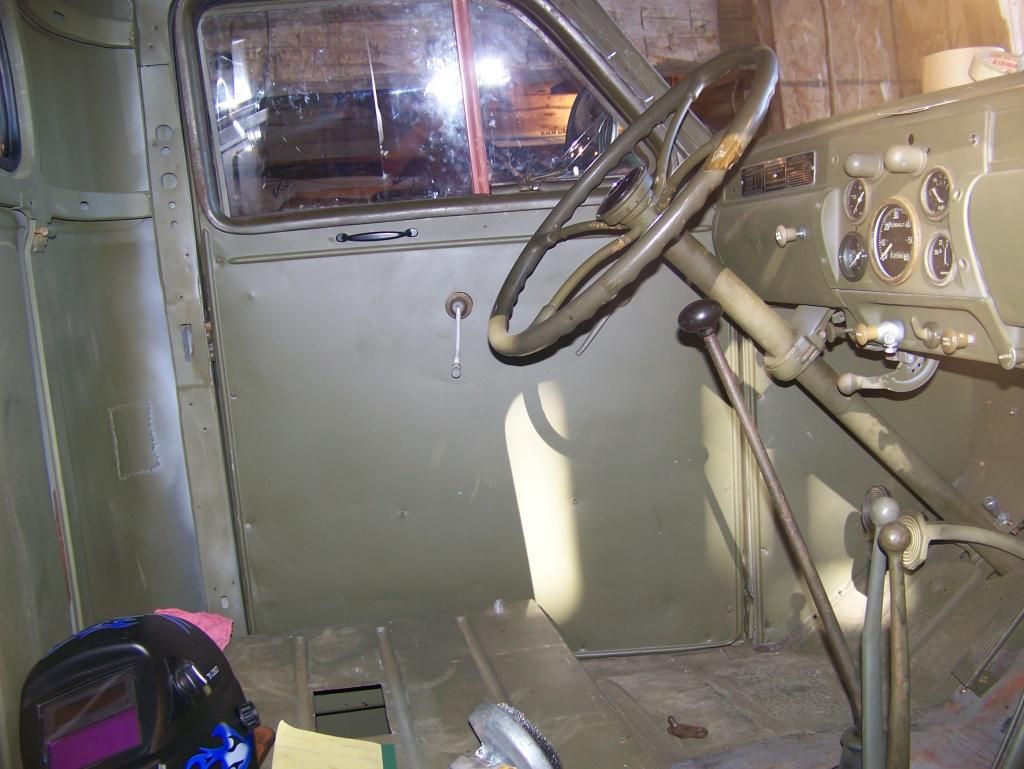
Welded up the support for the windshield

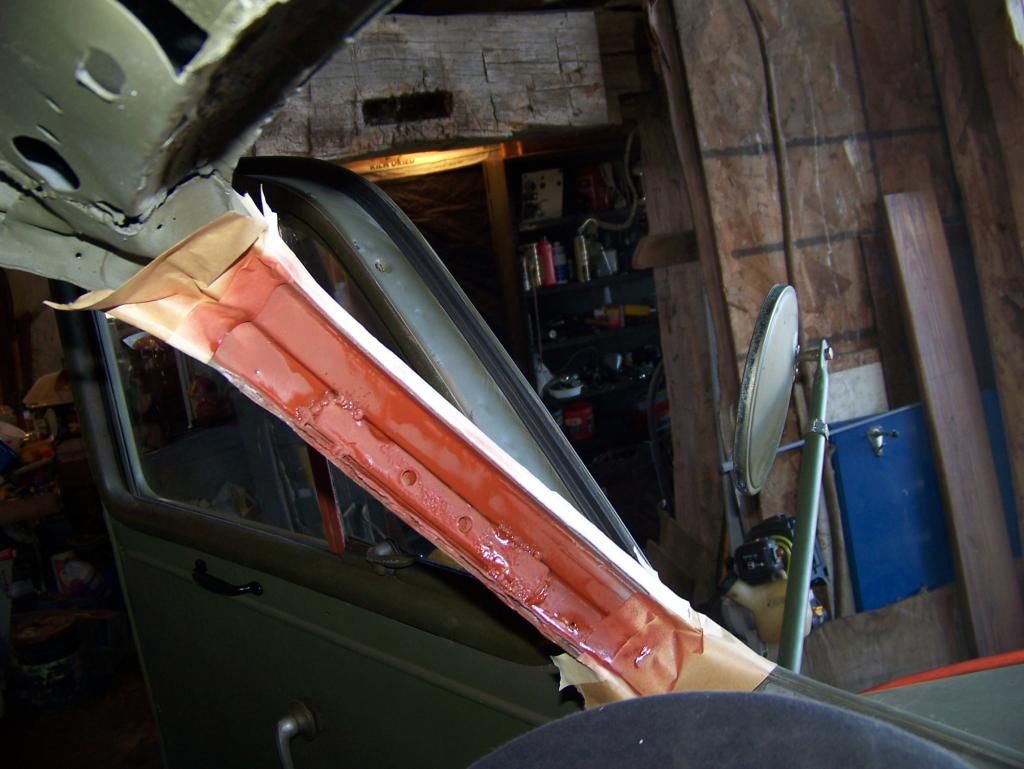
Here is the windshield opened
-
Well here is todays update .......
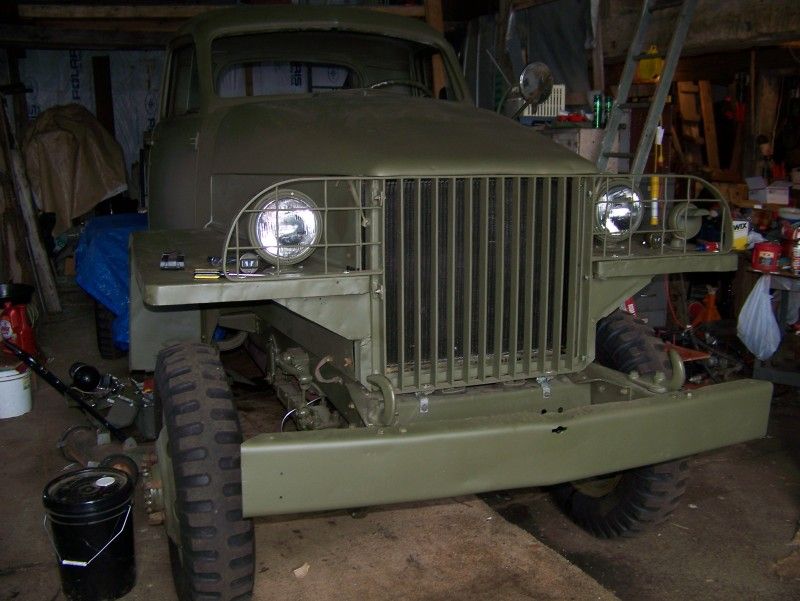
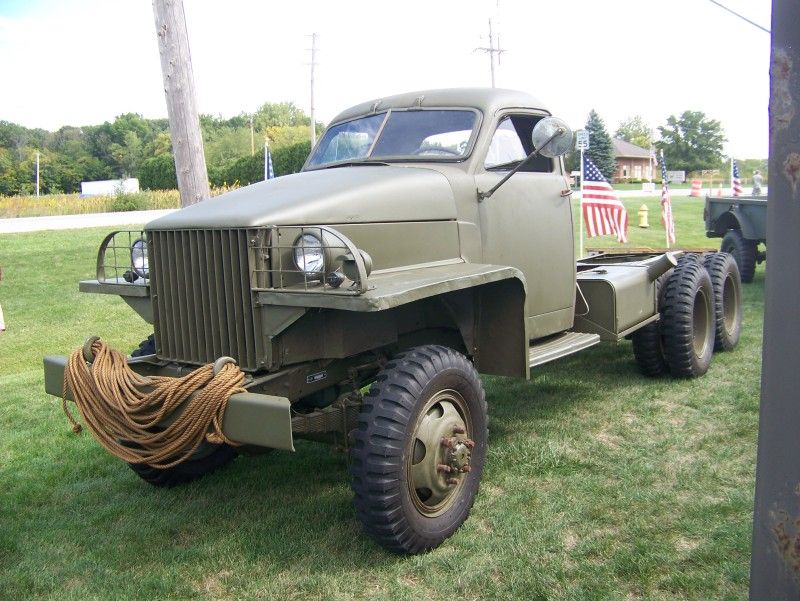
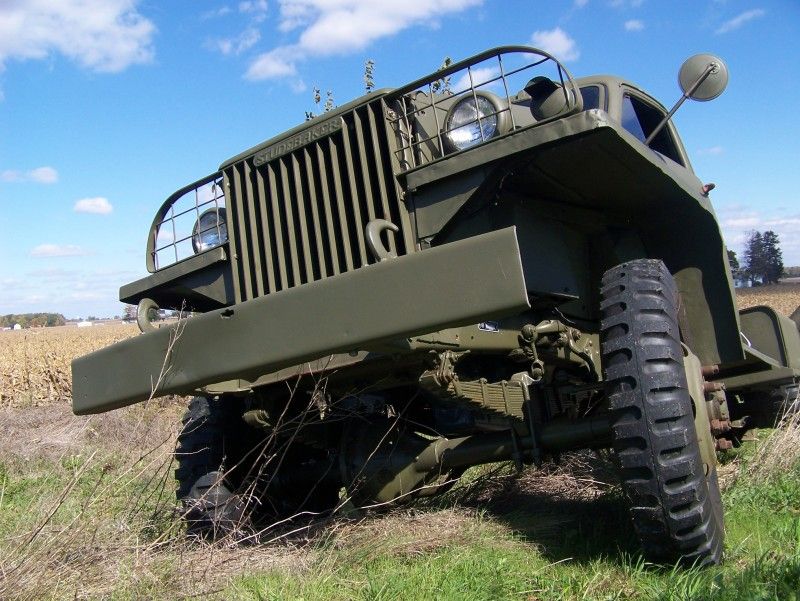
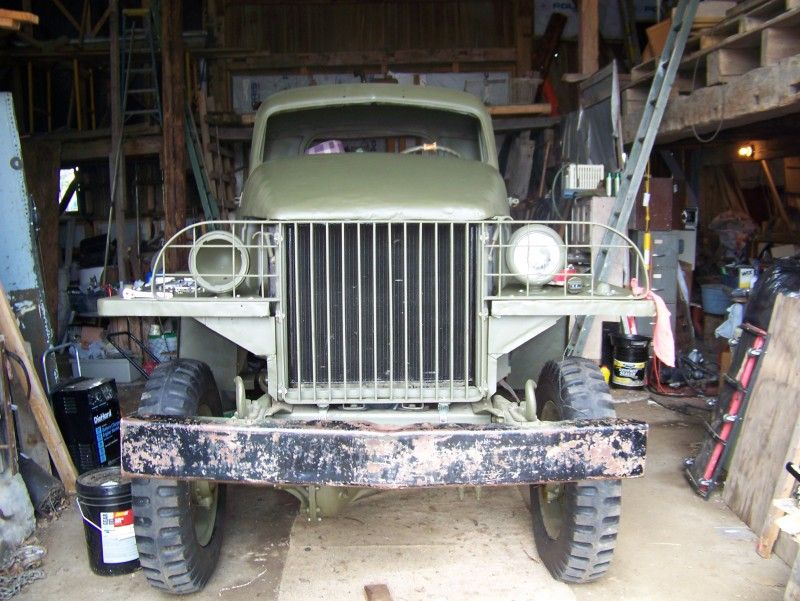
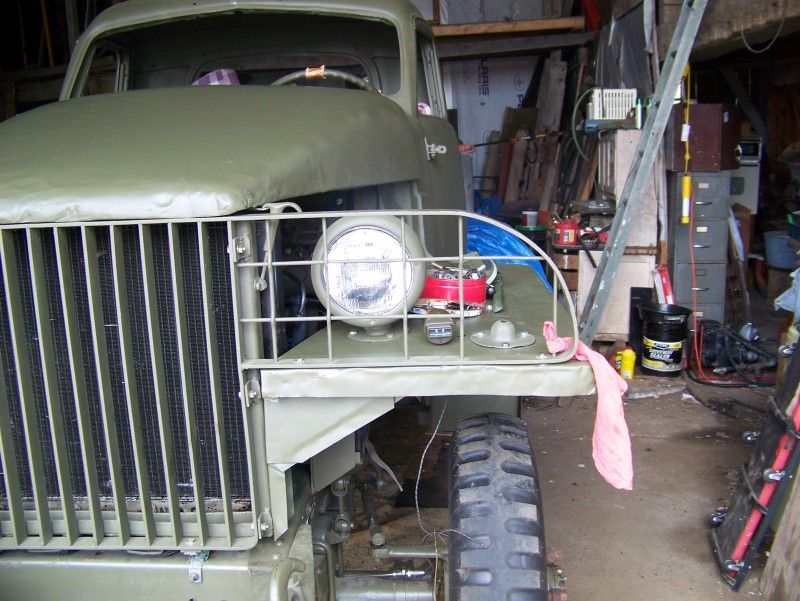
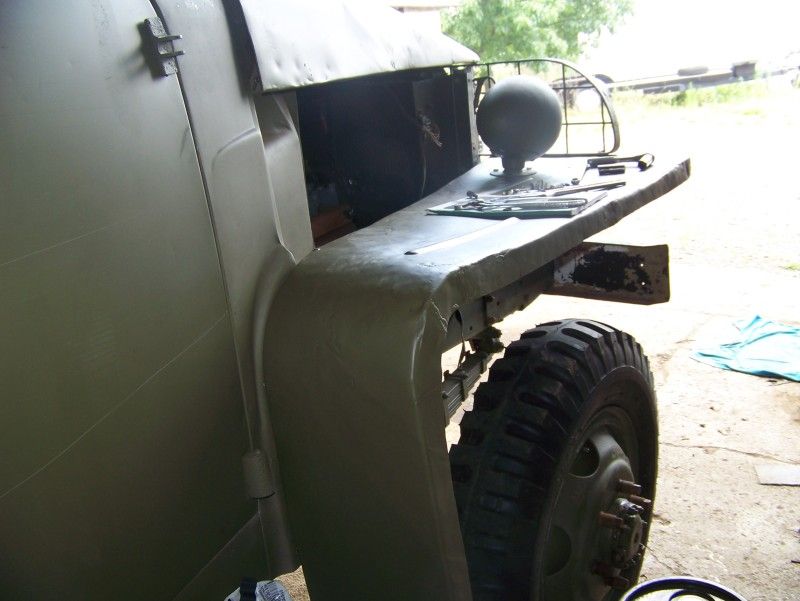
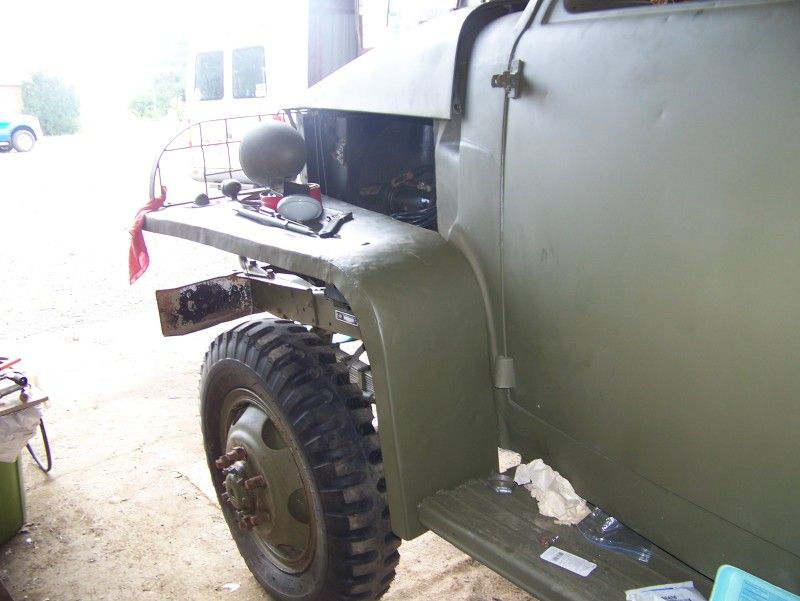
Picked up the hood, bumperettes, and new upper engine skirts from the blasters and had them painted and then installed them today.
As some might not know we picked up a second Studebaker bummer is that she has a cracked frame but lots of good parts that we can use.
Here are the pics of the new 1945 Stude
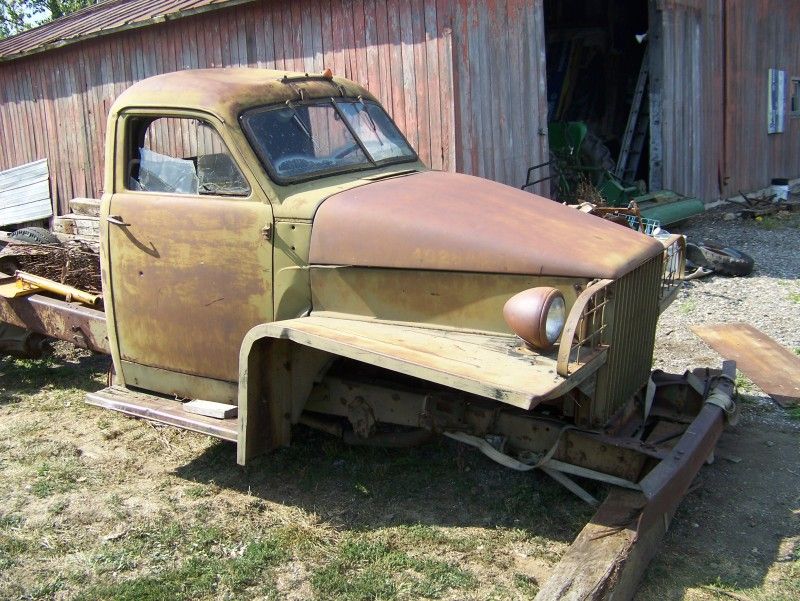
Now the tear down we made quick work of her

Now here is the work done today.
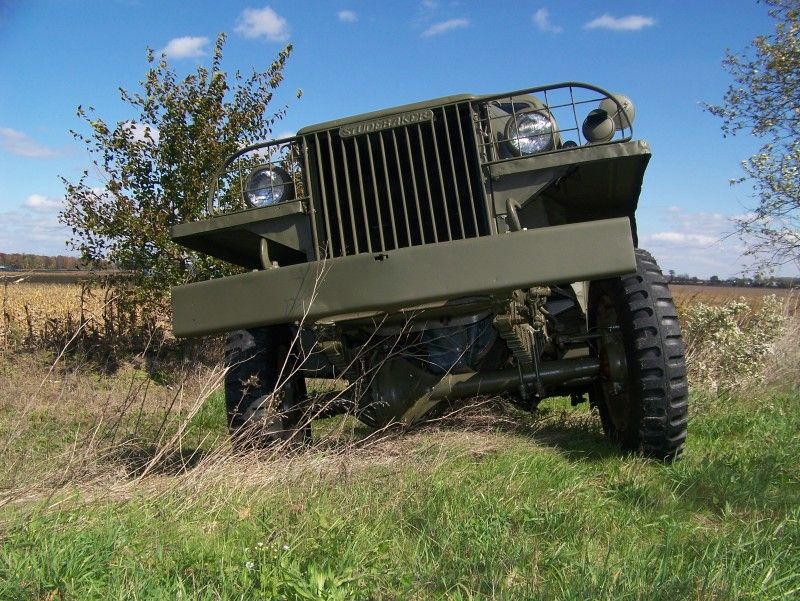
Straight hood before blasting and paint
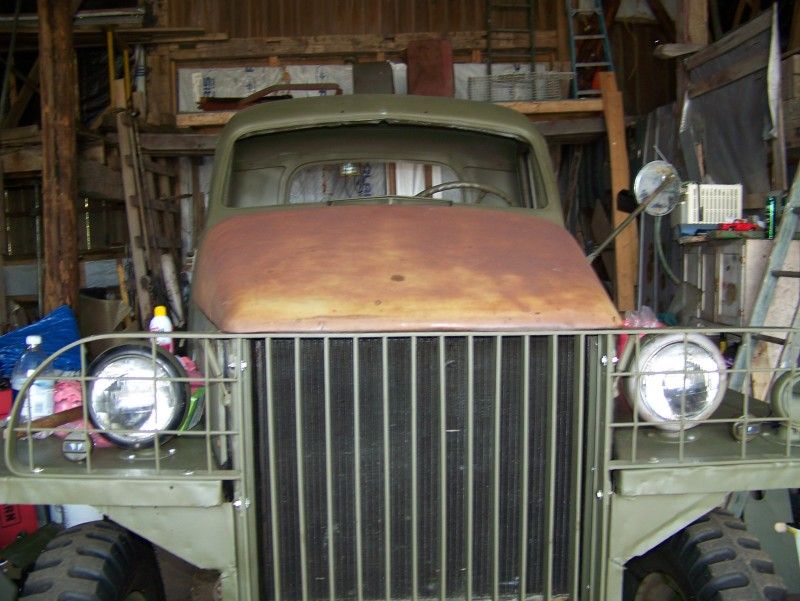
After blasting and paint
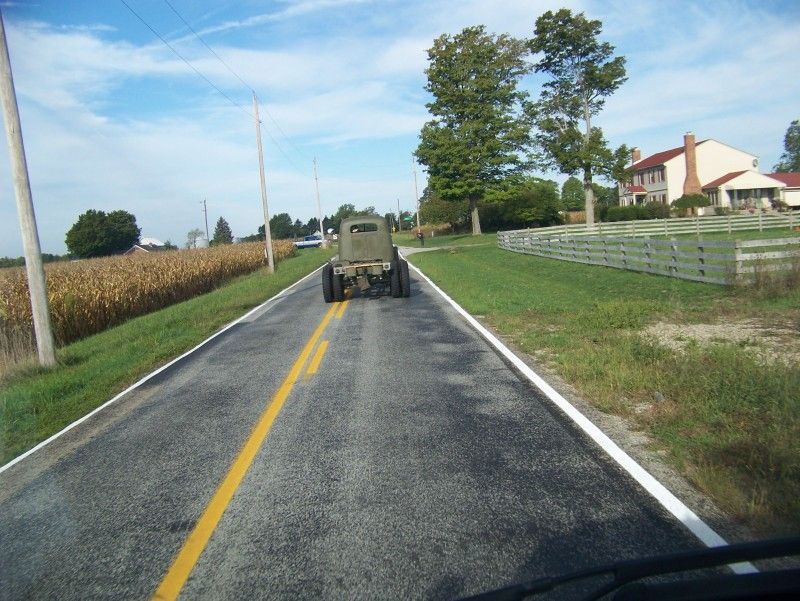
Well today was fun she really got to stretch out her legs today made a trip of about 16 miles and then returned. We had no problems and she ran great both ways. This was the first time to an event still need to get more done but had many people like the truck here are some pics

Well did a little work on Phantom today. Got the brakes to work better as I now have a much better pedal.
Also installed both roll up windows and now i just need to get the rear window in place
Here are some play shots from today.
-
Okay this is going to be a long post as I have not updated this post in a while so I will cut and paste some of the highlights of the build
"Well here are the photos that have been asked for we now have all new rubber on the ground and all the way around
And for the guys that couldnt get enough of our new seat cushions here is a better shot
 "
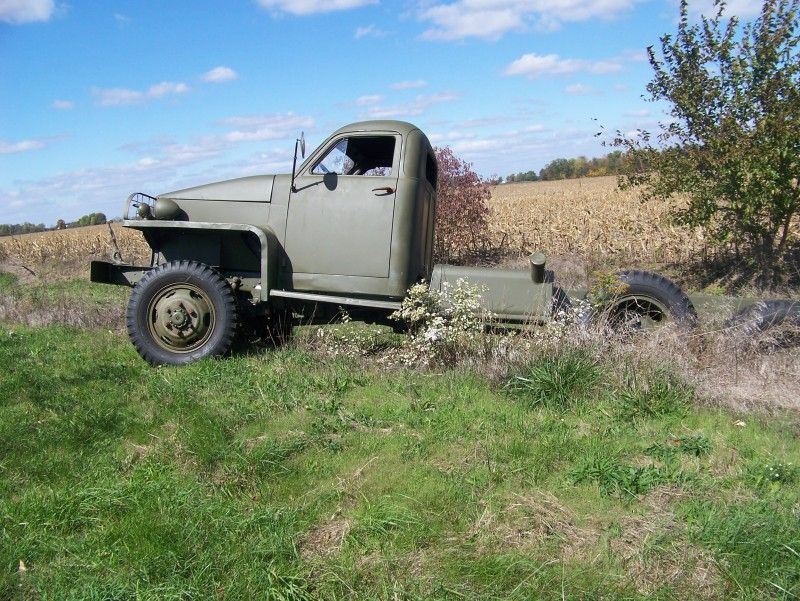
"Well told you that there was more to come. Here is what was done today. Installed both the fenders along with the hood (but we are running into a snag look at the photos)
-
Well we finally did it.. She was moving under her own power. We still have to get the clutch going as its not there yet but that should not take that long enjoy the video. I know I did .....
Ken
-
Lets see for today there was alot of work done
Welded in the header on the drivers side.
Also mounted the transmission cover but still have some work to do
then it was onto the windshield this was fun
Also mounted the dash to see what it looked like fit really nice
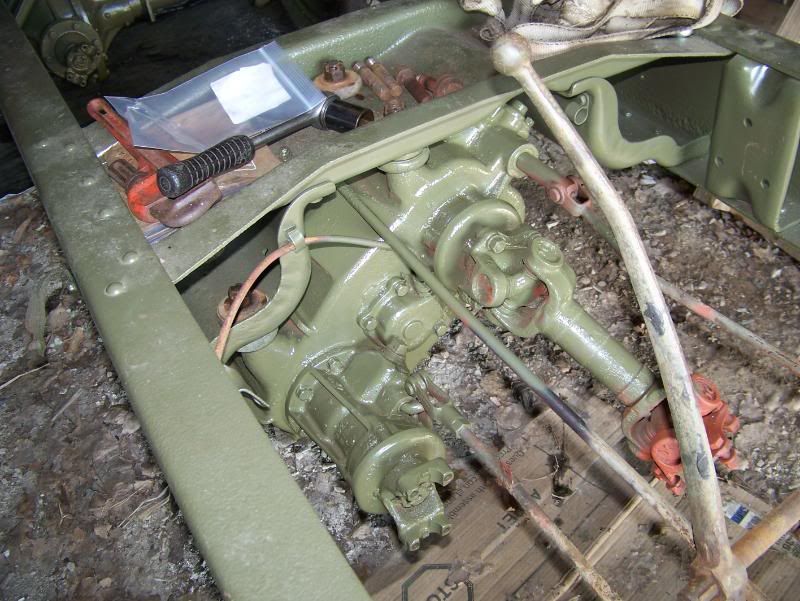
Hooked up the parking brake today along with the NOS HI LO lever and the teeth for the parking brake is also NOS as i found alot of them
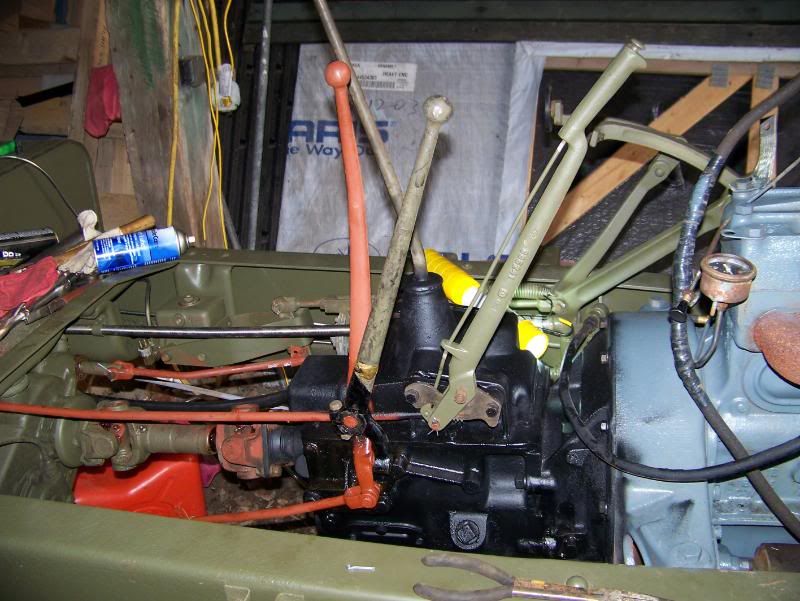
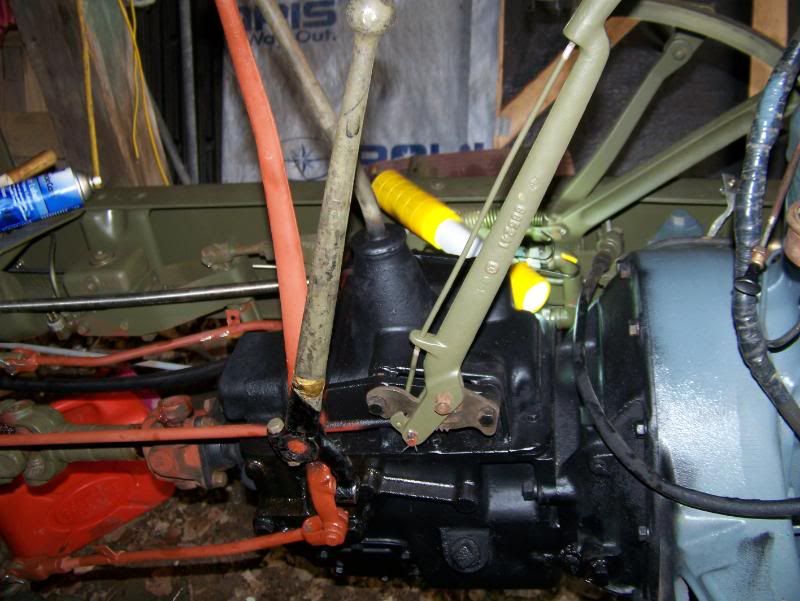
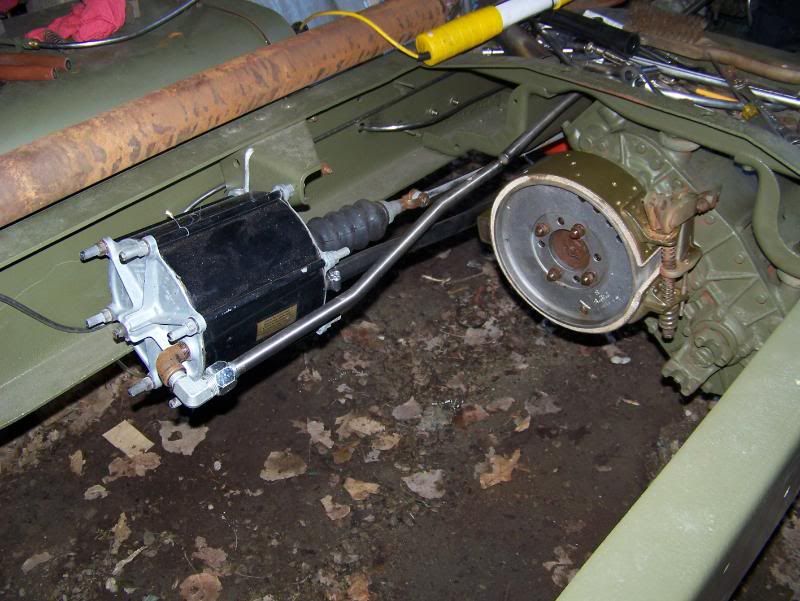
Then it was the NOS Steering Gear that I installed today
Only busted 2 knuckles today.. DARN STEERING GEAR!!!
 :cry:
:cry: Ken
-
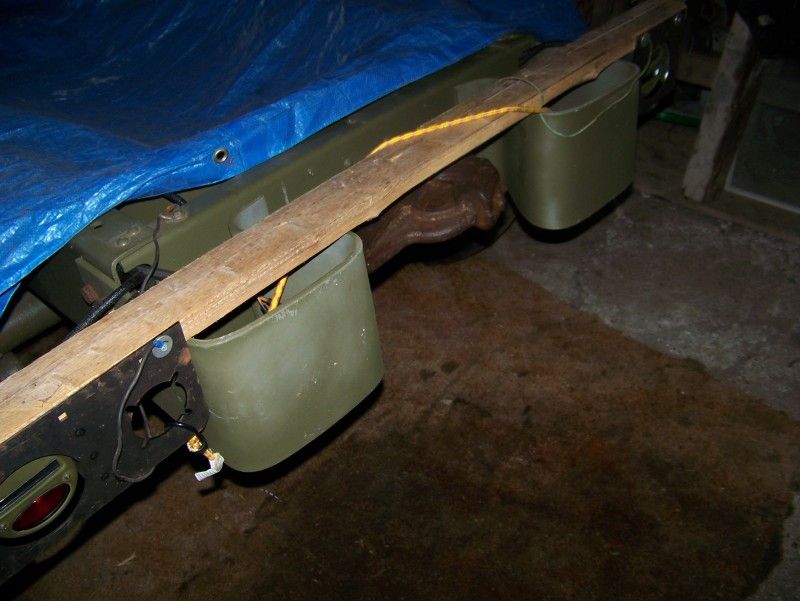
Do the pockets on the front have zippers?? They look real close to Mountain trousers
Ken
-
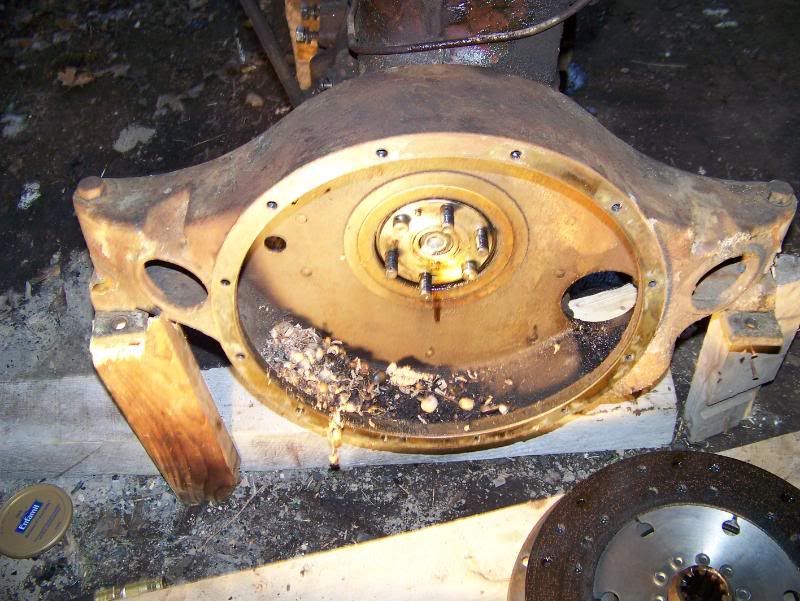
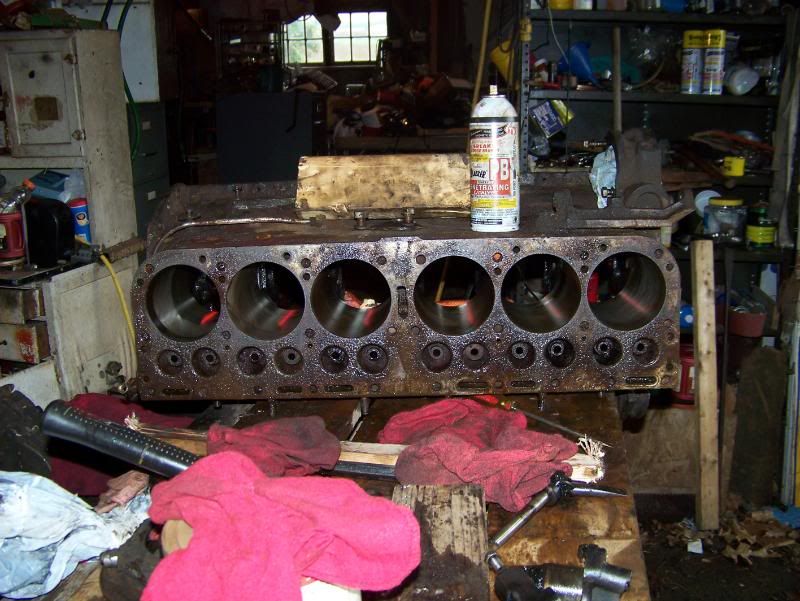
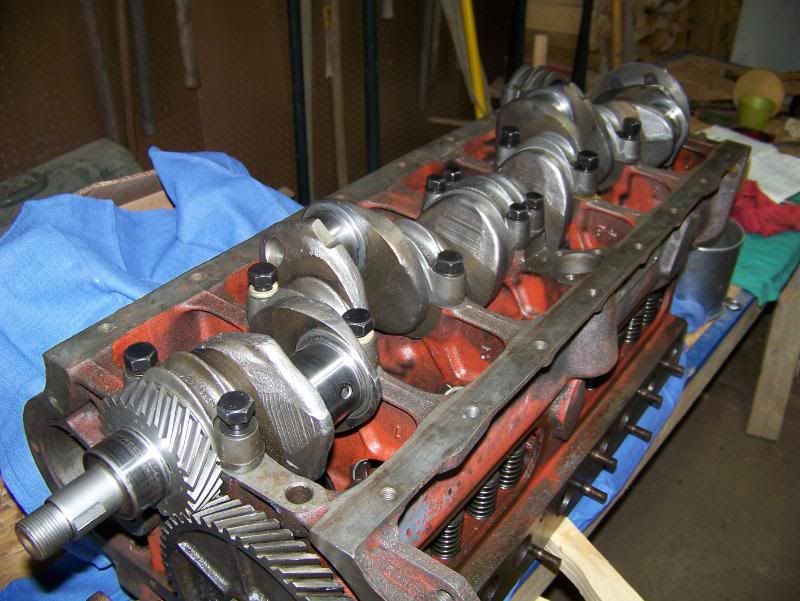
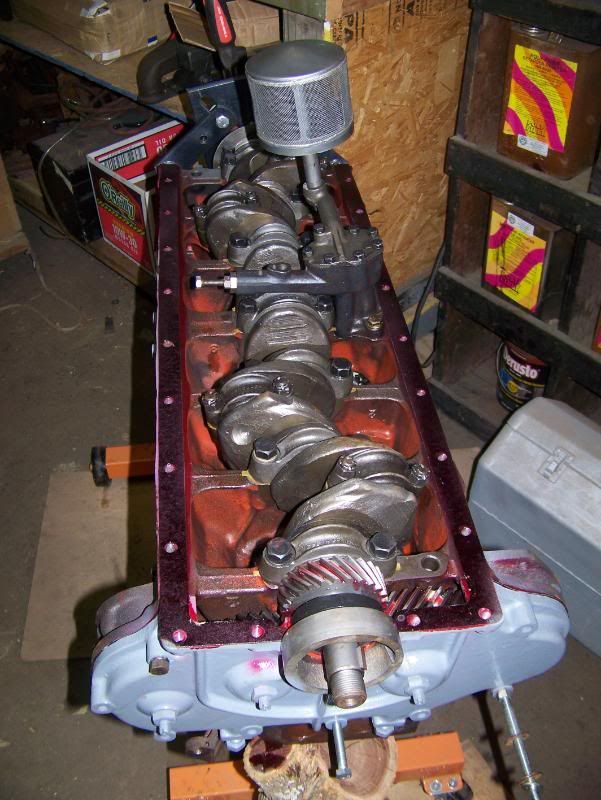
What I did was to take them out from the bottom. I had to cut the oil pump because it would not allow me to remove the crank. Once I did that the last main cap came off and so did the crank. Then it was a 2x4 about 16 inches long and whacked away with a dead blow mallet. They took a little bit but came right out. Oh I also honed out the cyclinders a little with a honing tool. This made it much easier since the rust wsa so thick,
Ken
-
They came from a buddy of mine Down under Shane Holby
Ken
-
I posted some pics in the Restoration area
Ken
-
We have install all new stainless steel brake lines and braided brake lines. The whole brake system has either been replaced with stainless steel or is NOS. We had to rebuild the brake pistons but thats about it.
Also found a wood bed that is correct for this truck
Have a buddy working on taking this apart and refurbing it
Here are some random pics that I have taken

Thats what I have so far I will keep you updated
Ken
-
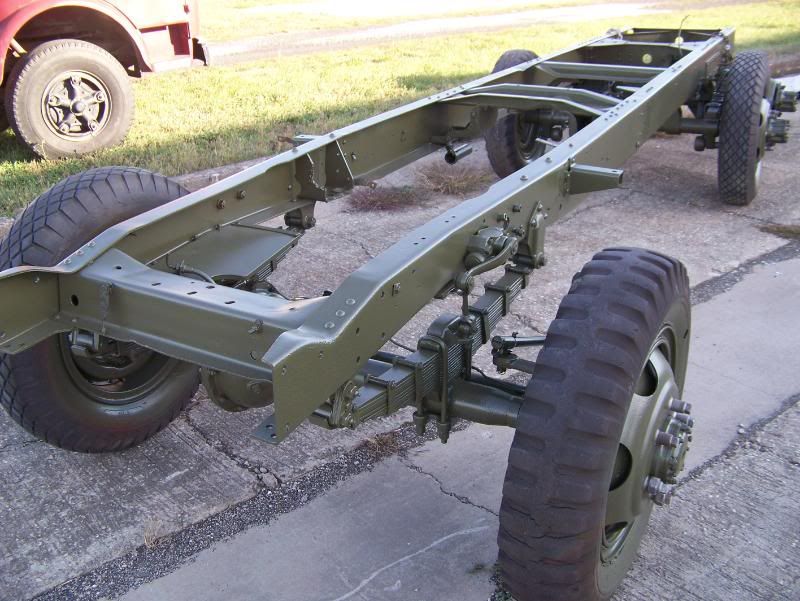
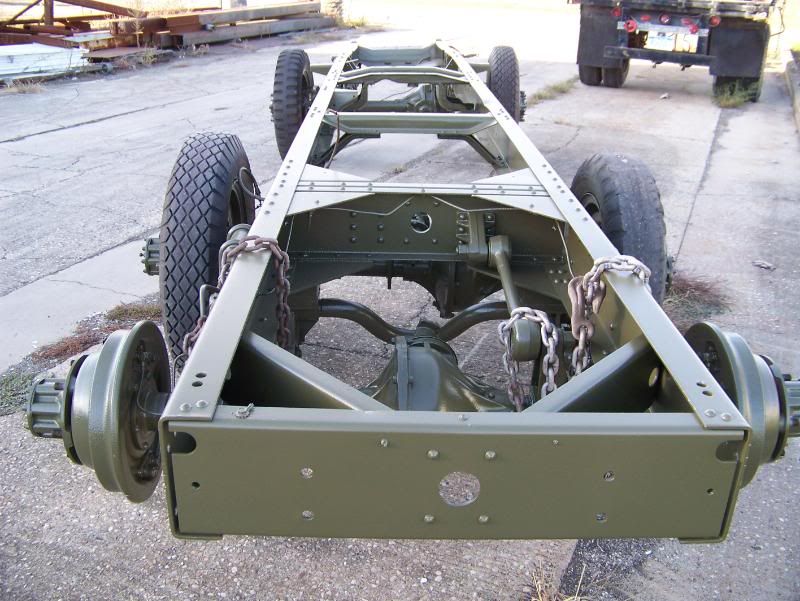
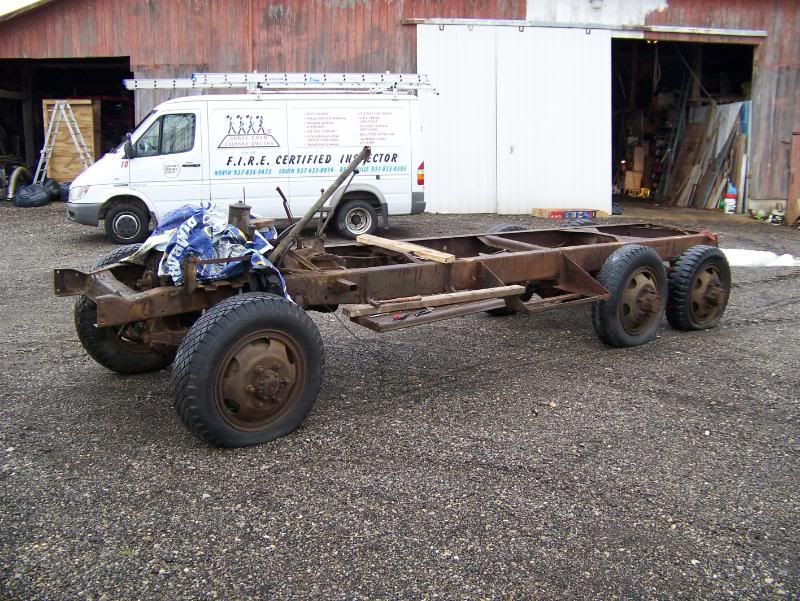
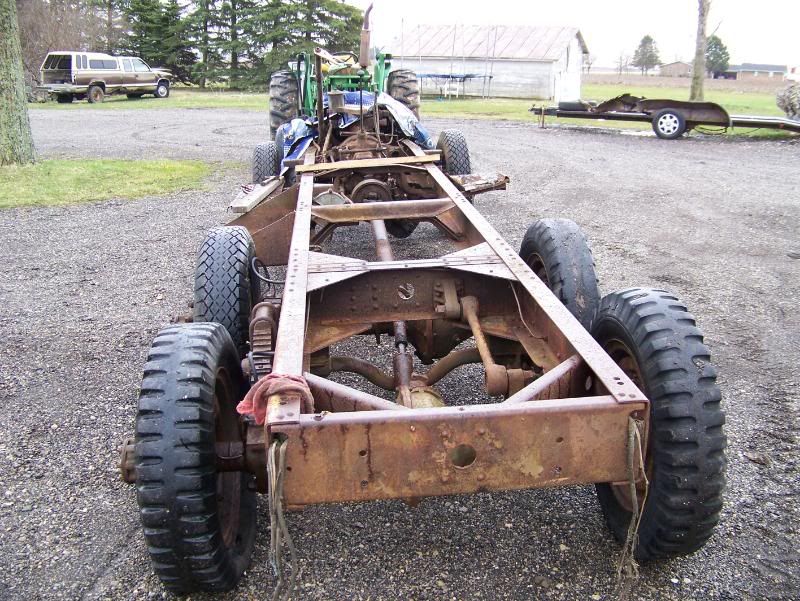
The frame was striped and then off to the sand blasters
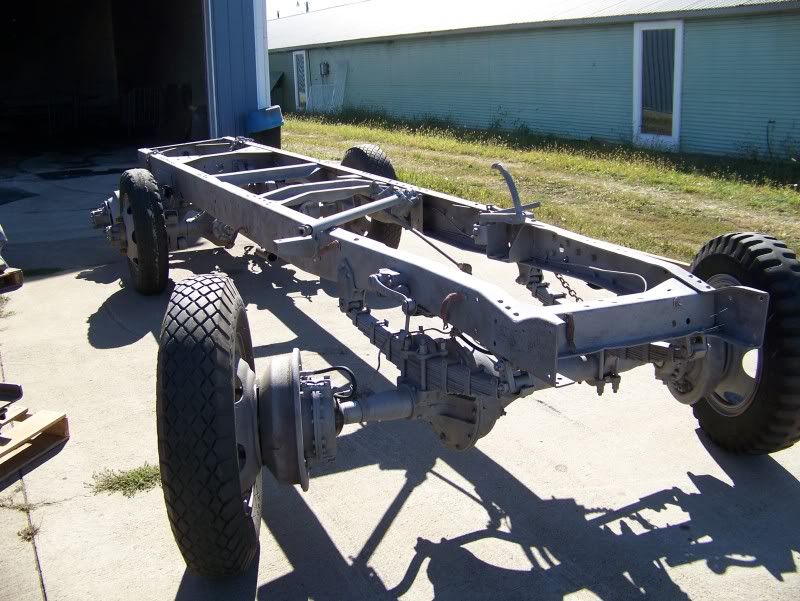
After some paint
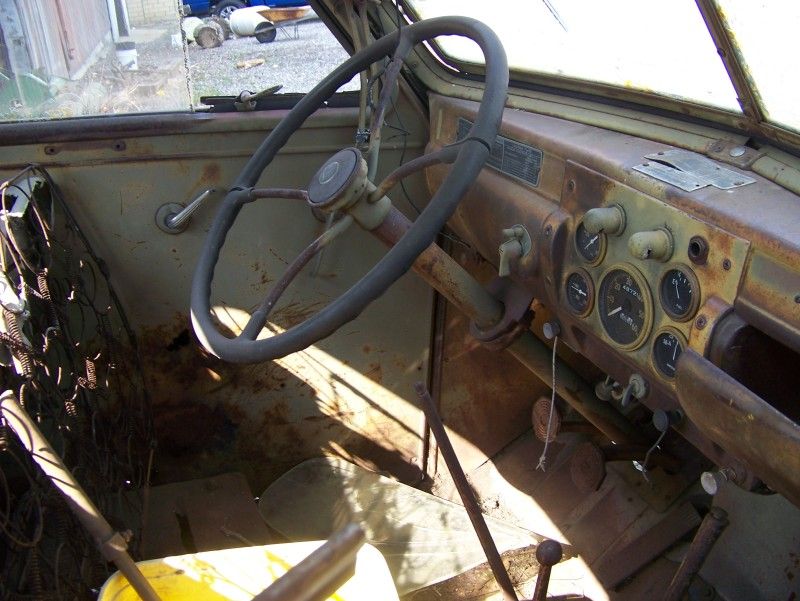
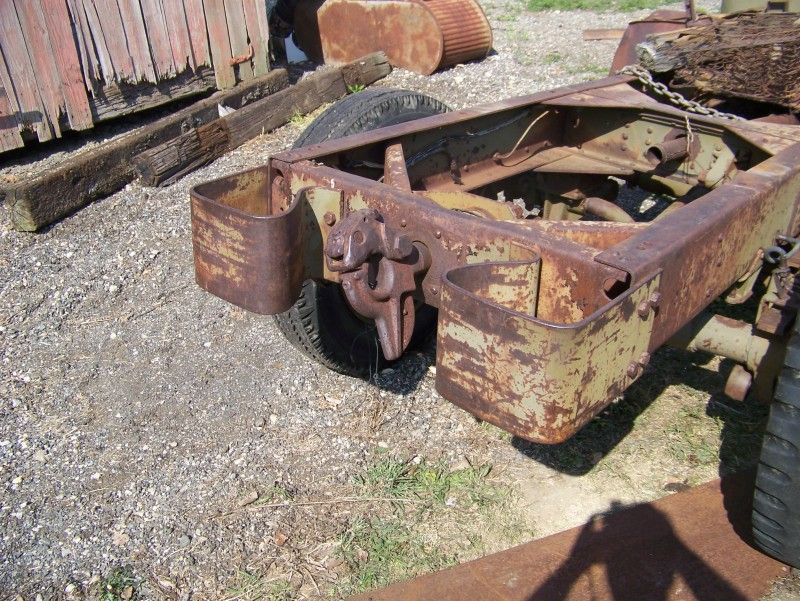
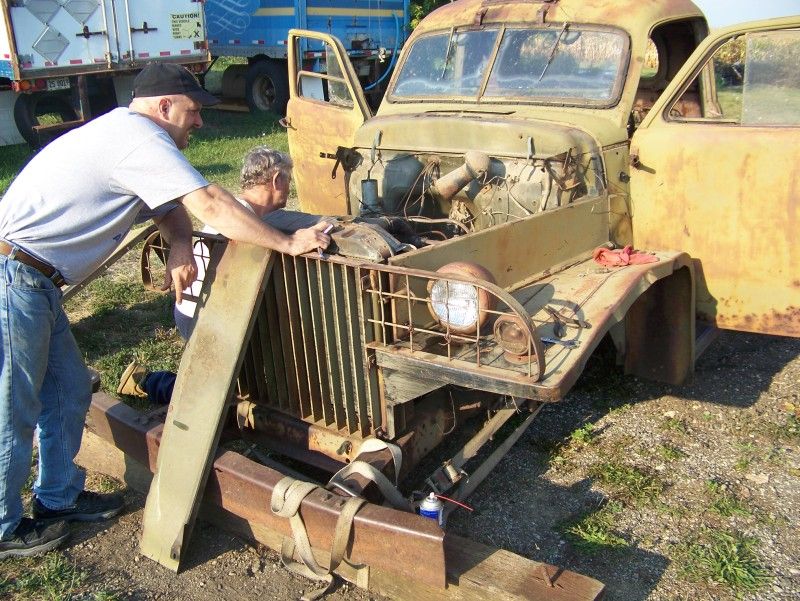
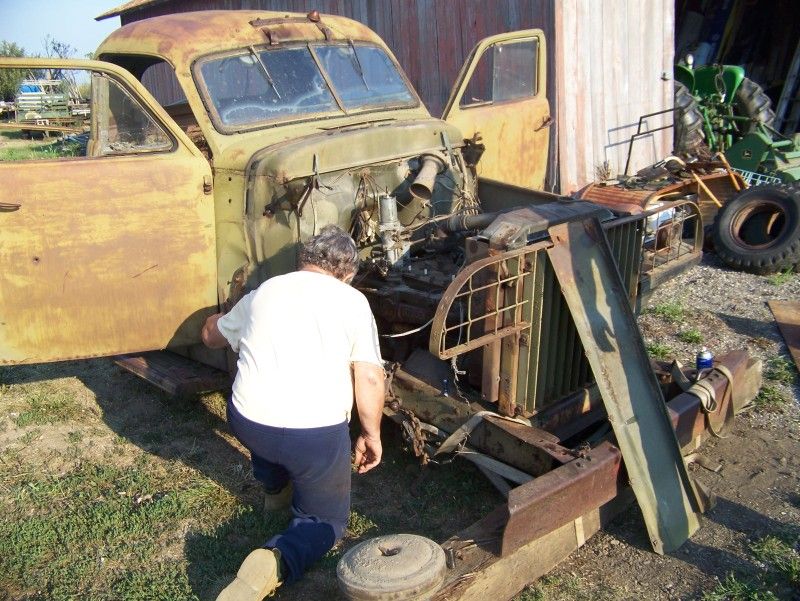
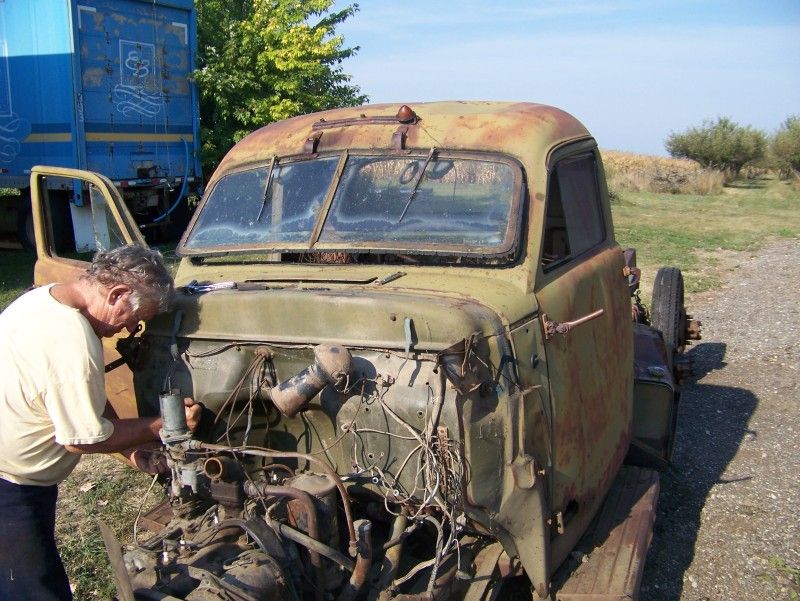
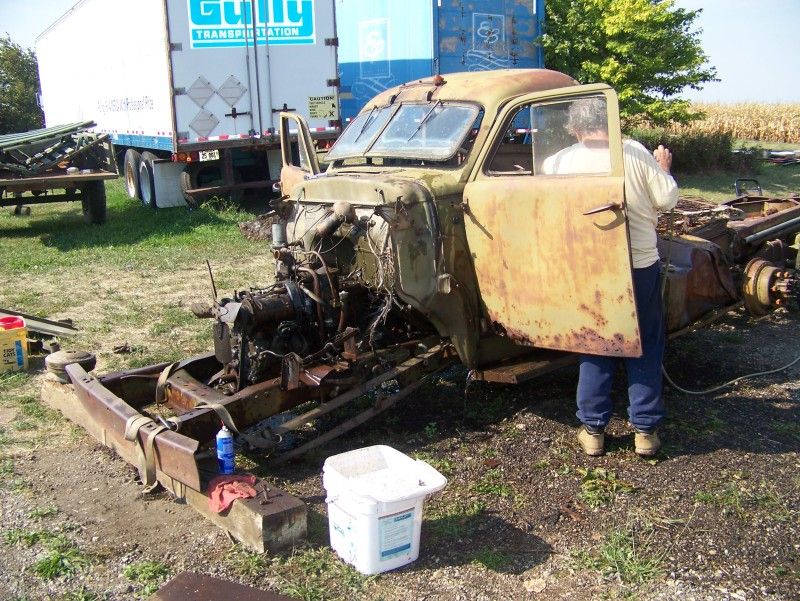
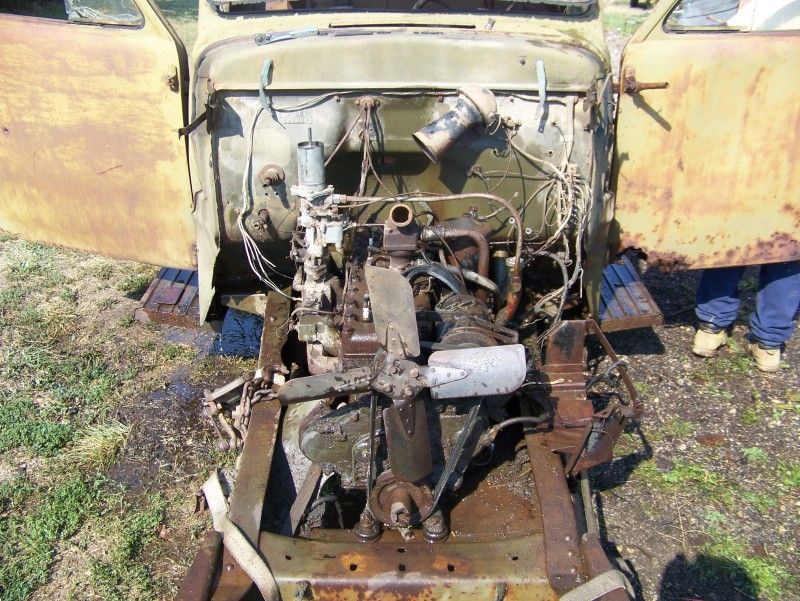
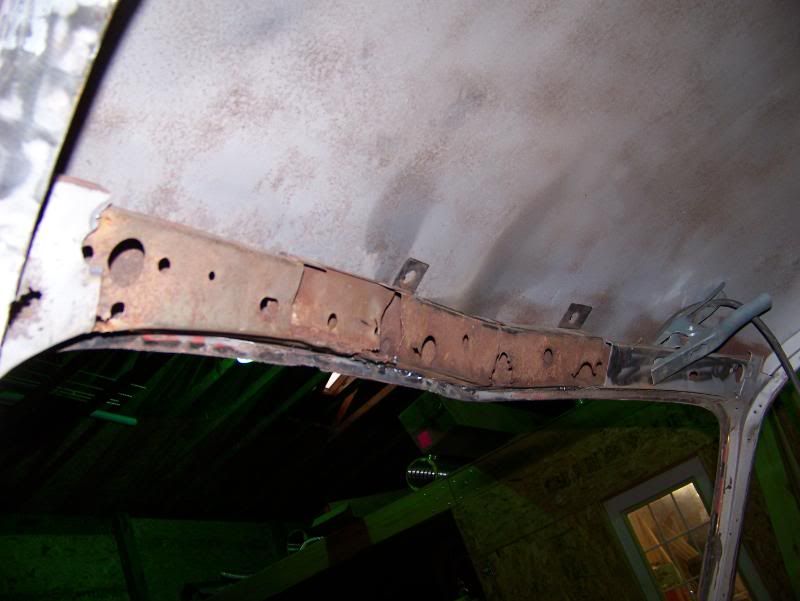
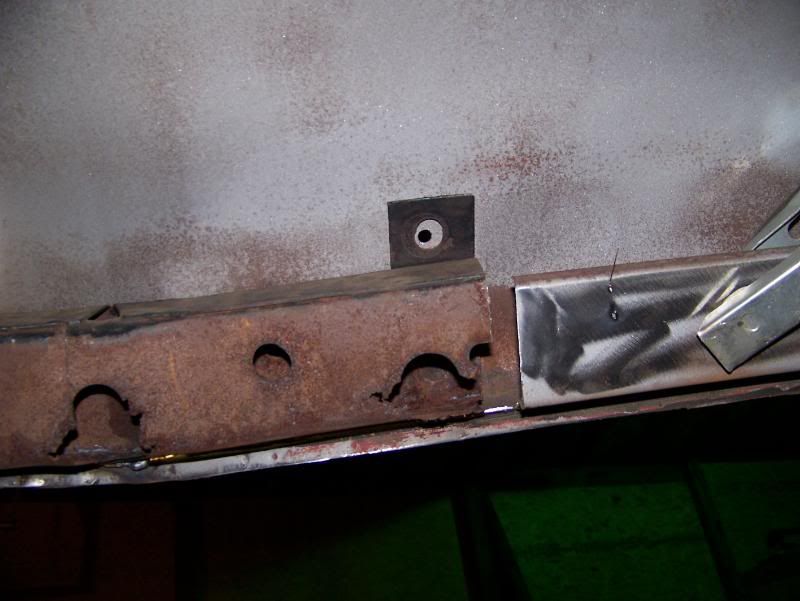
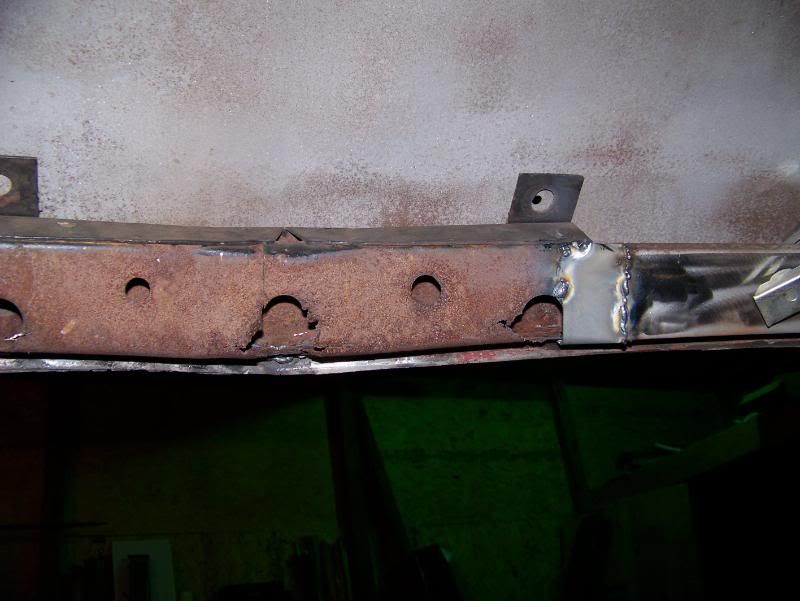
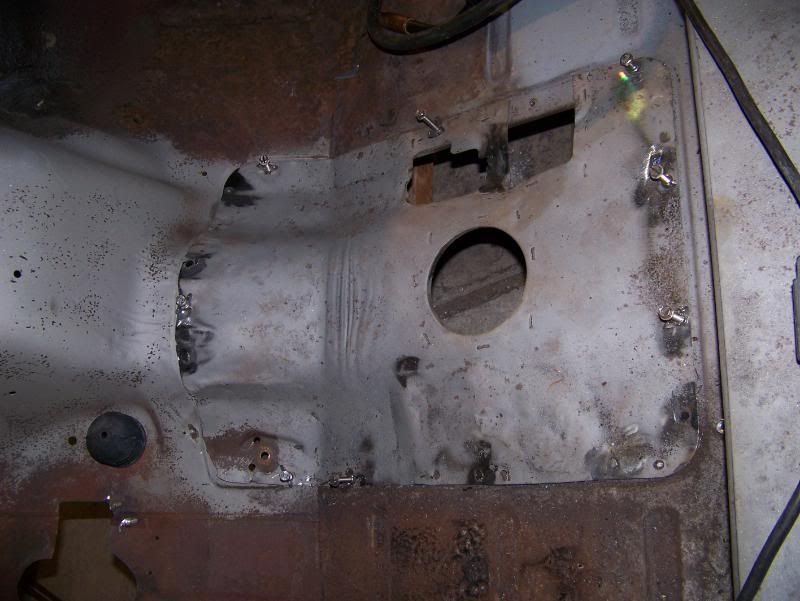
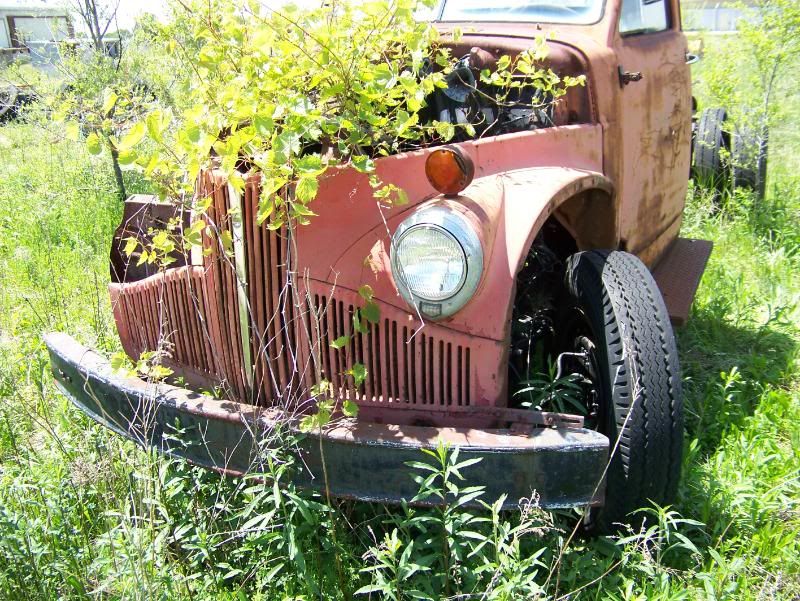
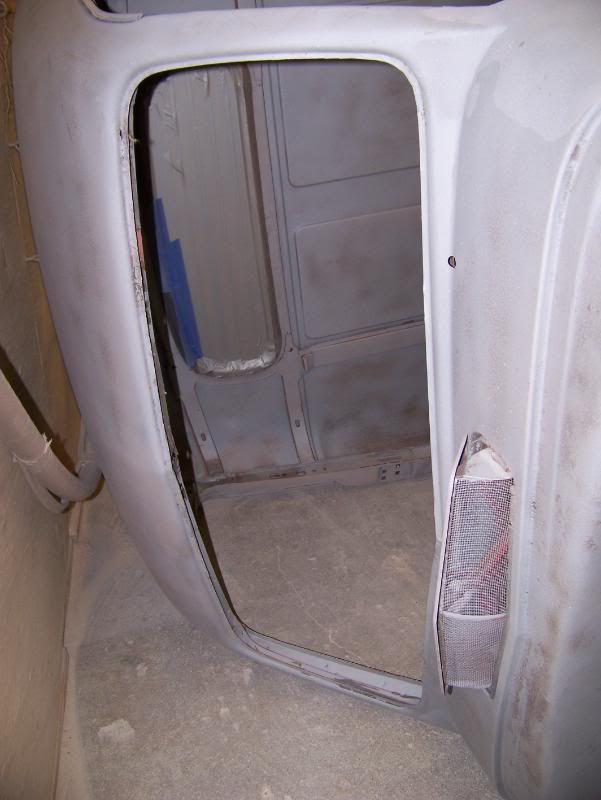
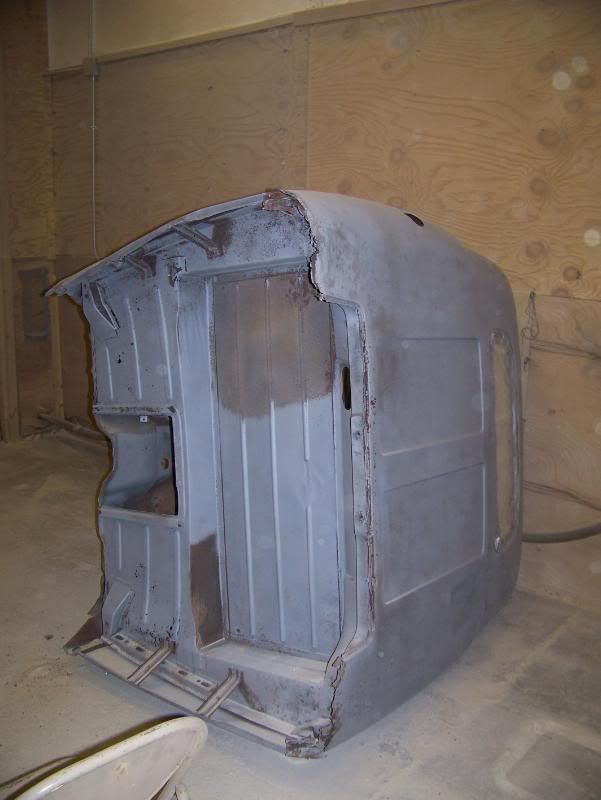
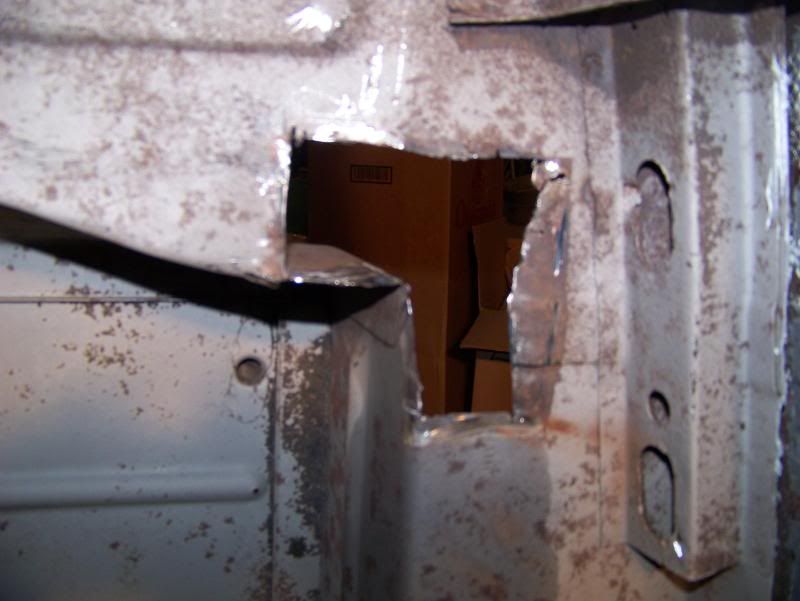
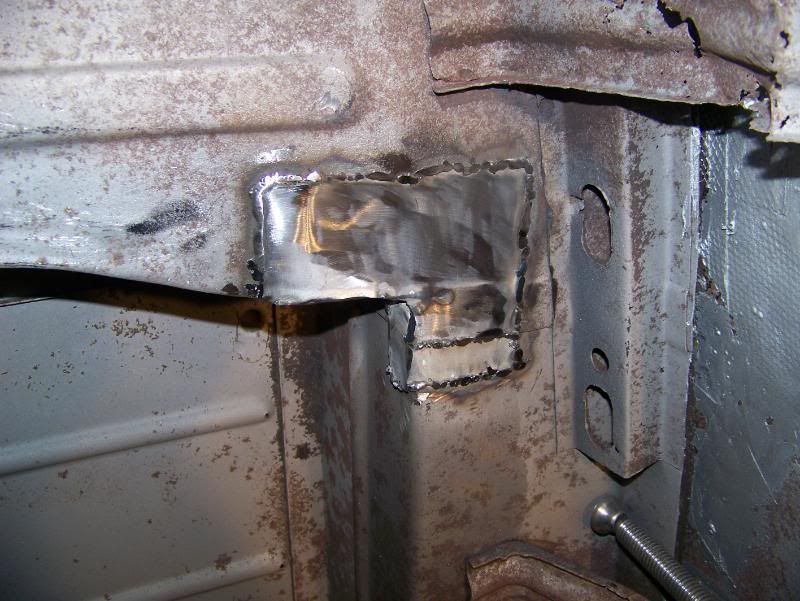
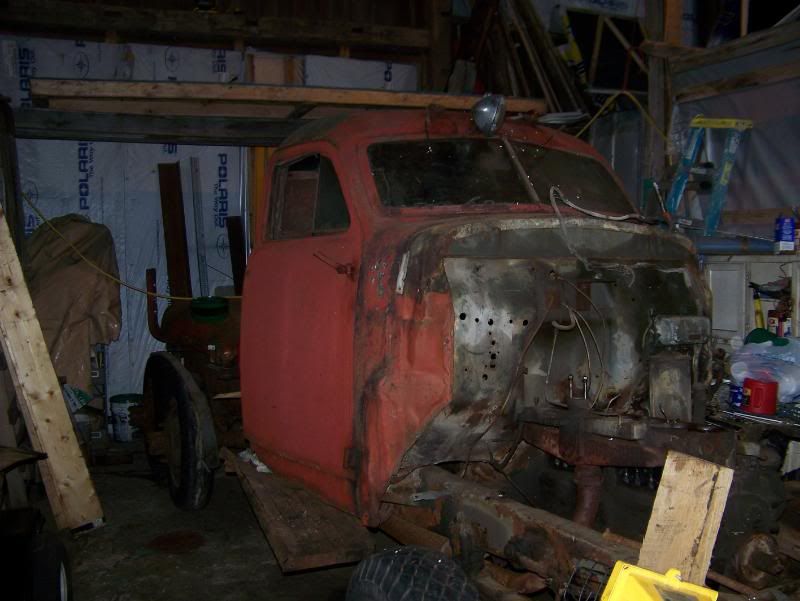
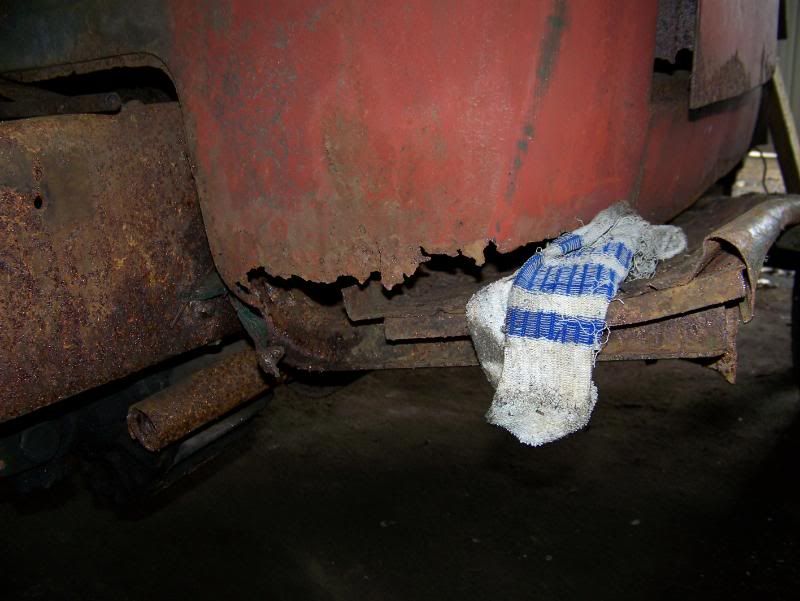
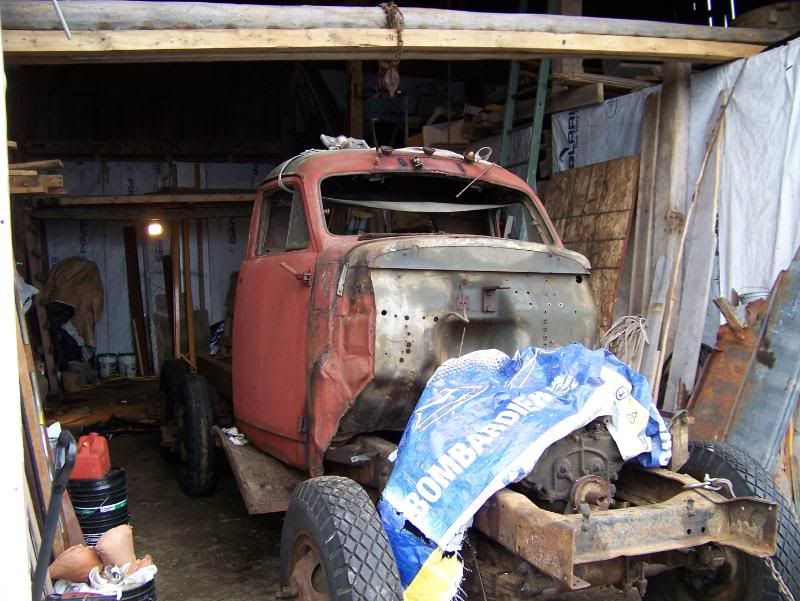
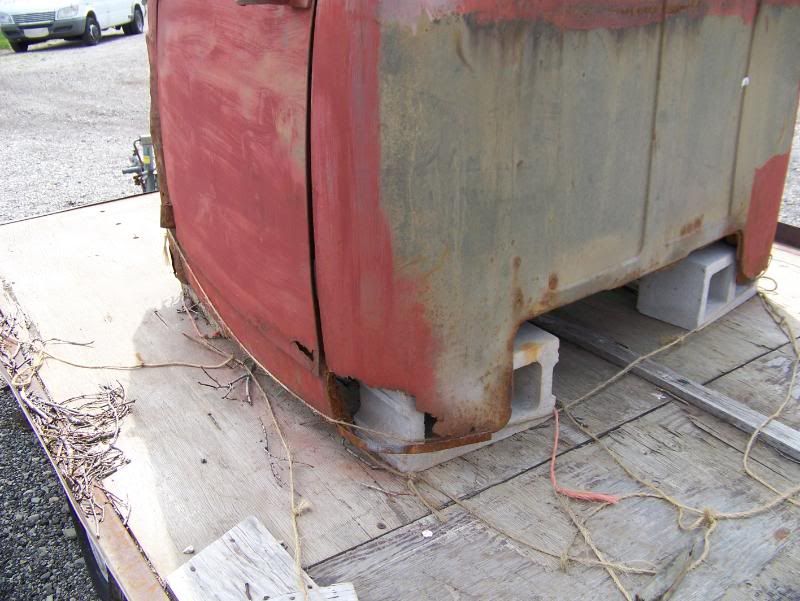
Then there was work on the cab but because my cab was in so bad of shape we found a civi 1947 M-series studebaker less than 10 miles from where we are working on the truck this is how we found it. Yes there was a small tree inside of the engine compartment
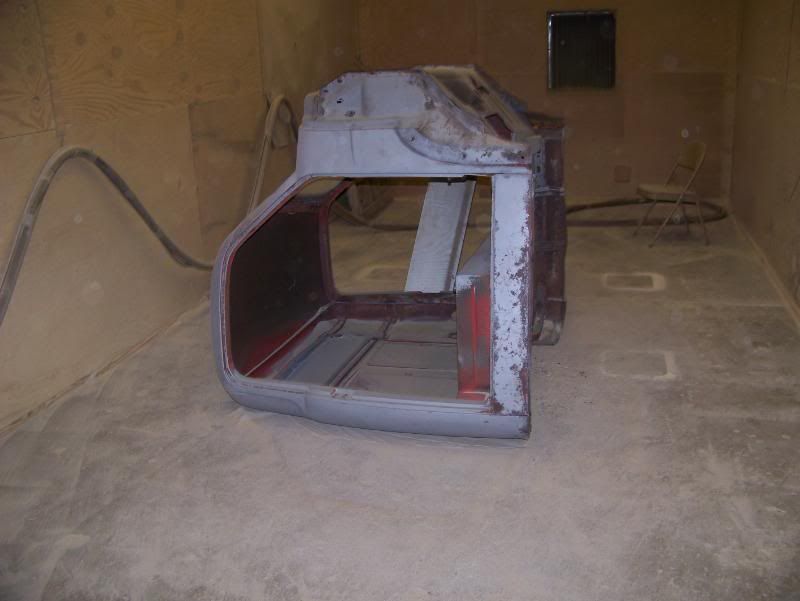
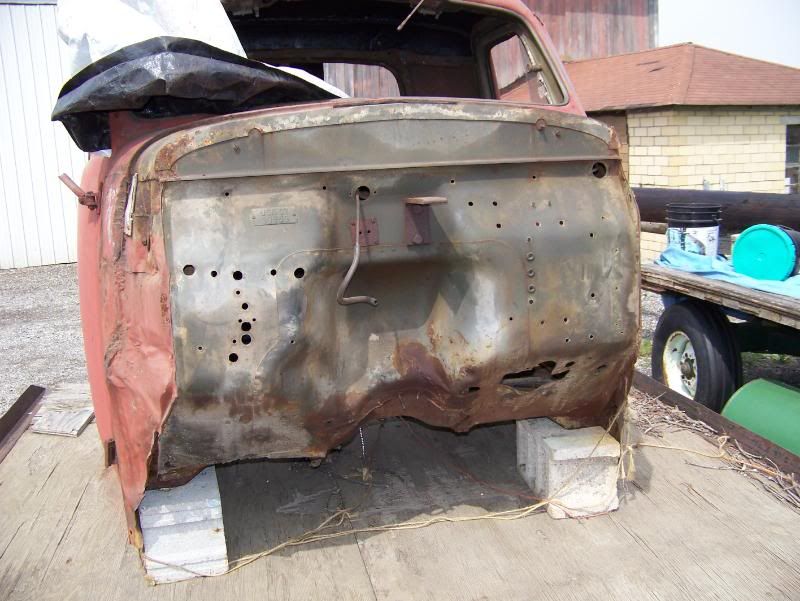
Then the cab went to the blasters and started the repair work

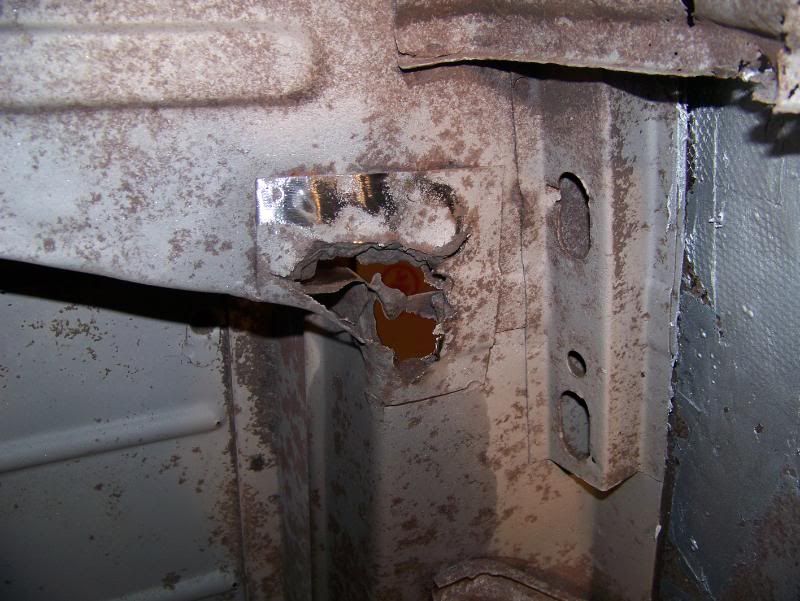
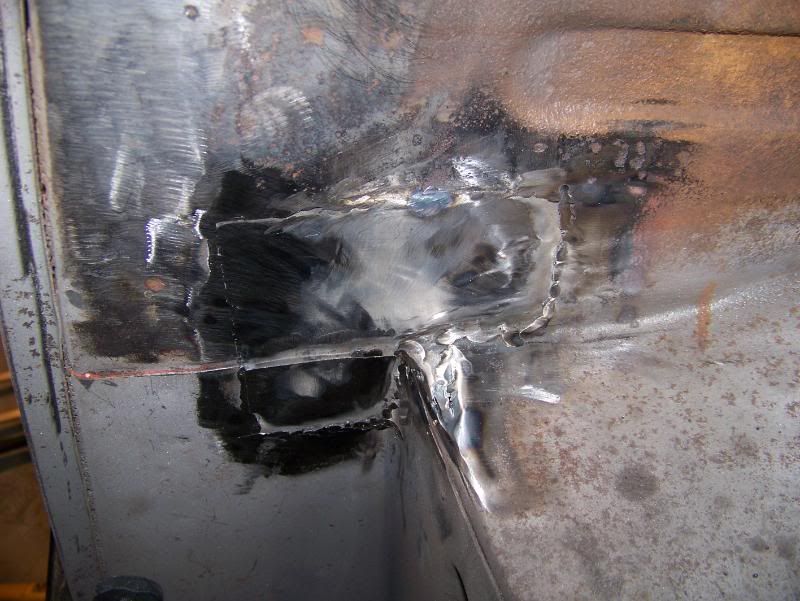
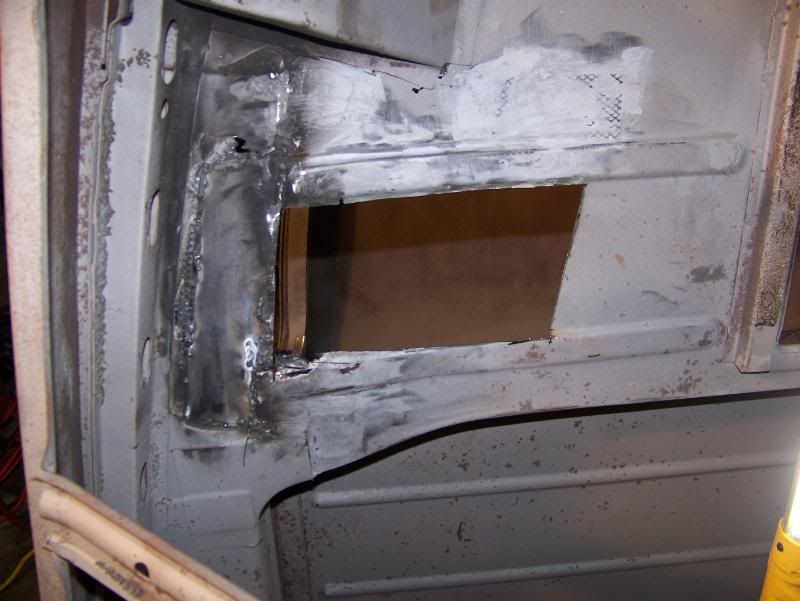
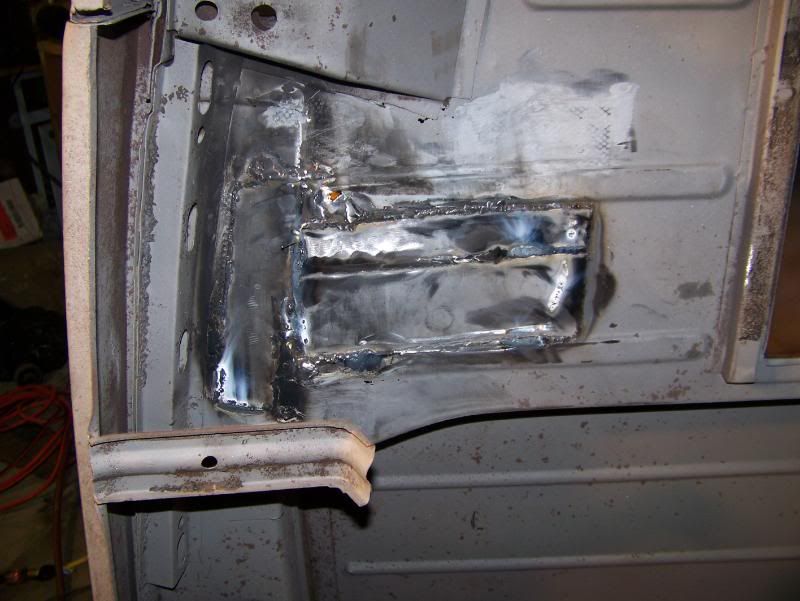
Then the welding started and to let you know I have never welded before so this is my first time.
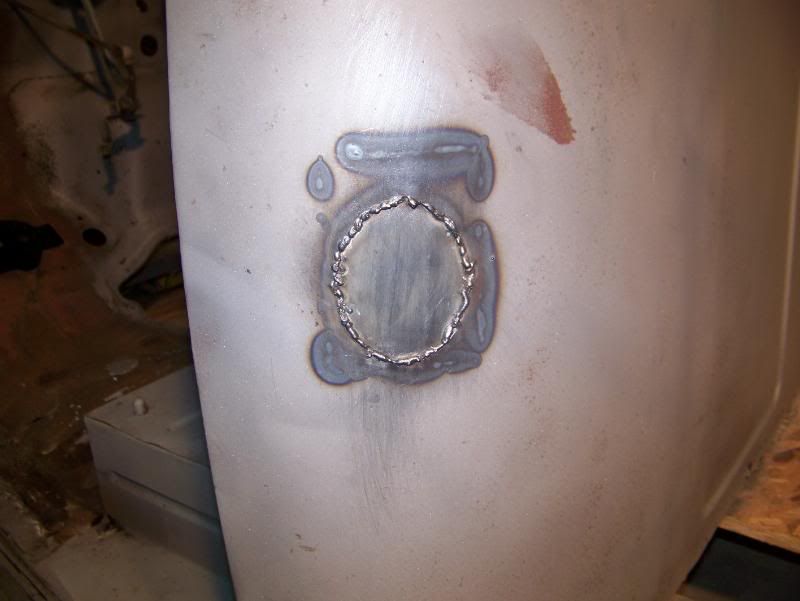
THis was my first try at cutting and patching I didnt do to bad
-
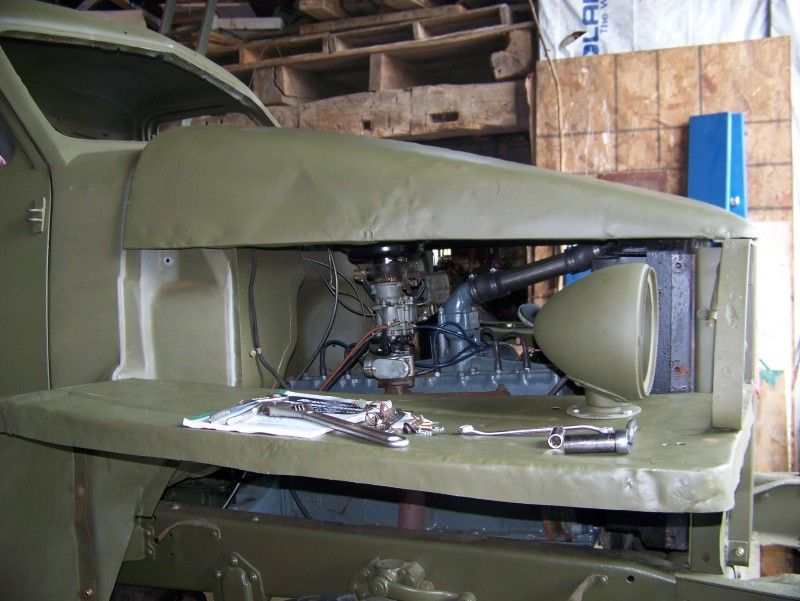
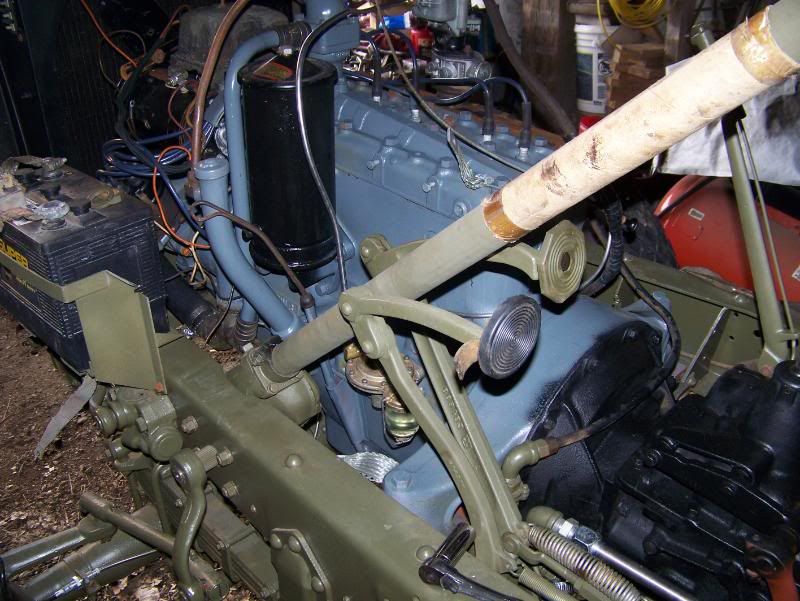
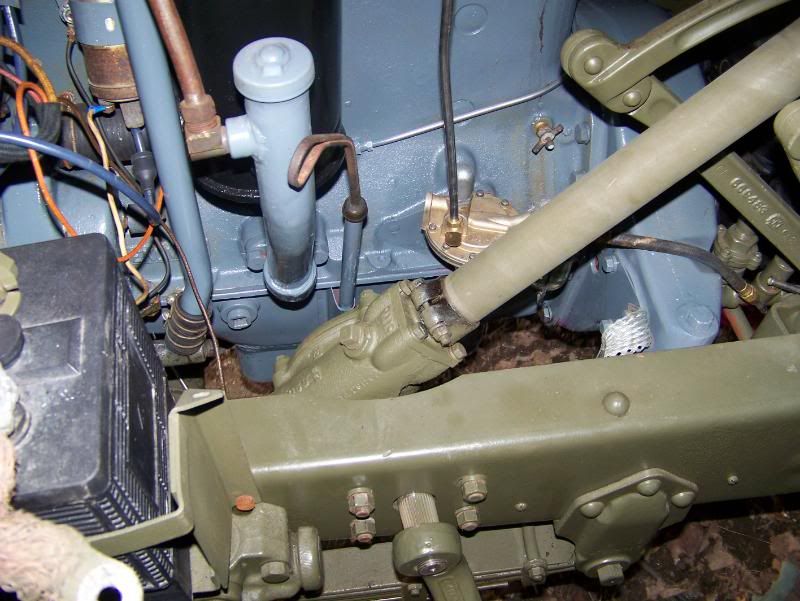
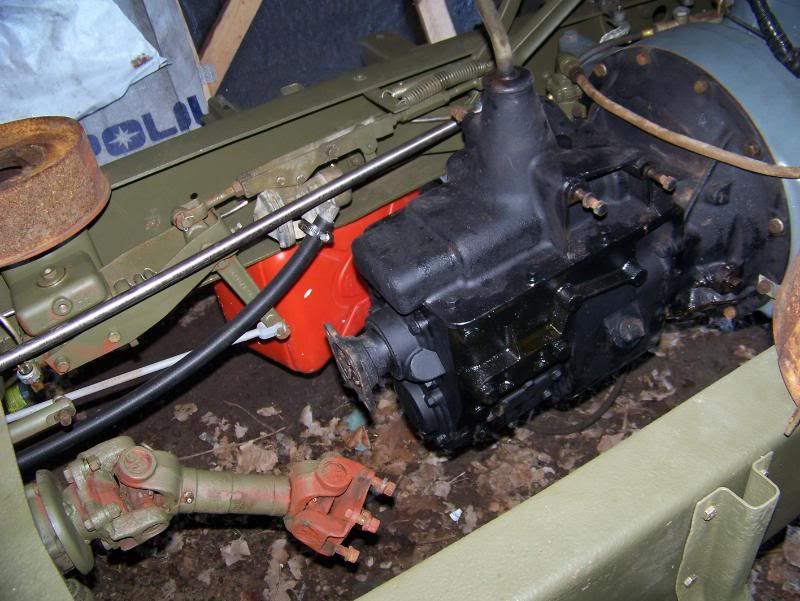
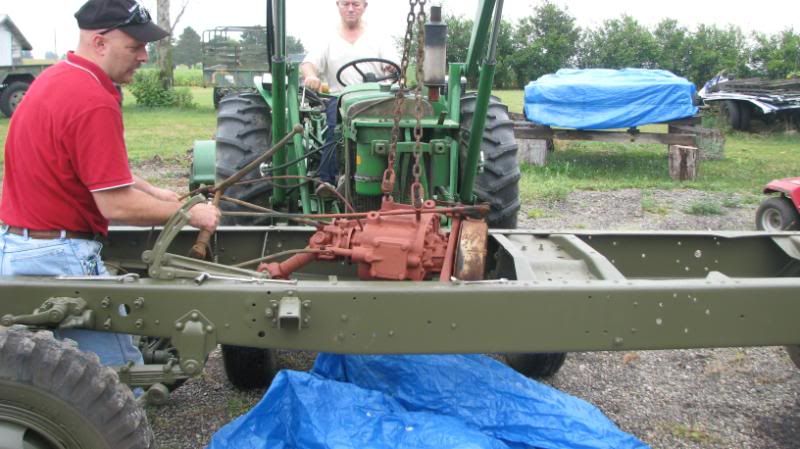
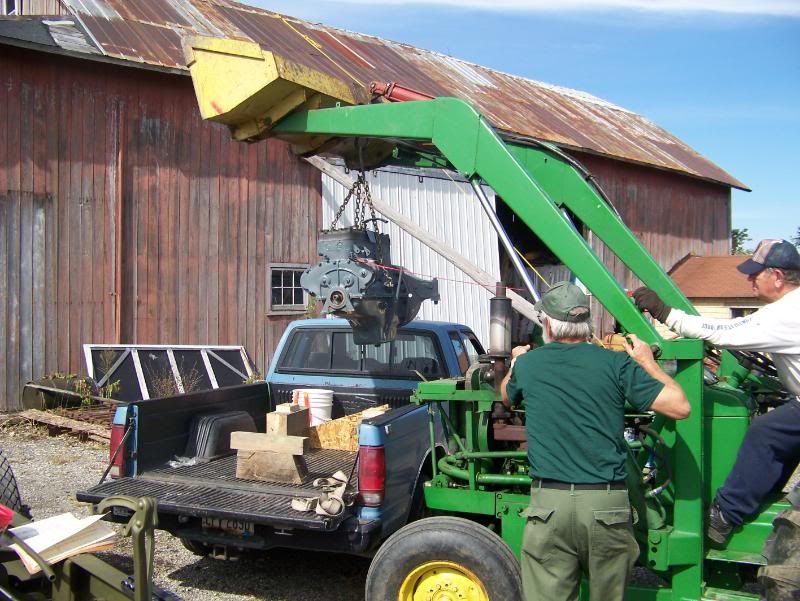
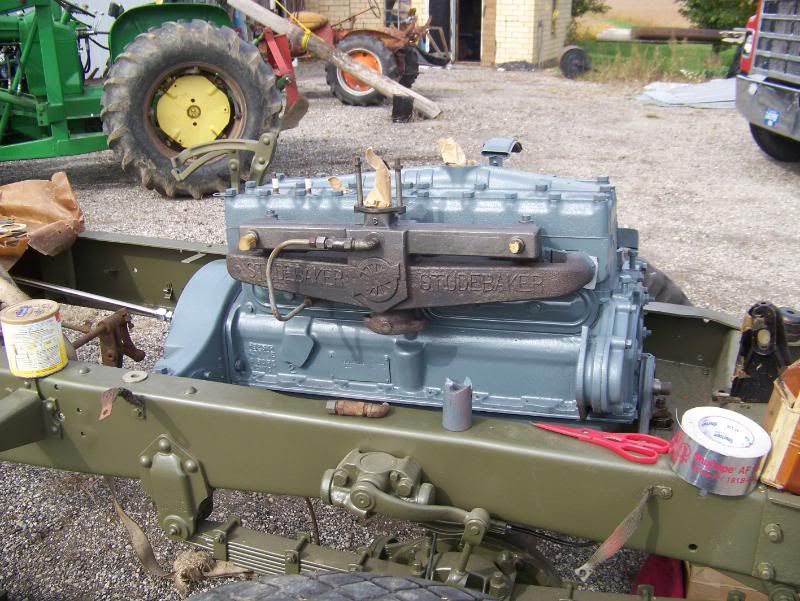
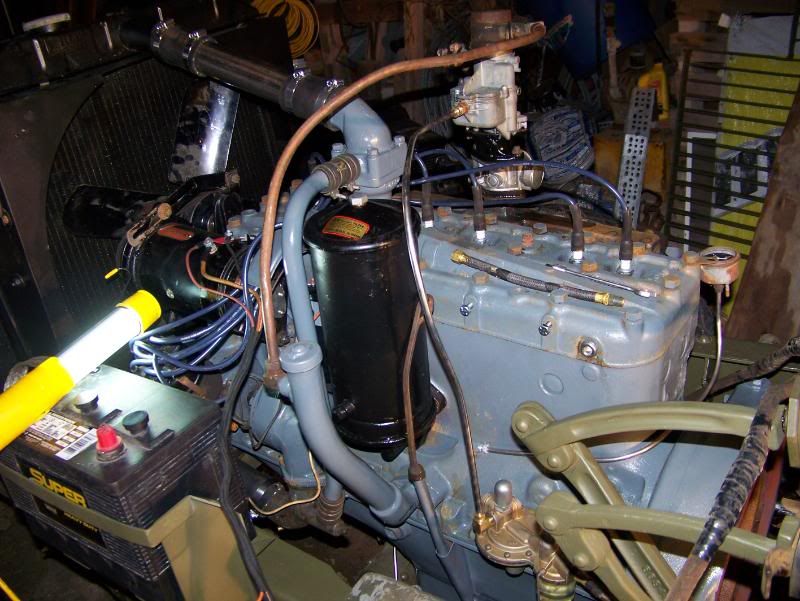
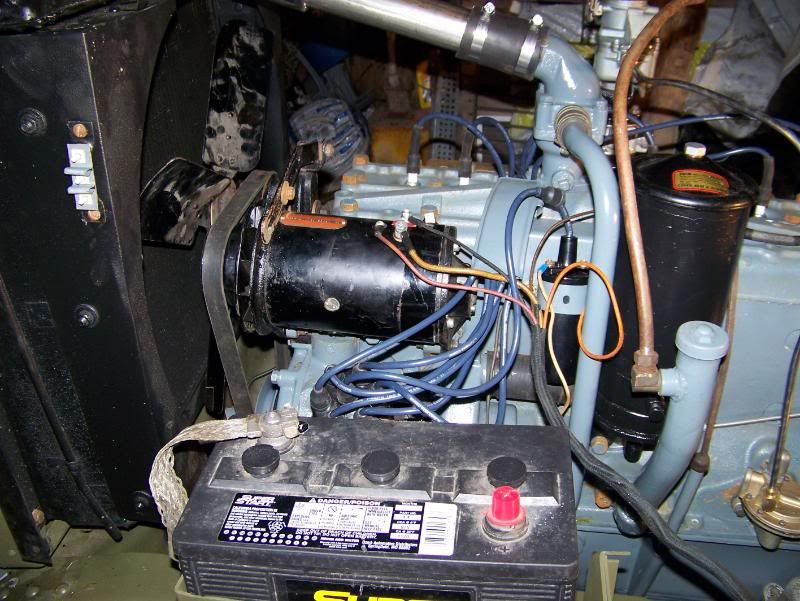
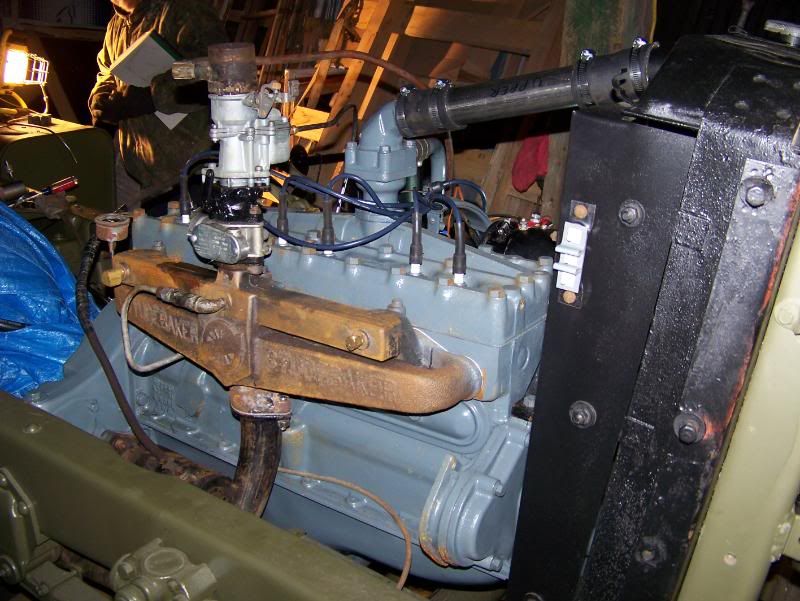
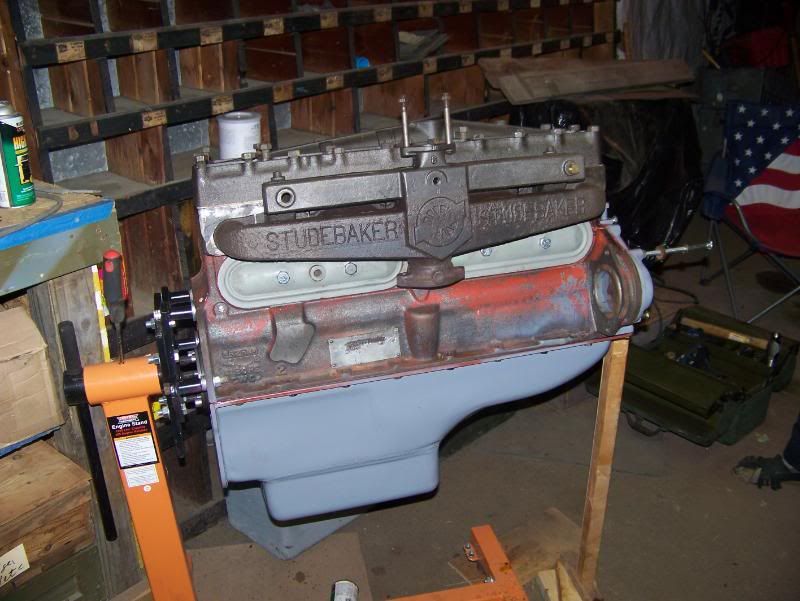
Setting the Engine in place
Here is the Youtube video of her running
Ken
-
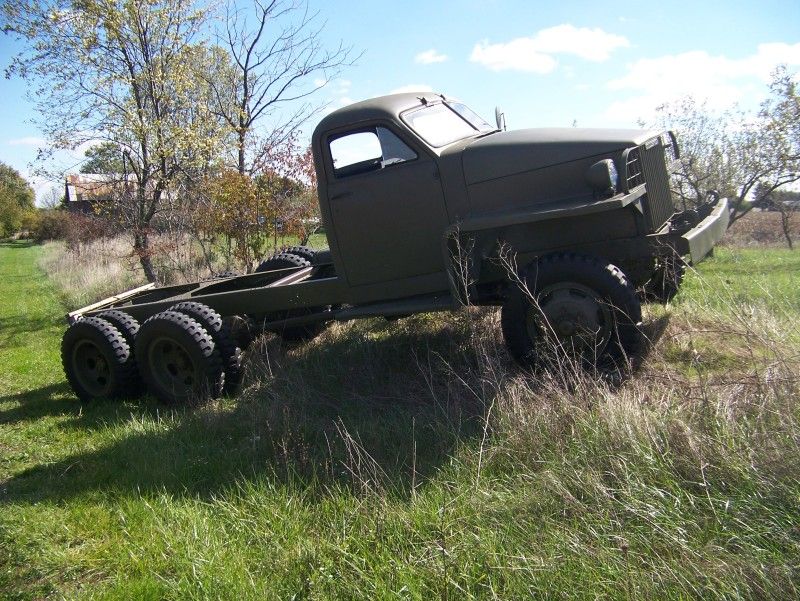
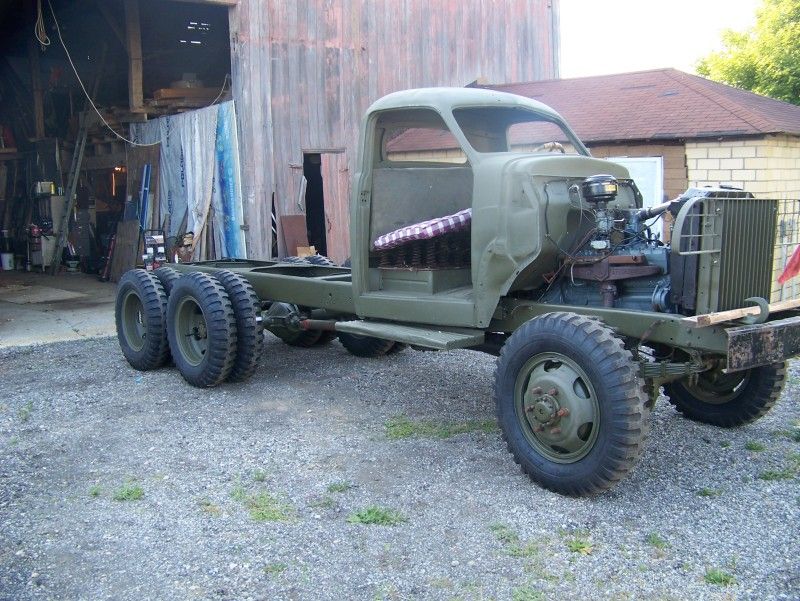
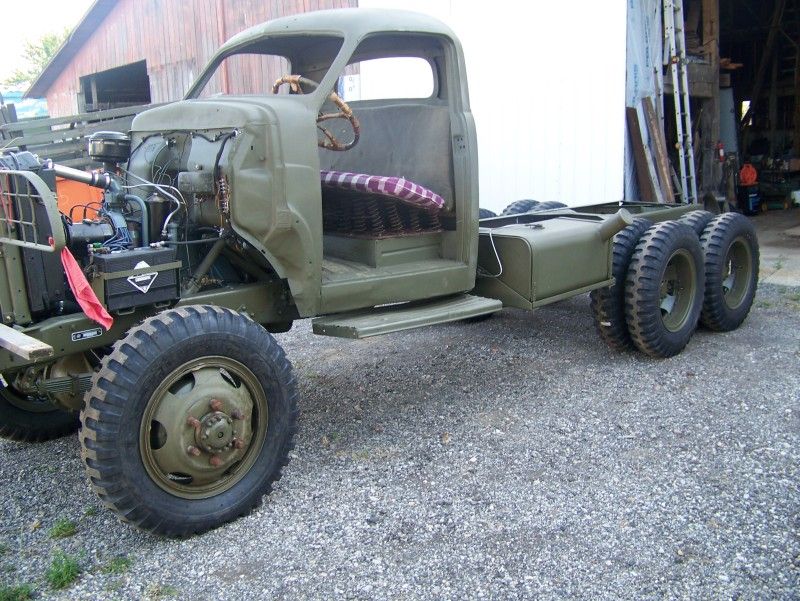
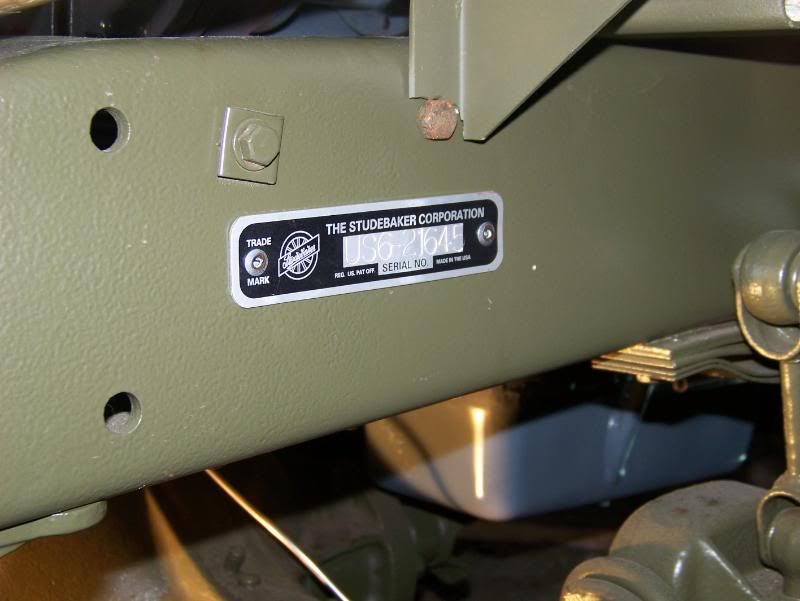
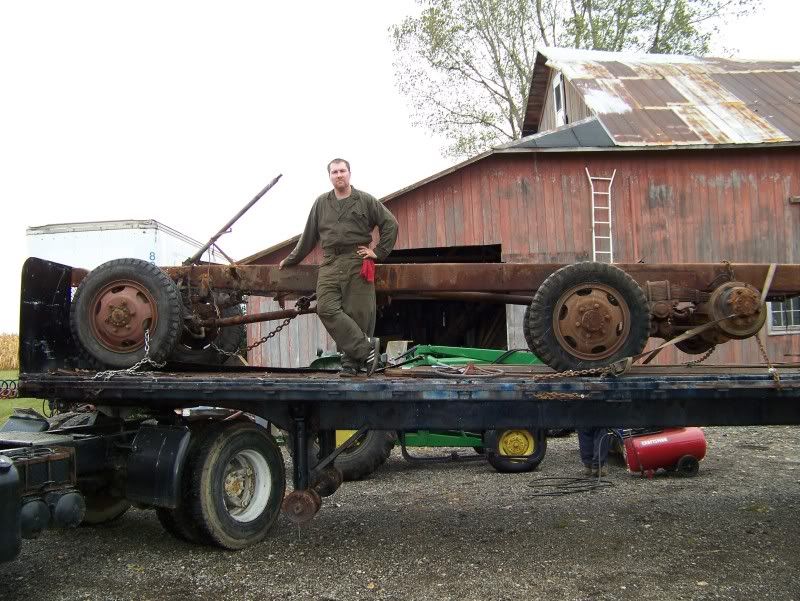
Well I guess I will start this thread here. I picked up a 1942 Studebaker US6 in January of 2009 and this is the progress I have done since then.
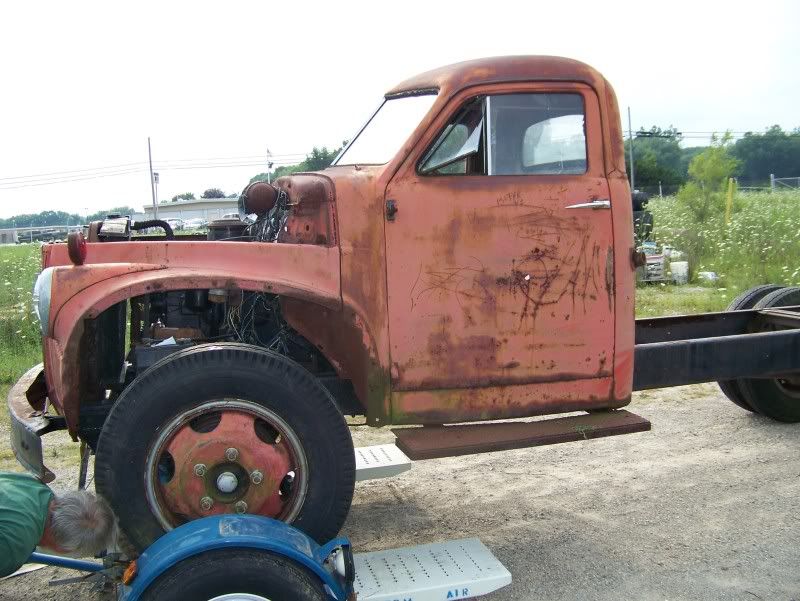
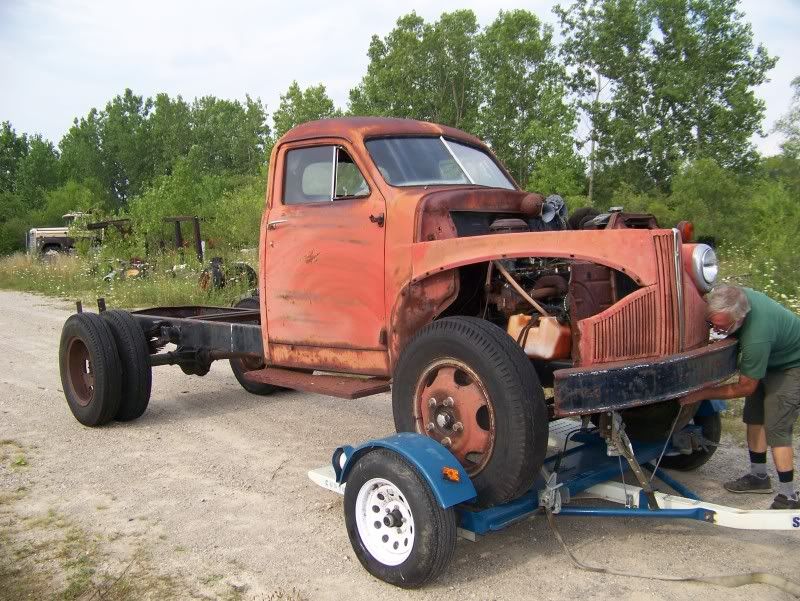
THis is when we picked her up
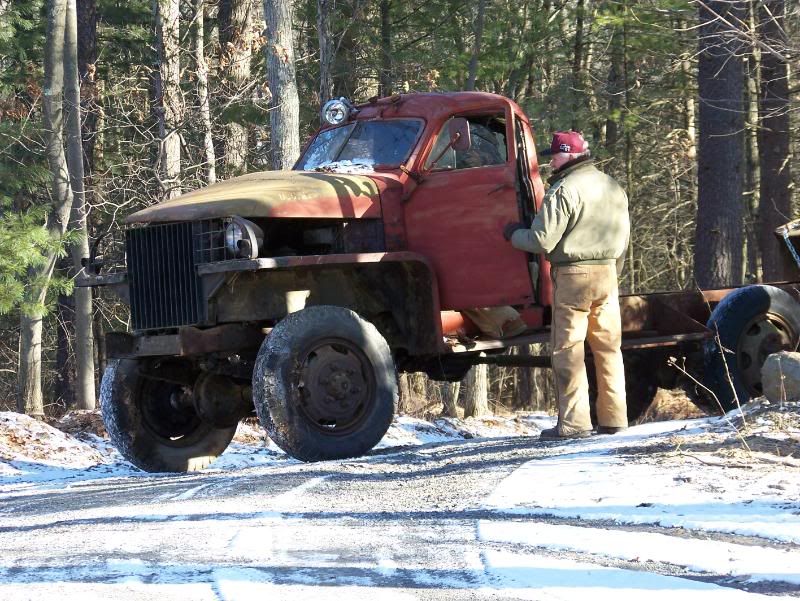
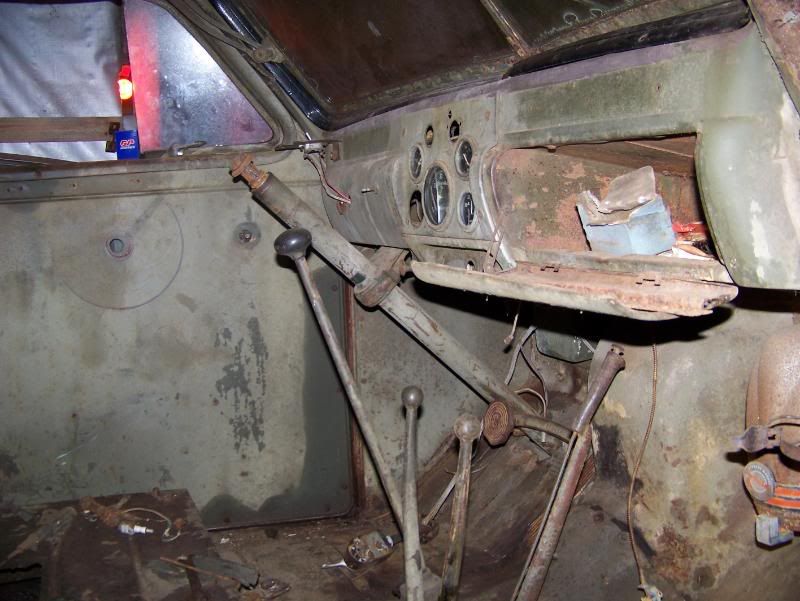
Some of the photos of what it looked like
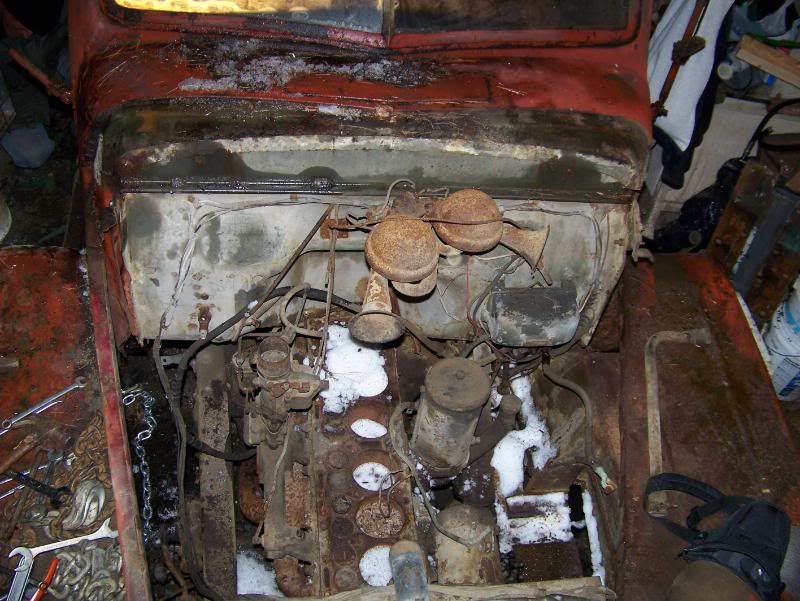

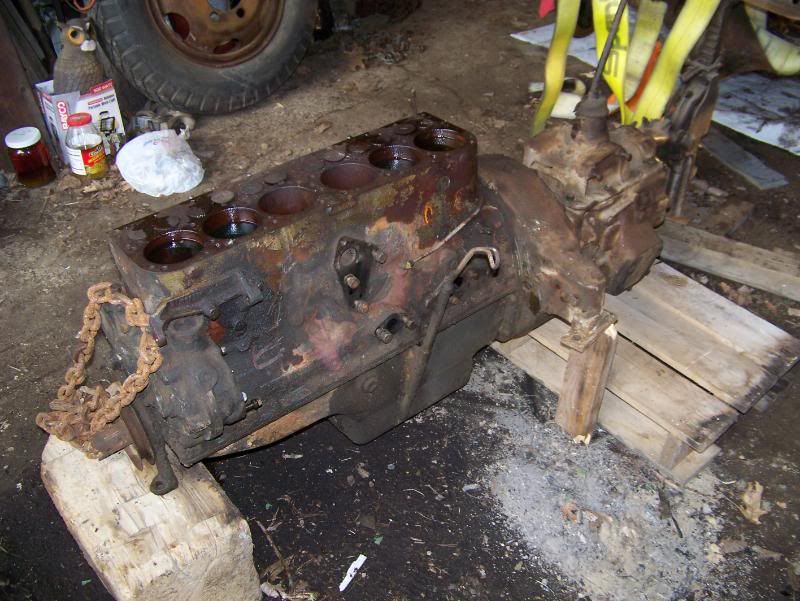
All the pistons were stuck and frozen in the block since it spent 5 years with out a head on the engine
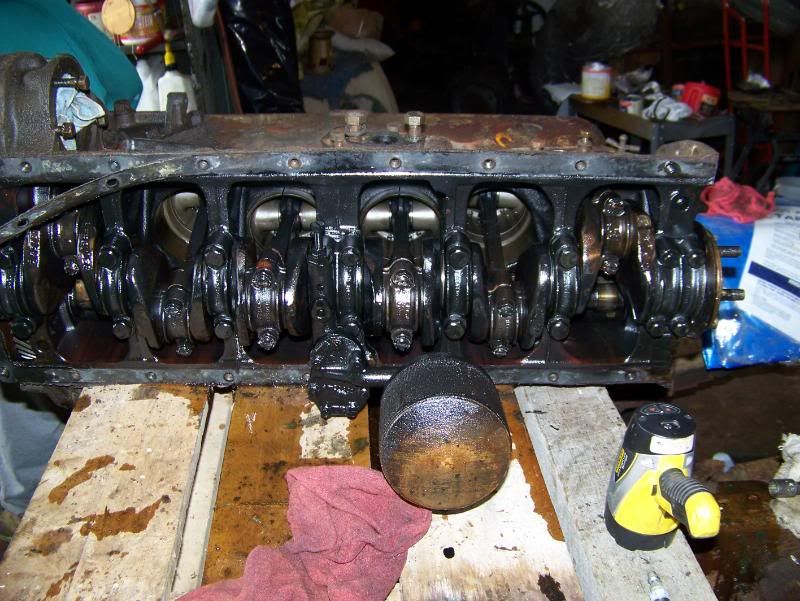
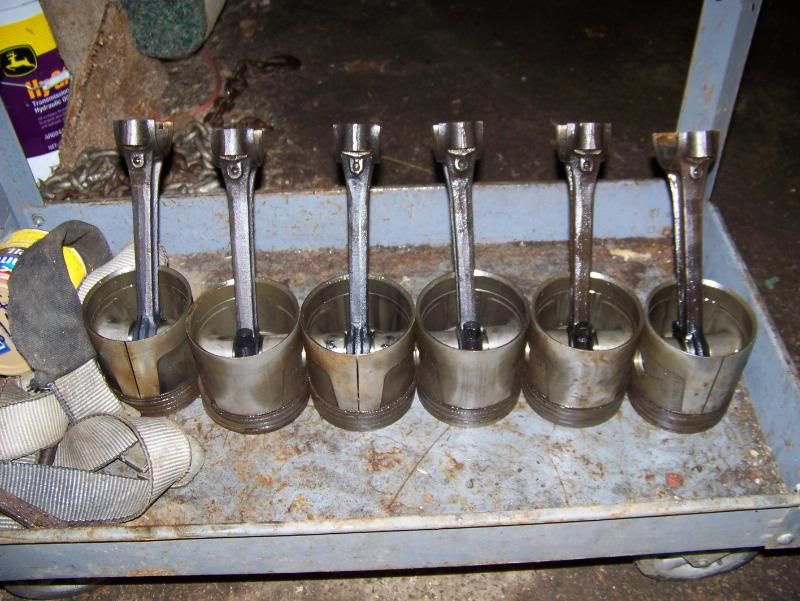
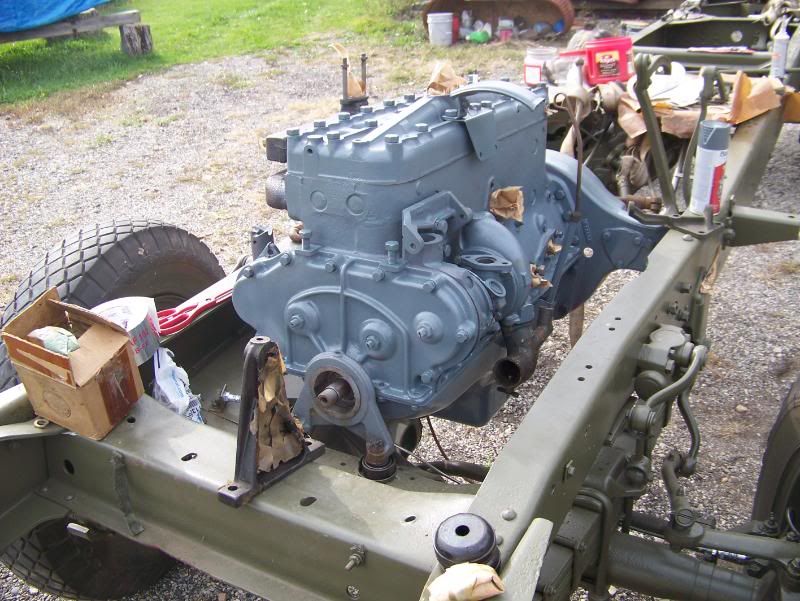
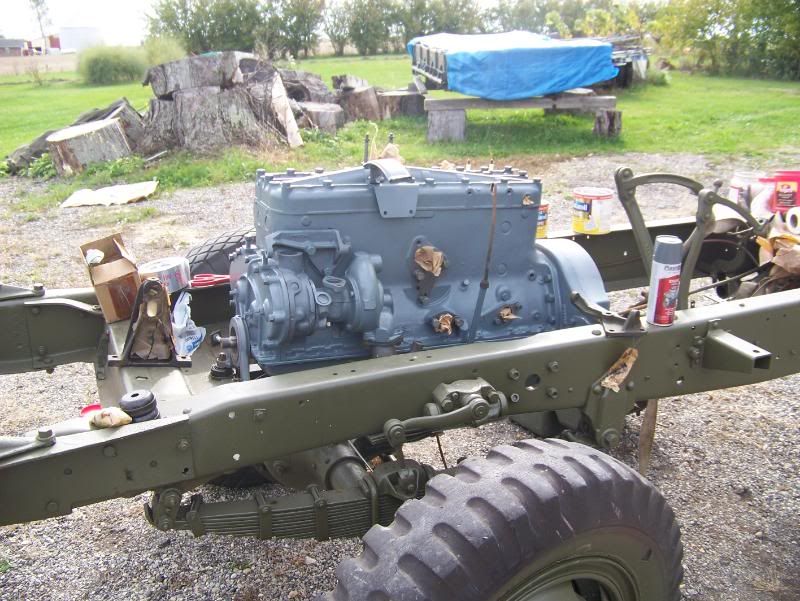
Starting the rebuild of the engine after all the machine work was done. I was still able to use the pistons just put new rings and bearings in it. New Exhaust and intake vavules (sp)
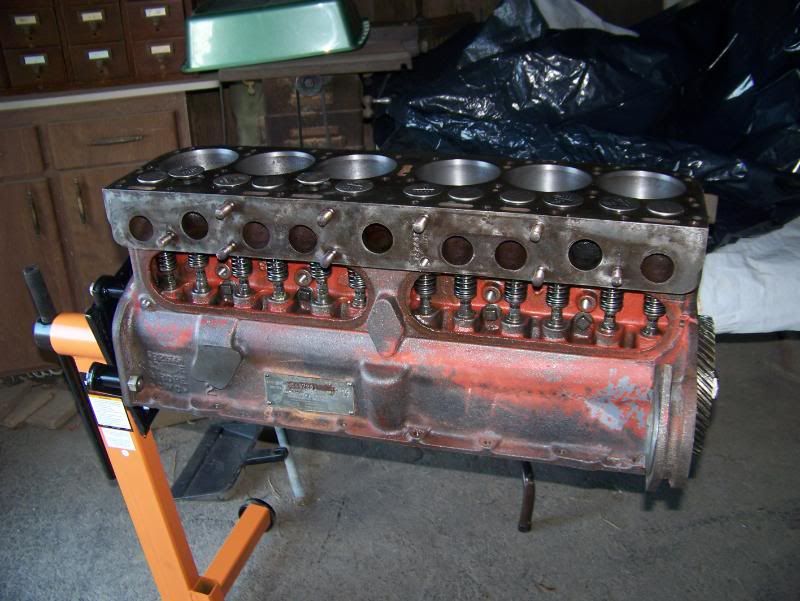
Ken
-
Should I just start the photos here or in the restoration area???
Ken
-
Hello all
I want to say Hi as I am from the US and i am currently restoring a 1942 US6 Studebaker. Tony showed me this site and I am now hooked. I can post some pics of the restoration of my truck if any one wants to see it. Or you can also see it on the G503 forum site.
Thanks again
Ken
-
Would have loved to see all those..
Ken
From the other side of the Pond Studebaker US6
in Blogs of MV restorations
Posted
Well I had some fun tonight found out a few issues
Here are the pics
Found out that she cant make it thru 2 foot deep snow.....
Yeah wish I had a pioneer kit to dig her out ......
So I went with the next best thing
My 13 year old Daughter with my F350 pulled me out
Guess I need to get the bed on her to weight the rear down. For my daughters first time driving my truck she did very well... Pulled me out like she knew what she was doing. I am so proud of her now I just need to have her try to drive Phantom....
Here is a night shot of Phantom in the snow