


richard sweeney
-
Posts
52 -
Joined
-
Last visited
Content Type
Profiles
Forums
Gallery
Blogs
Events
Articles
Store
Downloads
Posts posted by richard sweeney
-
-
Update:fully rebuilt fuel pump has been bolted on, brake lines are in place just need nipping up then bleeding.
However big problem is the bleed nipples which have welded themselves in place , i have tried one of the front ones and despite welding a socket onto it i cant seem to budge it ( the weld just came away with the top of the bleed nipple )
Soaked it in WD40 type stuff for the moment but considering welding something to it, letting it cool and then heating the casing of the brake expander unit whilst trying to undo it, would this be safe to do ?
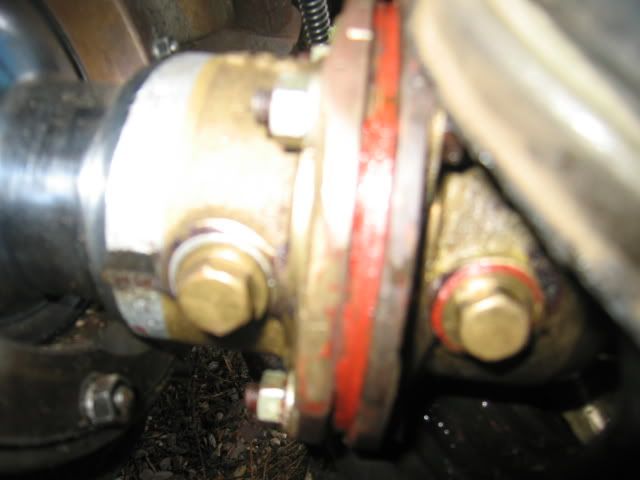
Nearly finished replacing the front rubber bellows:
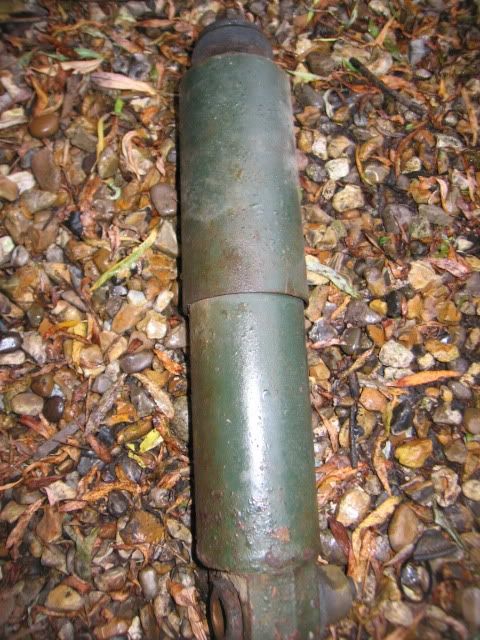
firstly removed shock absorber
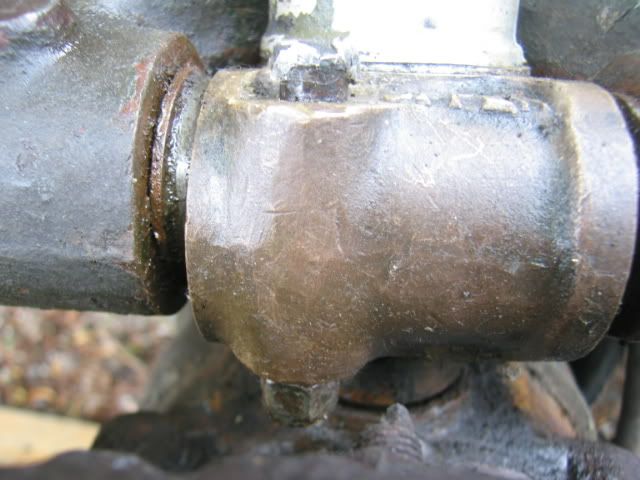
then unbolted brake expander unit

and next was the cotter pin to remove. Applied loads of heat then slakened the nut and hit the cotter pin upwards and out.
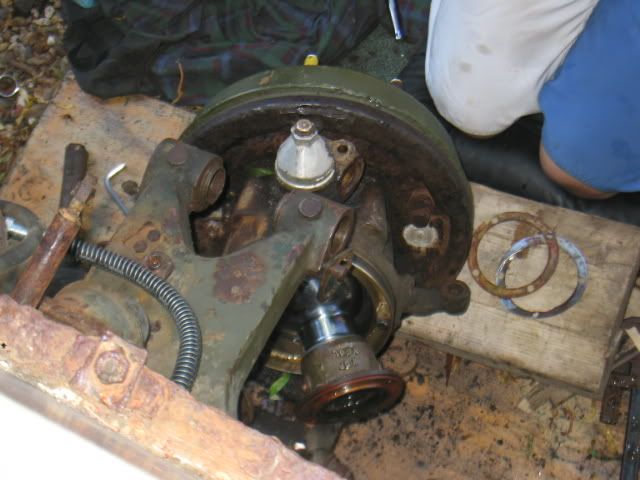
unscrewed the adjusting bushes and hit the threaded pin out ( in pic its reassembled )
cut the old rubber bellow off to allow easier access
Then removed the outer access bolts and knocked the mills pin out, undid the 4 nuts and bolts which secure the tracta fork casings to one another
supporting the hub with an engine hoist i slowly lowered and slid the forks off of one another , being careful not to damage the seal and shims.
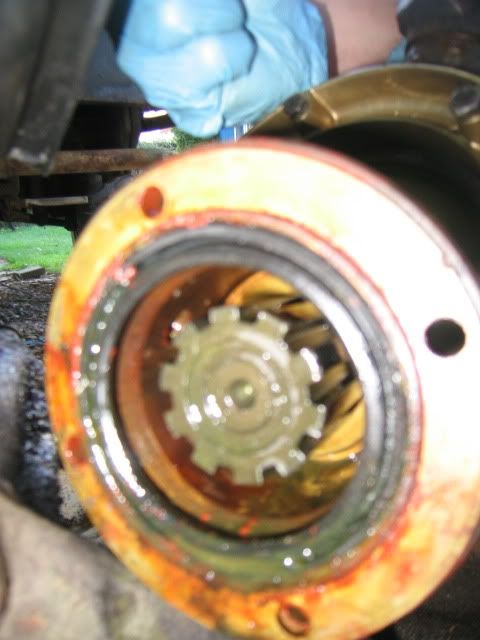
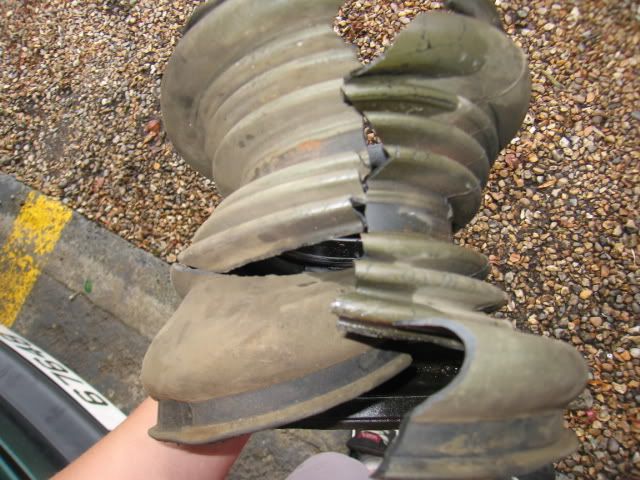
was then time to slip the new boot on
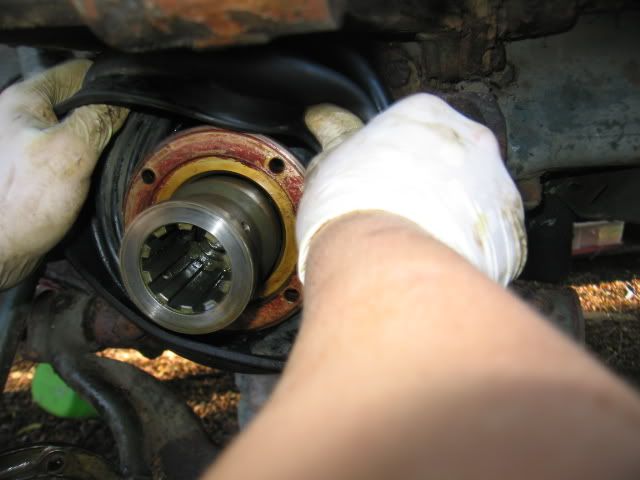
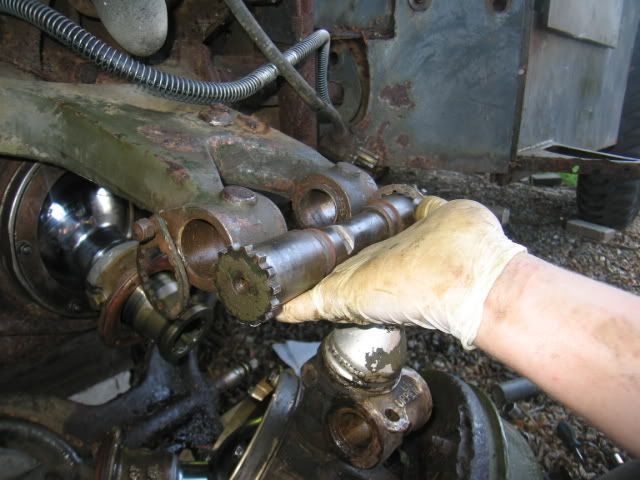
Lined the hole for the mills pin up on the outer fork with the hole in the inner fork , raised the hoist and then when aligned correctly the spline slipped onto one another and the holes line up.( i found due to play in the outer fork i had to pull the holes together using a fine screwdriver.
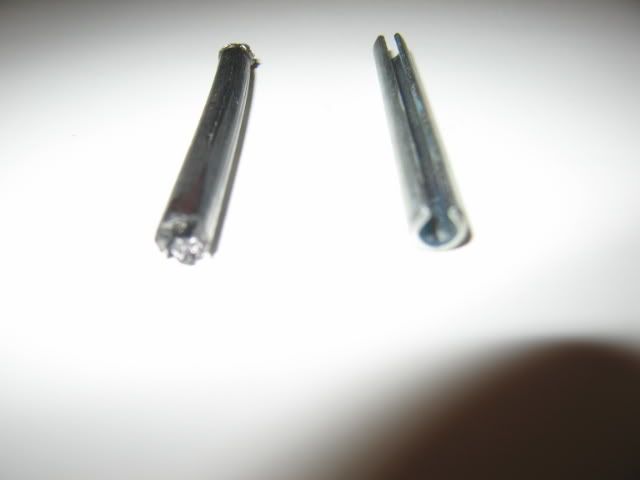
I then aquired new mills pins as it states not to reuse them and mine where so tight that in driving them out they got damaged.
the replacement pins are on the right of the picture with the old one on the left hand side
after this its just replacing the adjusting pin and bushes, cotter pin , shock absorber and brake expander unit.
unfortunately i noticed a small nick in the new passengers side boot and so carefully fixed with sealant and will observe to see if it gets any worse.
will also try and source some new jubilee clips.
next is to sort out the fittings for the ends of the fuel lines as whilst i have copied the lines in new 10mmm copper piping the ends of the original lines seem to be enlarged to accomidate the unions?
-
new exhaust sytem is now on and bolted together just need to attach the brackets and manufacture the rear bracket as it was missing.
inside is painted in red oxide, LOOKING FOR REV COUNTER CABLE though as it has snapped. Thermometer still doesnt work !!
bought some copper nickel 5/16 piping ready for brake pipes to be changed just need flaring tool
engine is running nicely and im about to do an oil change and service aswell as coolant change.
i have removed rear wheel arch , ground off the rust that has attacked where the original , higher wheel arches had been and started tacking in new metal just untill i learn to tig weld and can make some more substantial welds! pics to follow soon
-
Right, been doing work on the pig and going well. Got a solex carb kit from Banisters the other day( £60 ) and have made a start on that - all jets cleaned and one accelerator pump replaced so nearly there just trying to remove end of the other accelerator pump that has snapped off flush inside its hole !
front two wheels are off , one is split whilst the rims are sand blasted, other is in the proccess of being split - ive removed all the paint from each bolt but after two weeks with loads of corrosionX on them and with a breaker bar ive only managed to remove 3 and loosen 2 !
Inside the humber ive sanded down ready for some paint nearly

-
that looks fantastic , are those the proper colours the carb should be in or all light green?
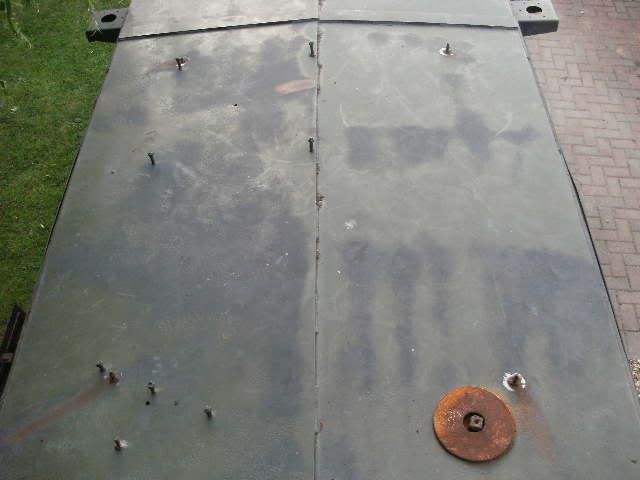
also anyone know what these fittings are for on my humbers roof
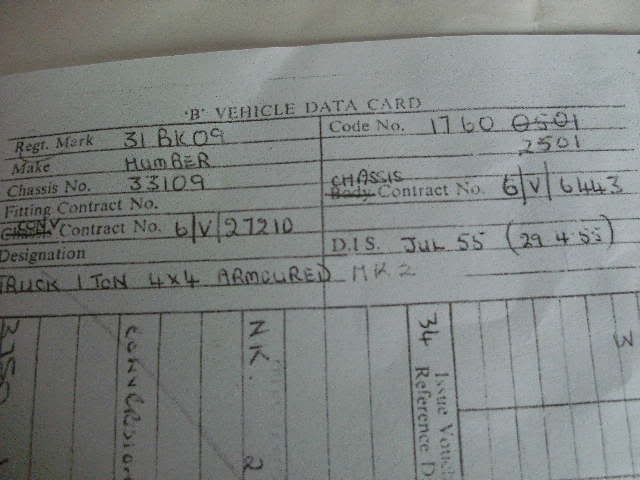
found the piece of paper stored in the engine bay
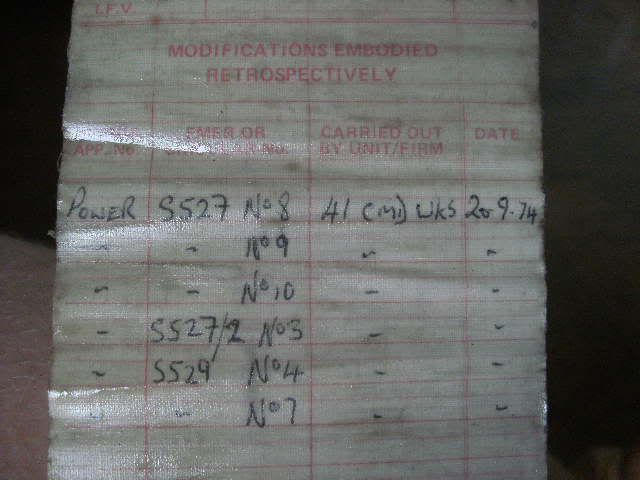

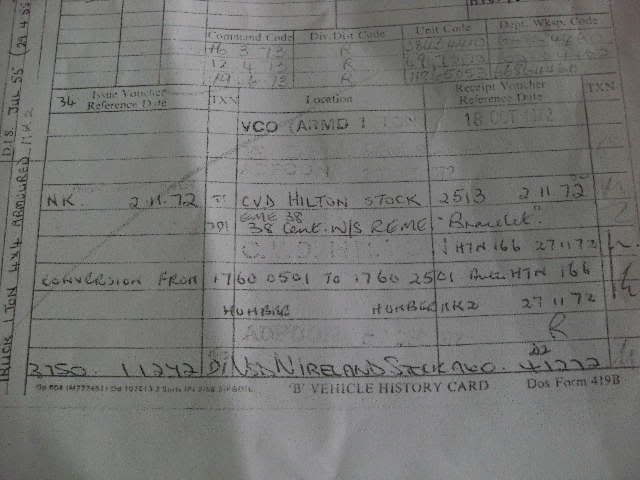
and the history of my humber - found by Chris who gave the humber to me.
-
i will put some money aside for this as it needs to be done. I will make sure i take lots of photos, cant afford to mess it up !
time isnt a problem but out of interest how long does it take to do when you have the parts ? and how difficult is it - i have done some more advanced jobs like, timing chains on a v6 with OHC , headgasket changes etc but need to have an idea of whether im capable?
-
carb removed and had a look at the diaphragms. the right one is slightly leaking and stuck depressed.
Just had a quote from richard banister for a carb service kit - £45 without economy pump - £60 with.
Also for fuel pump service kit it is £40.
reasonable ?
should i strip carb first or wait for the kit to come, i was thinking wait ?
-
Richard oh I thought you were feeding fuel via a tube going into the carb where the banjo connector is. This does have gauze filter & that does sometimes collect bits. Entry of fuel this way is regulated by the needle valve operated by the floats.
There is no fuel return line like in a diesel engine. The two narrow metal pipes feeding the top of the carb are breathers to allow fumes from the crank case to combusted.
If its being tipped in the top via these pipes it will flood & as the fuel hits the butterfly valve it will seep along the spindle & out through seals either end.
I have been feeding it in where the banjo bolt is , it was only the first time we tried starting the engine that it had been fed in through the breather pipe entry's but hasnt been done since.
I just wondered it its accumulated petrol from the first time we tried thats leaking
It was leaking today when using a tube where the banjo connector goes into.
-
The seal on the shaft isn't the main issue. Is suggests to me it is getting flooded by failure of the accelerator pump diaphragms. They have either gone brittle & cracked or are porous. This would explain the high revs & high fuel consumption.
Take off the side panel cover but first detach the choke lever arm. Then the peripheral screws if the diaphragms are shot there will be fuel in this chamber. To inspect the diaphragms remove the 4 screws over each pump.
ok this would make sense and explain a few things. However i had my dad feeding the petrol in at first through the side of the carb into where the two ( return ? ) fuel lines come out without realising. at this stage lots of fuel was being spuirted in - so could this leak just be the excess fuel put in ?
i guess if the diaphragms have become porous/split ill need a rebuild kit. thanks for reply !
-
started her up, ran for a few mins before springing a leak from carb. its leaking near the accelerator linkage but not sure why. any ideas ?
-
Make sure the accelerator linkage is allowed to return to minimum & that a return string is in place. A return spring is often fitted on the choke cable. But I never use the choke & have disconnected it.
The starting procedure in NI was no choke, foot down twice on accelerator then foot off & start up. I find at start up I need the accelerator depressed & held about 15% down appx
Yes
ah right , the return spring was missing so i used one from a renault 5 that appears to fit .
Im only feeding petrol in via a bottle. If i had fuel in the line coming from the bottle and pressed the accelerator pedal would it still prime ?
-
Yes, white isn't to bad at the moment, especially with the stuff in it. Probably blowing condensation out of the exhaust as well. Got be warmed up[ sometime, sounds like you have everything in your favour. Just do it slowly and carefully keep checking levels and look out, listen and smell for anything nasty, be prepared to shut down quickly. She may well blow black and grey for a few minutes so have plenty of ventilation.
going to warm it up properly this weekend just need to get enough fuel !
just been run for 5mins , i didnt touch accelerator just had the fuel runing in and choke on setting one. revs where 1000rpm then when i clamped the fuel line slightly revs dropped a bit , will this drop to normal when its hot and choke is turned off?
also the coolant temp reads max all the time , when fiddling with the wires behind the instrument panel it sometimes moves off max but then straight back. Open circuit?
-
humber is now started. The chokes in its first position and the petrol is being fed from a litre bottle but is very thirsty.
The revs stayed around 1000rpm without the throttle being touched atall. i tightened the clamp slightly on the fuel line and the revs dropped slightly to 750rpm with the choke still on but throttle untouched.
when i warm it up properly and release the choke will the idle reduce to normal?
coolant guage fixed corroded connections needed a clean up.
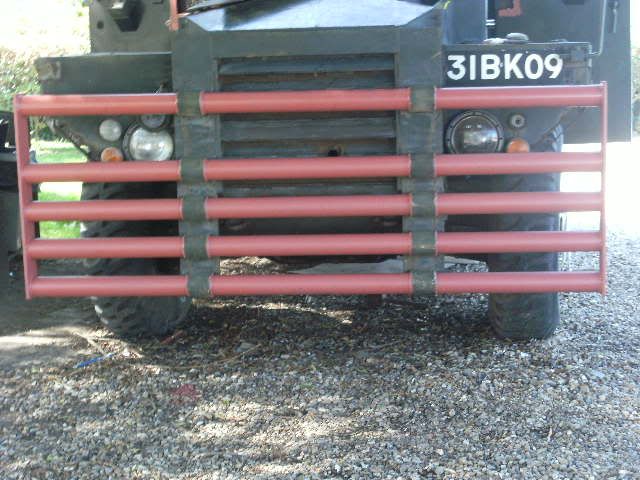
Barracade Ram rubbed down fully then painted in rust inhibitor
-
does anybody know the normal idle speed for a humber ? - B60 engine
-
im keeping the revs as low as possible untill the oil change but whats your opinion on if i can warm the engine up?
thanks for the tips im going to get some more petrol and listen out for any noises using the technique youve said.
i will also do the trick with the oil that you suggested, i want the pistons moving freely up their bores before increasing revs.
the smoke was whitish to start - i assumed this was the corrosion X and WD40
-
If the engine is dying when acelerater is pressed that sounds like you may have something not working right. I'm not familiar with the carb so don't know if there is a pump or such like. Though it could be electrics. Before warming up have you done an oil change?
that crossed my mind aswell just looking over the manuals to check whats inside the carb that might be playing up. I drained the old oil off and left it to seperate but it didnt, i then left it in heat to evaporate any petrol , checked a sample after mixing and it wasnt combustable so i put it back in to the correct level. - so can i warm her up or not really ?
-
she is started !!
 amazing, so pleased now the big work starts...
ran for 30 seconds before running out of fuel . revs where around 1000 rpm and when i went to press the accelerator revs died off but i guess i can adjust this by using a jubilee clip on the pipe to control petrol flow ? is it a good idea to warm her up properly now ? thanks everyone for your help especially clive whos provided me with bits of knowledge that have helped me no end
-
perfect, i have sorted the fuel supply out so its consistent but its feeding quite a lot of fuel. the diameter of the hose is quite small as it is though ? i know its a bit heavy on the fuel side just seems like a bit too much fuel
-
hi rich .i have an old jerry can with a air hose connector welded into the top. attach rubber hose to can then to carb .put can on roof :nut: . she should run mate,
so if i get a normal jerry can filled with petrol , take the cap off and put a hose into the petrol in the can then feed it to the carb would that work or does it need to be an air tight seal on jerry can ?
which bit of carb do you attach it to ?
-
just having problems with feeding the humber fuel as the tanks are in the middle of being replaced. whats the best way to feed the carb fuel so that i can let it idle for a while ?
i have tried a squeeze bottle but not sure on how much to squirt in or position to hold it etc
-
turned out to be batteries which is good ! two charged batteries in and the starter motor turned it over easily, nearly fired up but not quite, smoked and popped as expected. not sure on how much fuel i need to feed in and what technique to use ? here is a quick video - any suggestions on how to get it started ?
-
Richard when you say nothing happened at start up did the yellow light (oil pressure) stay on just as bright or did it dim/extinguish?
If it is the former you need to check with a bulb test prod that when you turn to start you have 24v on SOL lead that comes from switchboard.
If ok then take lid of Ignition Junction Box & check SOL there.
If ok undo multiplug on starter itself & check pin A
Also of course check you have 24v on the main solenoid terminals that are permanently connected to the batteries.
If it was the latter then thats a battery problem,
thanks for quick reply , the oil pressure light came on , attempted to start it and nothing happened but the yellow light went out/dimmed, then when i stopped it came on again.
-
Right switchboard wired in , bought new set of plugs , oil drained and tested - low viscosity and smelt of petrol but not combustable so left in heat of the sun then re used to right level. I put in some oldish batteries and the yellow light on the switchboard came on ? I tried to turn the engine over using the switchboard but nothing happened. the spark plugs where out to make it easier for the starter motor. I'm charging batteries tonight incase it's just that
-
I would dismantle the fuel pump & inspect the diaphragms. Very likely you have a fault there & ensure the choke is turned off. I would not attempt to run it knowing you have fuel in the sump. I once discovered I had this when there was an explosion that blew the dipstick 50 ft into the air, lucky there was no other damage!
on that note i think i should drain it off and try what Gordon_M said. Thanks so much for the advice because the last thing i want to do is crack the sump or damage the oil pump etc. so agreed that i should drain off the oil doing what Gordon_M suggested ? then refill with the old filtered stuff and try to start, if she starts then warm engine up ? Then after fuel tanks are in place dismantle fuel pump and assess diaphragms.
-
Once you know she starts like that you will eventually connect up the vehicle fuel supply correctly though I guess , so when she's running on that , that'll be the time to change the oil
yeah thats the plan after lines are made up ! so am i right in saying - i should change oil for some cheap 20/50 stuff now. Then once she is running and the fuel tanks are installed ill moniter the oil for petrol and change diaphragm if leaking otherwise put proper SAE 30 in.
new humber pig owner
in Introductions & Welcomes
Posted
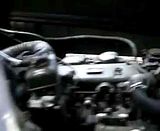
have just removed the handbrake cable along with brake expander unit from the passengers front side,
i want to disconnect the handbrake cable from the expander unit so i can change the body of the expander unit for a spare i have which has a decent bleed nipple on it.( as the old ones bleed nipple is snapped off inside the body of the brake expander unit.)
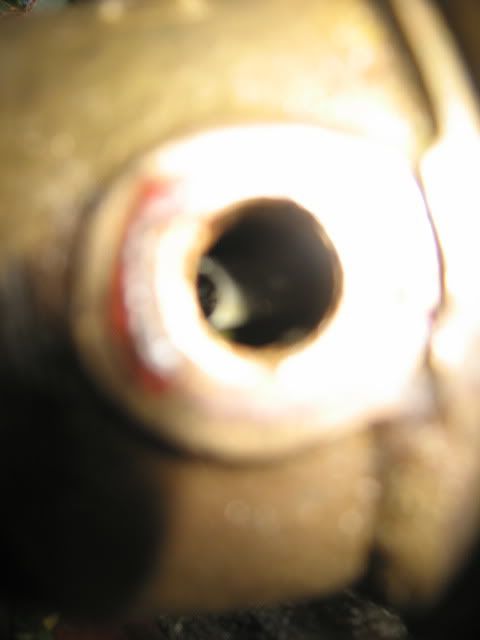
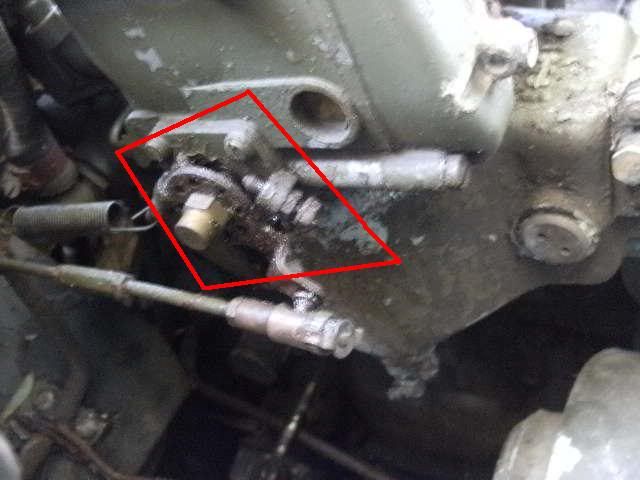
i have got this far and am stuck on how to remove the hanbrake cable from the unit, anyone know how to do this ?
i know the picture is of poor quality but you can see the brake cable going into the piston on the expander unit.
i take it i need to remove the piston but how !!!