


Masseyboy89
-
Posts
226 -
Joined
-
Last visited
Content Type
Profiles
Forums
Gallery
Blogs
Events
Articles
Store
Downloads
Posts posted by Masseyboy89
-
-
Thanks for the reply! I will check that group out!
-
Hi all,
I am after a few snatch bits.
A drivers door in good/reasonable condition with glass and door mechanism.
Desertised snatch camo net
Windscreen glass
Cash ready for right parts.
Thanks, Simon.
-
Hi all,
Im am after a little help with my snatch landrover. The drivers door latch is partially missing so the door won't stay closed. I don't have a parts manual for this vehicle, can somebody advise me if the mechanism is the same as other defenders with lift up latches or if it's unique to the snatch.
Thanks in advance.
Simon
-
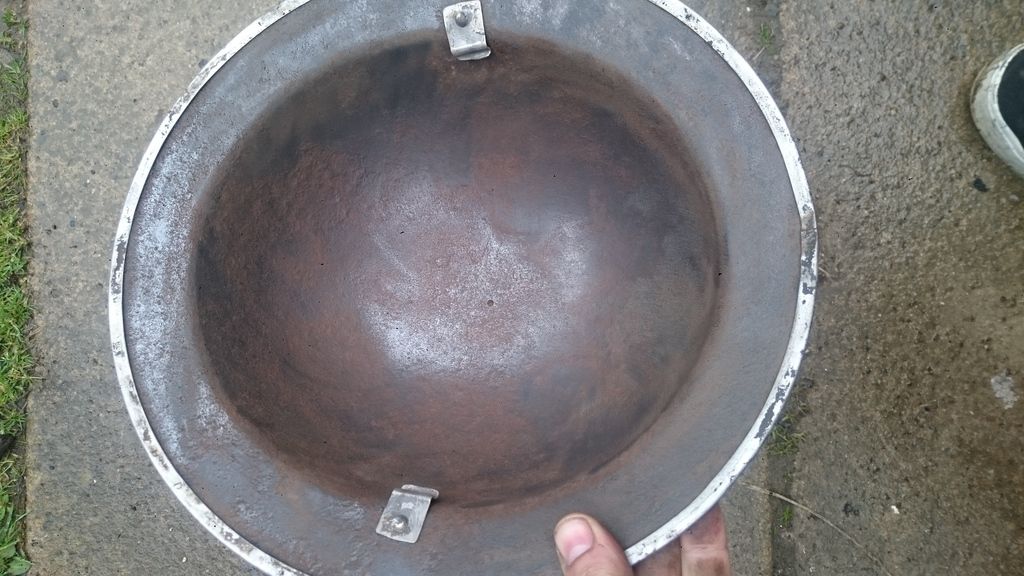
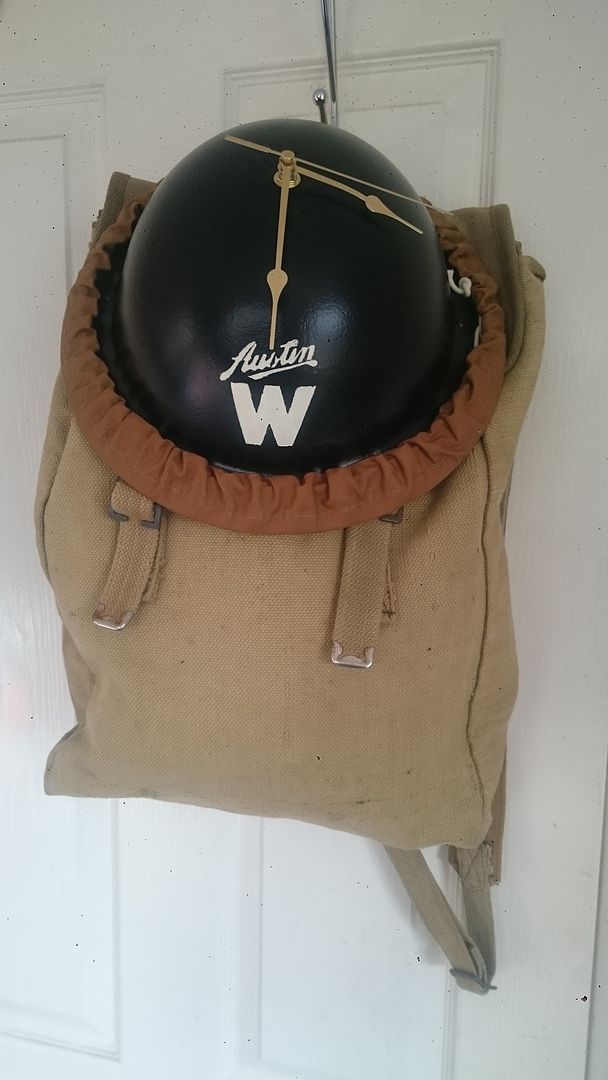
I appreciate that this wont be to everyone's taste, but I thought some might enjoy seeing it.
I was about to throw this old helmet into the back of the shed probably never to be seen again, but instead, thought of doing something a little different with it.
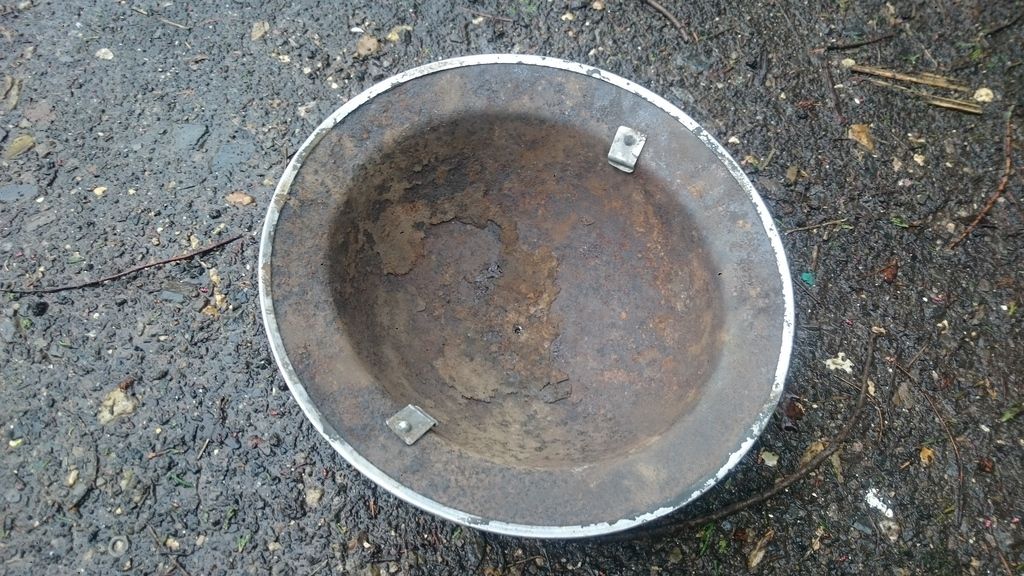
I ran the knot brush over it to get rid of the heavy rust
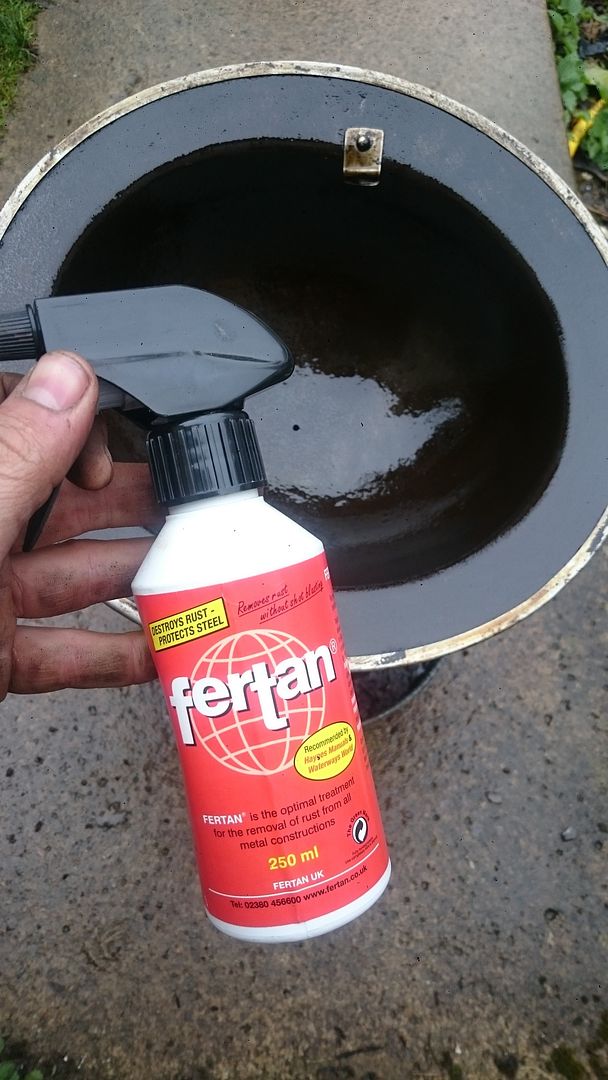
Sprayed it in Fertan to kill the rust
Drilled a hole in the top
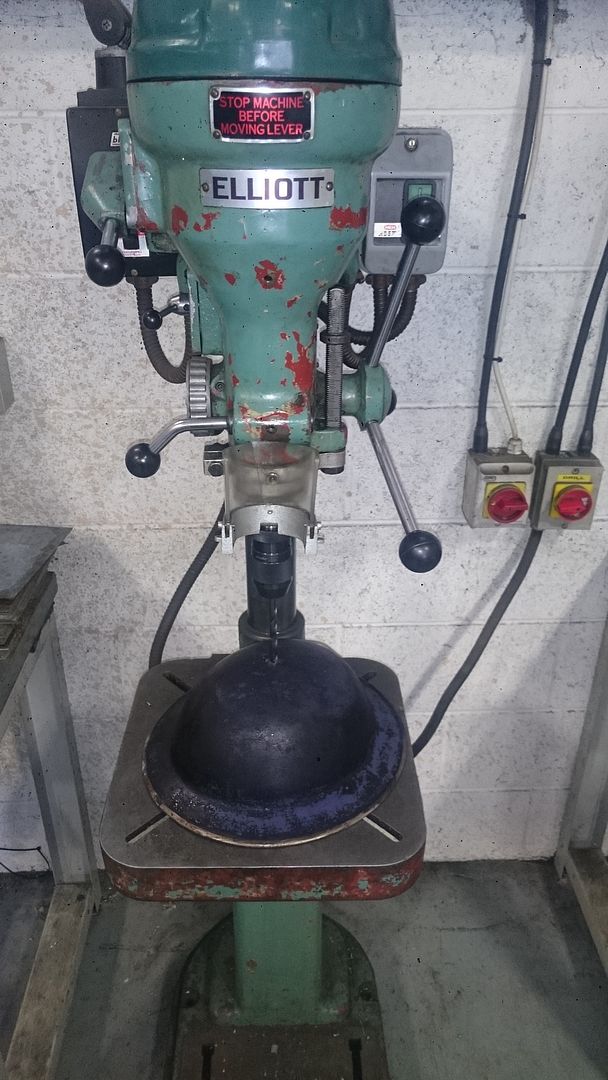
Hung it up in the car park to dry after spraying in primer..... :nut:
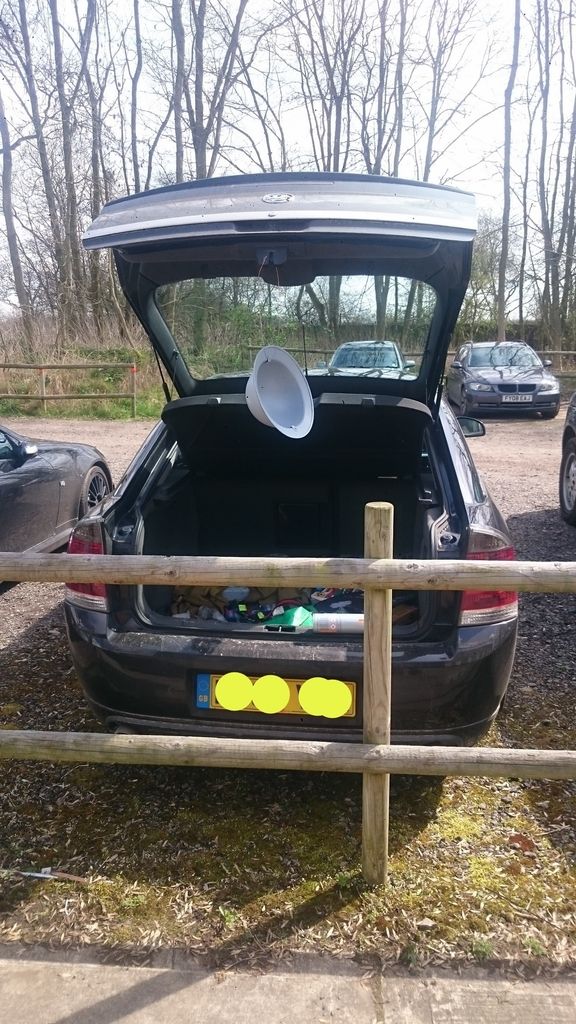
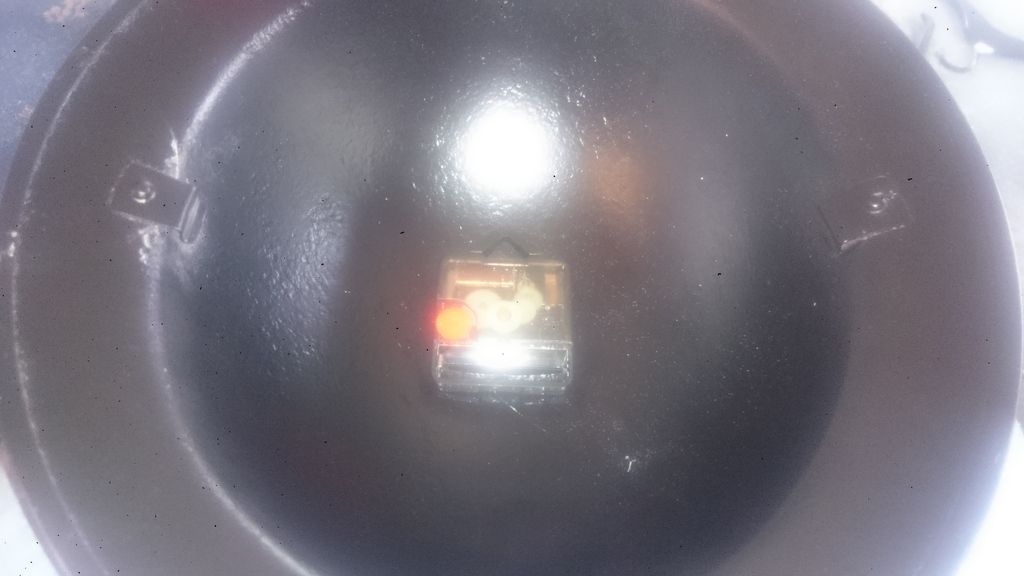
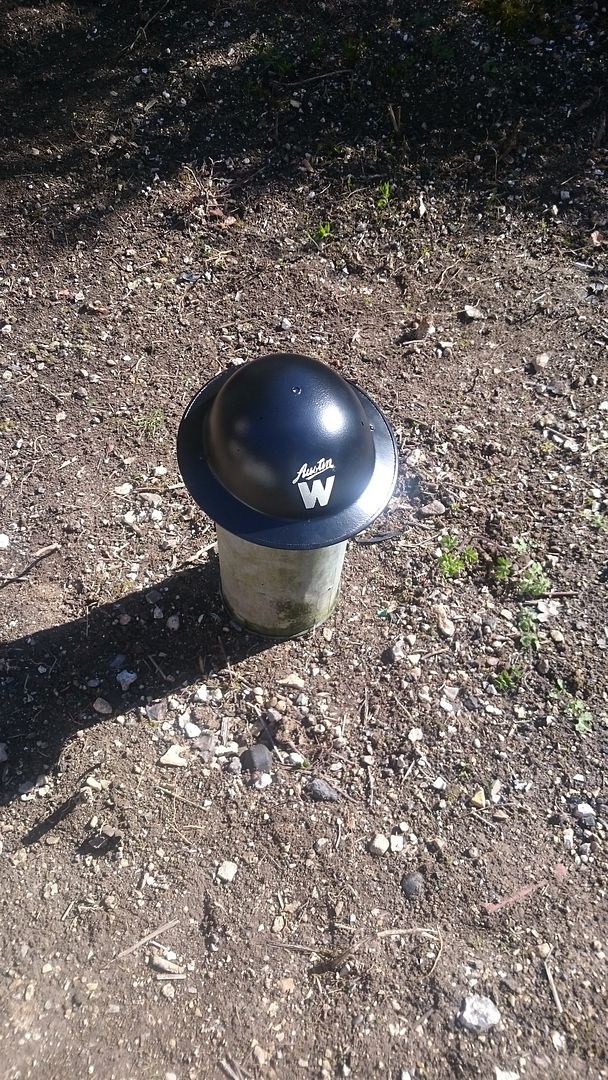
And finished article... A new clock!
-
Hi all - hopefully you can solve a mystery for me
I have 'large' 1941 dated zuckerman helmet in my collection. It is stencilled with 'C.P.' on the front. Can anyone advise as to what this stands for?
My best guess is 'Civilian protection' but I'm sure I'm wrong!
I look forward to hearing your responses
-
Great work - I look forward to watching the 110 GS get the same treatment!
-
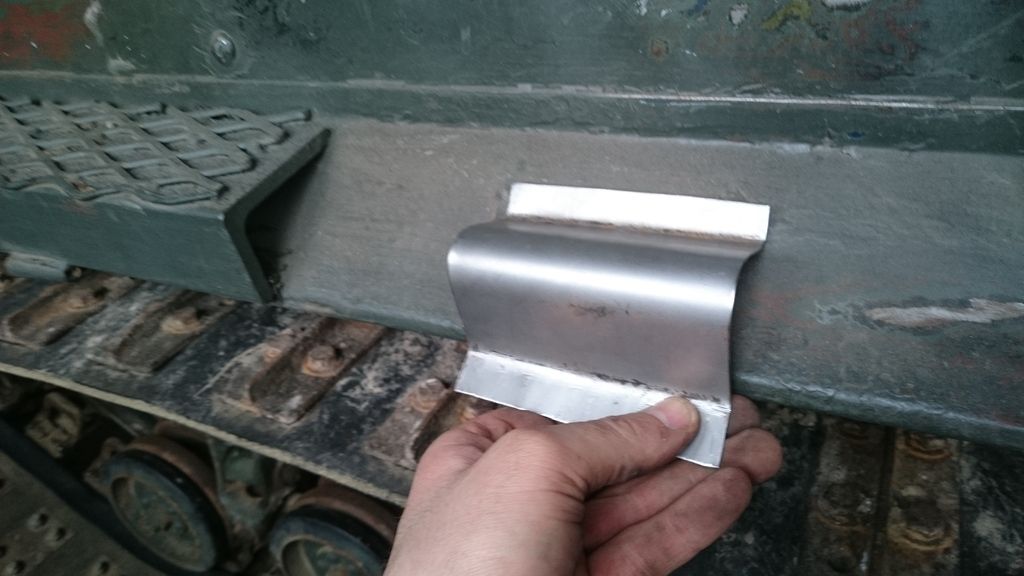
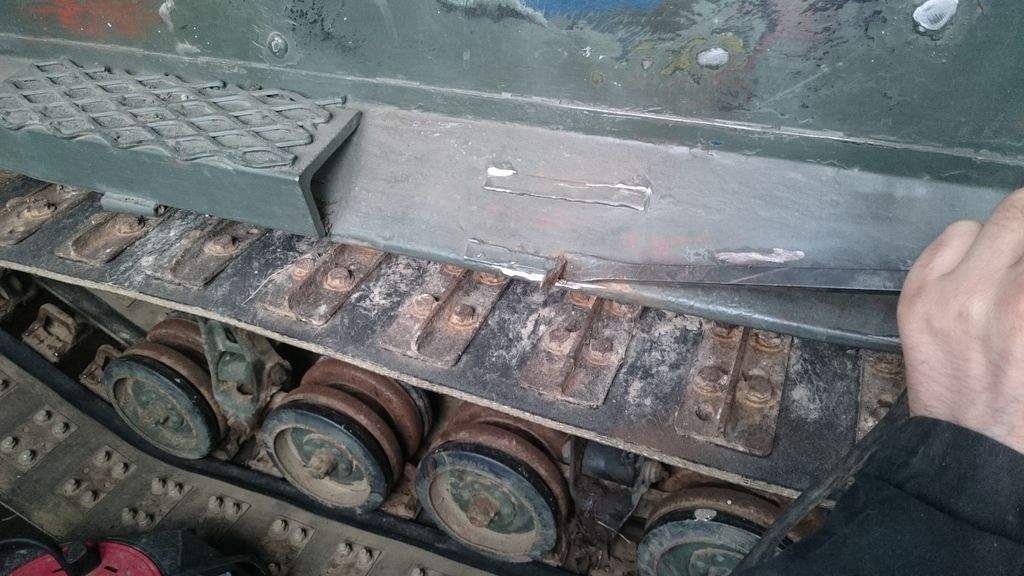
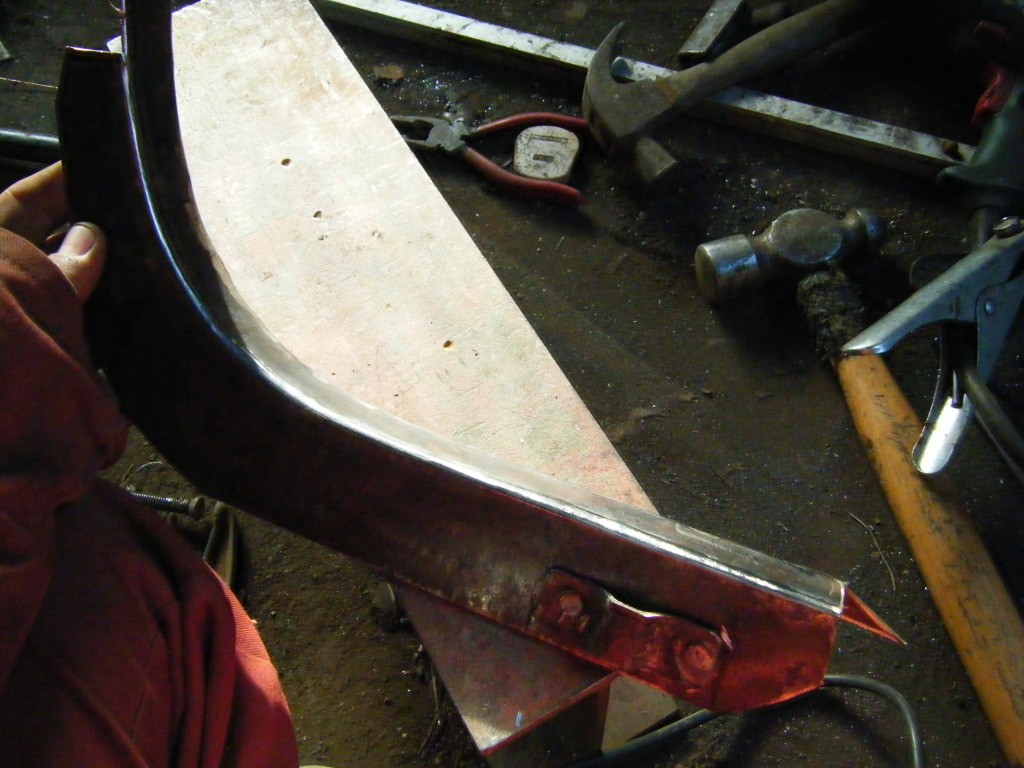
Looking at old photographs I was able to determine the rough shape and size of the steps. Parts of the original steps remained spot welded to the track guards, once removed I could accurately place the newly fabricated step in the correct place, I was also able to match the width and steel thickness of the old one and scale it correctly.
-
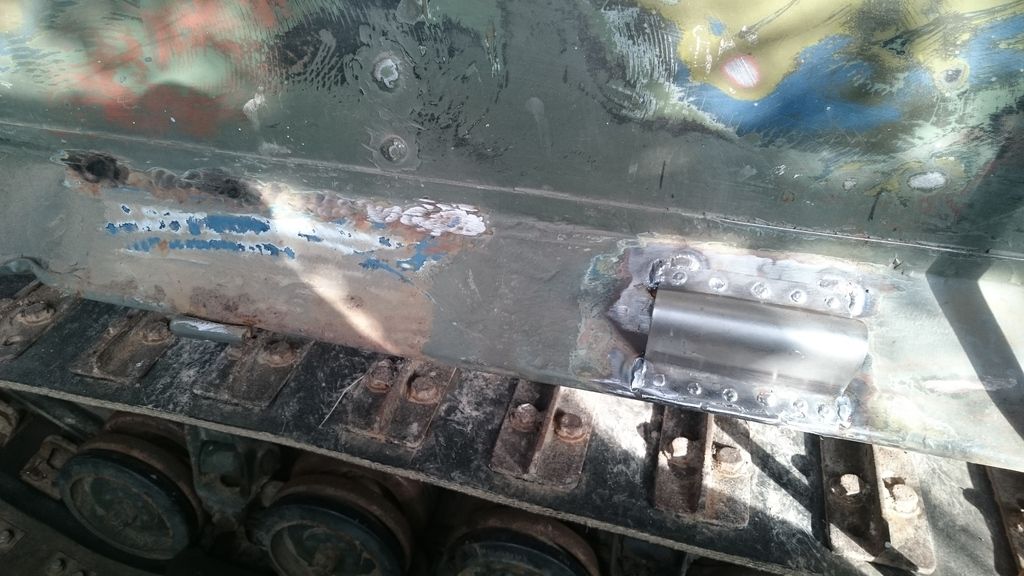
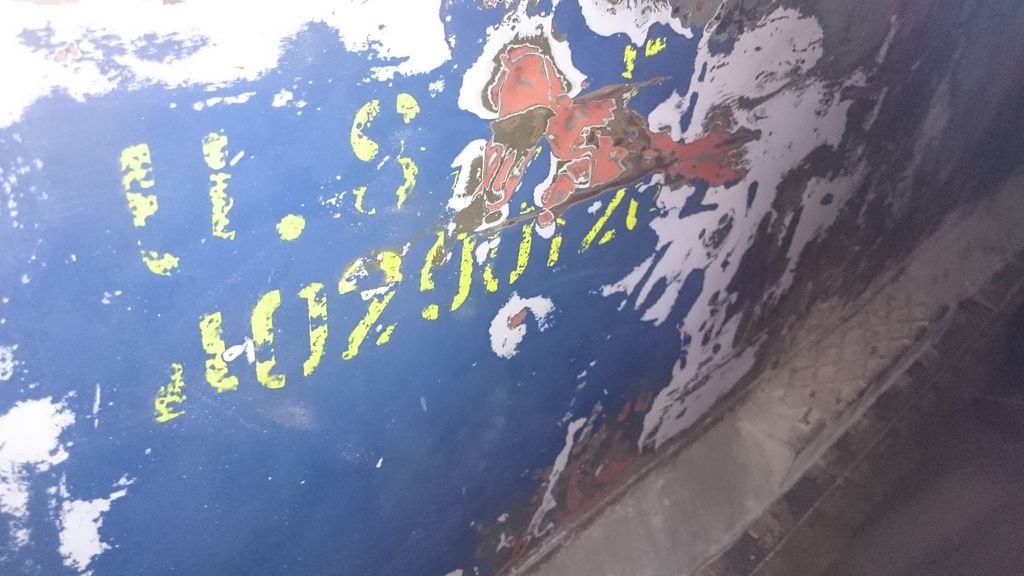
The first thing that I did was start to sand through decades of paint, filler and primer in an attempt to find markings. It was originally OD with 'ordnance depot' stencilled on the front quarters. It was later painted blue and used by the U.S.A.F, on the drivers side I have found it's serial number and USAF stencilled in yellow.
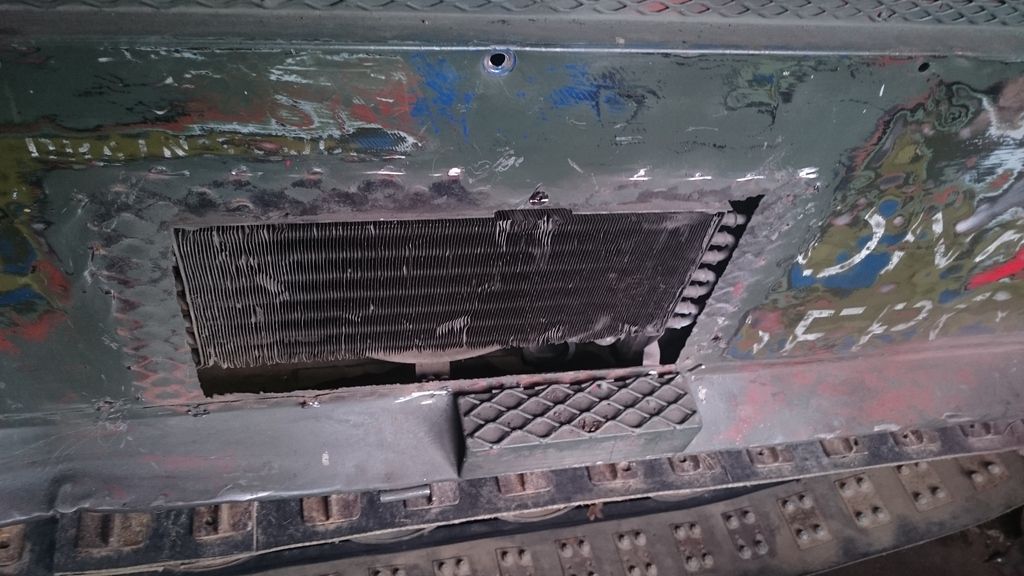
The weasel was brought into the workshop and stripped down. I started with the engine side and engine bay area.
Transmission cooler - grill removed, the hole was roughly cut using a gas axe
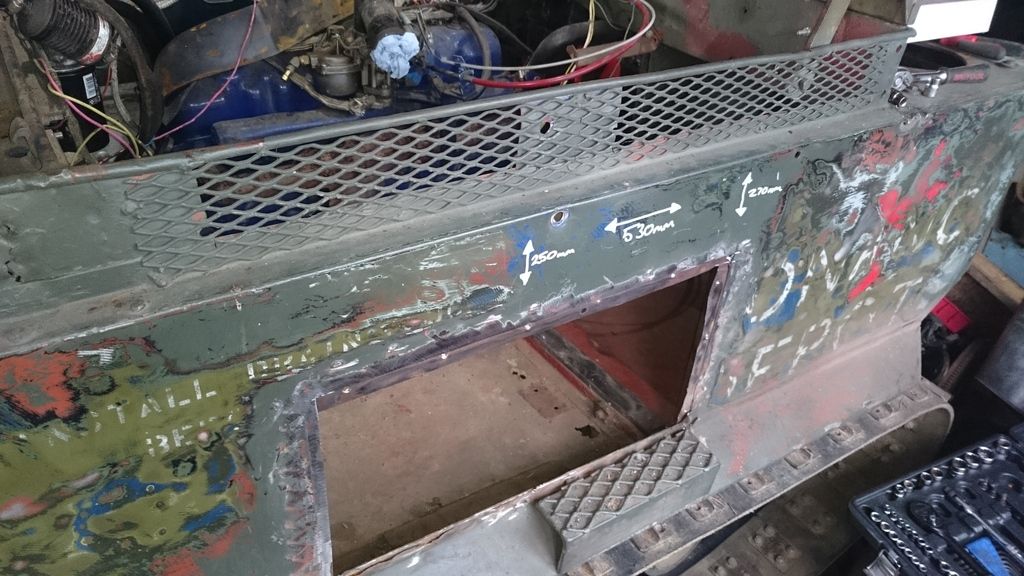
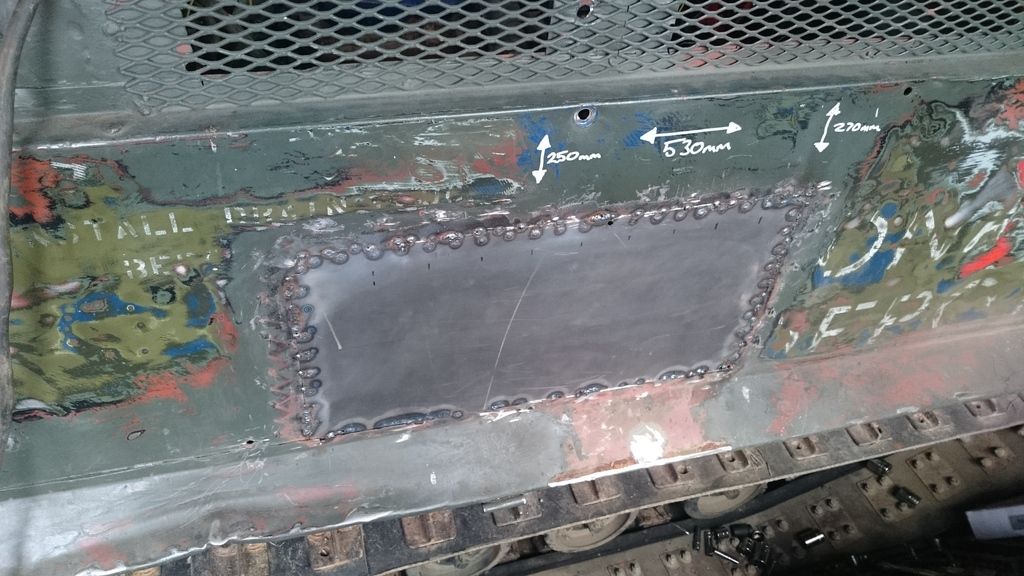
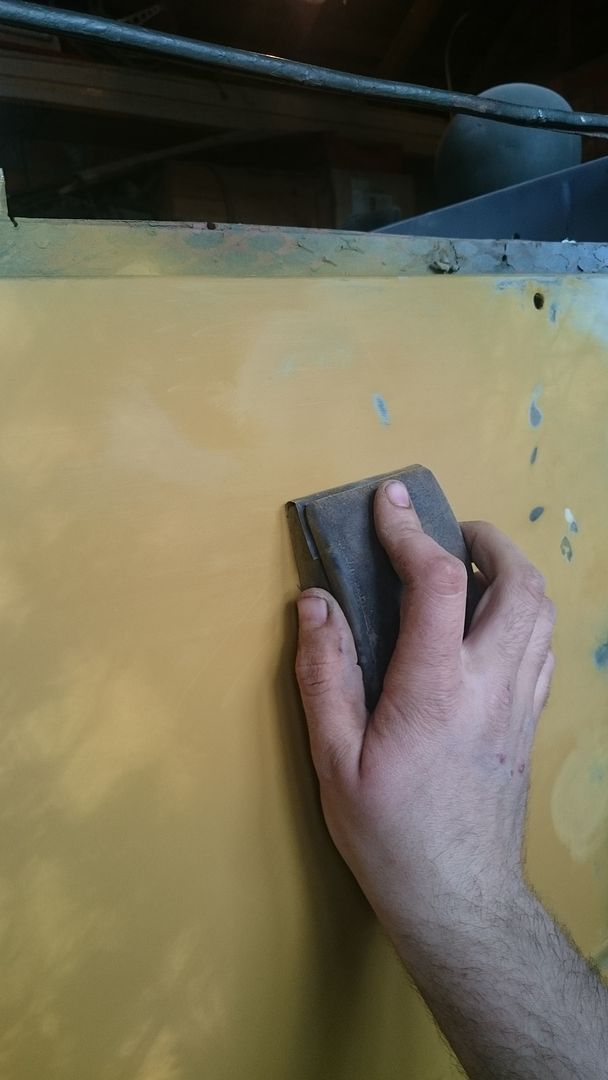
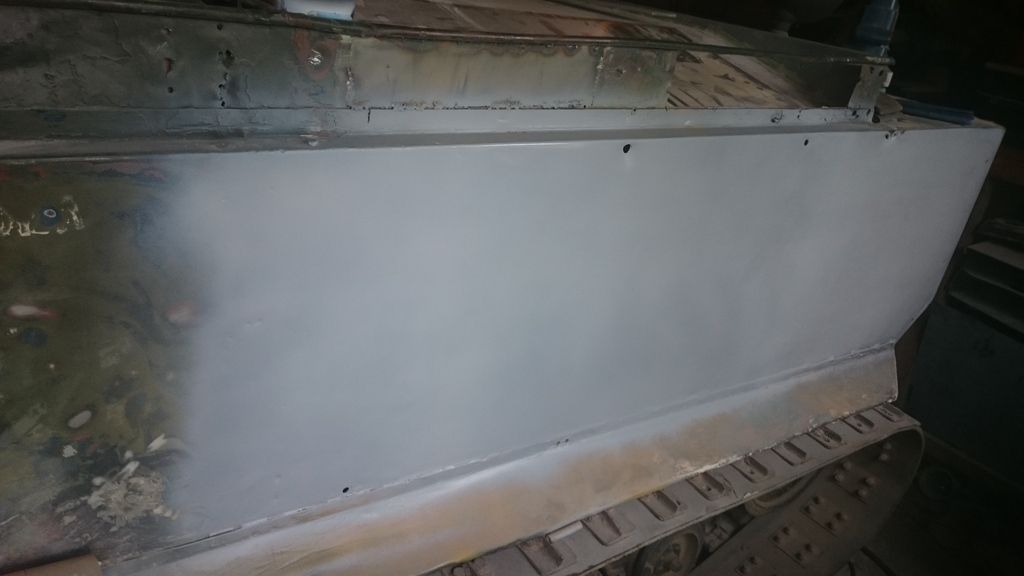
With the fuel tank removed the old transmission cooler was unbolted and scrapped, along with the crude angle iron side steps. The weasel still requires a transmission cooler, however, it will be positioned differently. I enlarged the hole, clean cutting the sides. I made a new panel with fresh steel sheet, spot welding it to the frame work underneath, I then gradually seam welded the repair piece into the surrounding hull. I later dressed the welds back and applied several coats of high build primer, block sanding by hand after each coat with a 240 wet and dry. when I was happy with the finish the area was etch primed.
-
-
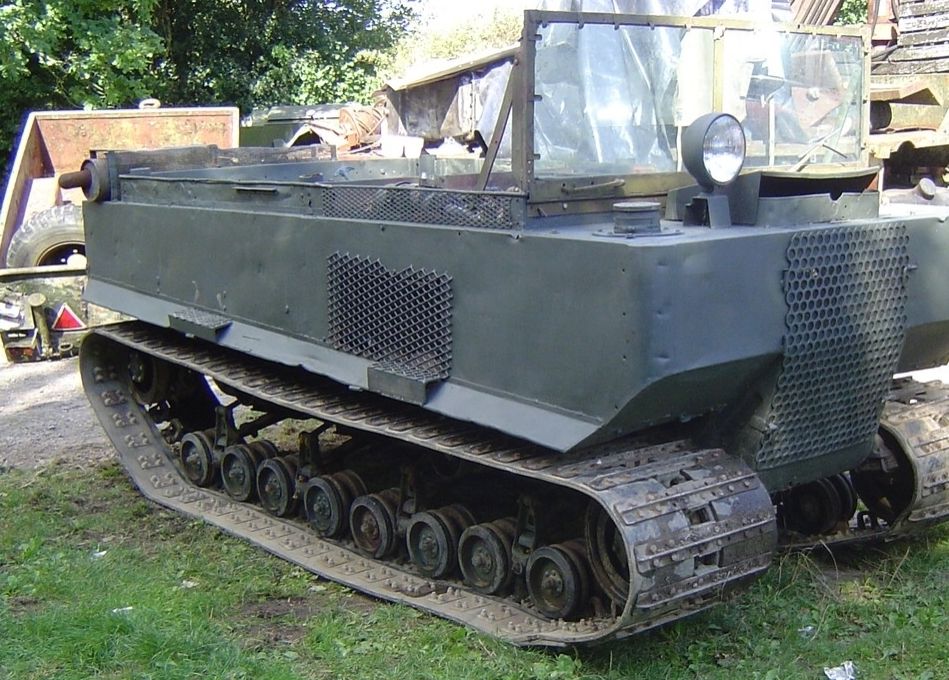
It is a good basis for a project, it has a fairly solid hull coming from a ranch in the states, unfortunately it has been well chopped about. It was also fitted with a roll cage which was removed before these pictures were taken..
The hole in the side was for a transmission cooler and the holes in the front for improved air flow through the rad.
It came with an enlarged bonnet that would only fit when there was no windscreen.
The running gear in the weasel is a 4.9 litre straight six running through a 3 speed auto box. The transfer box and steering box is original. The service brake no longer actuates both steering brakes, instead it uses a twin calliper disc brake which is mounted on the transfer box input flange. While not to every ones liking, it is a practical and reliable solution, service items are also cheap and readily available.
-
The beginning.
-
Hi all,
After years of lusting over weasels, I decided to take the opportunity to buy one last year.
I am already a way through and thought it would be nice to share my struggles with you all!
I am sure I will also get loads of useful input from you too.
This will not be to everybody's taste because I intend to leave the weasel the with the wrong engine and gearbox. I will be making numerous subtle modifications and fabrication to make it work but also look right.
It will also be left in M29 configuration rather than M29C.
With that said, I will be ploughing considerable time, money and effort into it and intend to end up with the weasel I want, that I hope others will appreciate.
I have a very particular plan in mind for this truck, I have a little twist planned, which is spurring me on to complete this project, I hope you all enjoy reading about it...
-
Incredible, thanks for sharing!
-
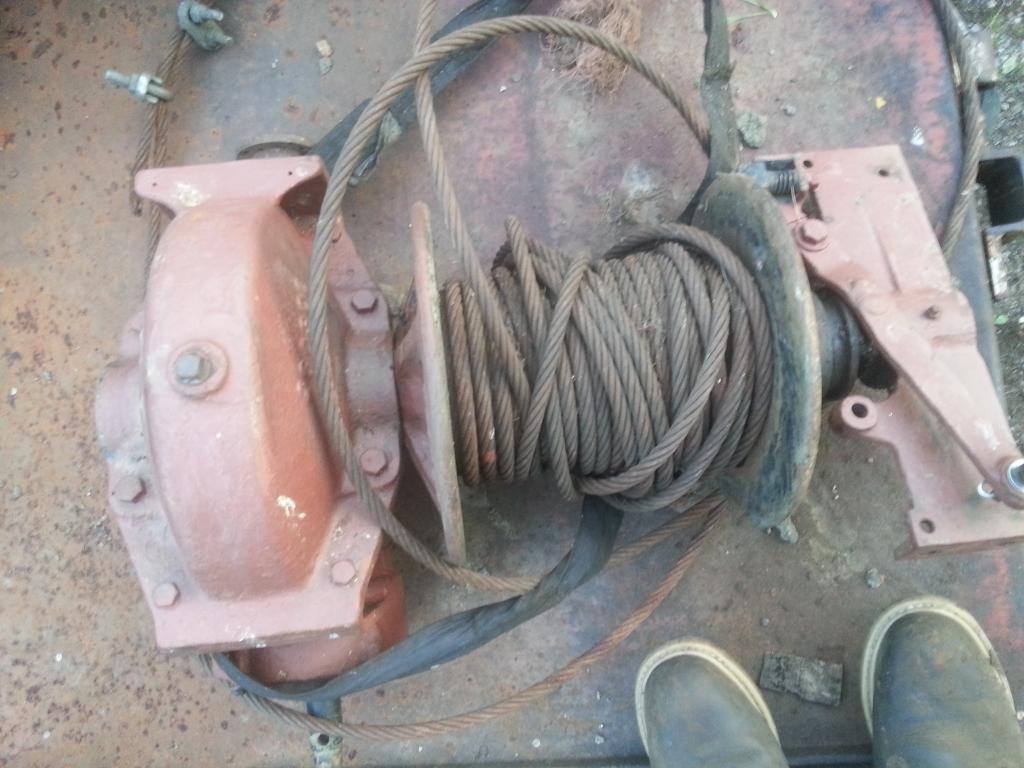
Hi all,
After some help in identifying this winch and it's likely past application..
It was bought unseen as a 'CCKW winch'
Any ideas what it is actually off?


-
I've just taken the number off the chassis:
CCKW-353362152R2
Many thanks!
-
Hi - Is possible to:
Date a CCKW 353 without a data plate?
Calculate markings?
There is a number on the RH side chassis rail.
any pointers would be great!
-
Hi all,
I have recently acquired another FSC however, the reg has been sanded off and the brass data plate removed from inside, there is a engine capsule with lots of information on, but that didn't state the REG of the vehicle
the chassis plate is 1377 - 4 - 58
engine number is: 14898
It is a turreted ferret, and has been DBG, nato green, green/sand camo and white.
What are the chances that it has served in Cyprus?
If anyone has an idea what the reg may be, or has any info on this ferret, I would love to hear from you.
-
Hi all,
I am curious to find out if anyone knows the figures on vehicles during Vietnam
There must be a rough account somewhere of Vehicles, their variants and quantities sent to Vietnam?
What I would most like to know, how many M151 series vehicles where sent out, how many returned back to the U.S after the conflict, how many where destroyed and how many where left for ARVN forces after the American withdrawal - I appreciate that this could be an un-likey discovery.
I am interested in any information you have, ball park figures, and rough guesses, I would also be interested to learn the total about of vehicles that went there.
Thanks in advance.
-
Welcome aboard matey!
-
Thanks for the support mate! what jeep do you have?
We got our gas last week, we had previously made up new floors so it was a case of finishing the chassis and welding in the floors which we did in a day. Everything is spot welded and seam welded around the edge so it should be stronger than before, the rear floor had to be made in two pieces and the welded together to allow it to fit.

Today's job is to make a new side and and corner, this corrosion was caused by a mud trap, the holes masked by filler. You can just see the two battery trays in the background, we will mock up the tool box lid position and seat mounting, mark out where the batteries should be positioned in the car, then cut two squares out and weld the trays into position (these trays are made to accommodate the largest modern civilian batteries that will fit under the seat)

This is a corner, it was removed from a scrap jeep, it looked ok, but as soon it was cut out we released it was a sandwich of rust, so we won't weld it in a vehicle, but it makes a great pattern. (this is pictured in the landrover - unfortunately, the jeep isn't coming on that quickly!)

My repair section cut out and tacked up

Making up a new loop for the hood hoop frame

now cut out and spot welded to the the repair, this is about ready to attach now. I seam welded on the inside, so it could be sanded with a grinder to produce a nice curve to match the original.
Starting to tack it up..

an old friend, a casualty of he-man strength... :cool2: Unable to bin it, I had to weld it back together


Almost done, although its seam welded on the other side, I will drill and puddle weld the sides on the outside so that it looks like it was spot welded on there like the original.

-
Nice looking good Have you managed to find a 106 yet? Ohh and nice beaver:shocked: Still trying to fing tim to get down and have a rumage:cry:
Thanks mate, and your more than welcome to come down and have a nose! the beaver is a little rough around the edges but is a great workhorse we couldnt be without it
as for the 106, im still on the look-out! :wow:
-
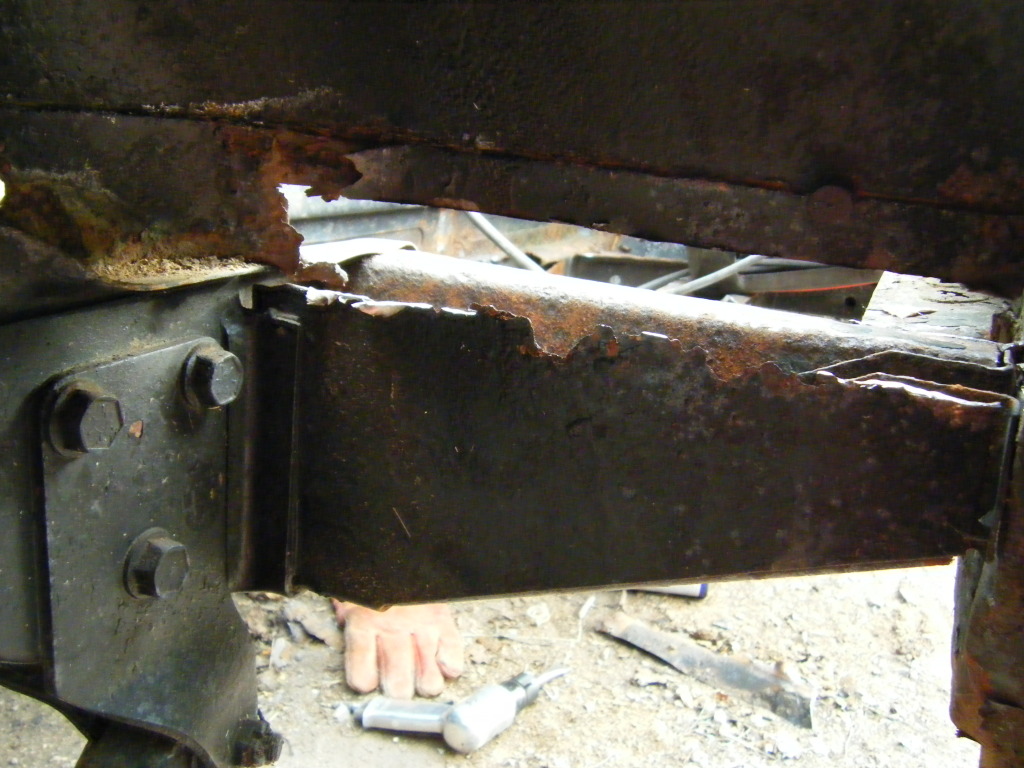
Every mutt that I have worked on has had an corrosion issue on the rail that spans the width of the car, this A2 being no exception.
Although the rail looked ok from the outside, with only a few small holes apparent, when the rear floor was removed, there was deep pitting so we decided to cut it out. To put a stop to any future woes - I cut the rail and replaced it with a much stronger box section.

The rail welded in, the small rails that span the length firmly attached by 1'' box section, this gap here was waxoiled, and then boxed in by 11guage steel before the new rear floor is welded in place over the top.

rot in the outriggers...
Cut and repaired, I decided to box it to make it stronger, again using a heavier 11guage steel with a wax-oil injection.

then, we made up an new chassis rail, started to tack it in, and ran out of gas! :mad:

-
I can help you out if you want to PM me.
-
The A1C after painting, I bought a NOS bonnet for it and a good S/H grill.
We were really happy with the decision to make new front wings it was quite difficult and very time consuming to get them to look right... but now they are straight and filler free!


Wanted - Nato Towing Eye for Sankey Narrow Track Trailer
in HMVF Classifieds
Posted
PM sent