


lozzaboy
-
Posts
211 -
Joined
-
Last visited
Content Type
Profiles
Forums
Gallery
Blogs
Events
Articles
Store
Downloads
Everything posted by lozzaboy
-
Finally the paint had dried and got the battery carrier fitted :-D (just need to get some spring clips to finish the frame off)


-
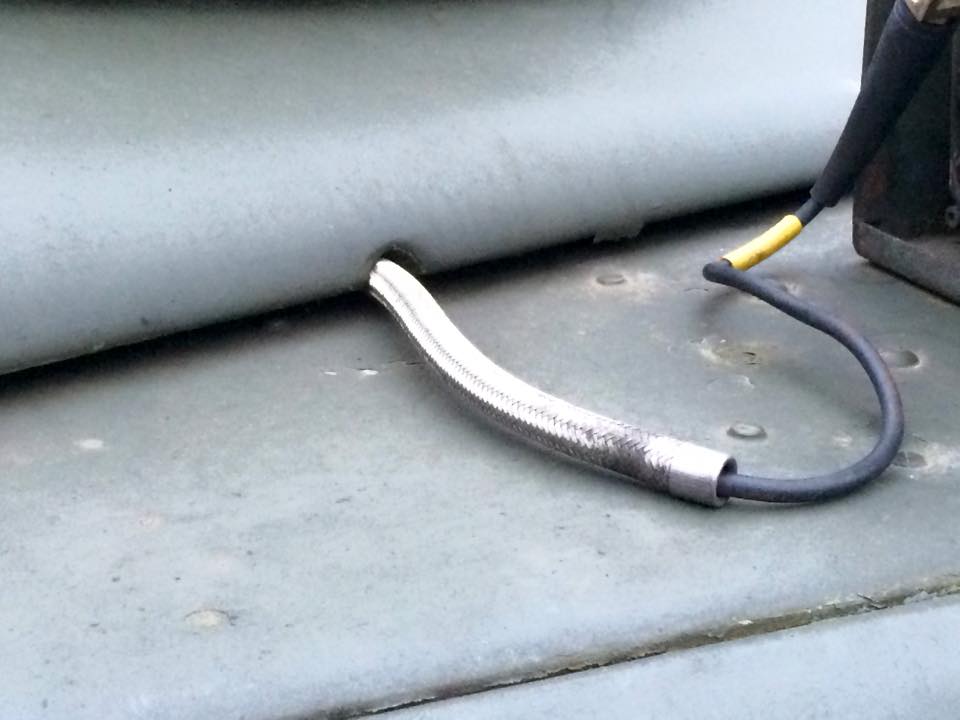
Whilst waiting for the paint to dry on the battery carrier I set about securing the ATU cable along the passenger side, the P clips still remained in place for the drivers side under the back of the seat box so started there and worked forwards, was also lucky to be able to free up 2 of the screws/bolts that hold the P clips and cables in place where they run under the bonnet and on the wing top.


-
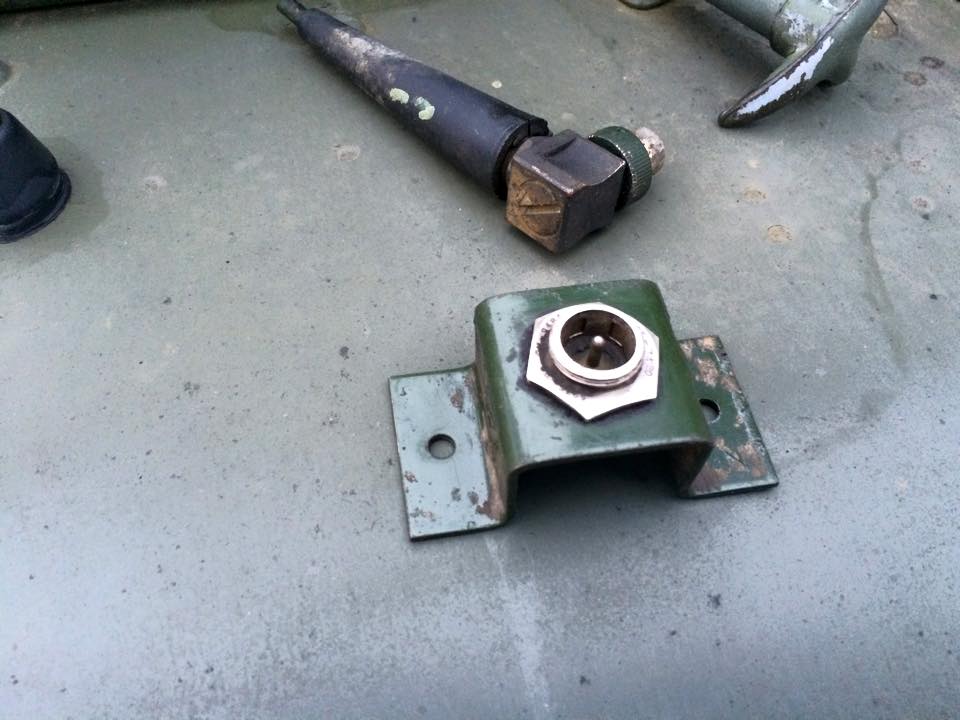
Cheers mate :-) First job was to swap a buggered cap on the isolator box with a good one, followed by checking which holes line up with those in the vehicle already, and marking and drilling a couple more into the carrier, missed out a couple though due to there position more or less right above the chassis but if the body ever needs to be lifted off I'll sort those out then lol.


-
Thanks again mate, time to get them sorted out :-)
-
Mate those pics are such a great help thank you :-) wasn't sure with the drivers side storage point was as I couldn't find any holes that matched the bracket, thinking it'd be roughly the same area as the other side but clearly not, time to get routing and fixing :-)
-
Welded and painted with red oxide before it rained.


-
Last bits of the battery frame cleaned up with the use of a friends blasting cabinet today ready for welding in later this week.

-
Not a lot today but managed to make up some stays for the vehicle battery frames to keep the batteries secure for the first time in about 14+ years lol


-
Cheers mate Thank you :-)
-
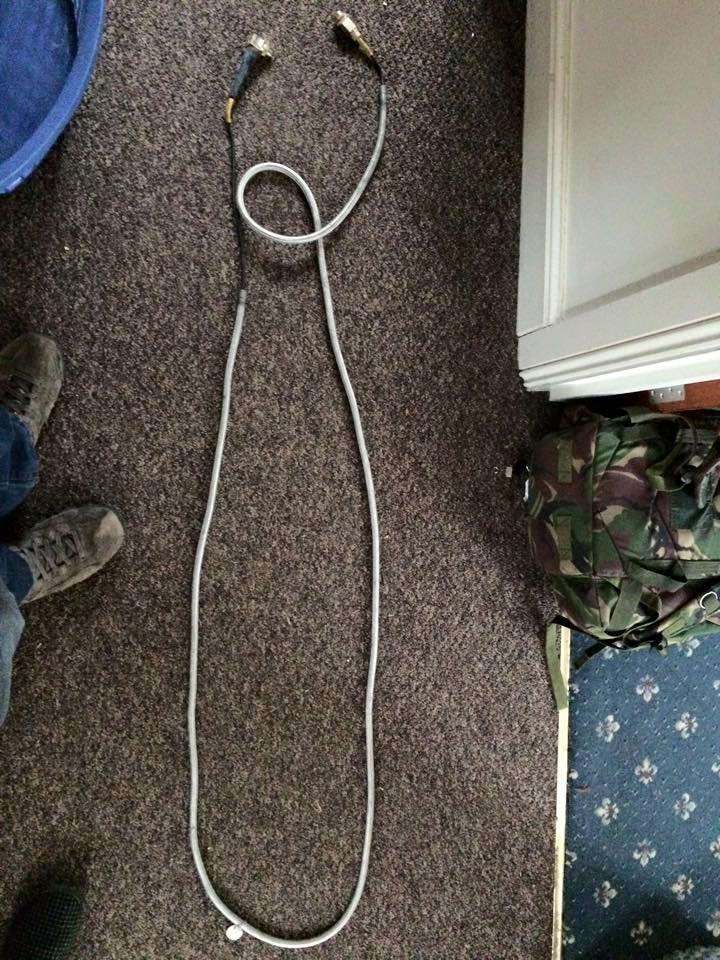
Yesterday I set about fitting a pair of NOS ATU cables in my FFR that runs from the rear bulkhead to the Larkspur ATU's on the front wings, does anyone know or have pics of the routing for the cables as they run under the vehicle as there seems to be a load of slack that needs to be taken up.


-

question Rover 8FFR Dexion support / first roof hoop?
lozzaboy replied to Rover8FFR's topic in MV Chatter
Only ever seen it in the parts book. When I first brought My FFR the dexion and frame was missing and ended up replacing it with a set from a series 3 as it turned out my FFR had the rivnuts already in the capping for the later set up. -
Bit more tinkering today, had a NOS pair of vehicle battery frames and cable to connect the ATU's to the rear bulkhead arrive today, need to make up some clamps to keep the frames secure so set about routing the cables today, hopefully get some P clips to secure them tomorrow.


-
Cheers mate just replied :-)
-
Cheers mate, keep thinking perhaps I should of rebuilt the whole thing when I look at the current state of the original parts I saved and the new parts I'v made lol :-)
-
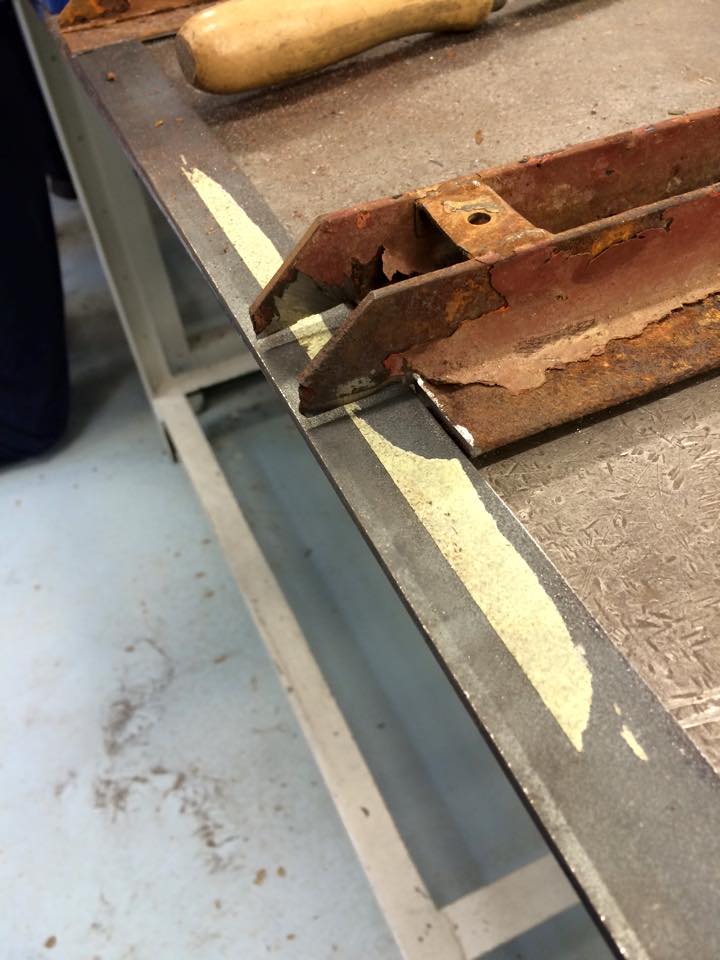
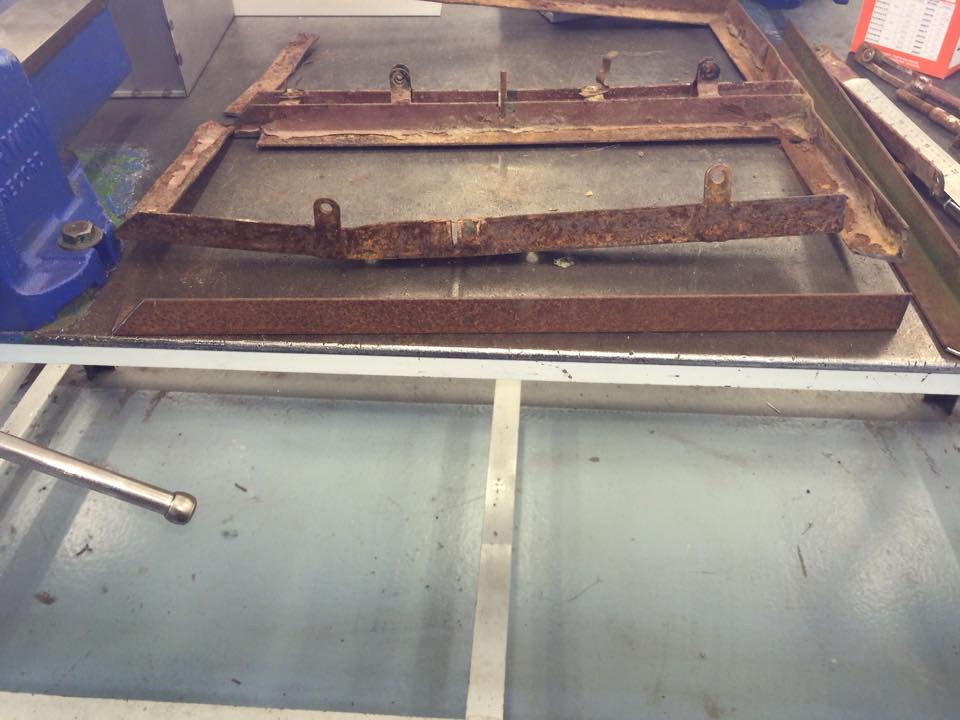
Started off the day cutting down some flat bar to the correct withe, and backing the brackets for the new side and cutting and grinding the remains of the old metal off the centre section before cleaning up best I could with a worn flap wheel and welding up the main frame, Hoping to find somewhere to blast the centre section before I weld it in place.


-
Picked up an radio battery carrier late last year for the FFR, but was a bit mangled when it was removed so today started cutting out the parts that are too twisted to use and making replacements to rebuild it with.


-
Found some work for the hot metal glue gun in the new year today :-(


-
Would of thought an LPG kit from a car would be a bit small, I'v had LPG in a couple of Land Rovers, biggest tank out of the two I had was 90 litres in an ex military 110 V8 that was placed behind the front seats against the rear bulkhead on top of the wheel boxes, would of thought that would be more the size you'd be wanting at least?
-
question Defender Disc / Drum brake VIN split
lozzaboy replied to robin craig's topic in British Vehicles
I think a little later then that, roughly when the 300 Tdi took over from the 200. Had a civvy Defender 200 Tdi county on a K reg (92 I think) a couple of years ago that still had drums on the rear. -
Popped over to Watton in Norfolk to get a red top battery as the old one isn't up to cranking the new diesel engine over and stopped by one of Adrian's old projects on the way home.

-
Been years since I's said anything about this wagon, still got it and been using it for greenlaning and humping and dumping stuff lol, but lately with the state of my daily driver civvy landy (Tdi powered series 3) getting to the state of a new chassis I decided to get this one swapped over to diesel to use whilst I rebuild my other one. so earlier this year an 2.5 n/a was found, head and sump off to check over, timing belt done, oil cooler thermostat removed and plugged up. Then painted in BMC green (just because I like it) and fitted and running with twin tanks with 2 rebuilt change over taps for the feed and return lines.


-
question Land Rover FFR demountable station
lozzaboy replied to robin craig's question in I may be stupid, but......
Both set ups were totally different as far as I know, the Lightweight units were built as one combined unit that could be lifted out as one, where as 109 (and series 2/2a swb FFR's) were separate parts that could be removed one bit at at time, eg radio table, and then requiring the mounts and battery holders to be unbolted too. Couple of shots of the set up in the back of my SWB series 2a FFR to help show what I mean

-
That Chieftain might be by the BIBUA/FISH village at Longmoor
-
You learn something new everyday lol :-) always thought they just brought some of ours rather then making their own :-)
-
For years I'v had this old WW2 British helmet knocking about (brought it on a cadet camp as a kid back in the 90's in Weymouth) and been thinking about repainting it, theres probably all sorts of colours and shades used throughout the war and before but does anyone know what would be suitable for it?


